Seat Layout
You must now lay out the shape of the seat and the position of the holes for the legs. Take note that all your layout will be done on the underside of the seat.
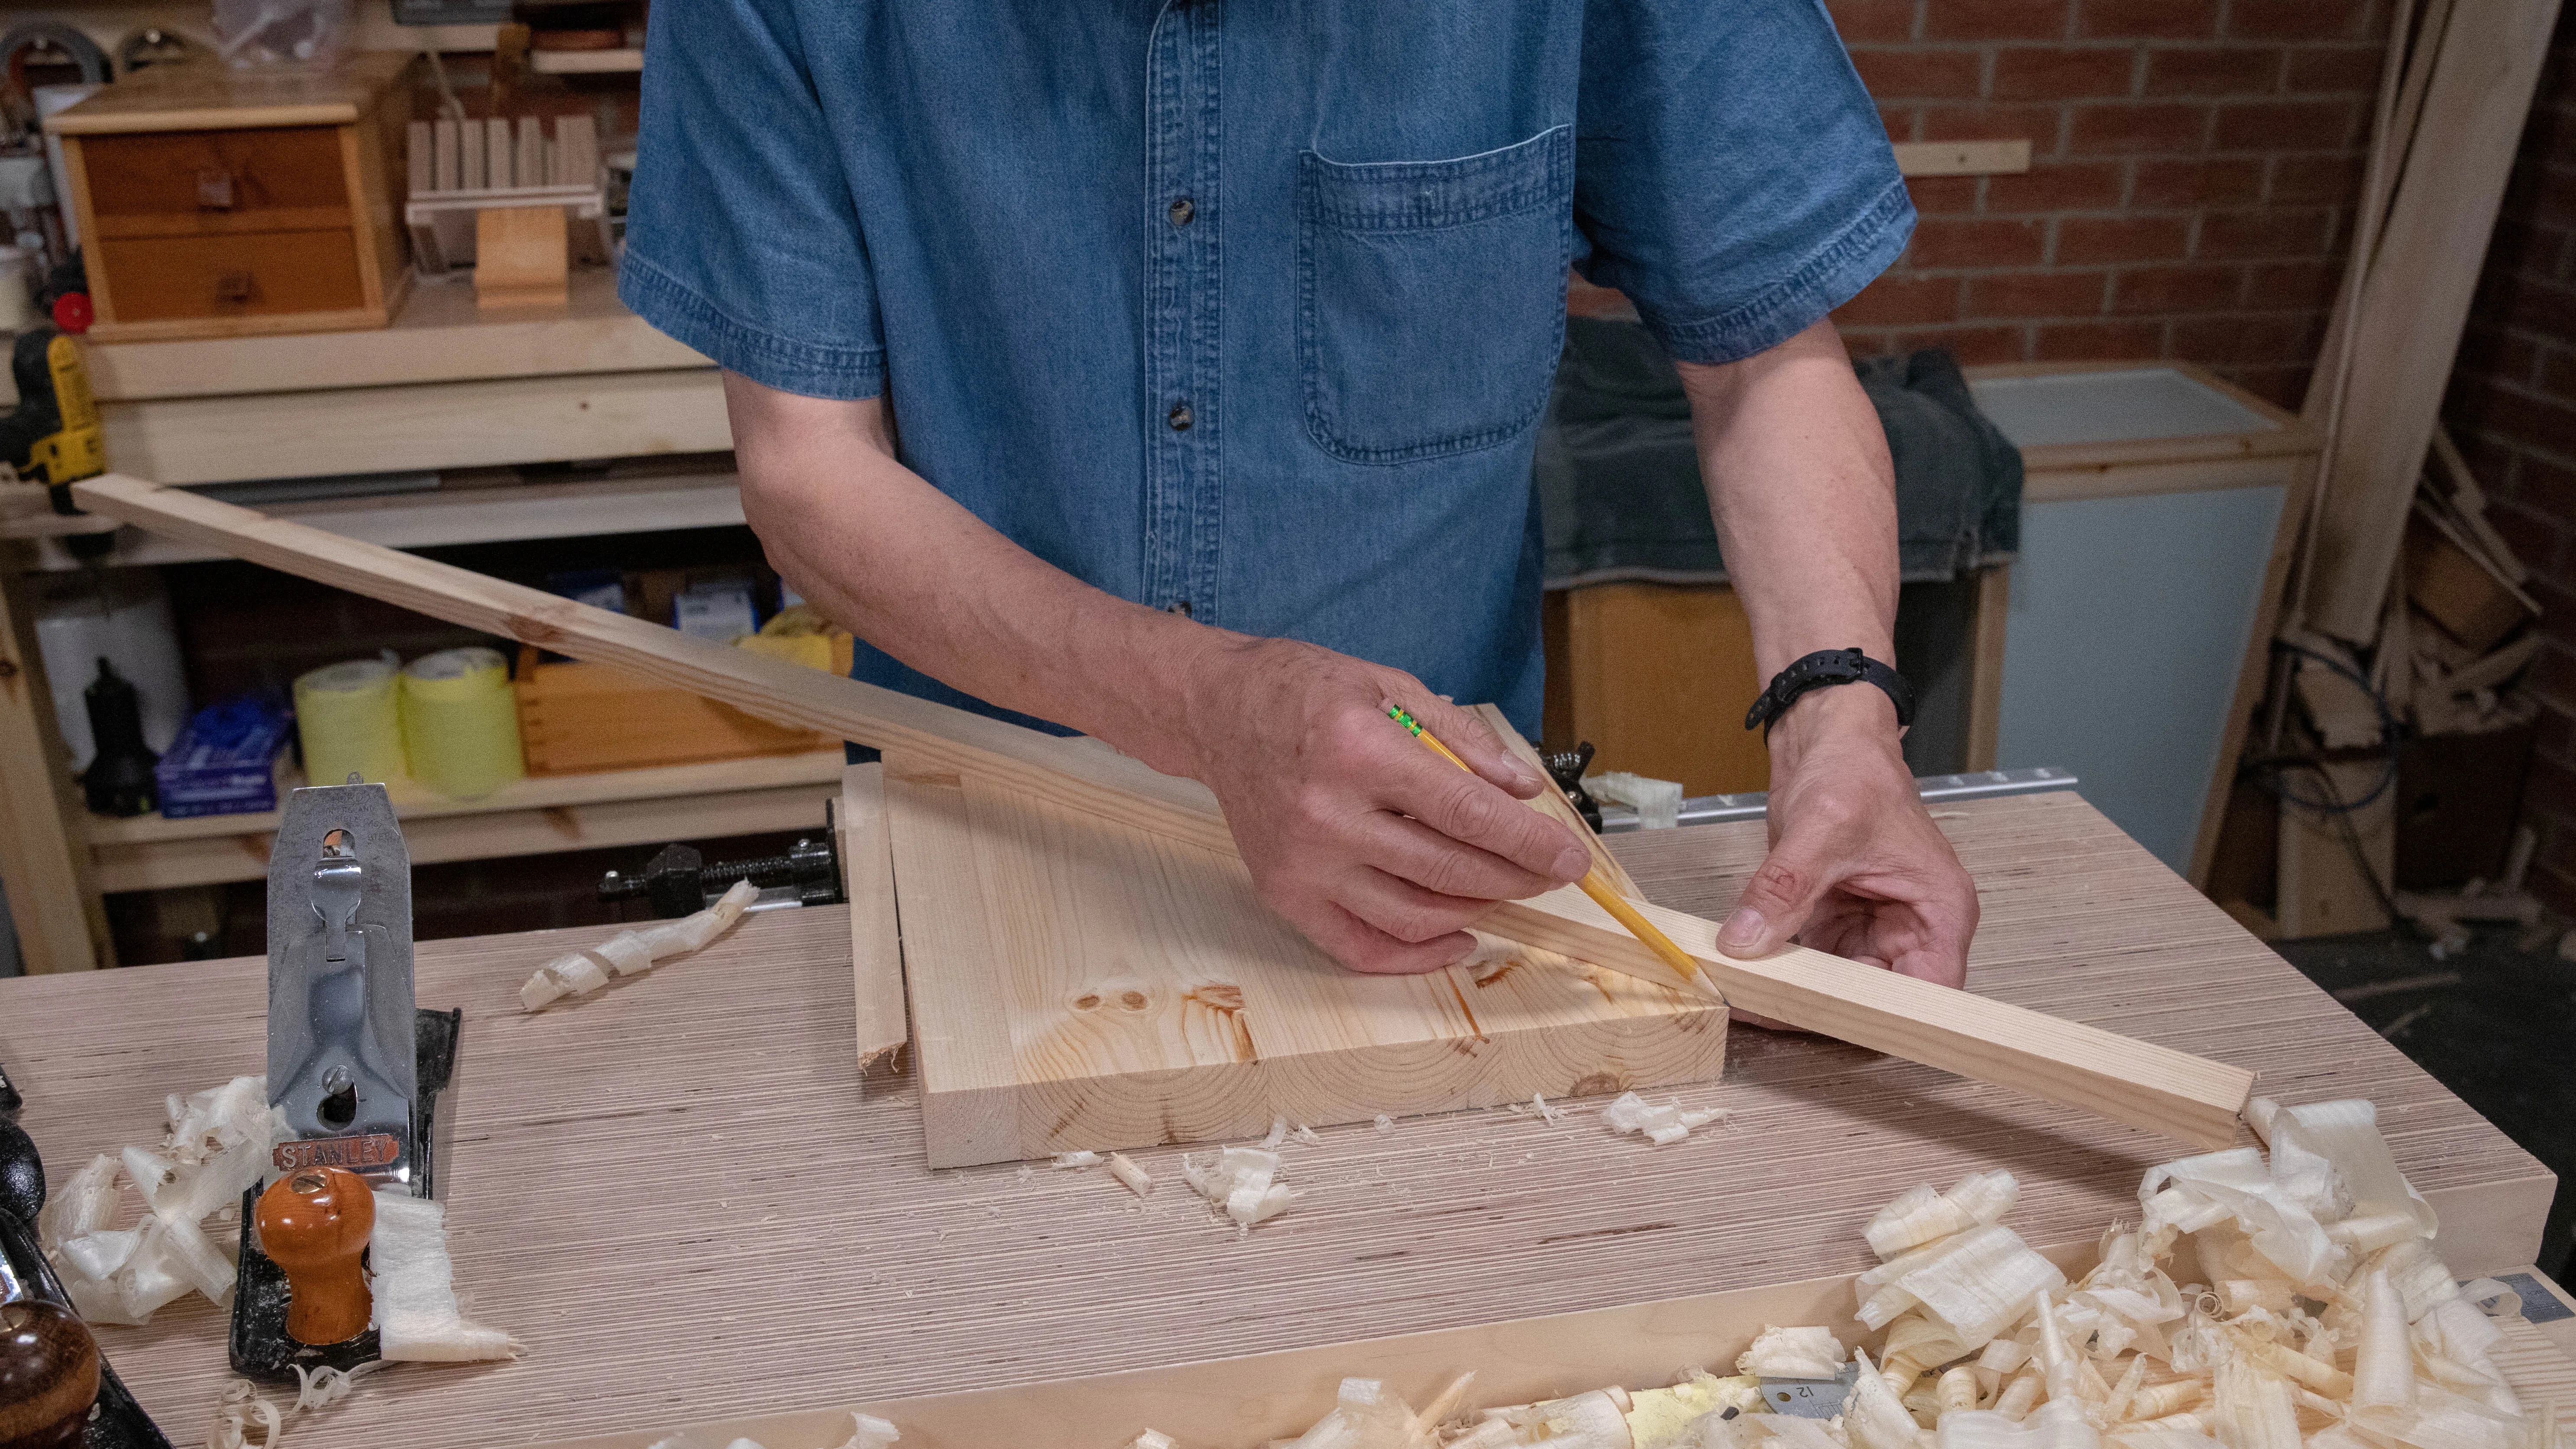
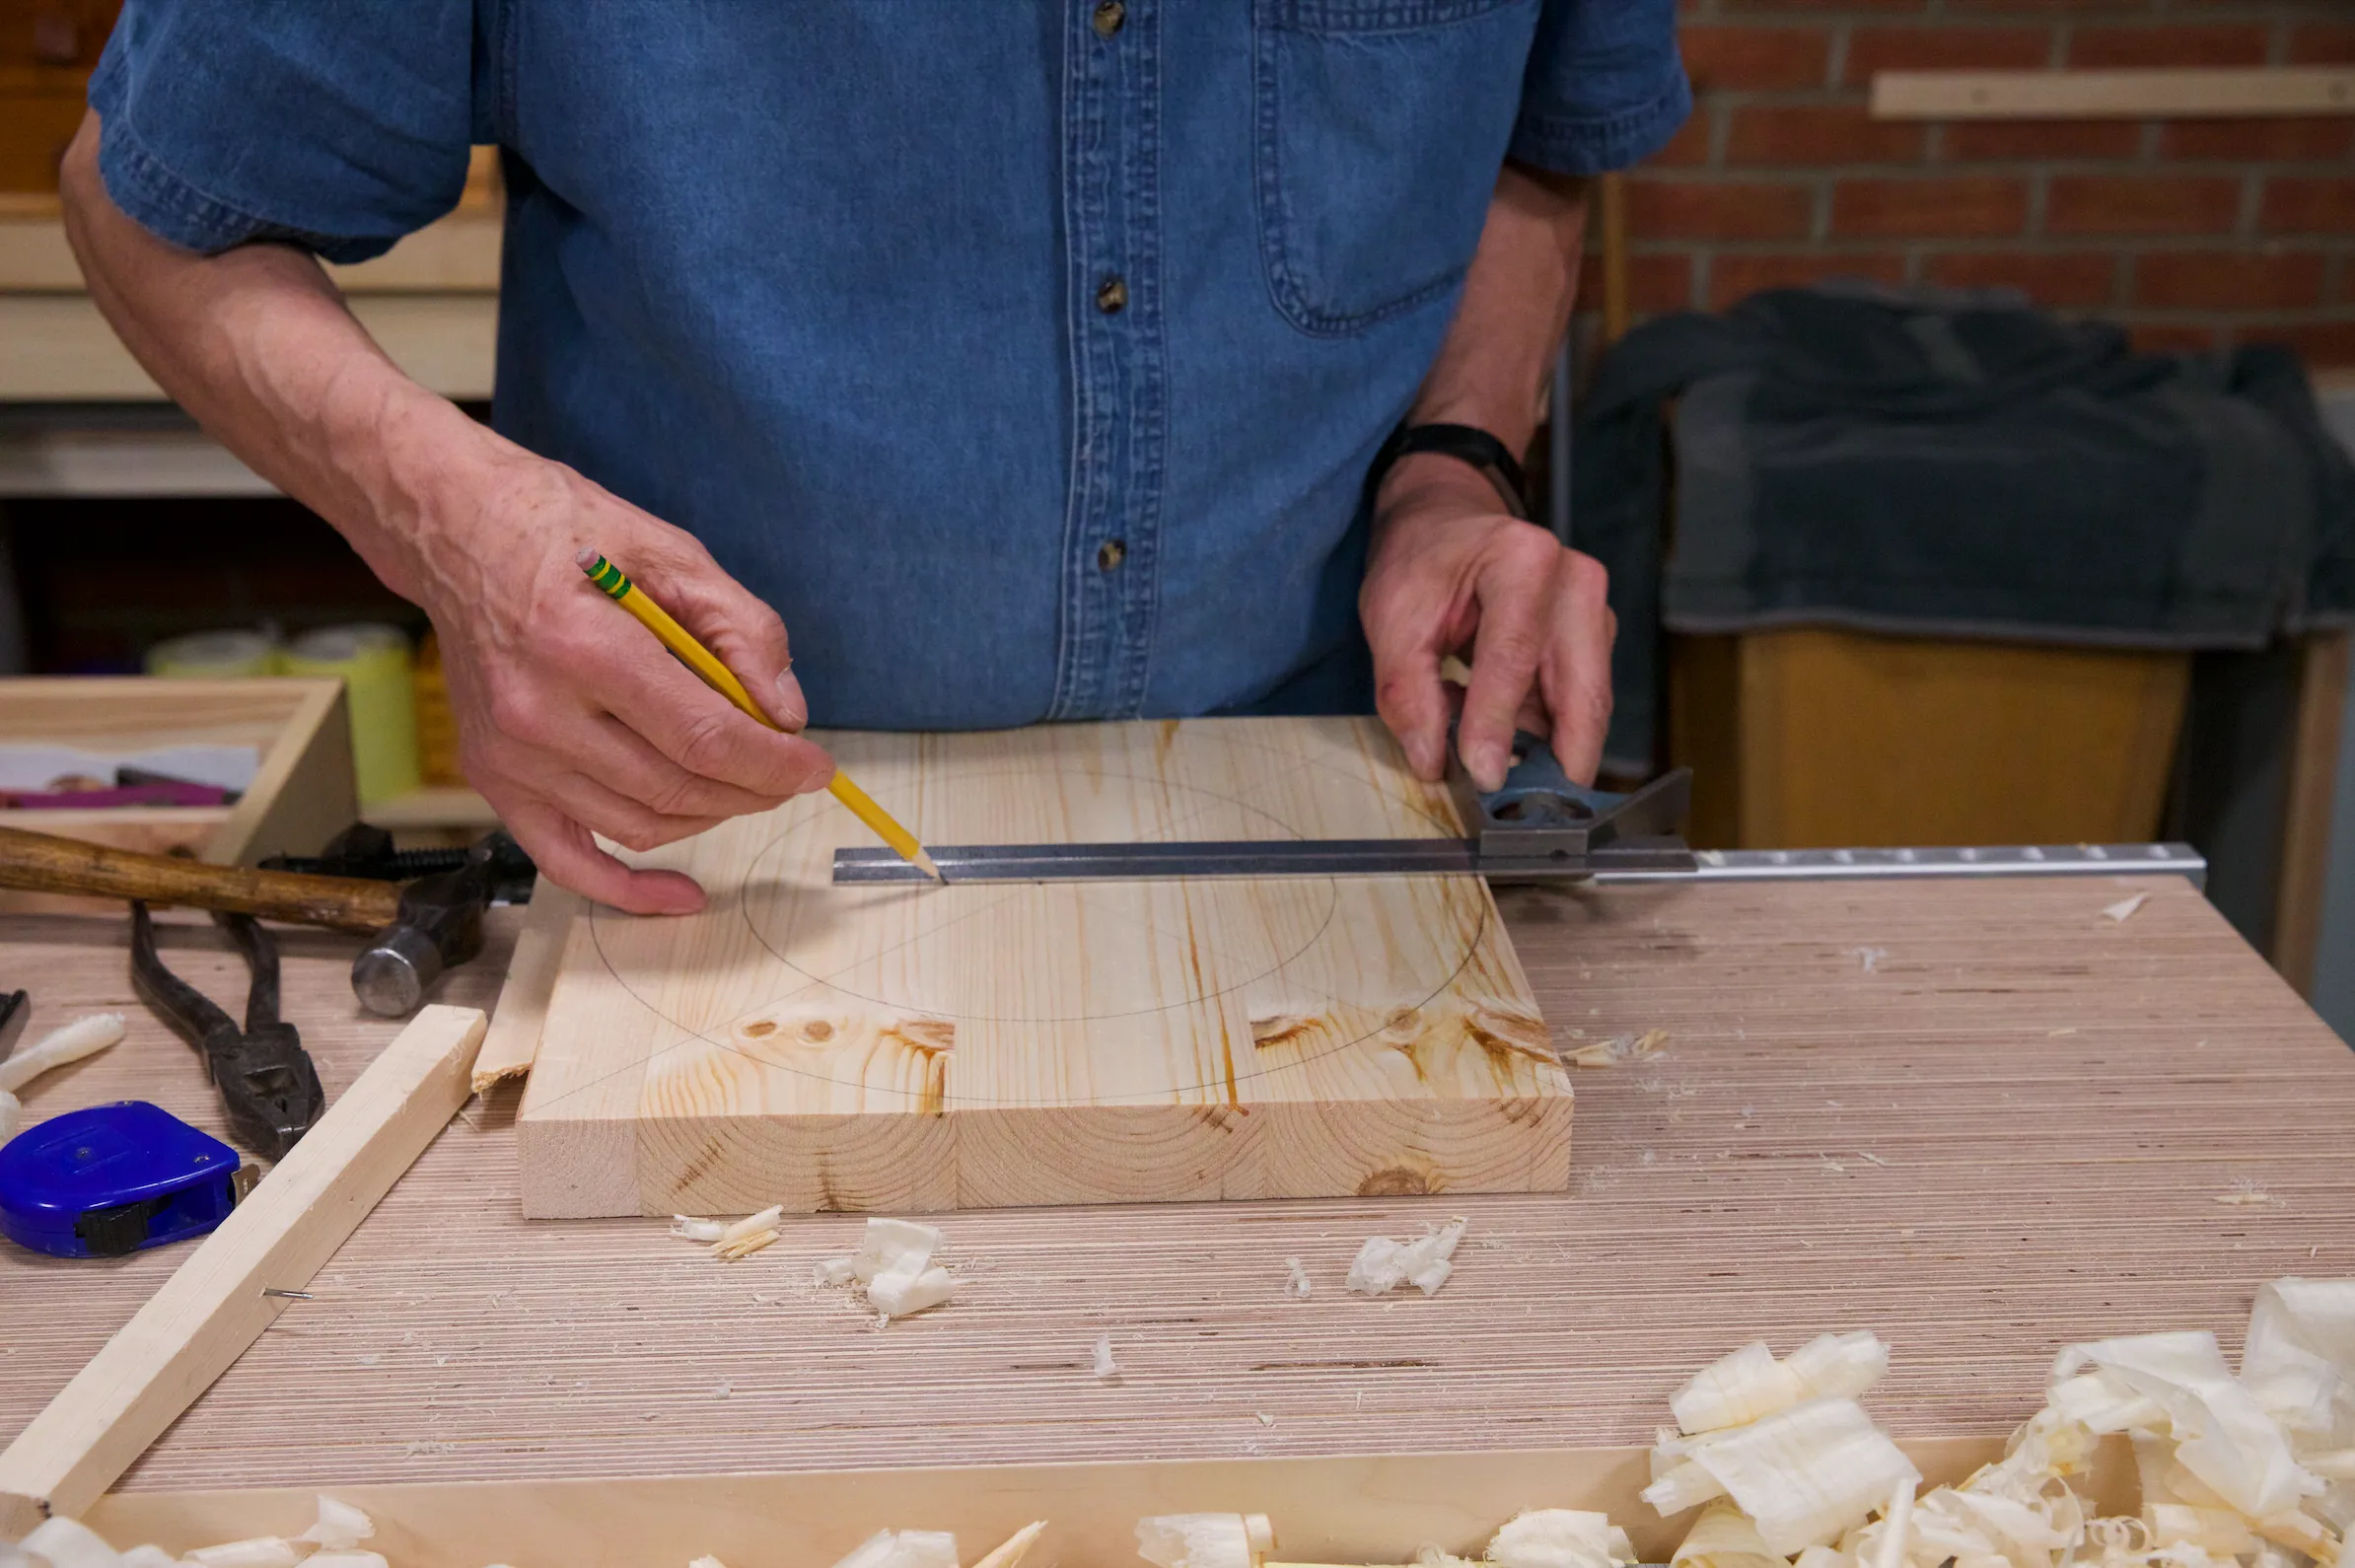
Start by finding the centre of your blank by marking corner to corner using a straight edge.
Circumference of Seat
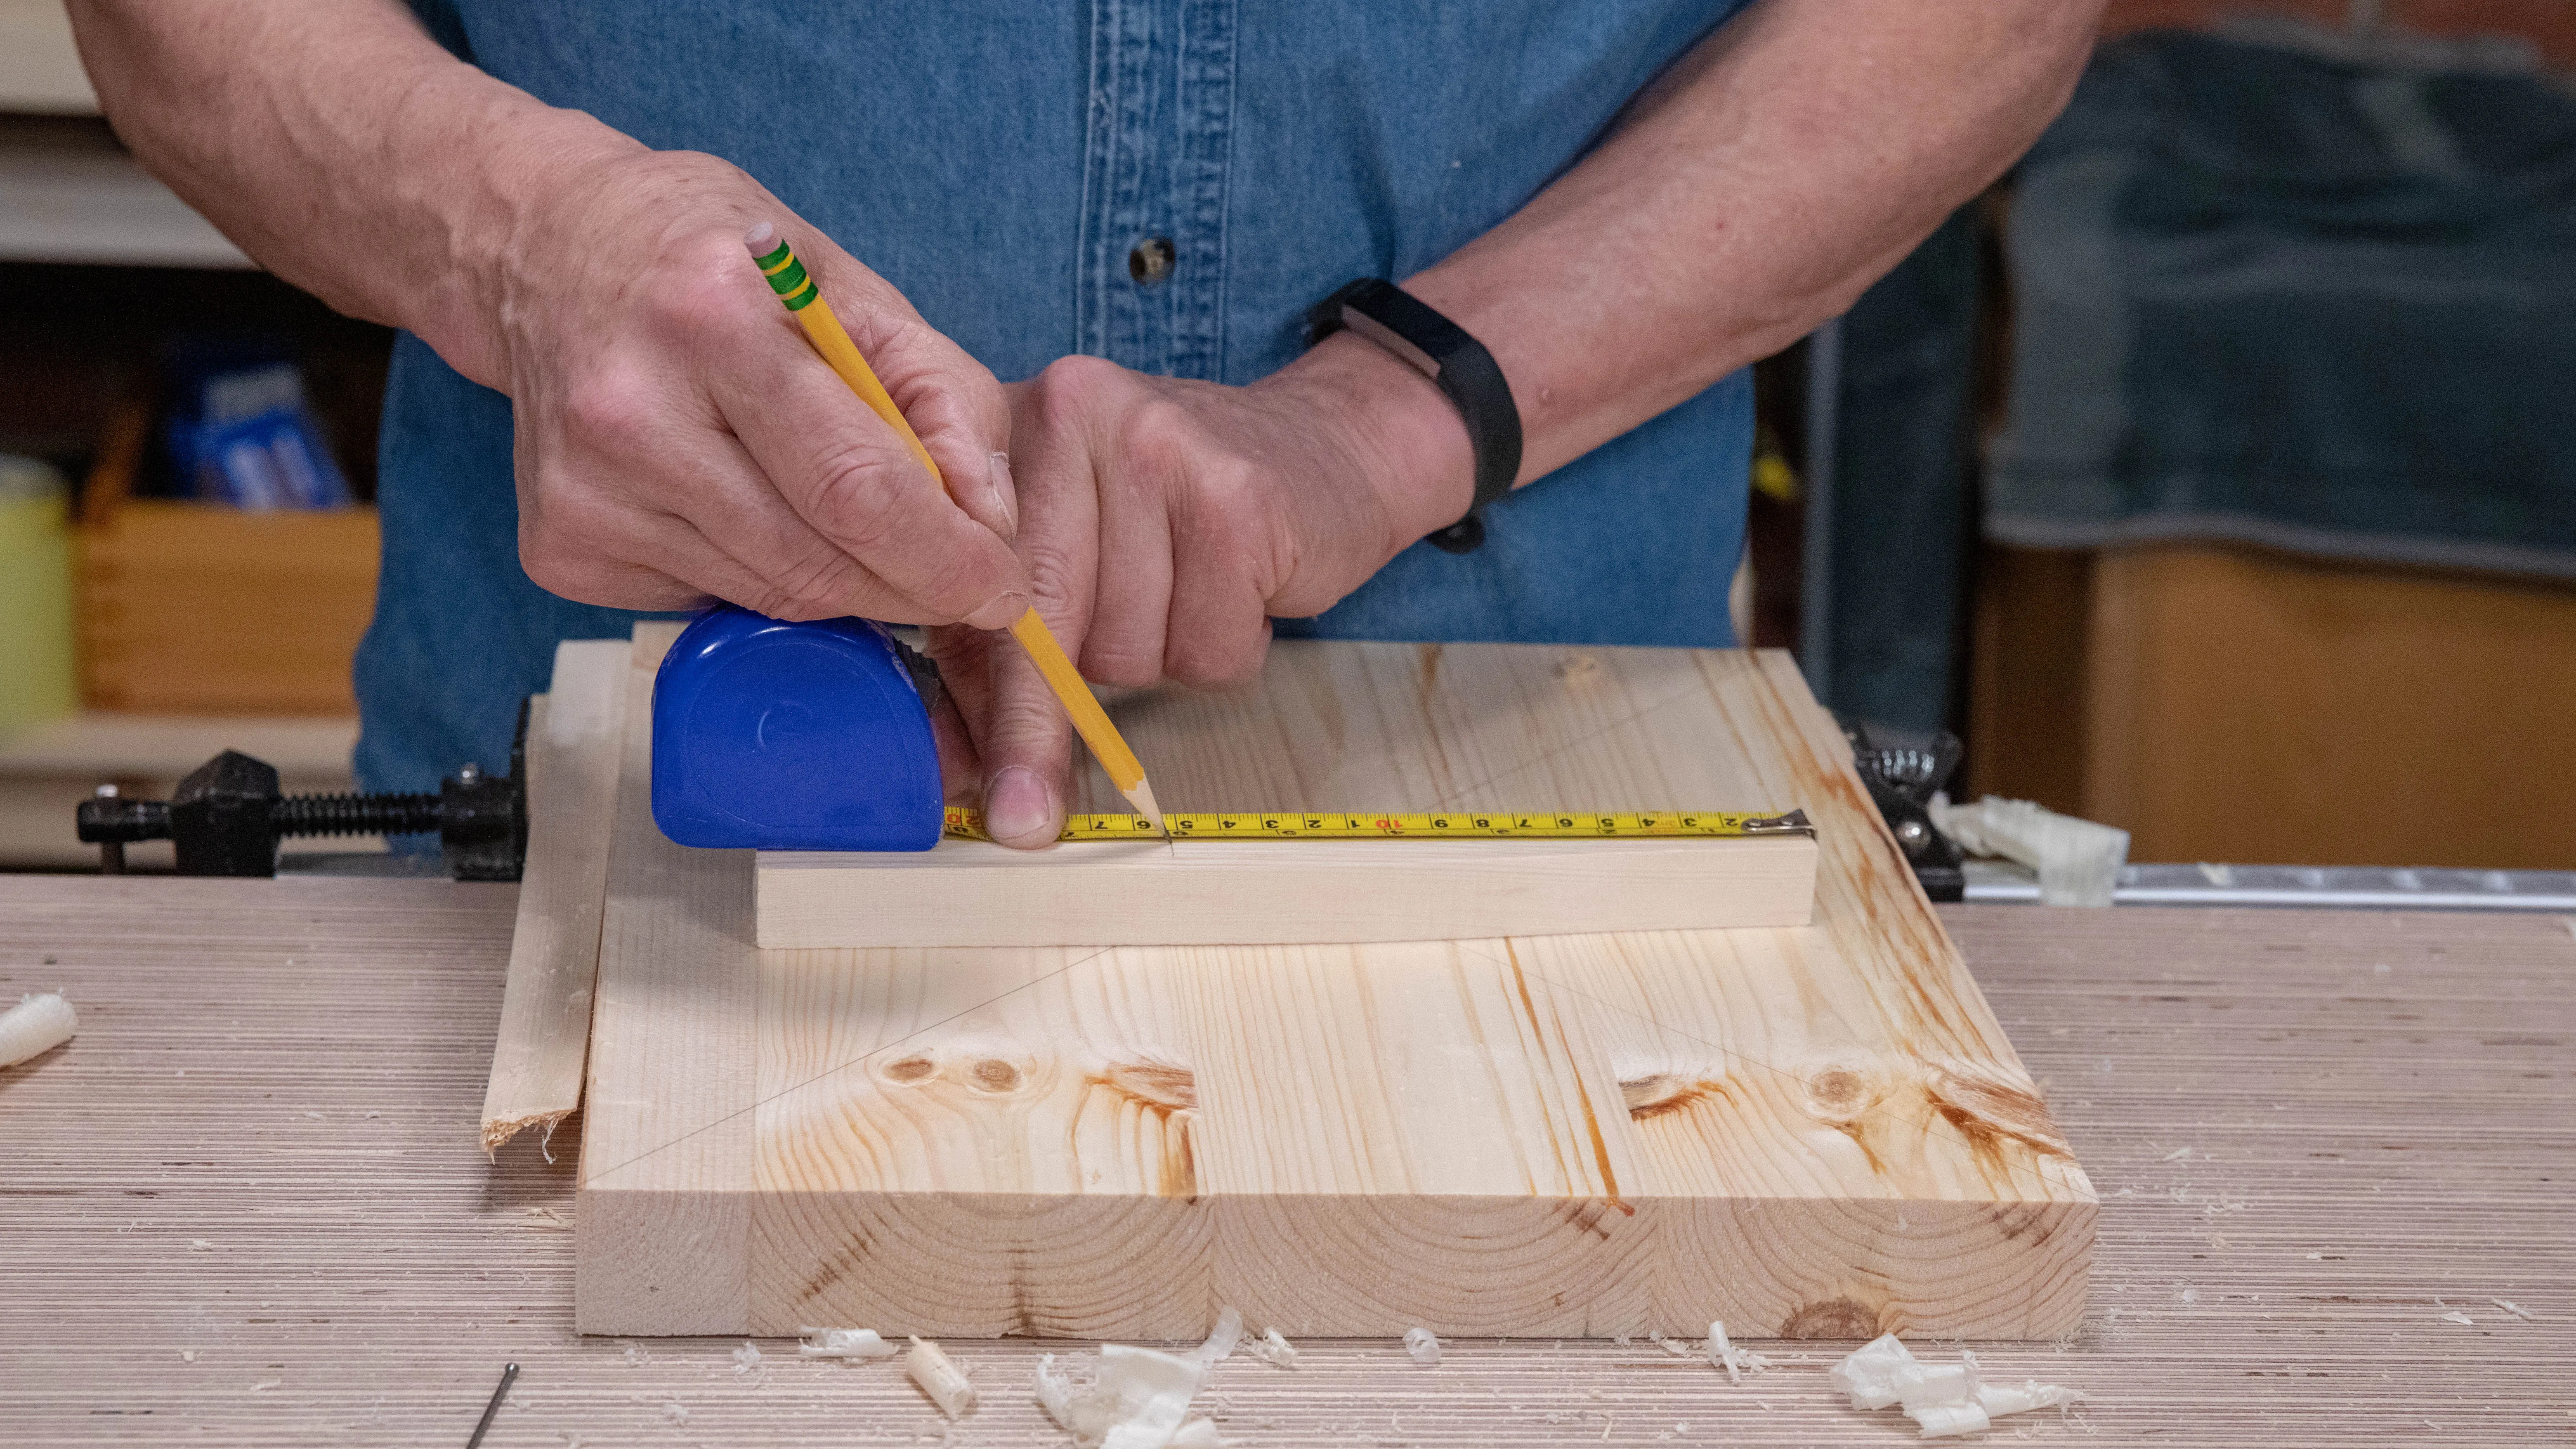
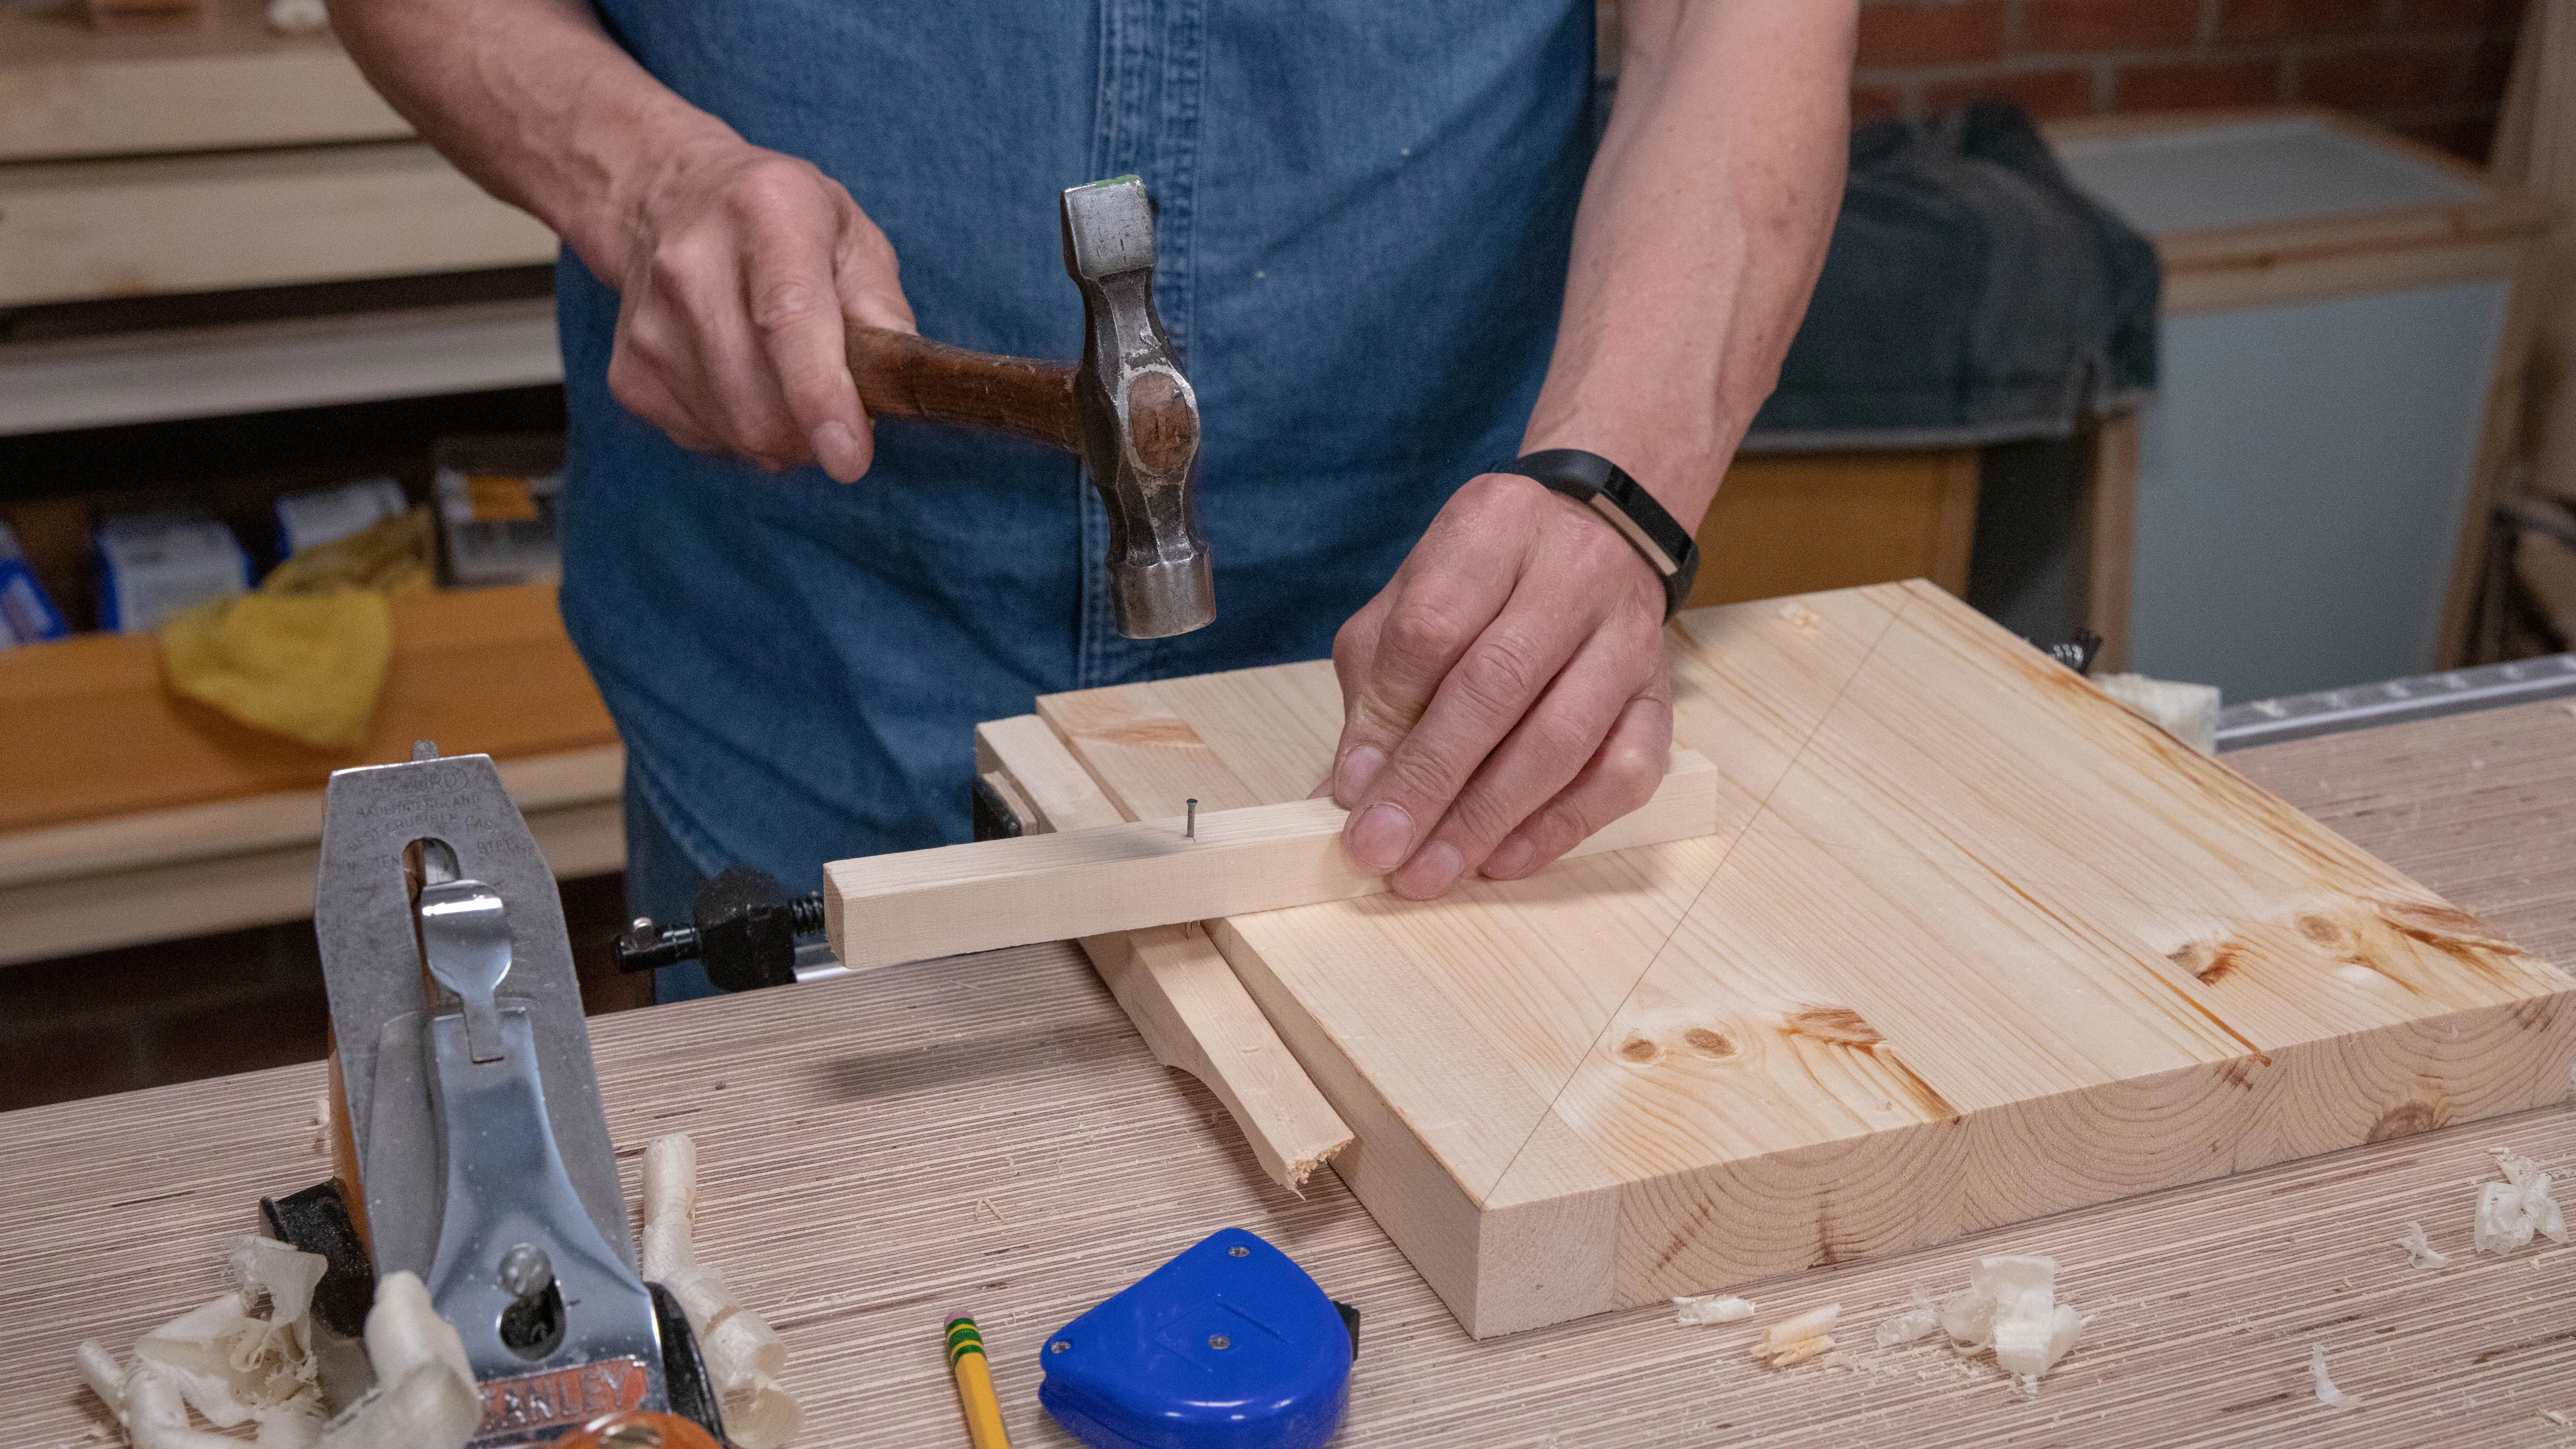
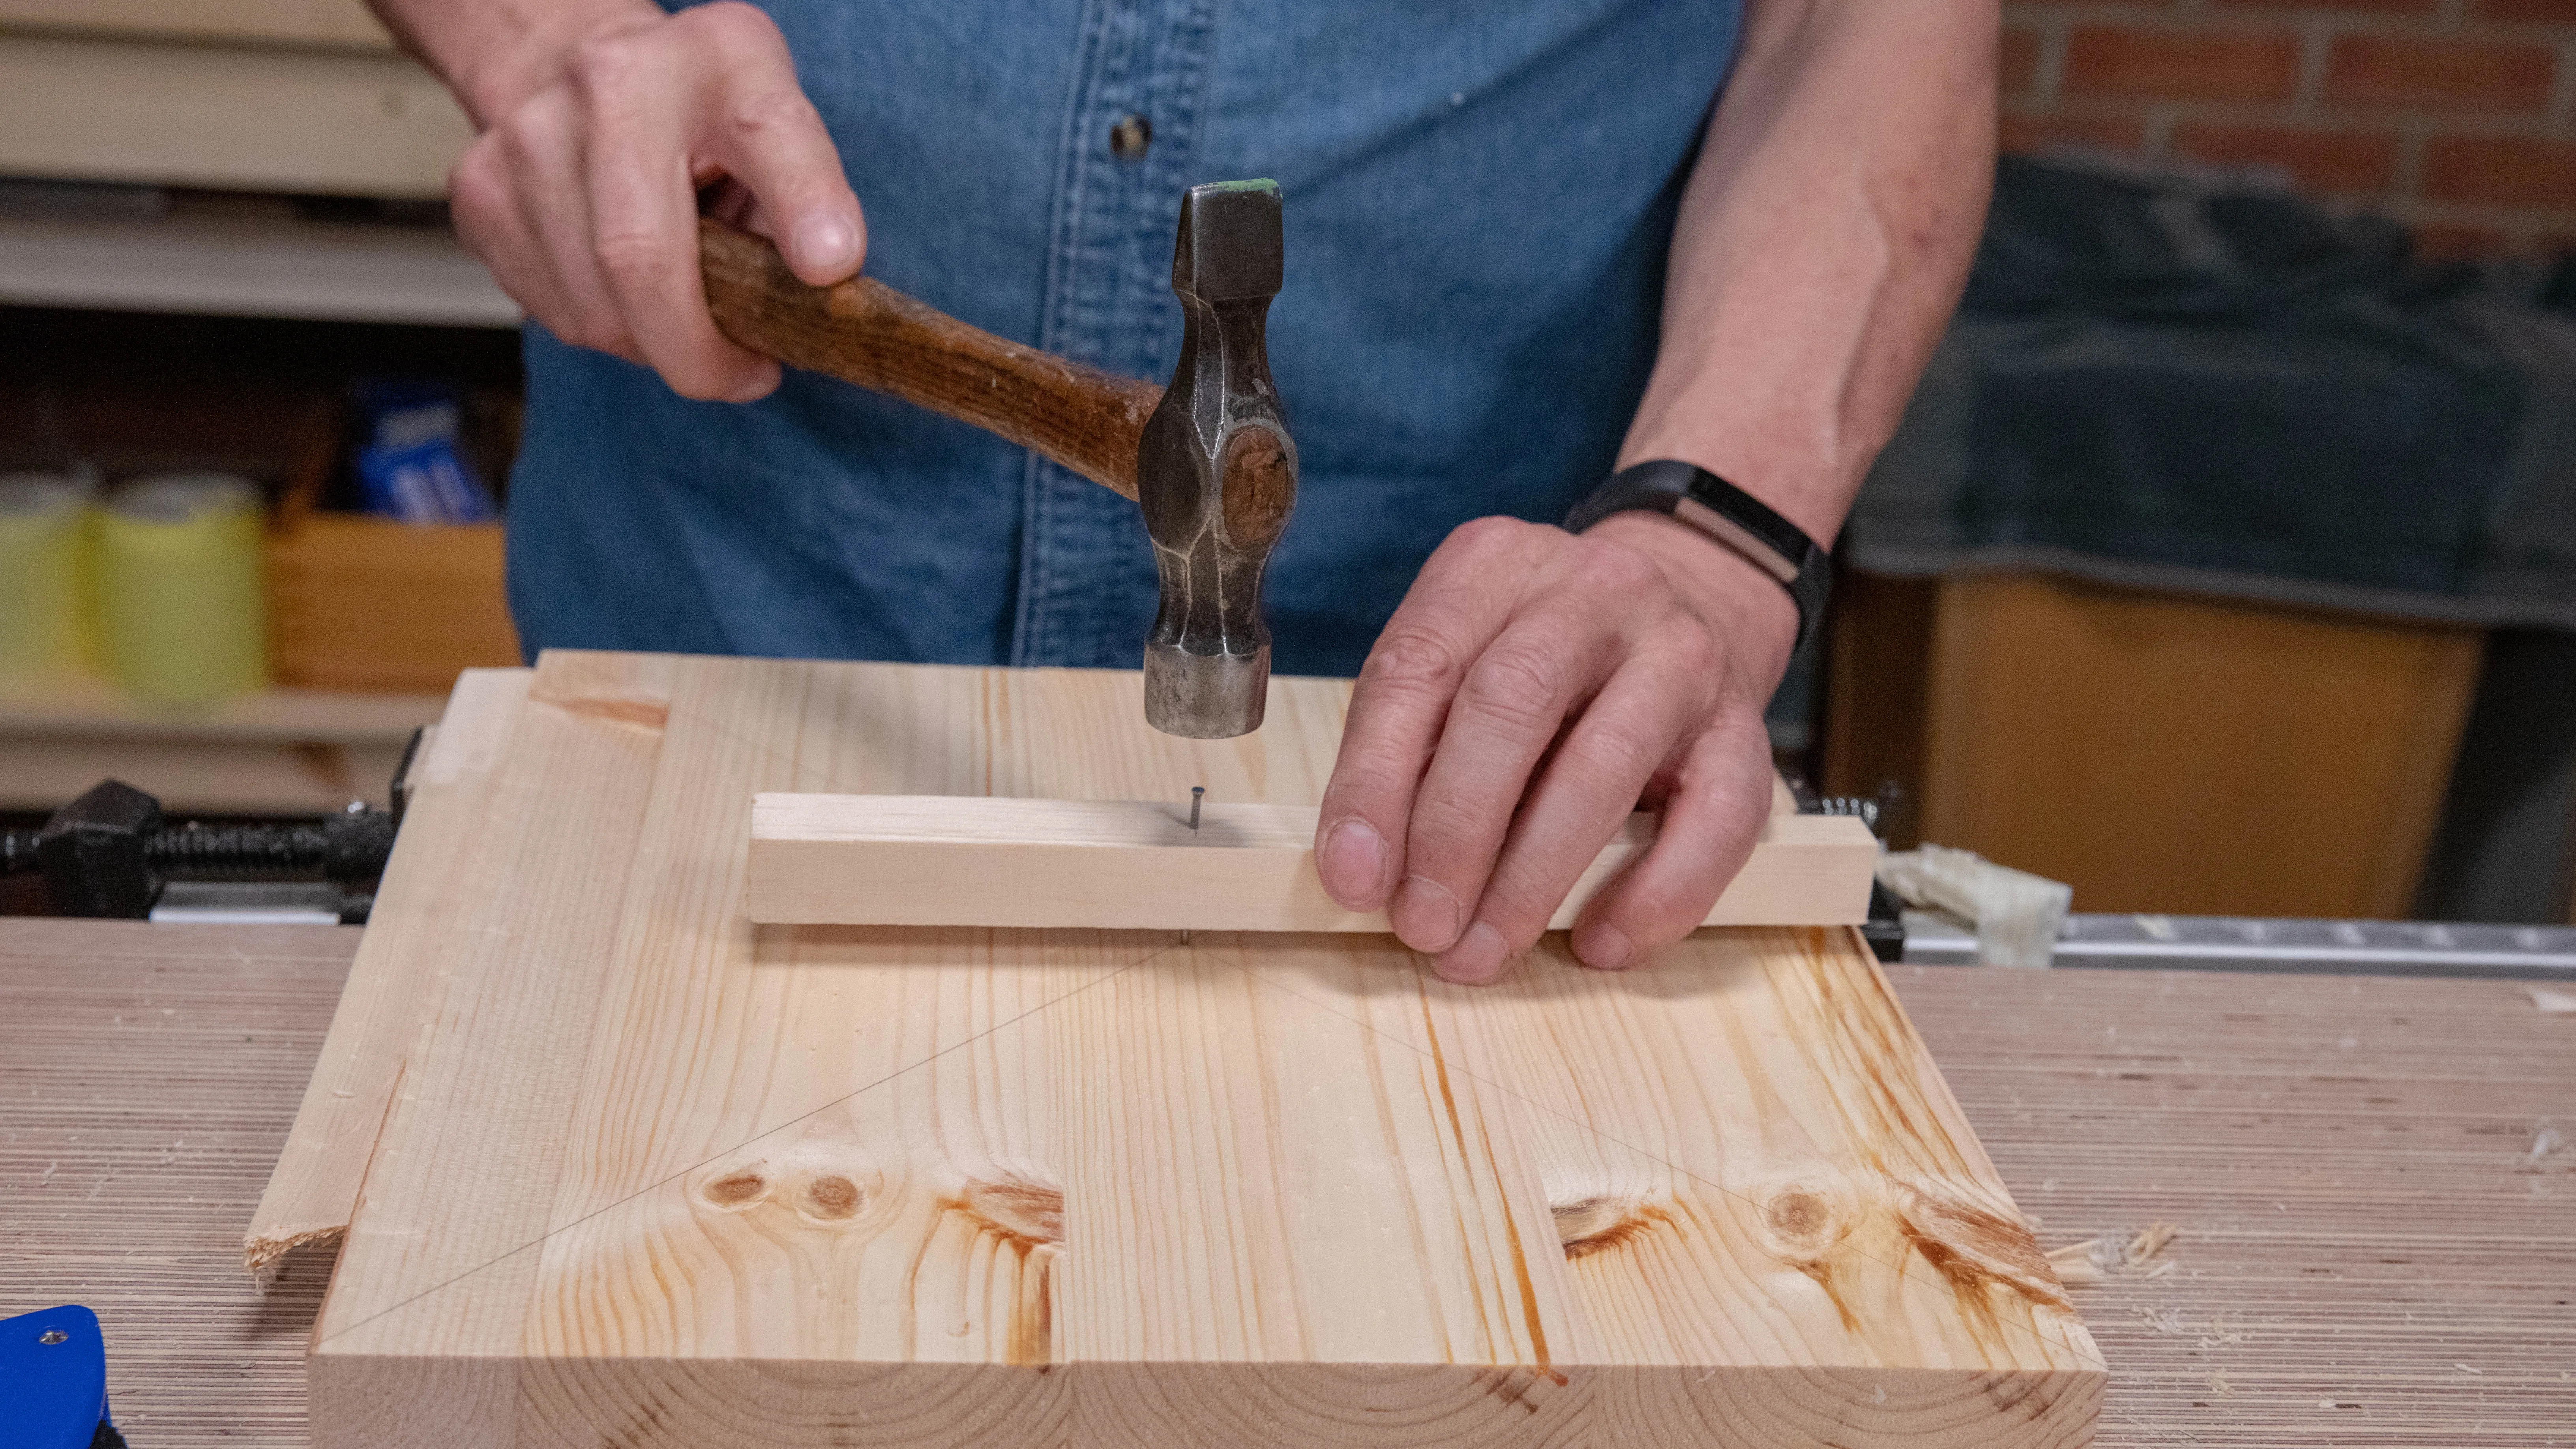
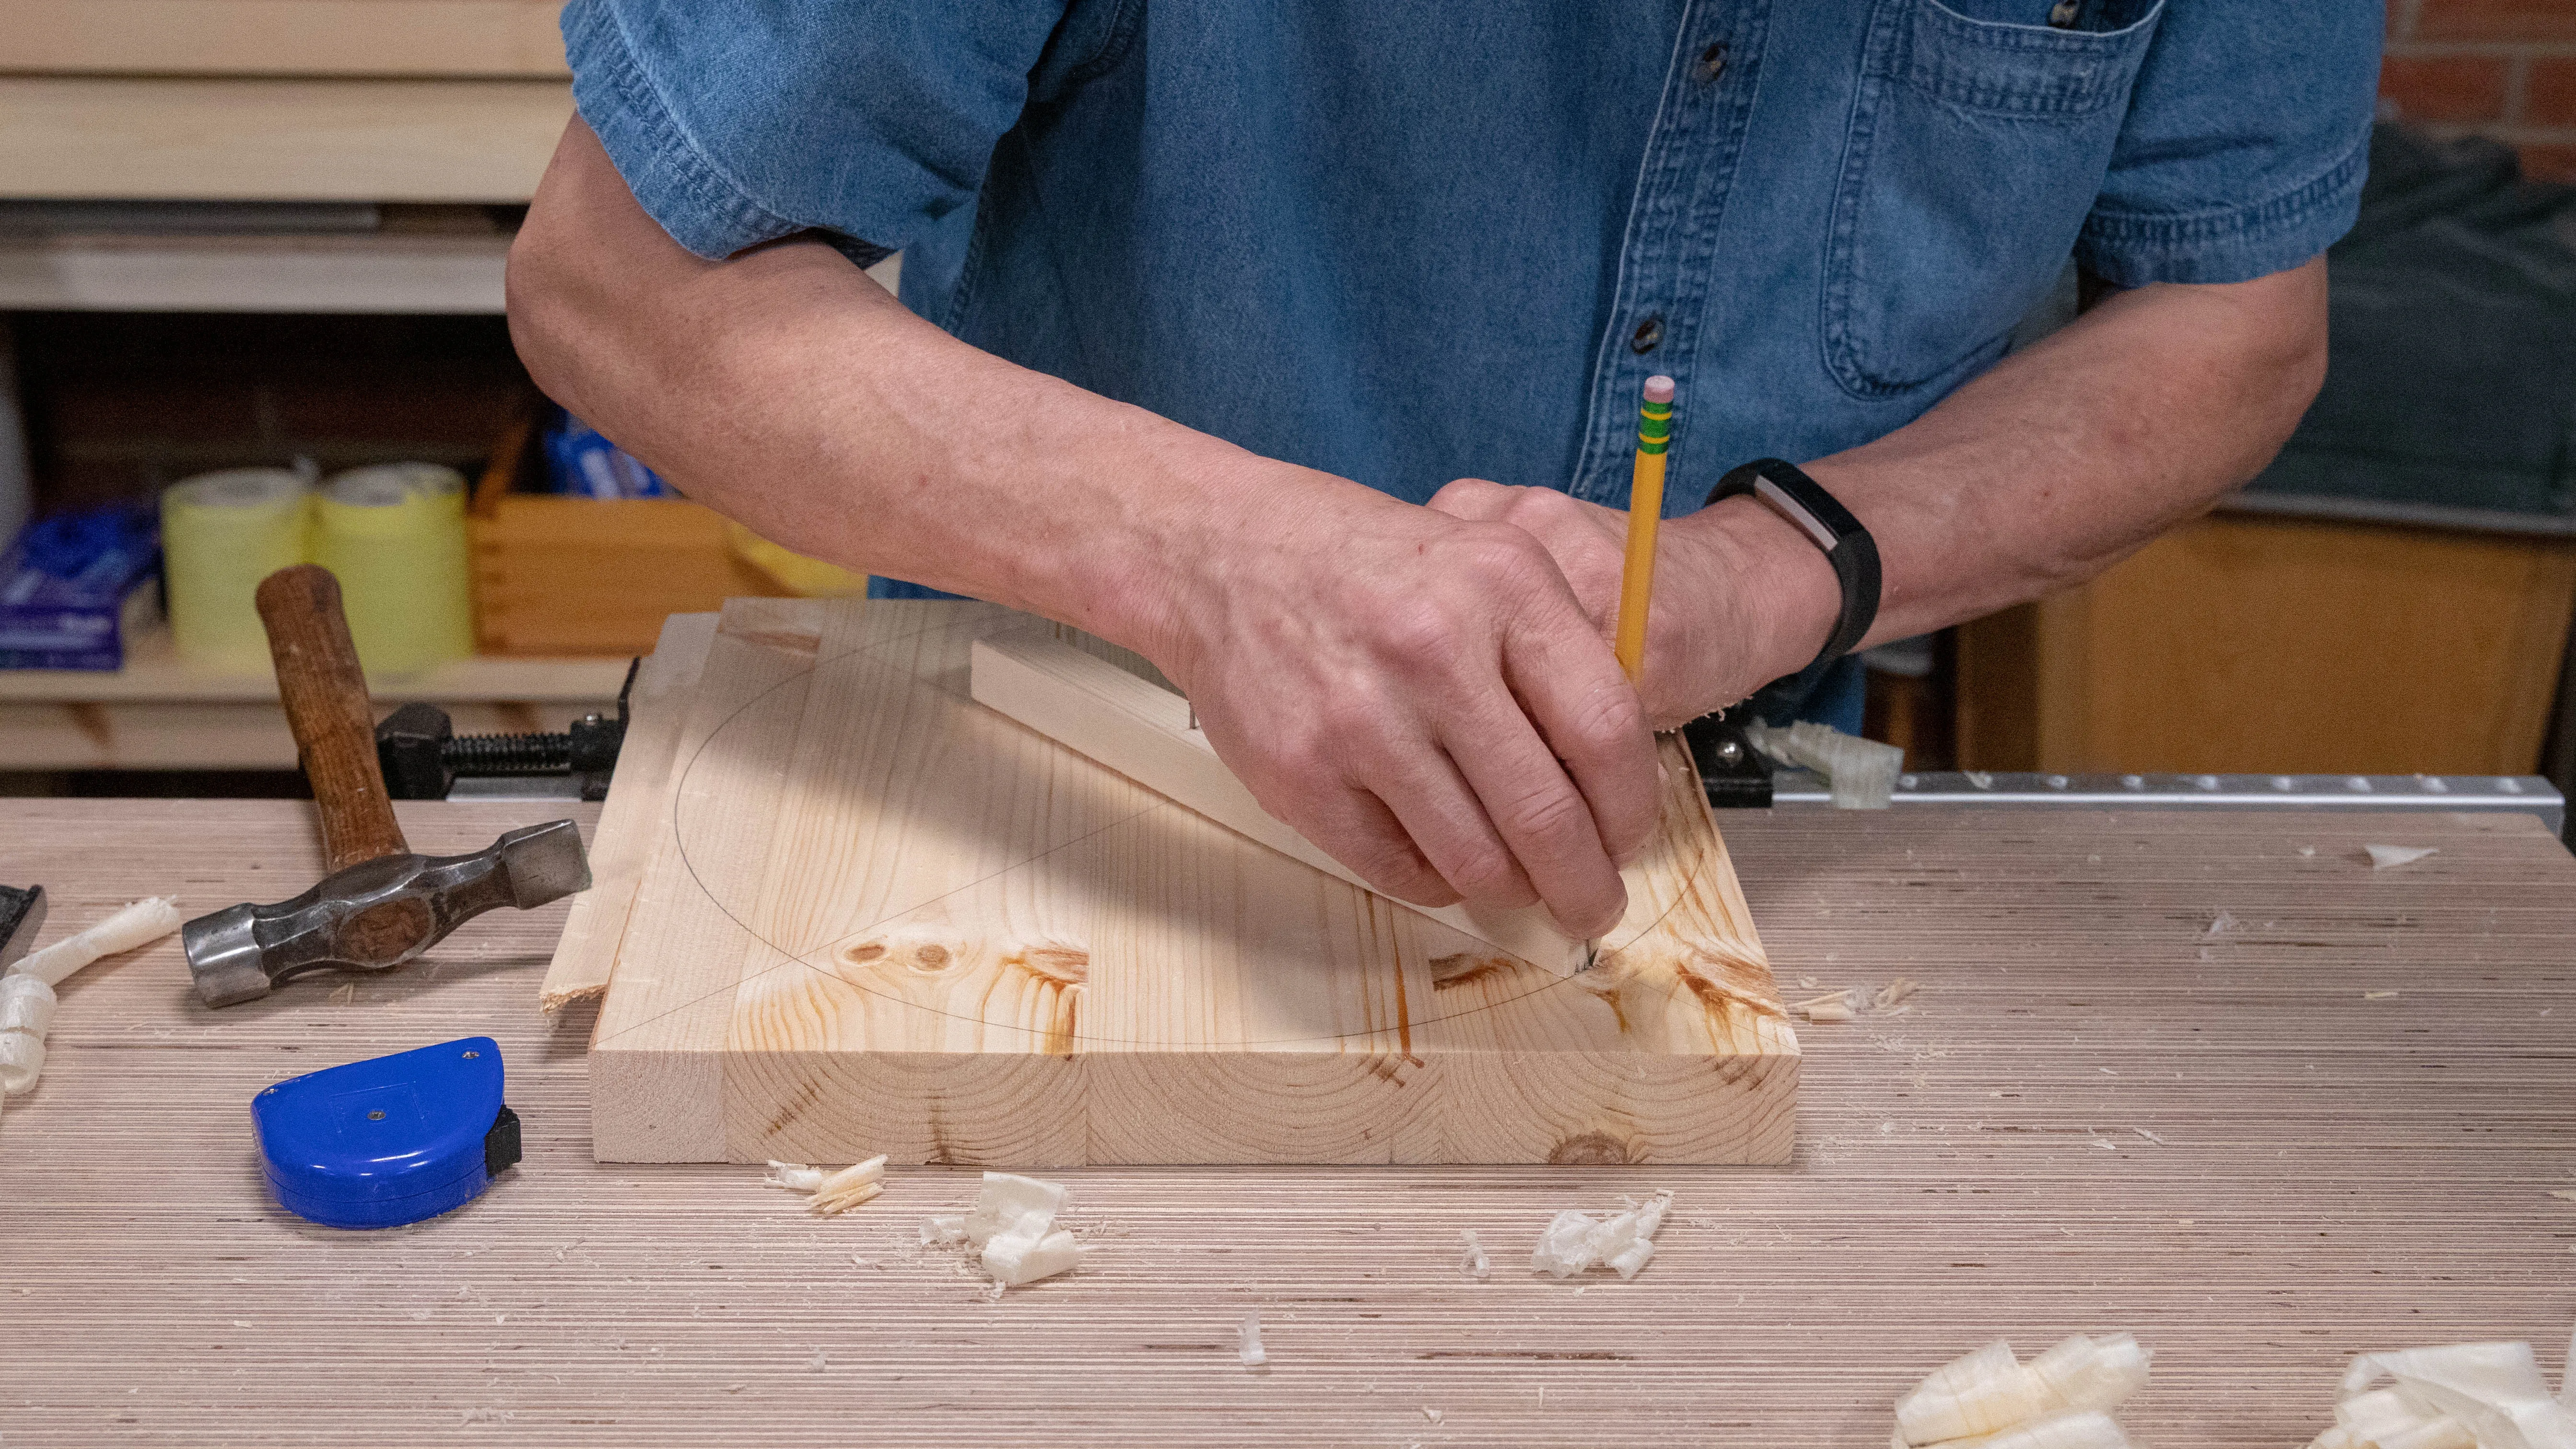
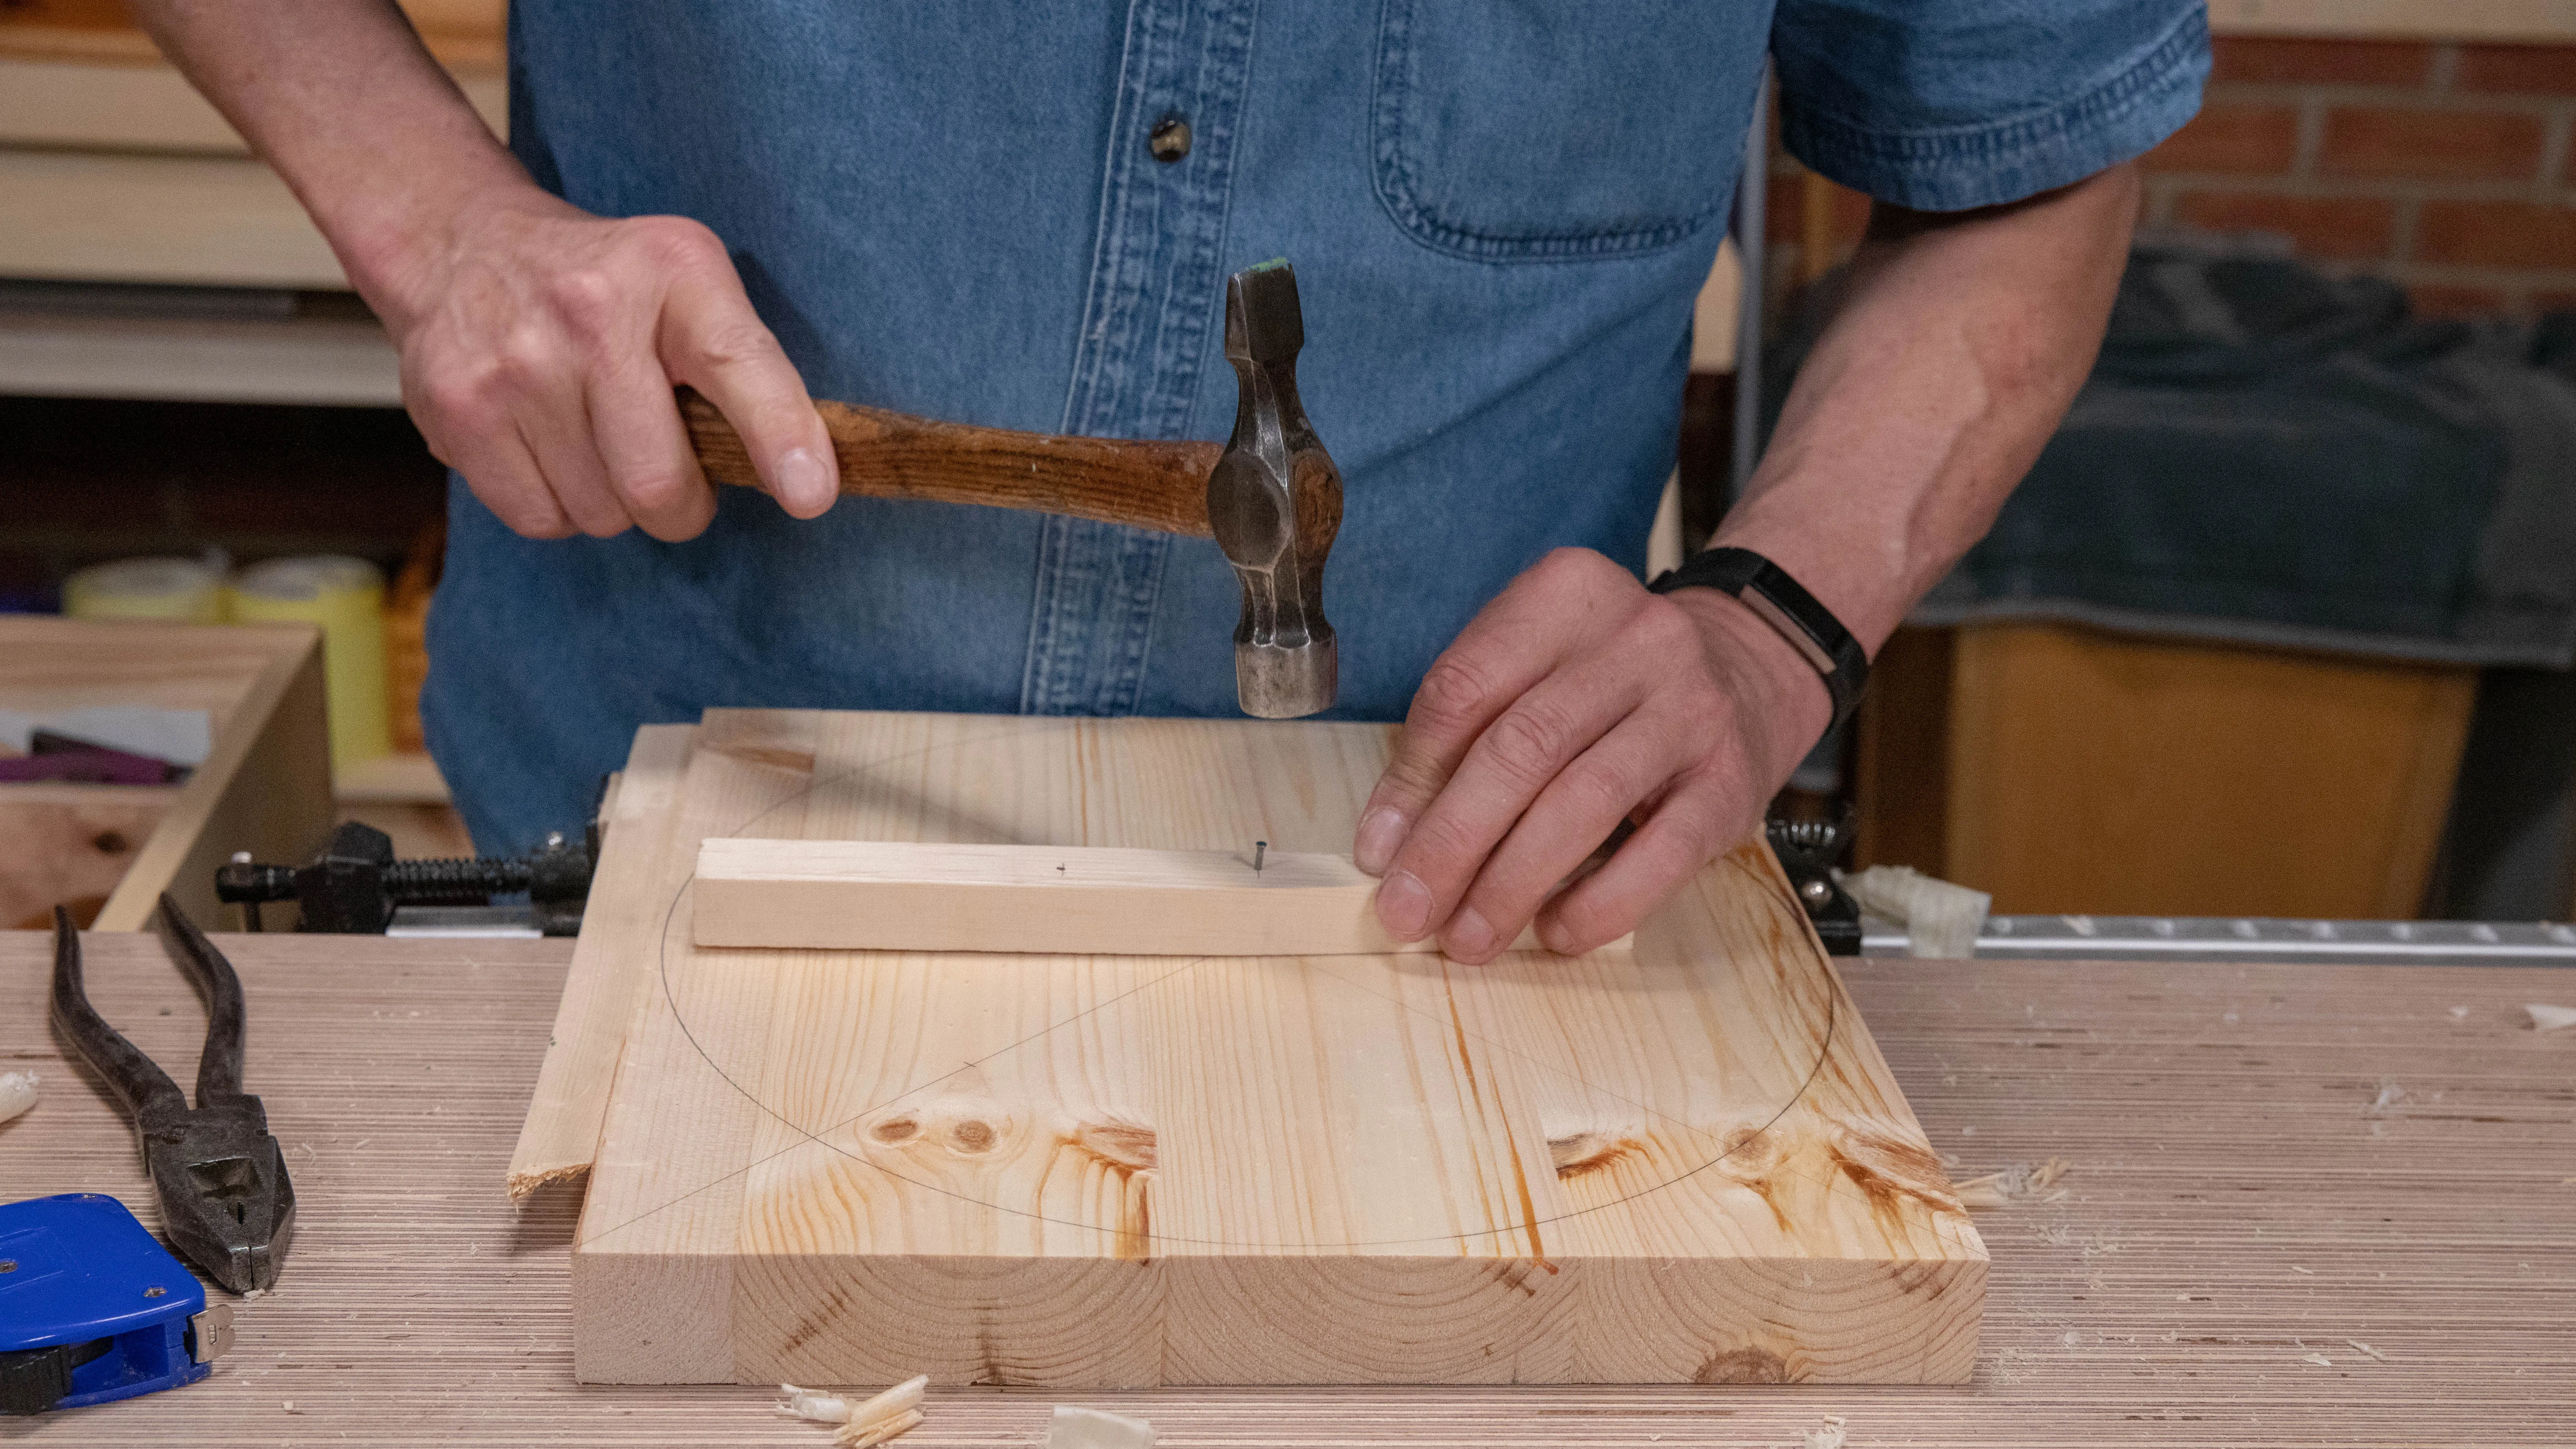
You can draw a circumference for the main shape of the seat by improvising a simple pair of compasses. Take a straight, narrow piece of wood and drive a nail 6” (152mm) from the end. Once through, align the nail on your centre point and tap with a hammer so that it goes deep enough that you can freely swing the blank without it popping off.
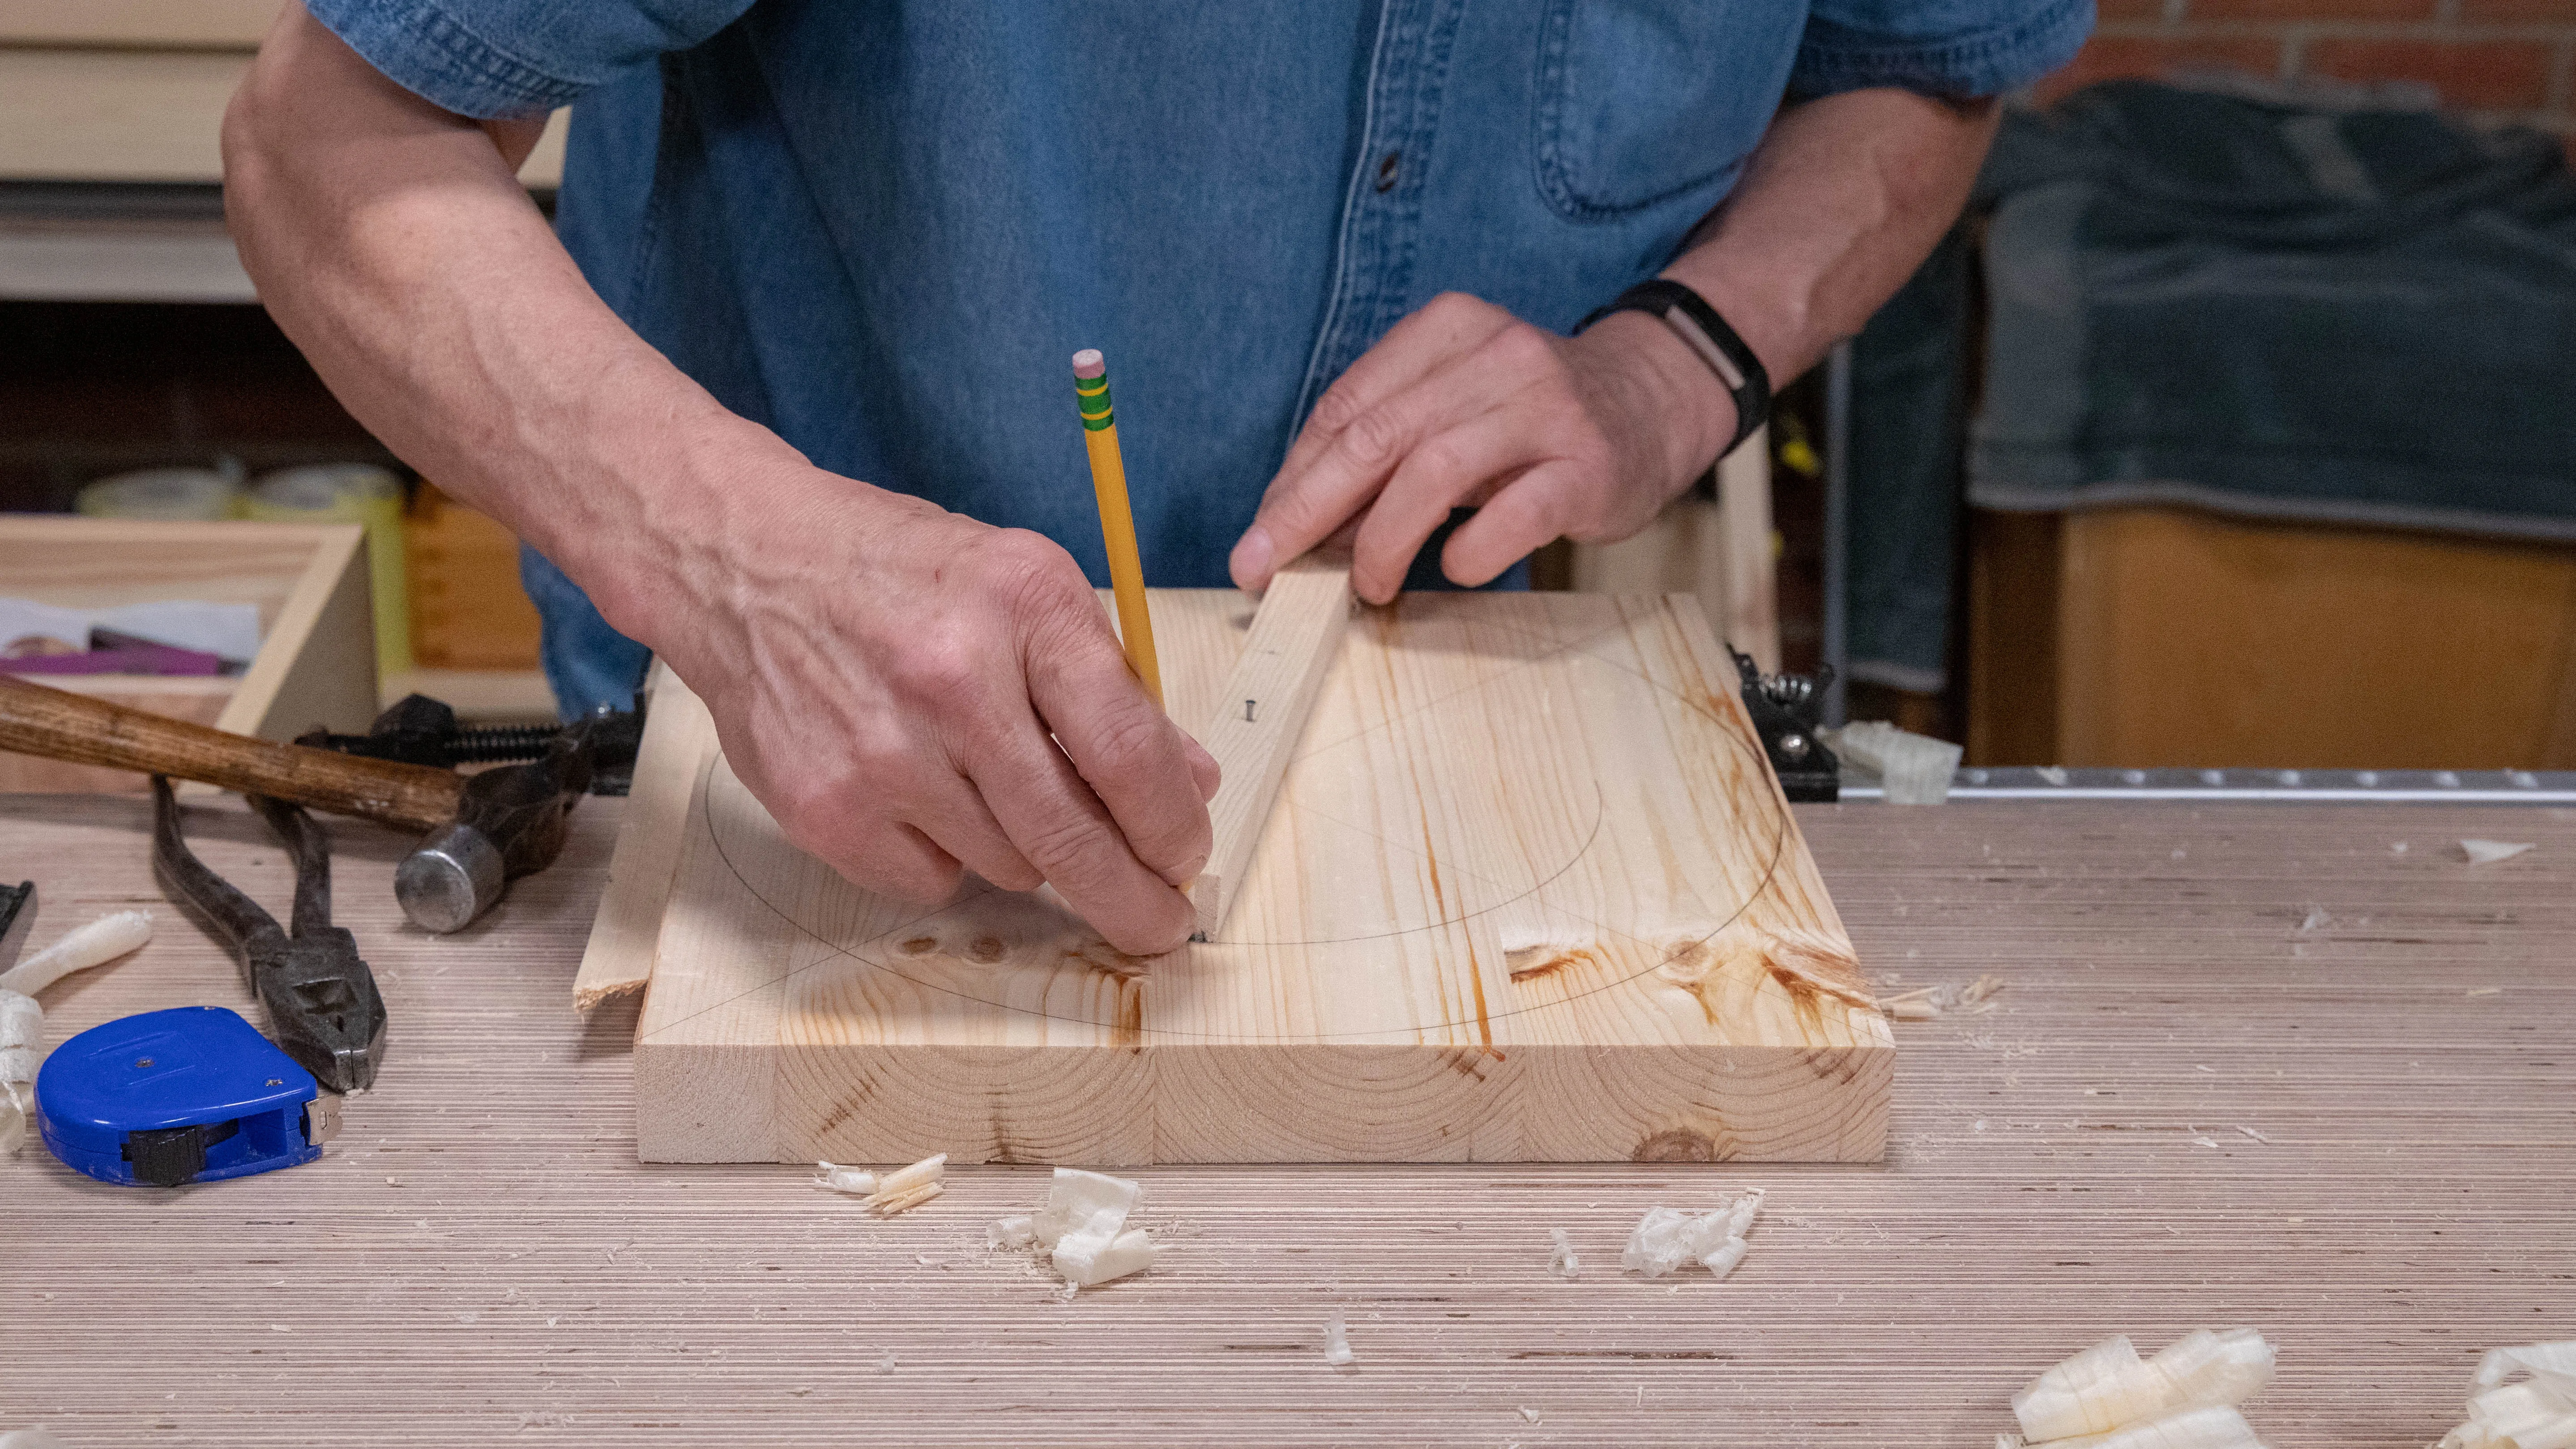
Use this setting to mark the overall diameter of your seat which will be 12” (305mm). To do so, pivot the scrap piece round the centre point of your seat with your pencil on the end.
Leg Holes
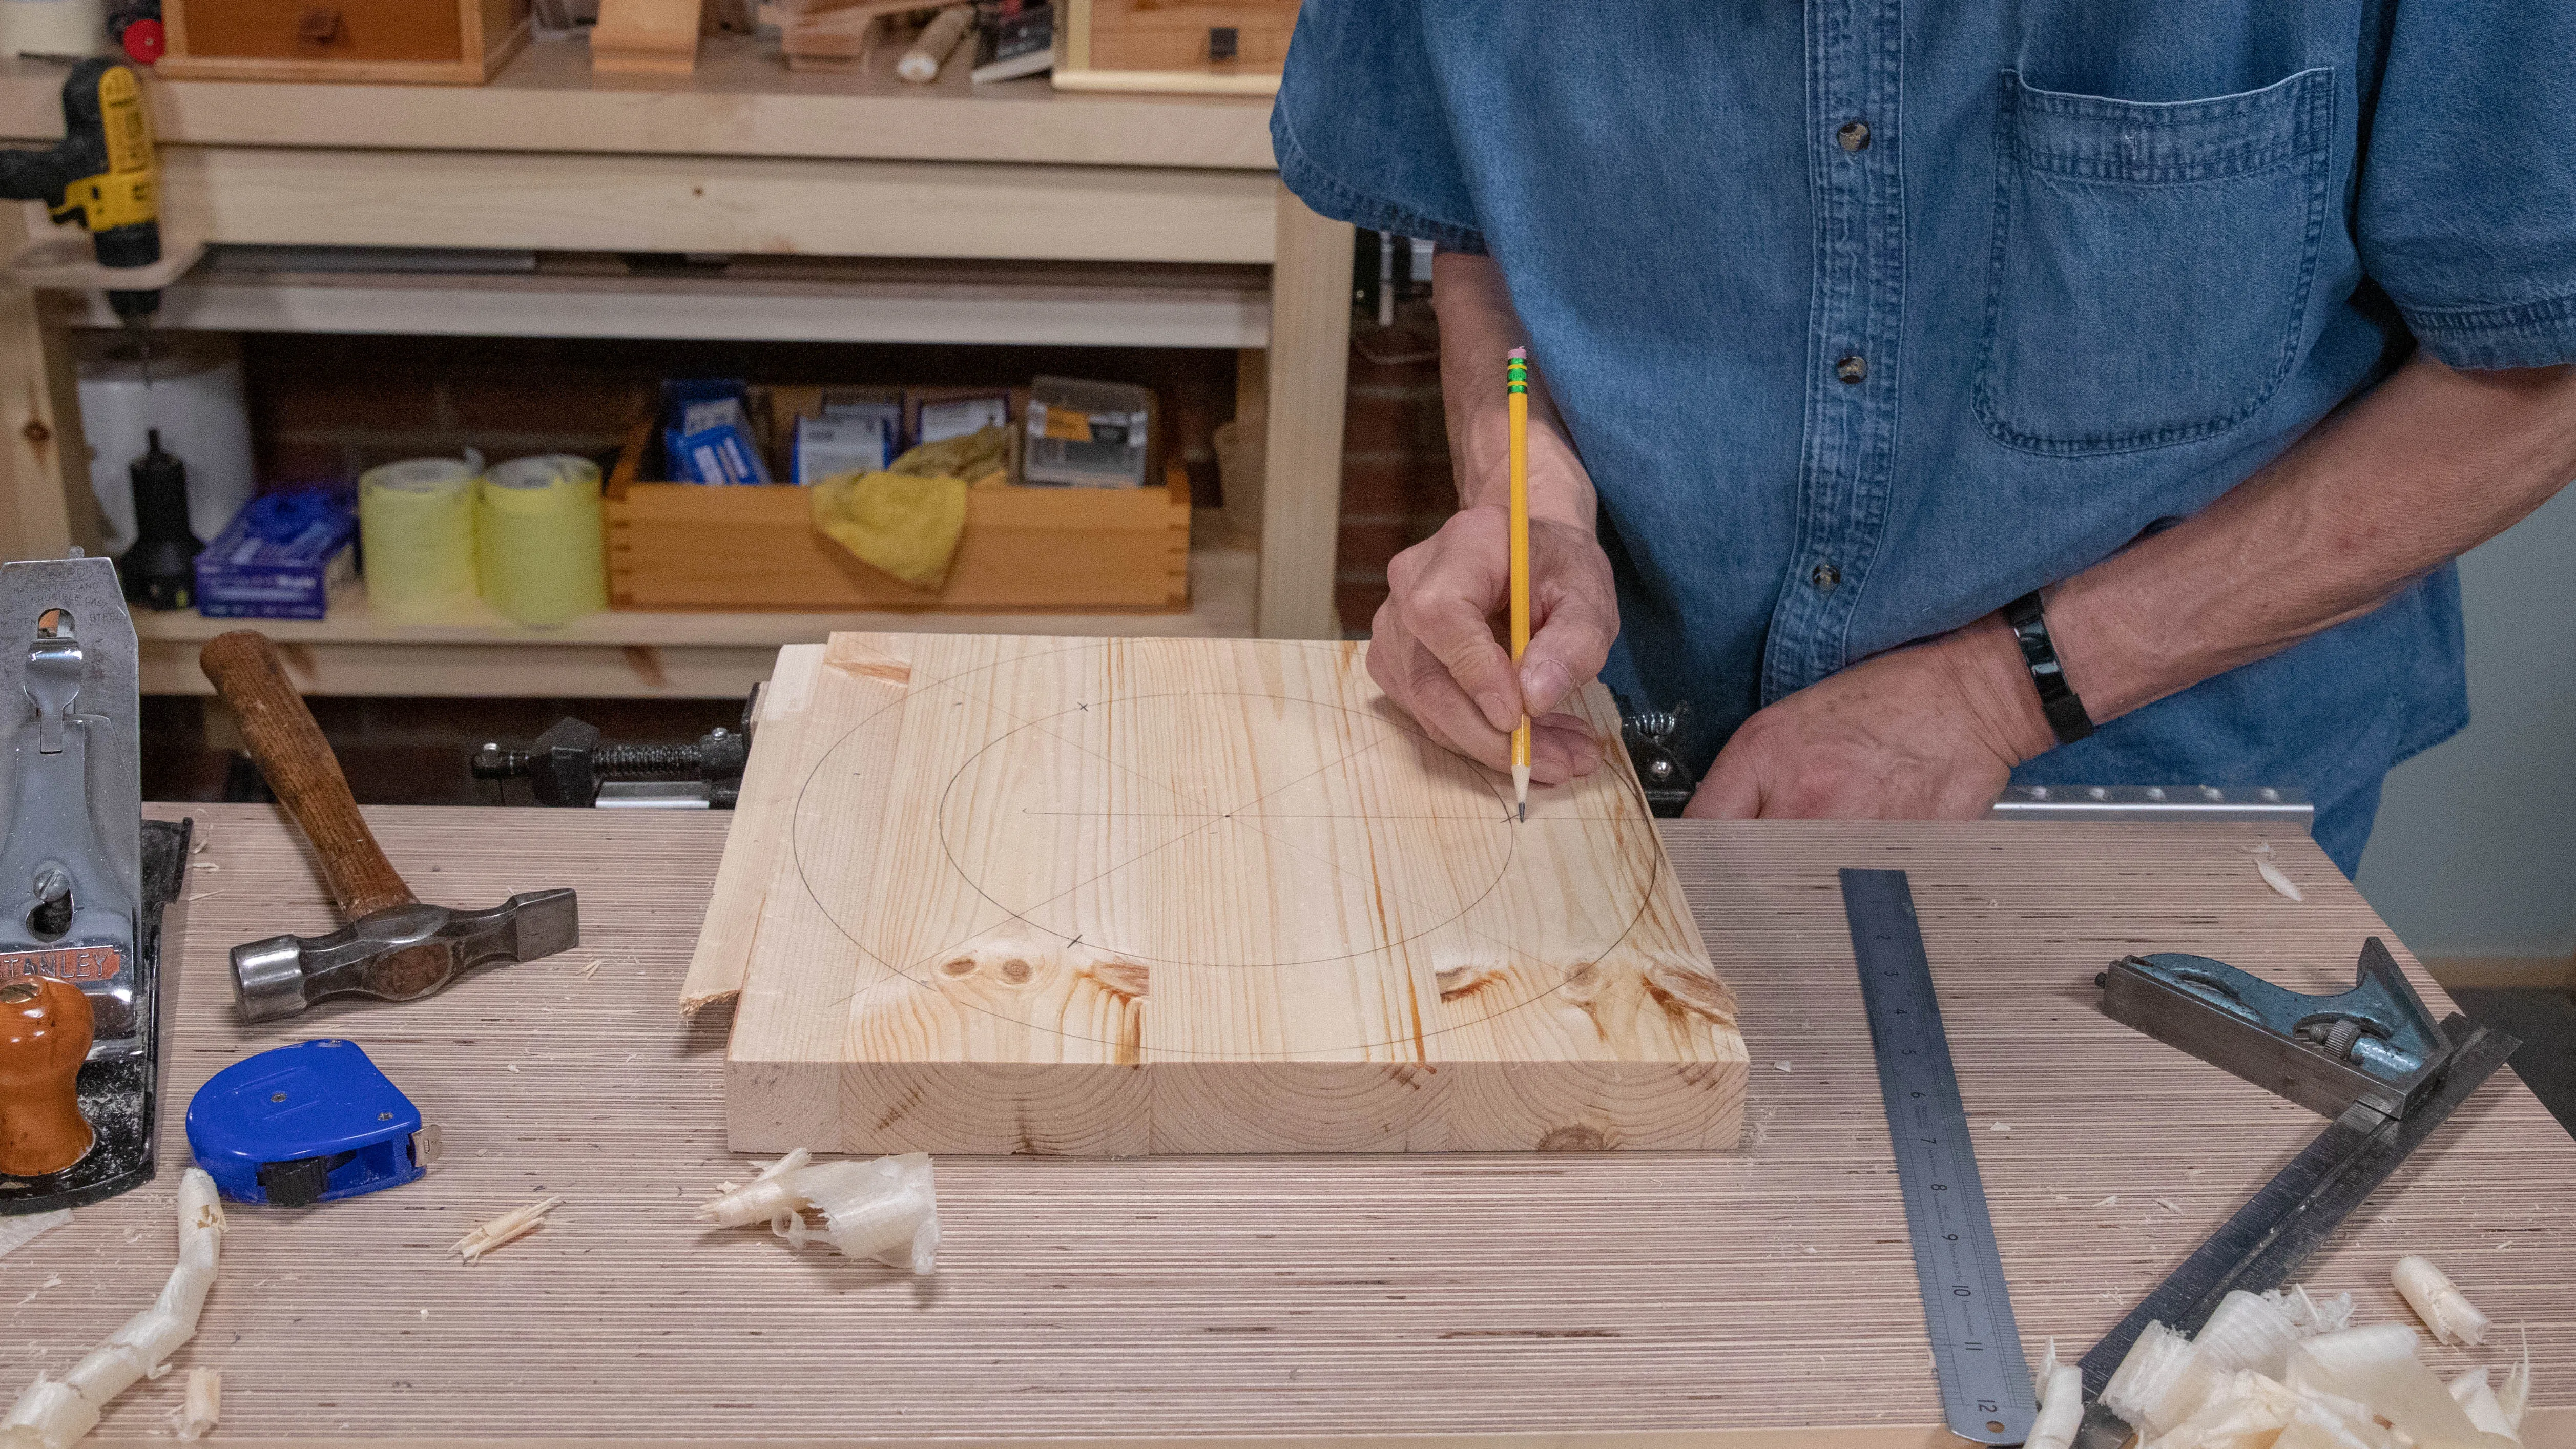
Next, remove the nail and drive it 2” (51mm) closer to the end of your stick of wood, i.e. for a 4” (102mm) radius. Reinsert the nail in the hole on your blank and draw a second circumference which will serve as a reference for all three leg holes.
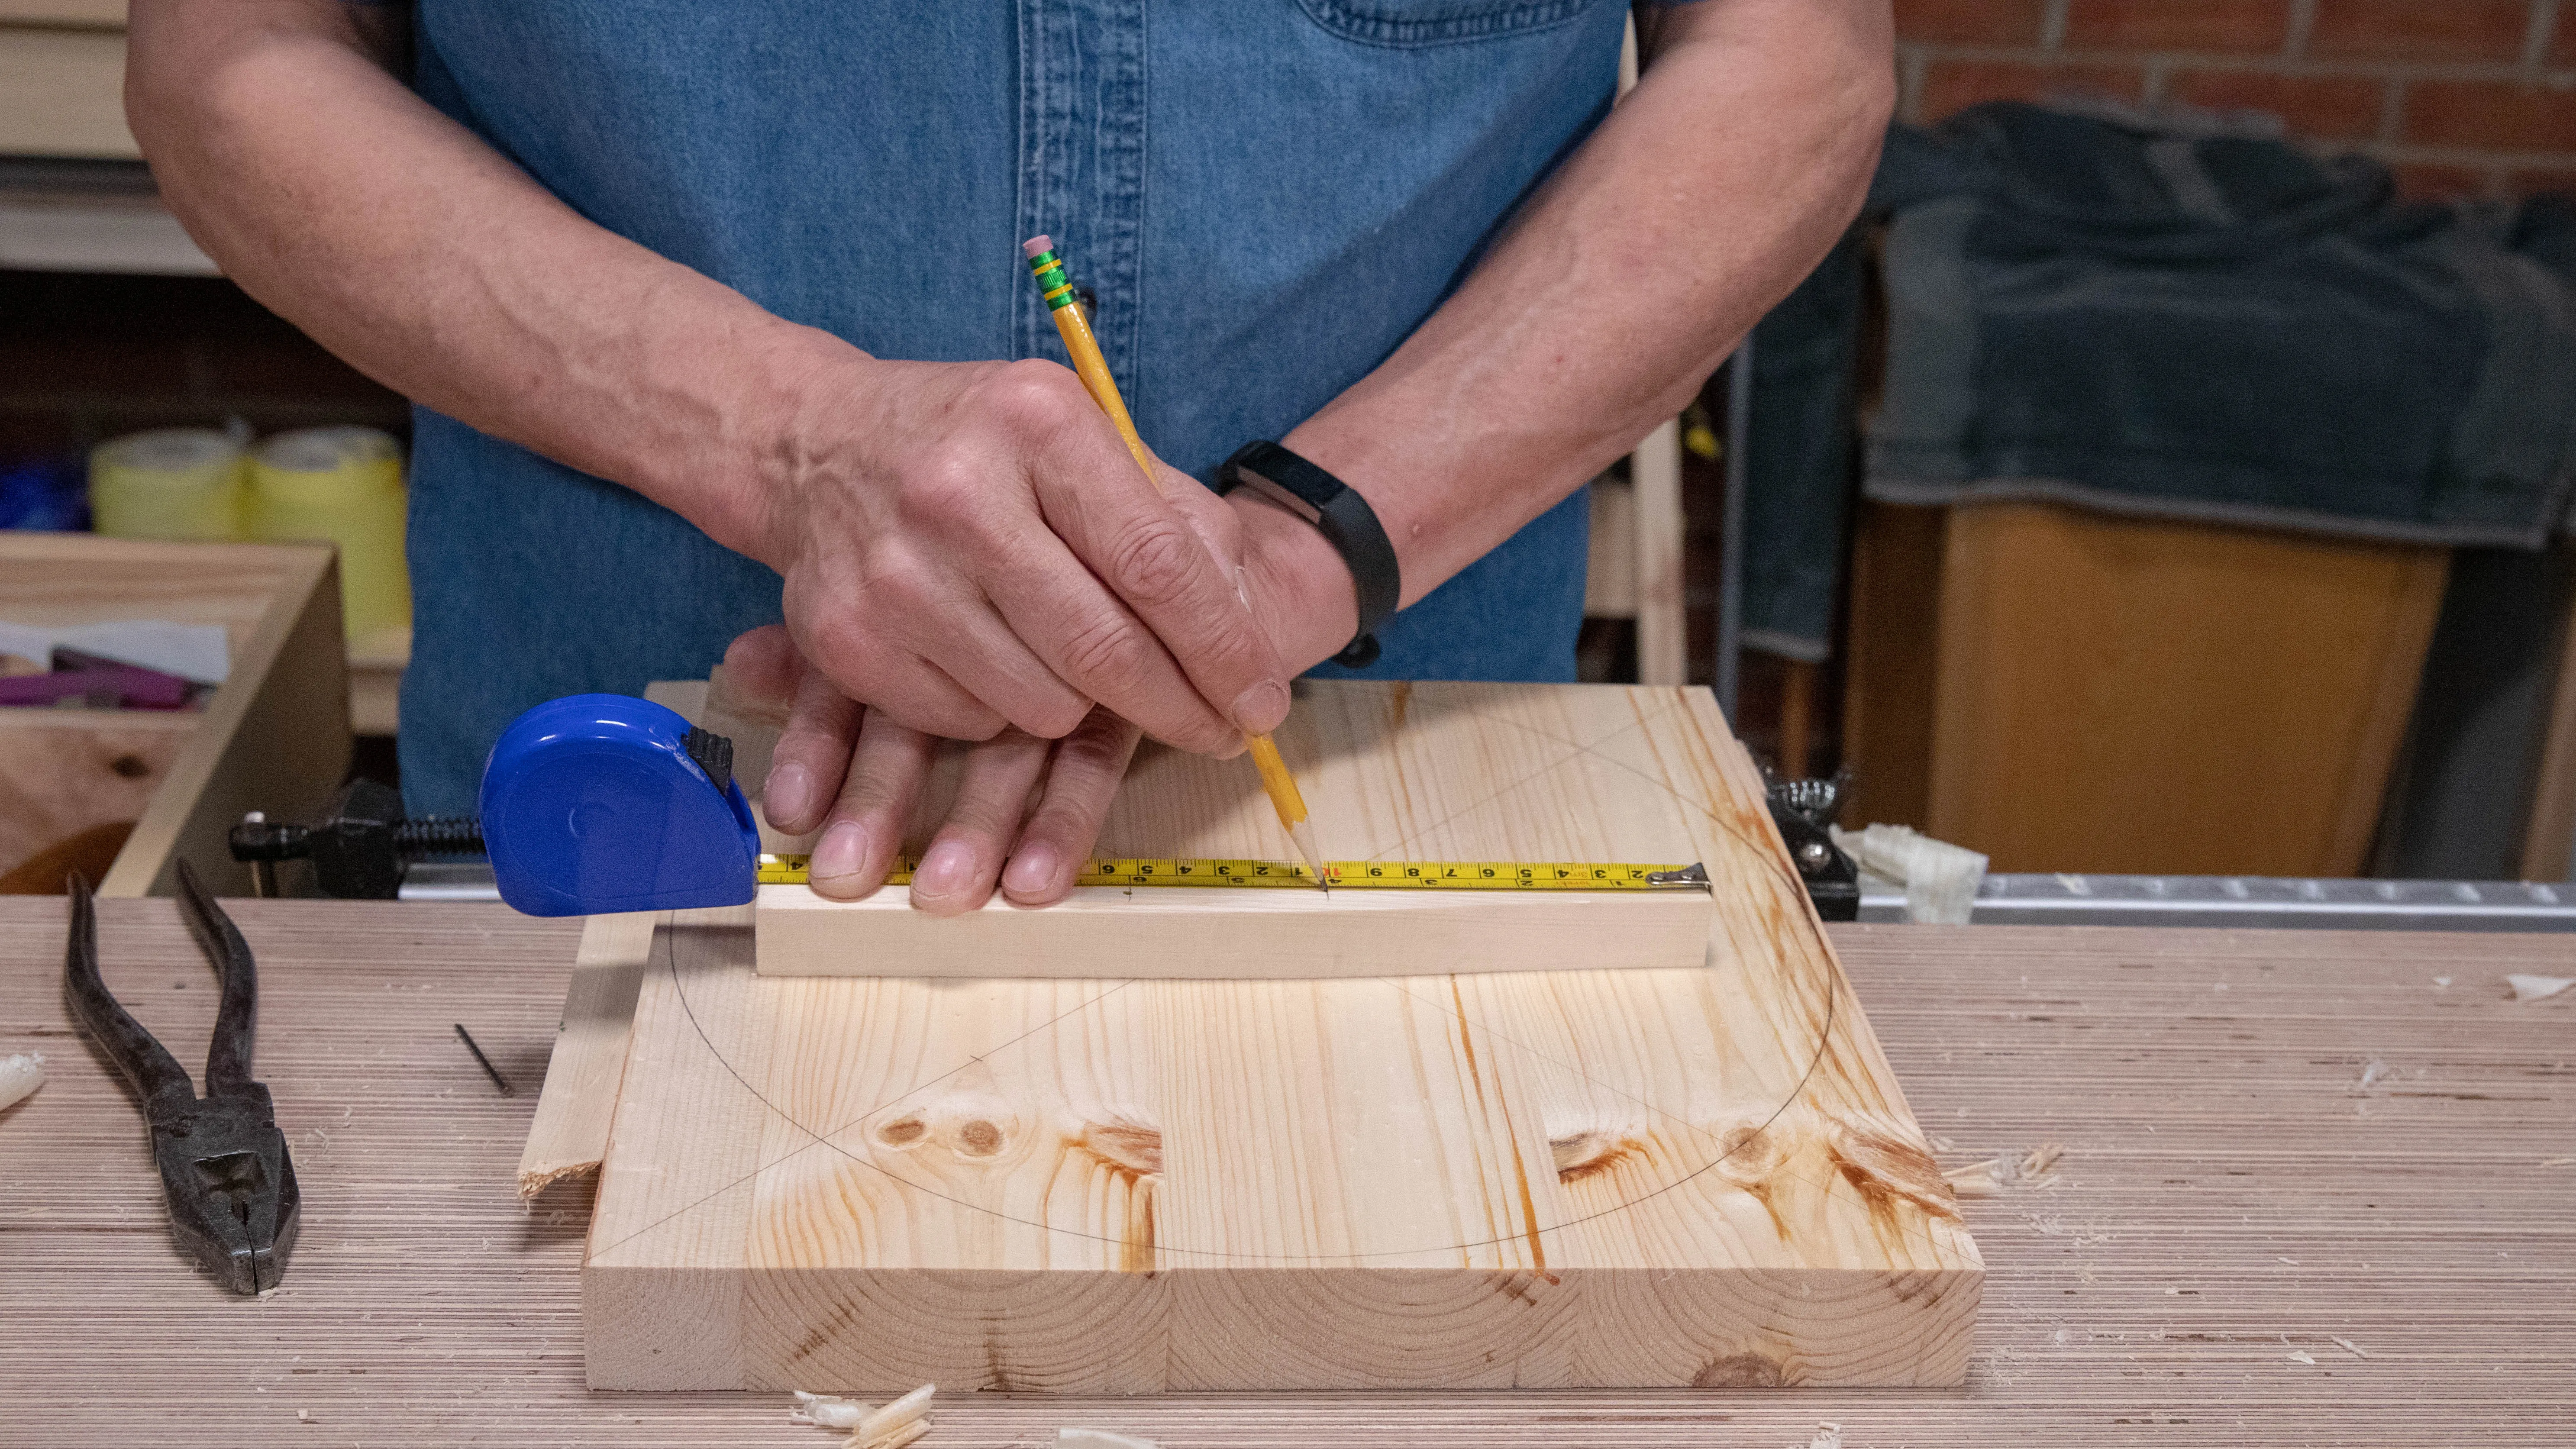
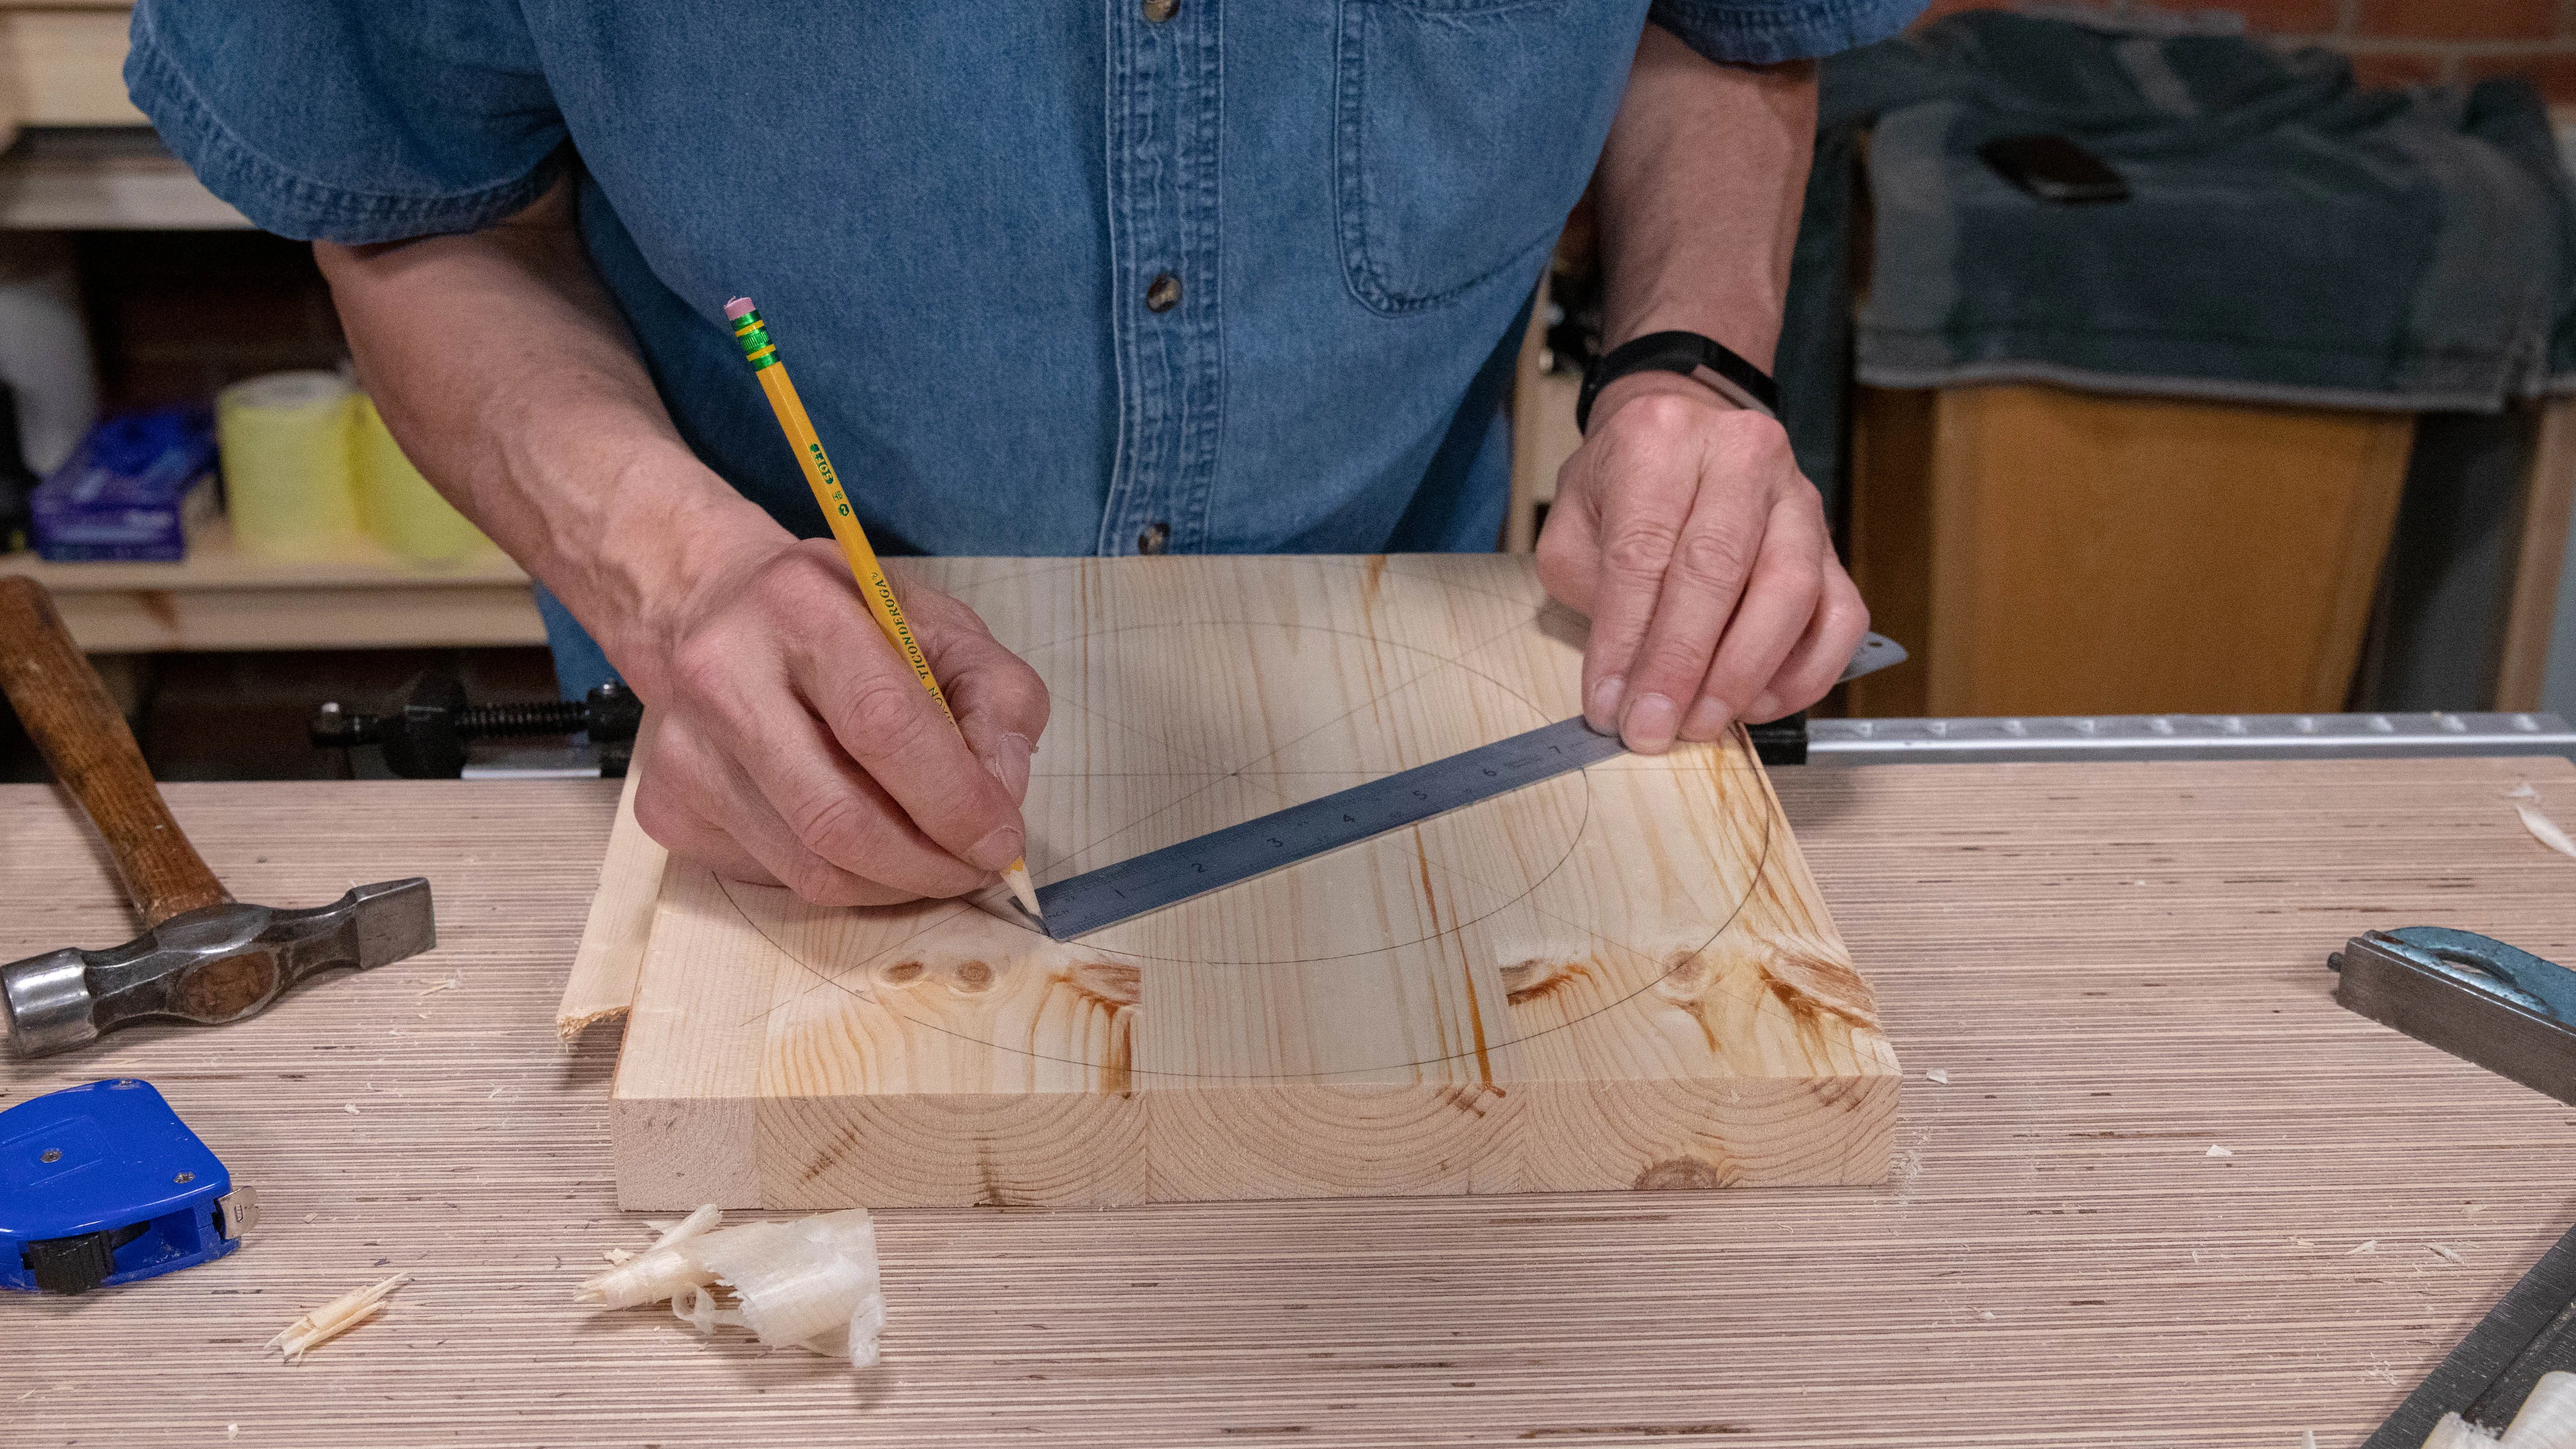
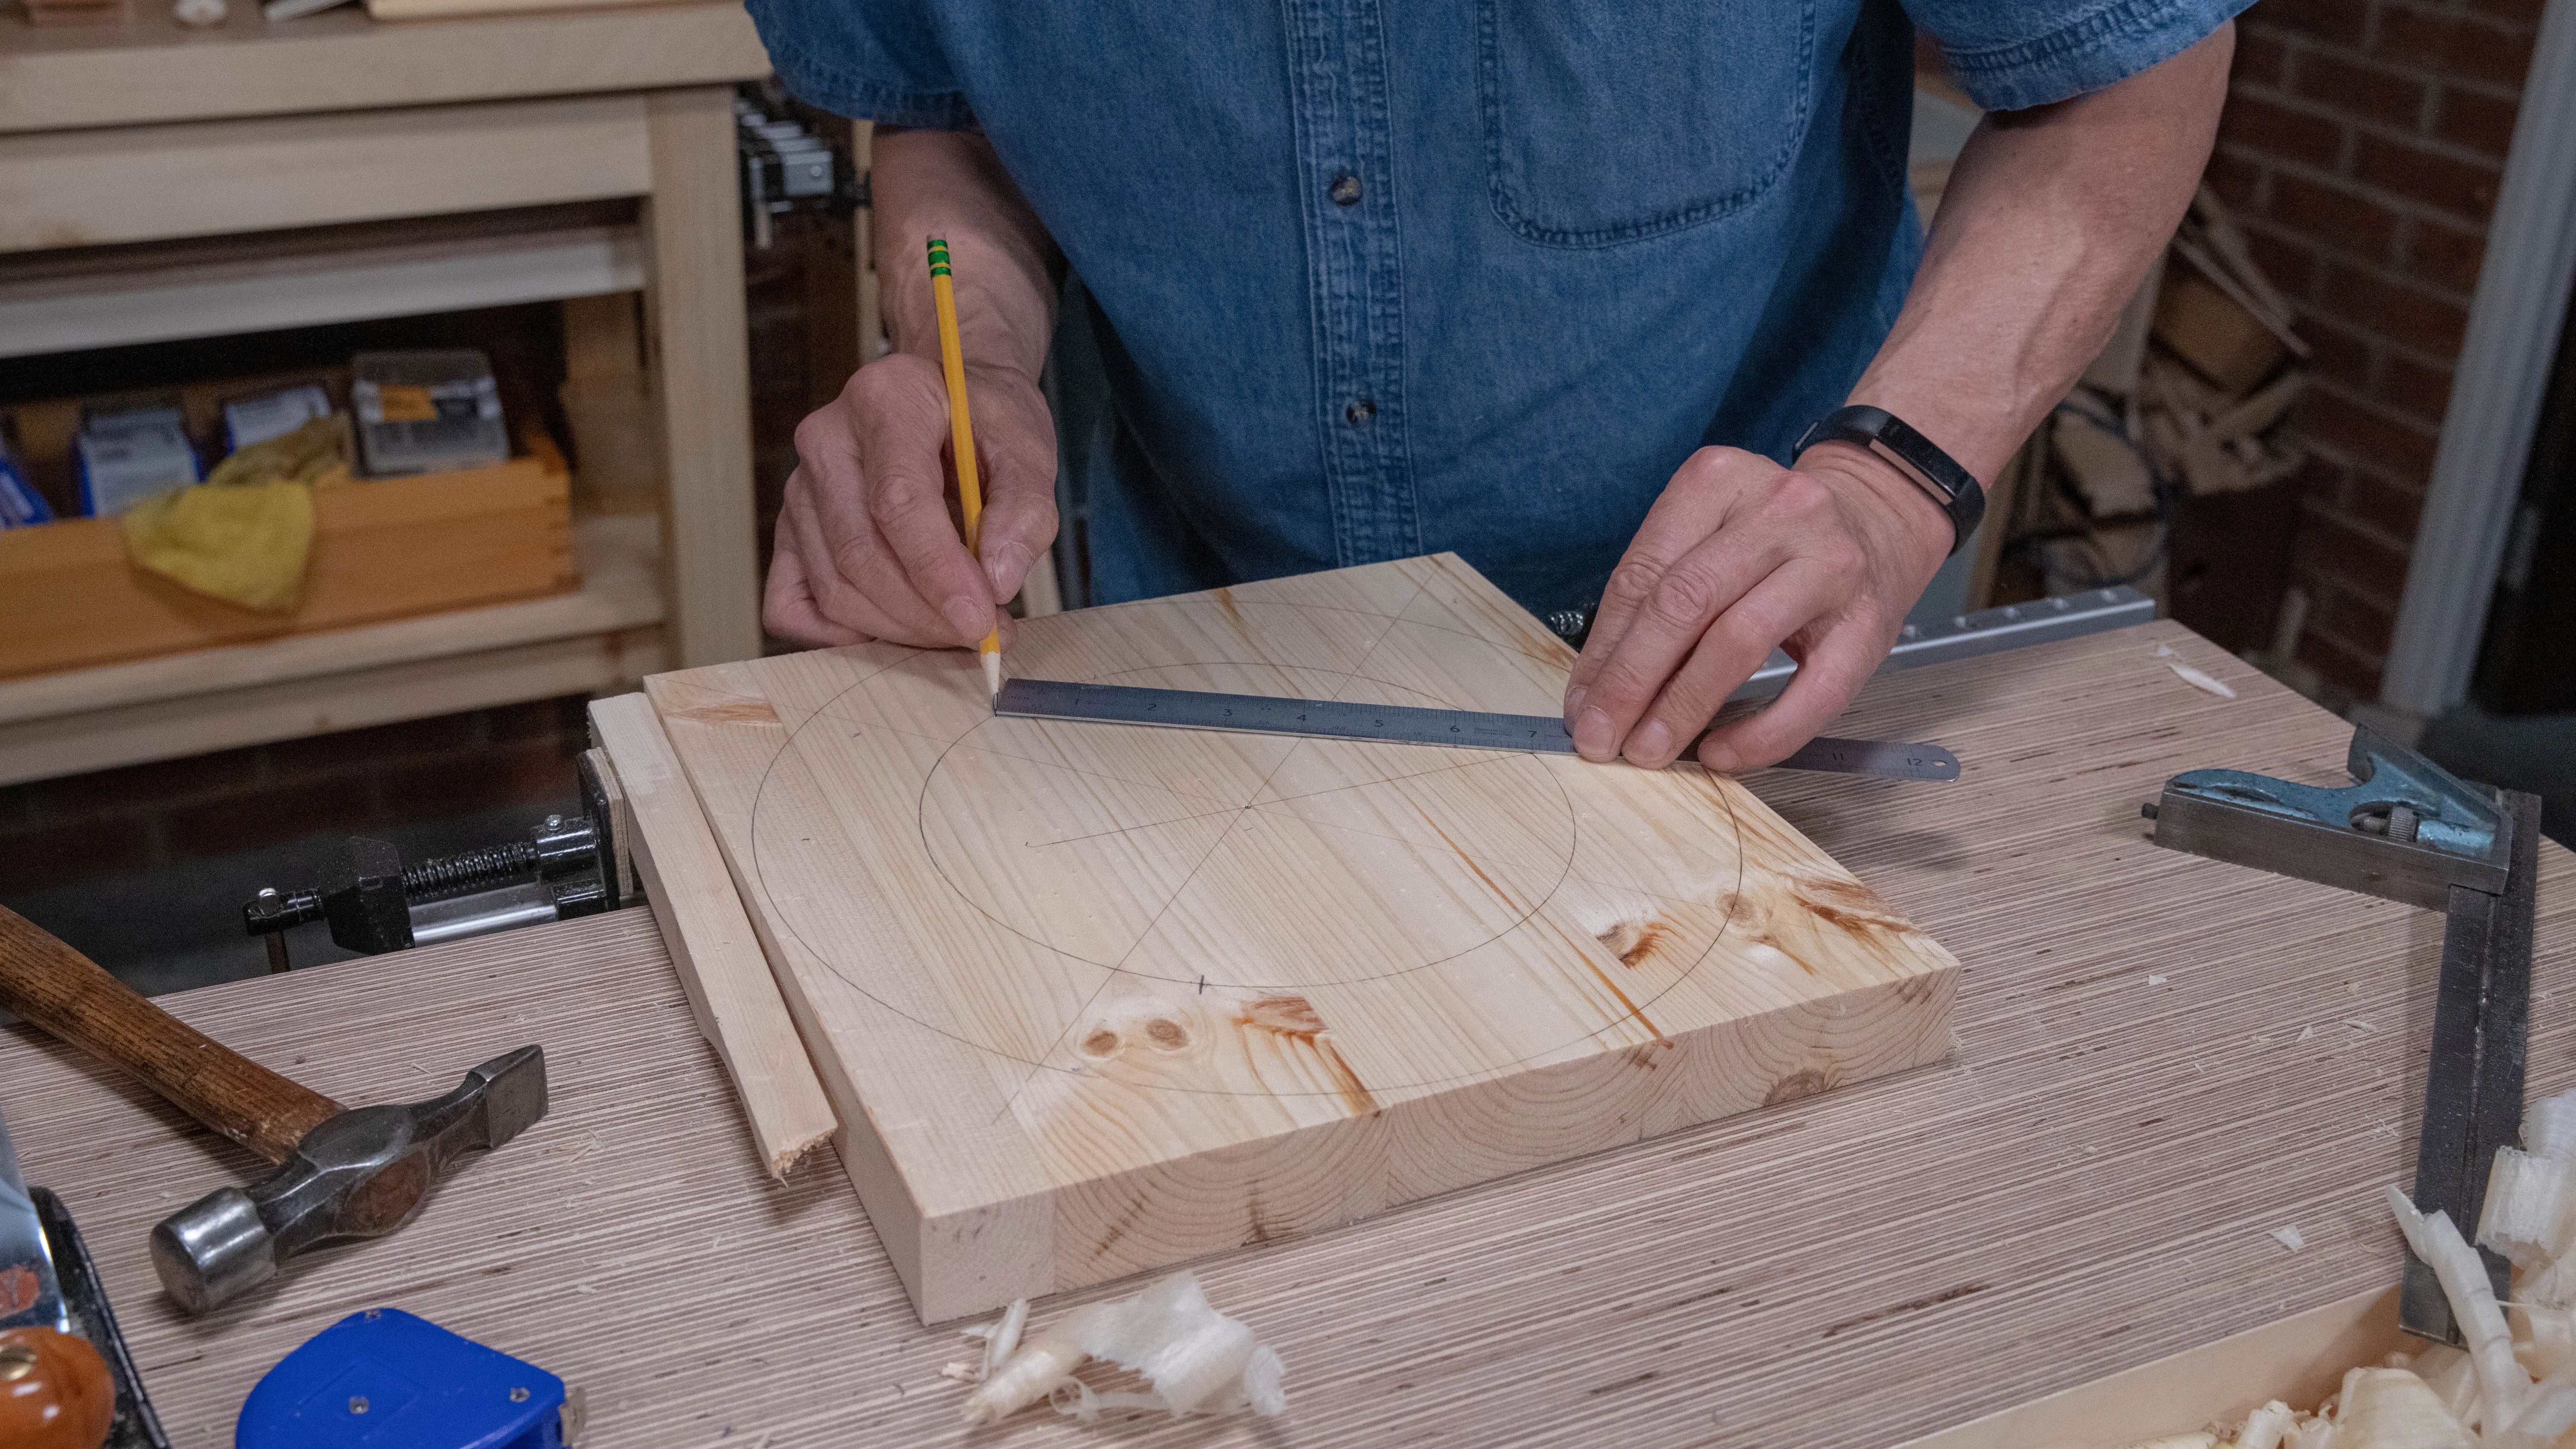
When marking the exact position of the 3 holes for the legs, you must ensure they are equally spaced apart. Using the centre point of your seat, square a line across the diameter. The intersection of this square line and your small circumference marks the position of the first hole.
From this point, measure 7” (178mm) to either side and mark exactly the two points where the 7” line intercepts the inner circumference. This gives you the position for the two other legs.
Sign in to track your progress