Shaping And Fitting The Legs
While you are waiting for the stool top to dry, work on shaping the legs. There are many different ways you could shape the legs, and each style demands paying attention to different elements. Here, Paul is going for a round cross section that gets wider in the middle and smaller at the ends.
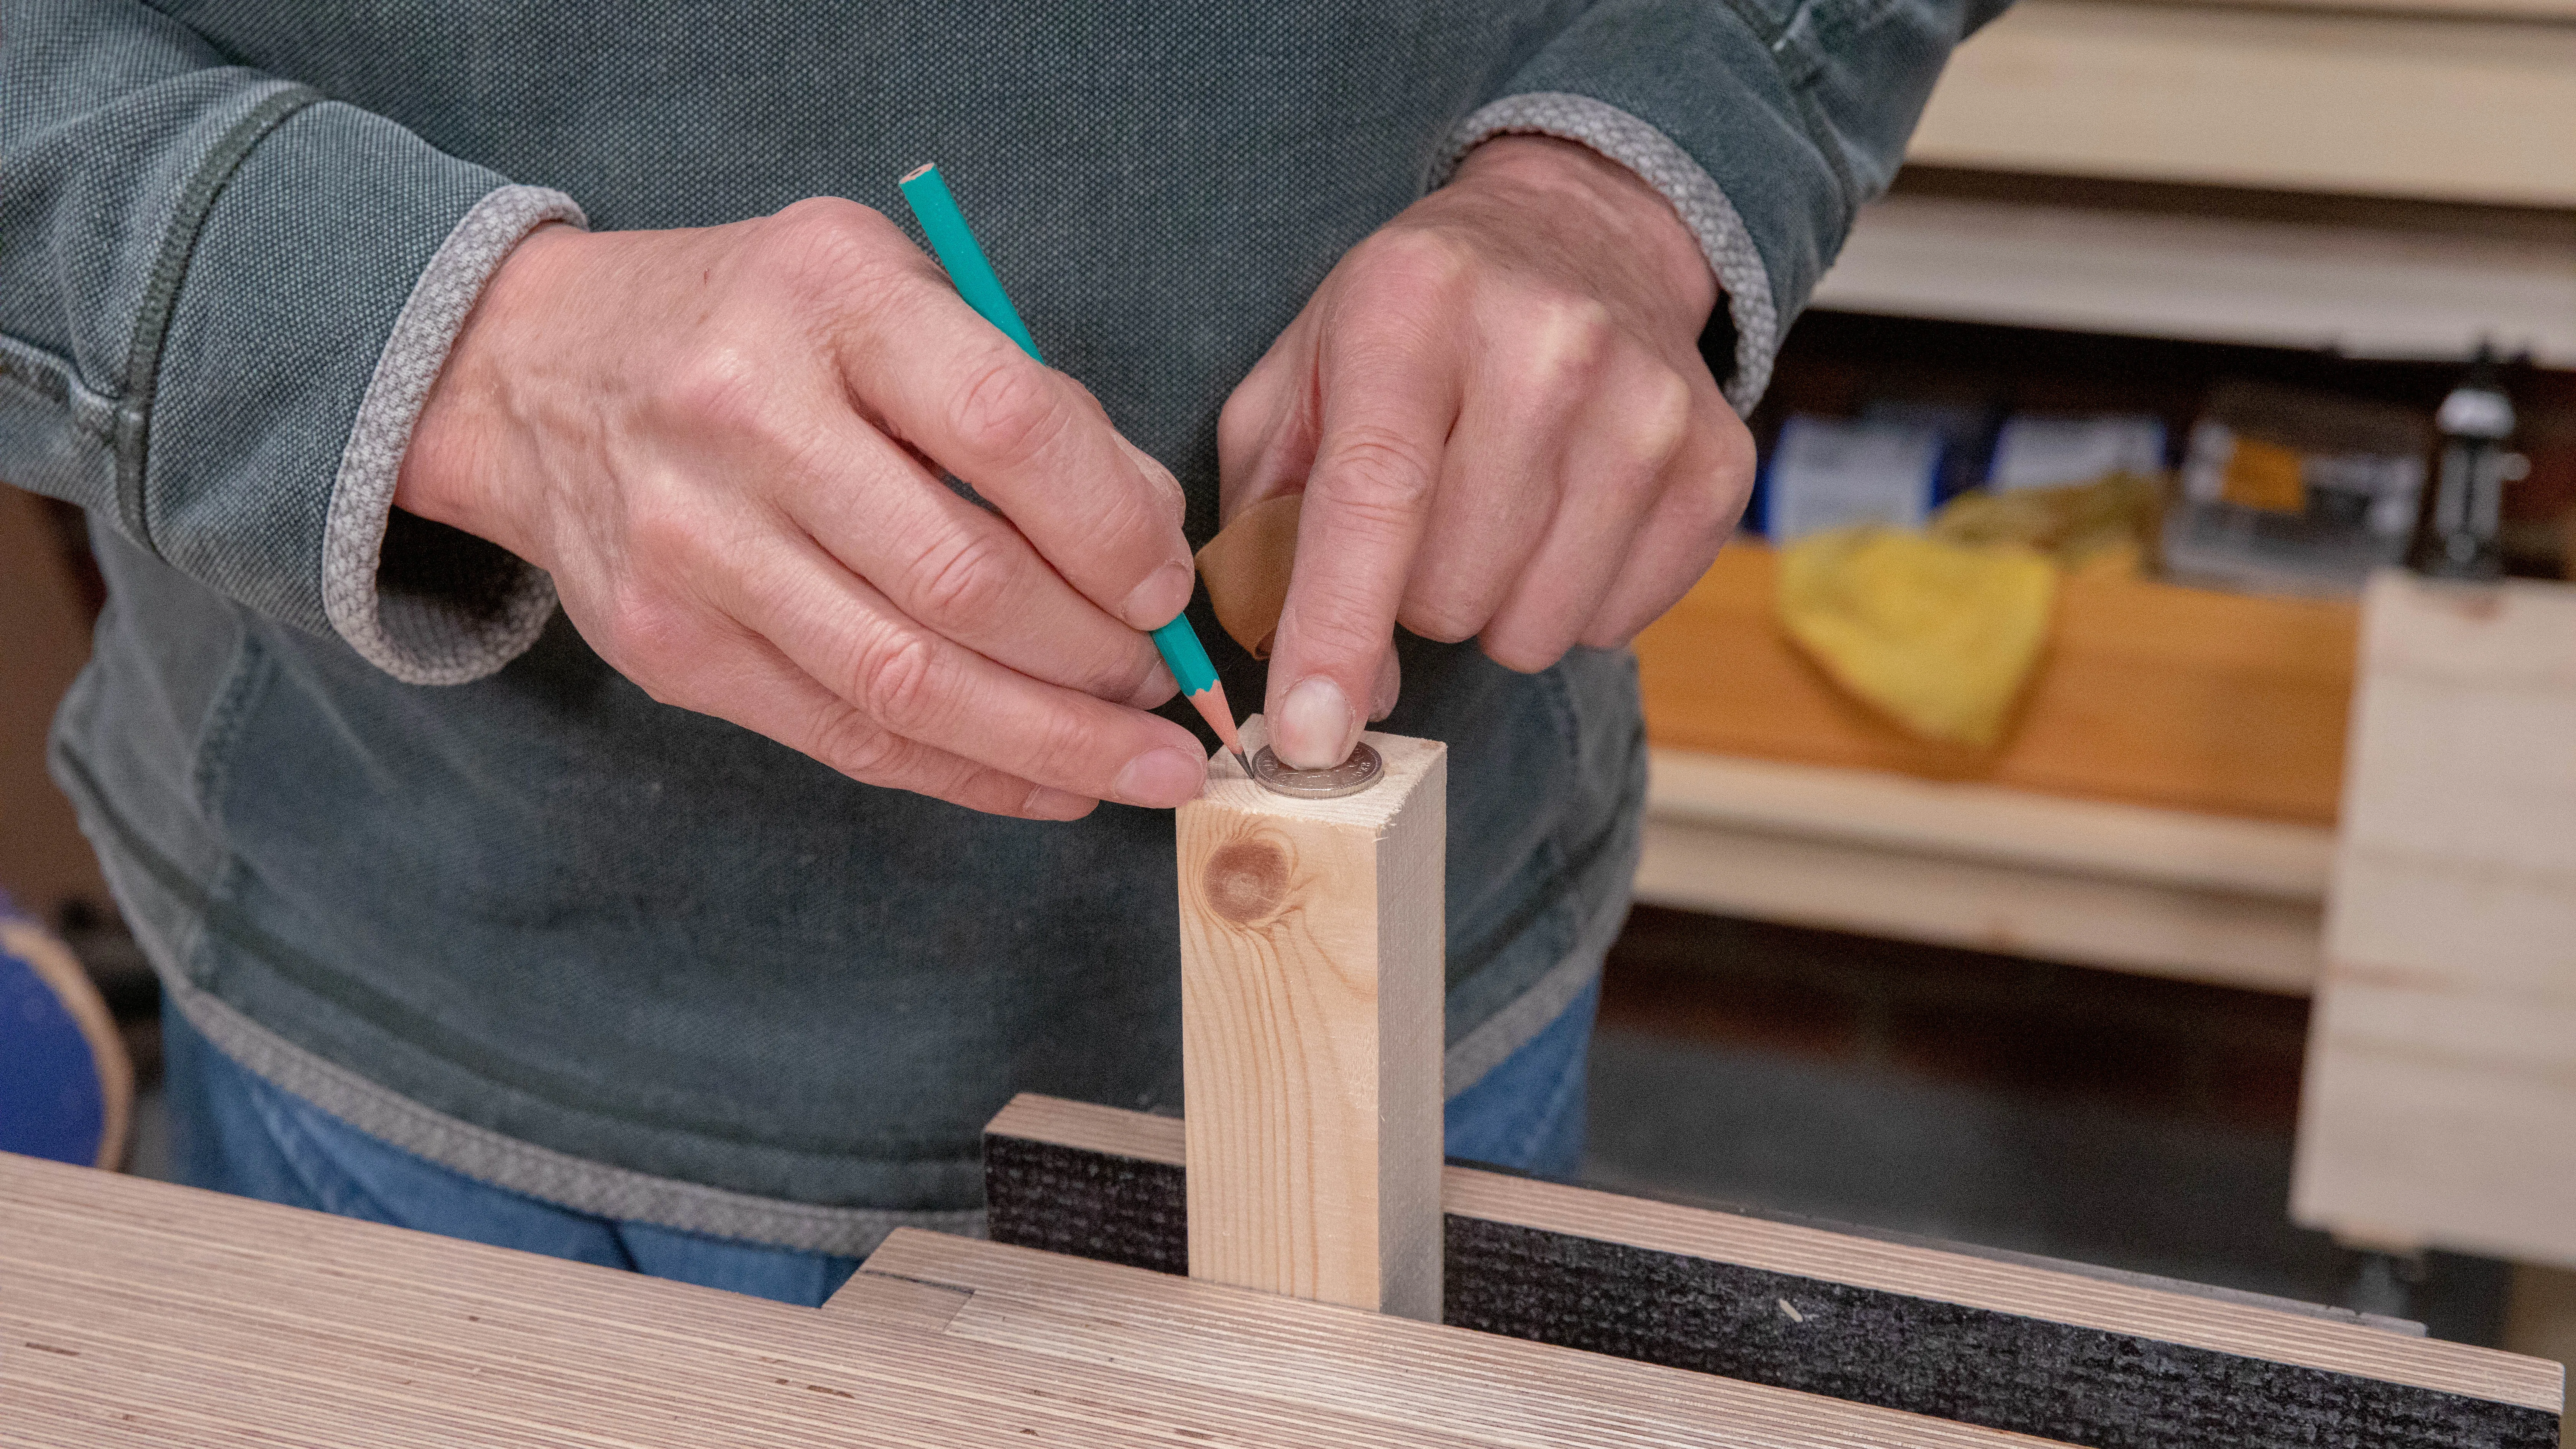
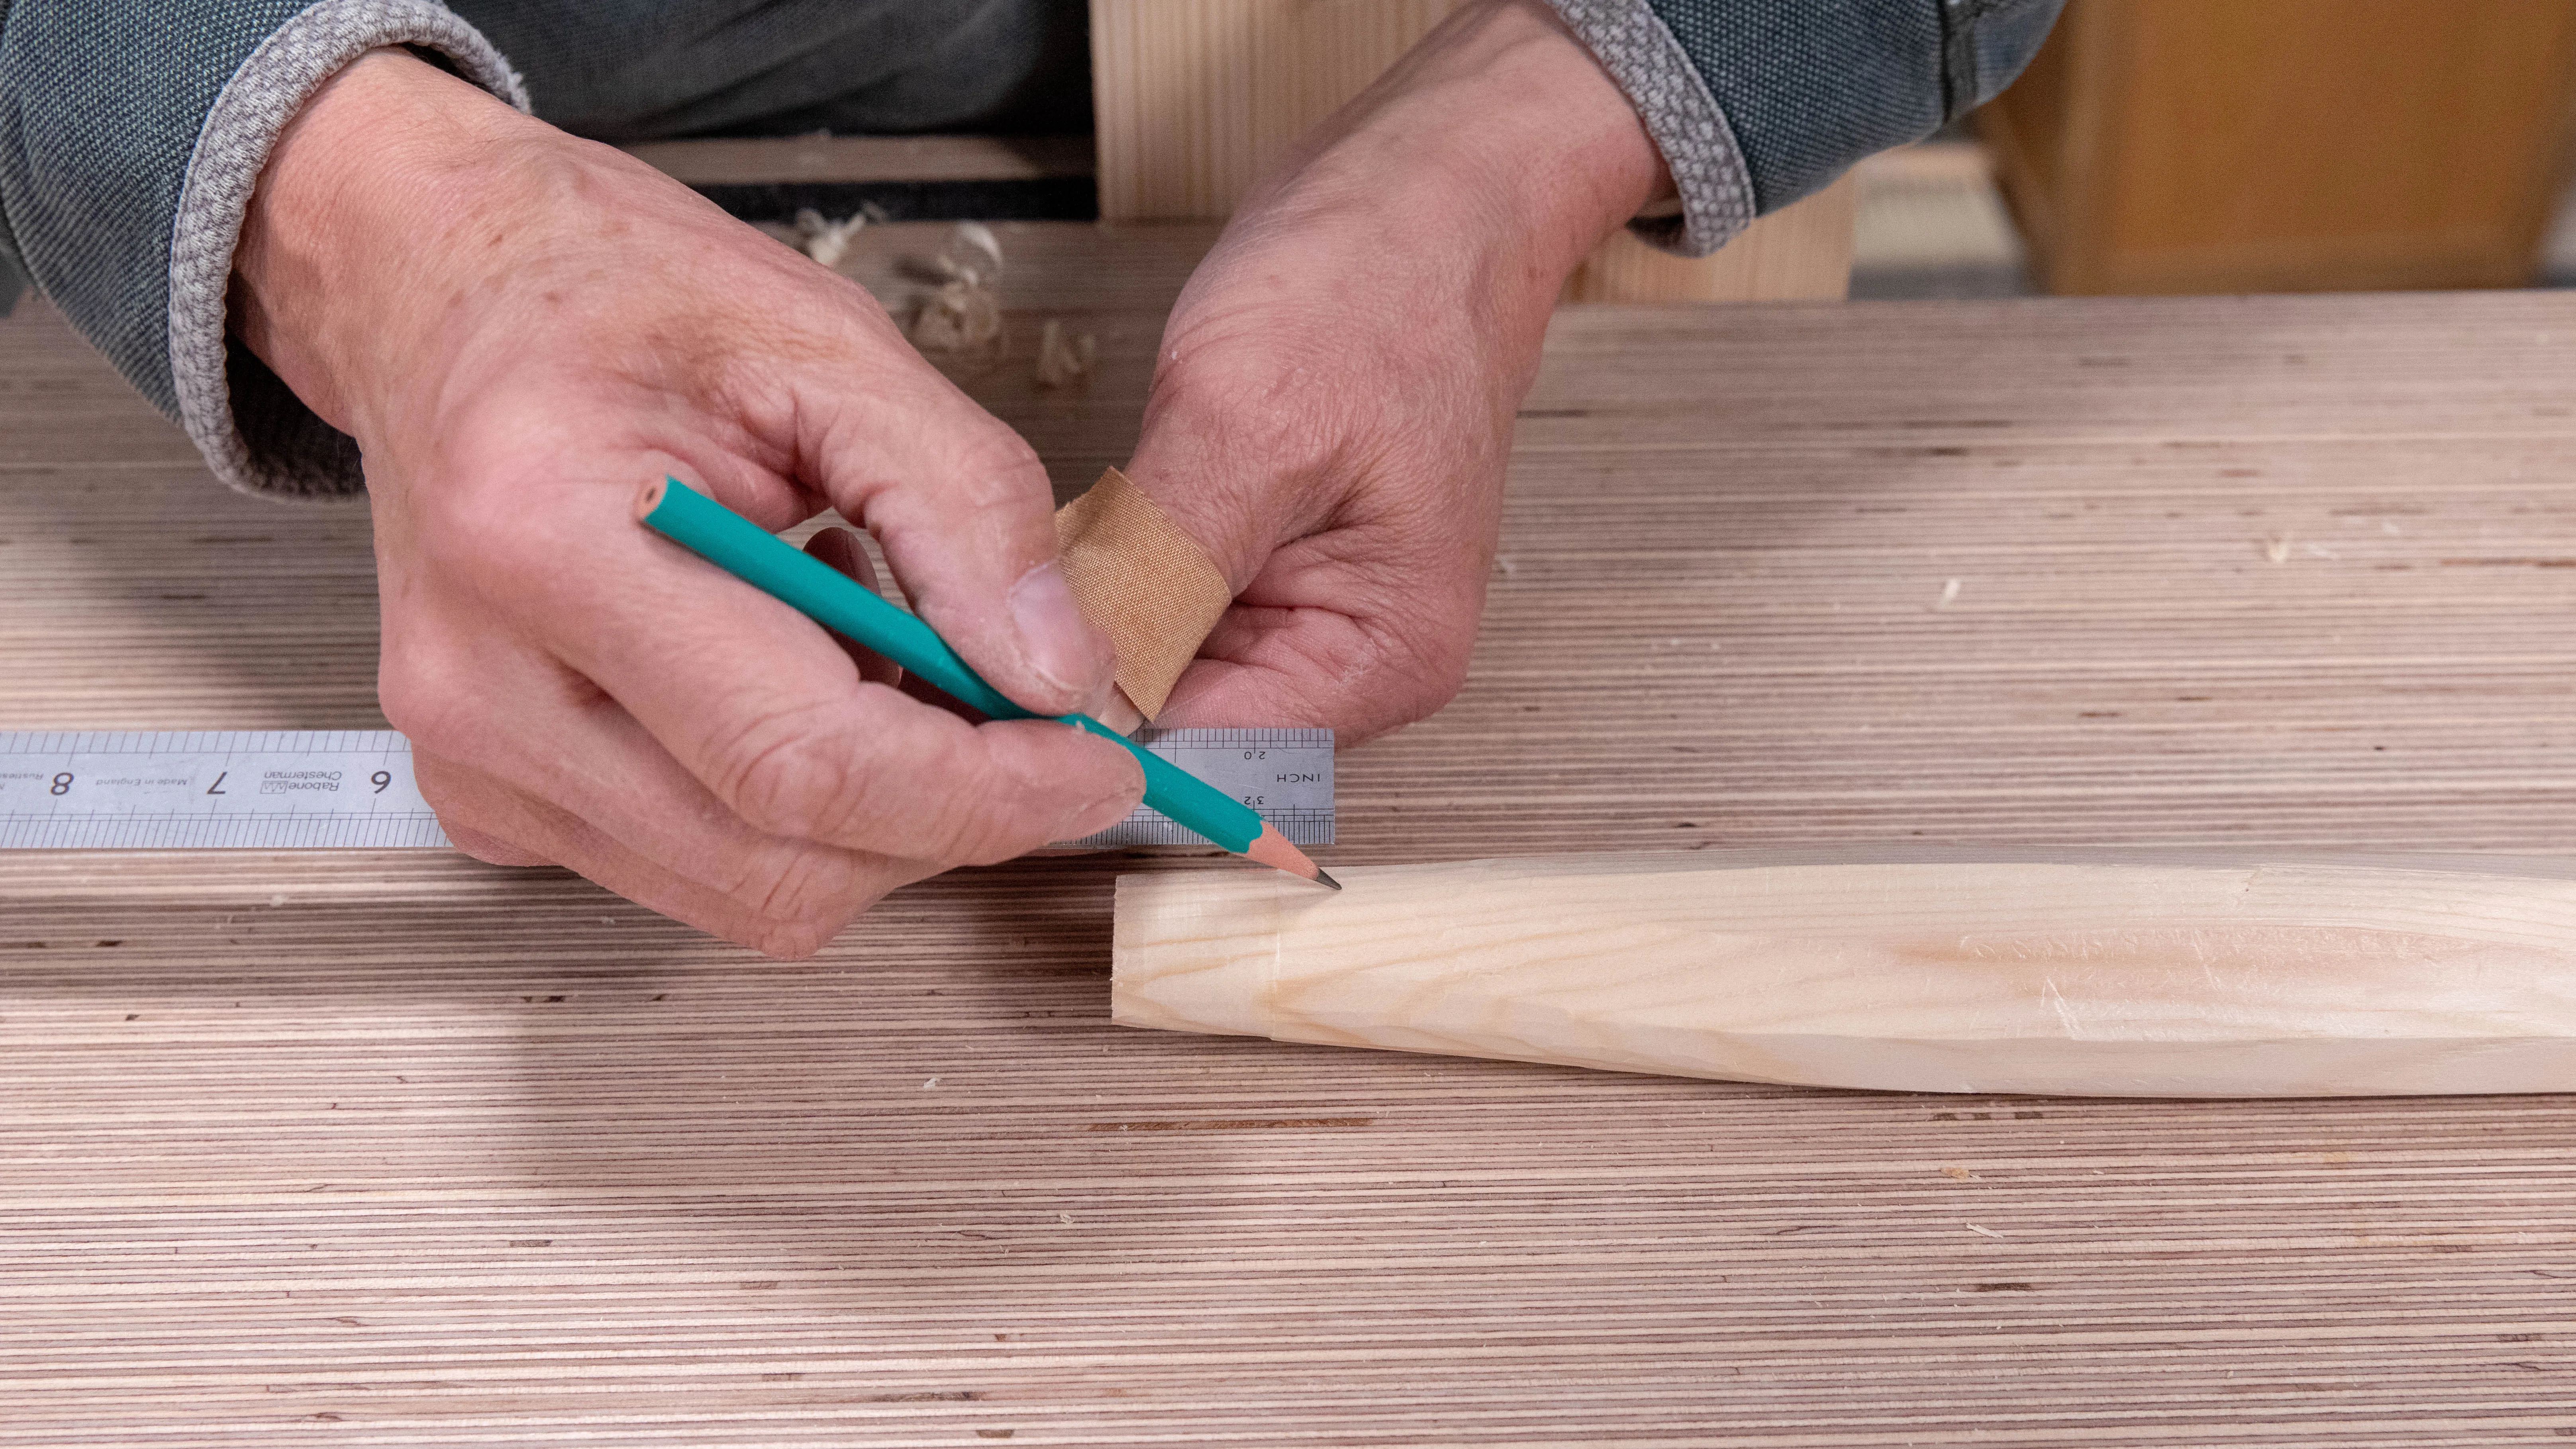
Use a coin or washer with a diameter a little under 1” (25mm, 10p in the UK works well) to draw around on both ends of the legs. Simply centre the circle by eye, since this is not crucial. The end that will really matter is the top, since you will ultimately have to achieve a decent fit through the whole thickness of the seat. However, this whole project is a training exercise, so try to work as accurately as possible even on the bottom, though this isn’t essential.
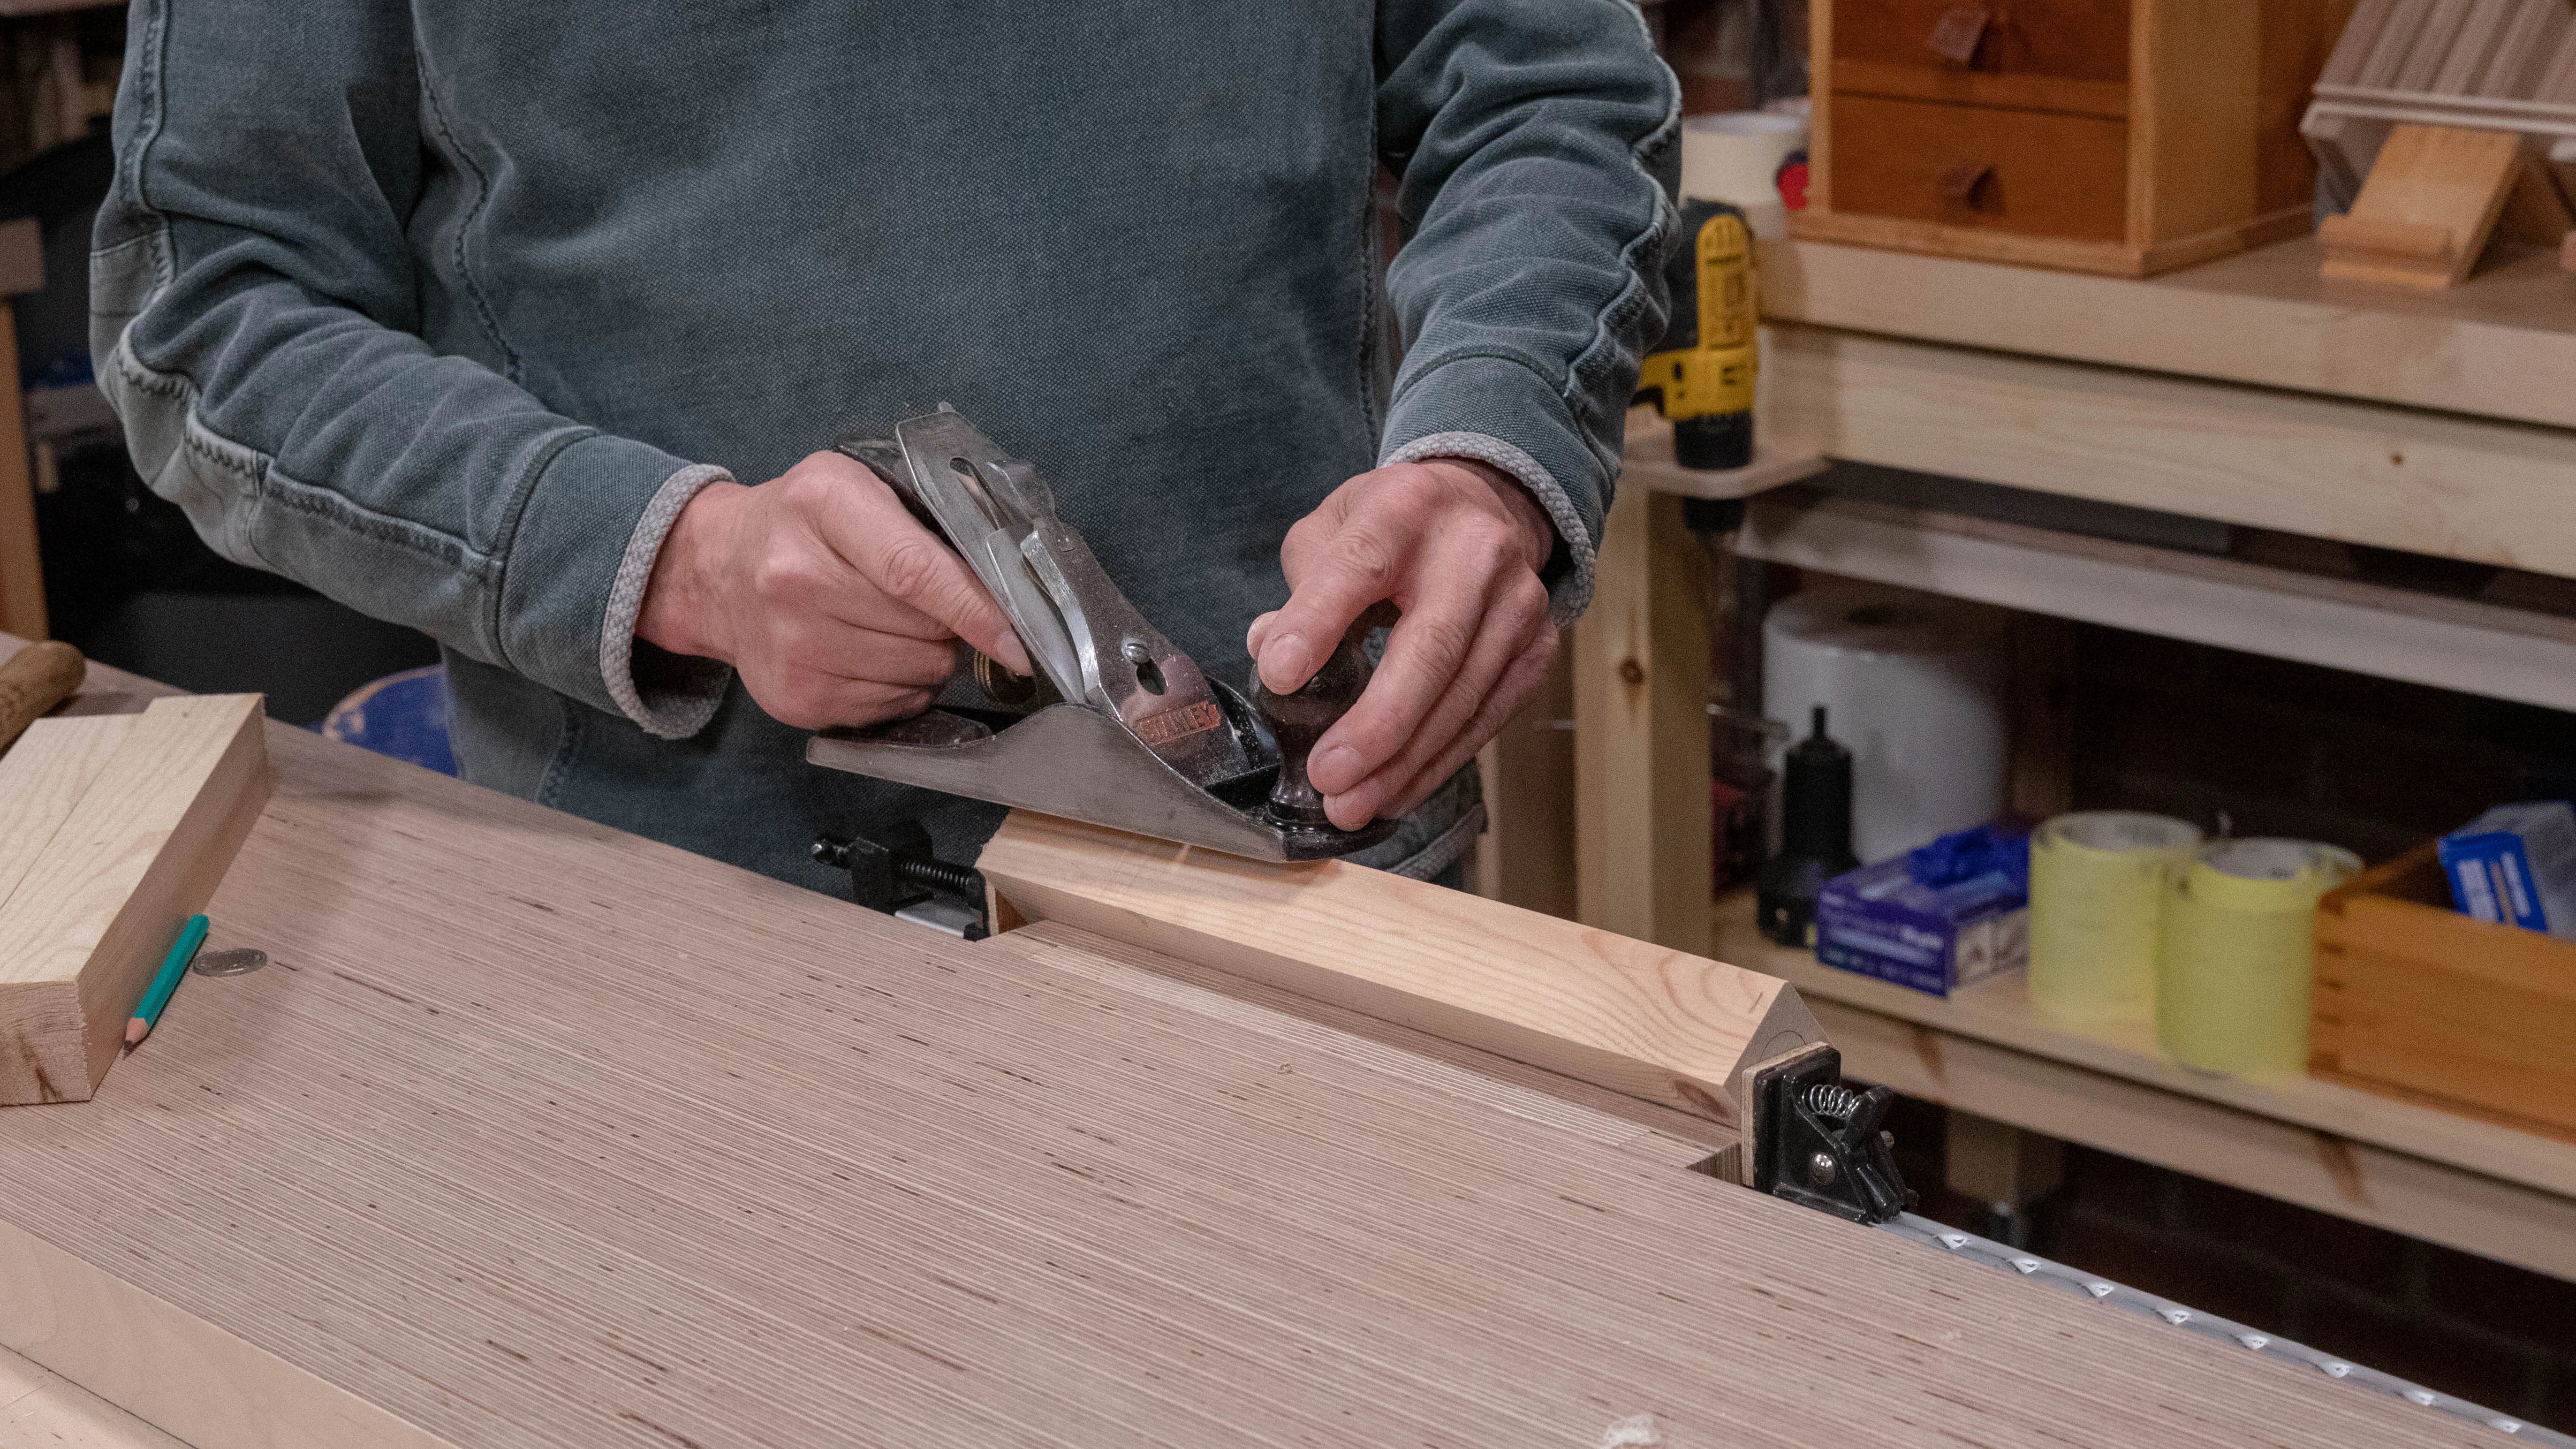
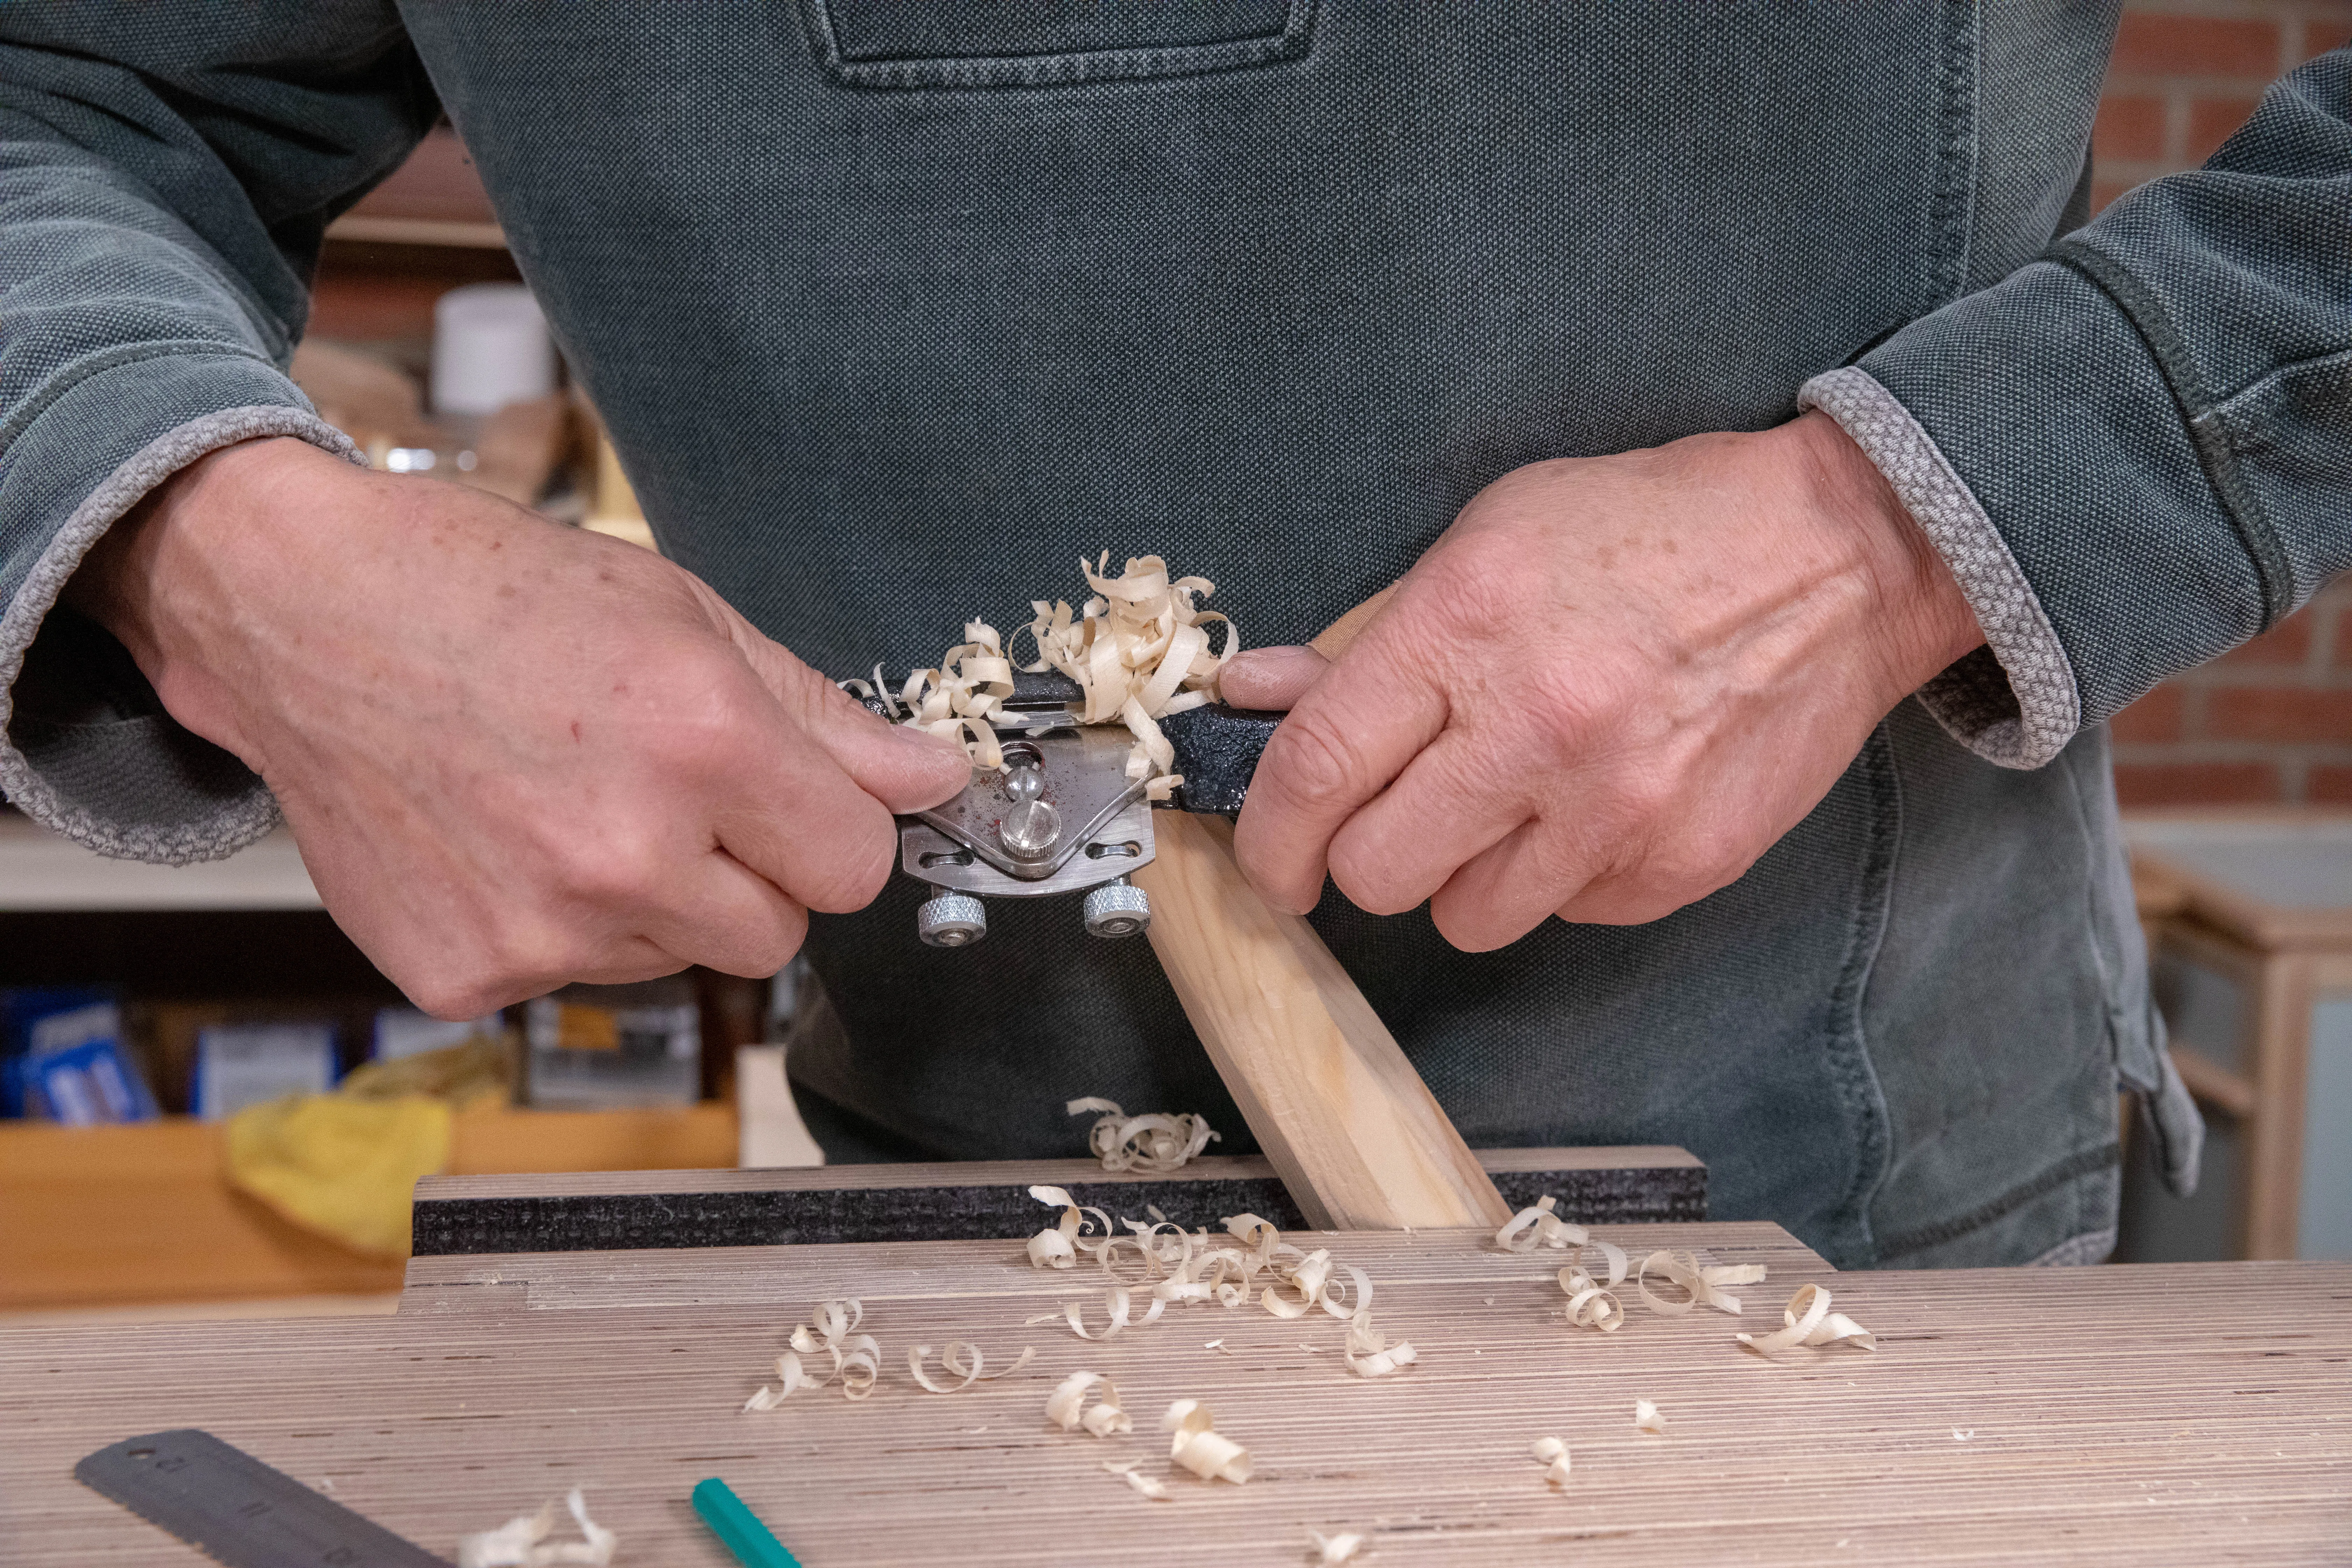
You must be able to clamp your legs securely during shaping, for which the clamp in the vise method works very well. Clamp the first leg in the vise with one of the corners uppermost, and begin to take off the bulk of the waste, concentrating primarily on the ends until you are closer to your layout markings on the ends. Start with a heavy set on your plane and try to achieve a curved shape along the length (always making sure you avoid cutting into your pencil markings.) Keep turning the leg so that the sharp, 90° corners are always on top.
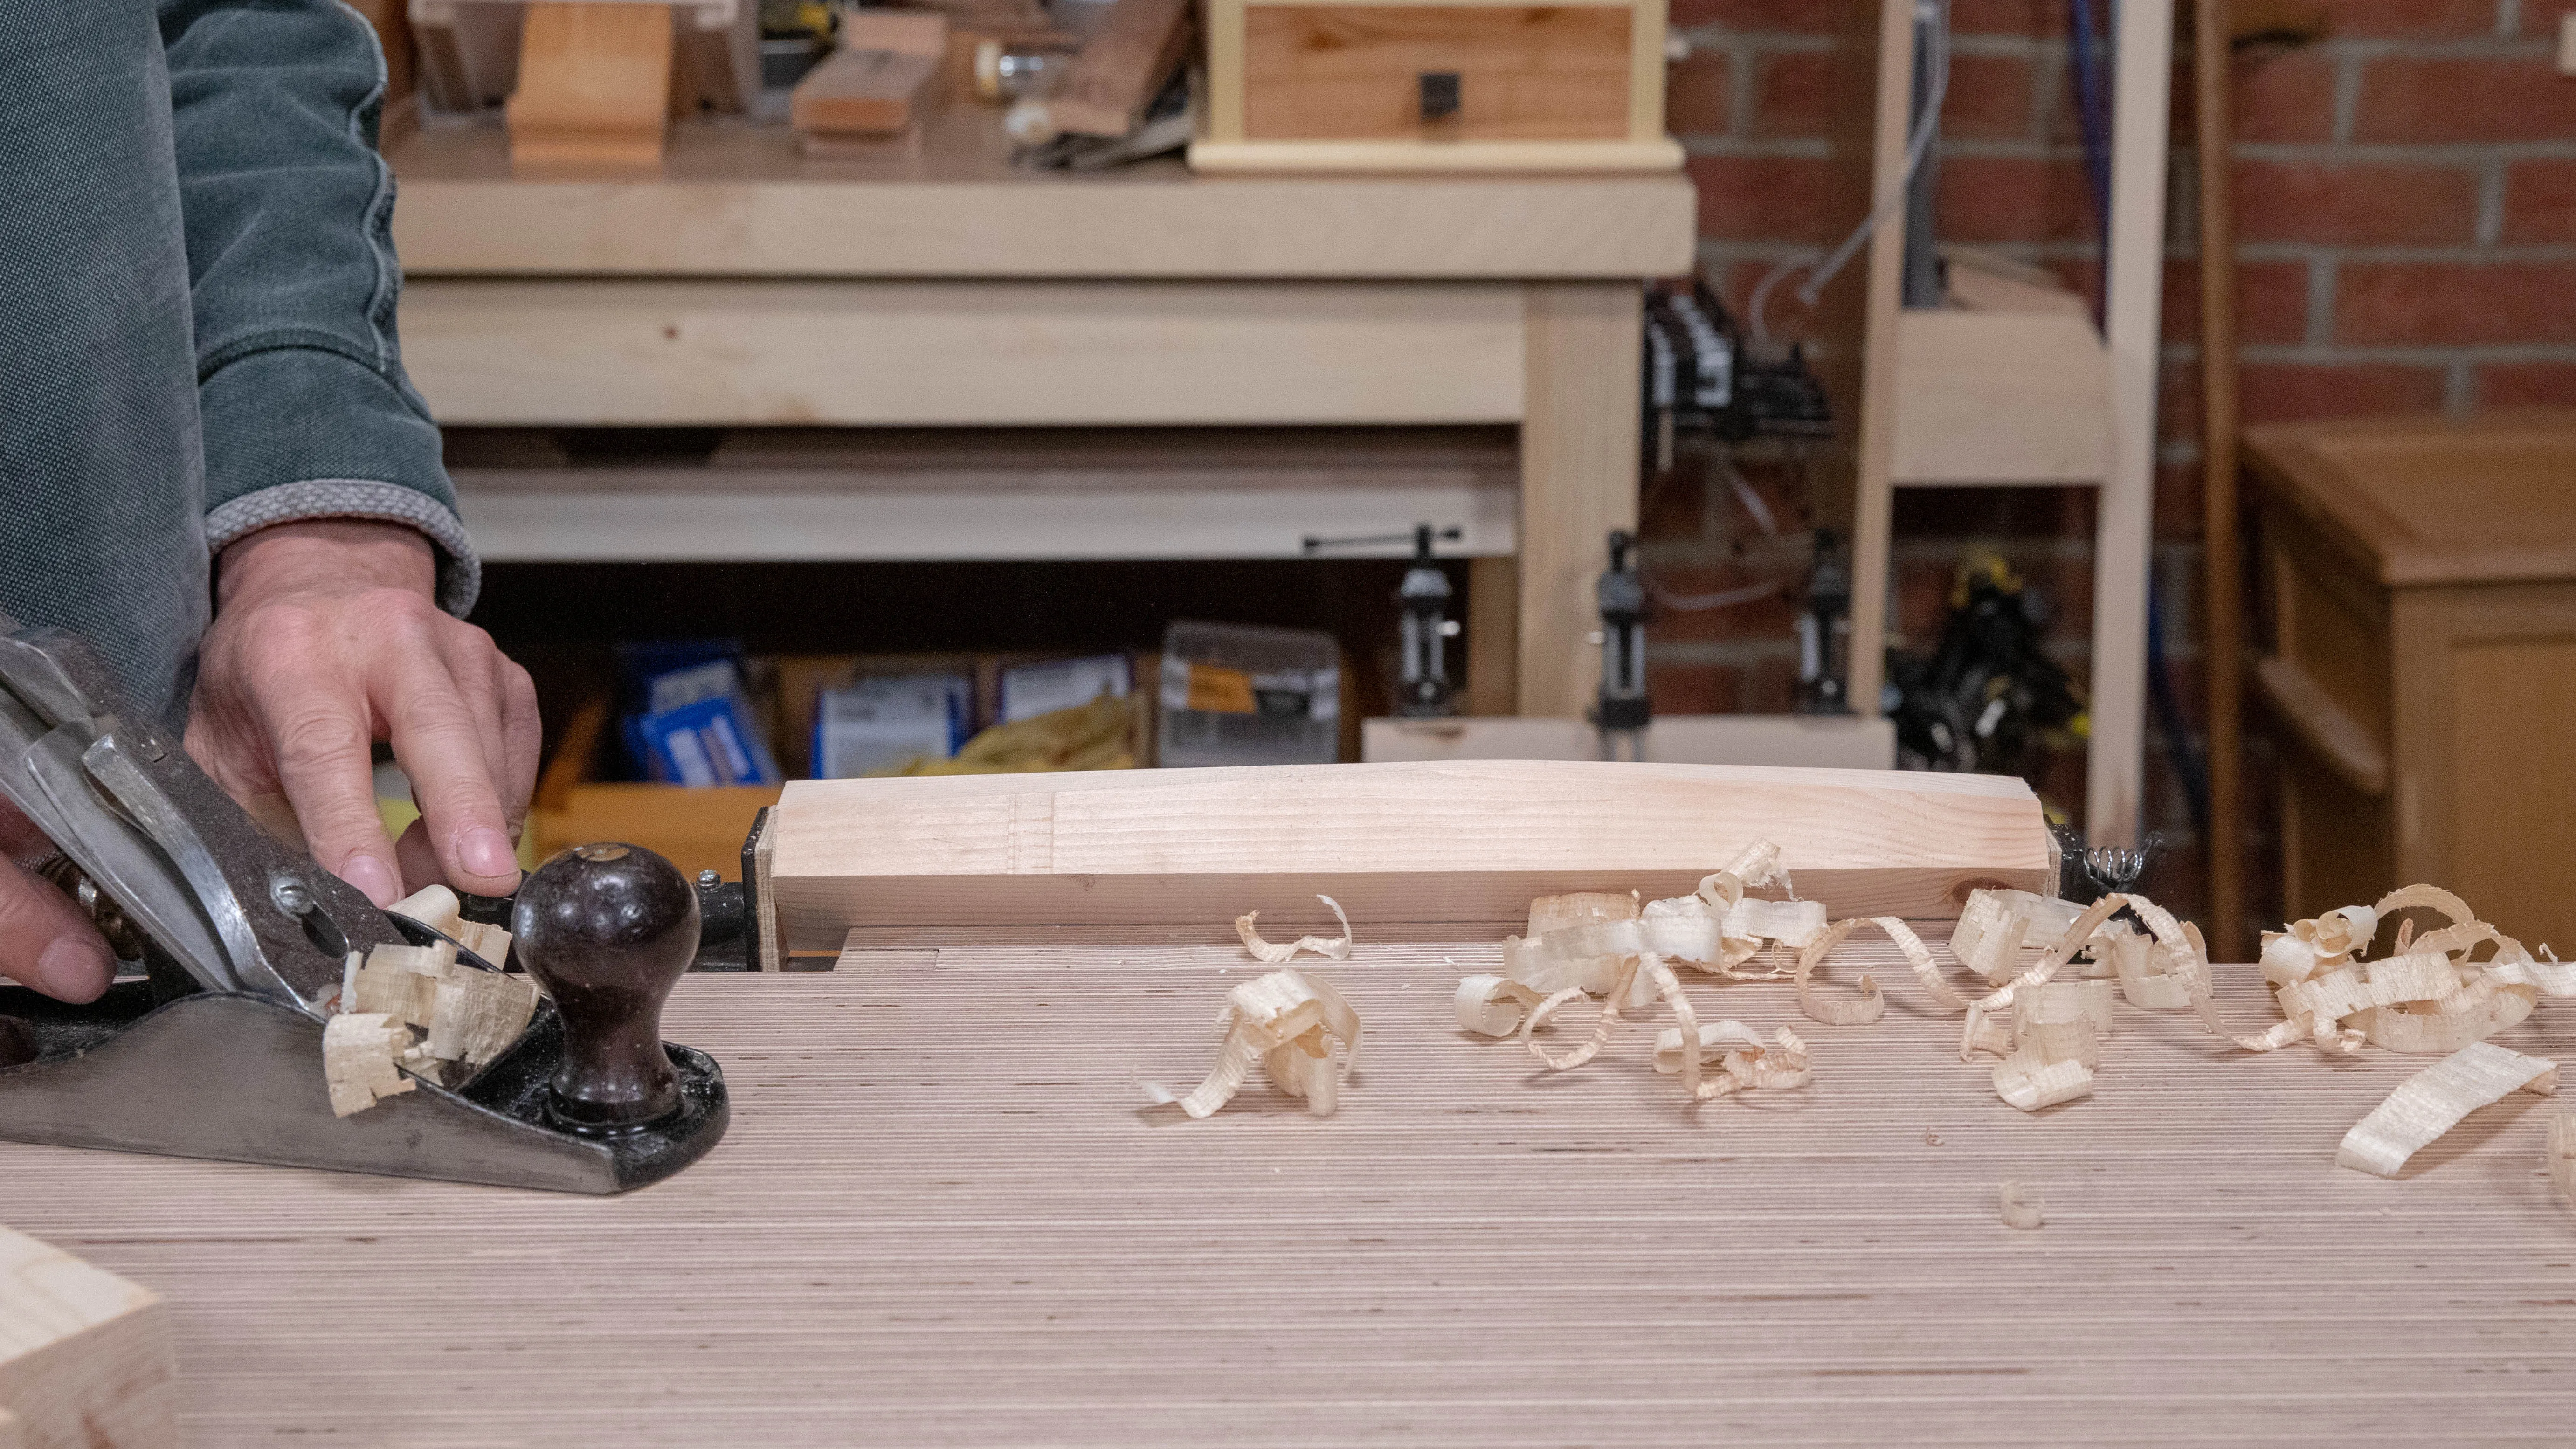
Once you have taken off the four corners on each end almost down to the circles, secure the leg upright in the vise and begin to work around the ends with a spokeshave, essentially transforming the ‘octagons’ into rounds. As the ends begin to take more of a circular shape, extend your strokes to the middle of the leg so that it too adopts a fairly even, round profile.
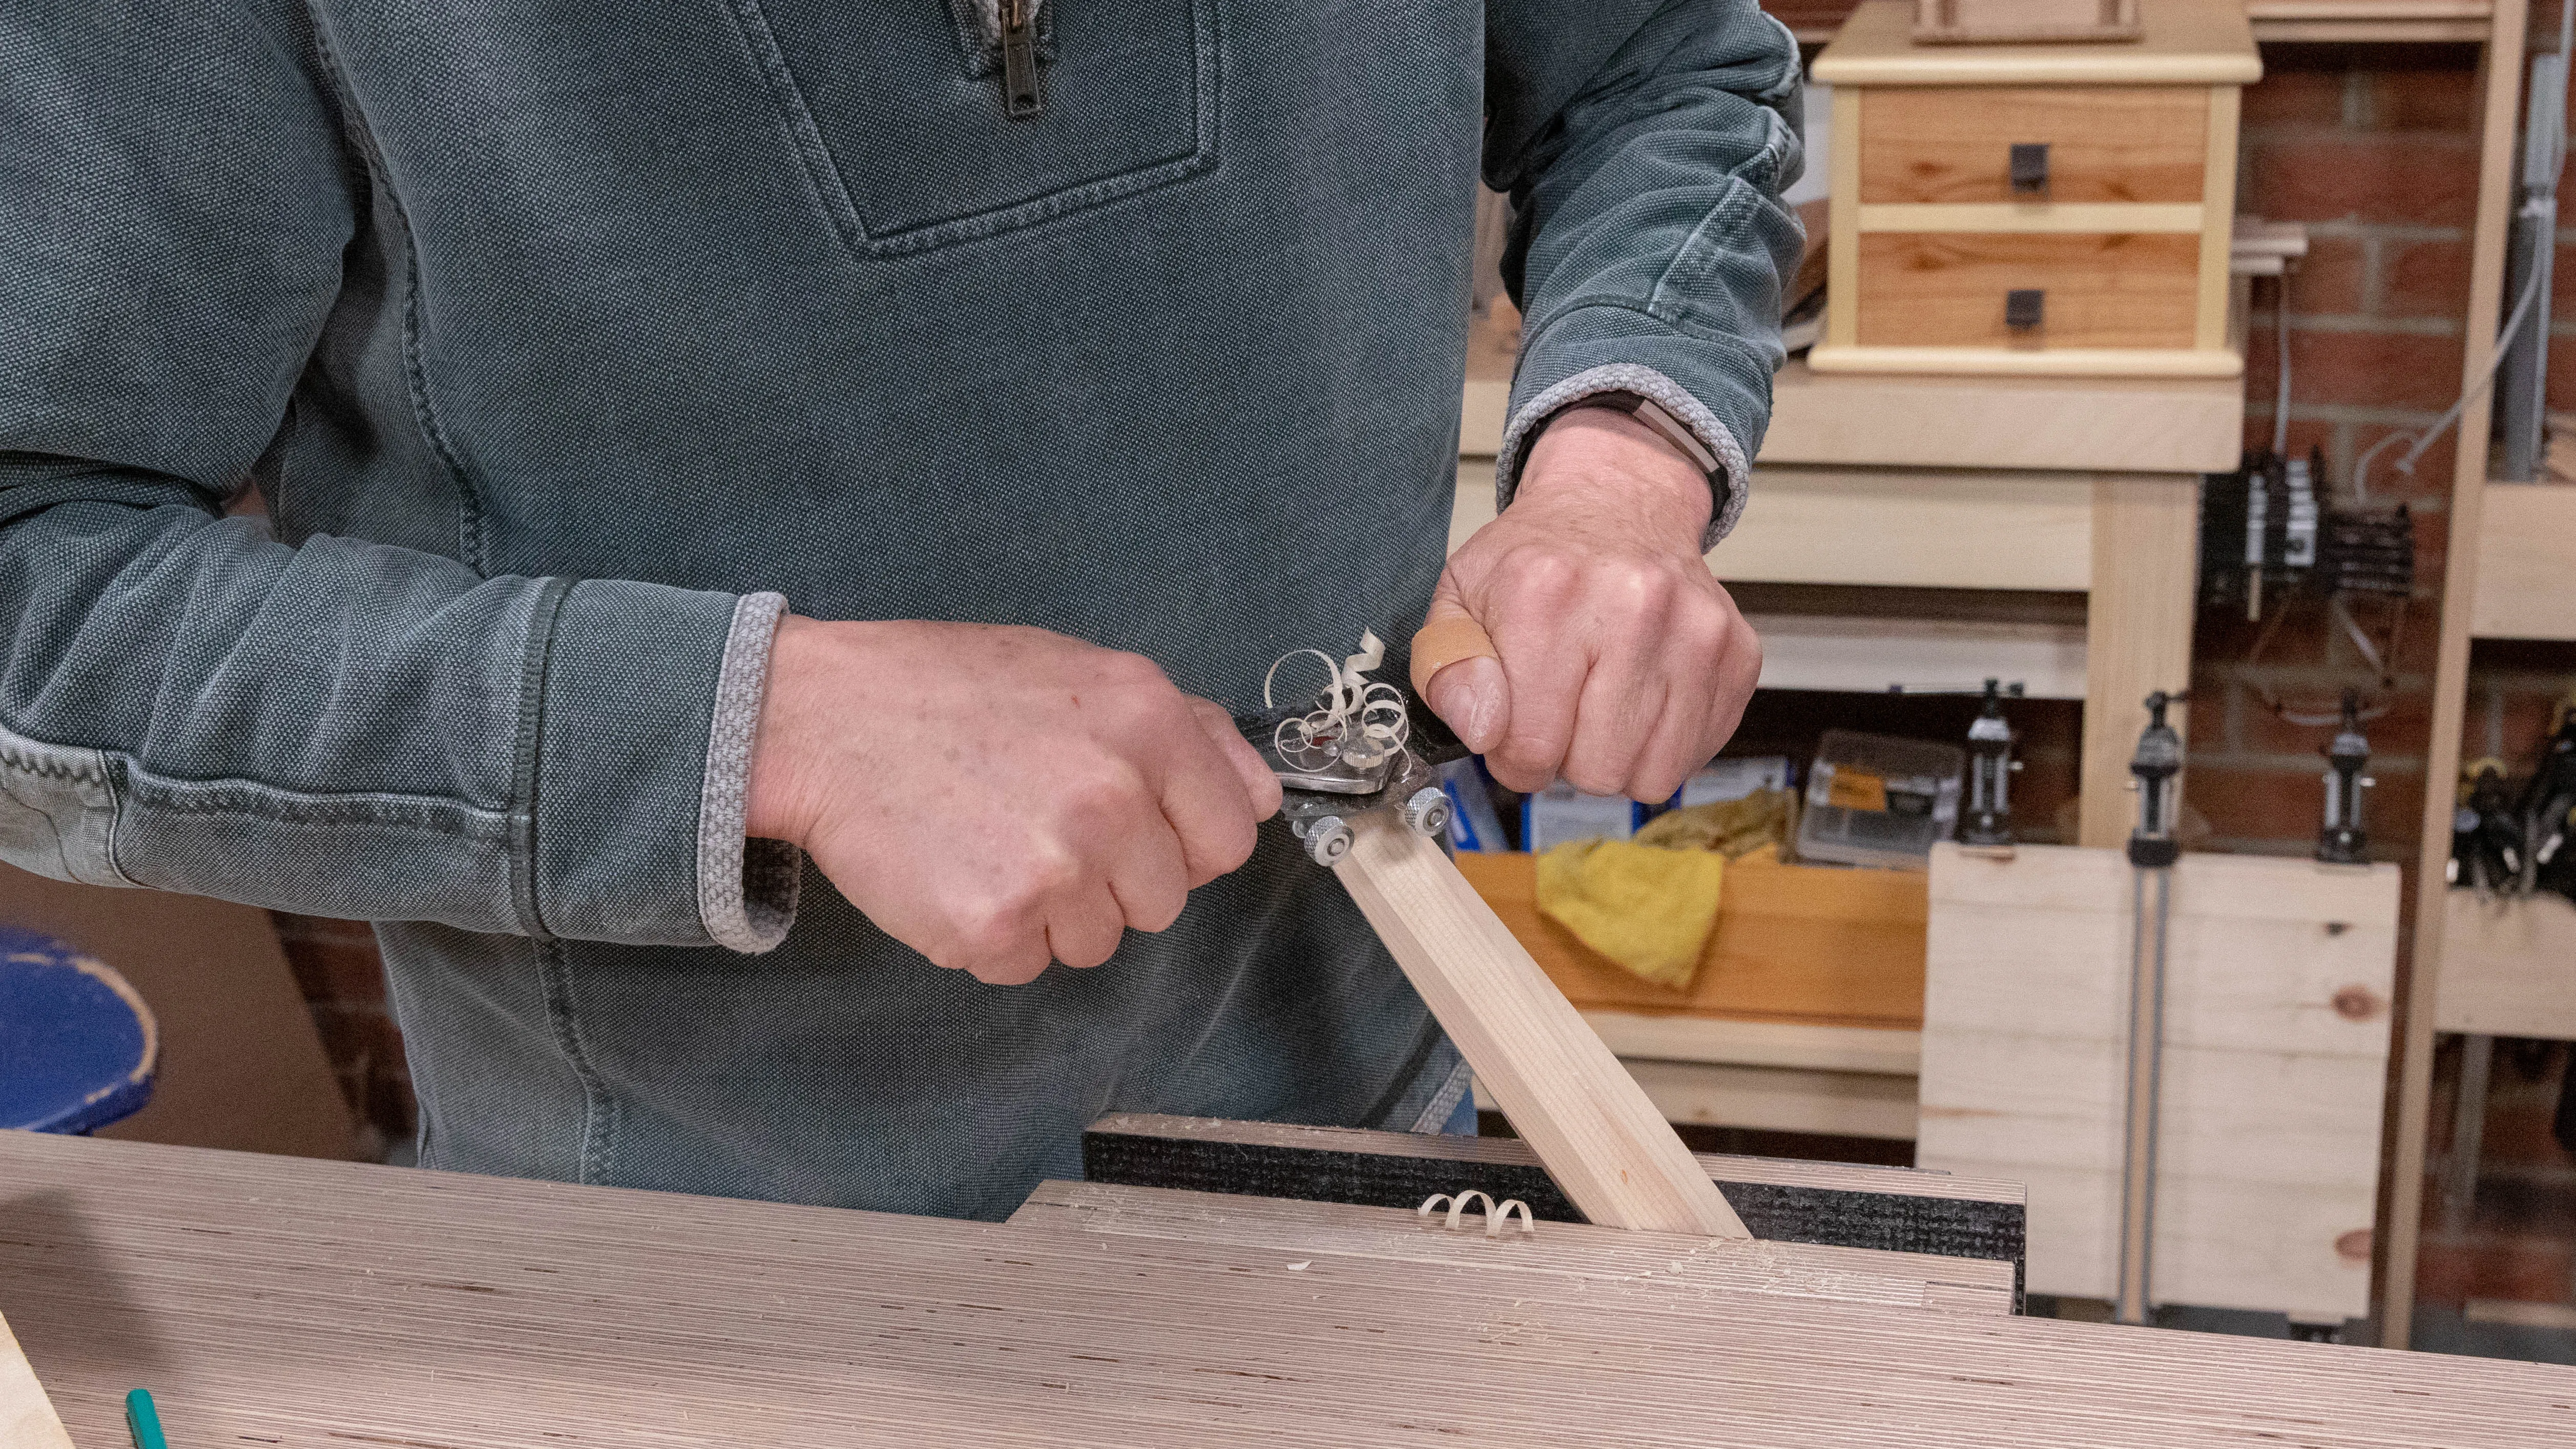
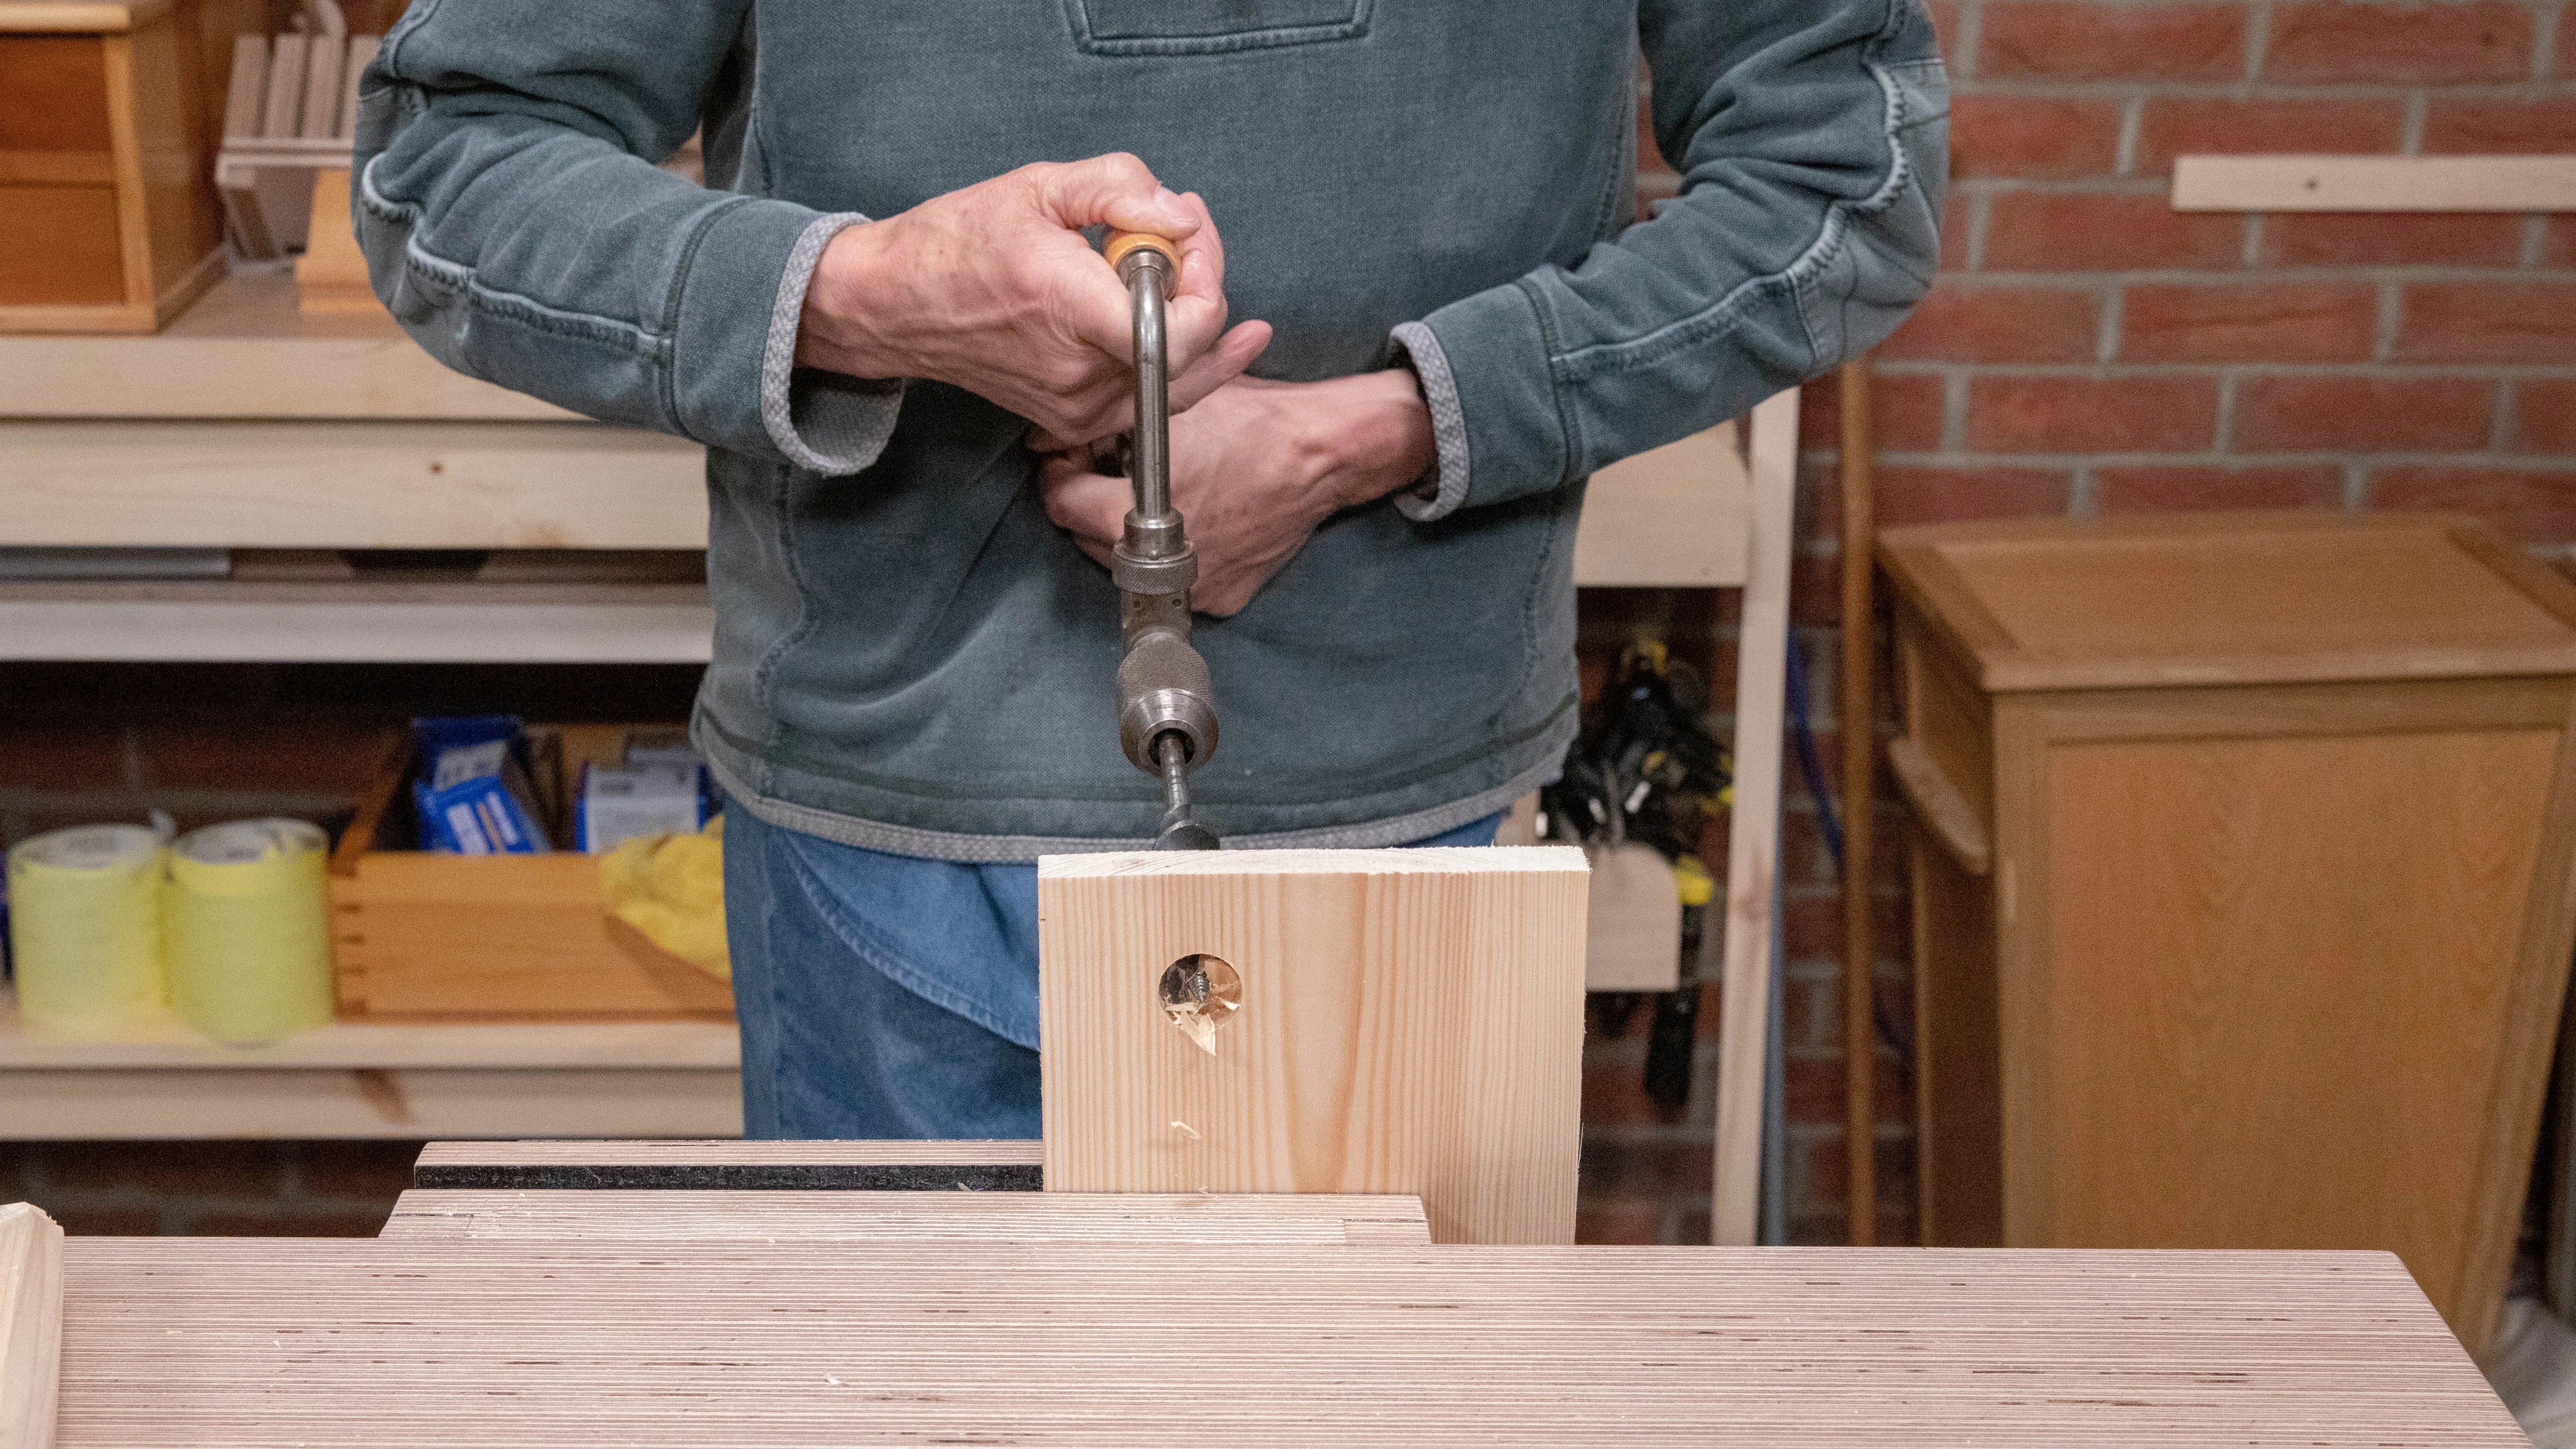
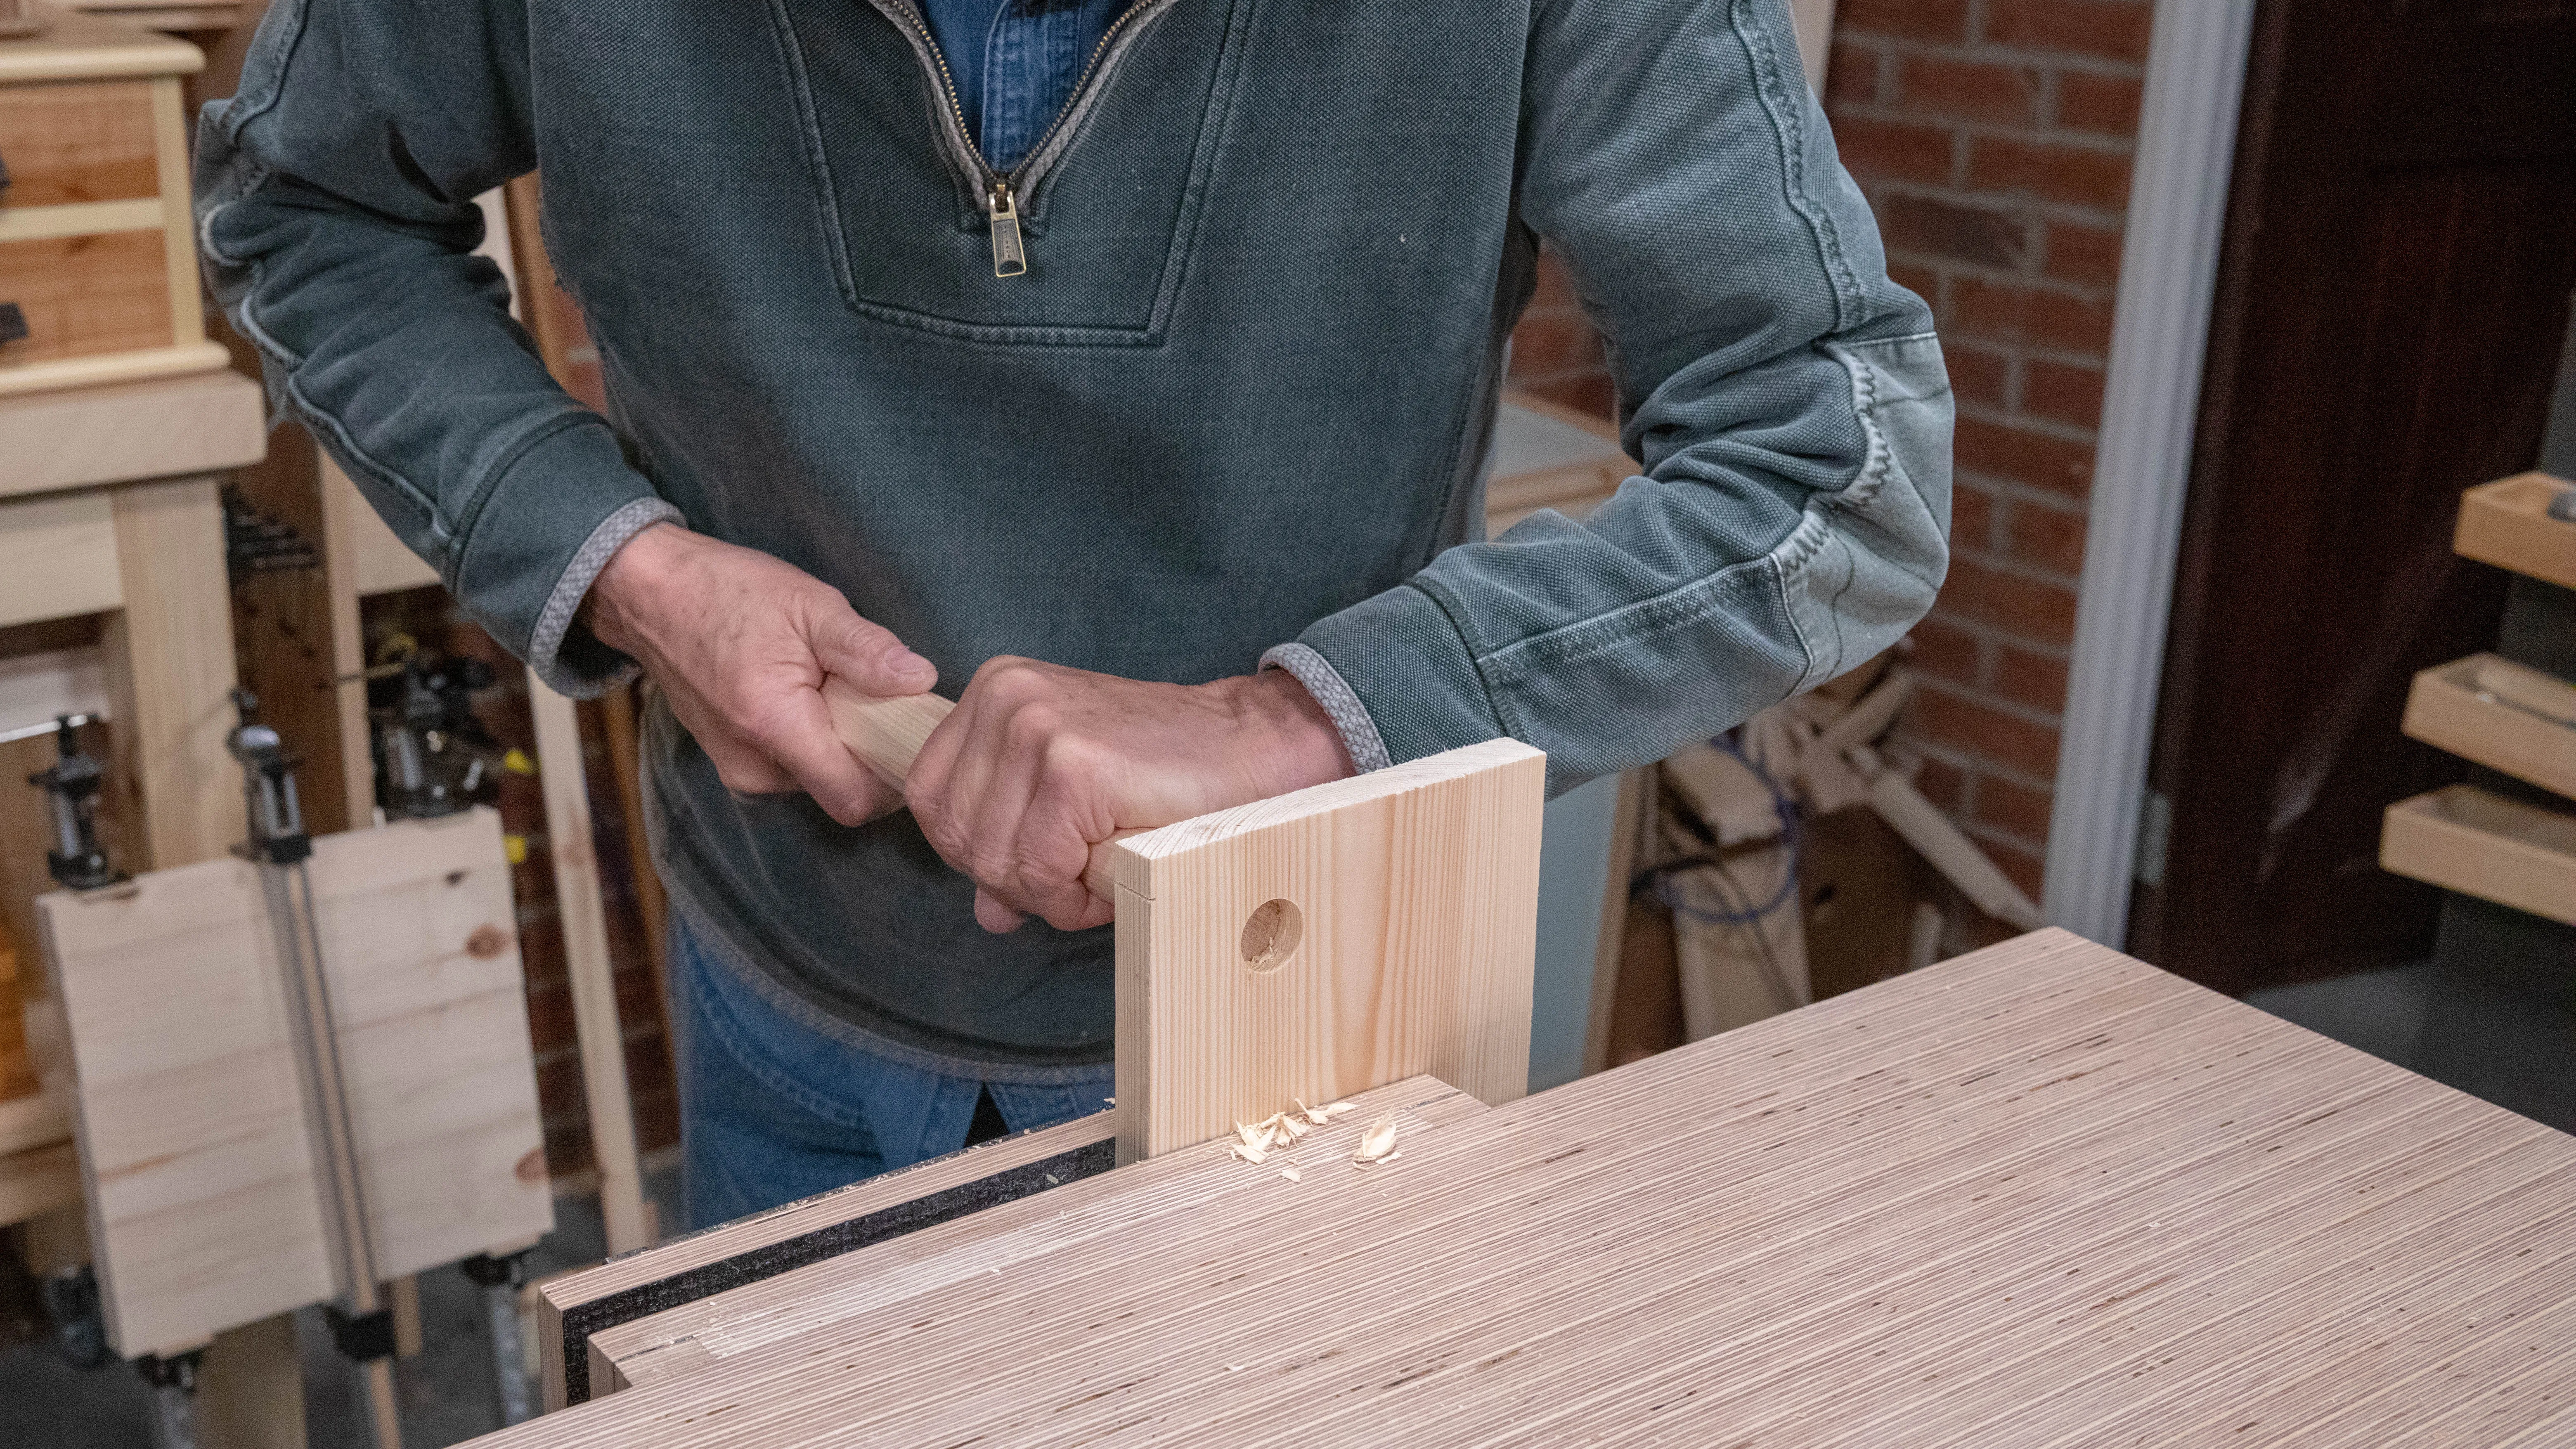
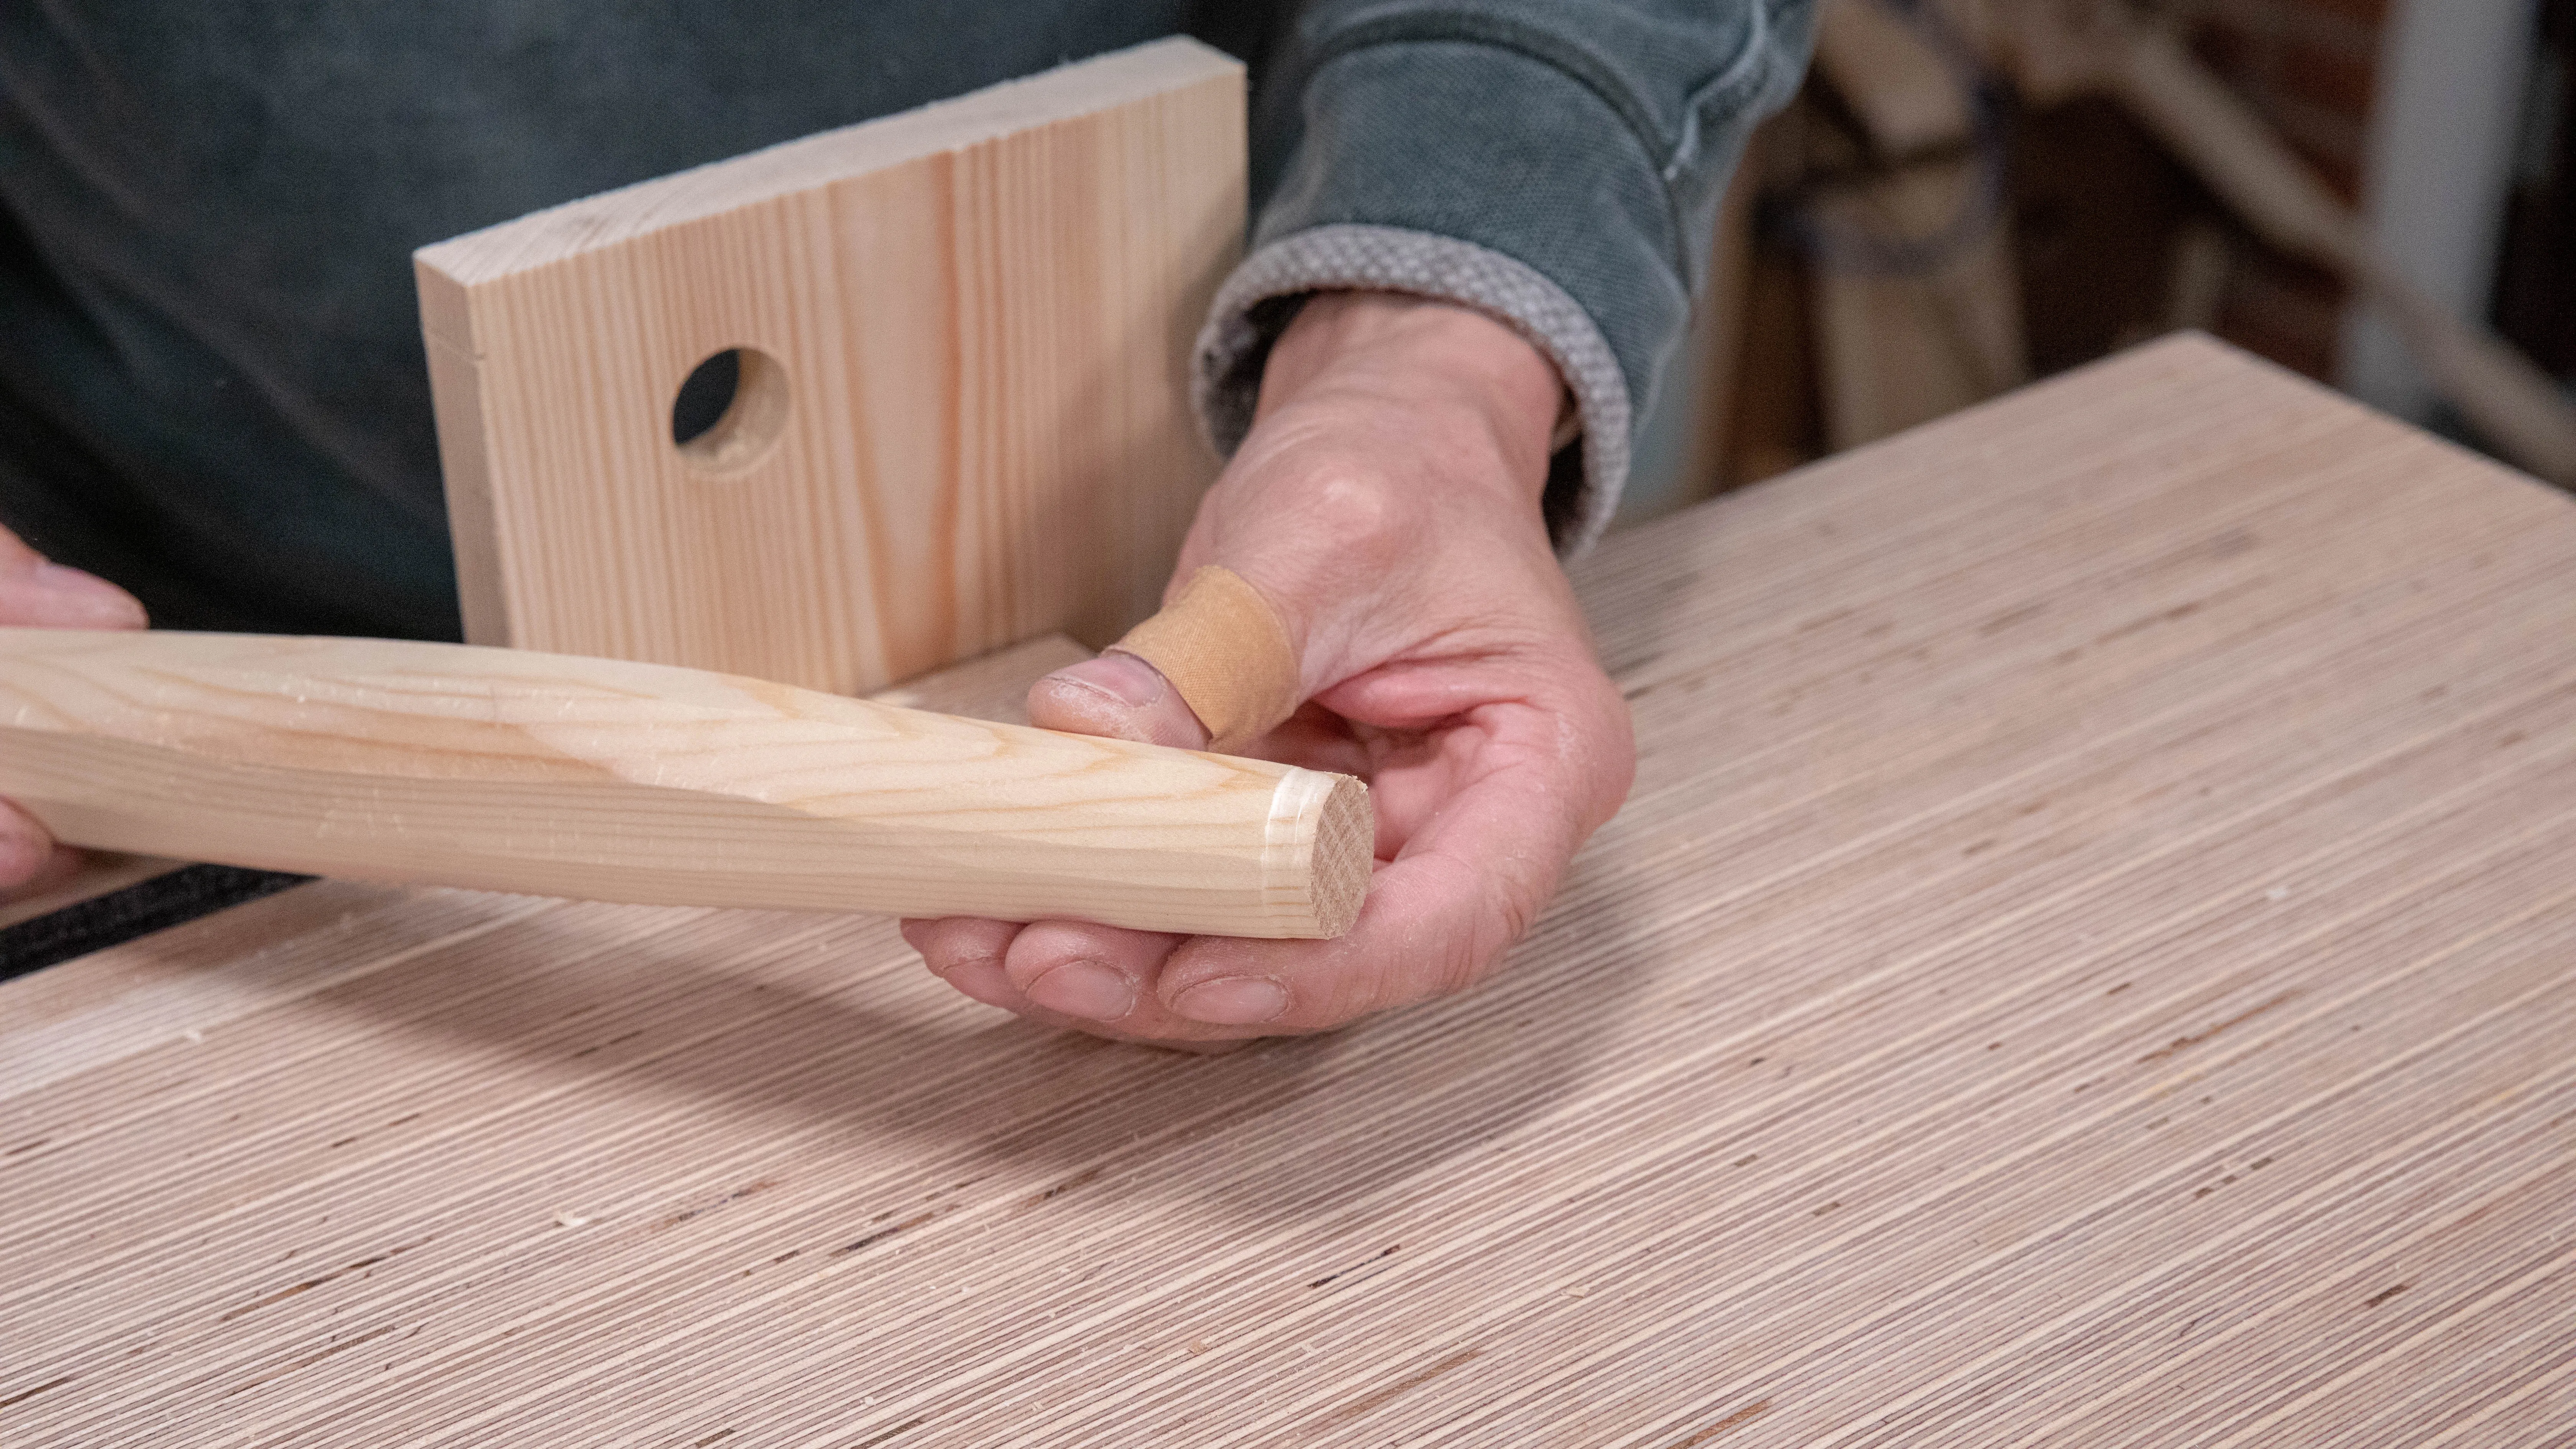
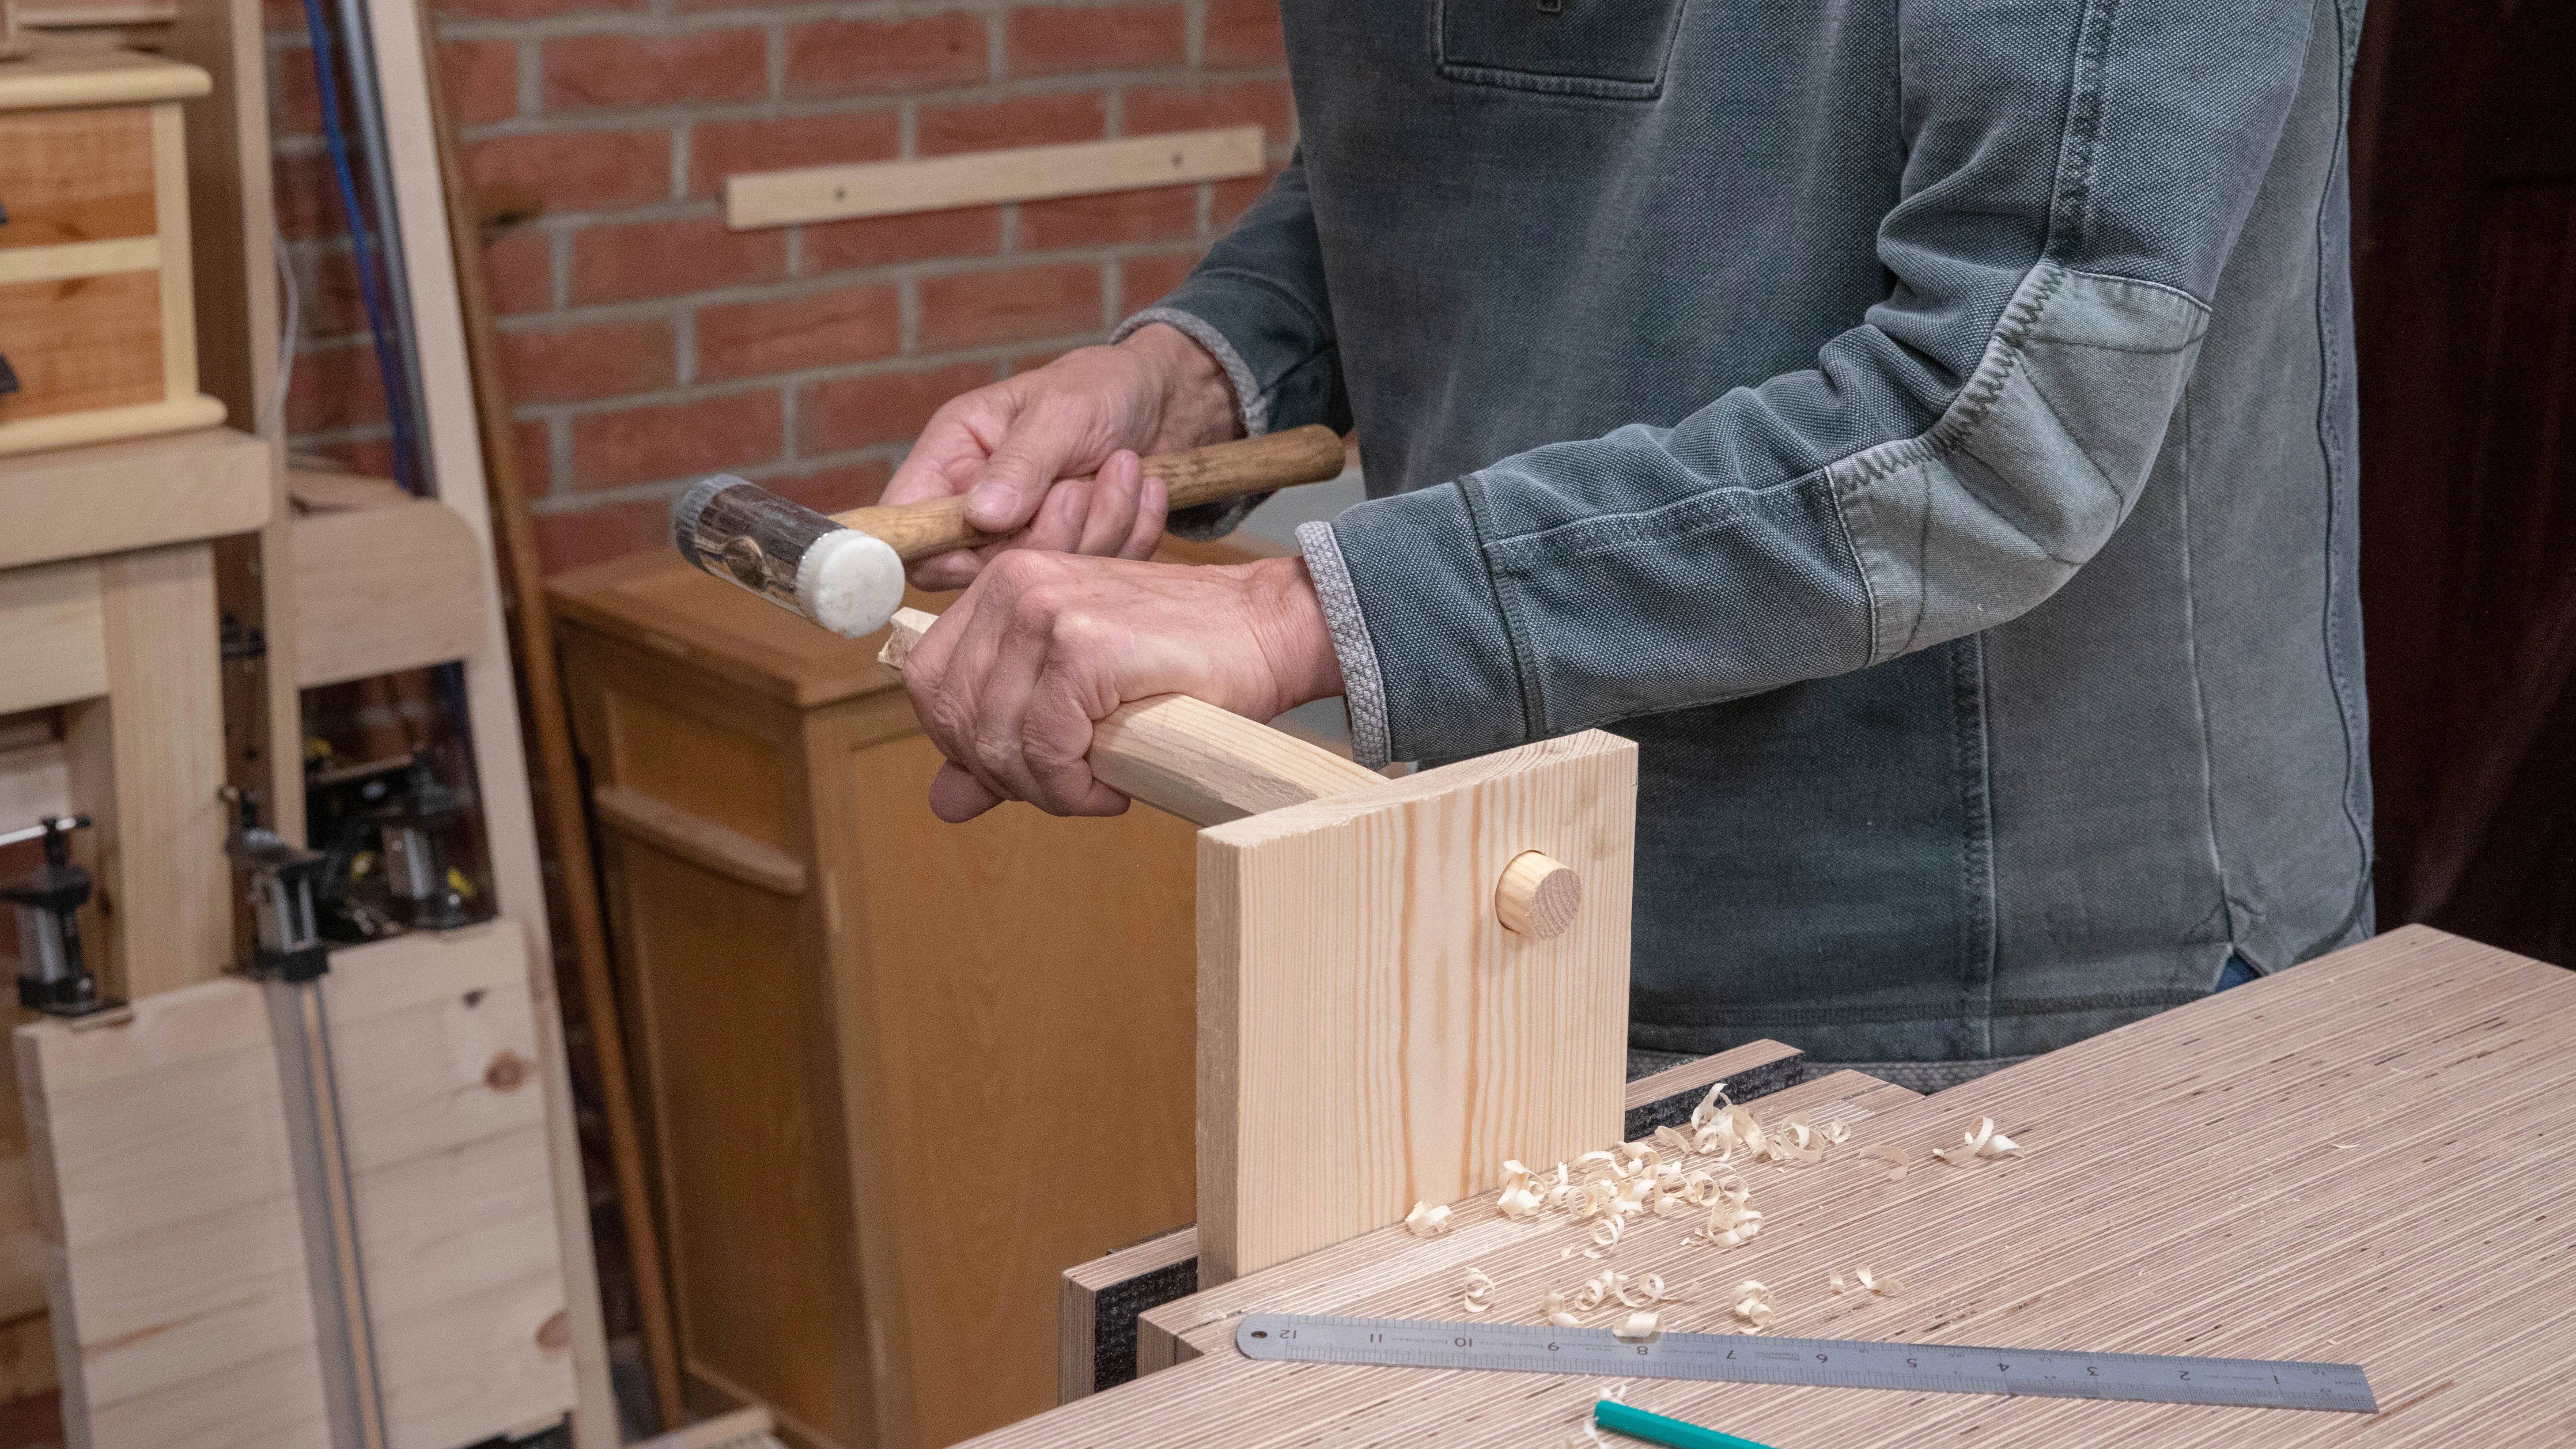
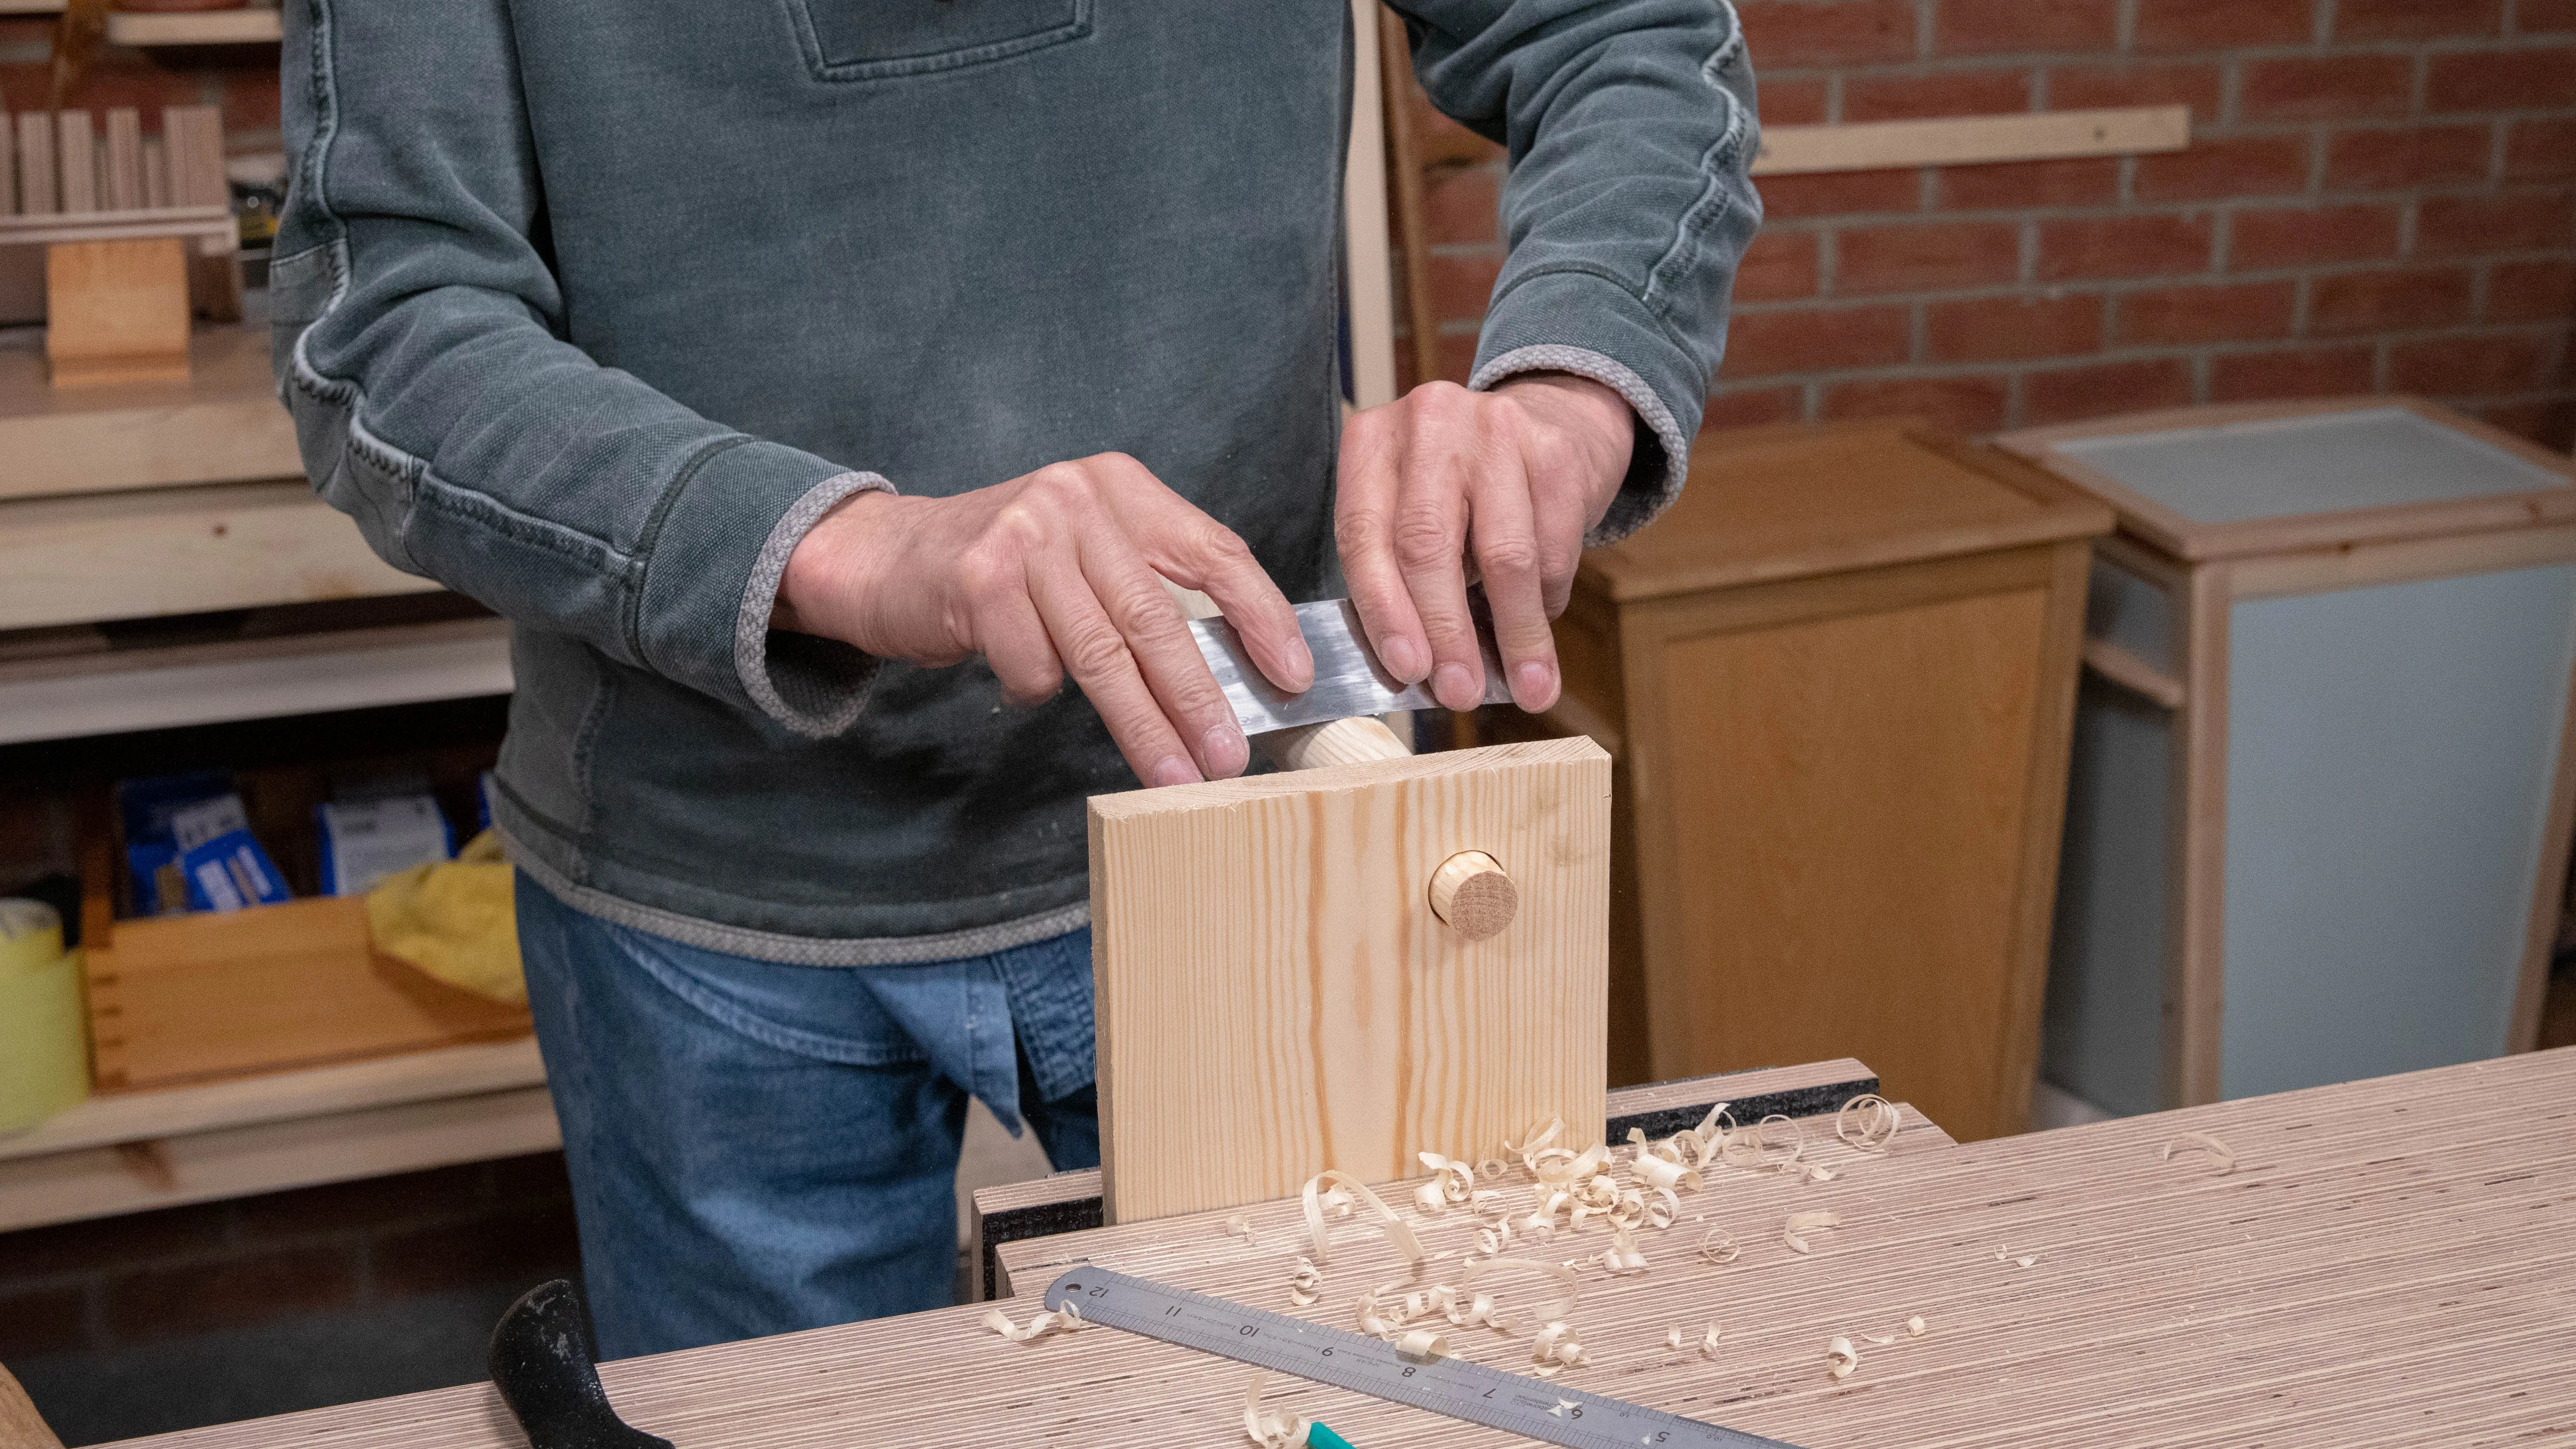
With your leg being close to the final shape, you can start to ‘fit’ the top end to a test hole of the size it will ultimately be going into on the actual seat. Bore a 1” (25mm) hole in a 3/4” (19mm) thick board (or thicker) and use it as a reference to further refine the top end of your hole. Once the very tip of the leg is small enough to start in the hole, clamp the board in the vise and press (and twist) the leg in the hole, applying sufficient pressure to create bruising on the end of the leg. (Use a chisel hammer if needed.) The bruising indicates compression and serves as a reference to know how to continue shaping the leg. Remember, if there is no bruising in an area that has gone in the hole, that means it’s not making contact inside the hole and, therefore, you must not take off any more material.
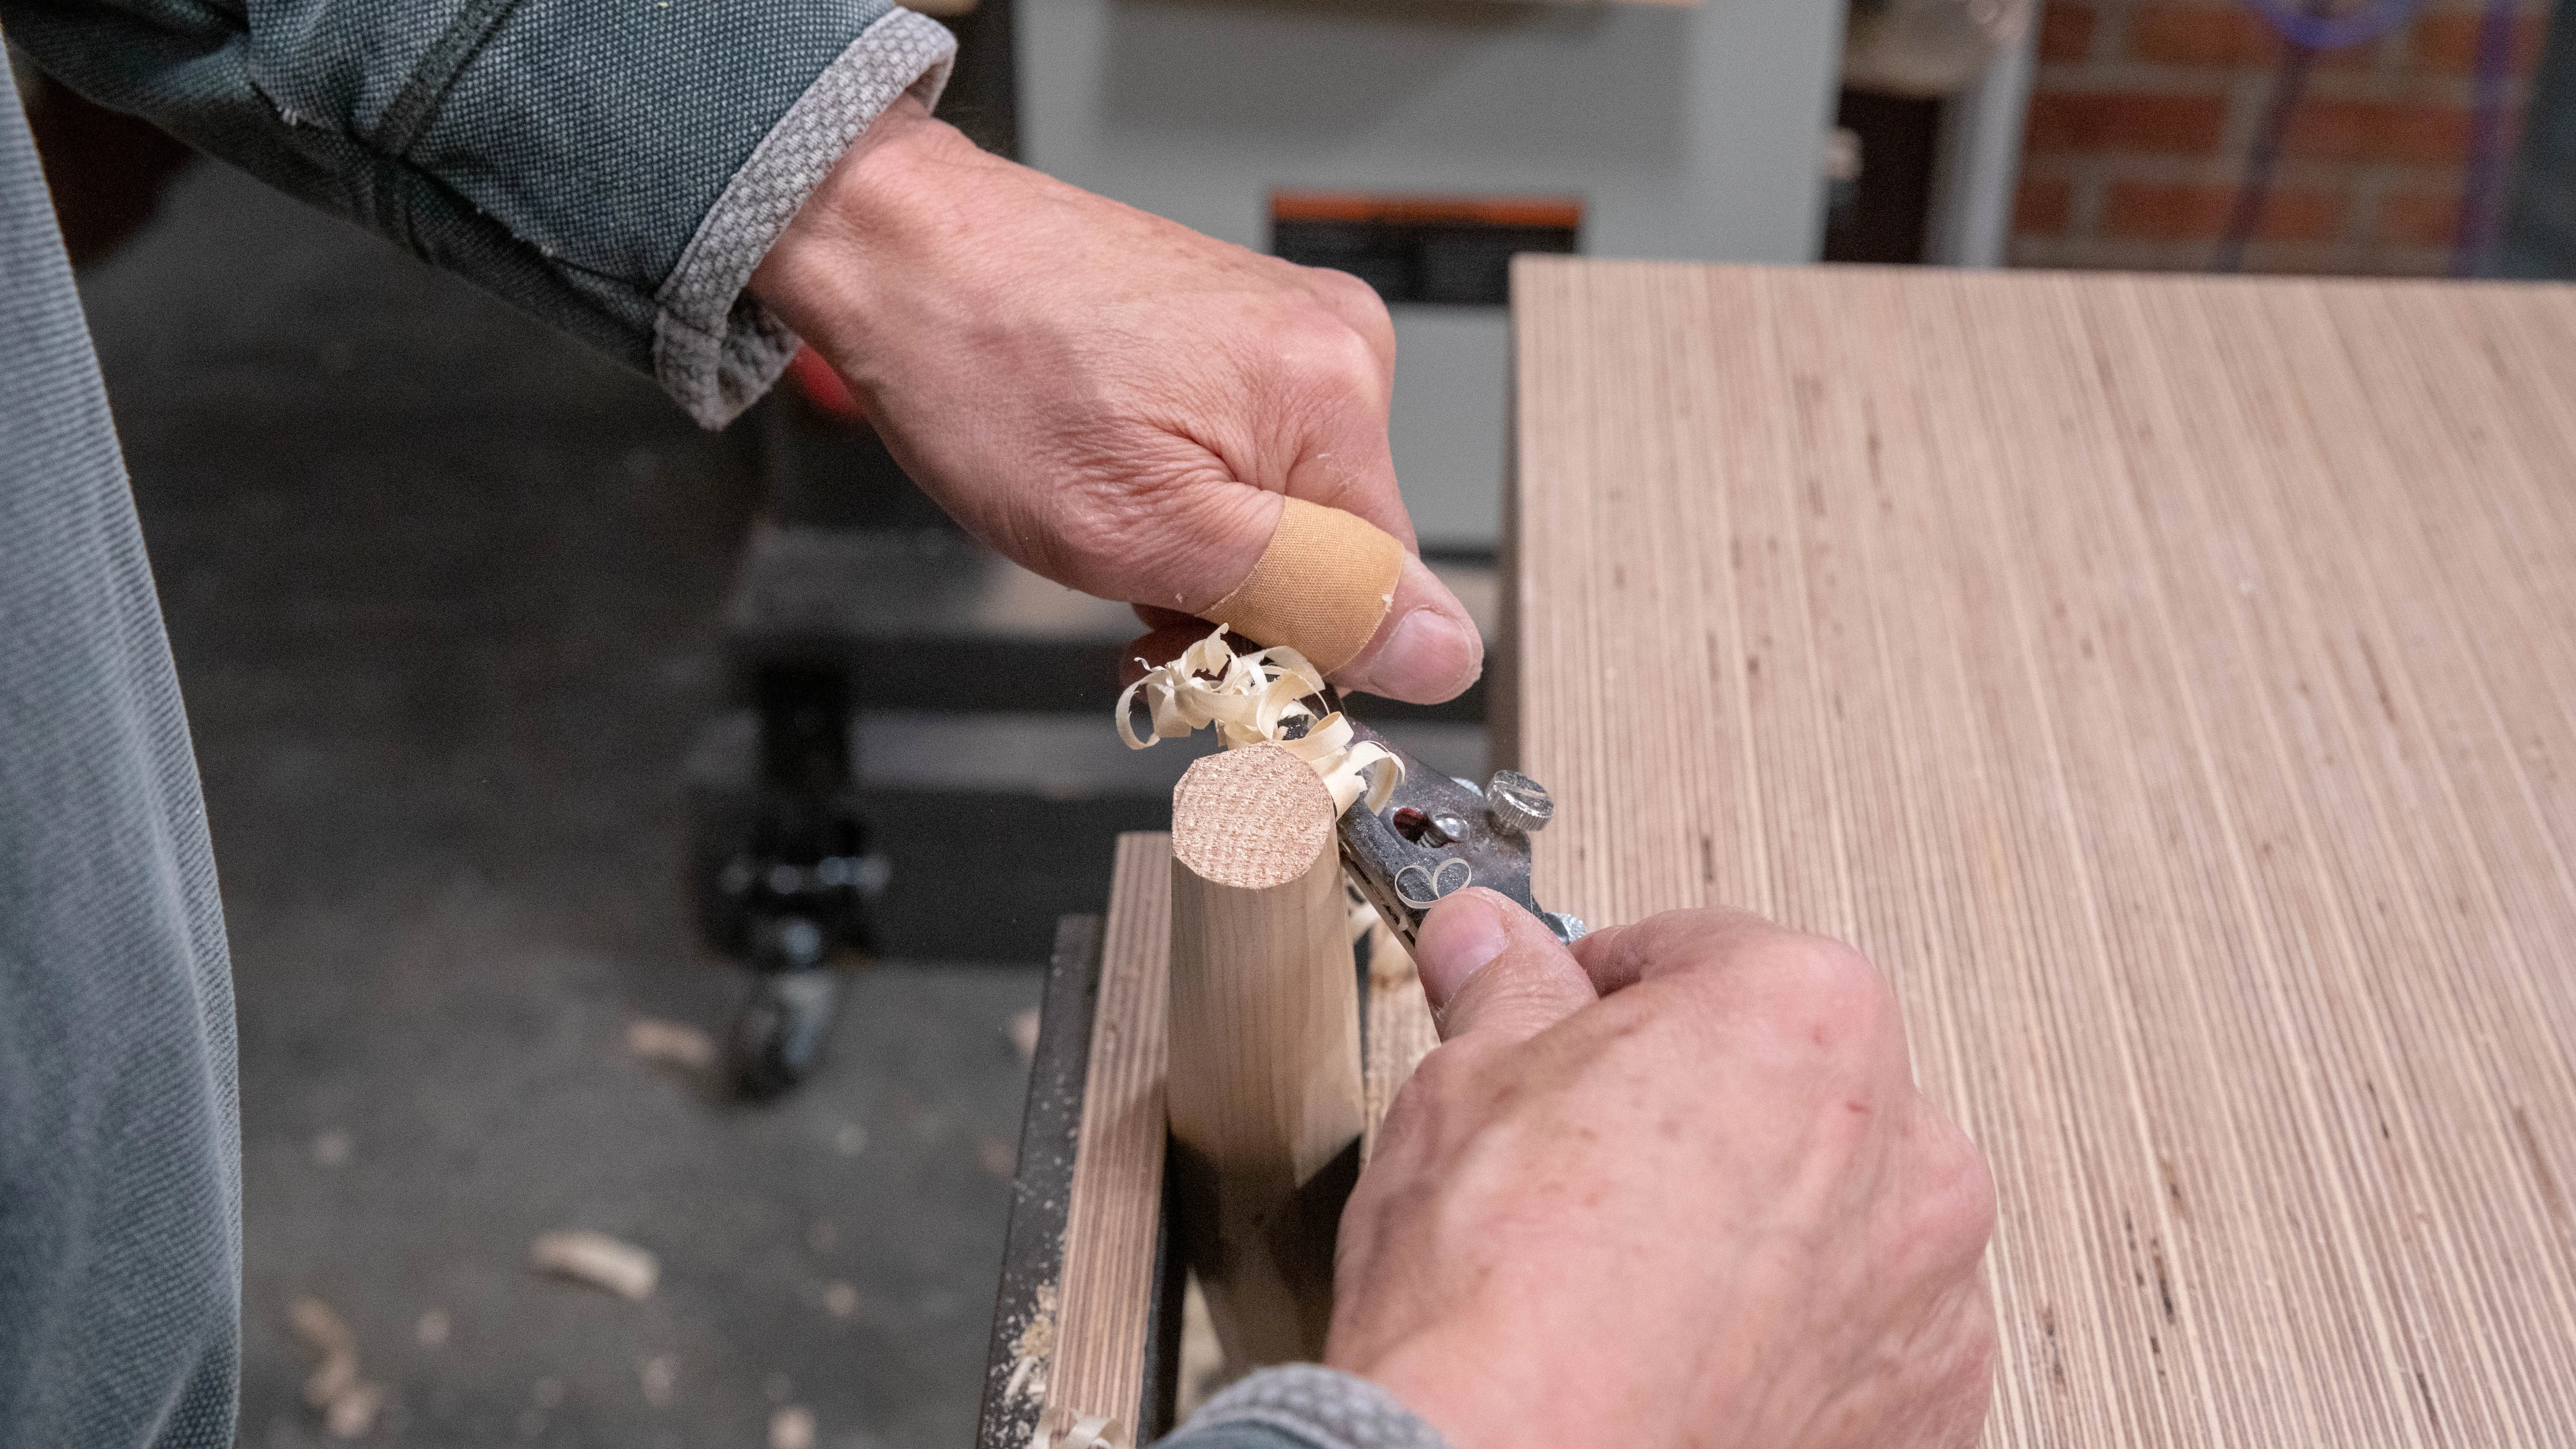
In essence, you must create a straight, 1” dowel on the top of the leg that will protrude slightly past your seat thickness of 1 ⅜” (35mm). You will need to take very short strokes with the spokeshave to thin down the section further away from the end without making the actual end too small. Do this by lifting the heel of the spokeshave as you’re nearing the end of the cut. This will cut the end of the shaving cleanly and avoid them clogging up in the throat. Check your progress with a rule, although it wouldn’t be too problematic if you go a little below the required length.
Note: This method of fitting with hand tools does expand the entry to the hole you are using, especially on highly compressible woods. Therefore, it’s always best to fit the legs to a hole in a scrap piece of wood than on the actual holes in the seat.
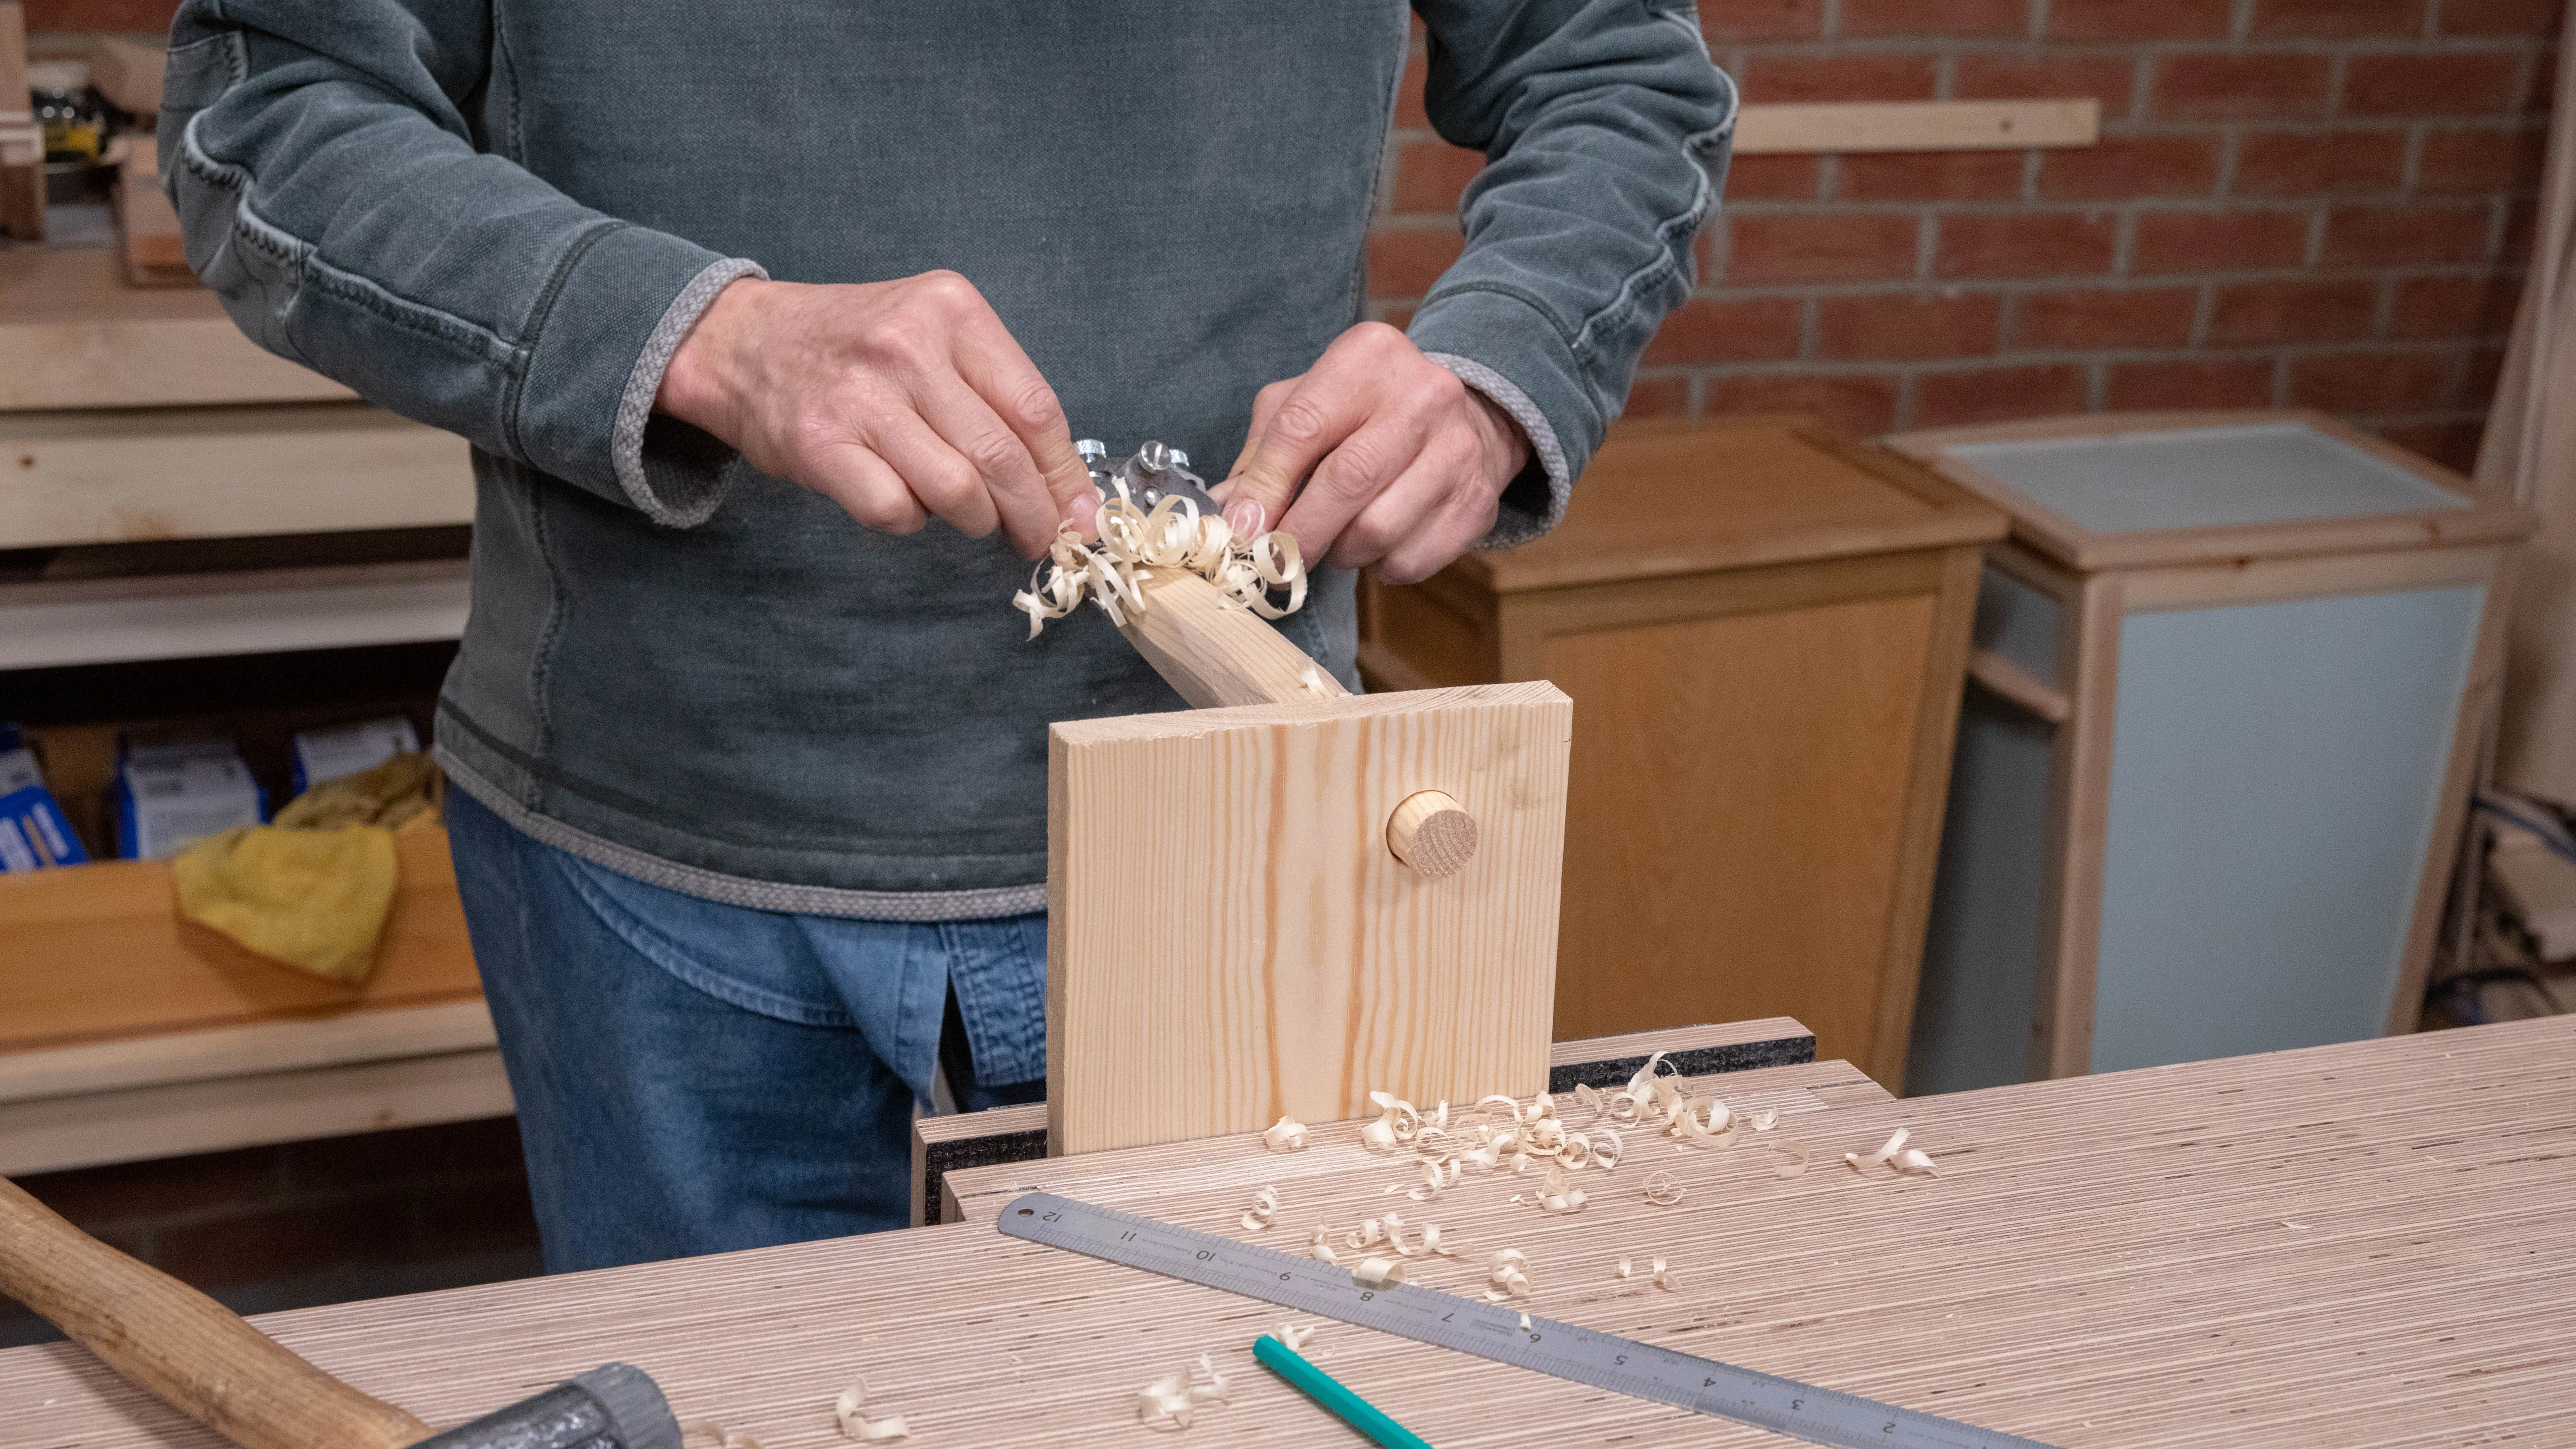
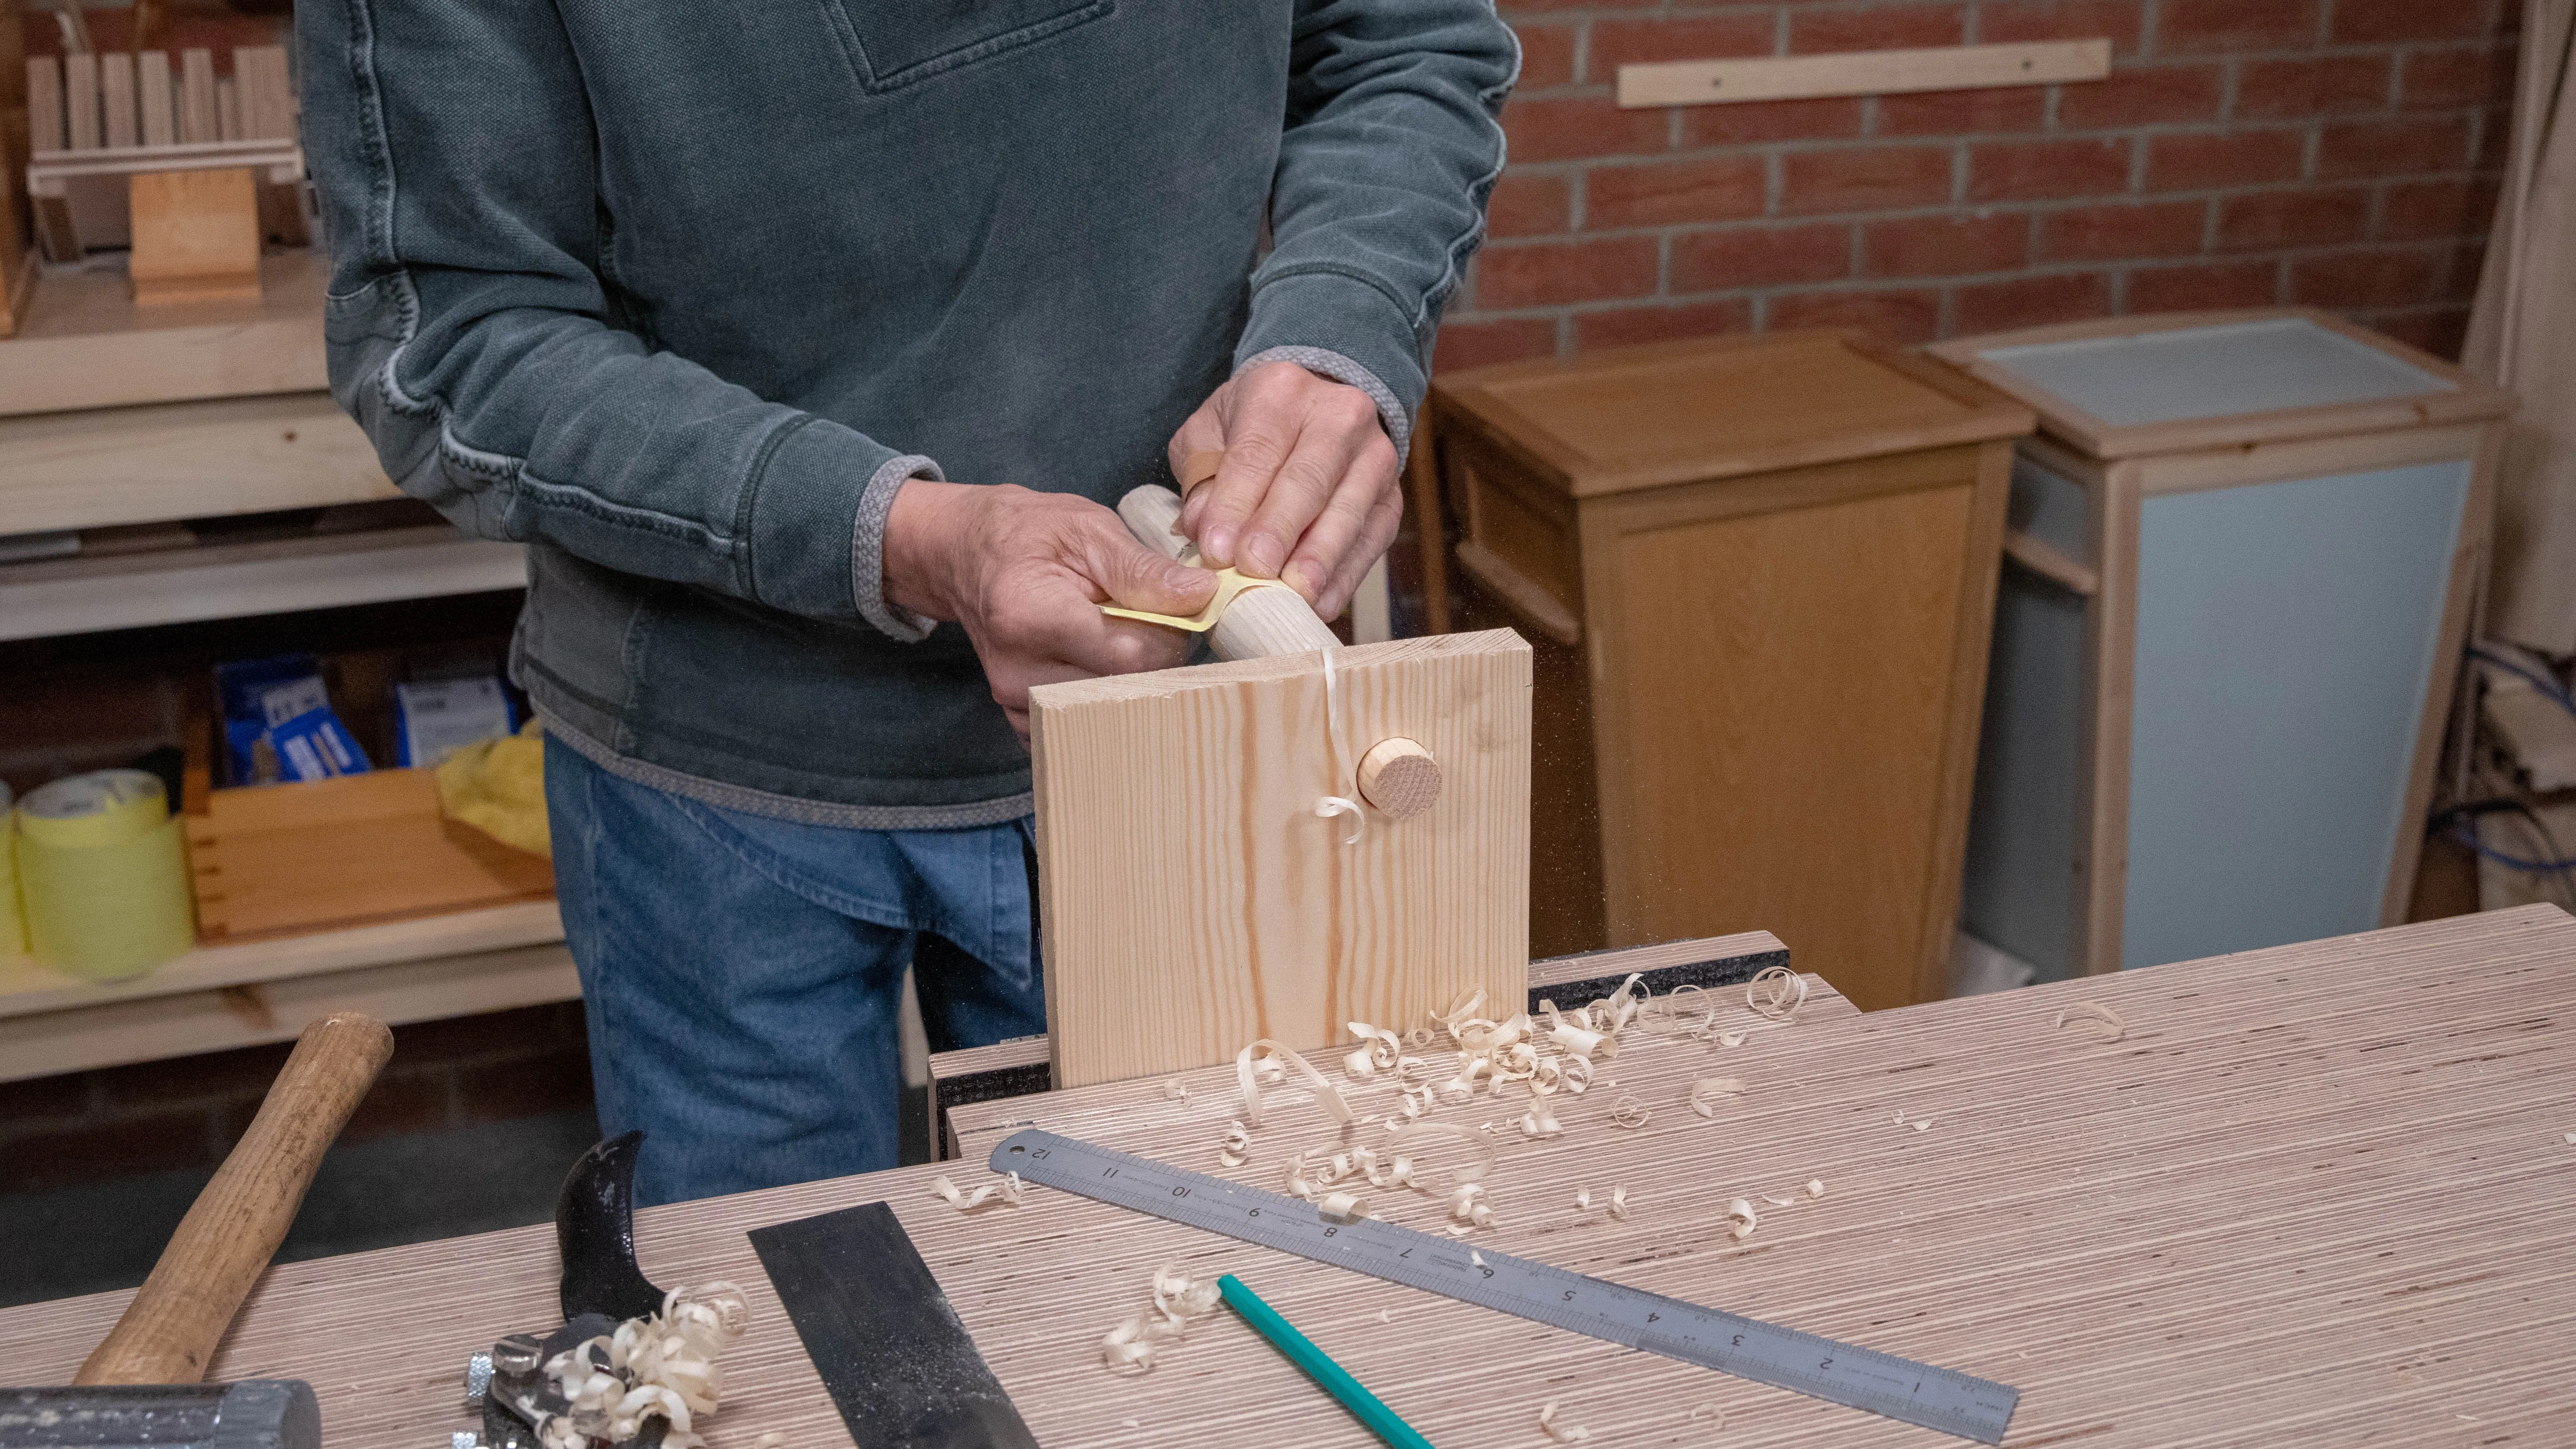
To shape the lower part of the leg, the board with the hole serves as a very useful clamp when secured in the vise, as you can insert the leg and further refine with a spokeshave. When you’re happy with the shape, take off any remaining ridges/flats with a scraper and then sand the whole length with 240 grit sandpaper.
Sign in to track your progress