Chopping The Mortise Hole
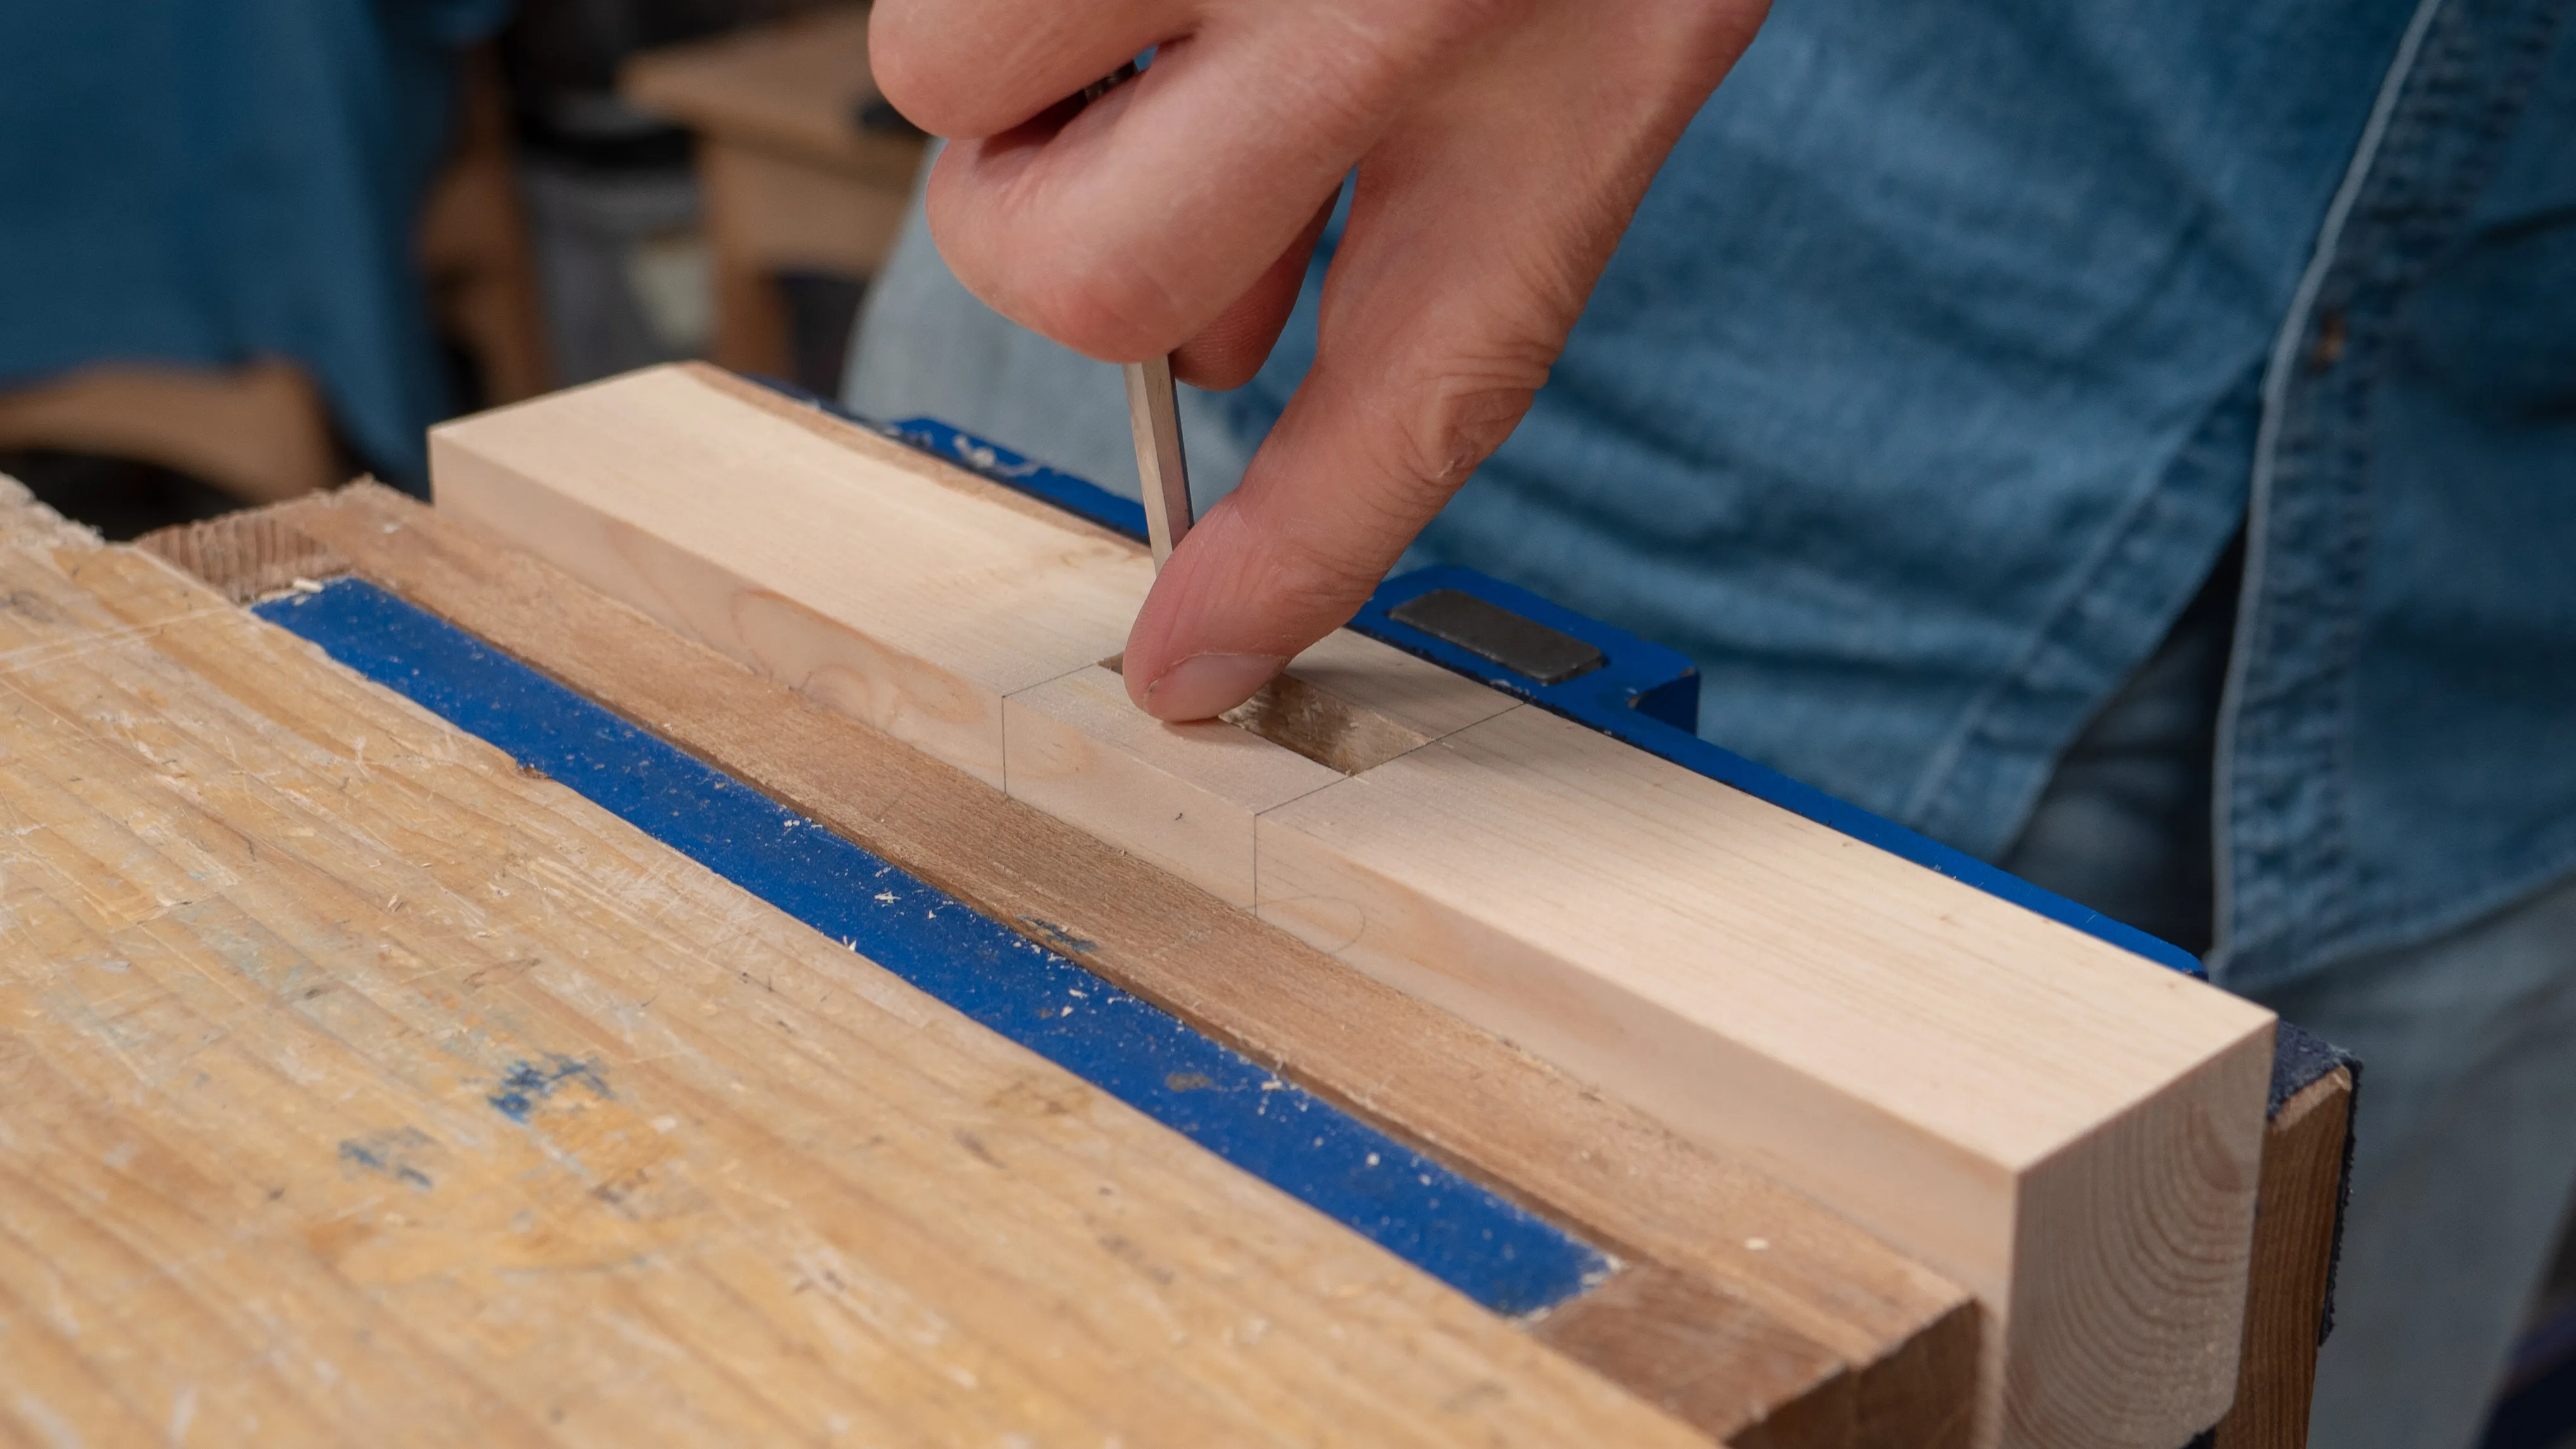
Begin by clamping your mortise piece in the vise and using your ½” chisel to create a step down on the two knifewalls. Take your chisel with your non-dominant hand and place the cutting edge about ⅛” (3mm) away from the first knifewall, bevel facing the waste. Keeping the chisel steady and vertically, strike the end of the handle with a chisel hammer. Then go right on the knifewall and chop. Don’t apply too much force, but try to listen for the changing sounds, as this will give you clues as you chop. When you hear a dead sound, that indicates the chisel has gone as far as it will and is beginning to compress the wood on either side. Move along back about ⅛” or so from the end and chop again. This time you will notice the chisel will go deeper, and it will go deeper still with every step back you take from the wall.
| Note: The first chop will be the hardest to lever as the waste material has nowhere to go, once you start to lever out the waste, you will notice with each chop the material moves the opposite way, giving you enough room to lever underneath it. This should make it easier to drive the chisel deeper. |
|---|
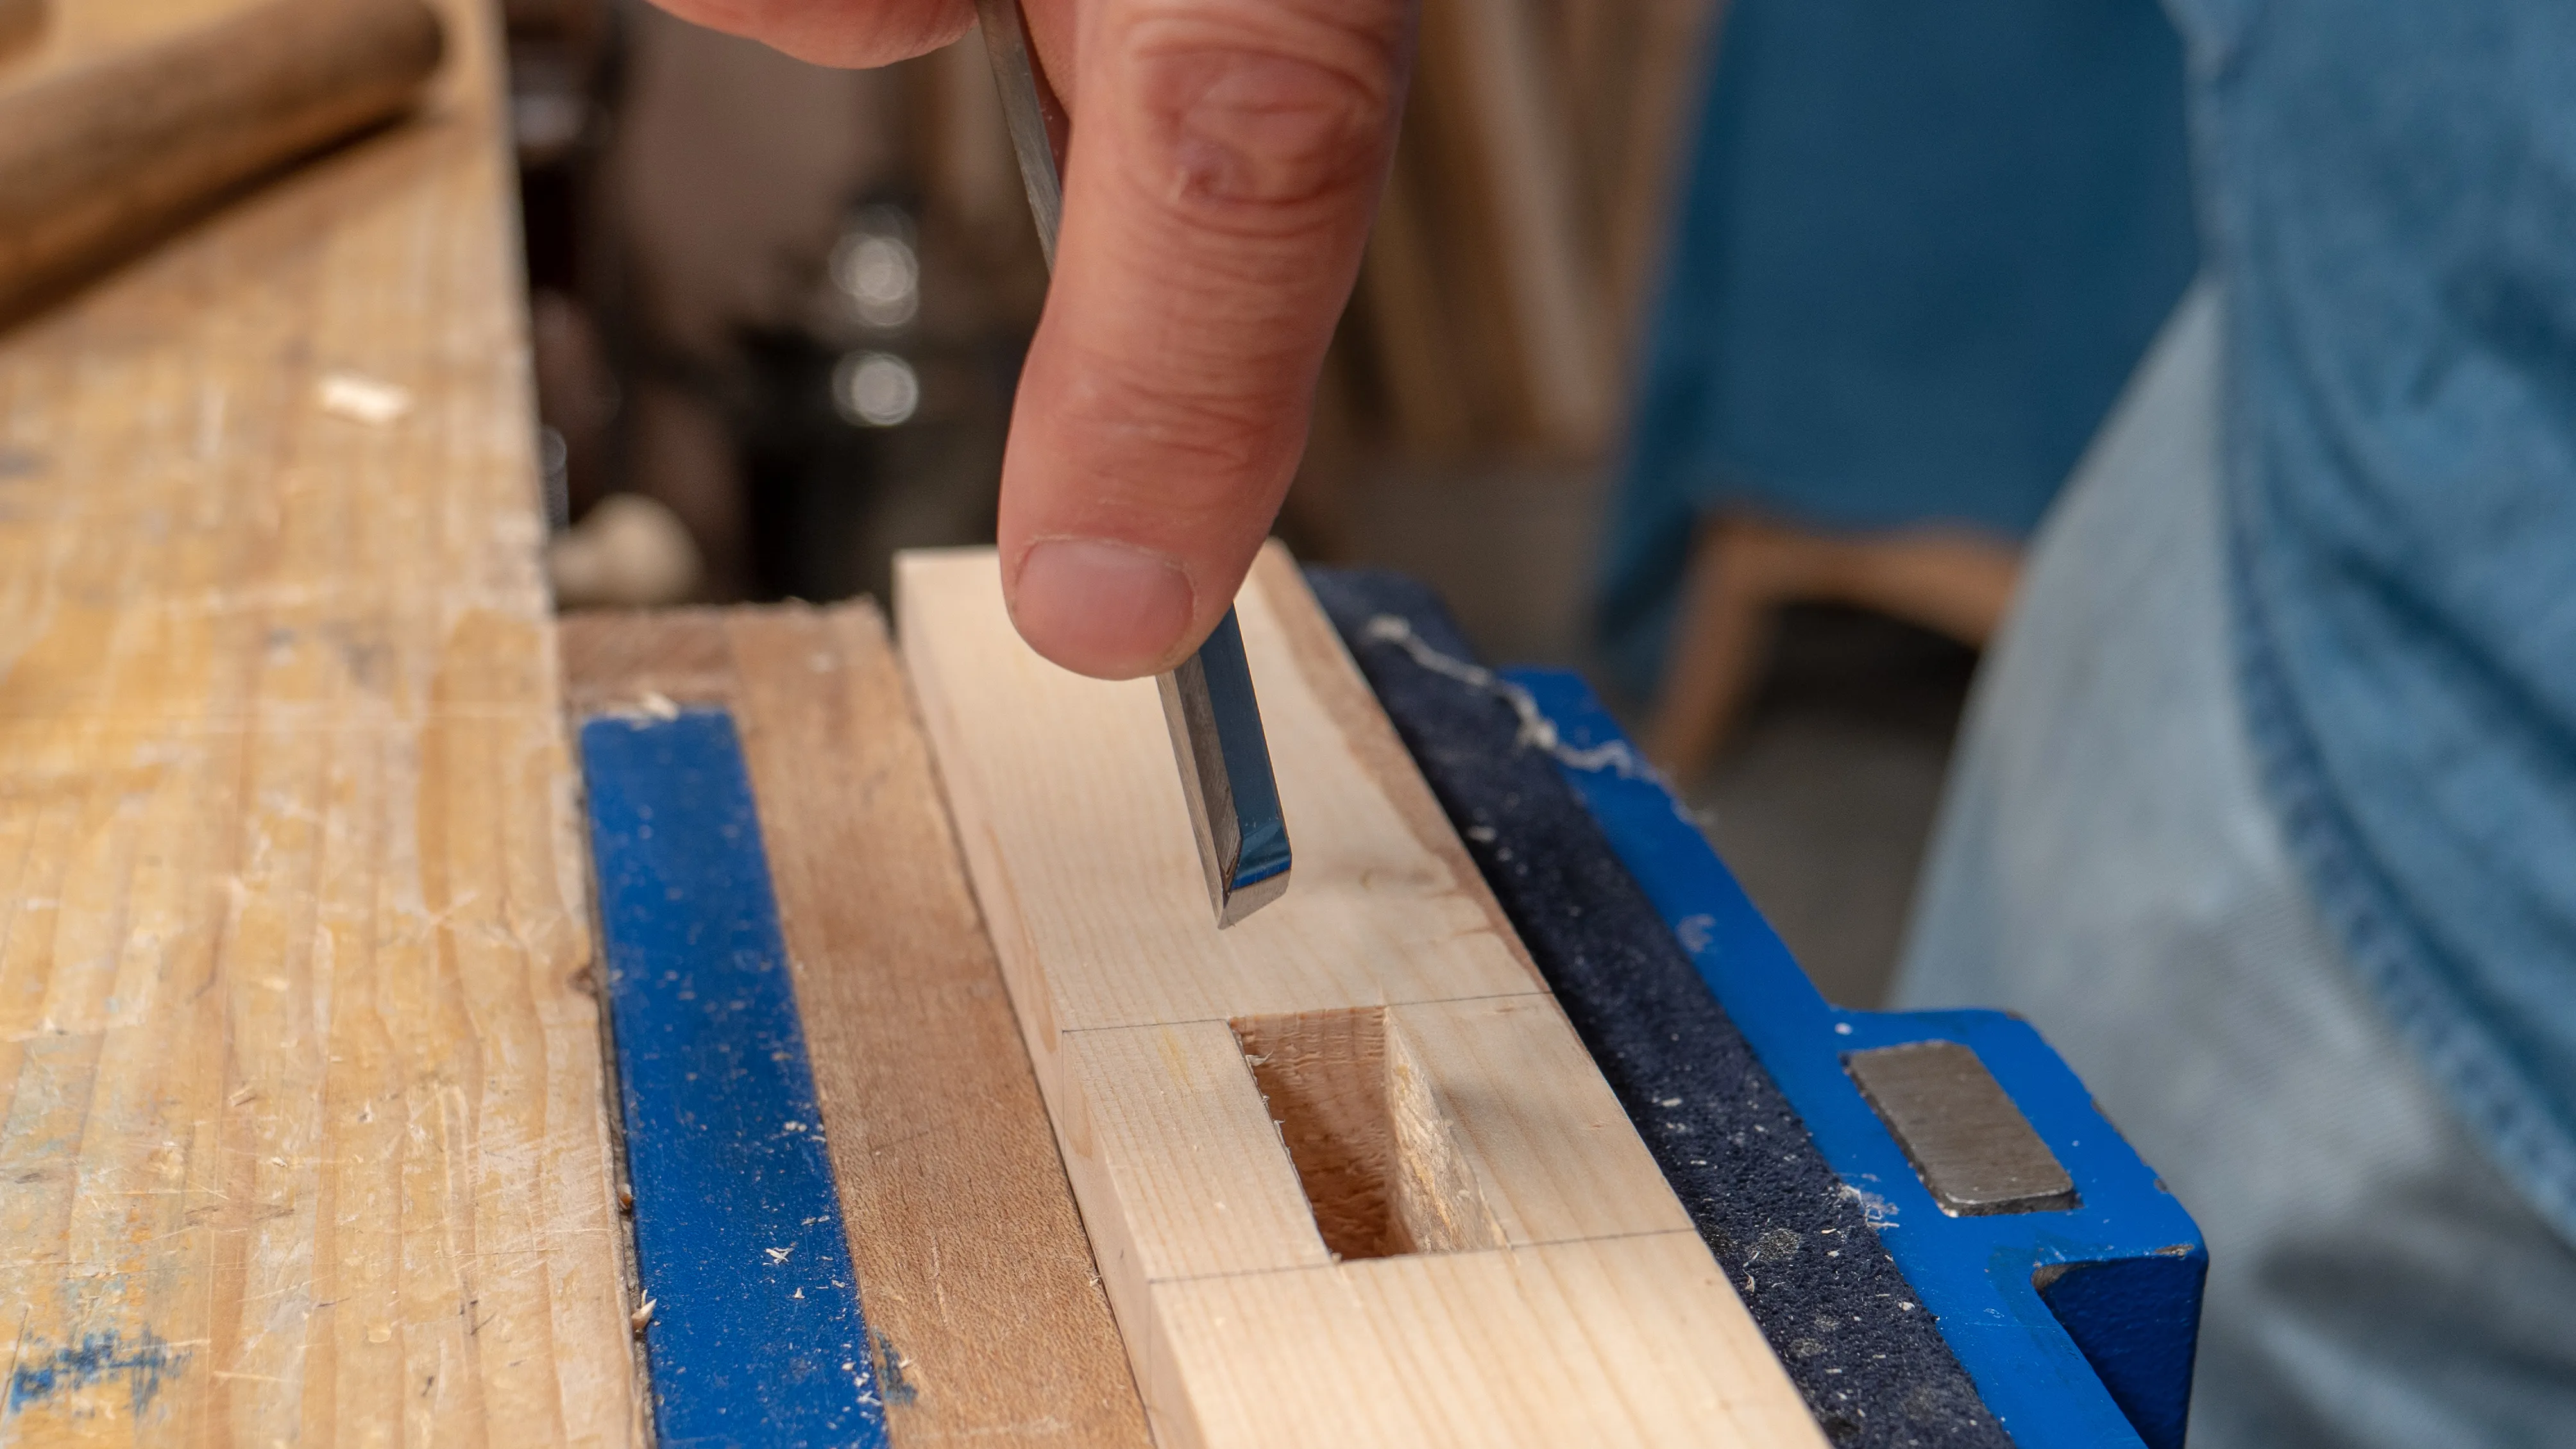
You can continue to chop all the way to the other end or you can turn back after a few chops to deepen the existing hole. This will give you a head start so you will need less passes to get to depth. When chopping inside an existing hole, the chisel should not be vertical, but angled forwards, so that the bevel of the chisel is approximately vertical. This will allow you to lever the chisel up to separate the waste after each chop. Use a narrower chisel to remove waste material from the mortise hole.
When you get 1⁄16” (1.5mm) from the end, turn the chisel around to avoid bruising the edge of the mortise hole. Work to the end gradually by taking small bites to remove the bulk, until you can finally chop vertically right on the knifewall.
Keep chopping and lifting out the waste until you reach halfway. Use your finger to gauge how deep the chisel has progressed.
When you have reached approximately half way, turn your workpiece over and go in from the other side using the same method. This will take less effort than continuing from the same side, and will eliminate the risk of breaking out and splitting the opposite face.
As you feel you are nearing the centre (you should hear a slight difference in the sound), take lighter chops so you do not overshoot into your bench.
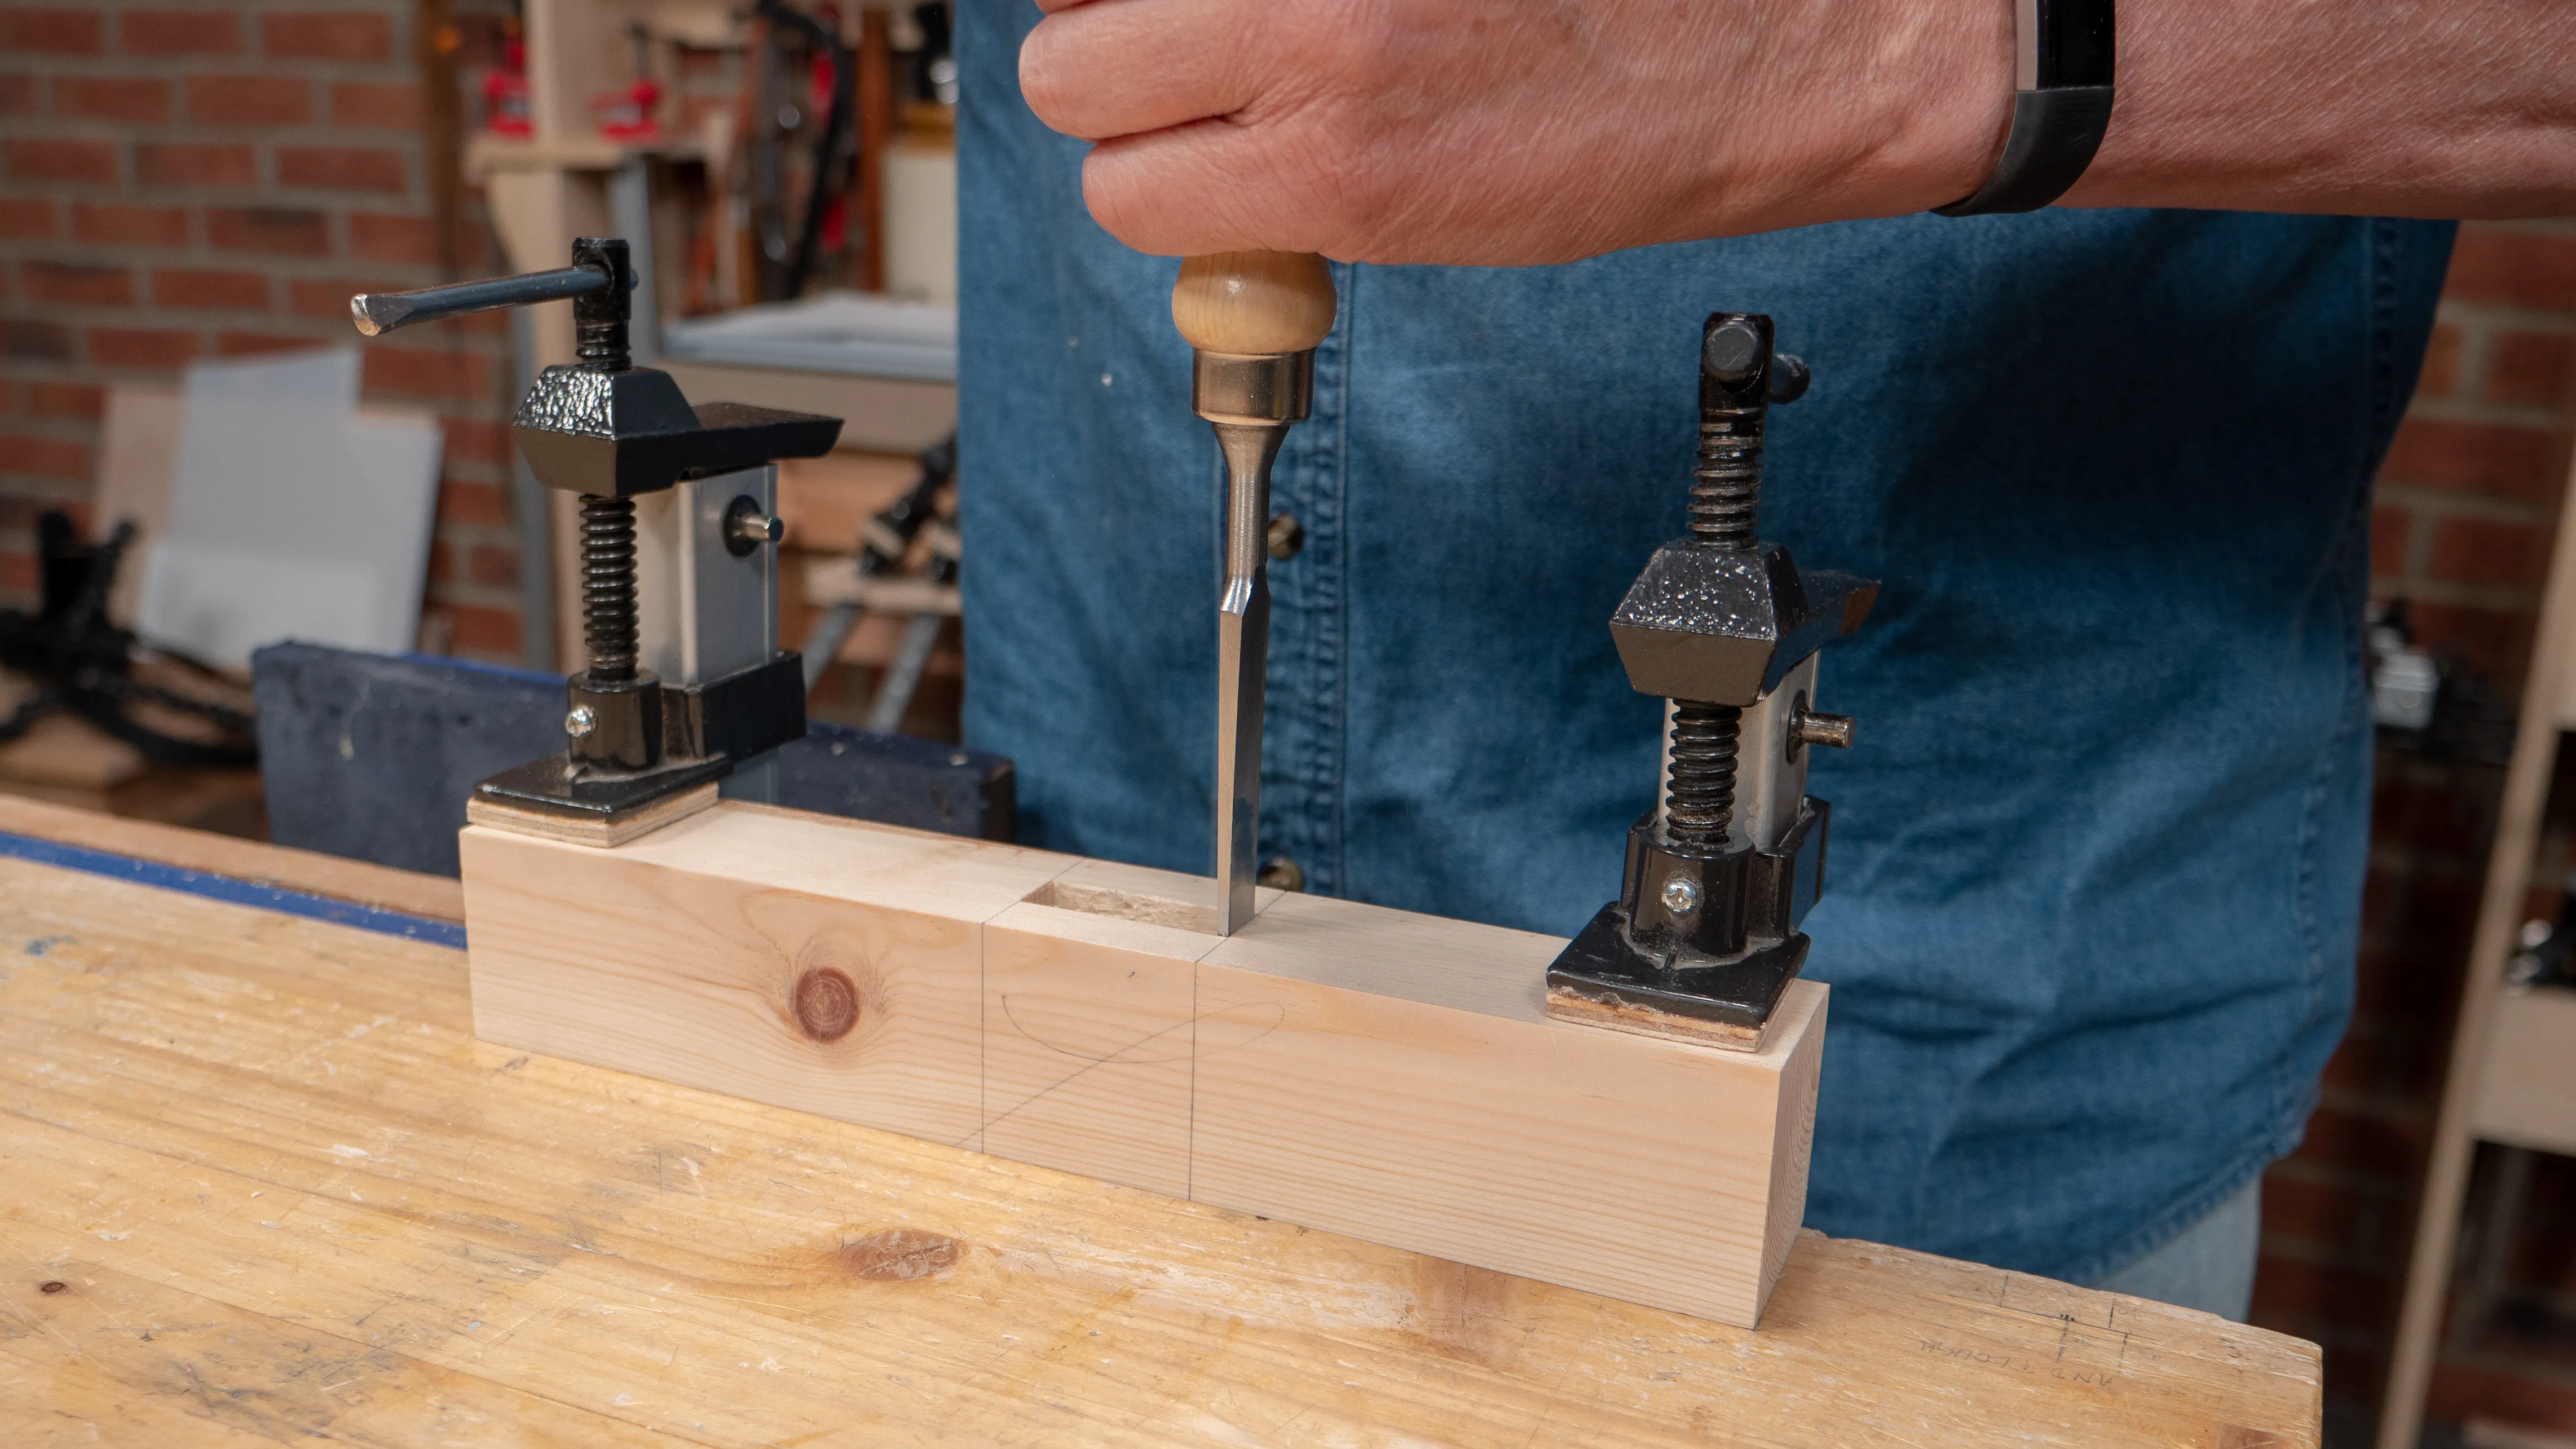
TIP: Wide and thin boards should be chopped on the bench top to reduce bounce. If you don’t have a vise you can clamp this to a solid bench.
Sign in to track your progress