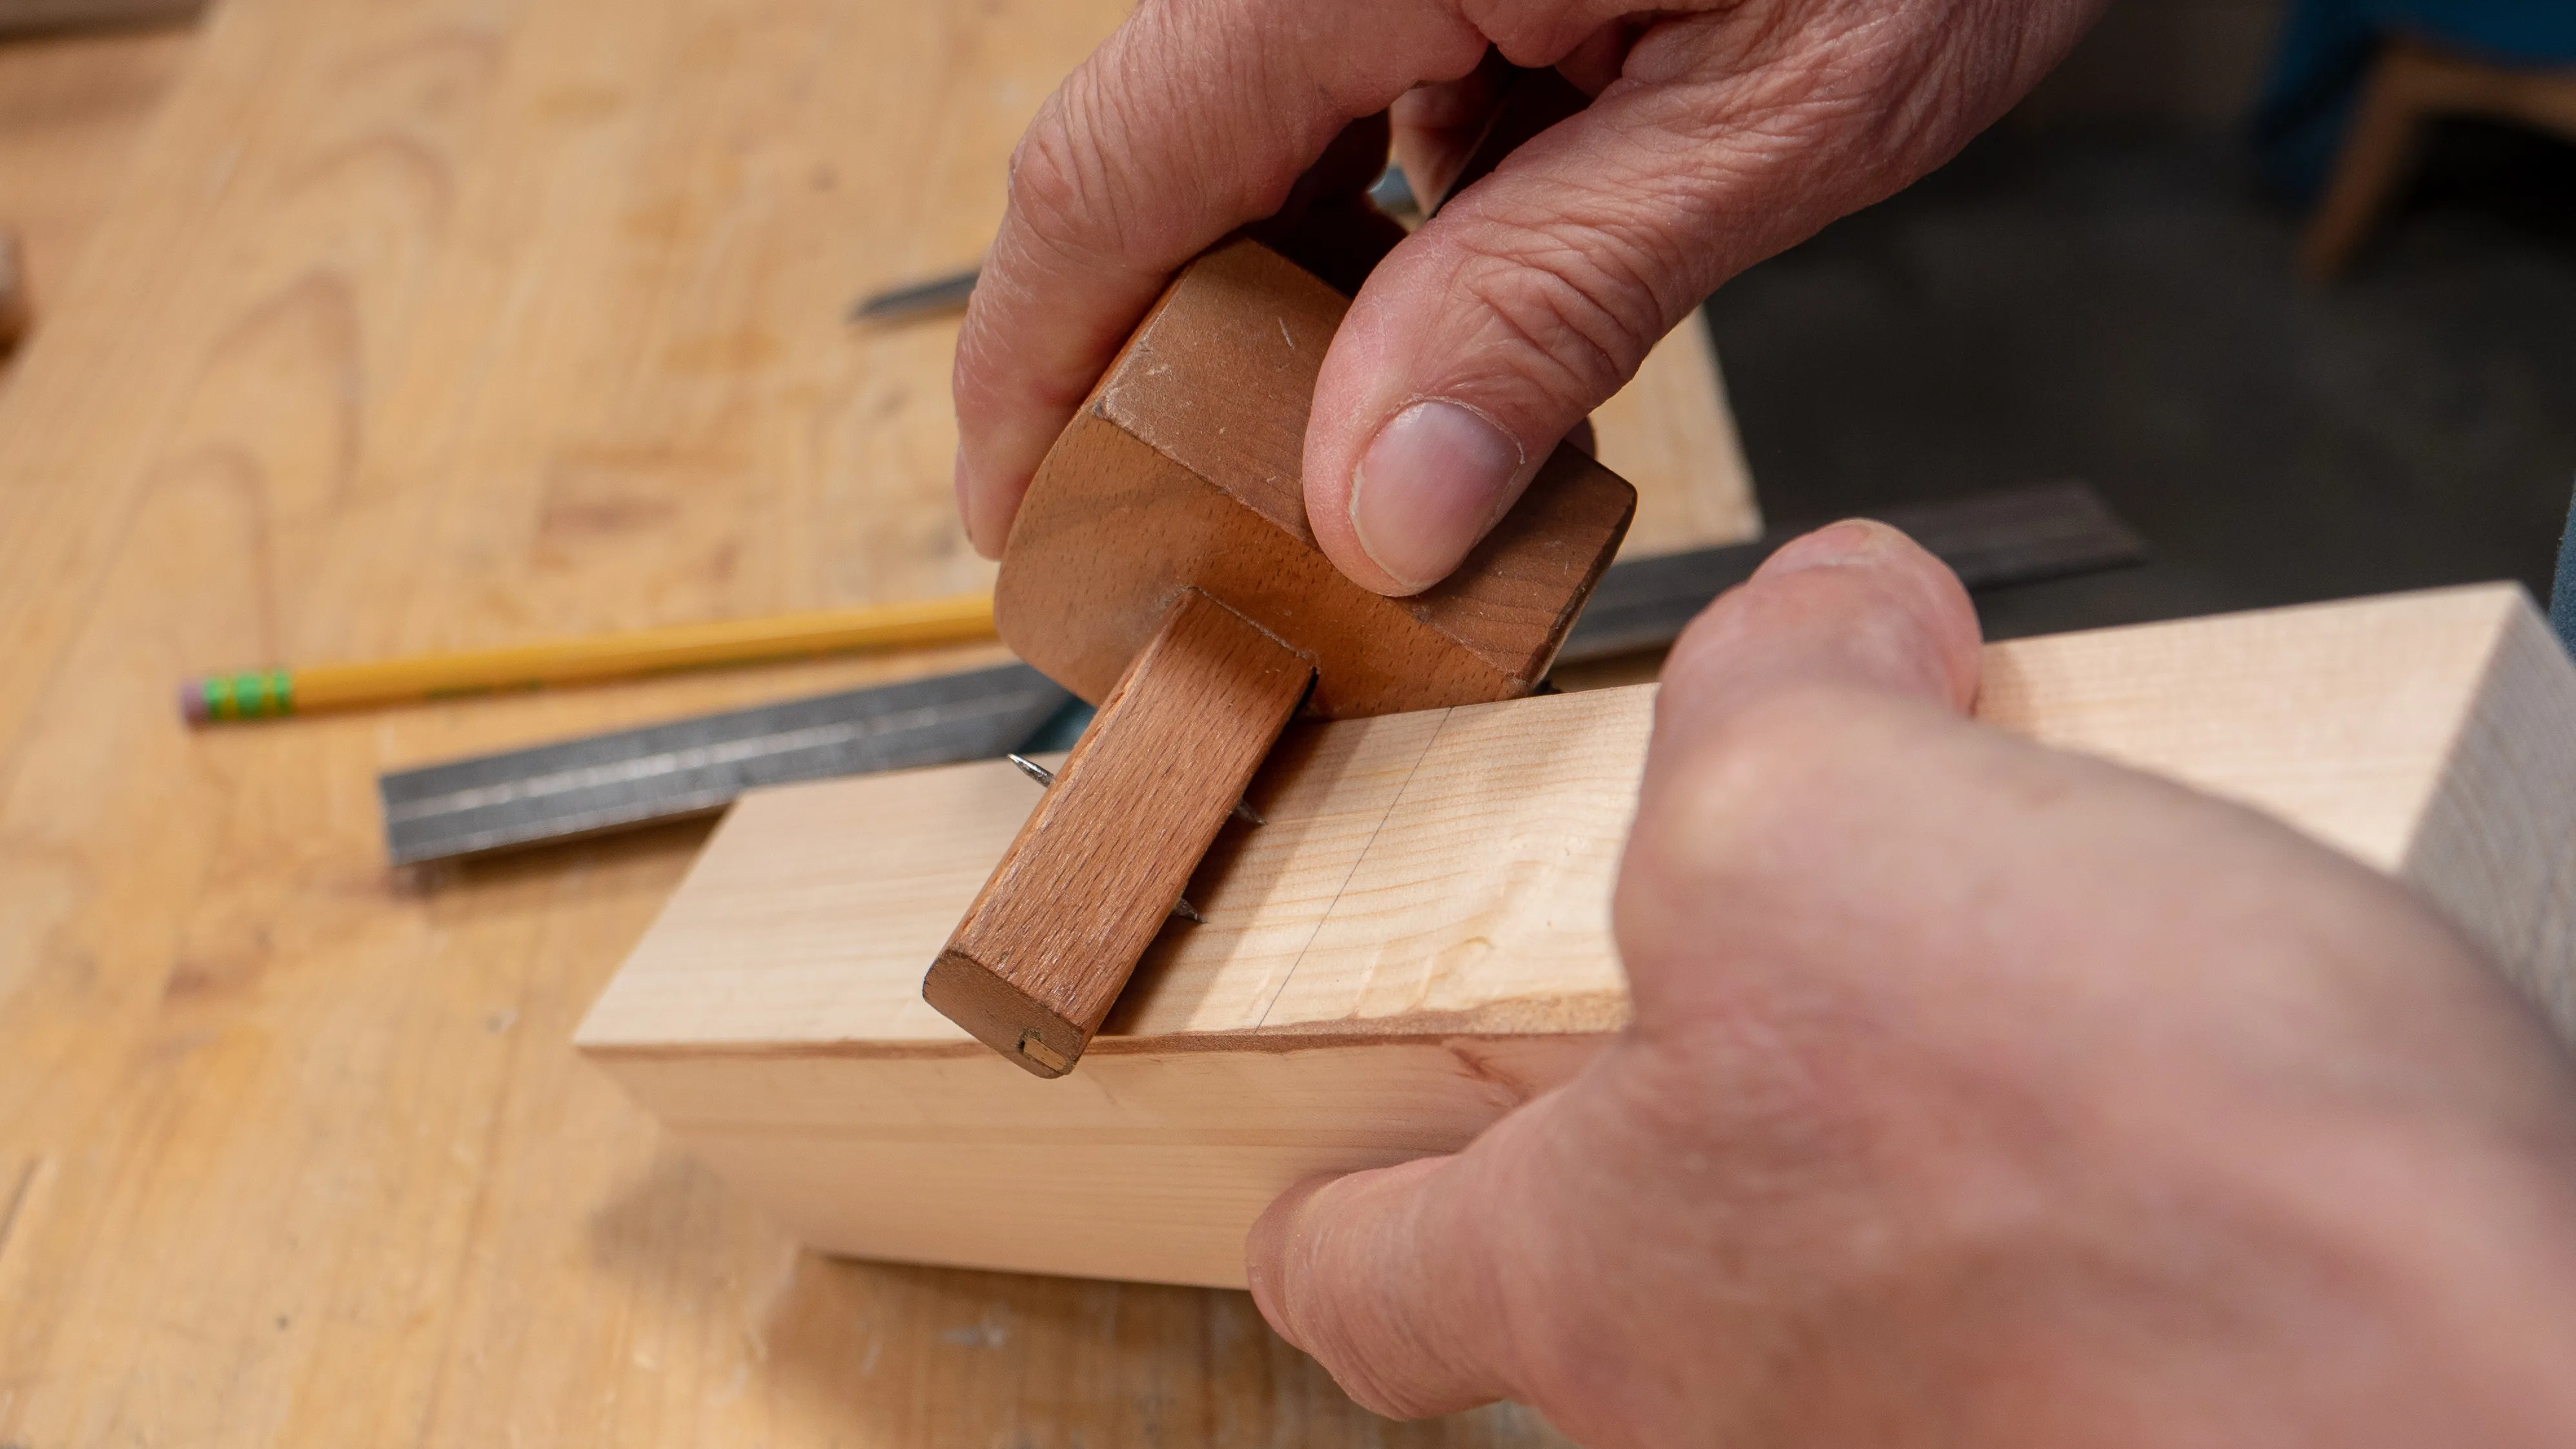
Marking Out The Mortise
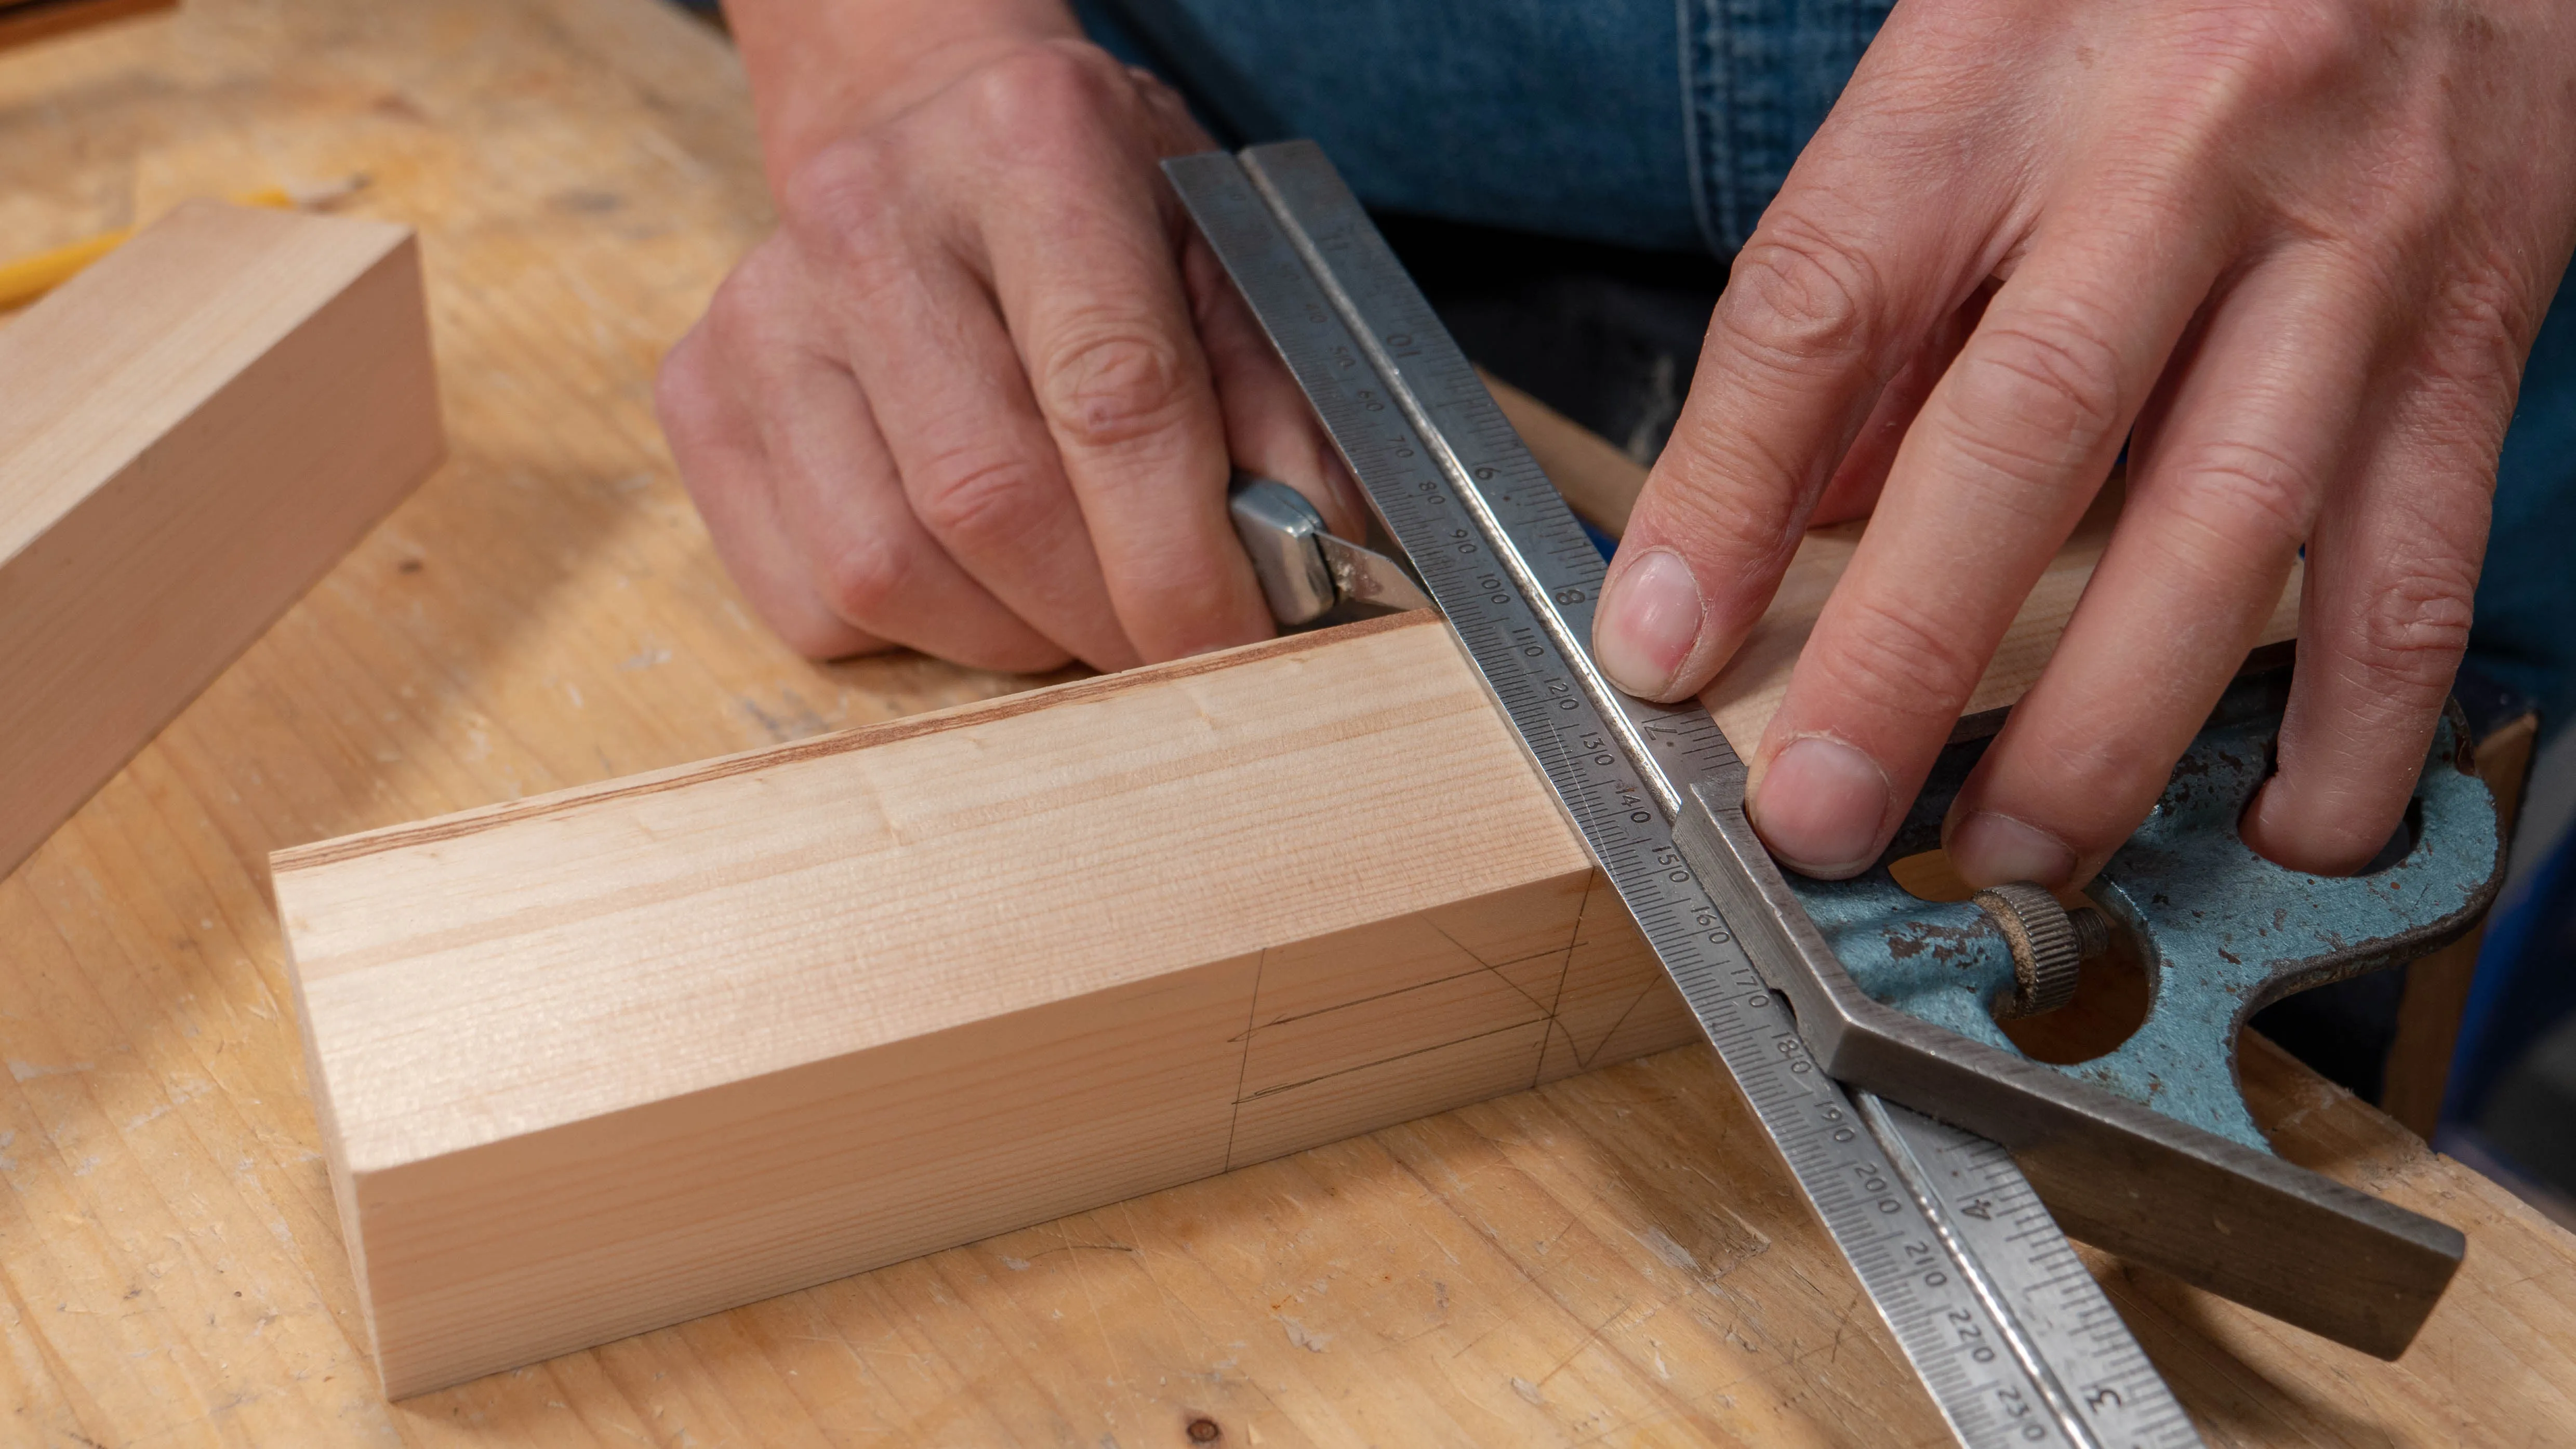
Firstly, mark the width of the mortise hole by running your mortise gauge – still set as before – between the two pencil lines on one of the faces. Then flip over the mortise piece, end for end, and mark again on the other side, registering against the same face.
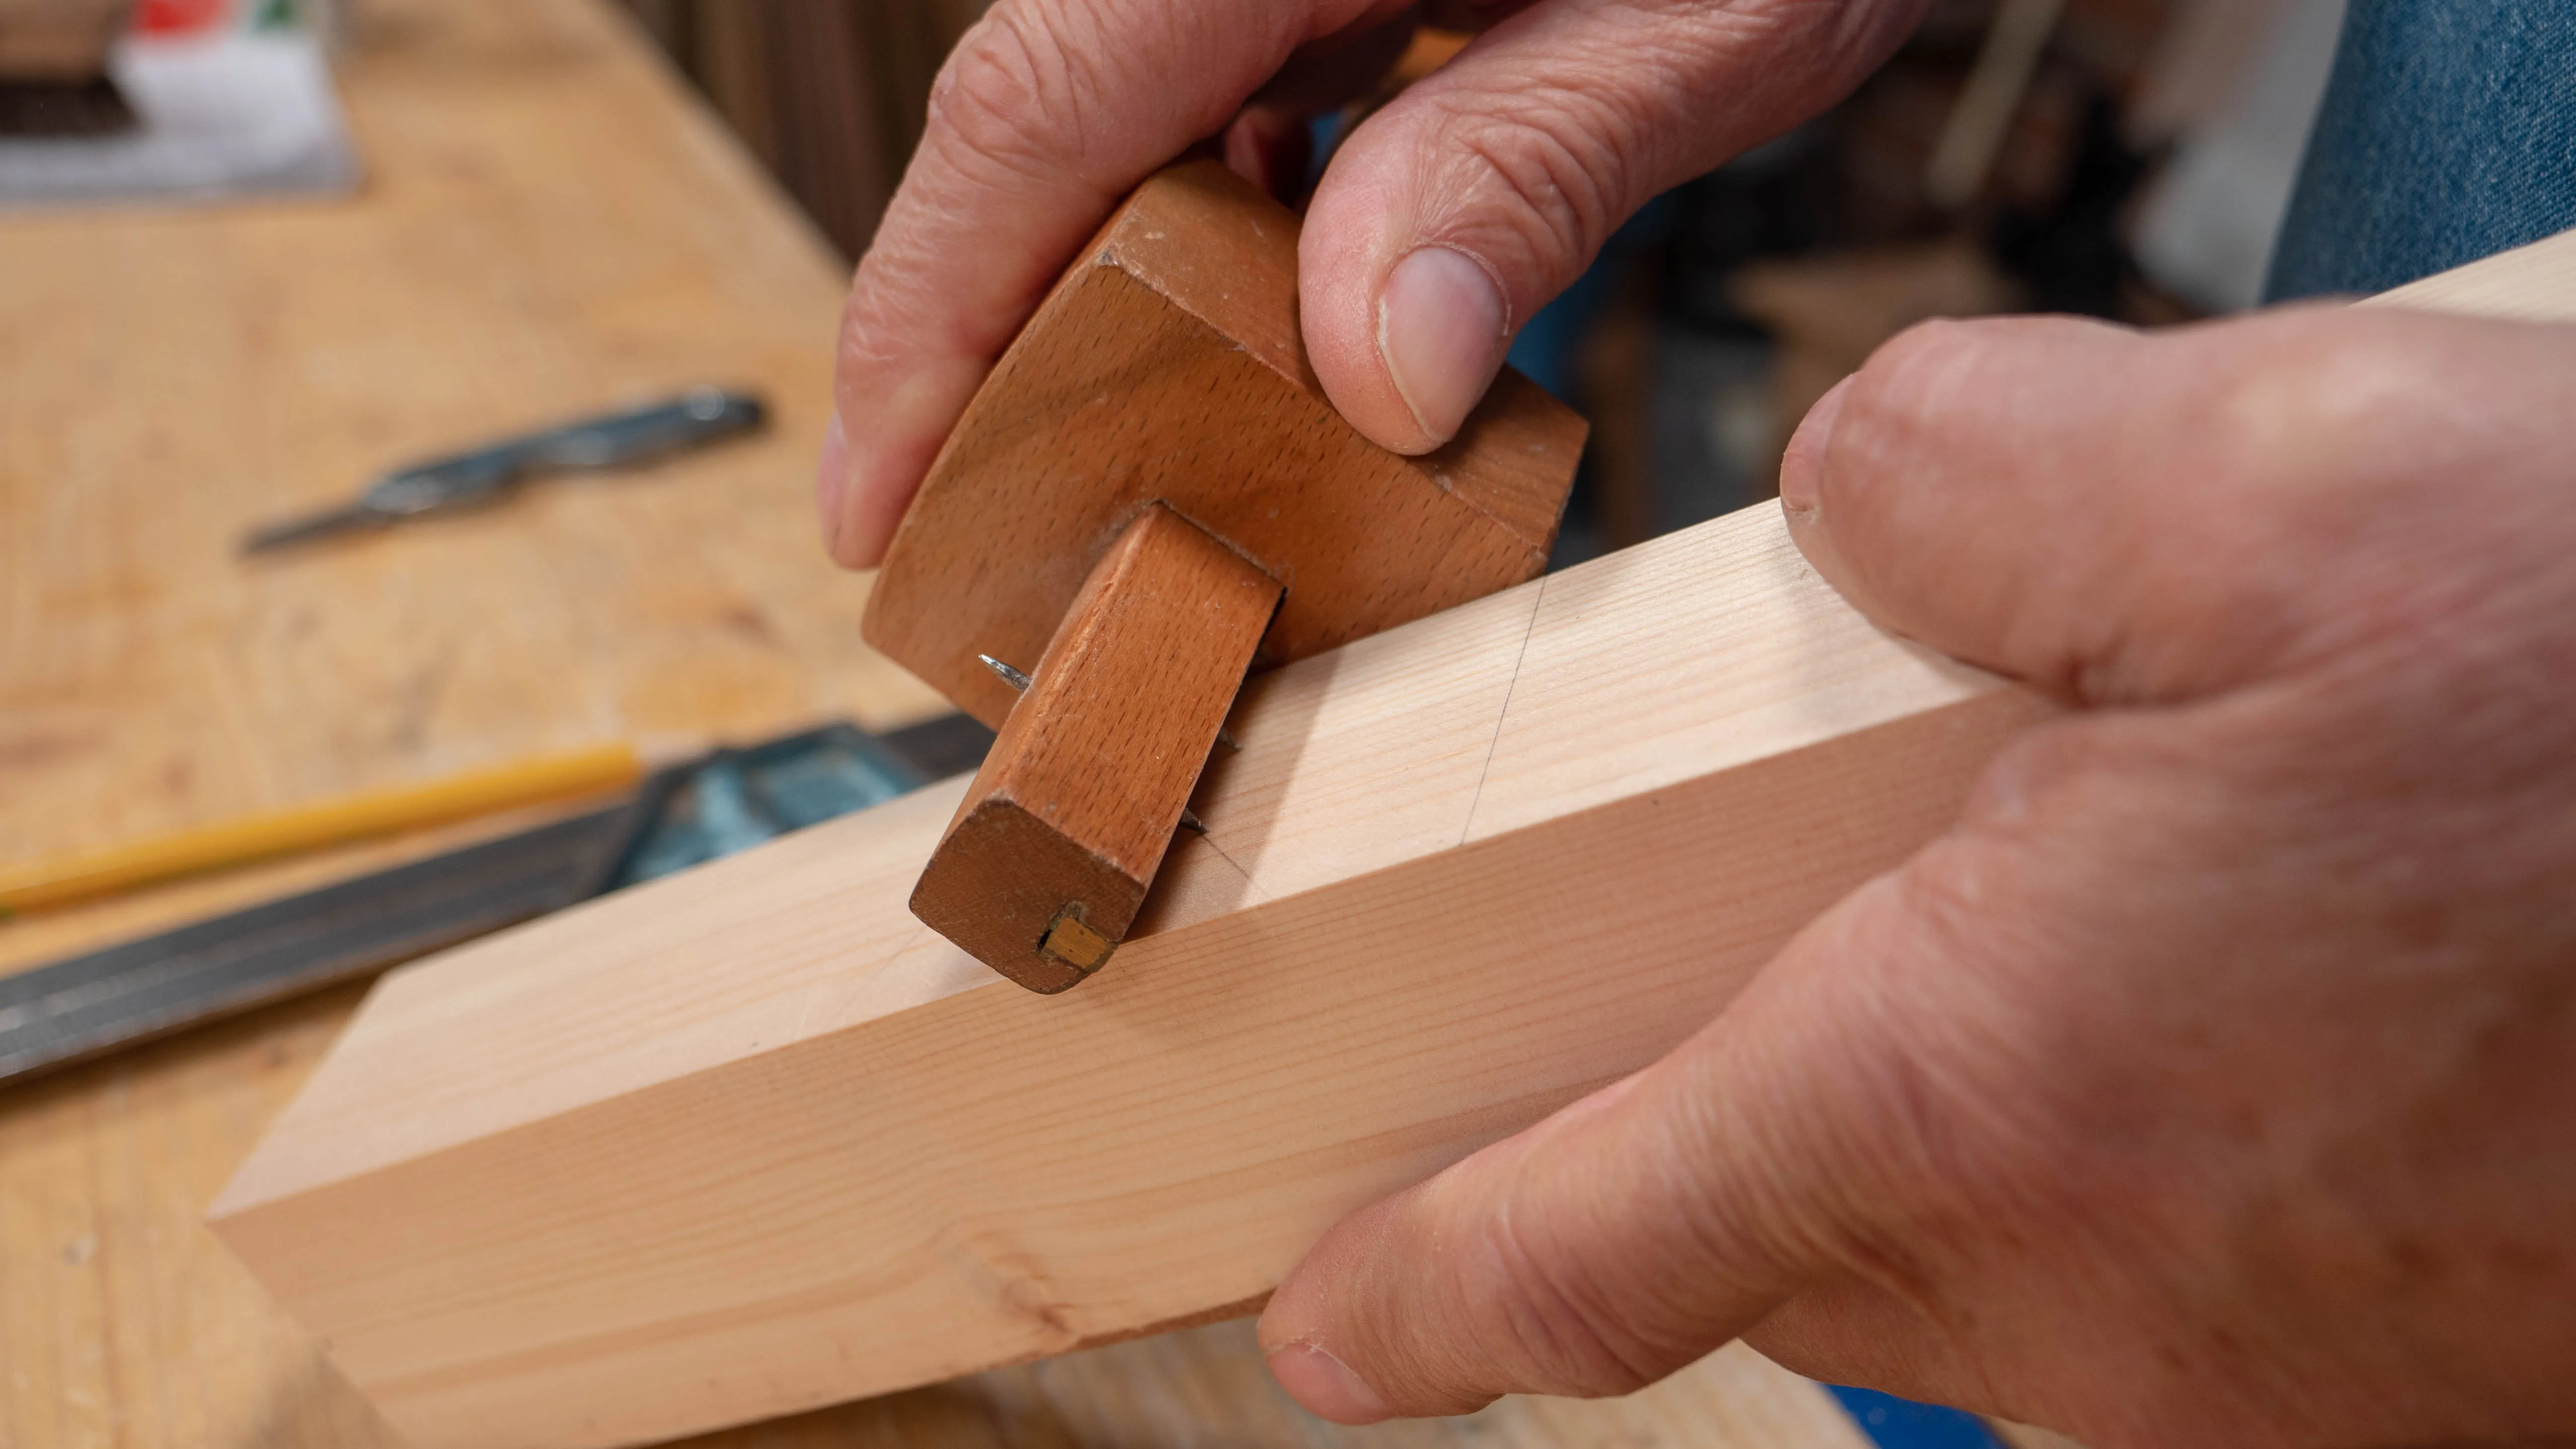
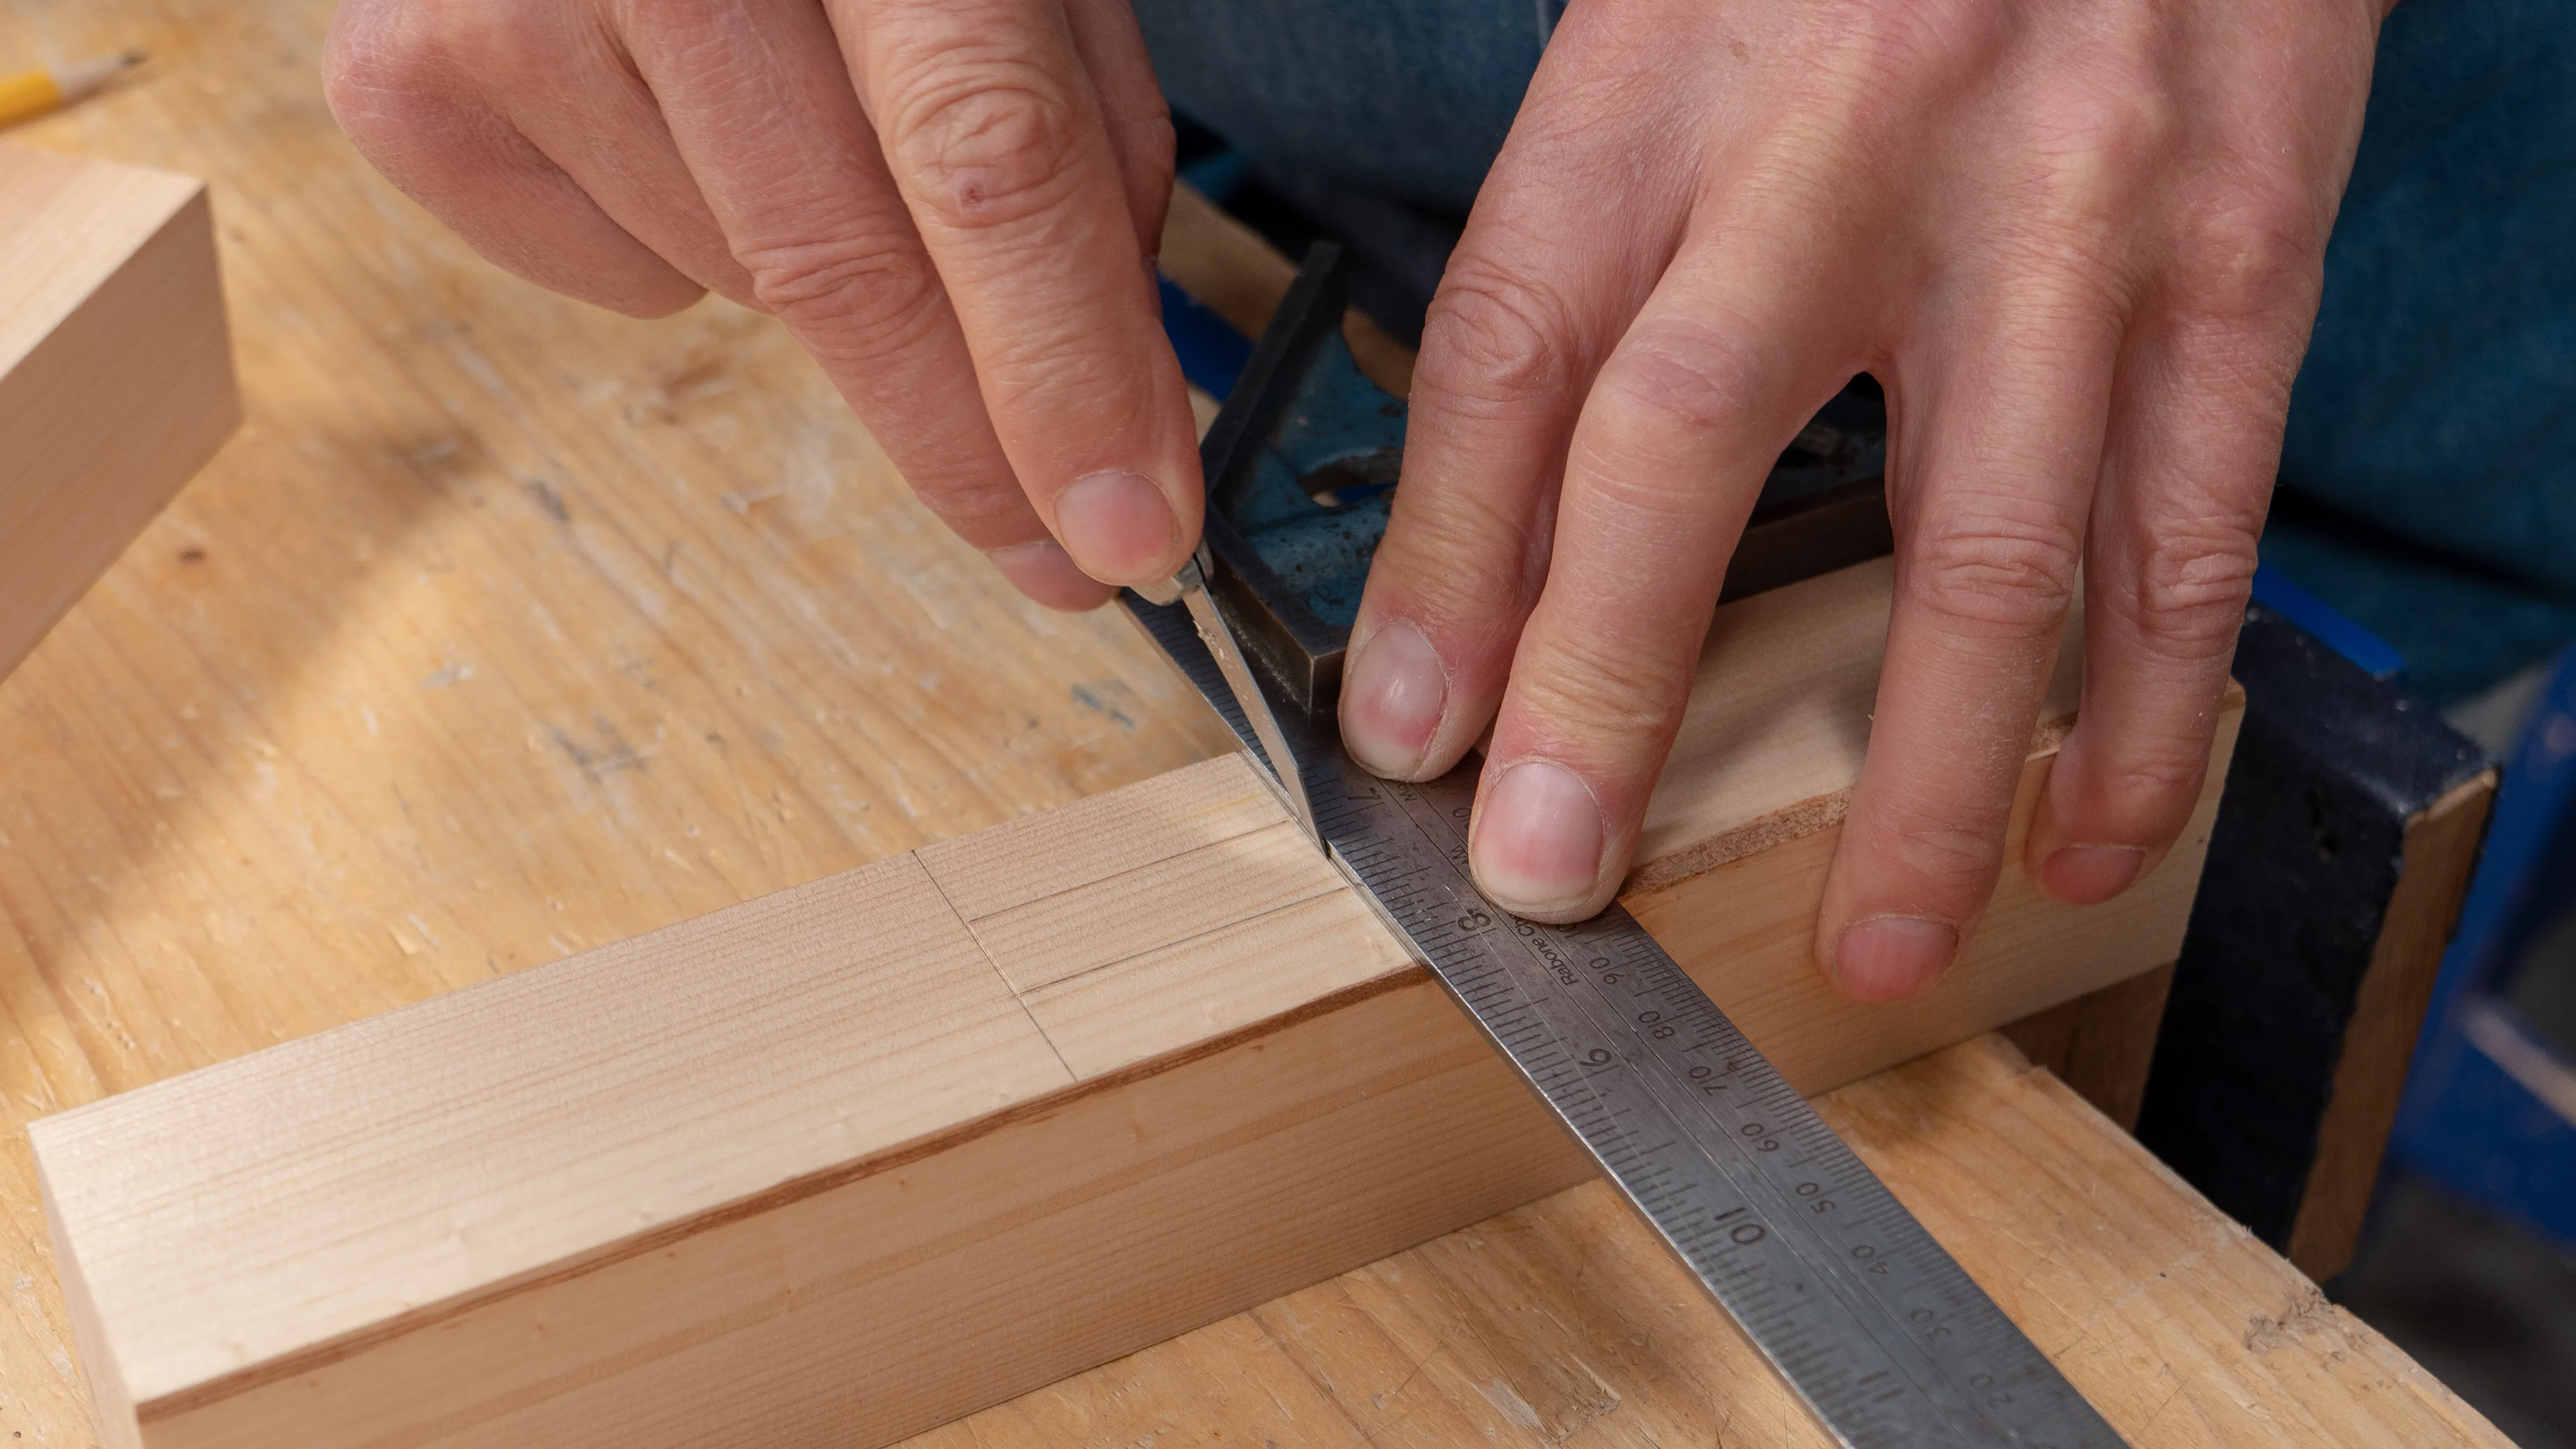
Next, you must mark the ends of the mortise hole with a knife cut on both sides. These must be pretty exact as there won’t be shoulders to conceal the opening. However, you can’t make a knifewall all along the mortise piece as it would be clearly seen in the finished joint. Instead, you must use a knife nick on the corners to ensure a perfectly square hole.
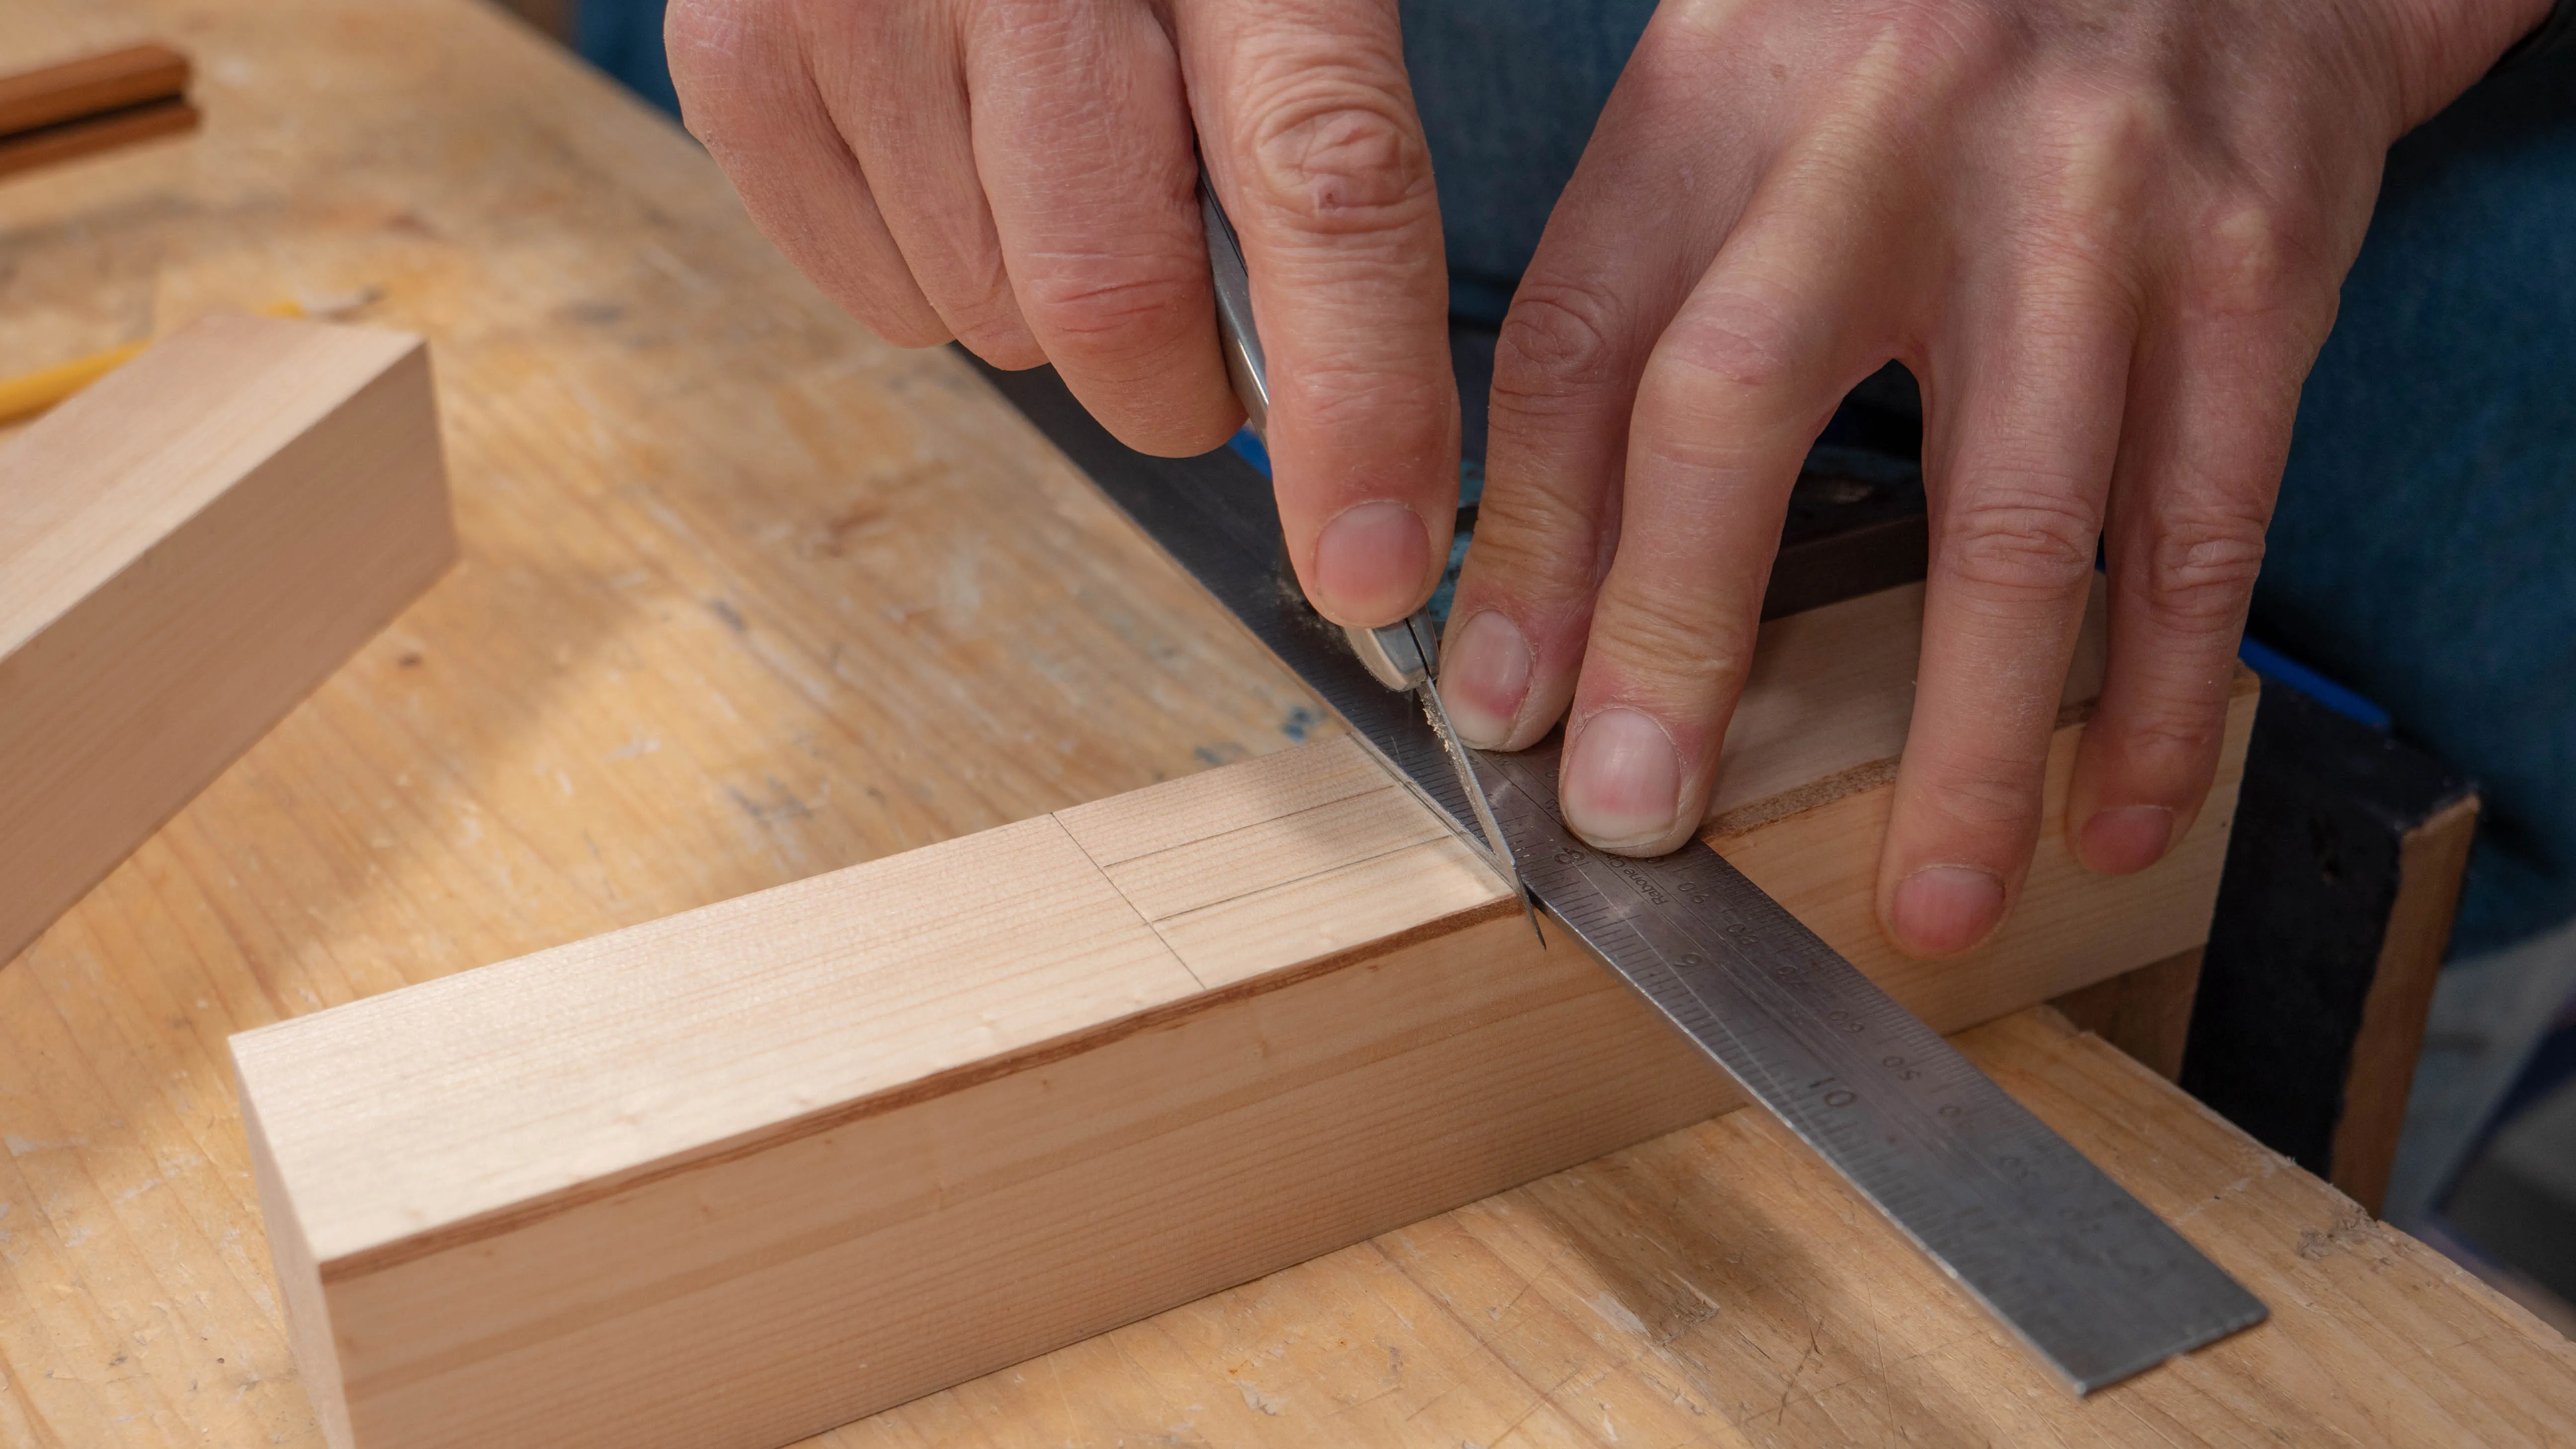
Begin by using your square to make the first knifewall right in between the gauge lines on the first pencil line. Be sure to place the square so that the bruising from the knife goes on the waste wood, i.e. inside the hole. Go gently with the knife, and with the square still locked in place, make a small knife nick right on the far corner. To mark the other extreme on the same face, place the tenon piece on top, align one side with the knifewall and mark the position for the second with the very tip of the knife. Then take the tenon piece away and make the knifewall between the gauge lines using the mark you just made and a square. This should ensure a good fitting joint. Again, make another knife nick right on the corner.
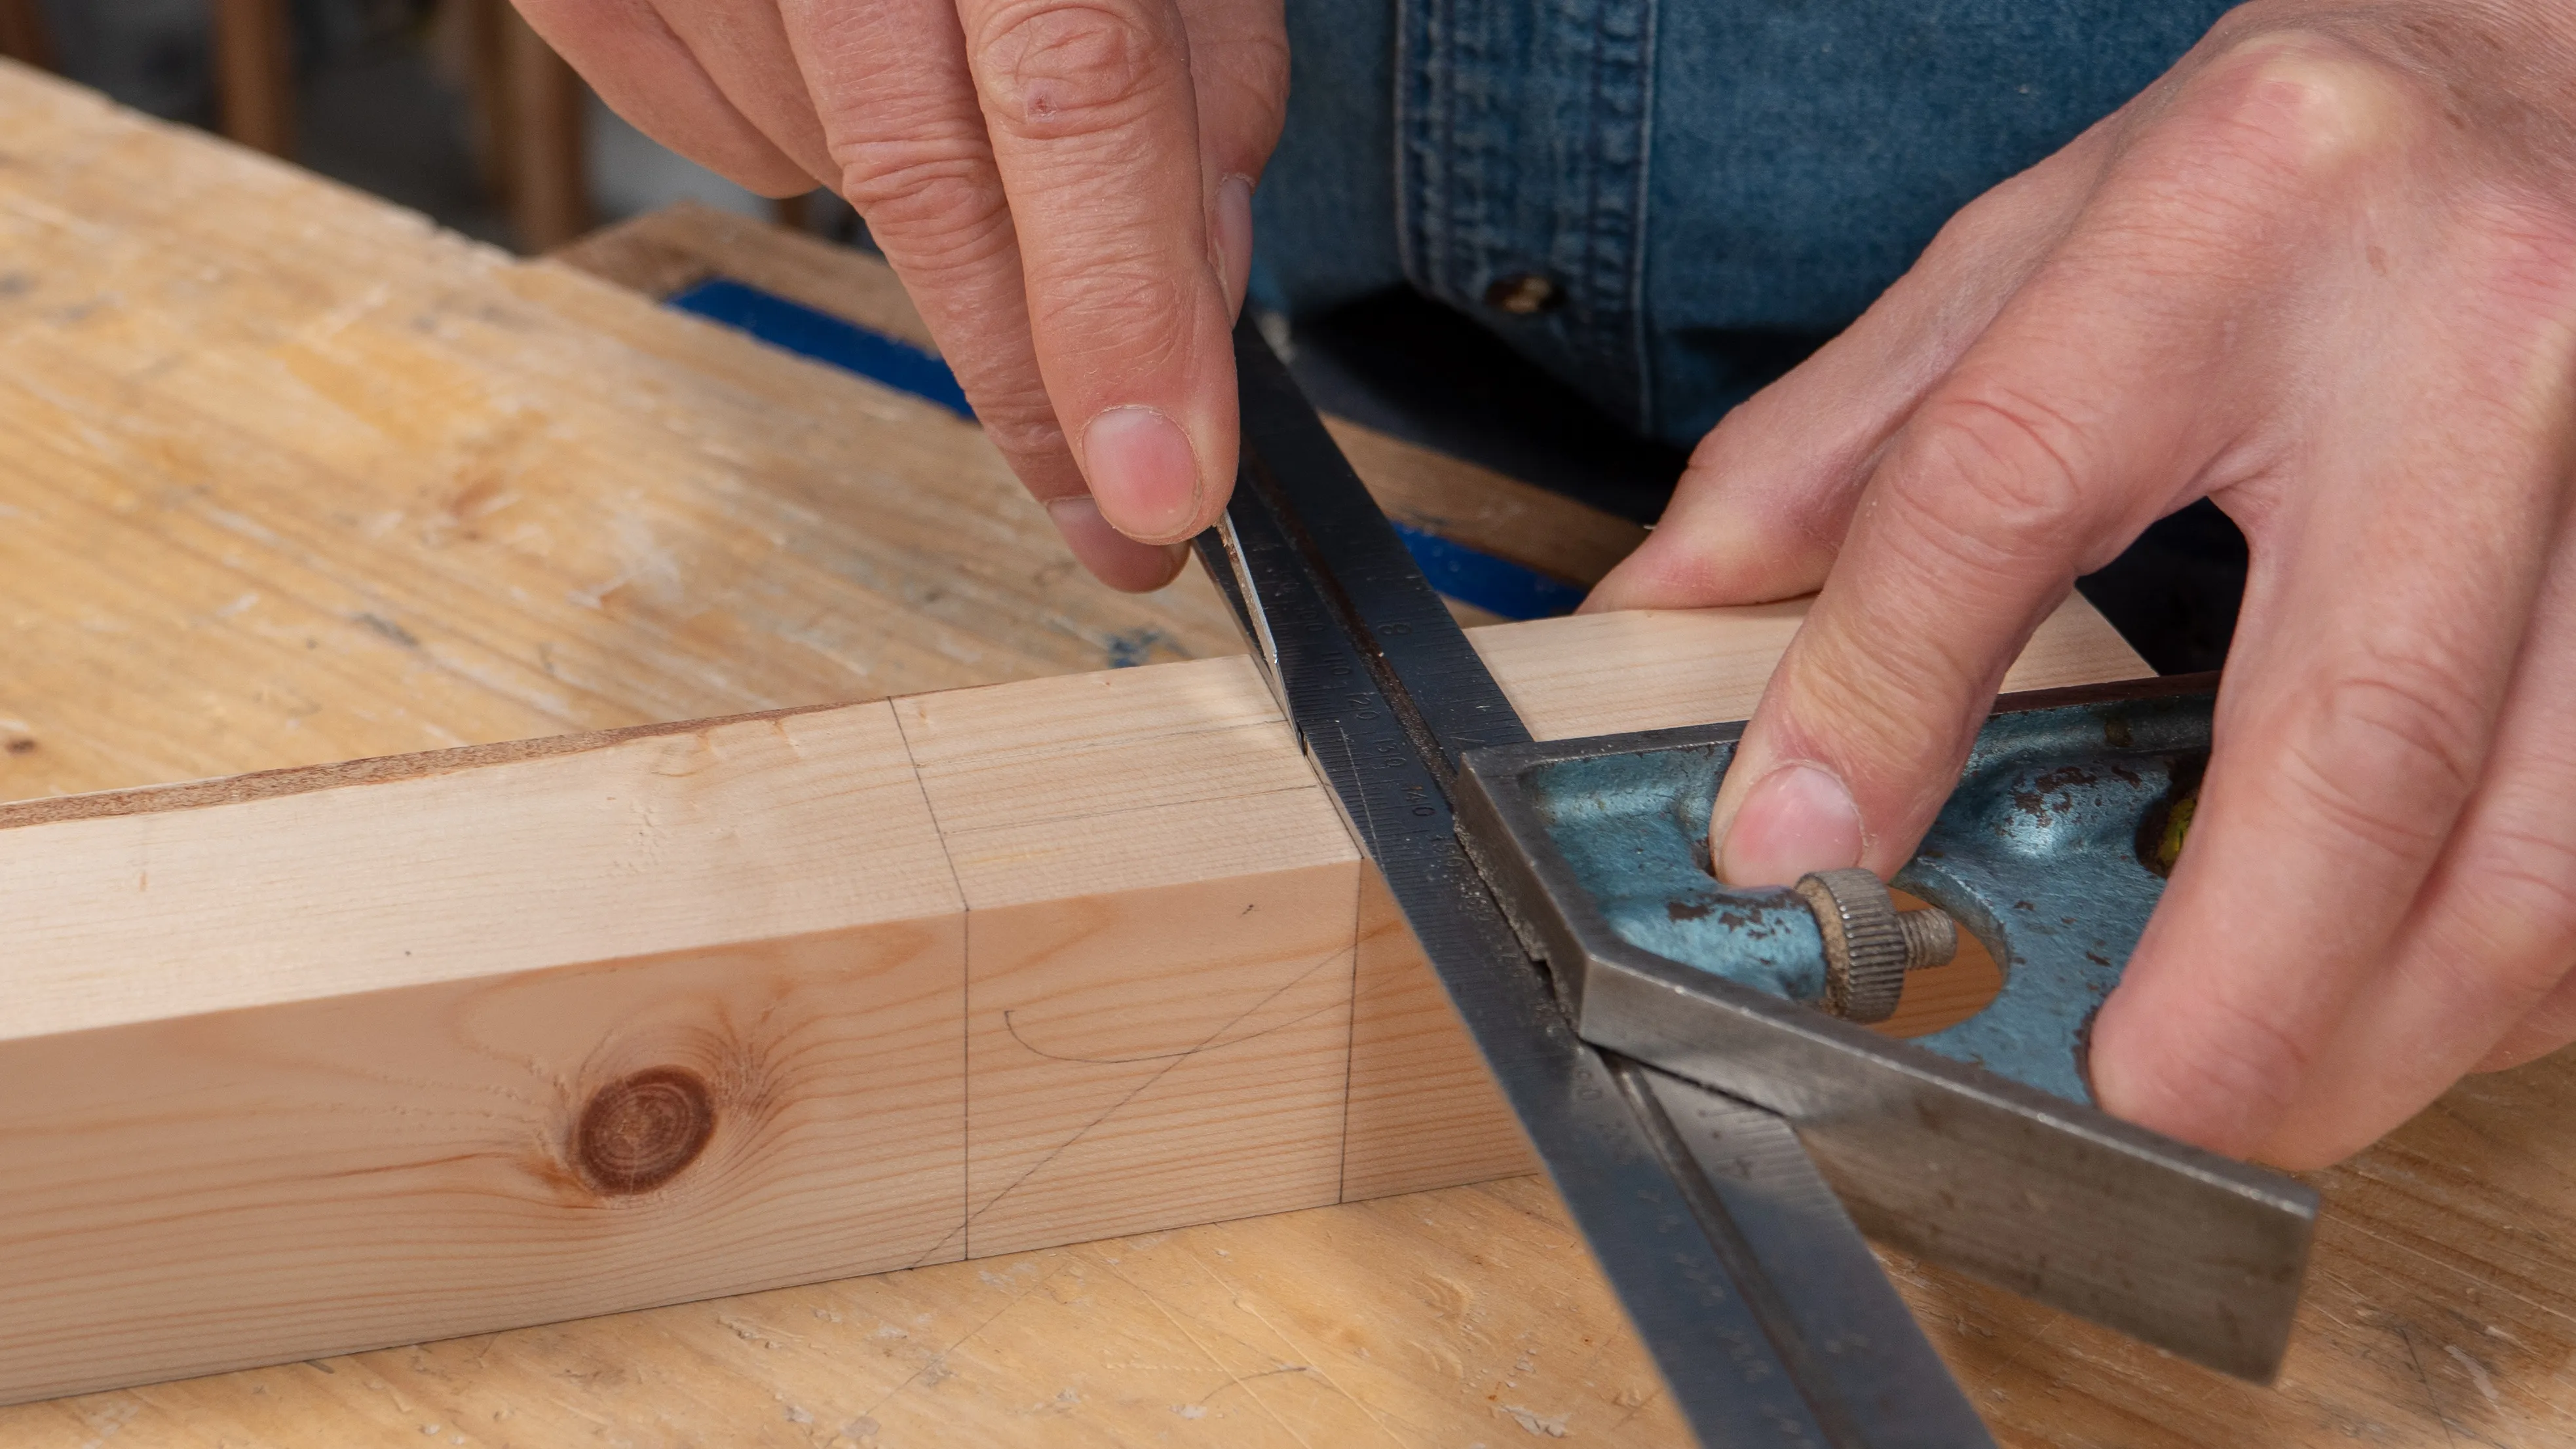
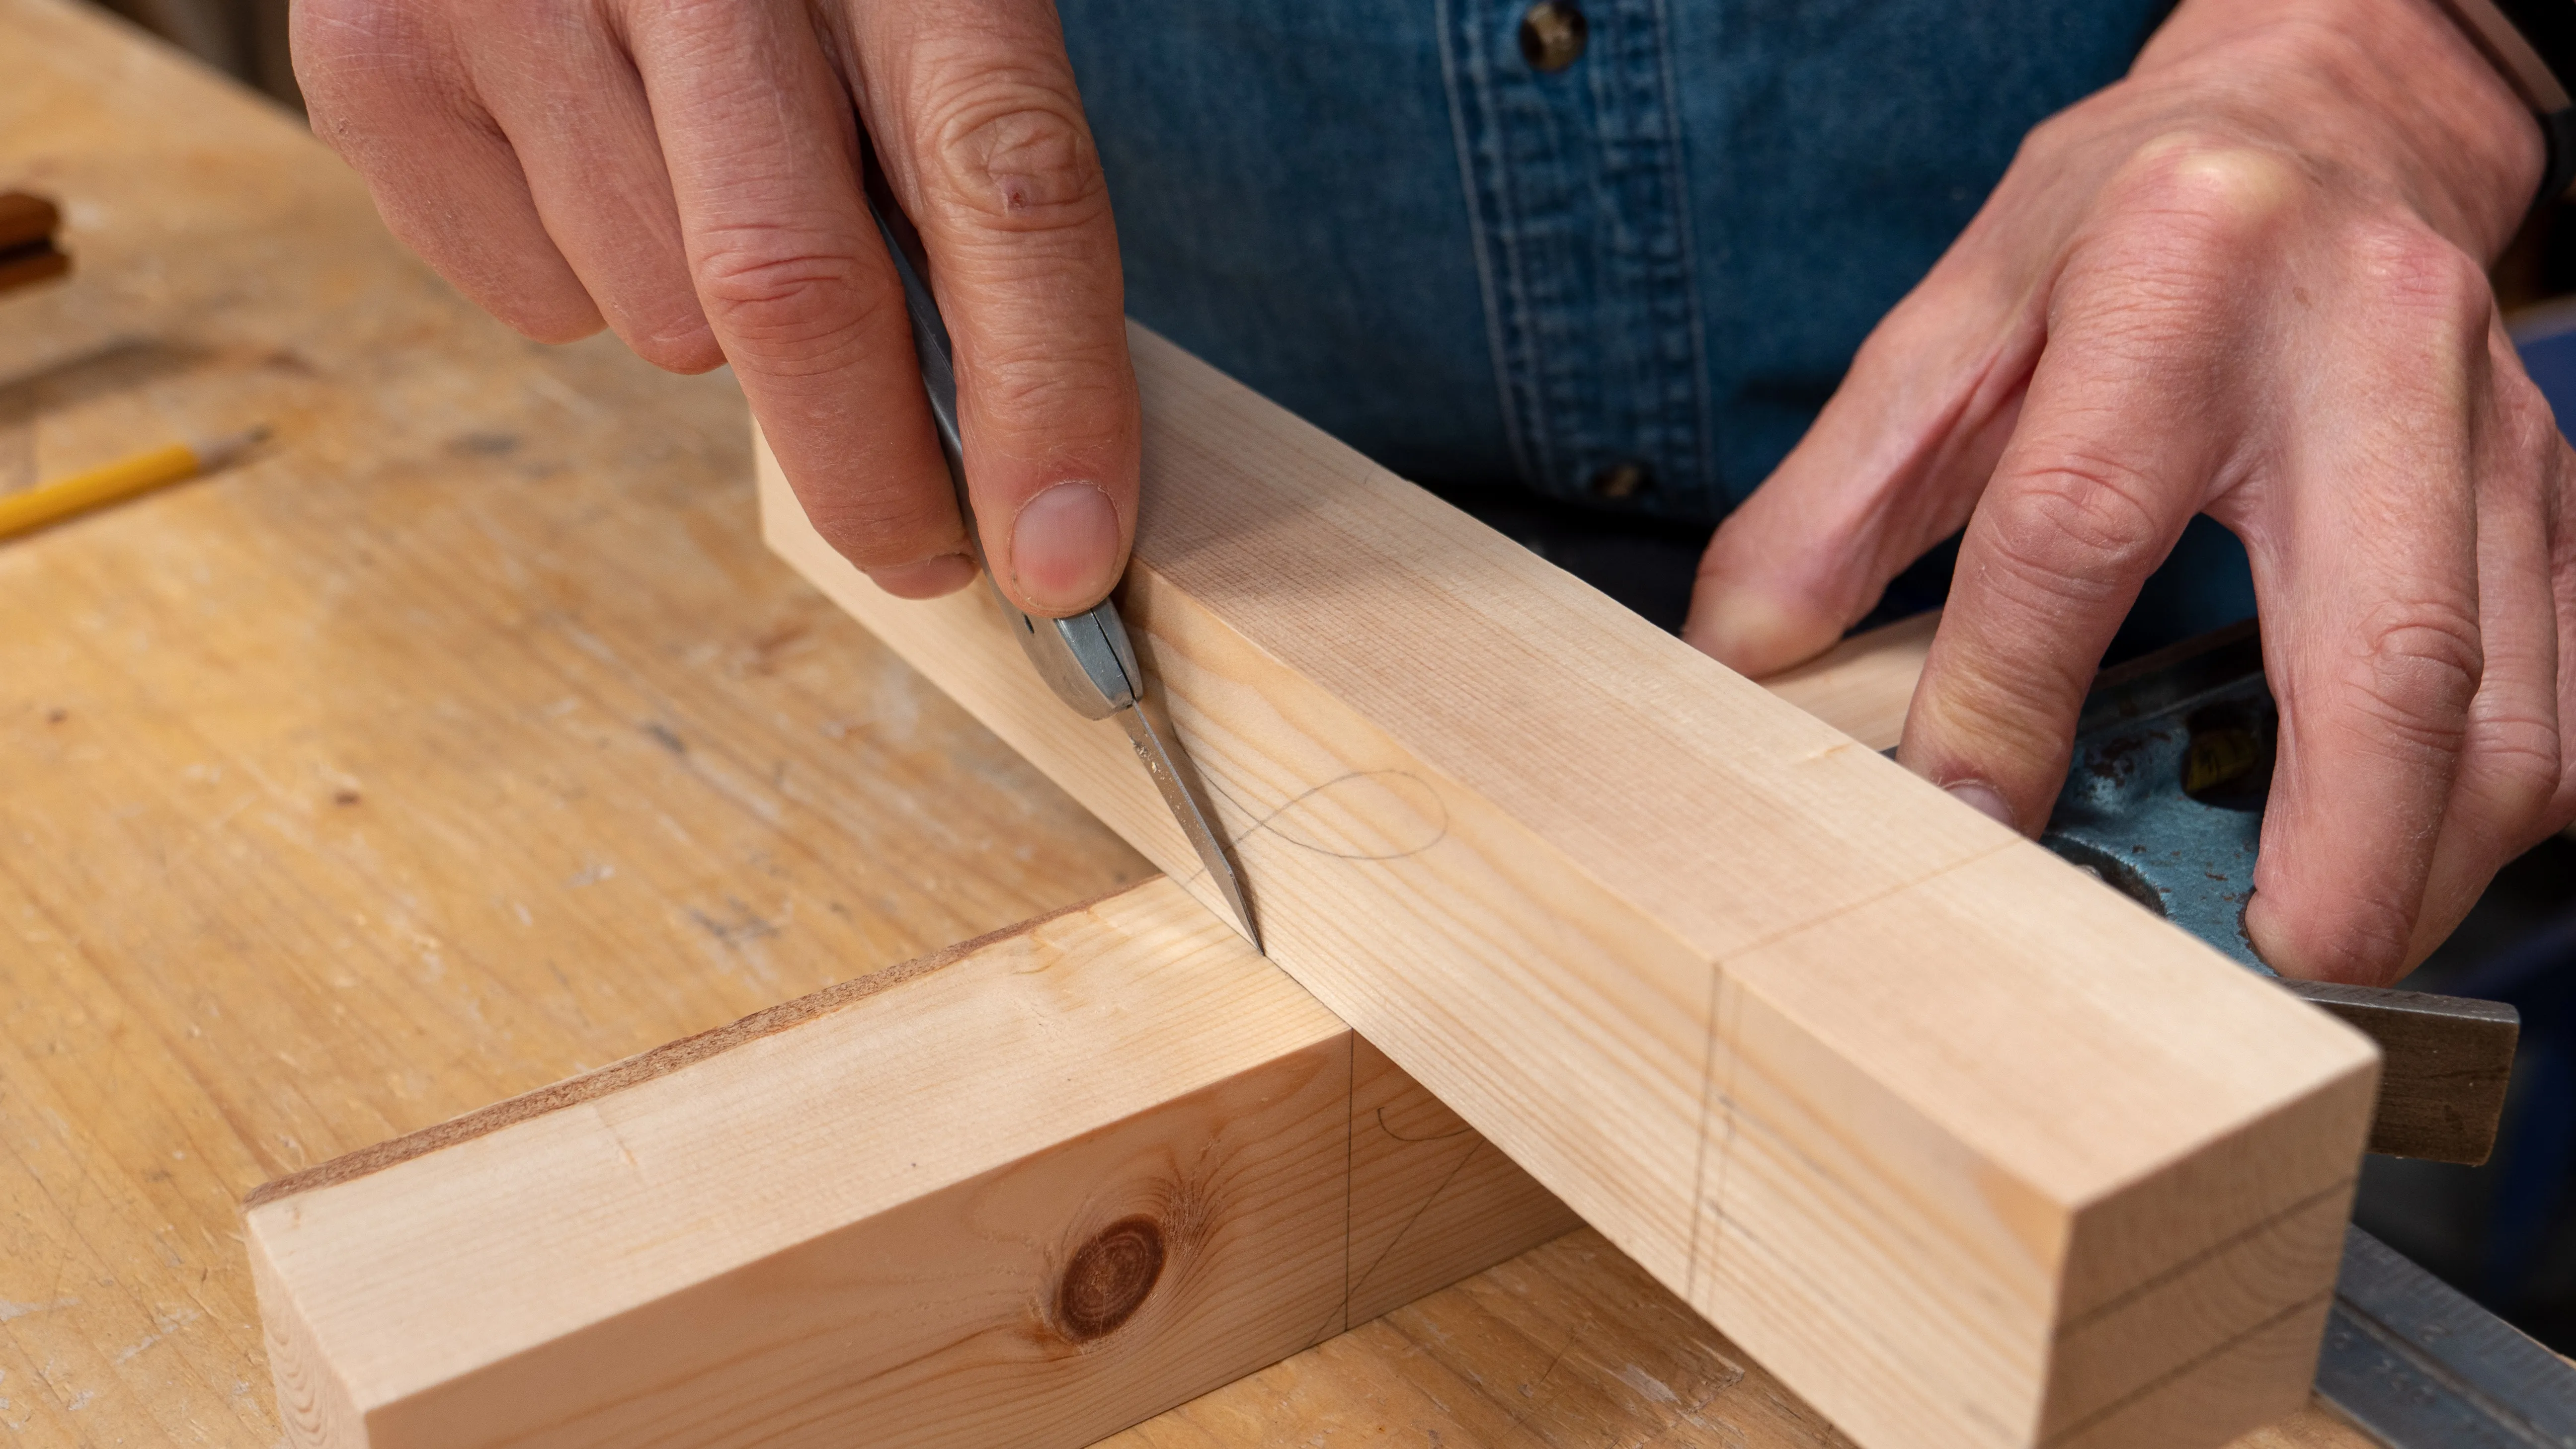
To transfer the knifewalls perfectly square to the other side, turn your mortise piece 90°, register your knife and square against one of the knife nicks and transfer onto the opposite corner, just as if you were making a complete knifewall across the whole face. You can now use this knife nick to register your square again on the opposite face and make the final knifewall between the gauge lines. Repeat for the other knifewall, always checking that the bruising from the knife (even with the knife nick) goes on the waste wood.

Sign in to track your progress