Initial Layout Markings
Begin by deciding on the general arrangement of the parts and, once you’ve checked for square, make a face and face edge marking on both parts. This will be a through mortise and tenon, which means we can simply use each piece to mark the corresponding positions on the other piece.
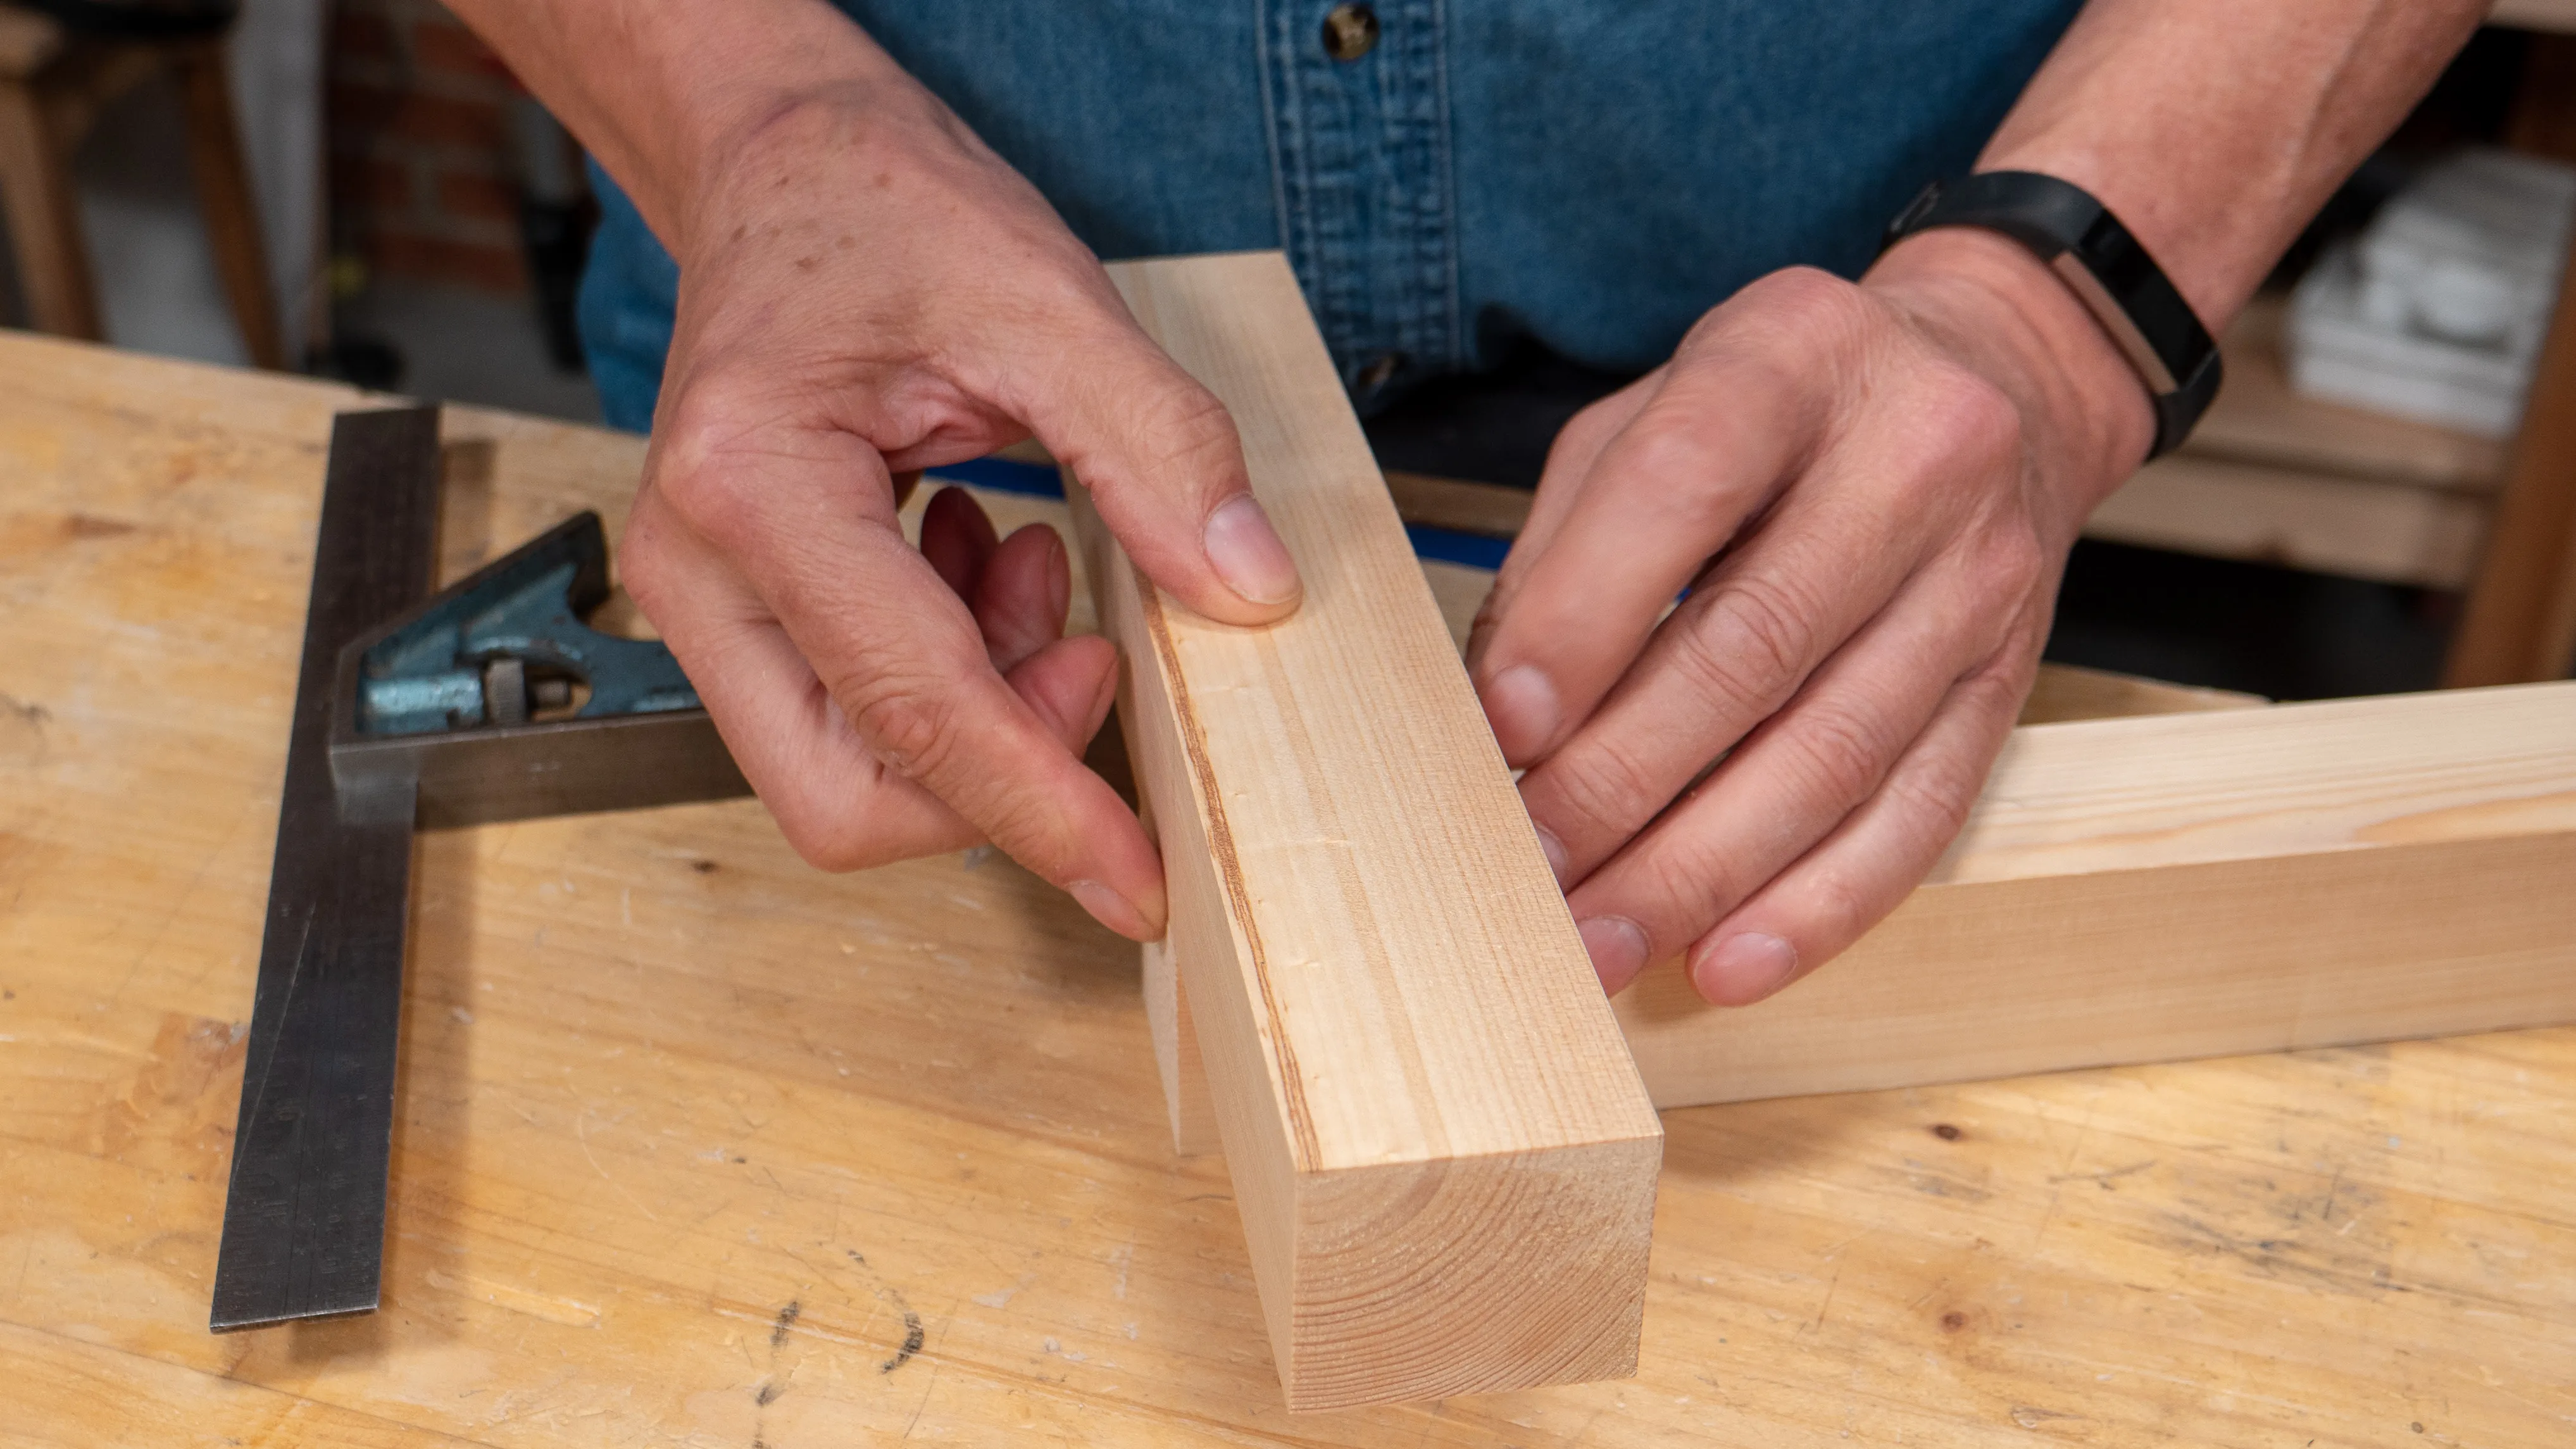
Mortise Piece
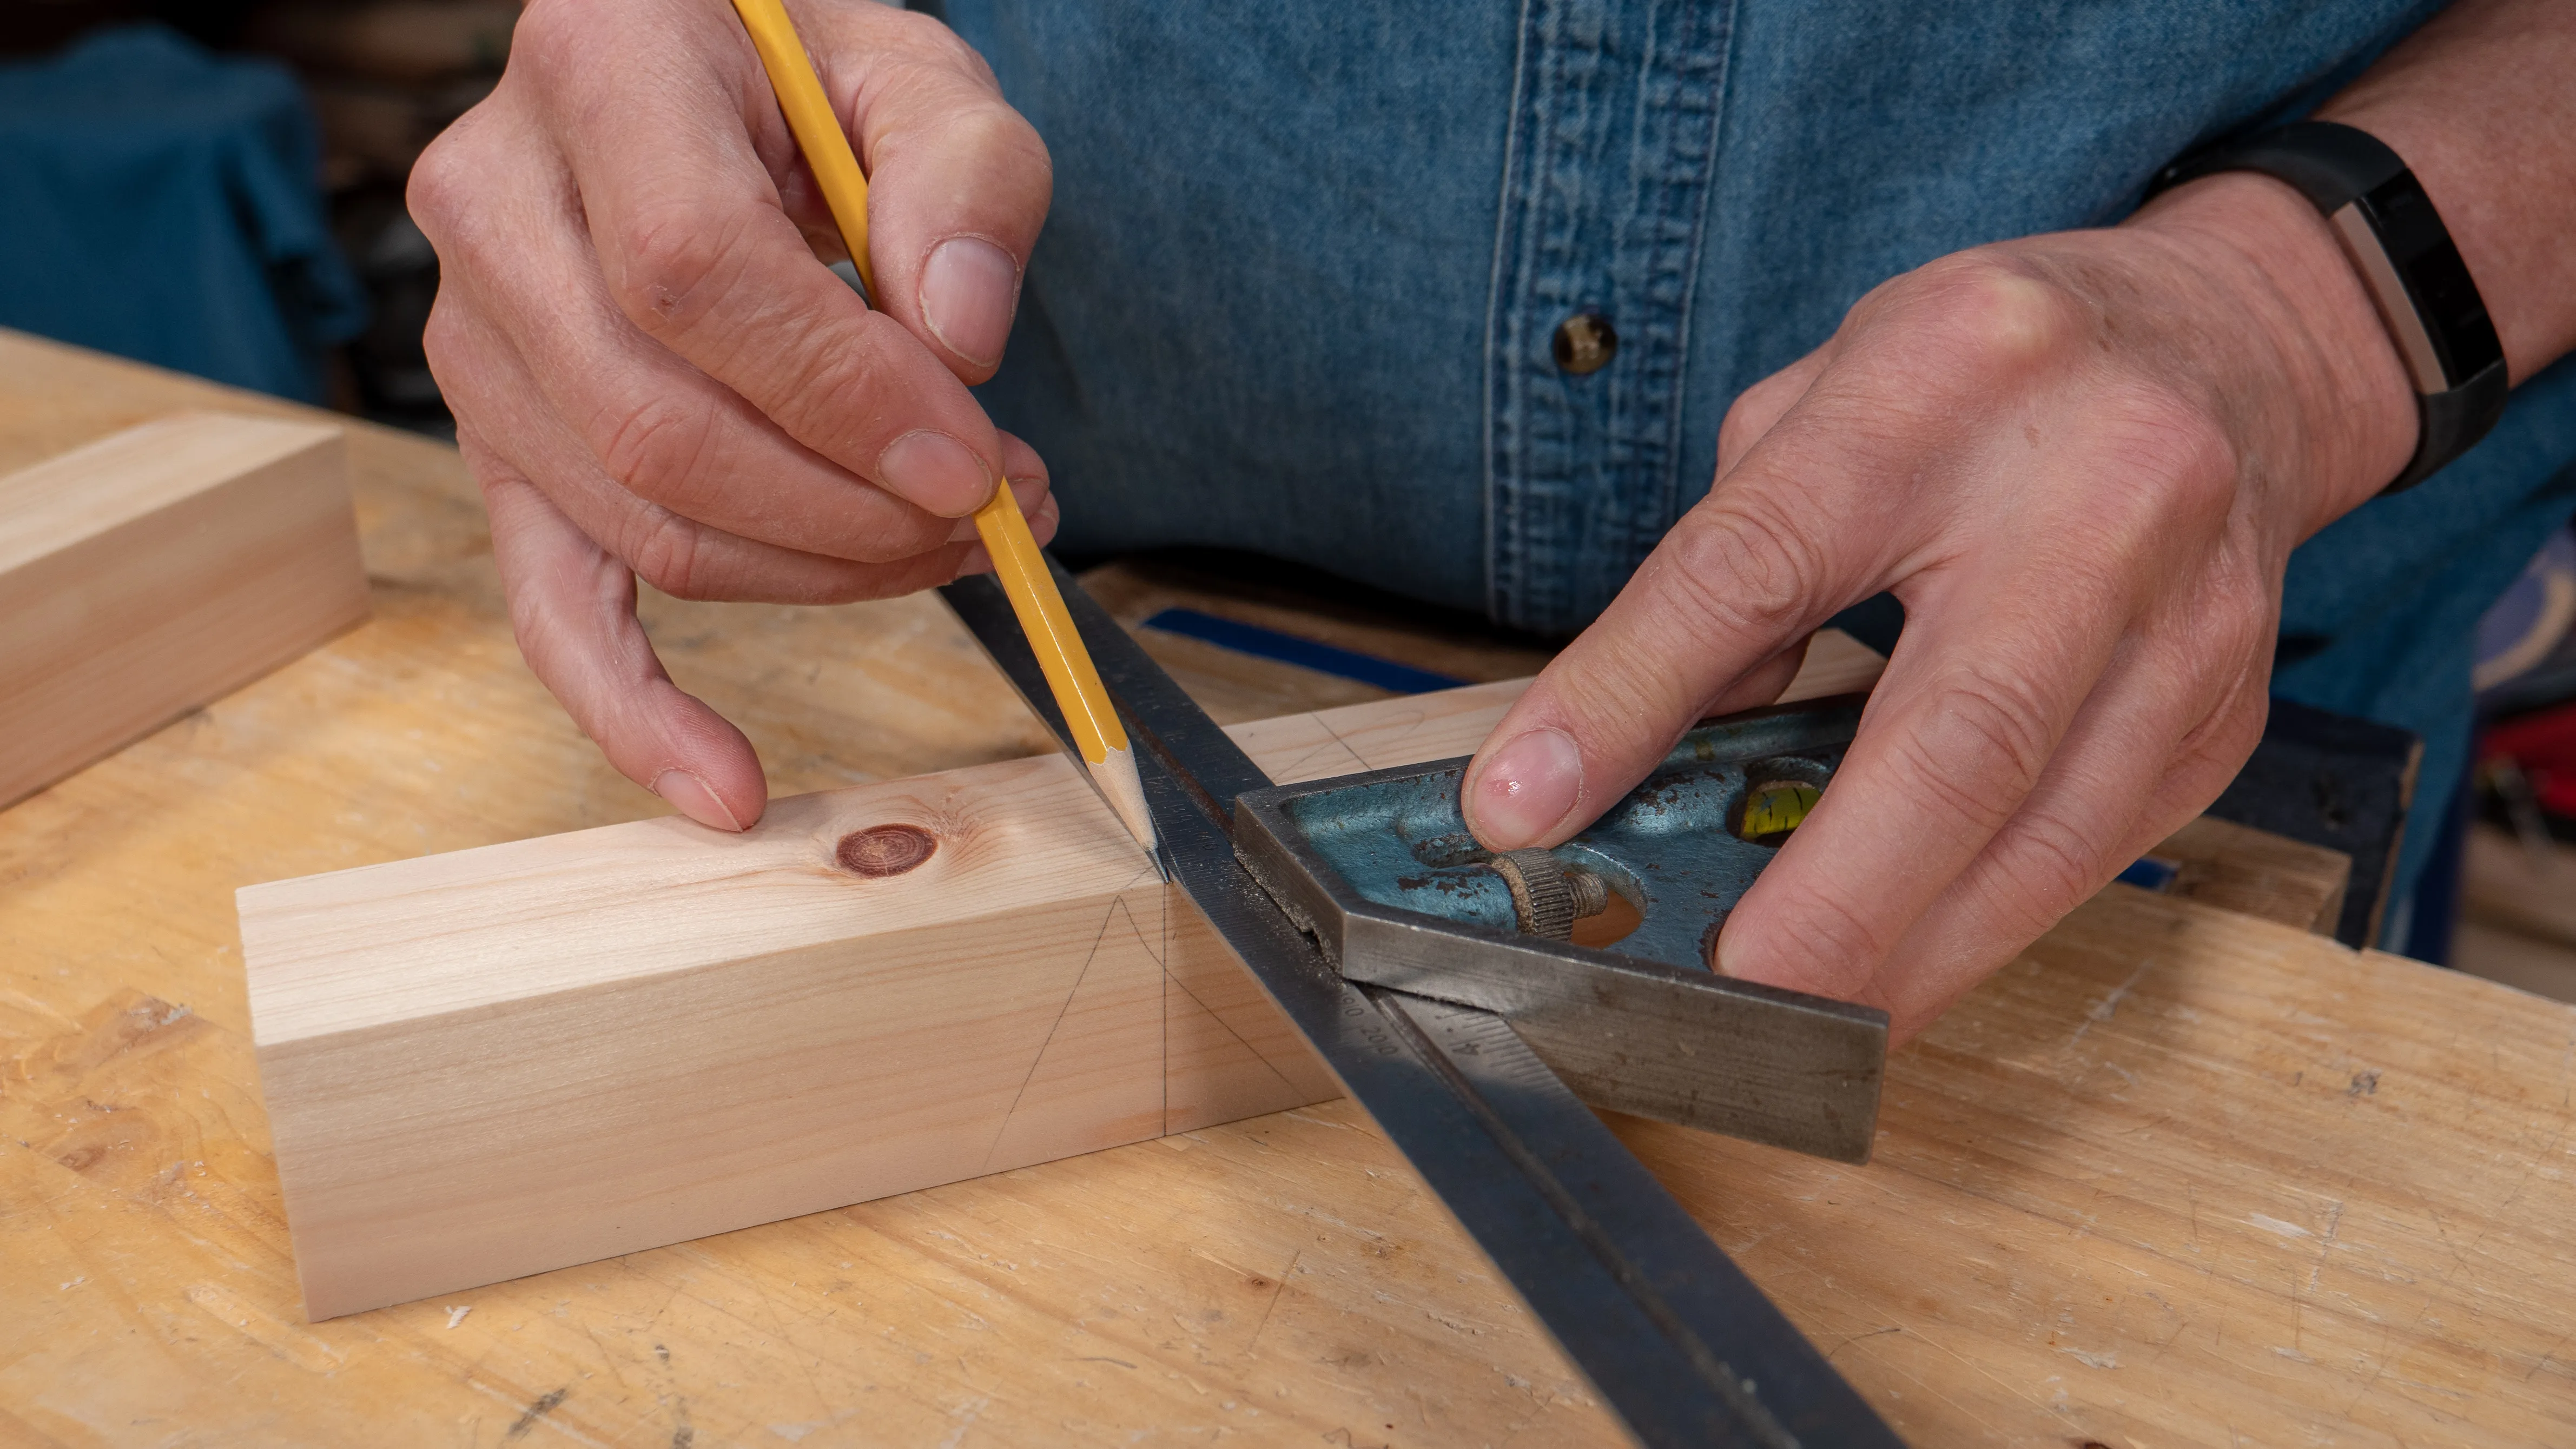
For the mortise piece, square a line somewhere not too close to the ends. With the square still in place, bring in the tenon piece right up against the square to keep it perpendicular, and make a second pencil line on the other side. These will be the start and stop lines for your mortise gauge when you come to mark the width of the hole.
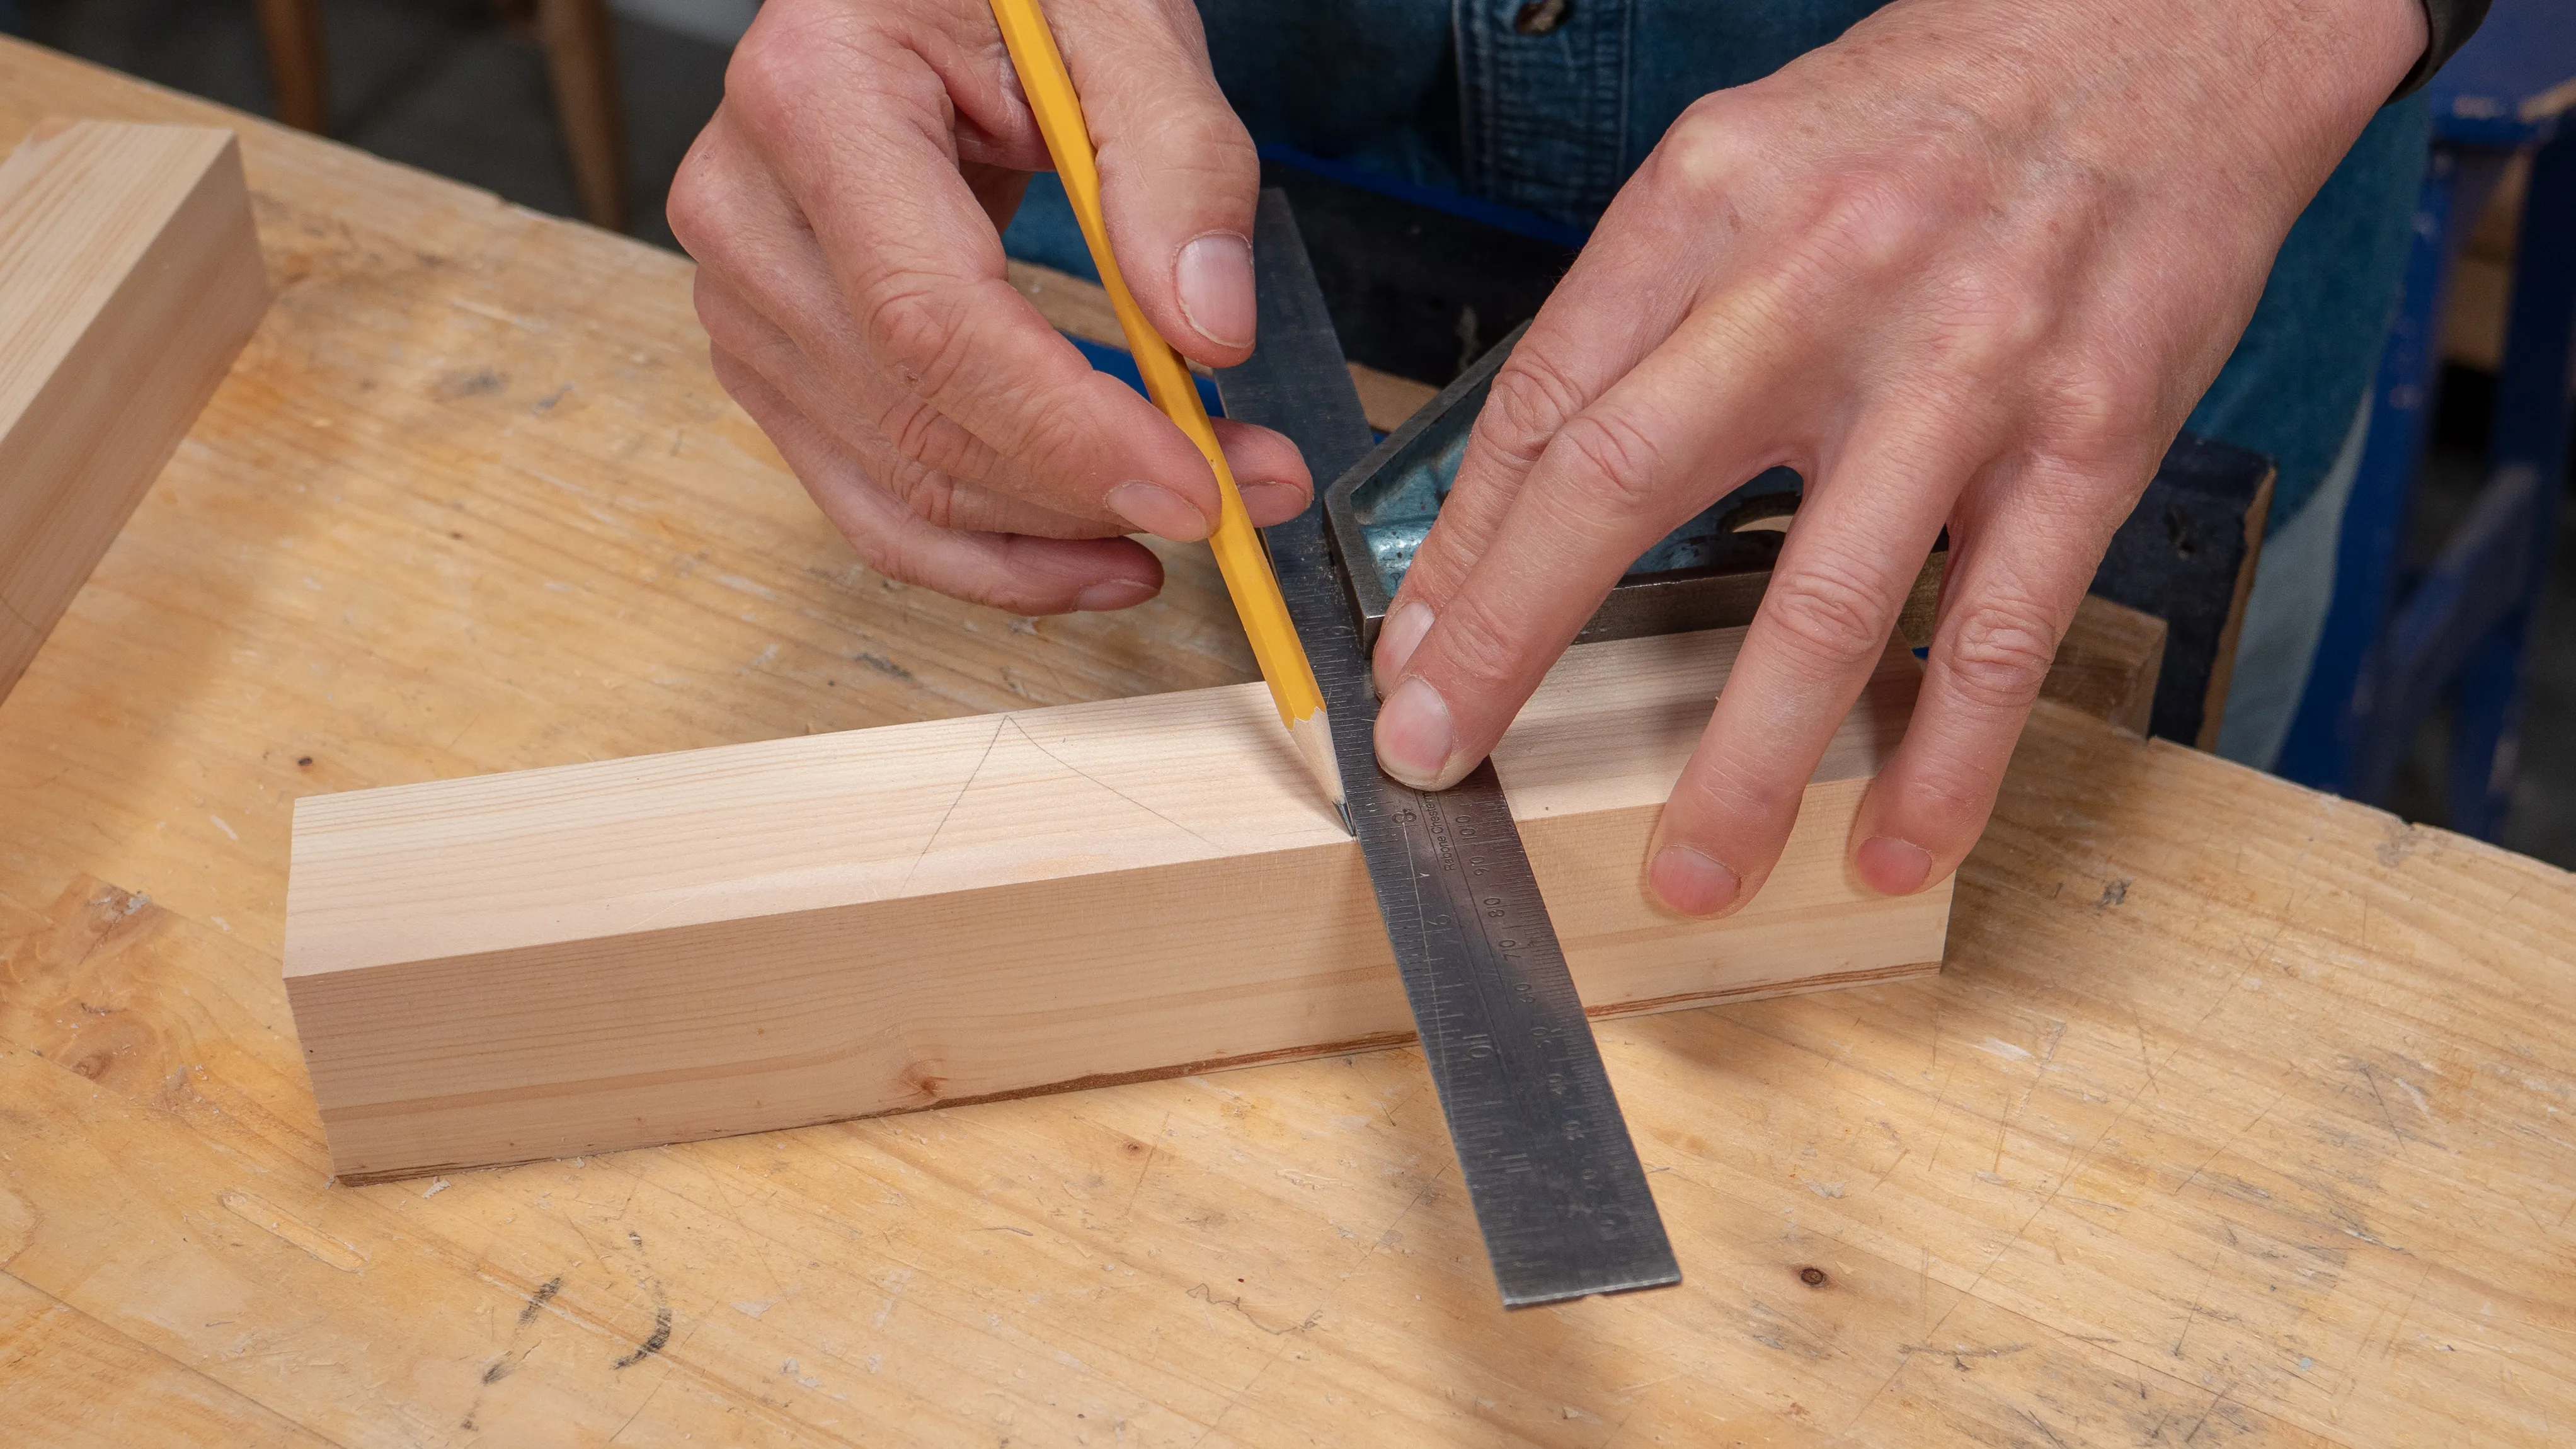
Now you must transfer these lines to the adjacent face, and then to the opposite face, since you will be chopping from both sides. Remember to flip your square so that you are always registering your square against the marked registration faces.
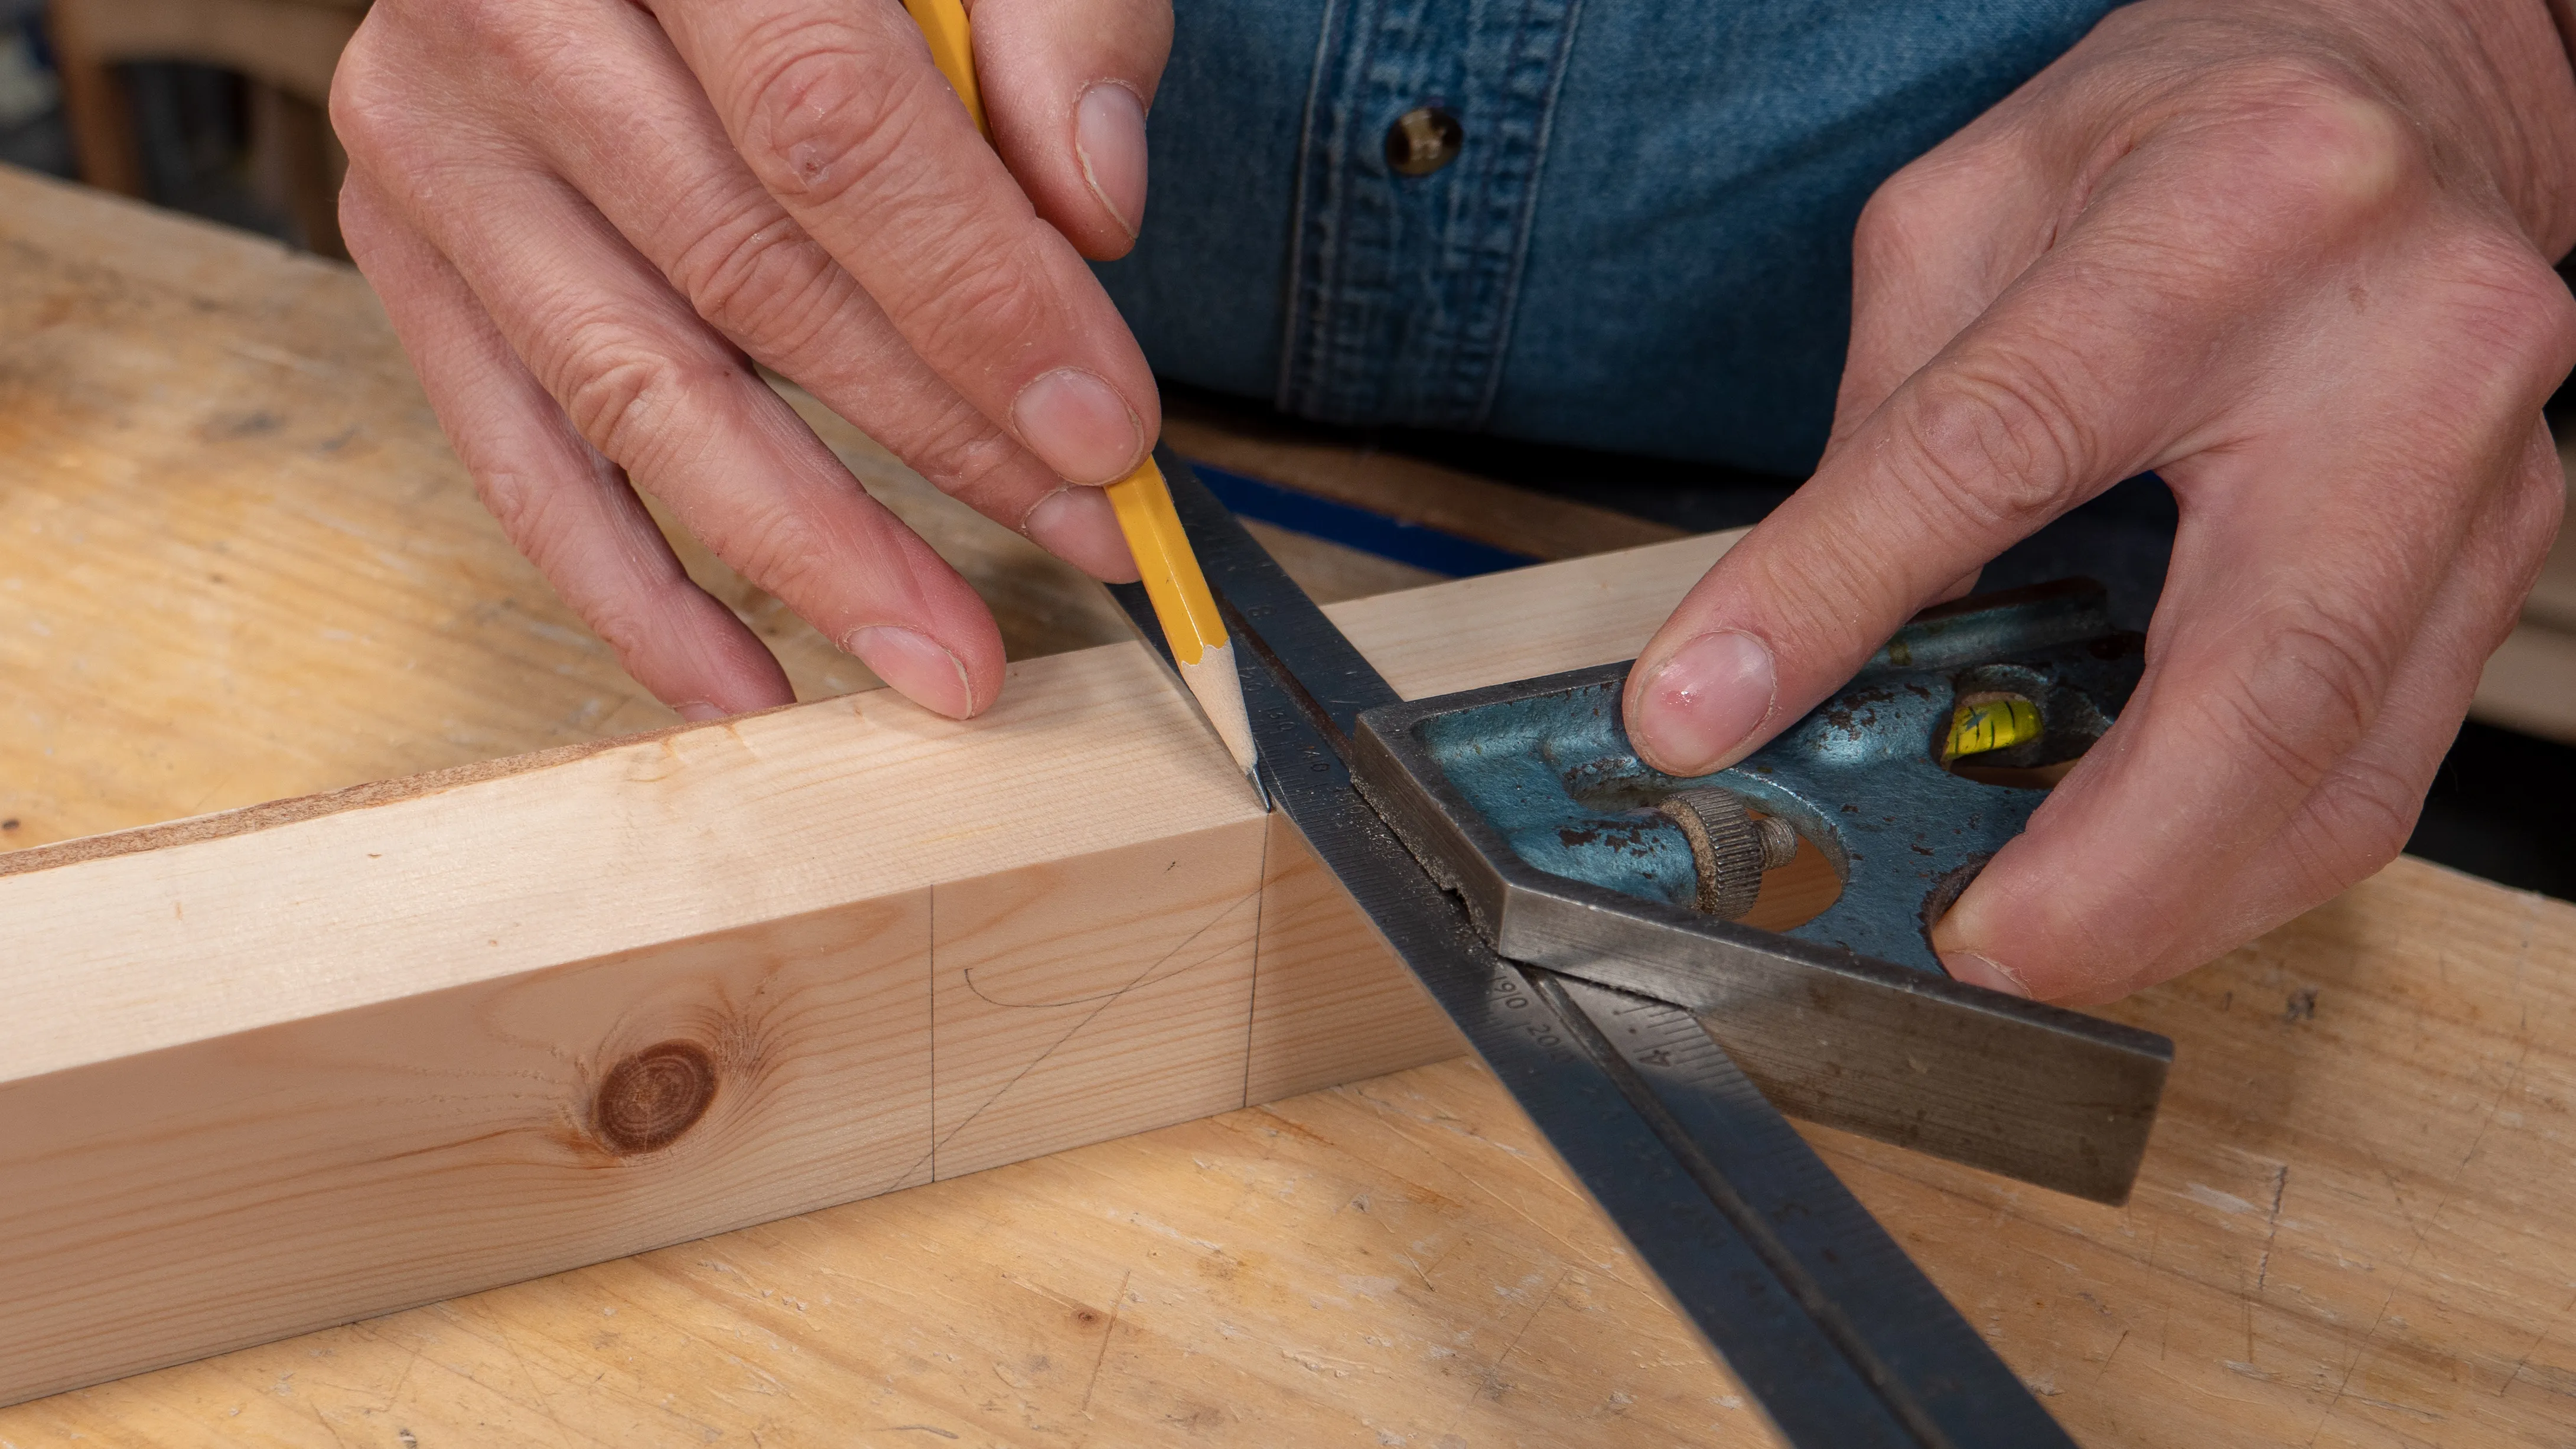
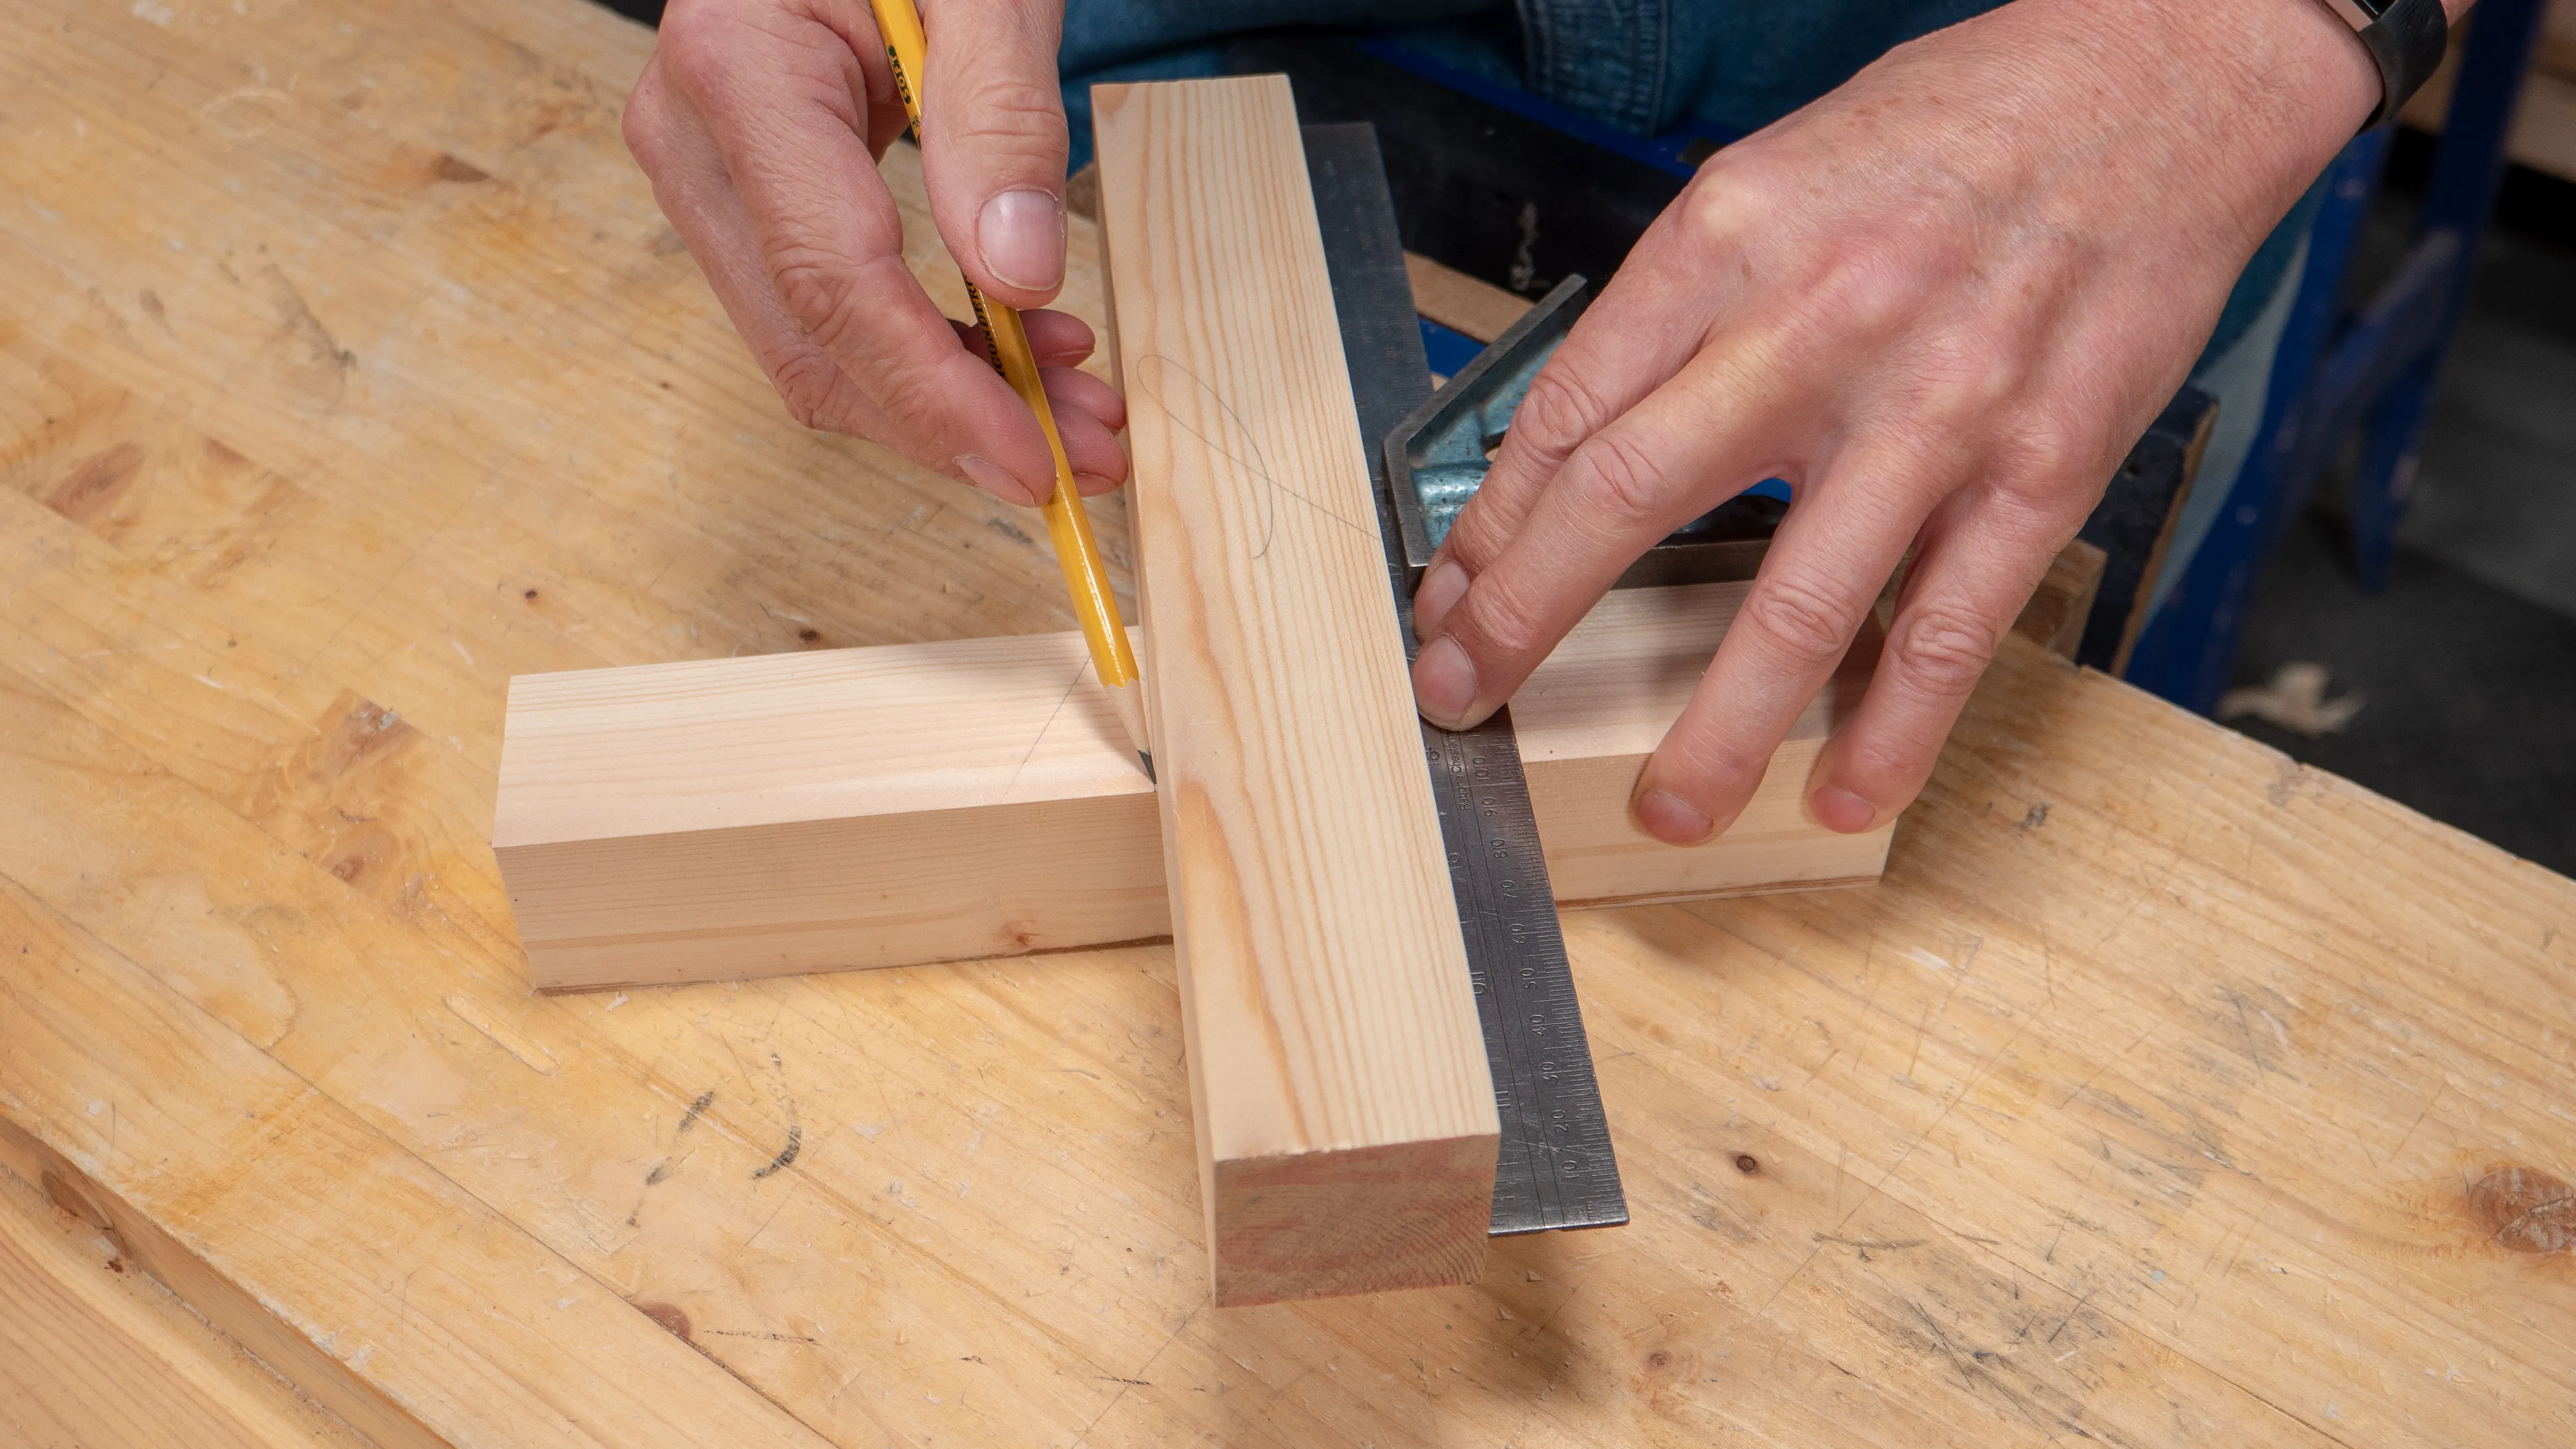
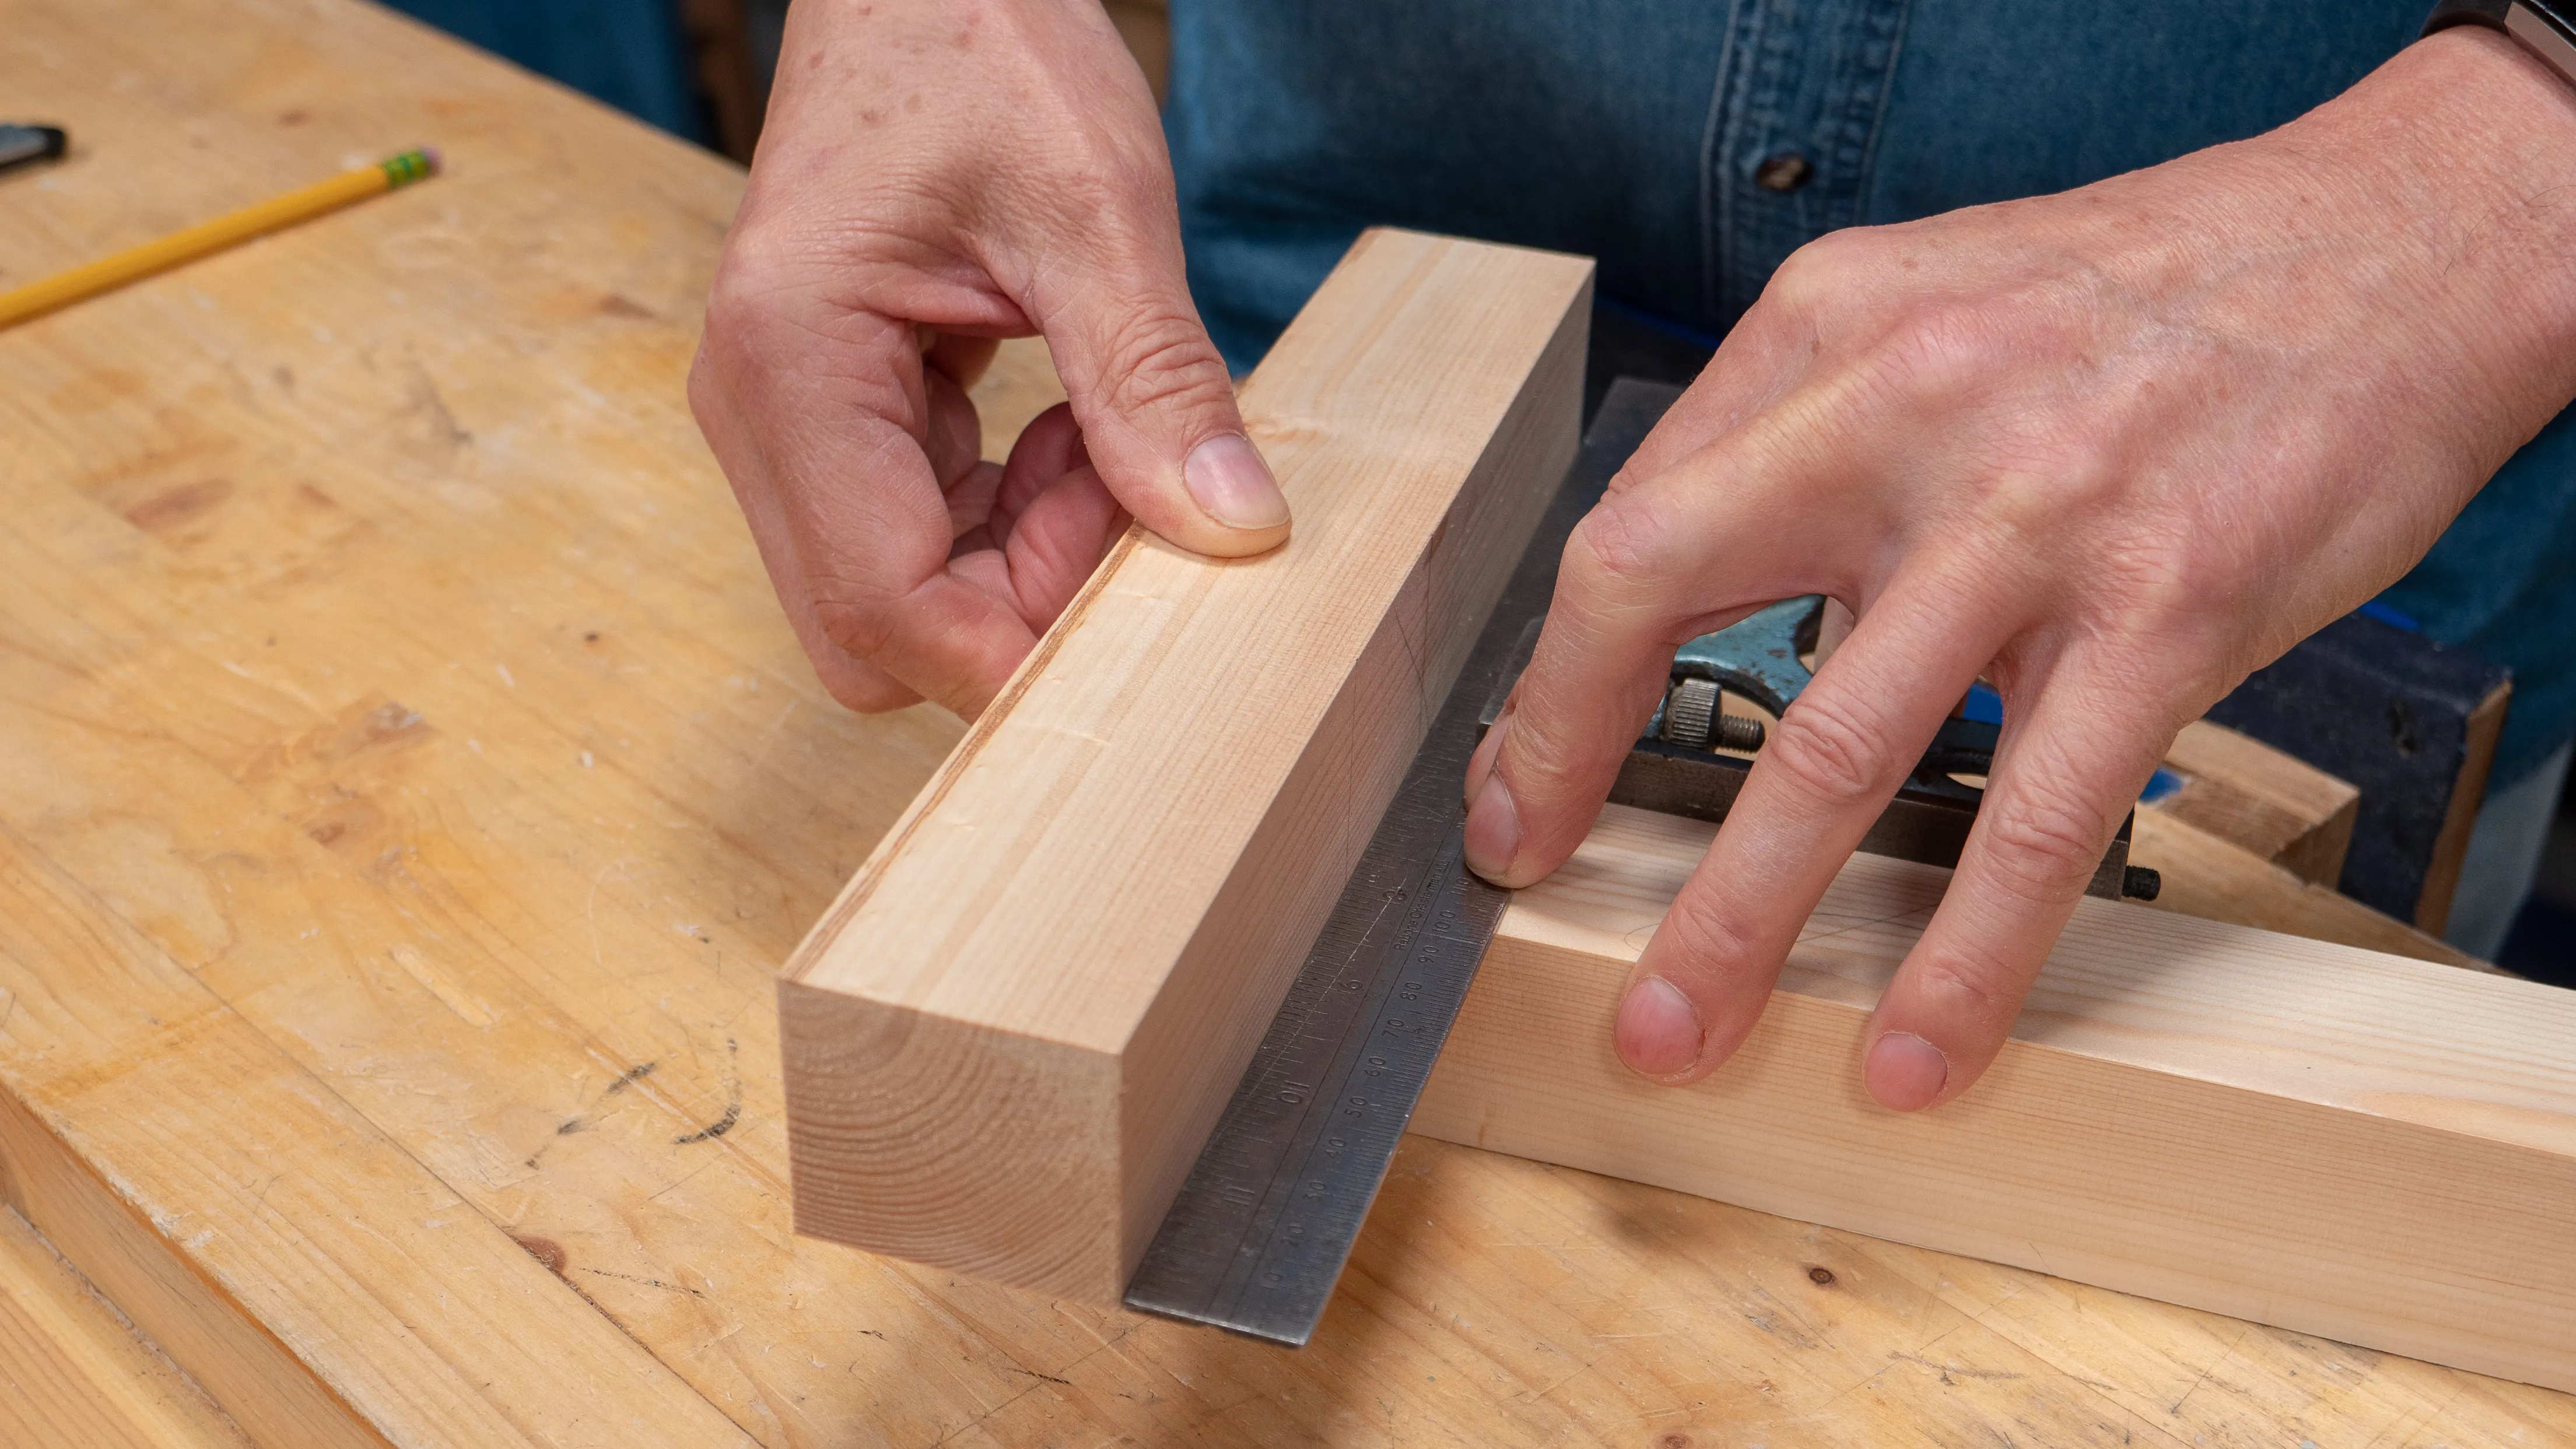
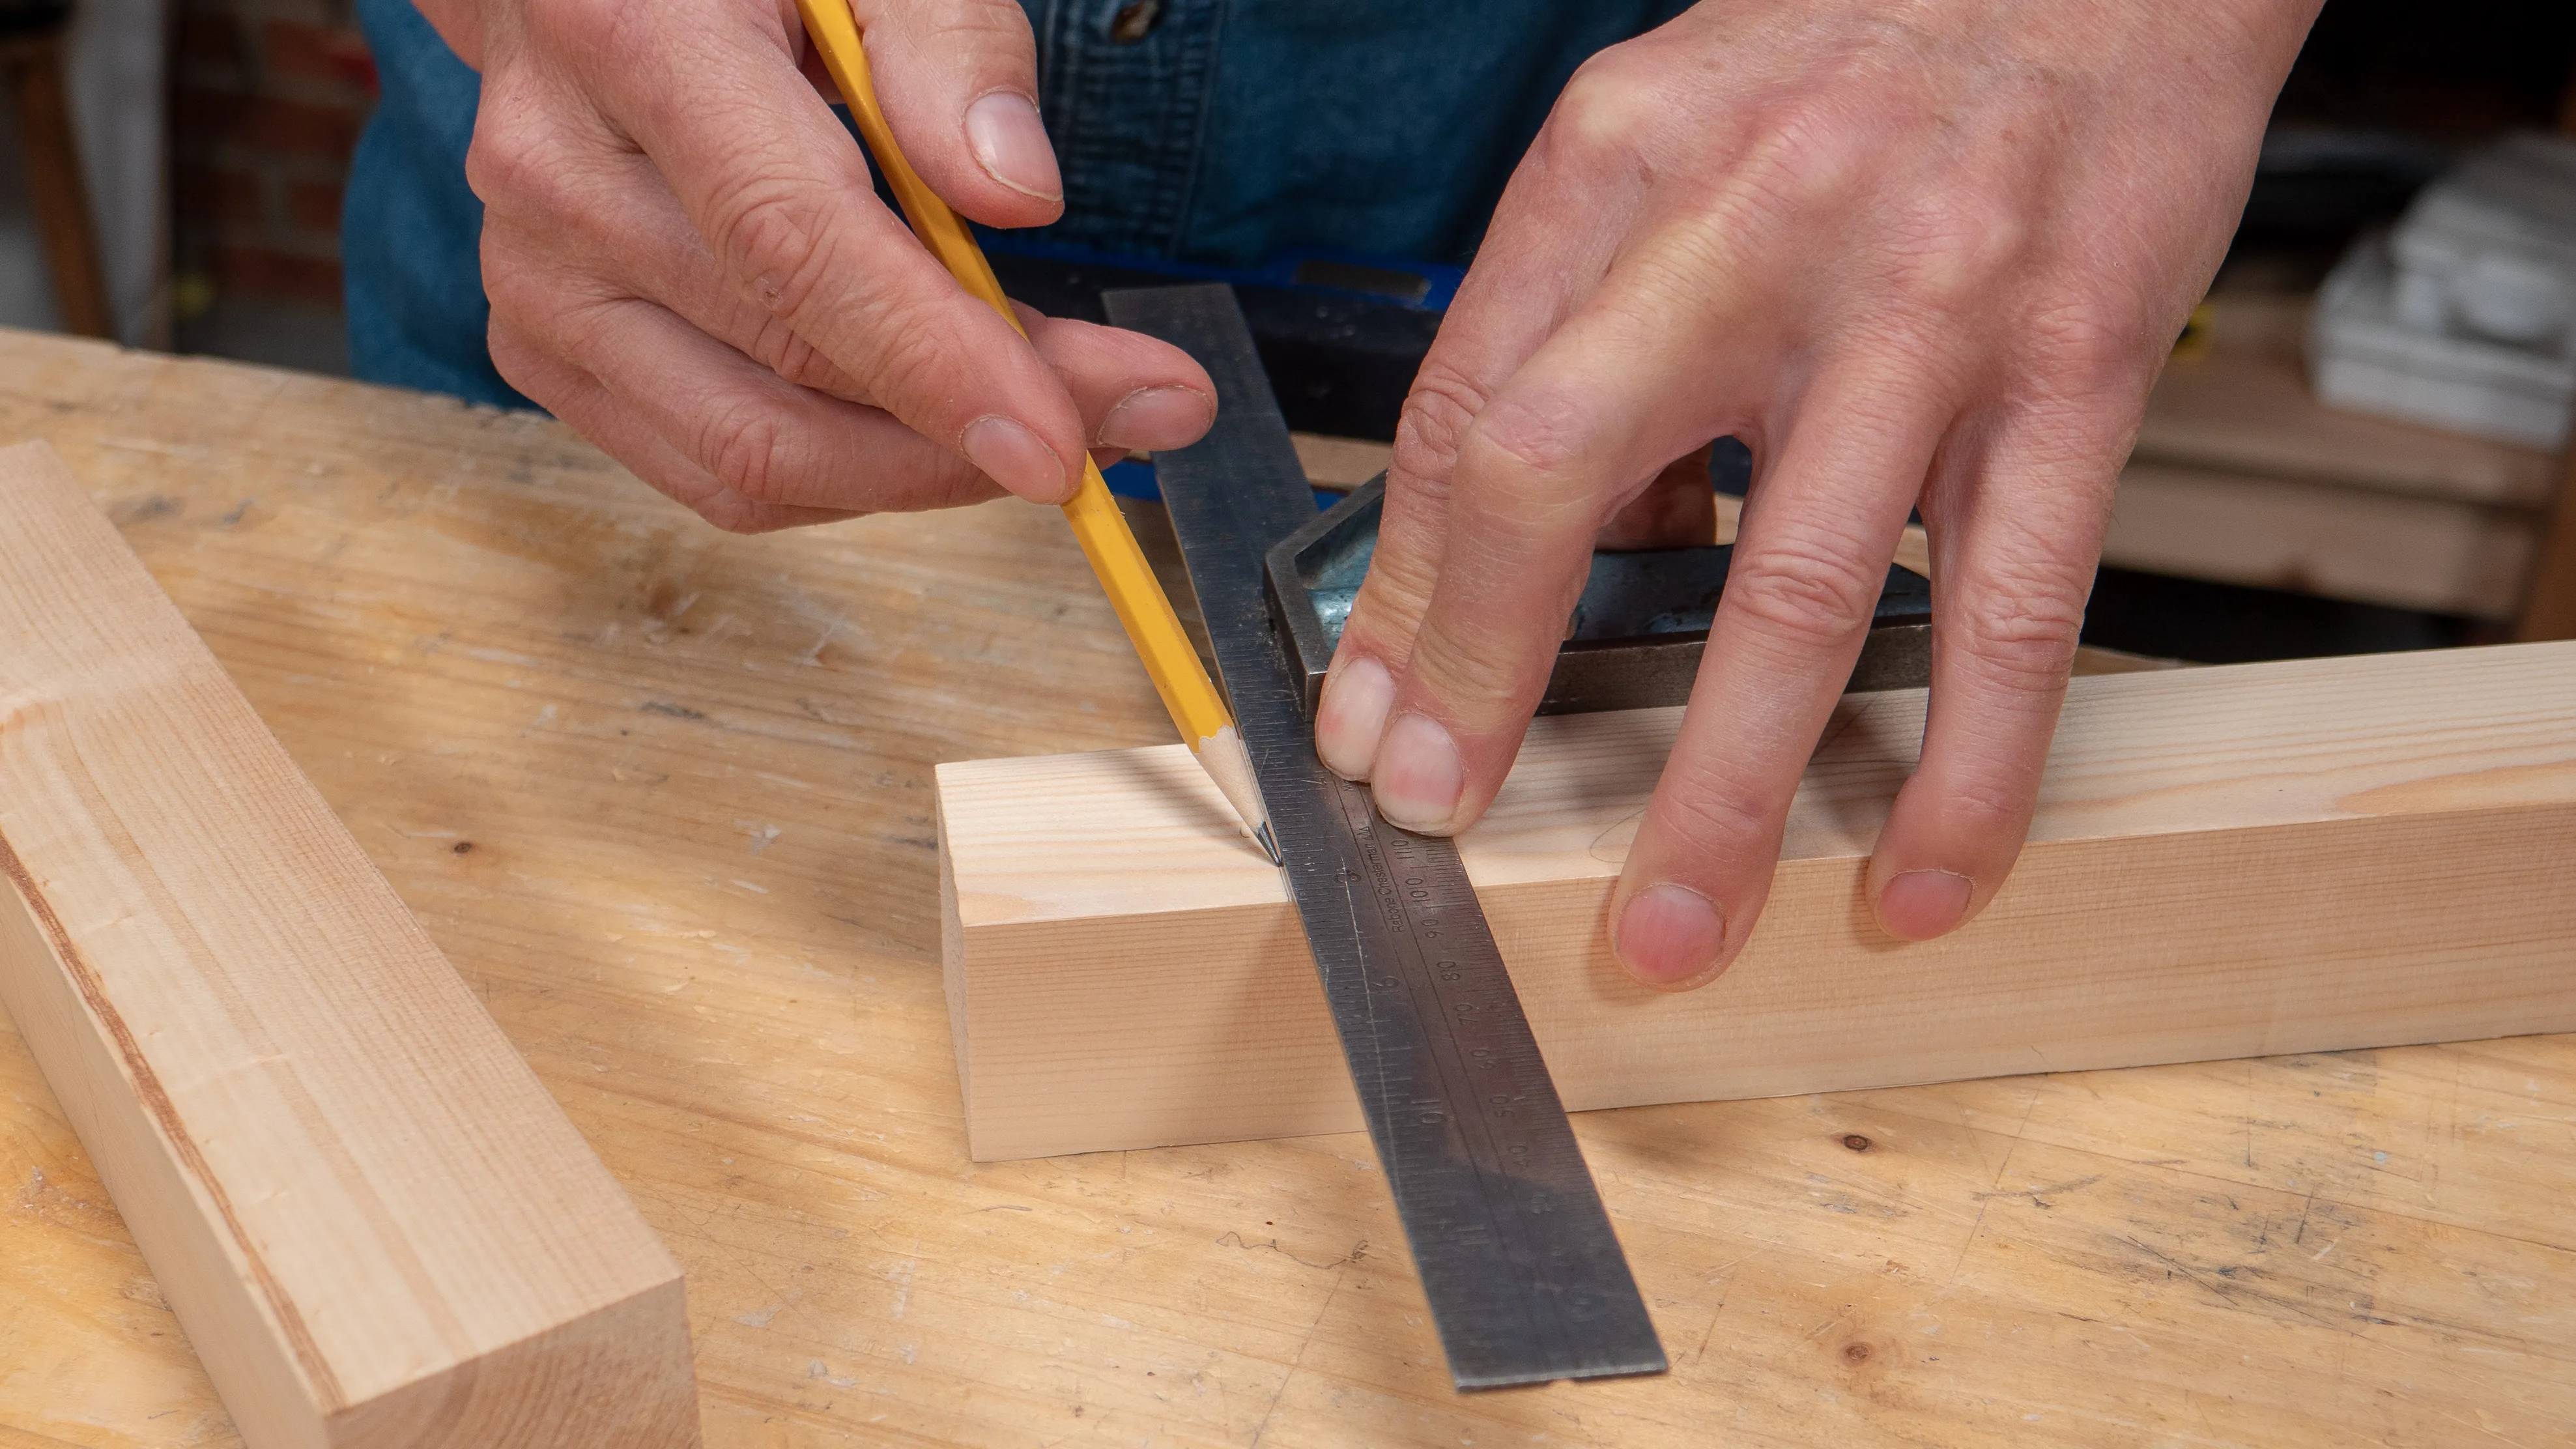
Tenon Piece
Place the mortise piece over the end of the tenon piece and nudge your square right up against it, making sure the end of the tenon is just protruding beyond the mortise piece. With the square locked in place, take out the mortise piece and mark the shoulder with a pencil. Square the line onto the other three faces. Again, this won’t be the definitive shoulder line, but only a reference for the marking gauge.
Sign in to track your progress