Using a Combination Square
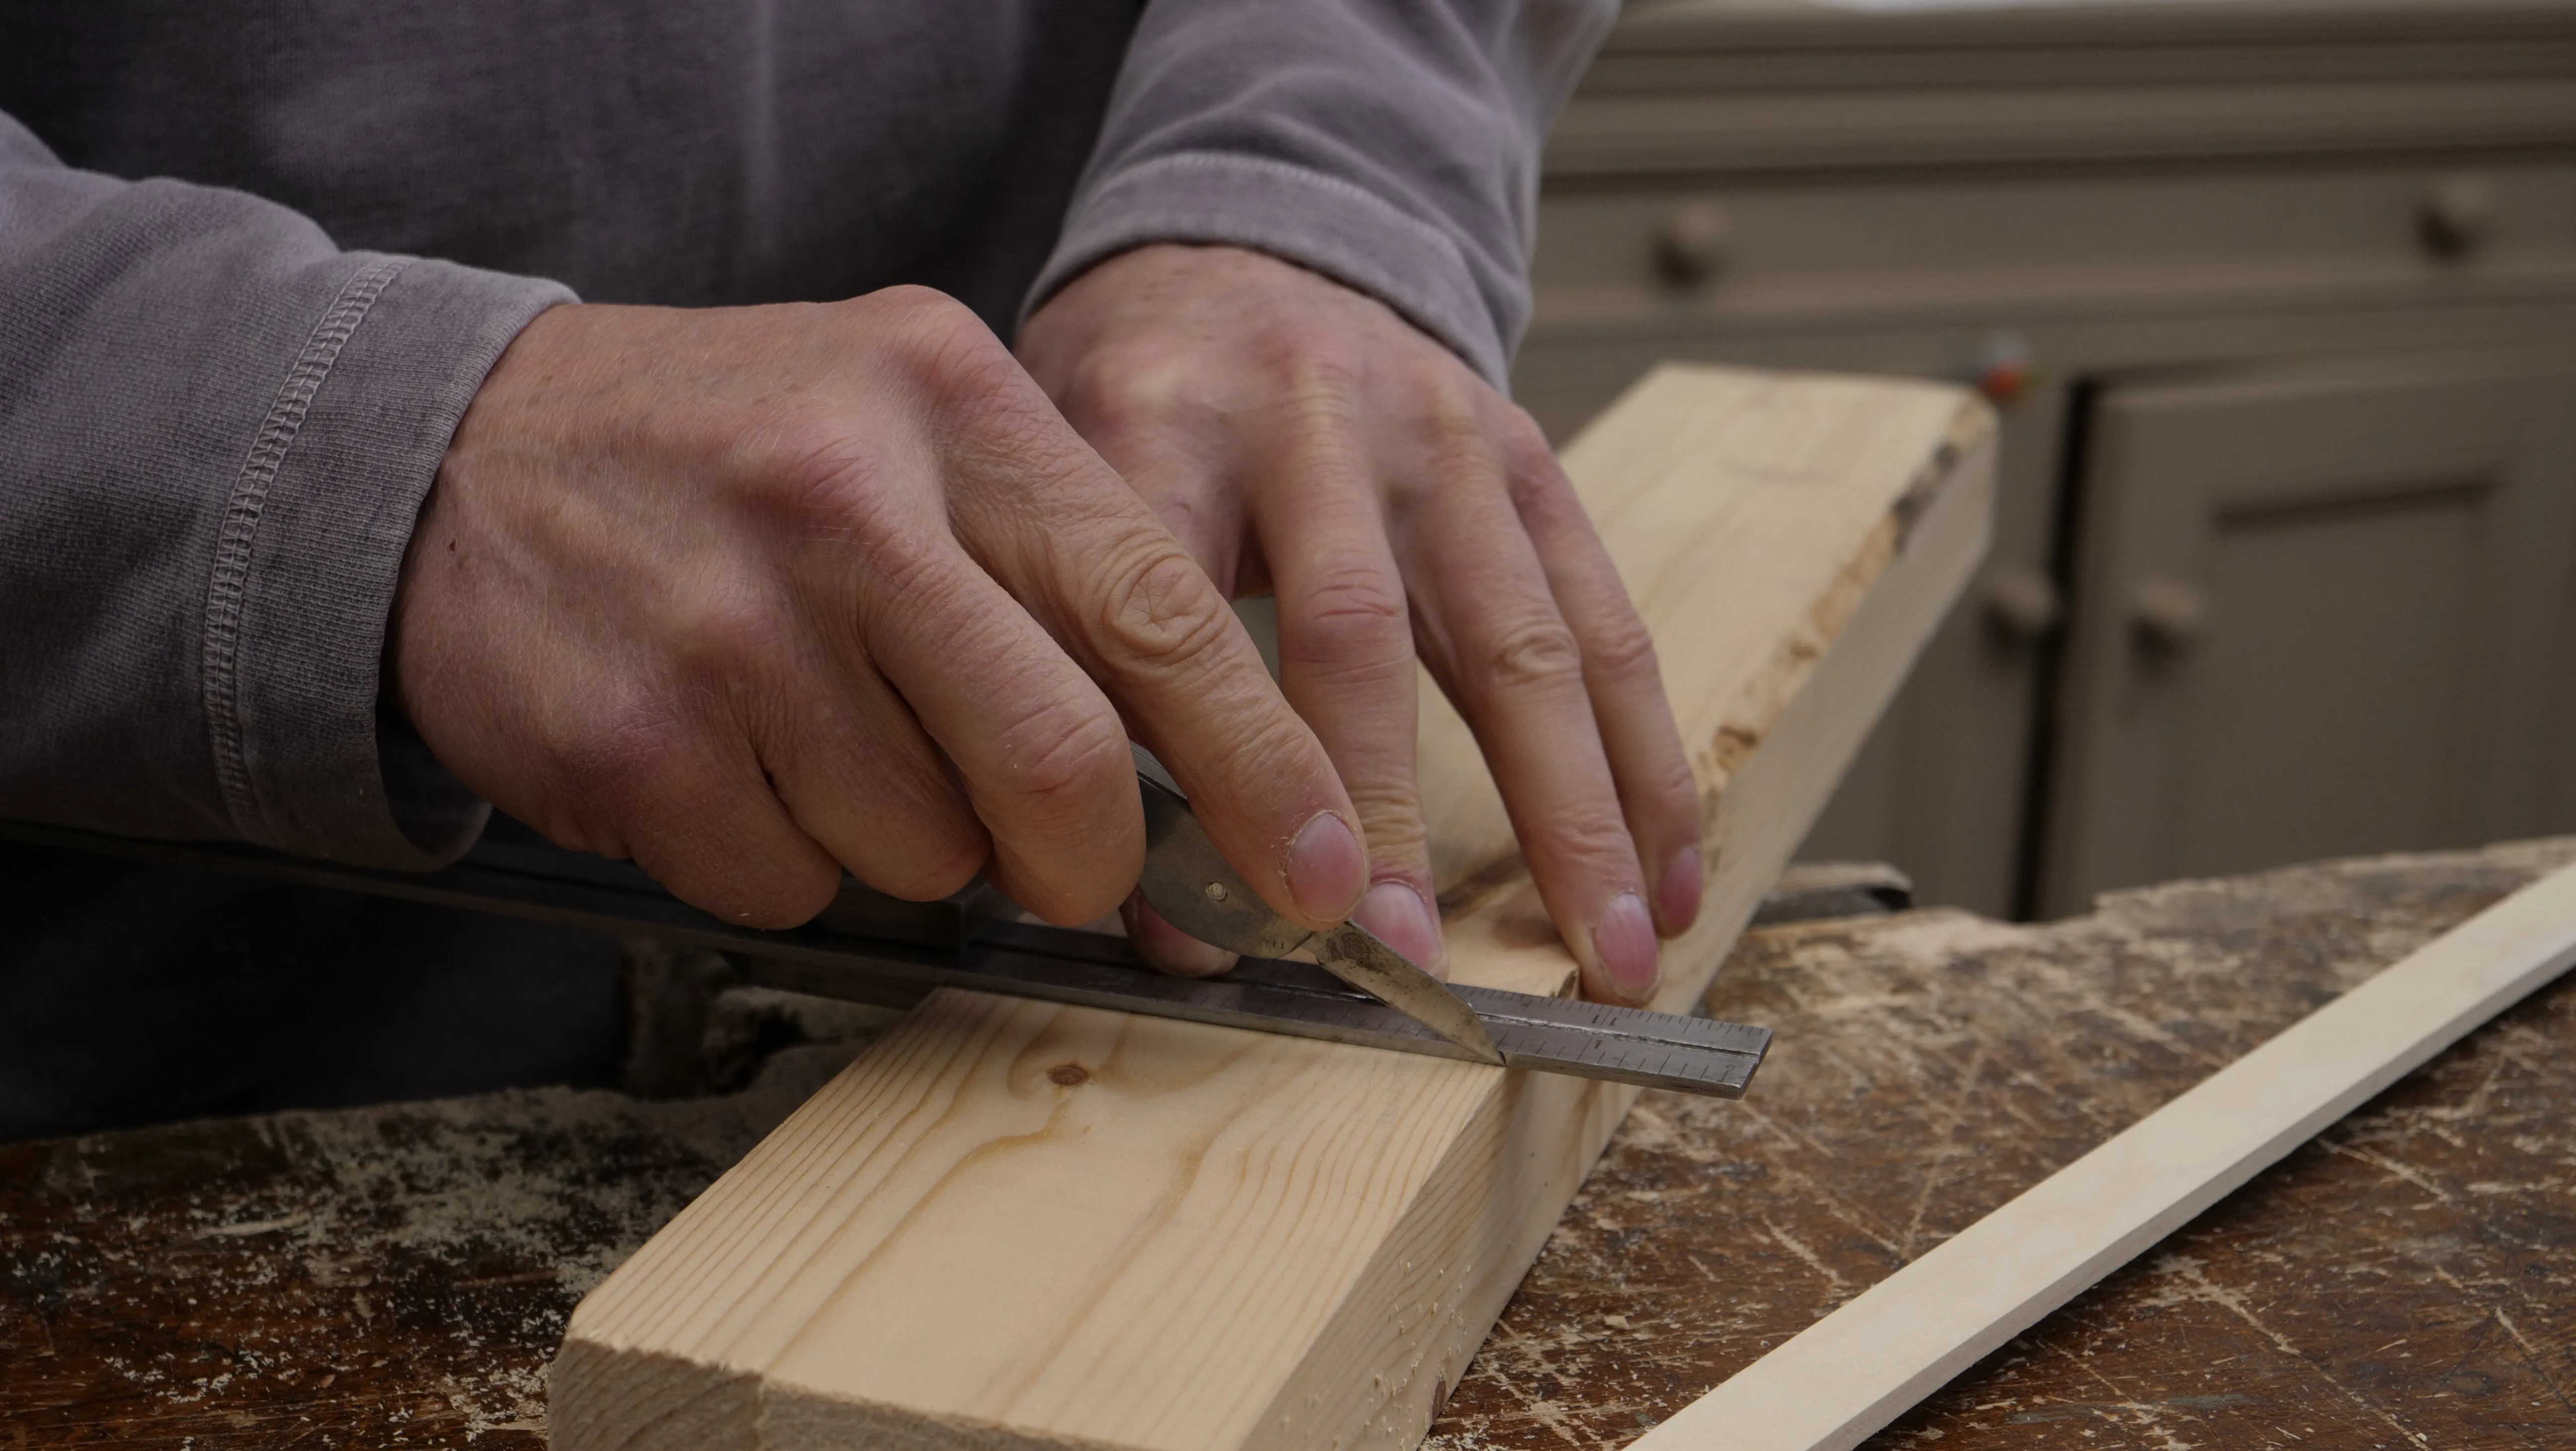
Once you are confident your square is set up, you align the head (stock) against the straight edge of the wood and use a pencil or a woodworker’s knife to mark the 45/90° angle.
Once you are confident your square is set up, you align the head (stock) against the straight edge of the wood and use a pencil or a woodworker’s knife to mark the 45/90° angle.
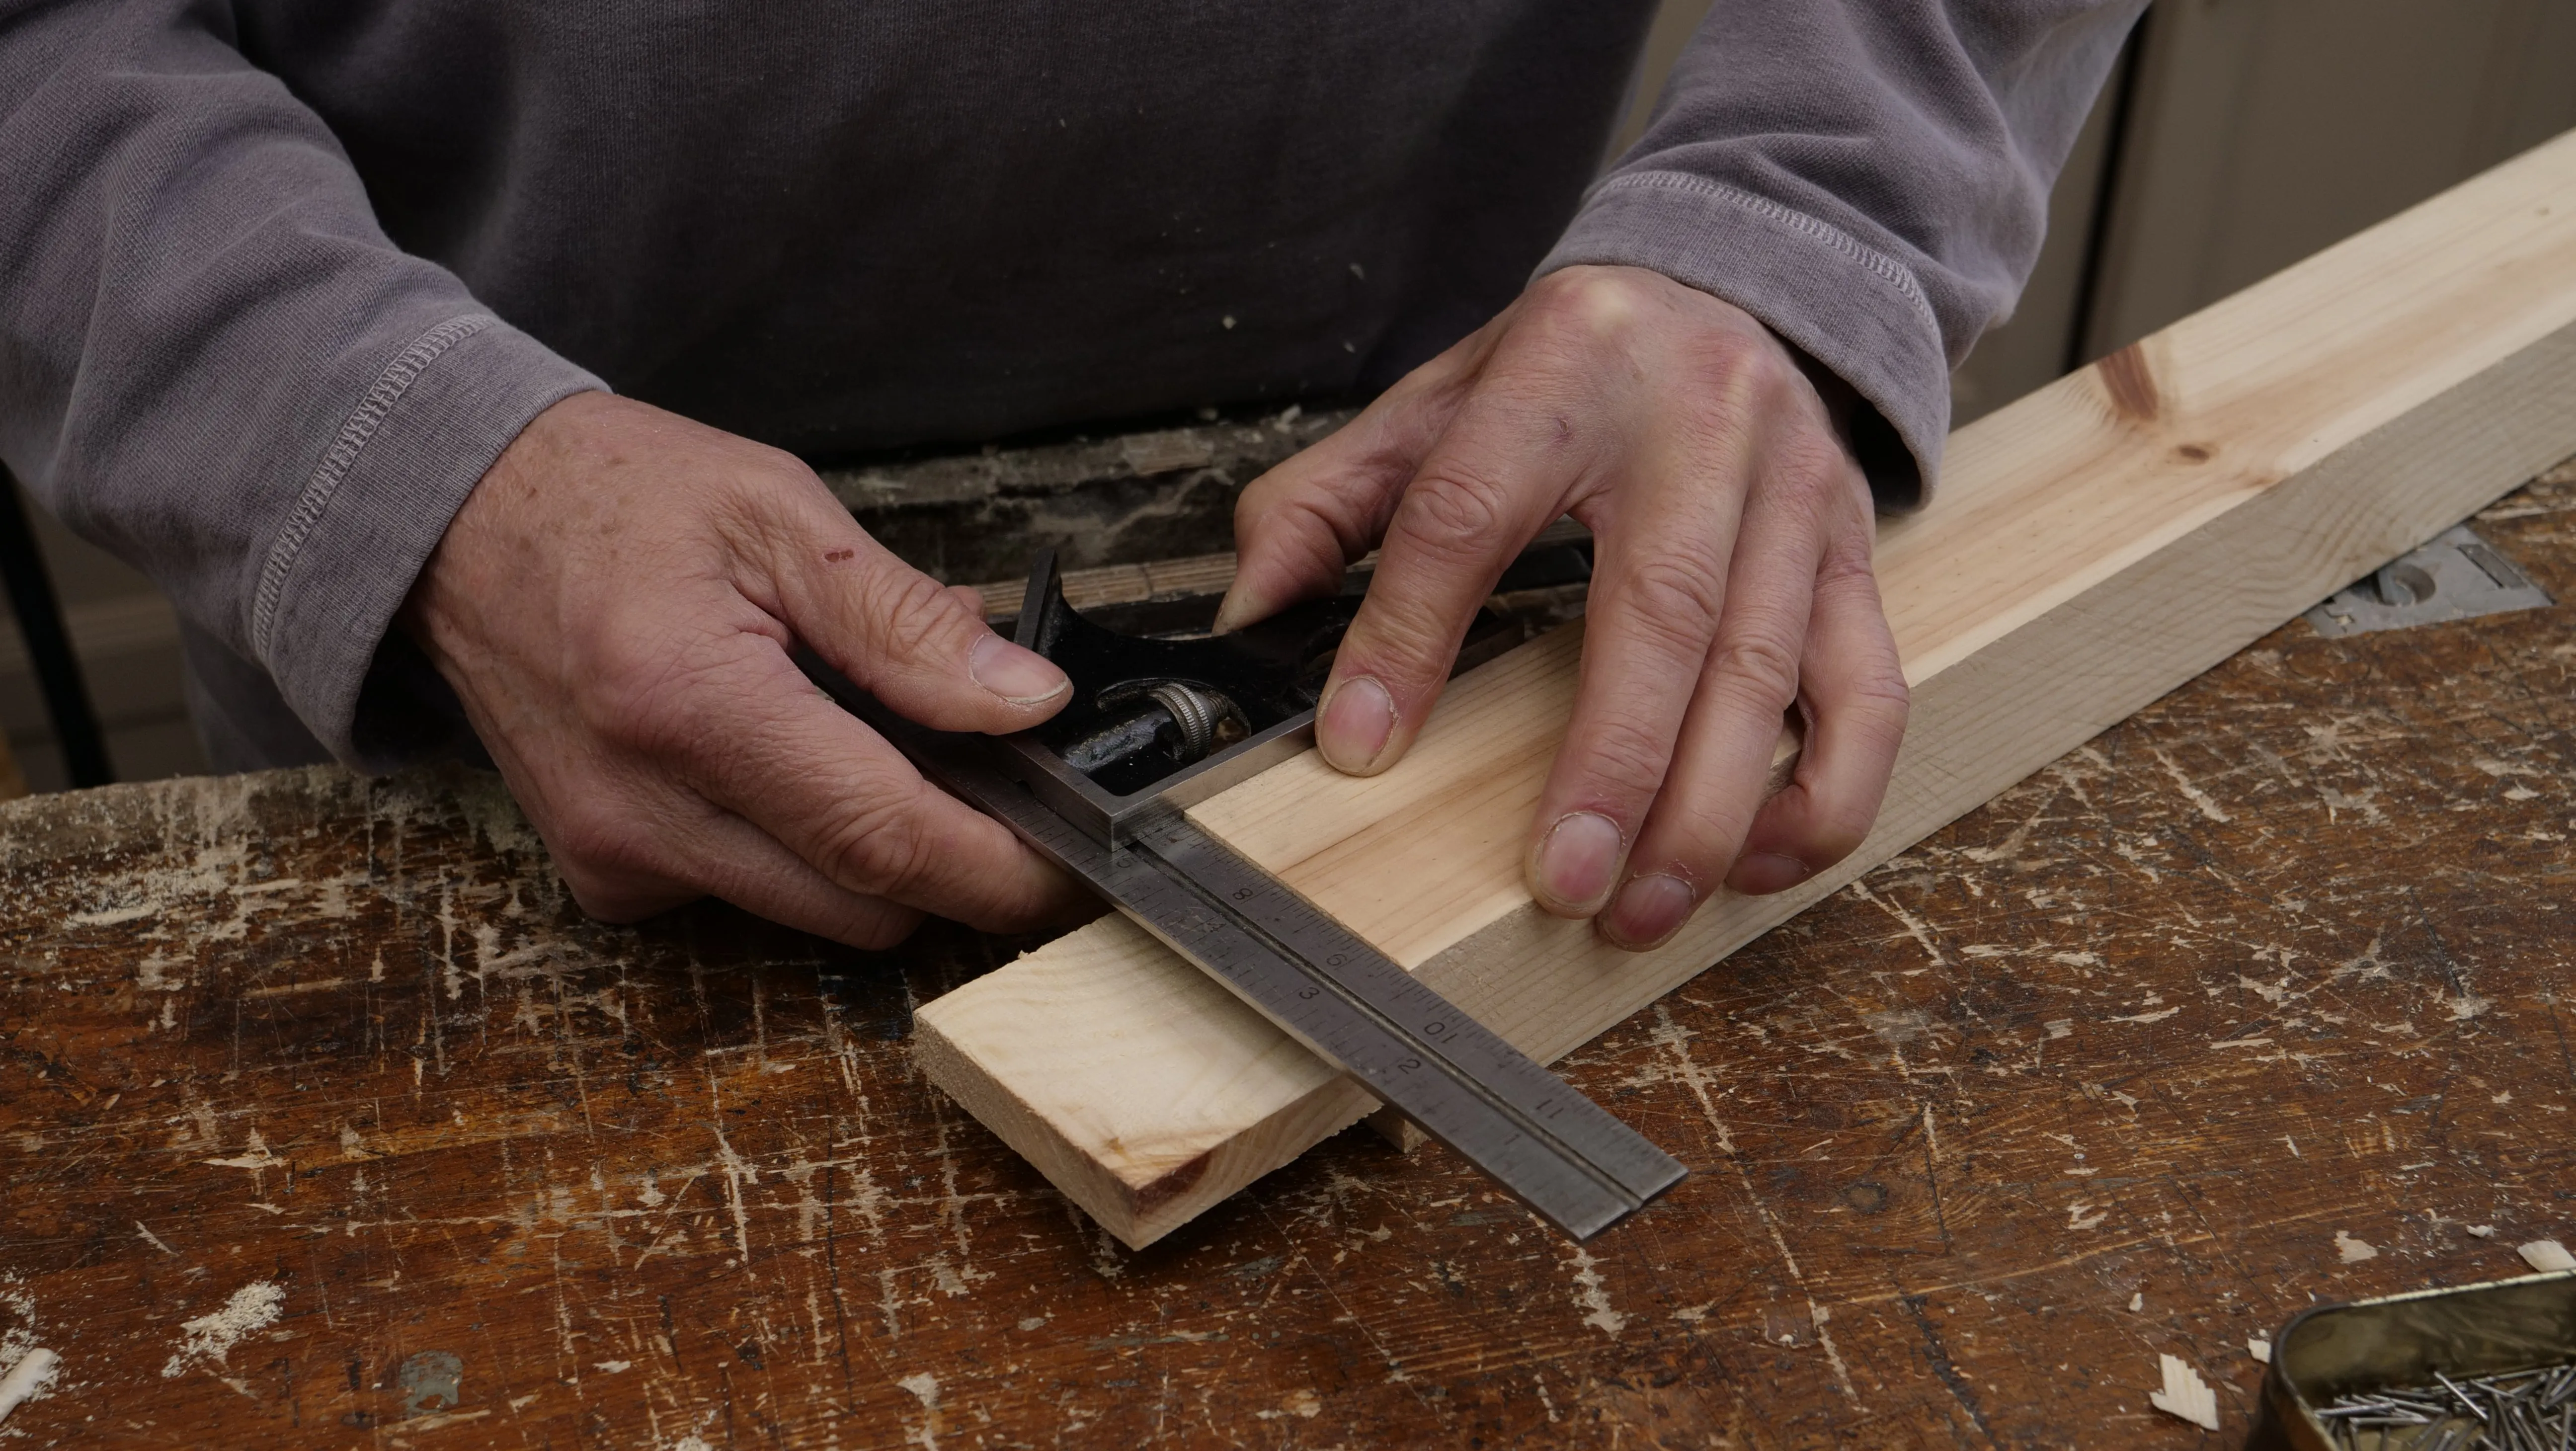
To move the head along the beam, turn the adjustment wheel to loosen the head. This enables it to be moved. When you have reached the right position, you can tighten the adjustment wheel and this will keep the head in place. The head moves to allow you to use the square with many different sized projects. For example, it can be used to check the shoulder of a joint and also can be used to draw a line parallel to the edge.
Use the square on the registration face. This is the face you know that is straight. Apply a firm – but not forceful – pressure, as you want to ensure the beam won’t move. With some practise, a square can be used with both a dominant and non-dominant hand. This enables you to use the tool when you can’t use your dominant hand.
You can use a pencil or a woodworking knife alongside the beam to mark your lines or measurements. A pencil mark can be erased, but a knife mark is permanent, definitive and accurate. If the surface is going to be on show, you would choose to use a pencil to mark.
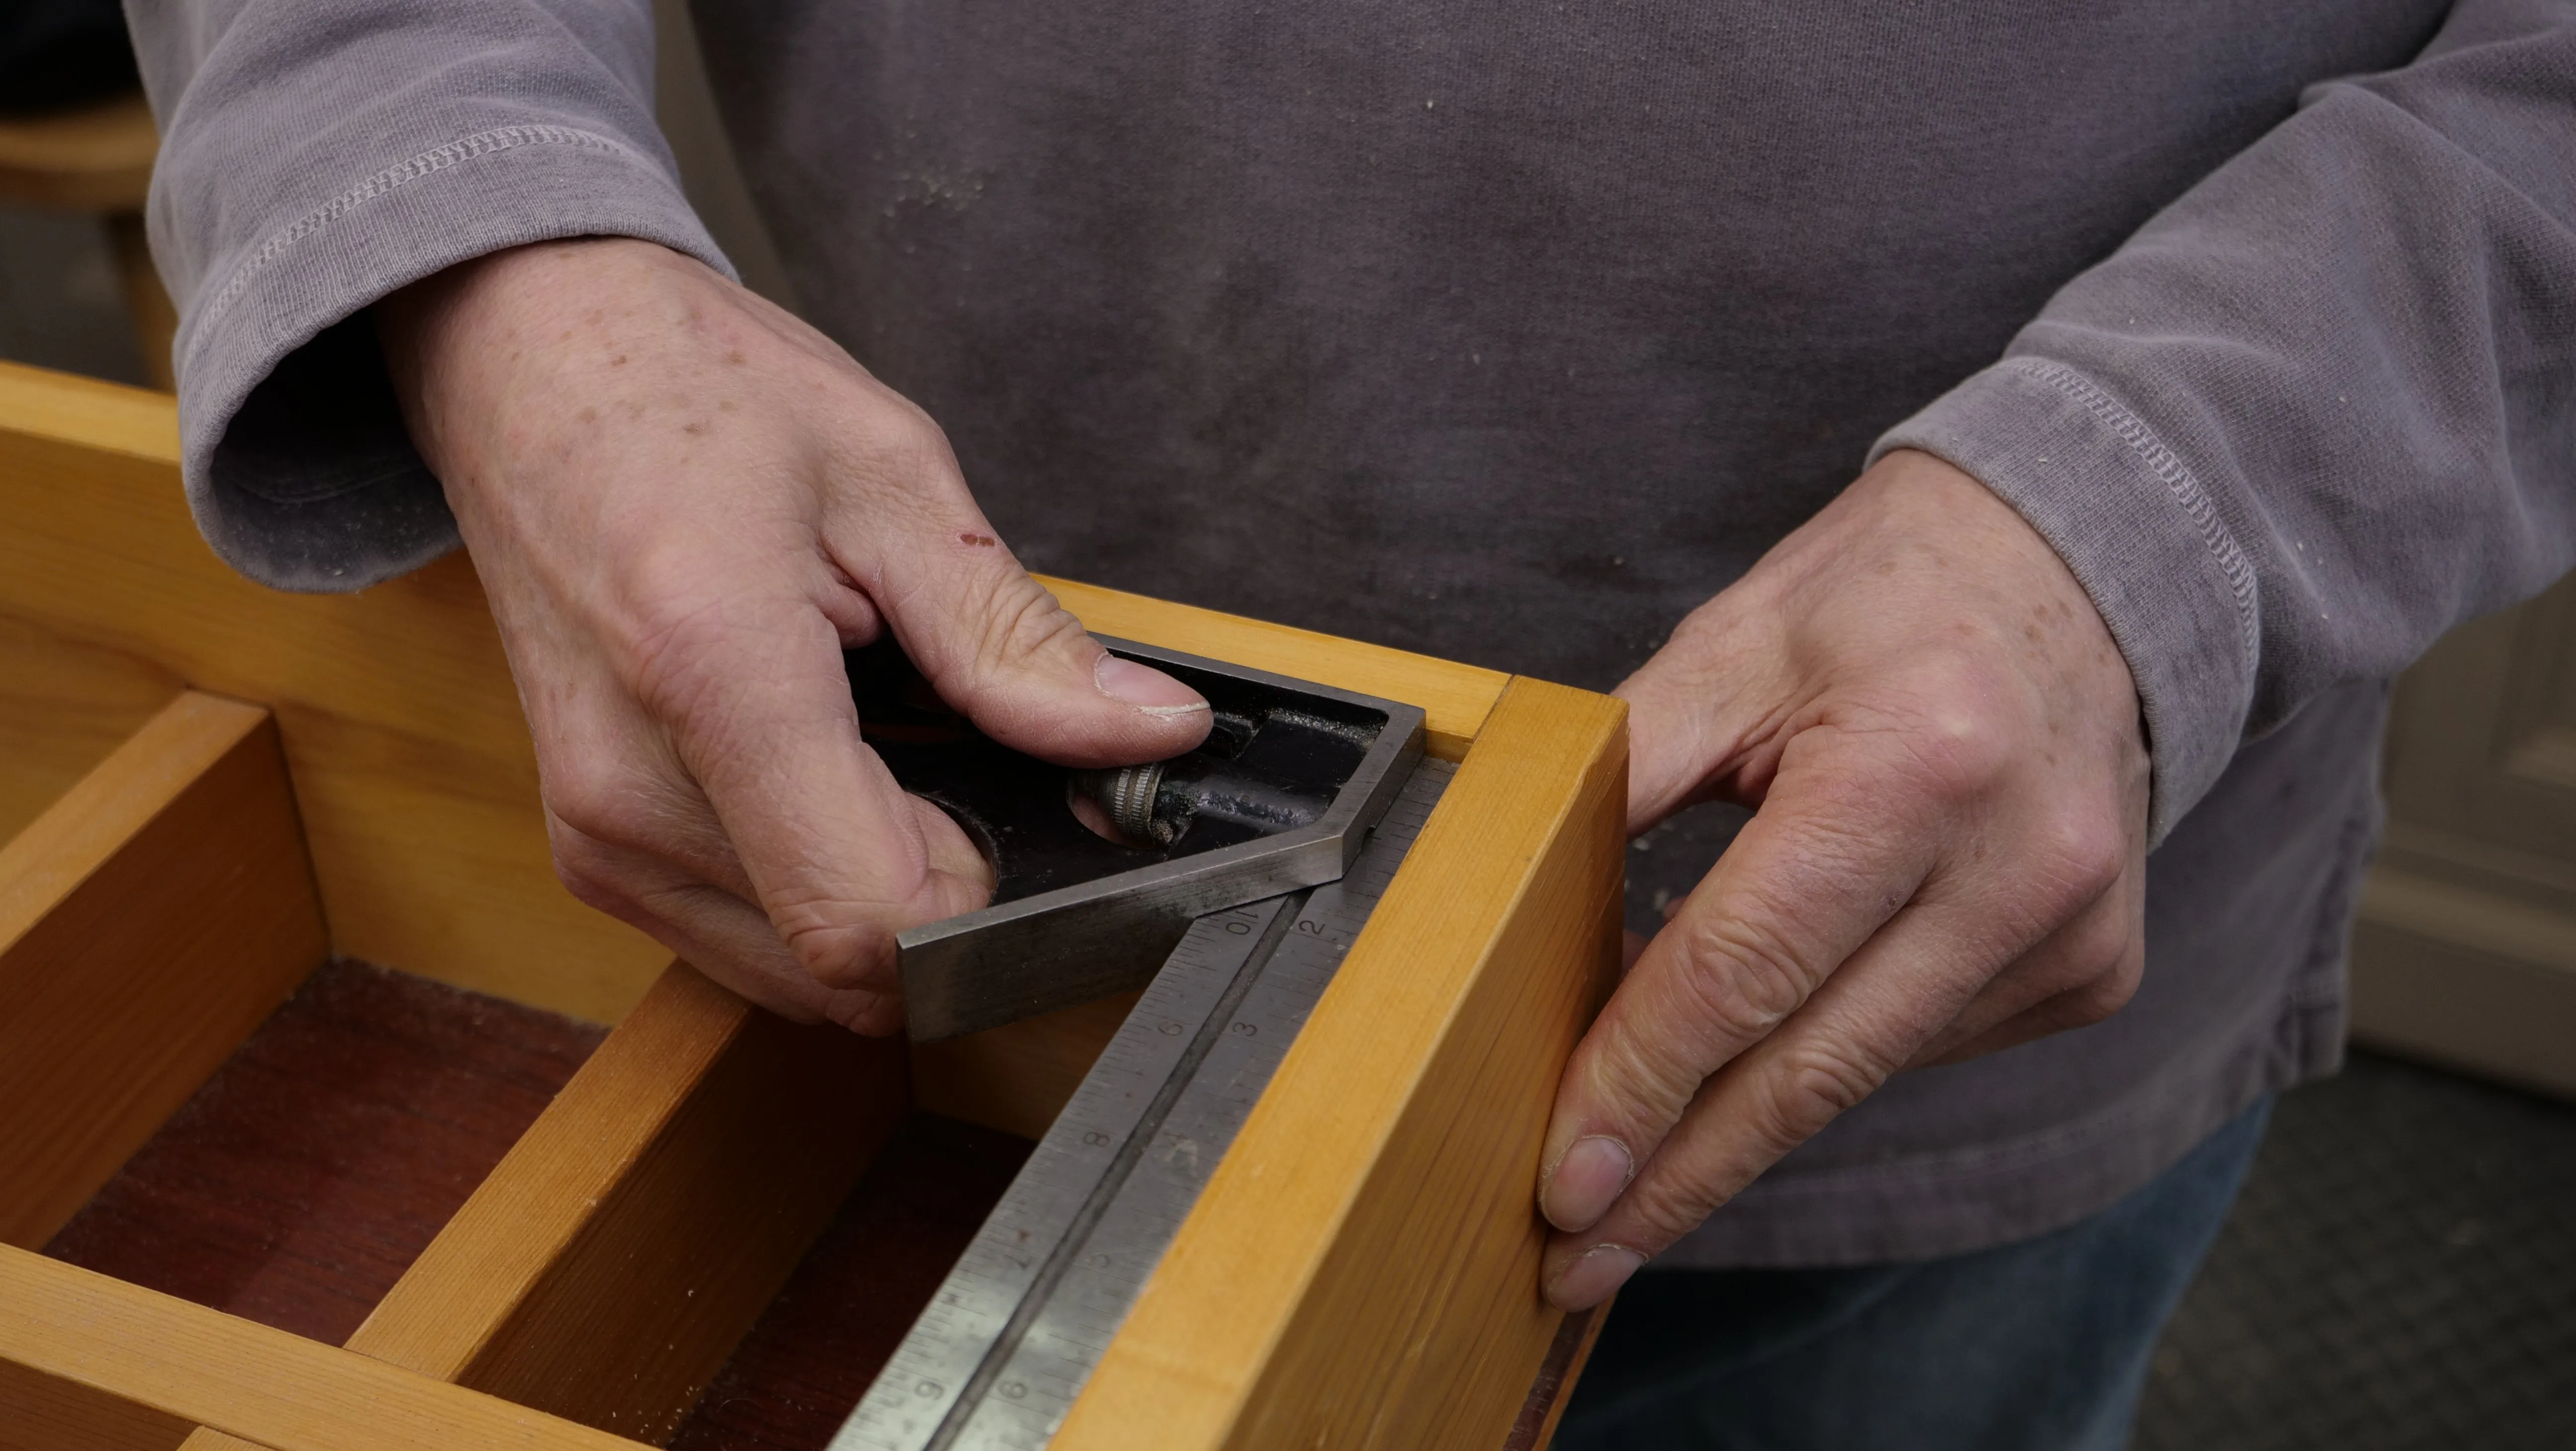
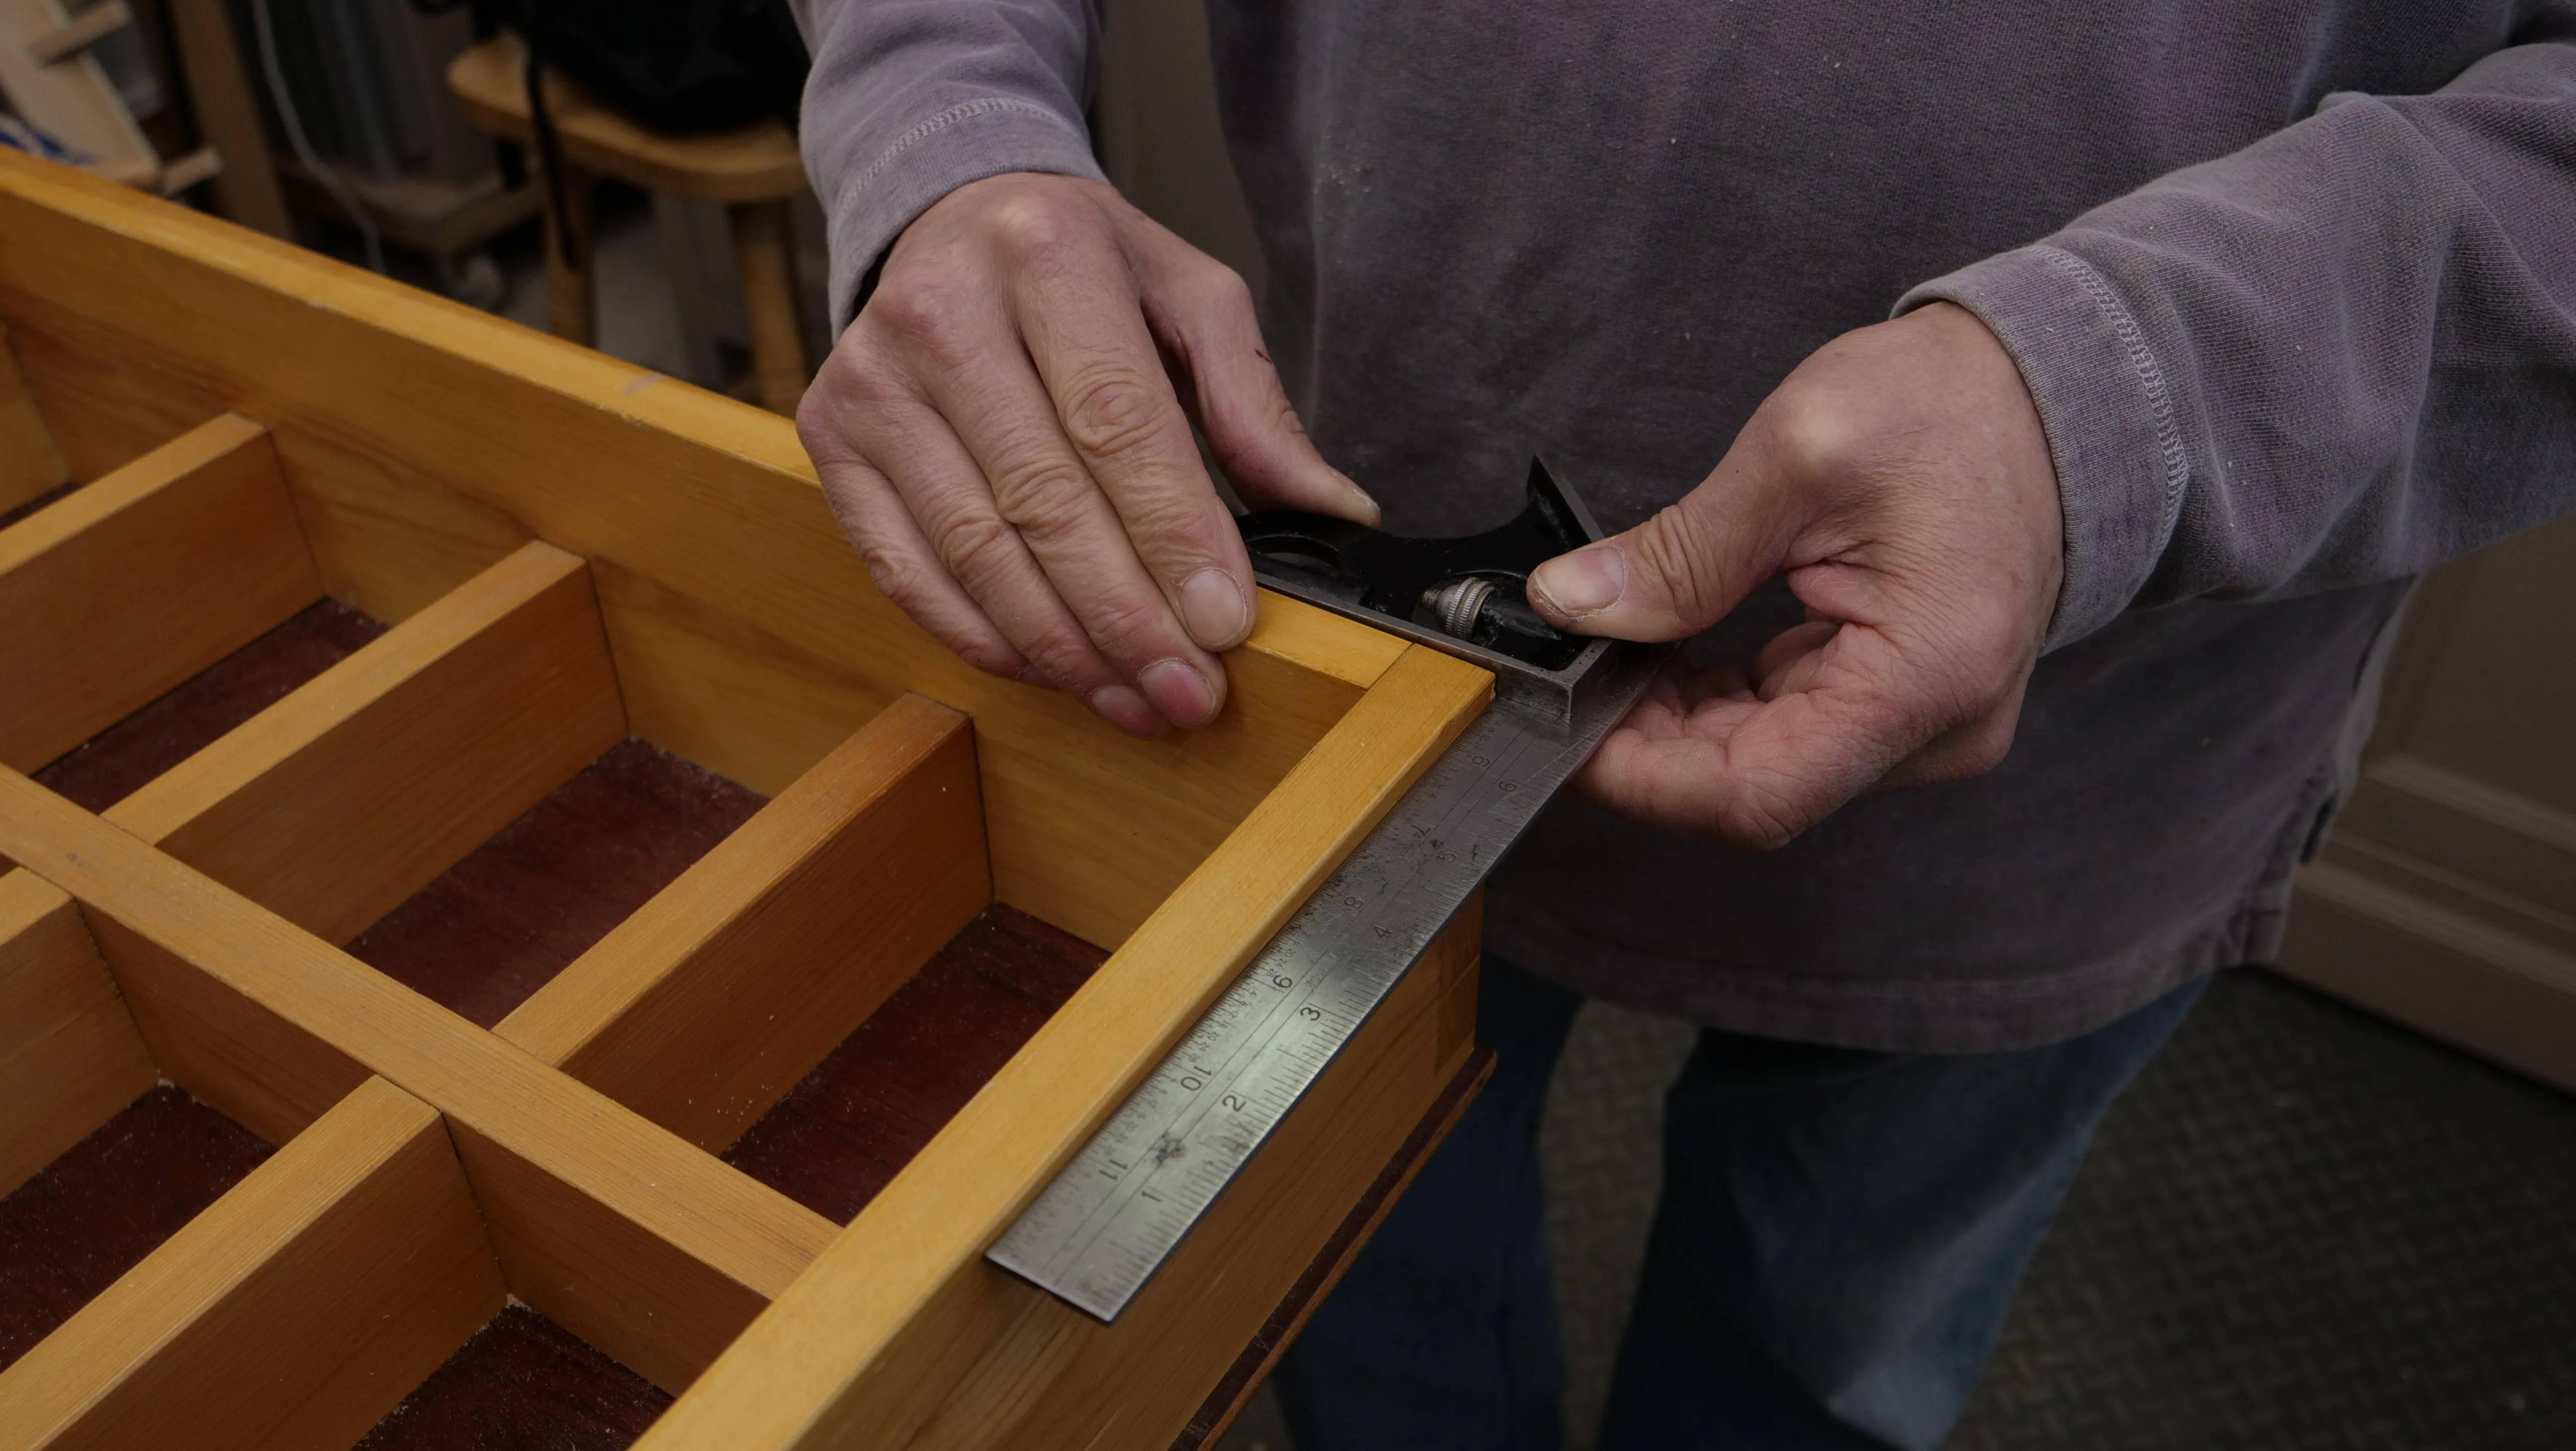
To make sure inside corners are square, position the head into the inside corner. For an external corner, you would position the square on the outside.
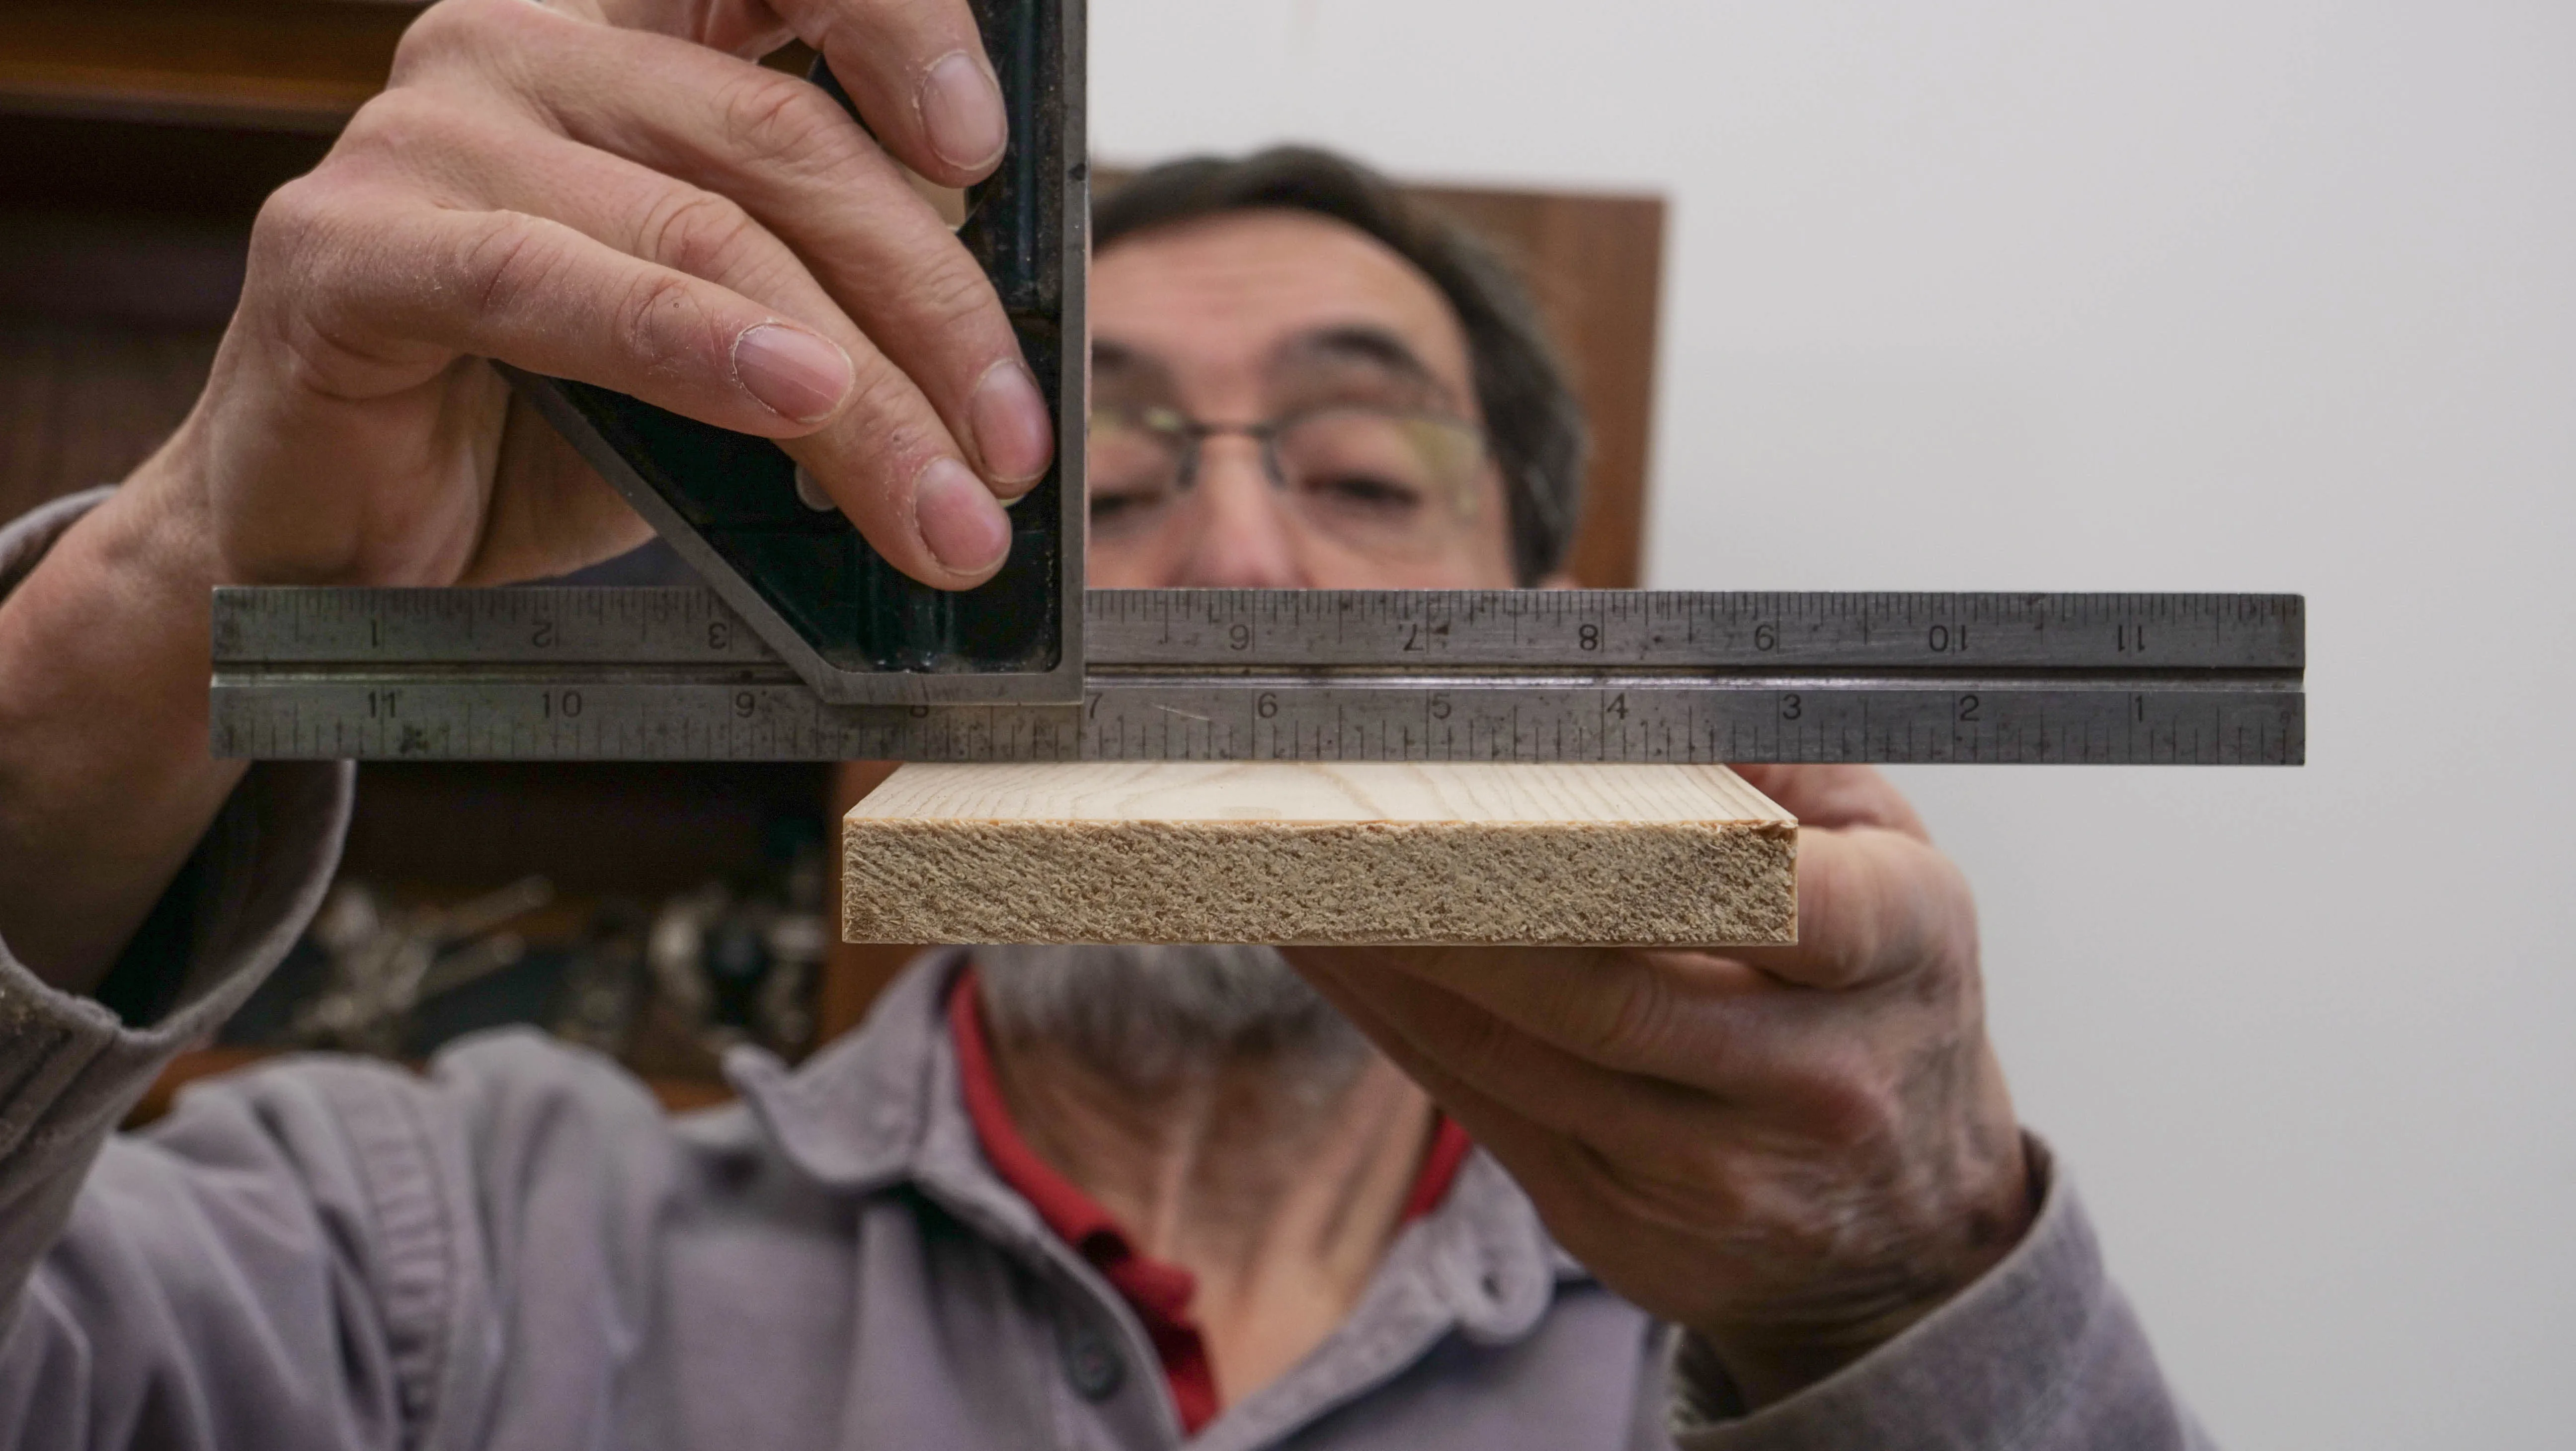
The square can also be used to check if your stock is flat. Hold it up to the light and hold the beam up to the face of your stock. If you can see light coming through between the wood and the square, then the wood is not flat.
USING A COMBINATION SQUARE GALLERY


Further Reading
To read more on the combination square, we recommend the following from Paul’s blog:
On Woodworking Squares and Working Wood
My Minimalist Tool List- The Square
Buying Good Tools Cheap 2- The Combination Square