Sharpening a Plough Plane
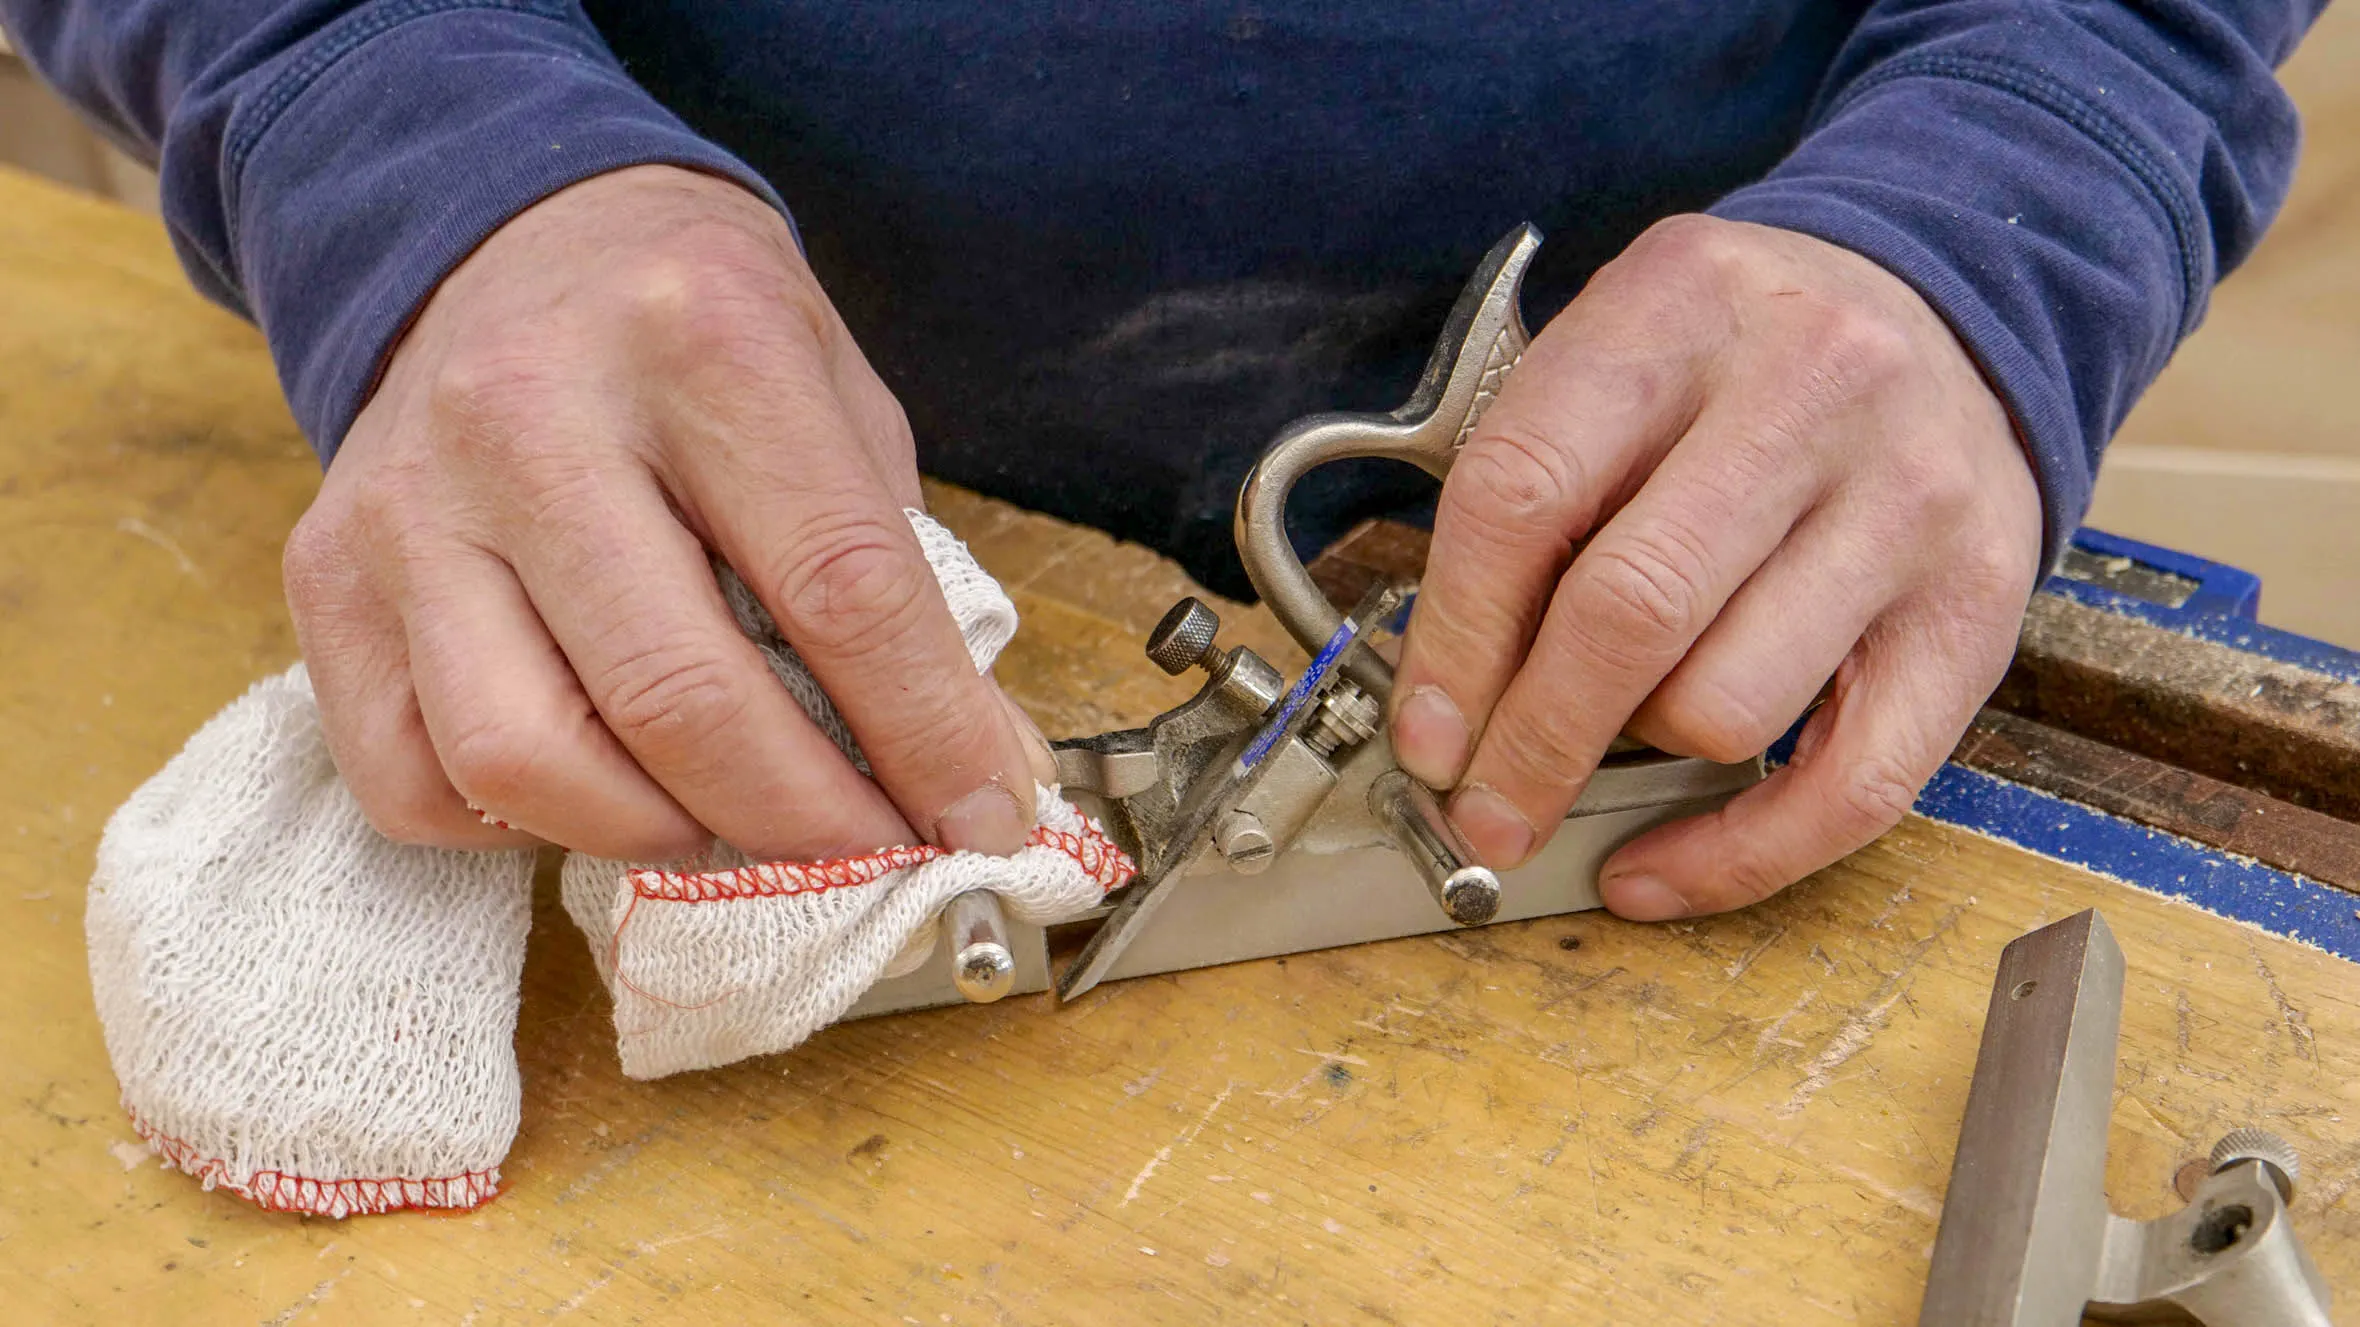
When buying second hand, the plough plane may be sticky with grease or rusty. This can be cleaned using a wire brush and abrasive paper. Your plough plane may also arrive in multiple parts. Start b...
Setting Up
When buying second hand, the plough plane may be sticky with grease or rusty. This can be cleaned using a wire brush and abrasive paper. Your plough plane may also arrive in multiple parts. Start by lubricating the stems with oil to ensure they go into the fence and body easily. Sometimes the nickel plating bubbles and prevents the parts from moving. This is the result of rust beneath the plating. By abrading the surface you will expose the rust which can be abraded away. Unfortunately the nickel can only be repaired by additional processing work.

Make sure the setscrews are completely retracted from the openings to allow the stems to pass into and through holes in the plane body and fence. Then tighten the setscrews until the stem is no longer easily retractable.
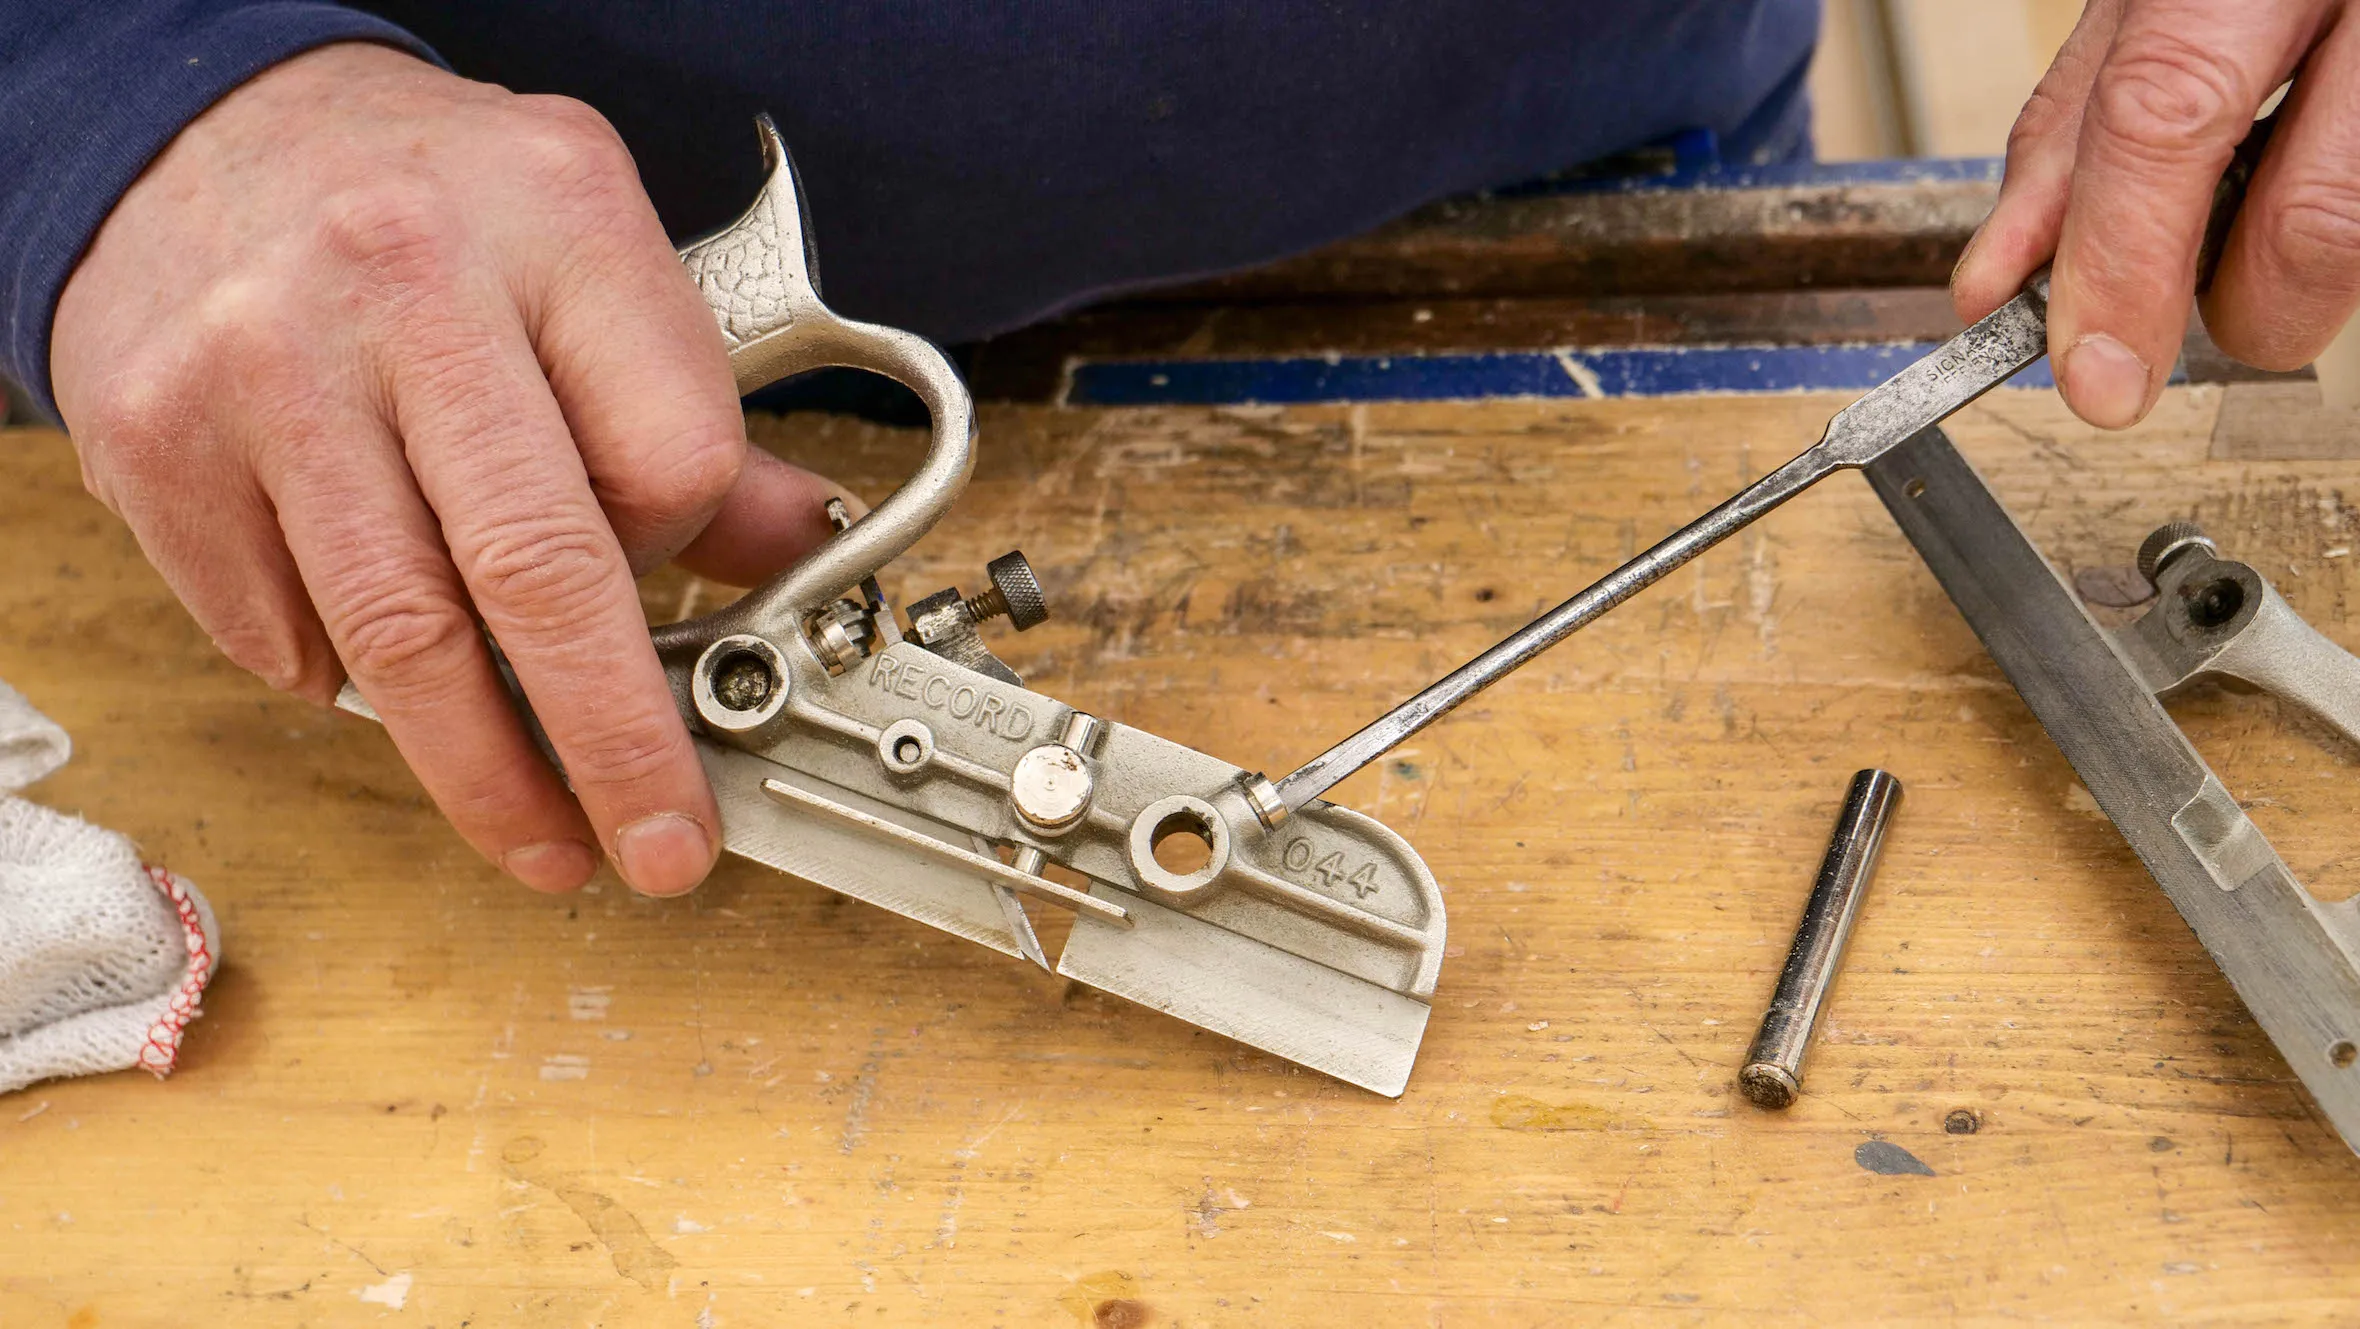
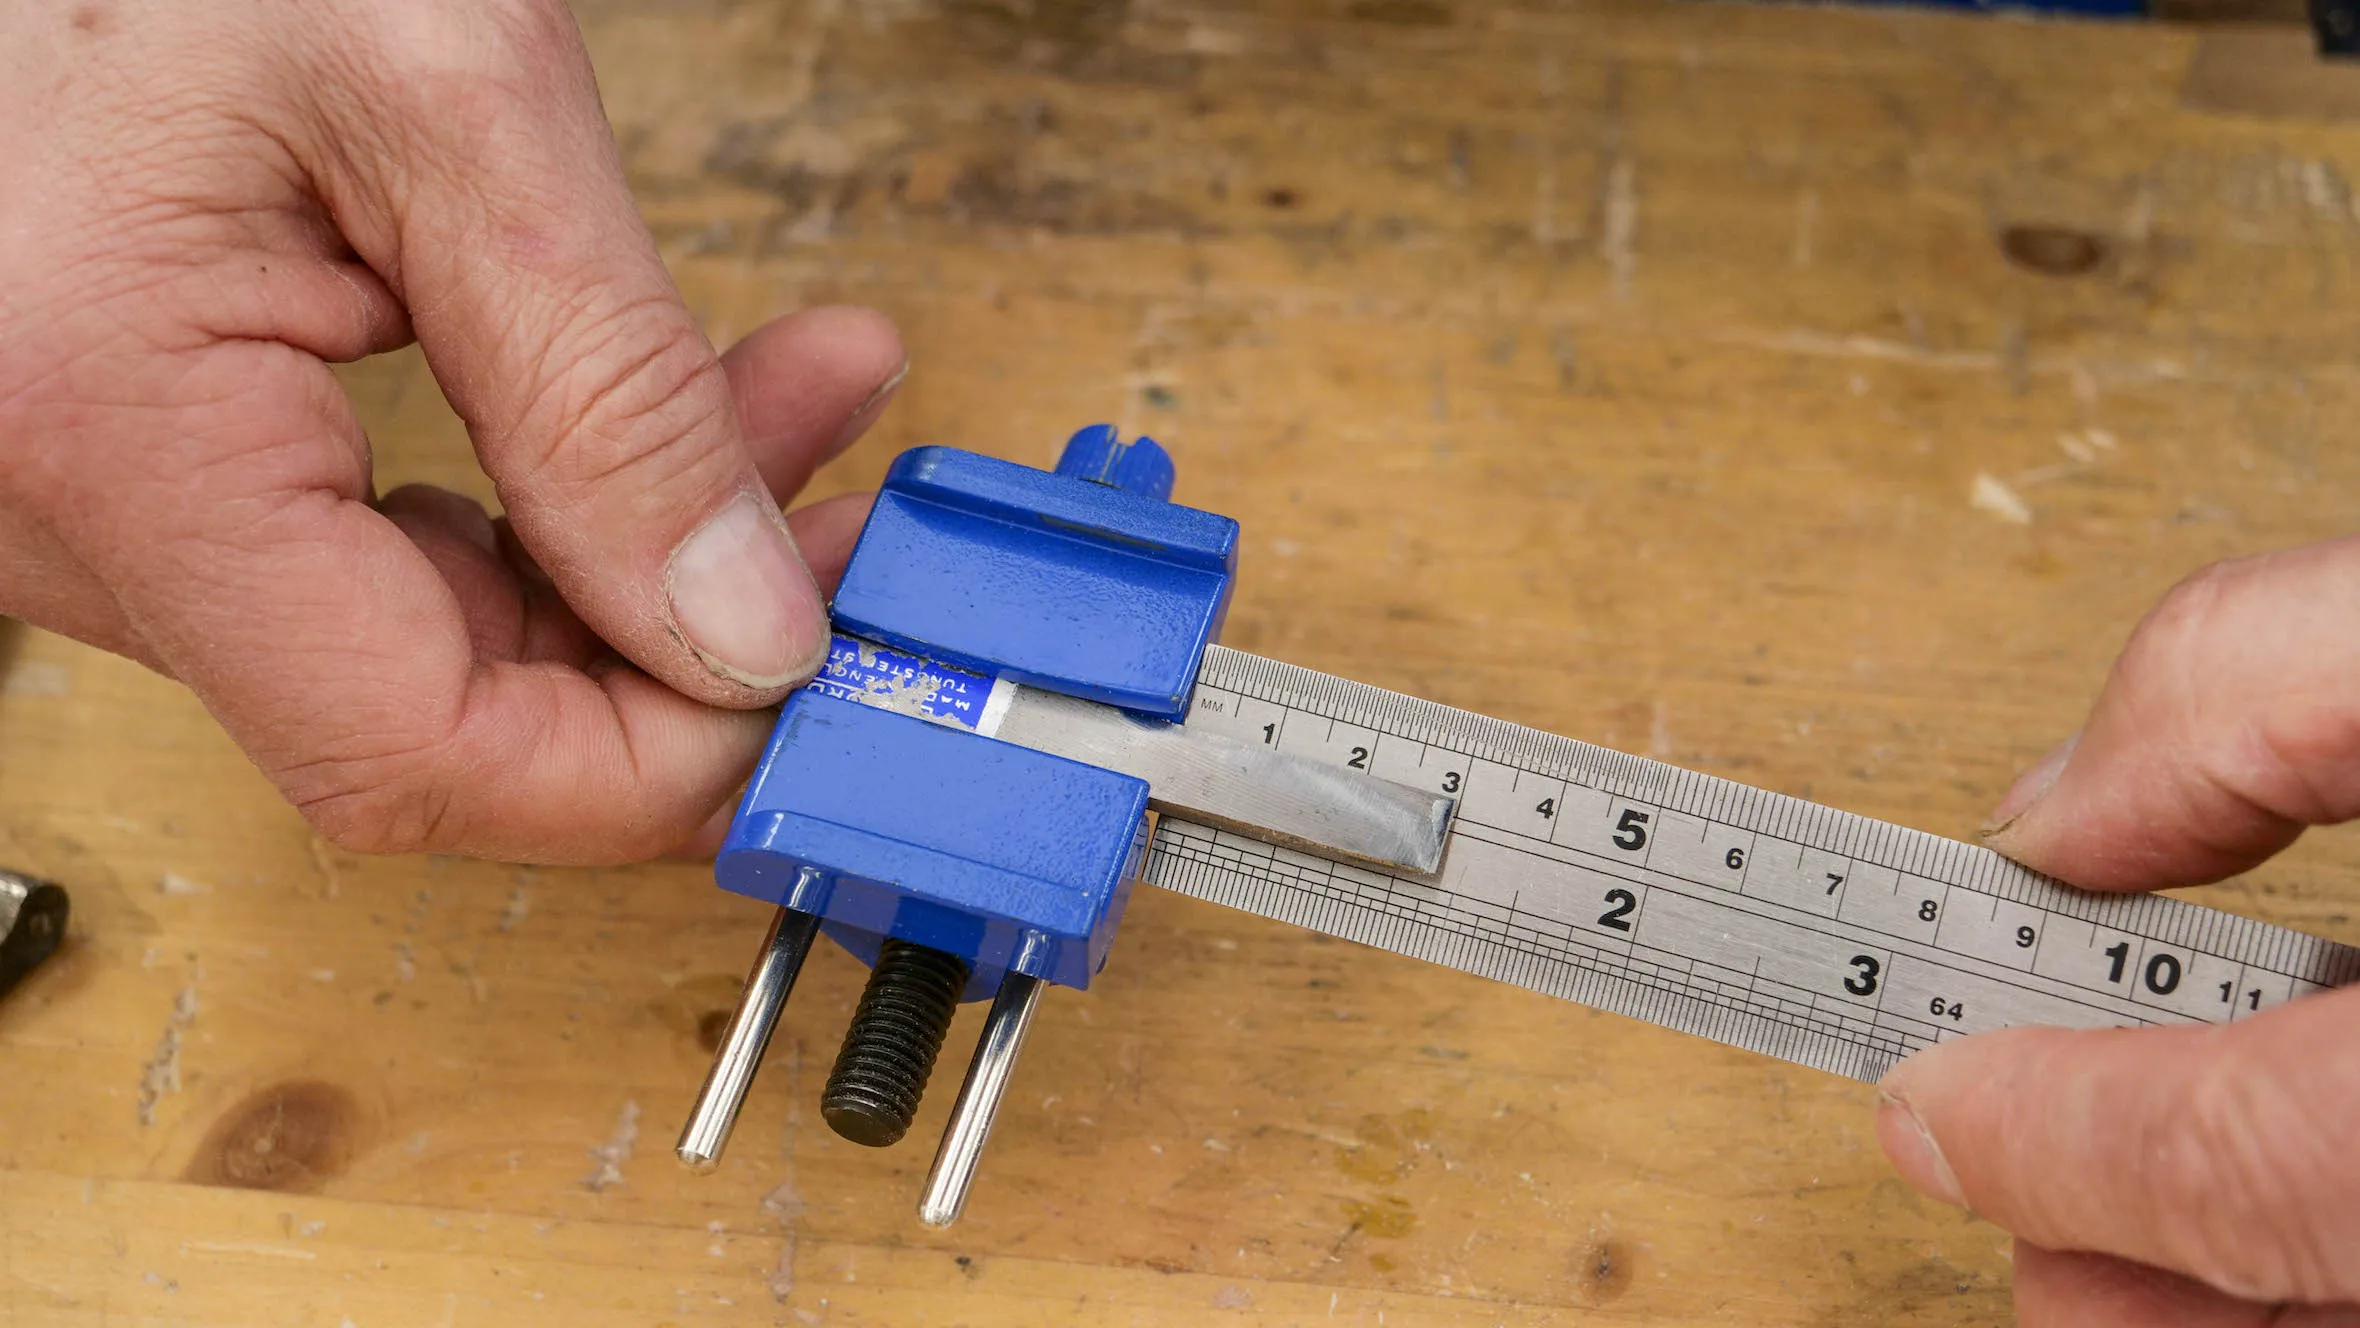
Insert the blade bevel down and tighten the blade retainer and surrounding setscrews. Adjust these until the cutting edge is in line with the sole.
To adjust the depth, loosen the side setscrew and the blade retainer. Then turn the depth adjuster using a screwdriver. Some plough plane types have no adjuster, but are adjusted by pinching the blade and adjusting to the required depth of cut before tightening the blade retainer.
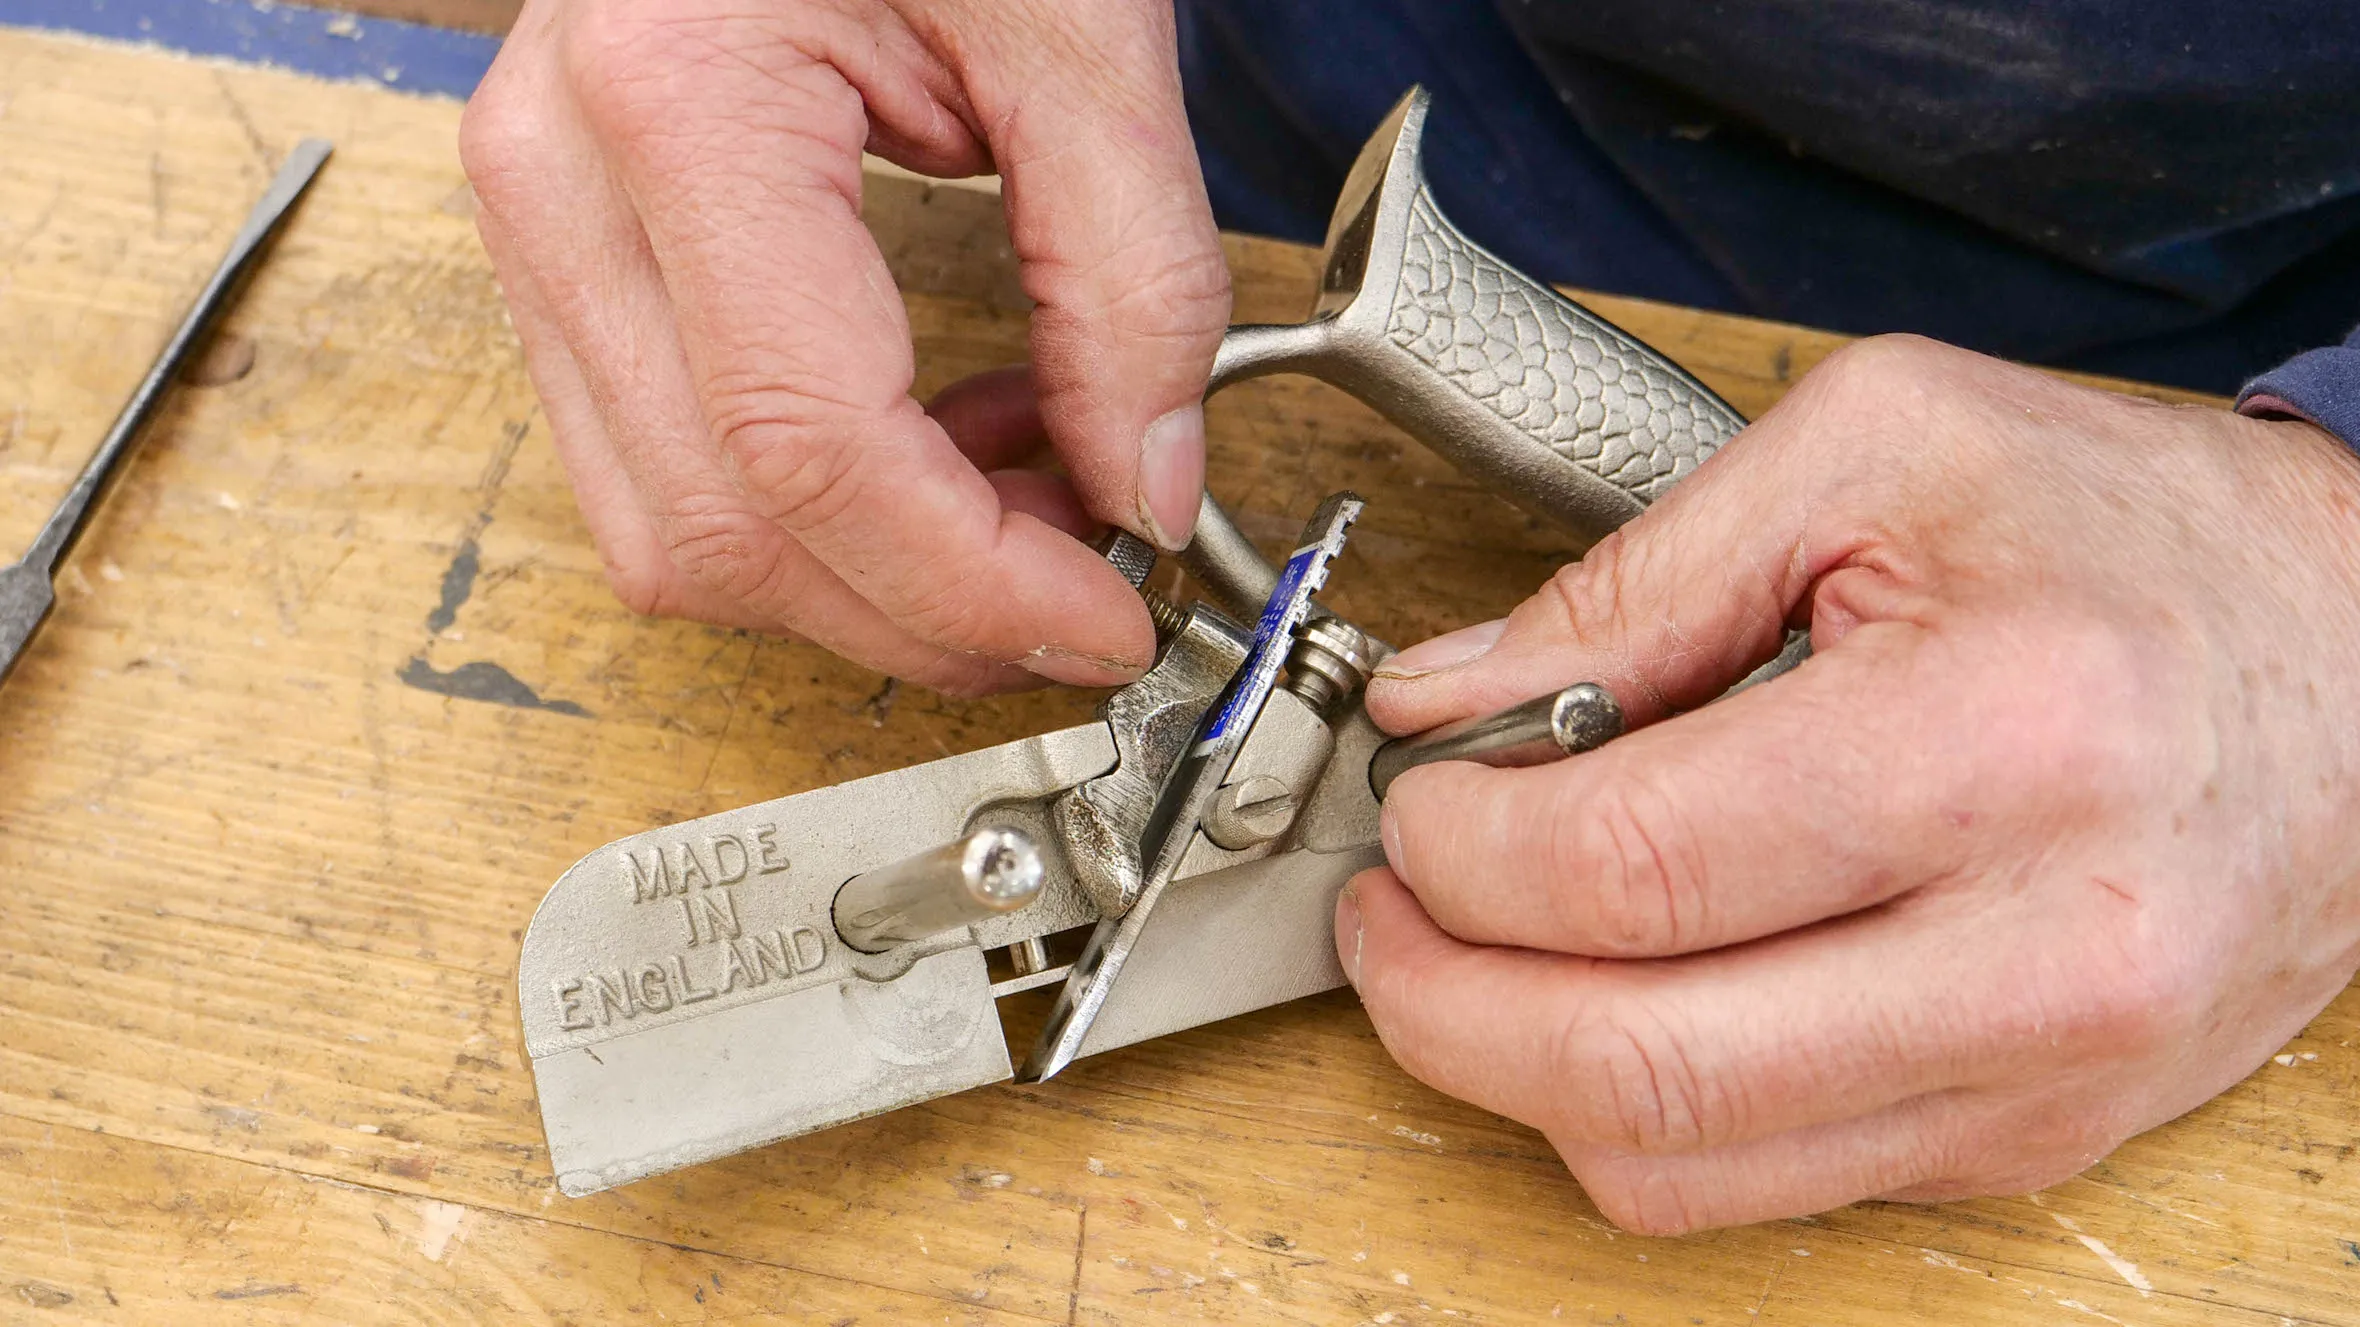
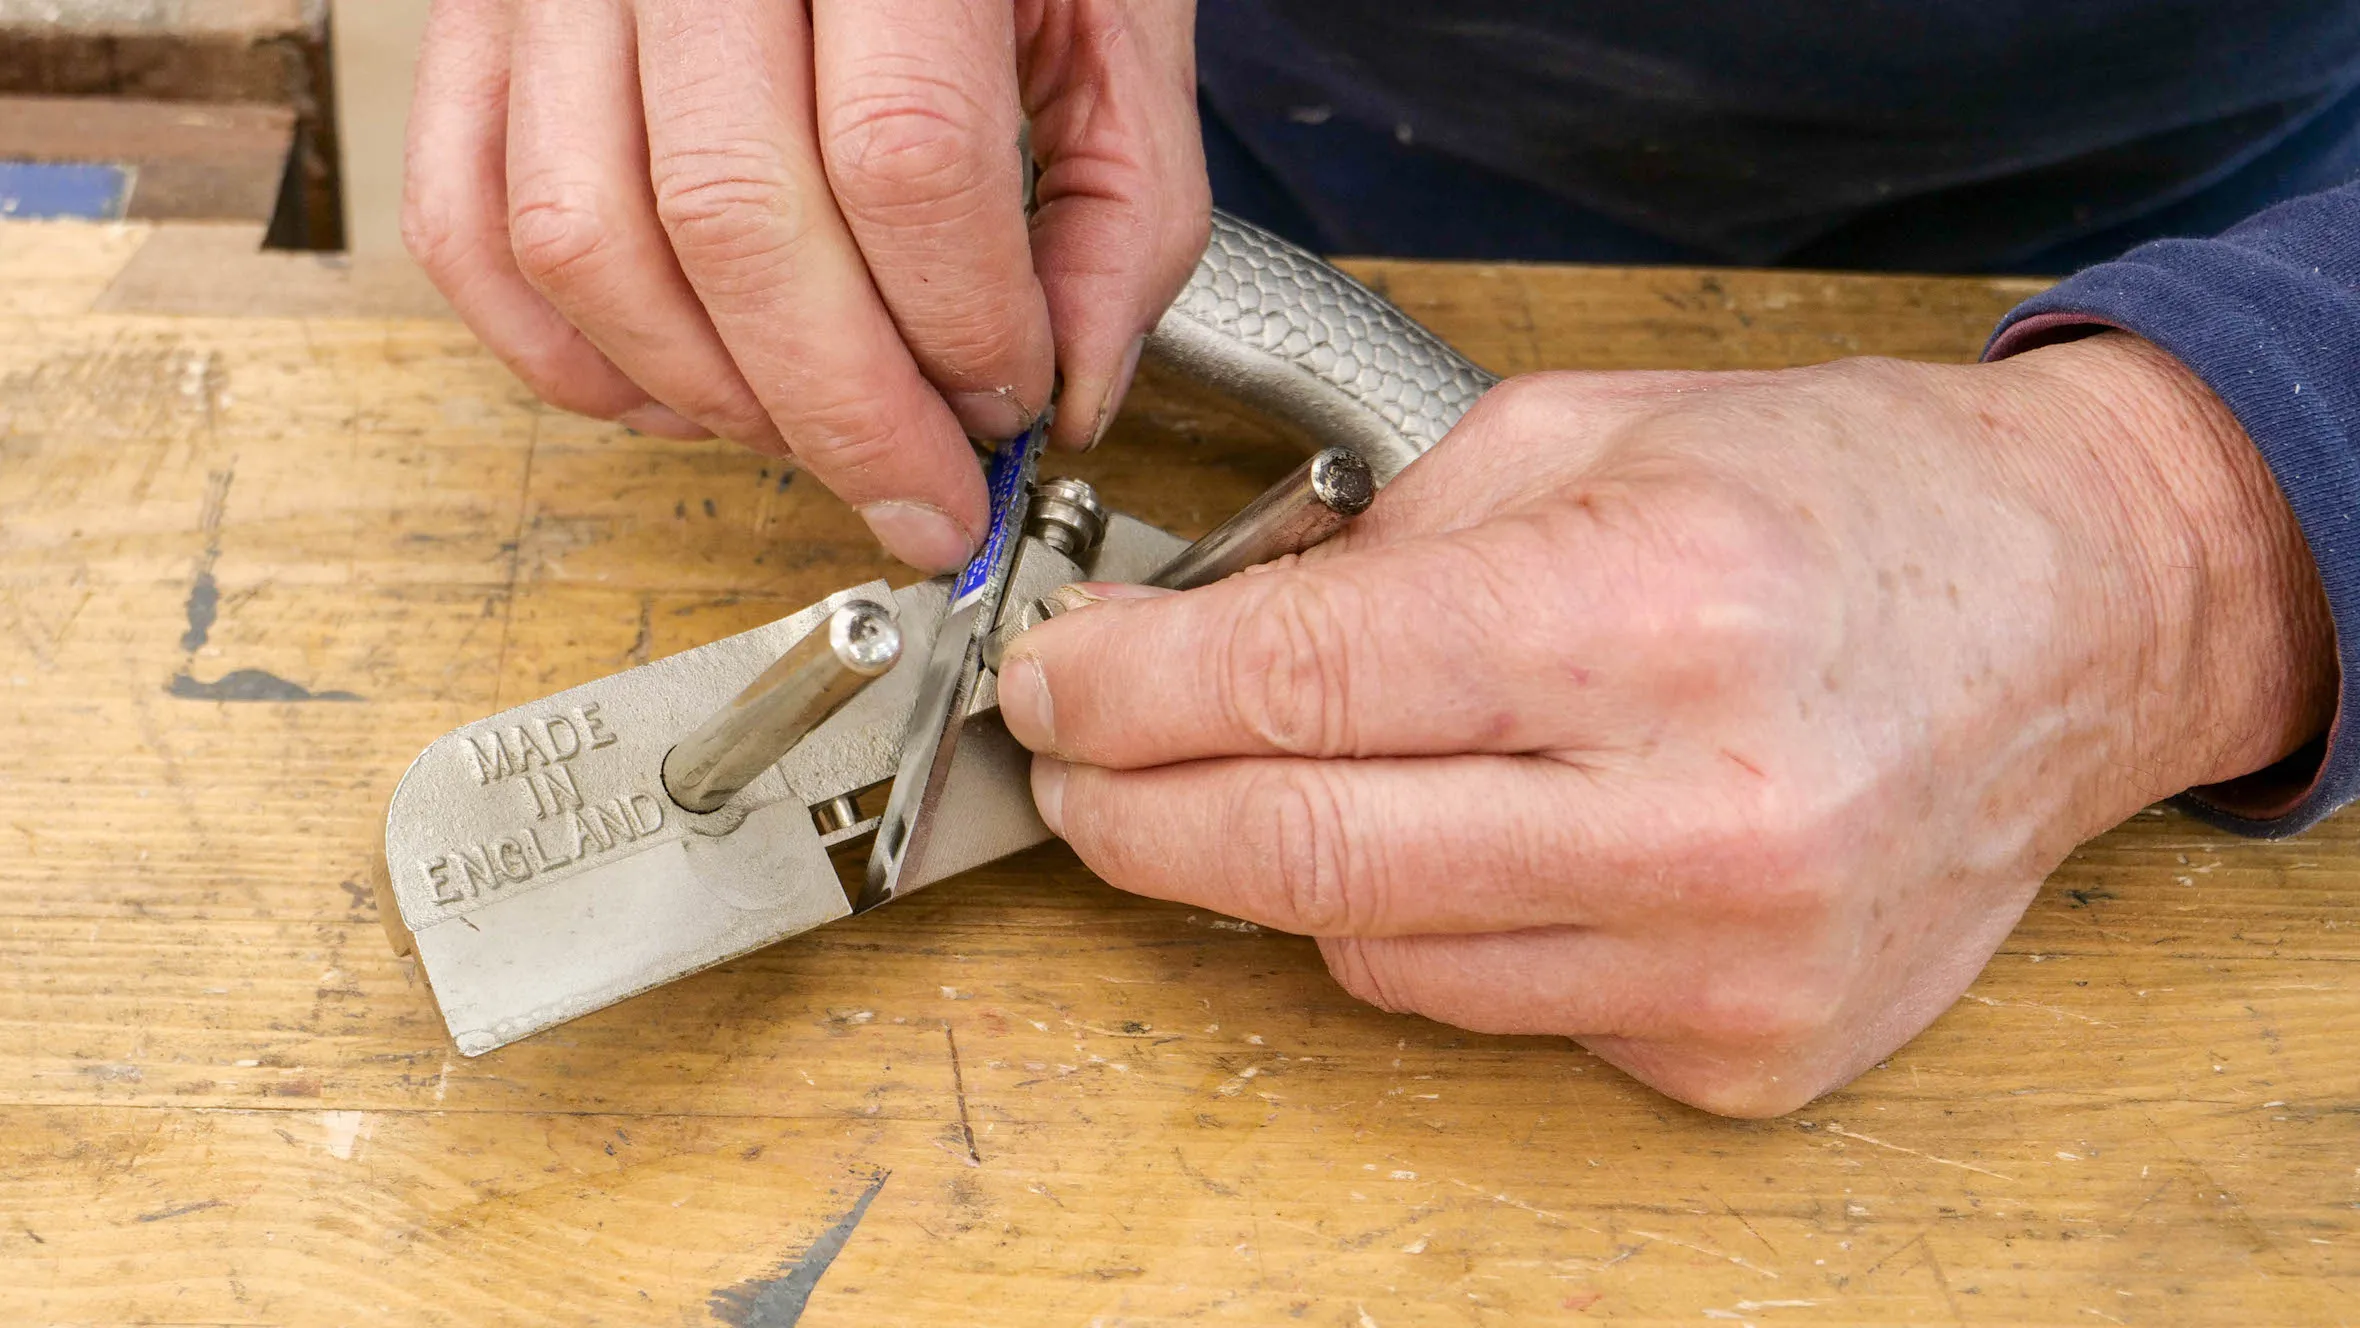
Some of the screws are knurled (have a criss-cross texture) and so indicate that you should tighten them with your fingers and sometimes follow up with a screwdriver, if they have slot for a one. In this case, you need to keep the exact positioning for a longer period of time. Often finger tight is sufficient. If the stems have rust on them, this can be sanded off using sand paper. Sometimes the ends of the stems will have slight damage to them where the knurled screw hasn’t been fully retracted from the hole before inserting the stem, so it has created a groove defect.
Sharpening
To sharpen a plough plane blade, spray your sharpening plates with auto-glass cleaner to float off waste metal. This prevents clogging and rusting of the sharpening plates. You can either hold the blade between your forefinger, thumb and middle finger, or use a honing guide to give you something bigger to grip. This provides control and maintains the exact angle you are sharpening to.
Push the bevelled side back and forth against a diamond sharpening plate at a 25° angle, starting on the most coarse grit to establish the correct bevel. Using a finger from your other hand, apply pressure to the flat side and push forwards and backwards. With the coarse bevel of 25° established, change the setting of the honing guide to present the cutter at 30°. Now hone using the medium and fine sharpening plates until there is a shiny width band off about 2 mm. Once finished, place the flat side down on the super fine grit and push back and forth to get rid of the remaining burr.
Plough planes cut well at this level. However, if you want to refine the cutting edge further, strop the bevel on the leather strop charged with buffing compound. To polish the flat face, charge the reverse side of the strop, the wooden face, with buffing compound and polish by keeping the flat face pressed to the surface and moving the blade back and forth until shiny.
Further Reading:
To read more on the plough plane, we recommend the following from Paul’s blog:
On Plough Planes and Ploughing- Just Thoughts
Veritas Plough (Plow) Plane
Buying Good Tools Cheap #4- Plough Plane
Plough- Share
Veritas Plough Plane Update