How to Make a Sharpening Stones Holder
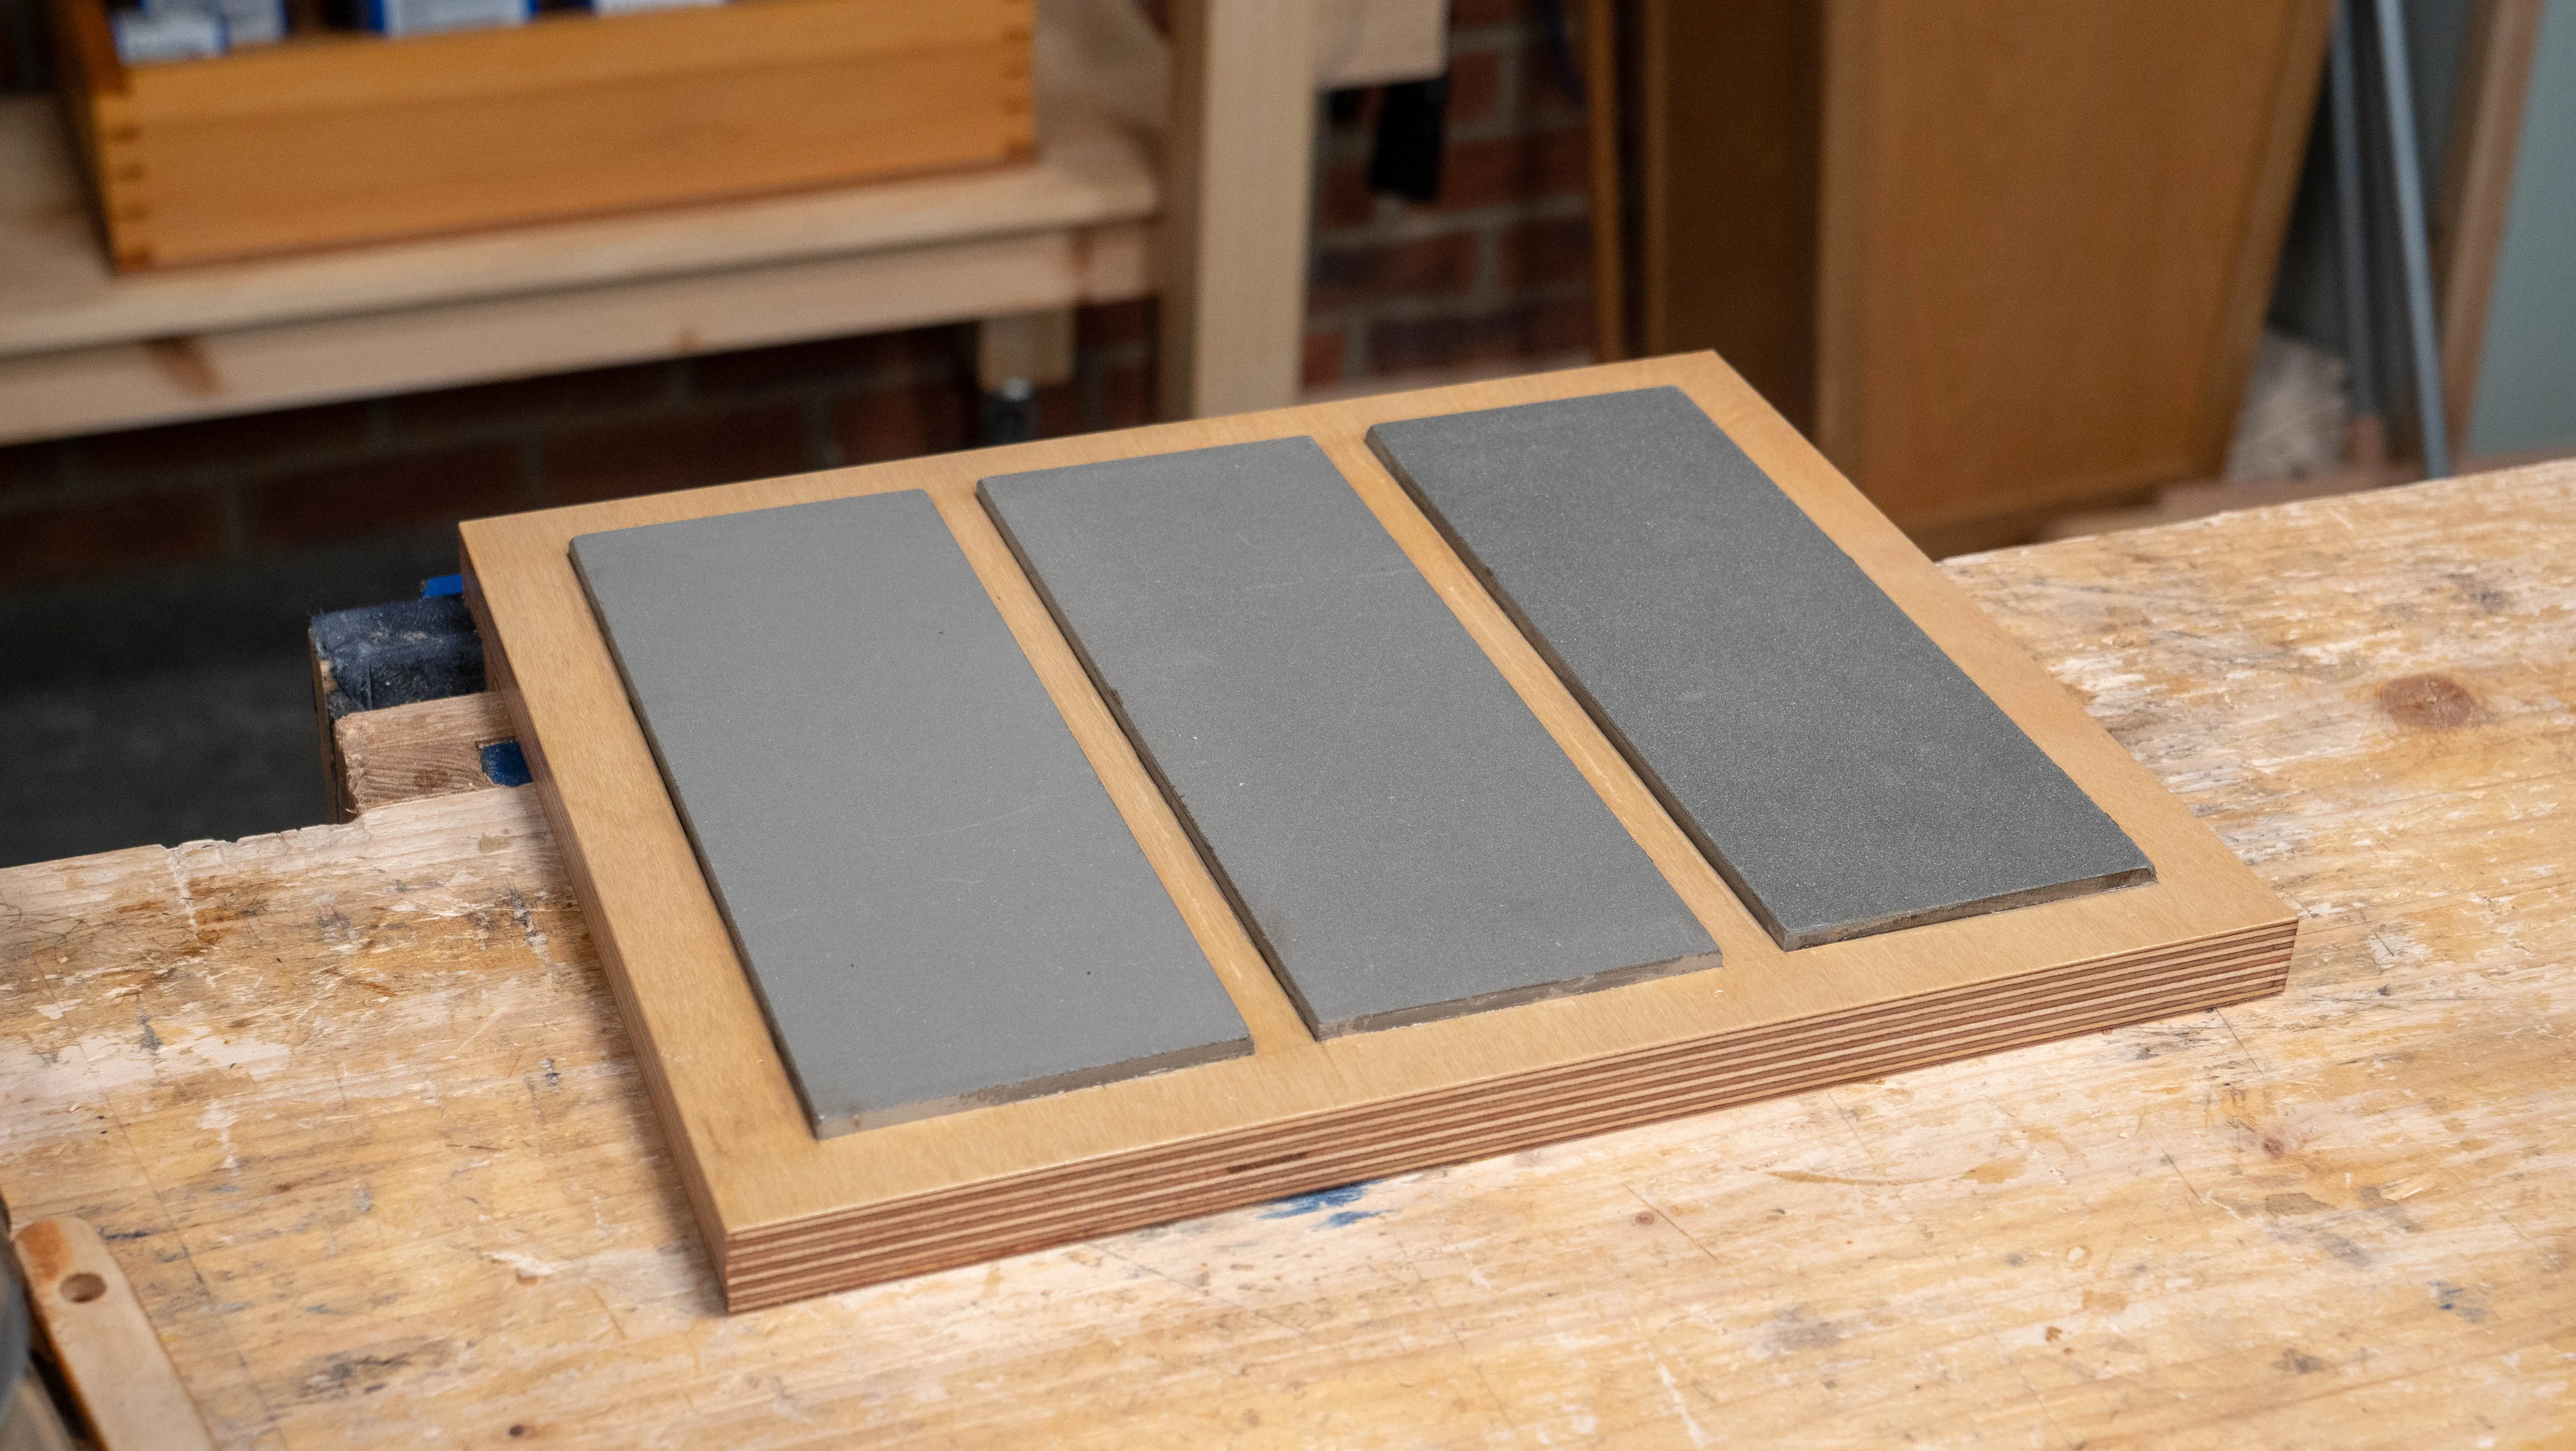
In this guide, Paul shows you how to make a sharpening stones holder which can be clamped in the vise for ease of use.
In this guide, Paul shows you how to make a sharpening stones holder which can be clamped in the vise for ease of use.
For this, you will need:
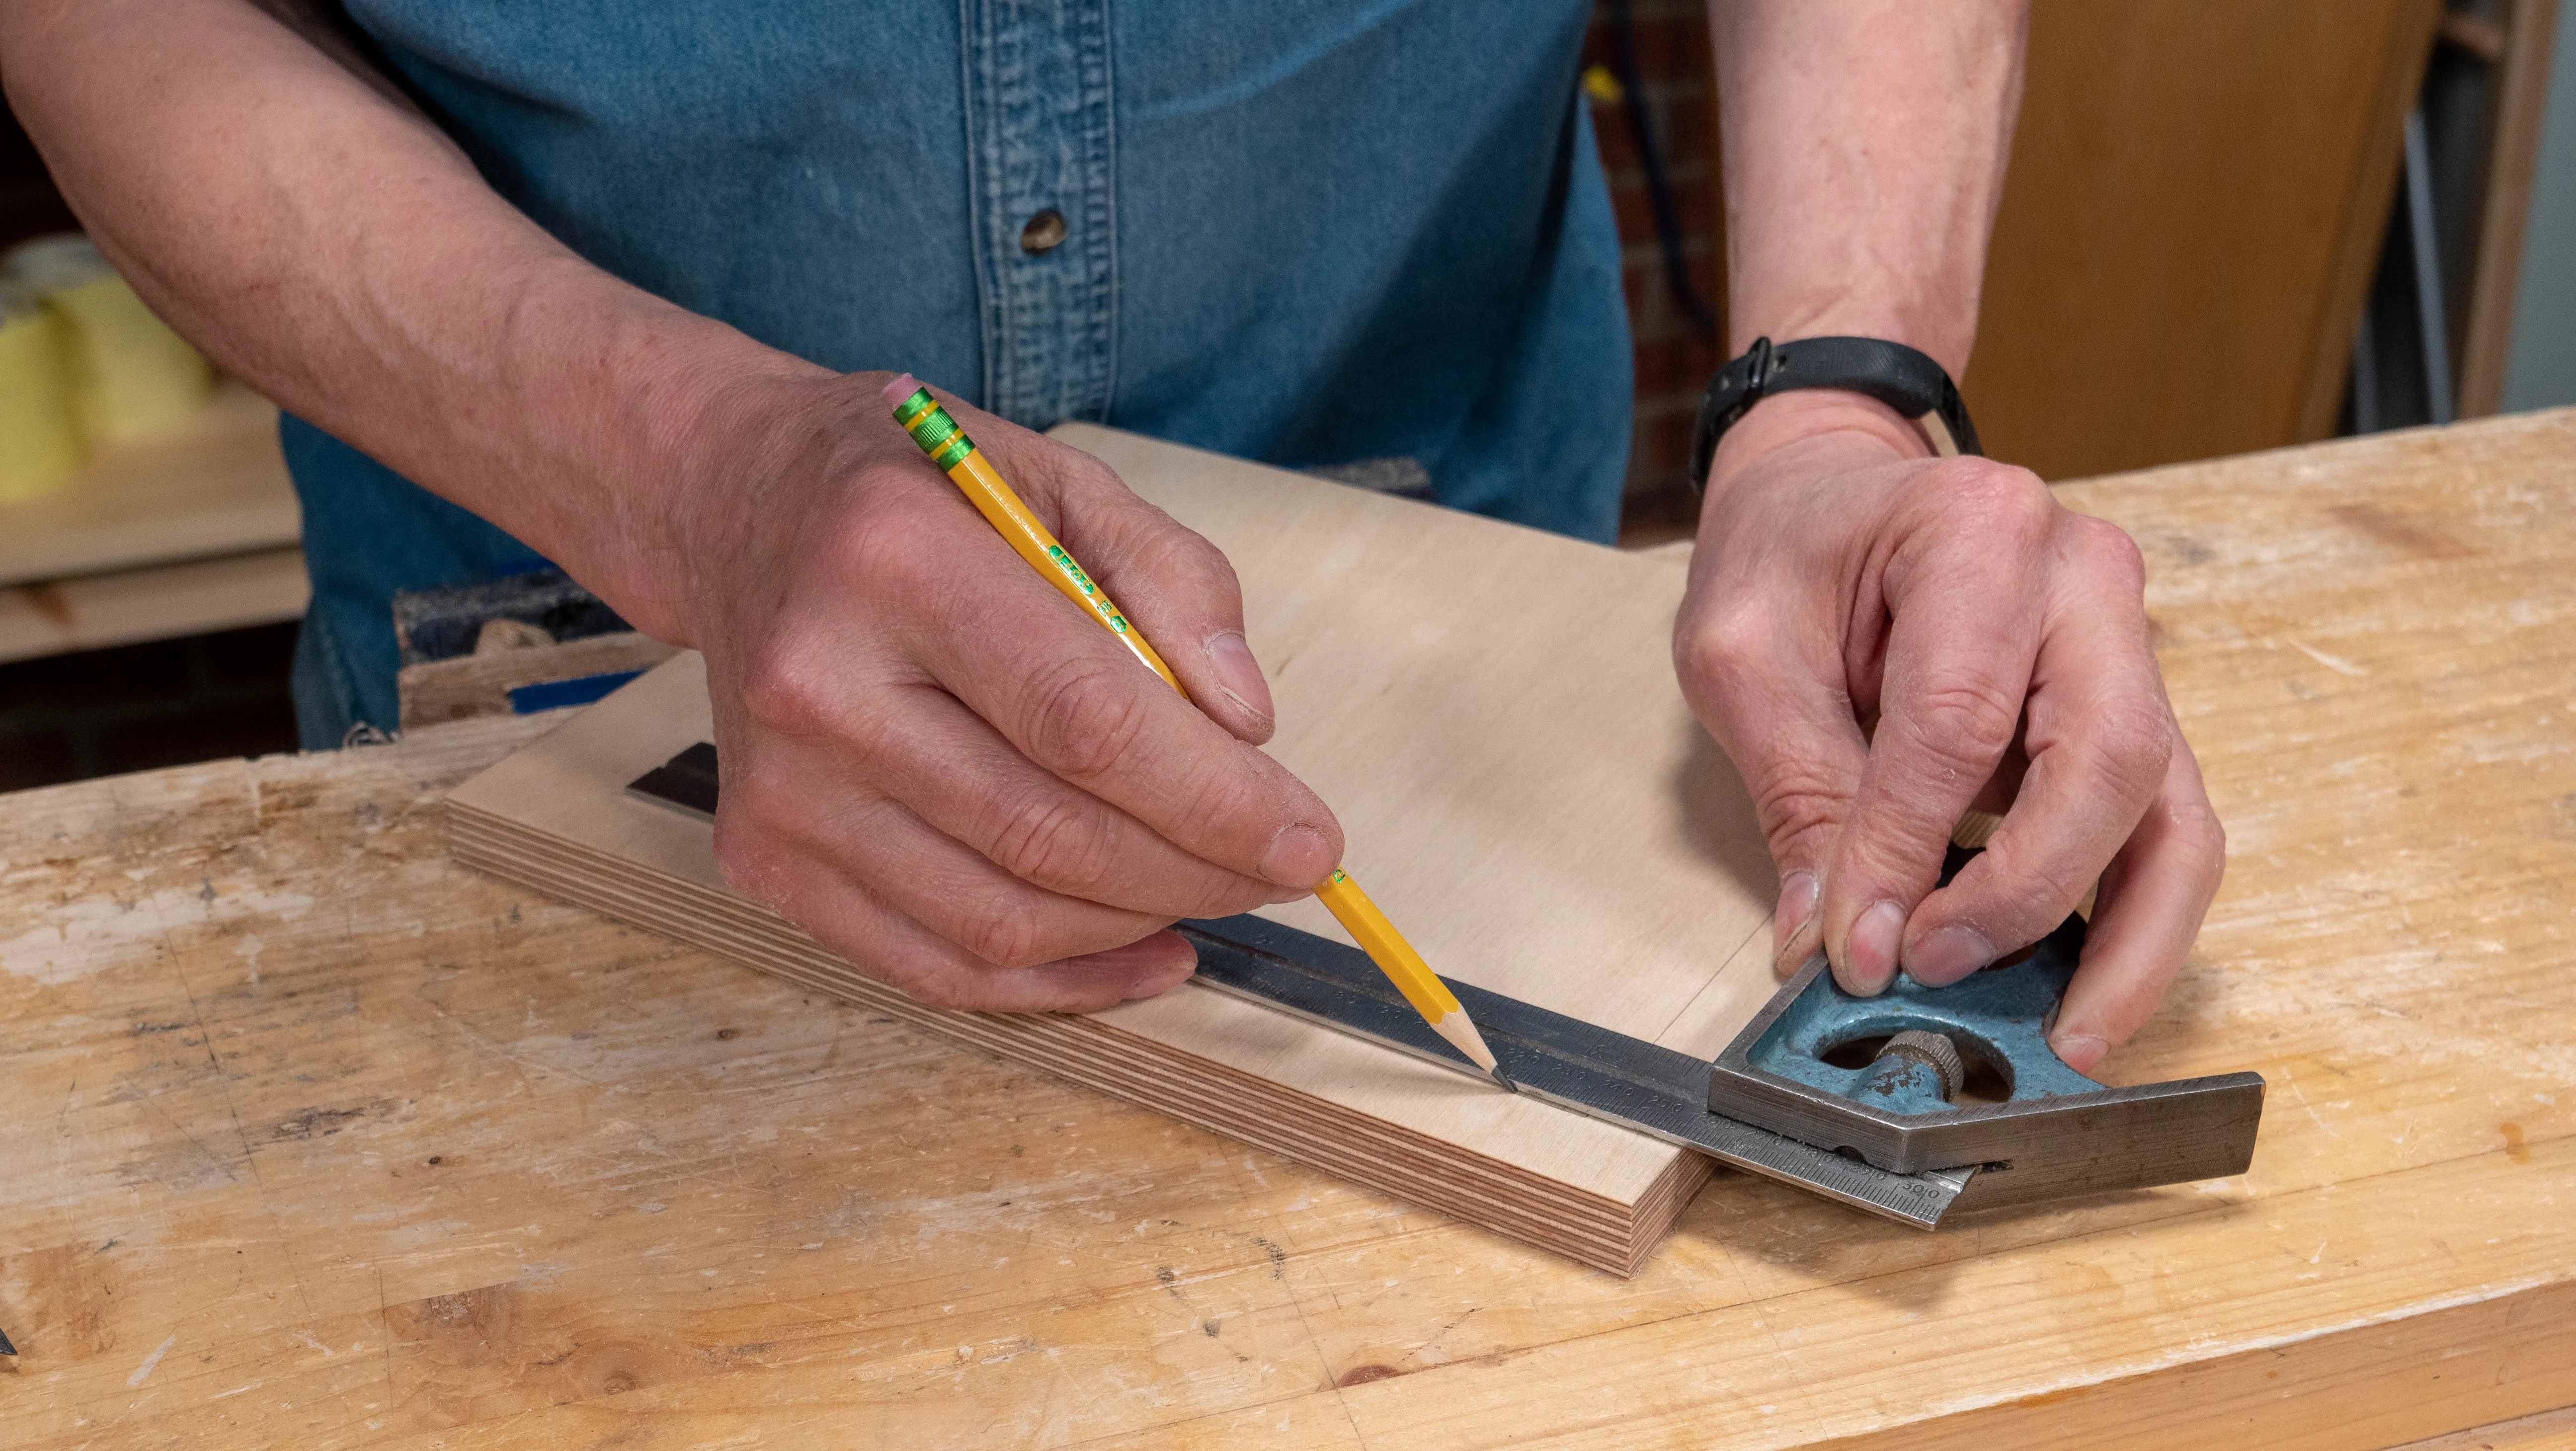
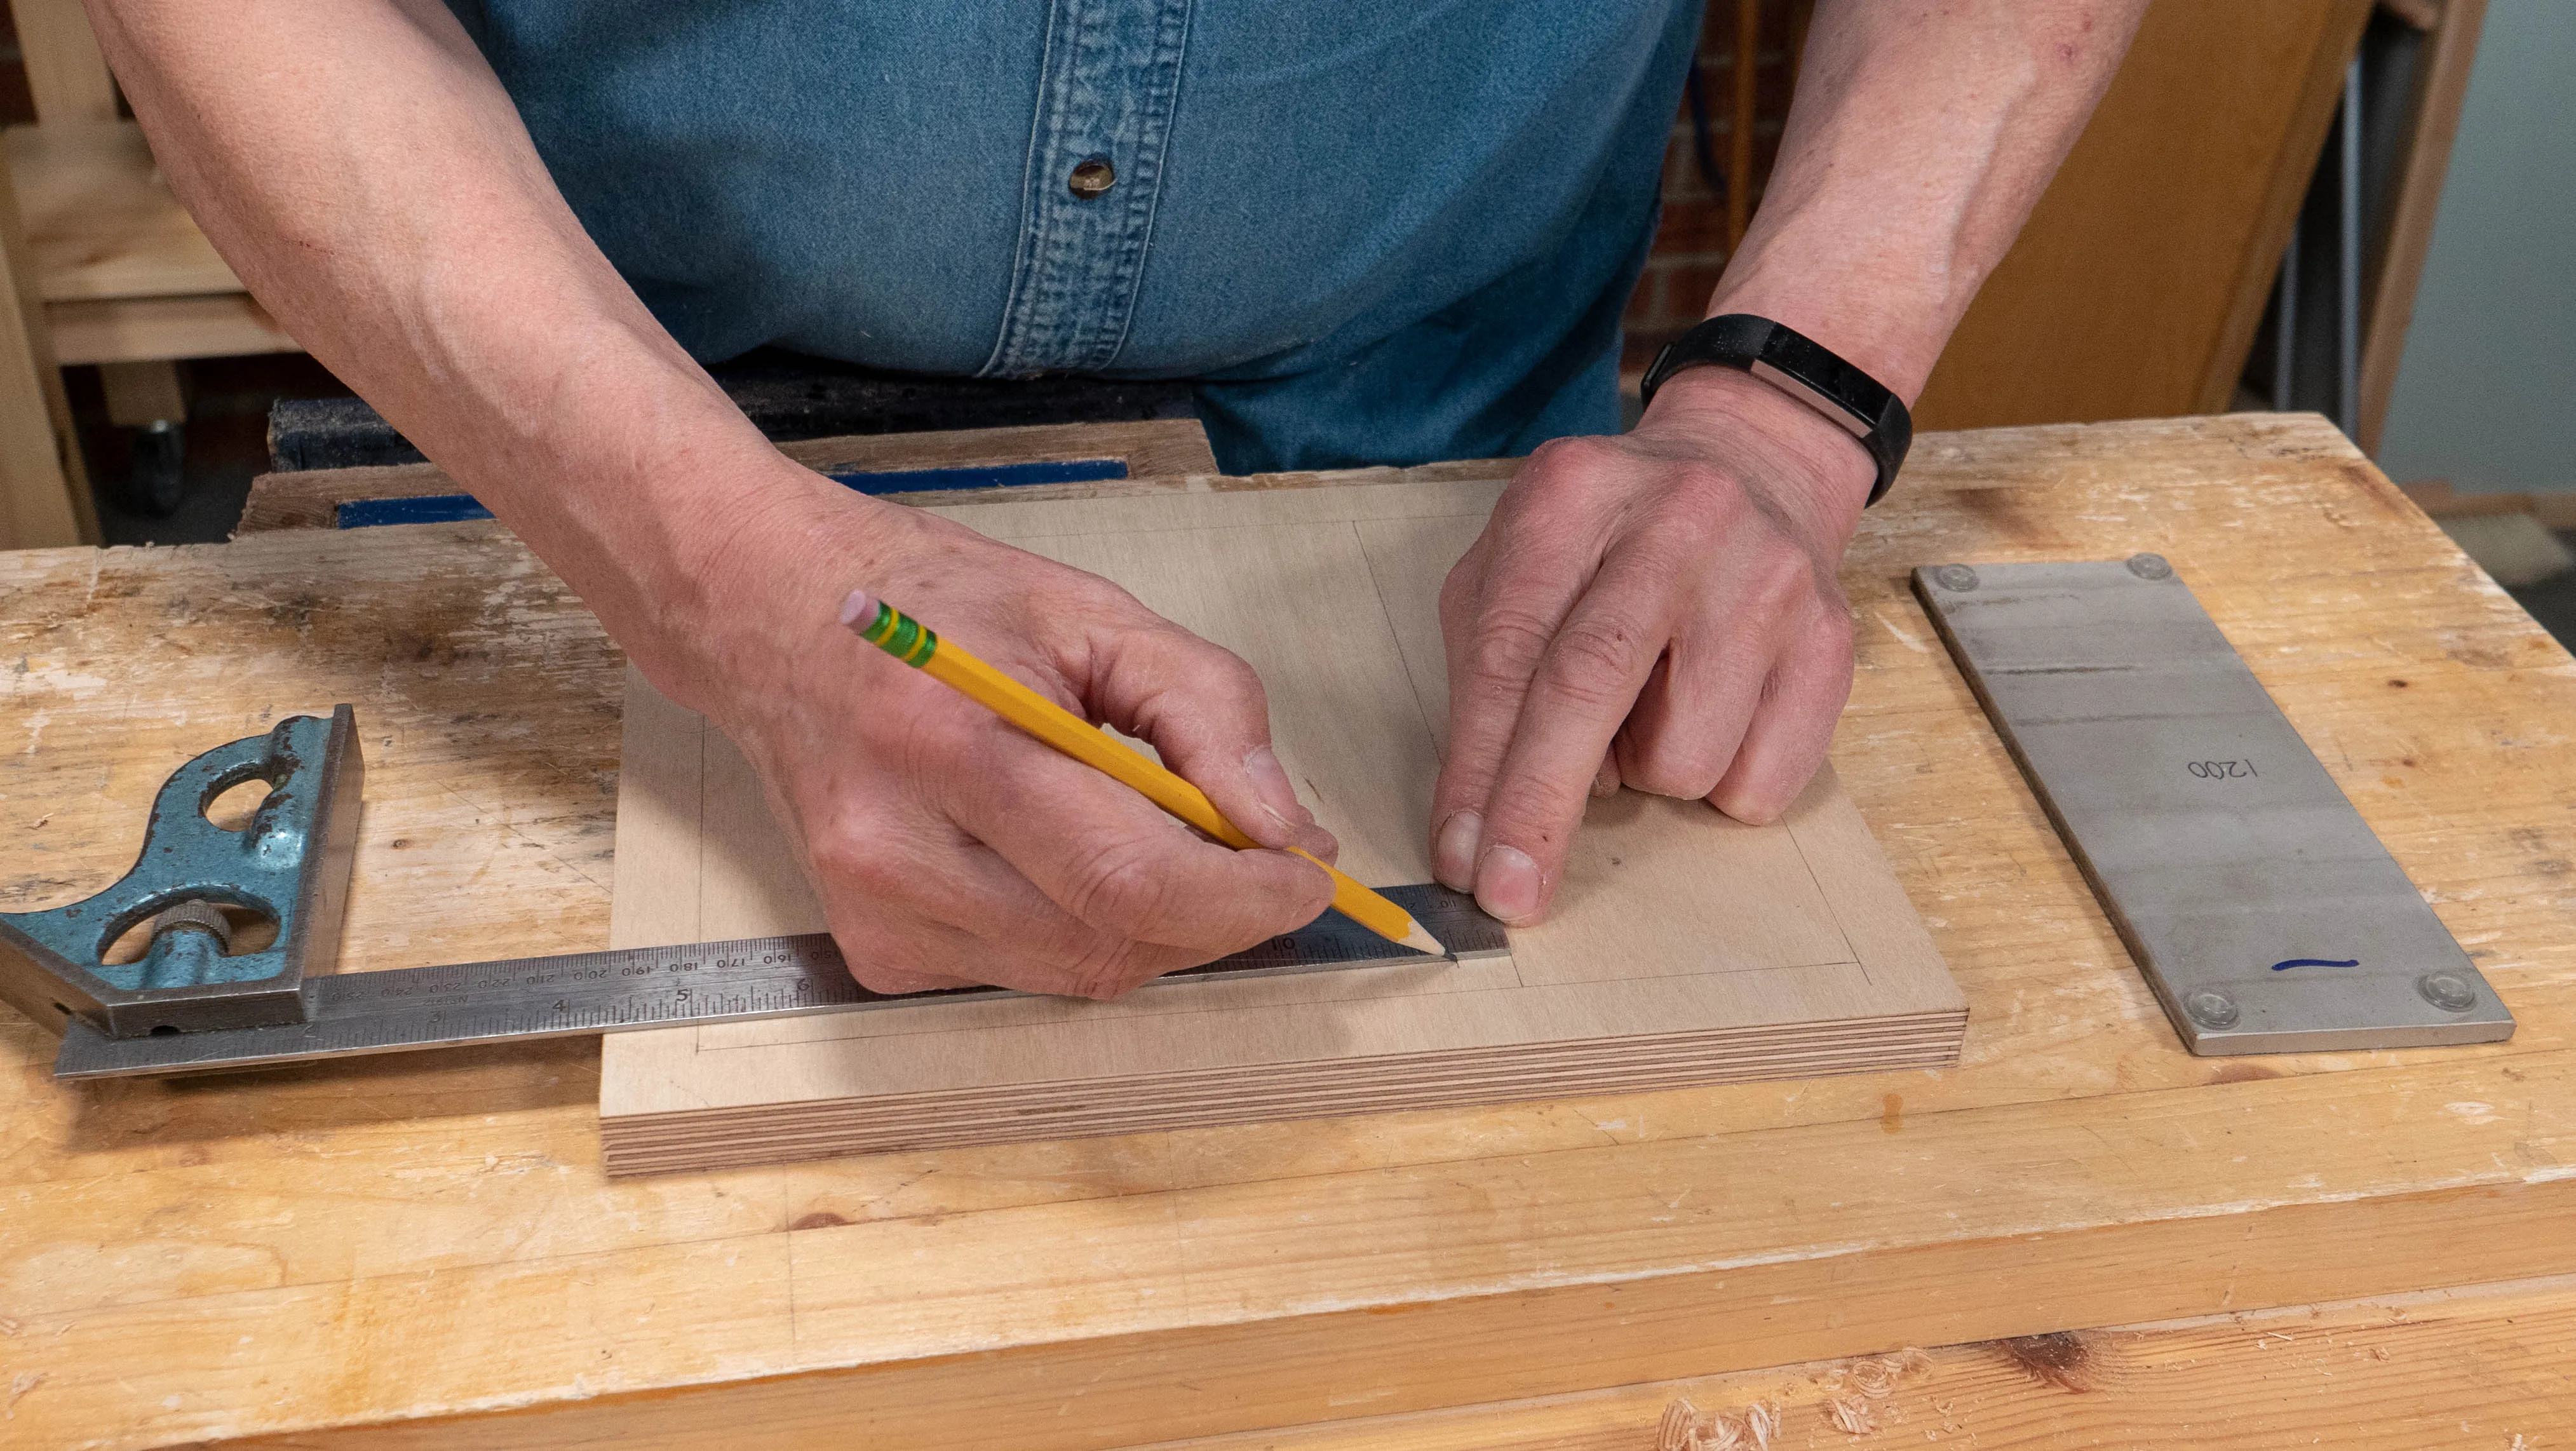
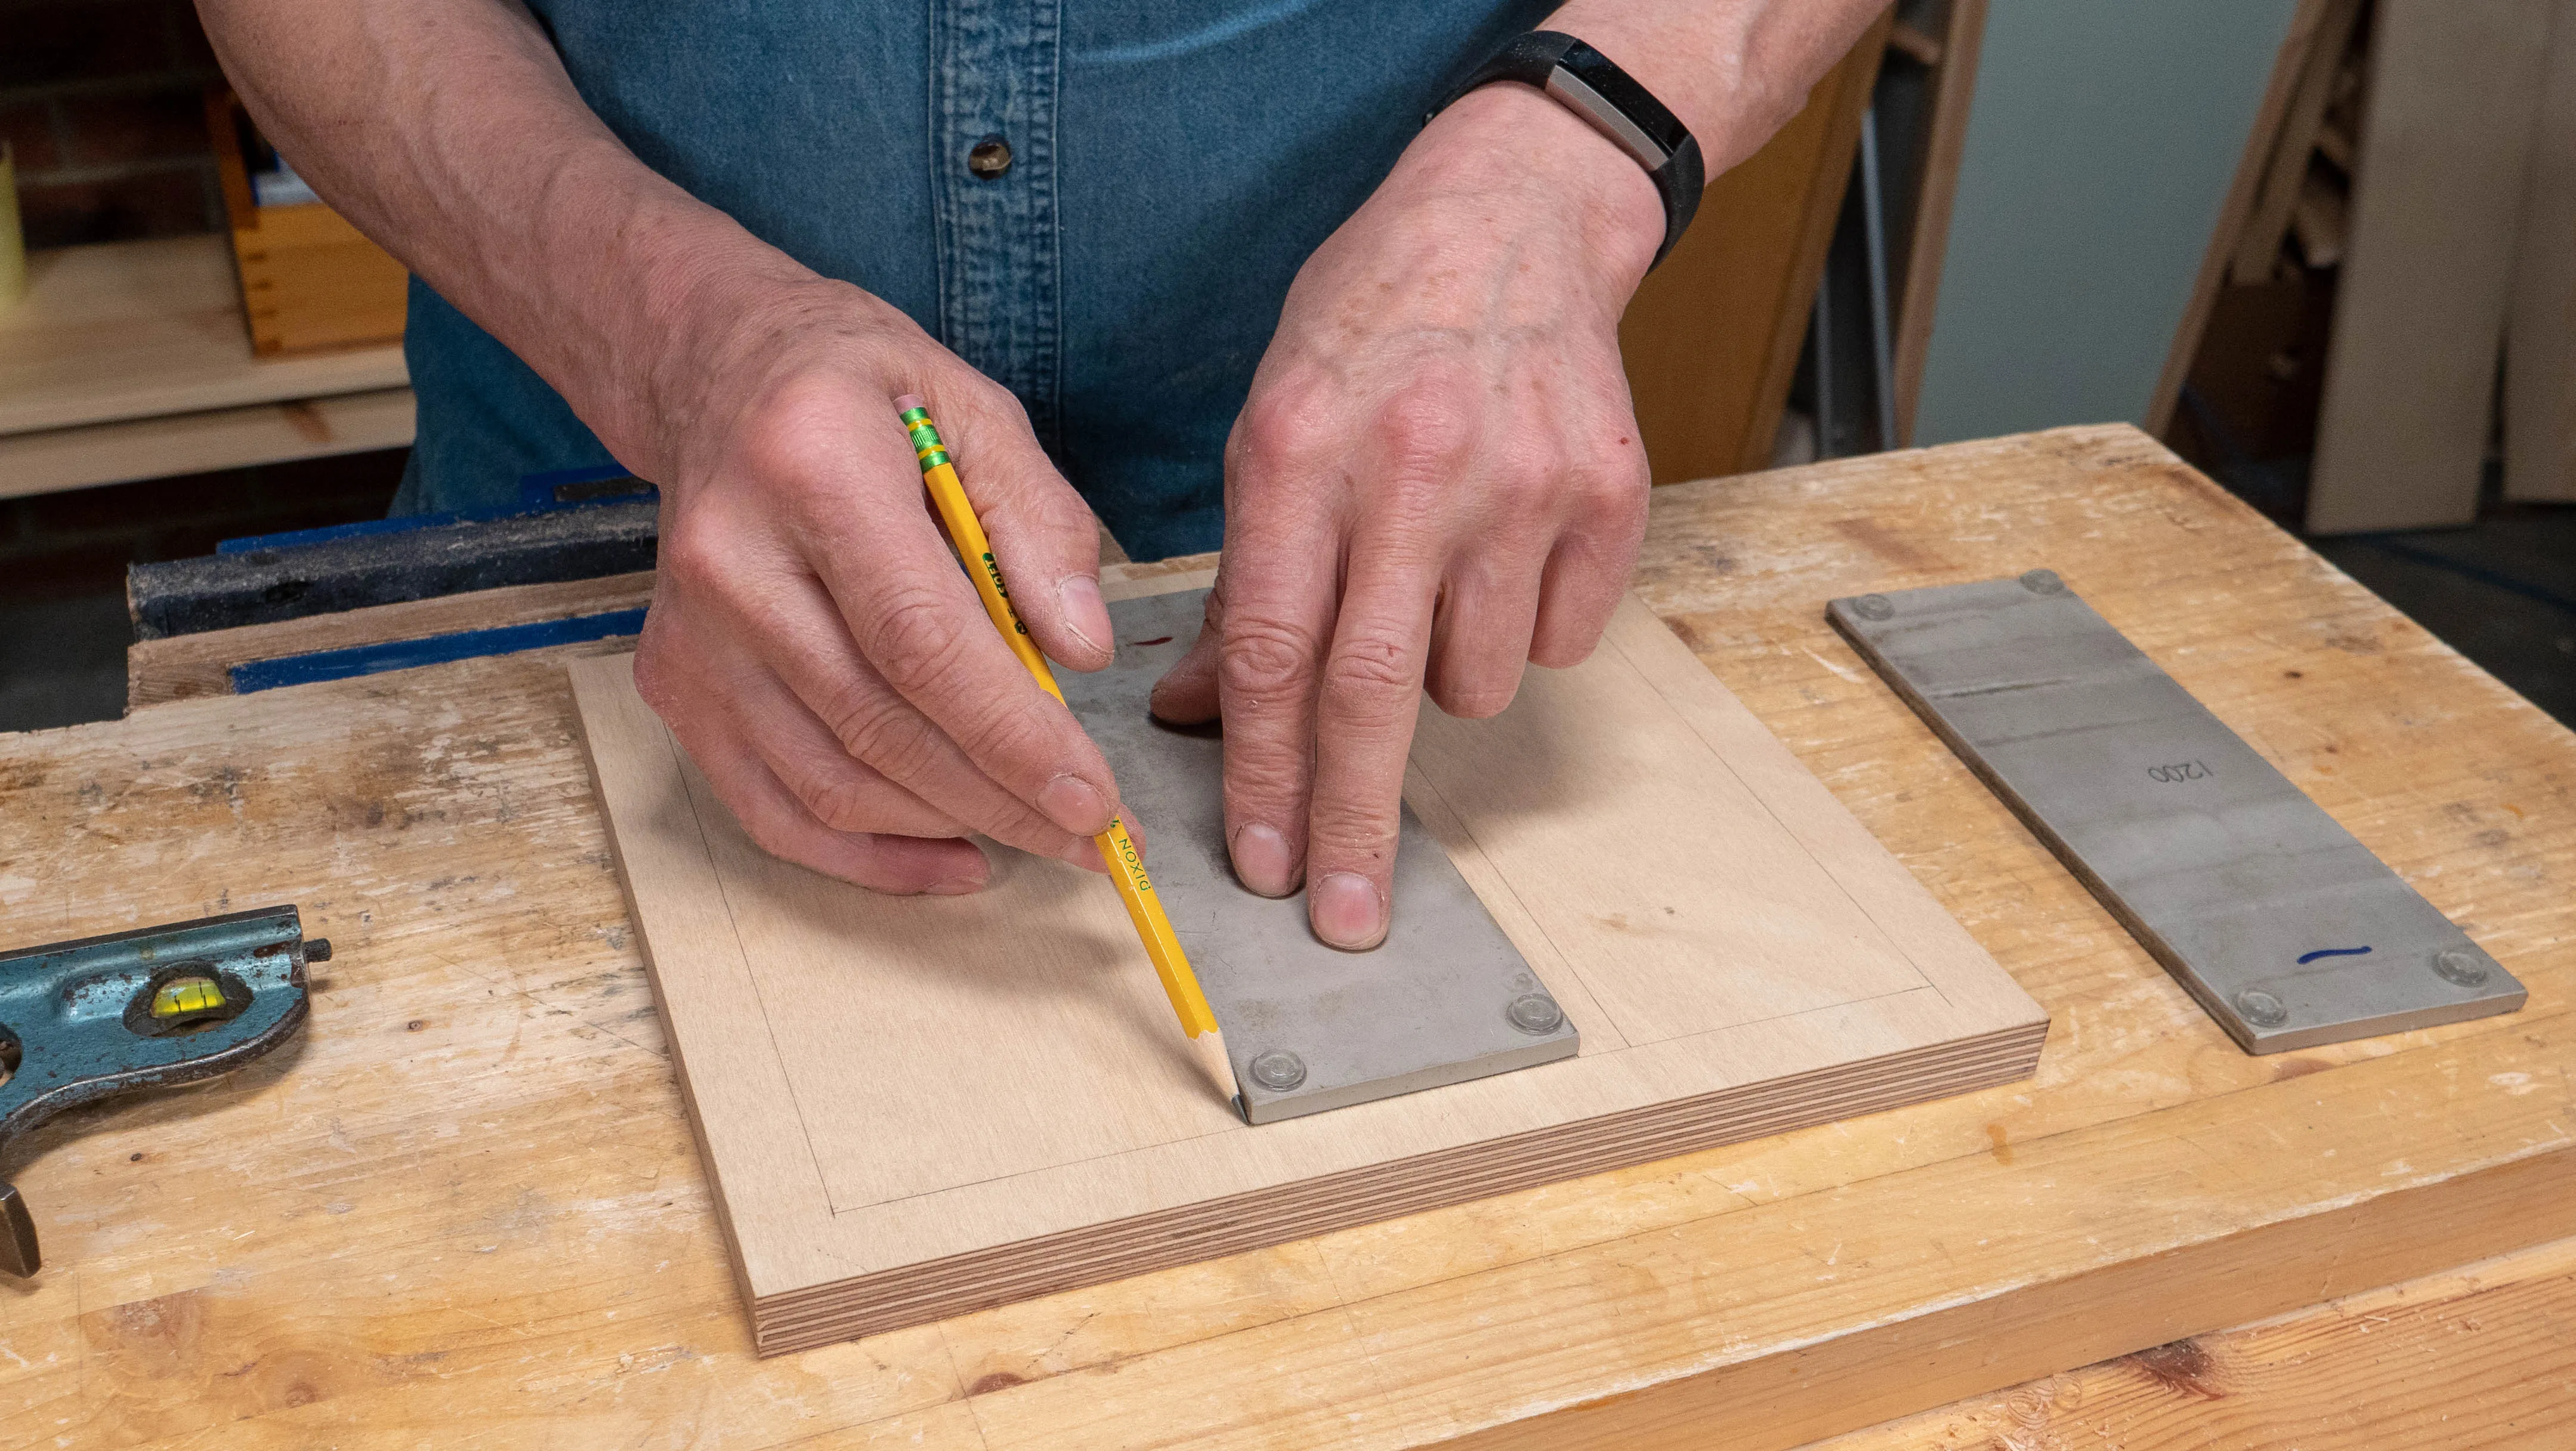
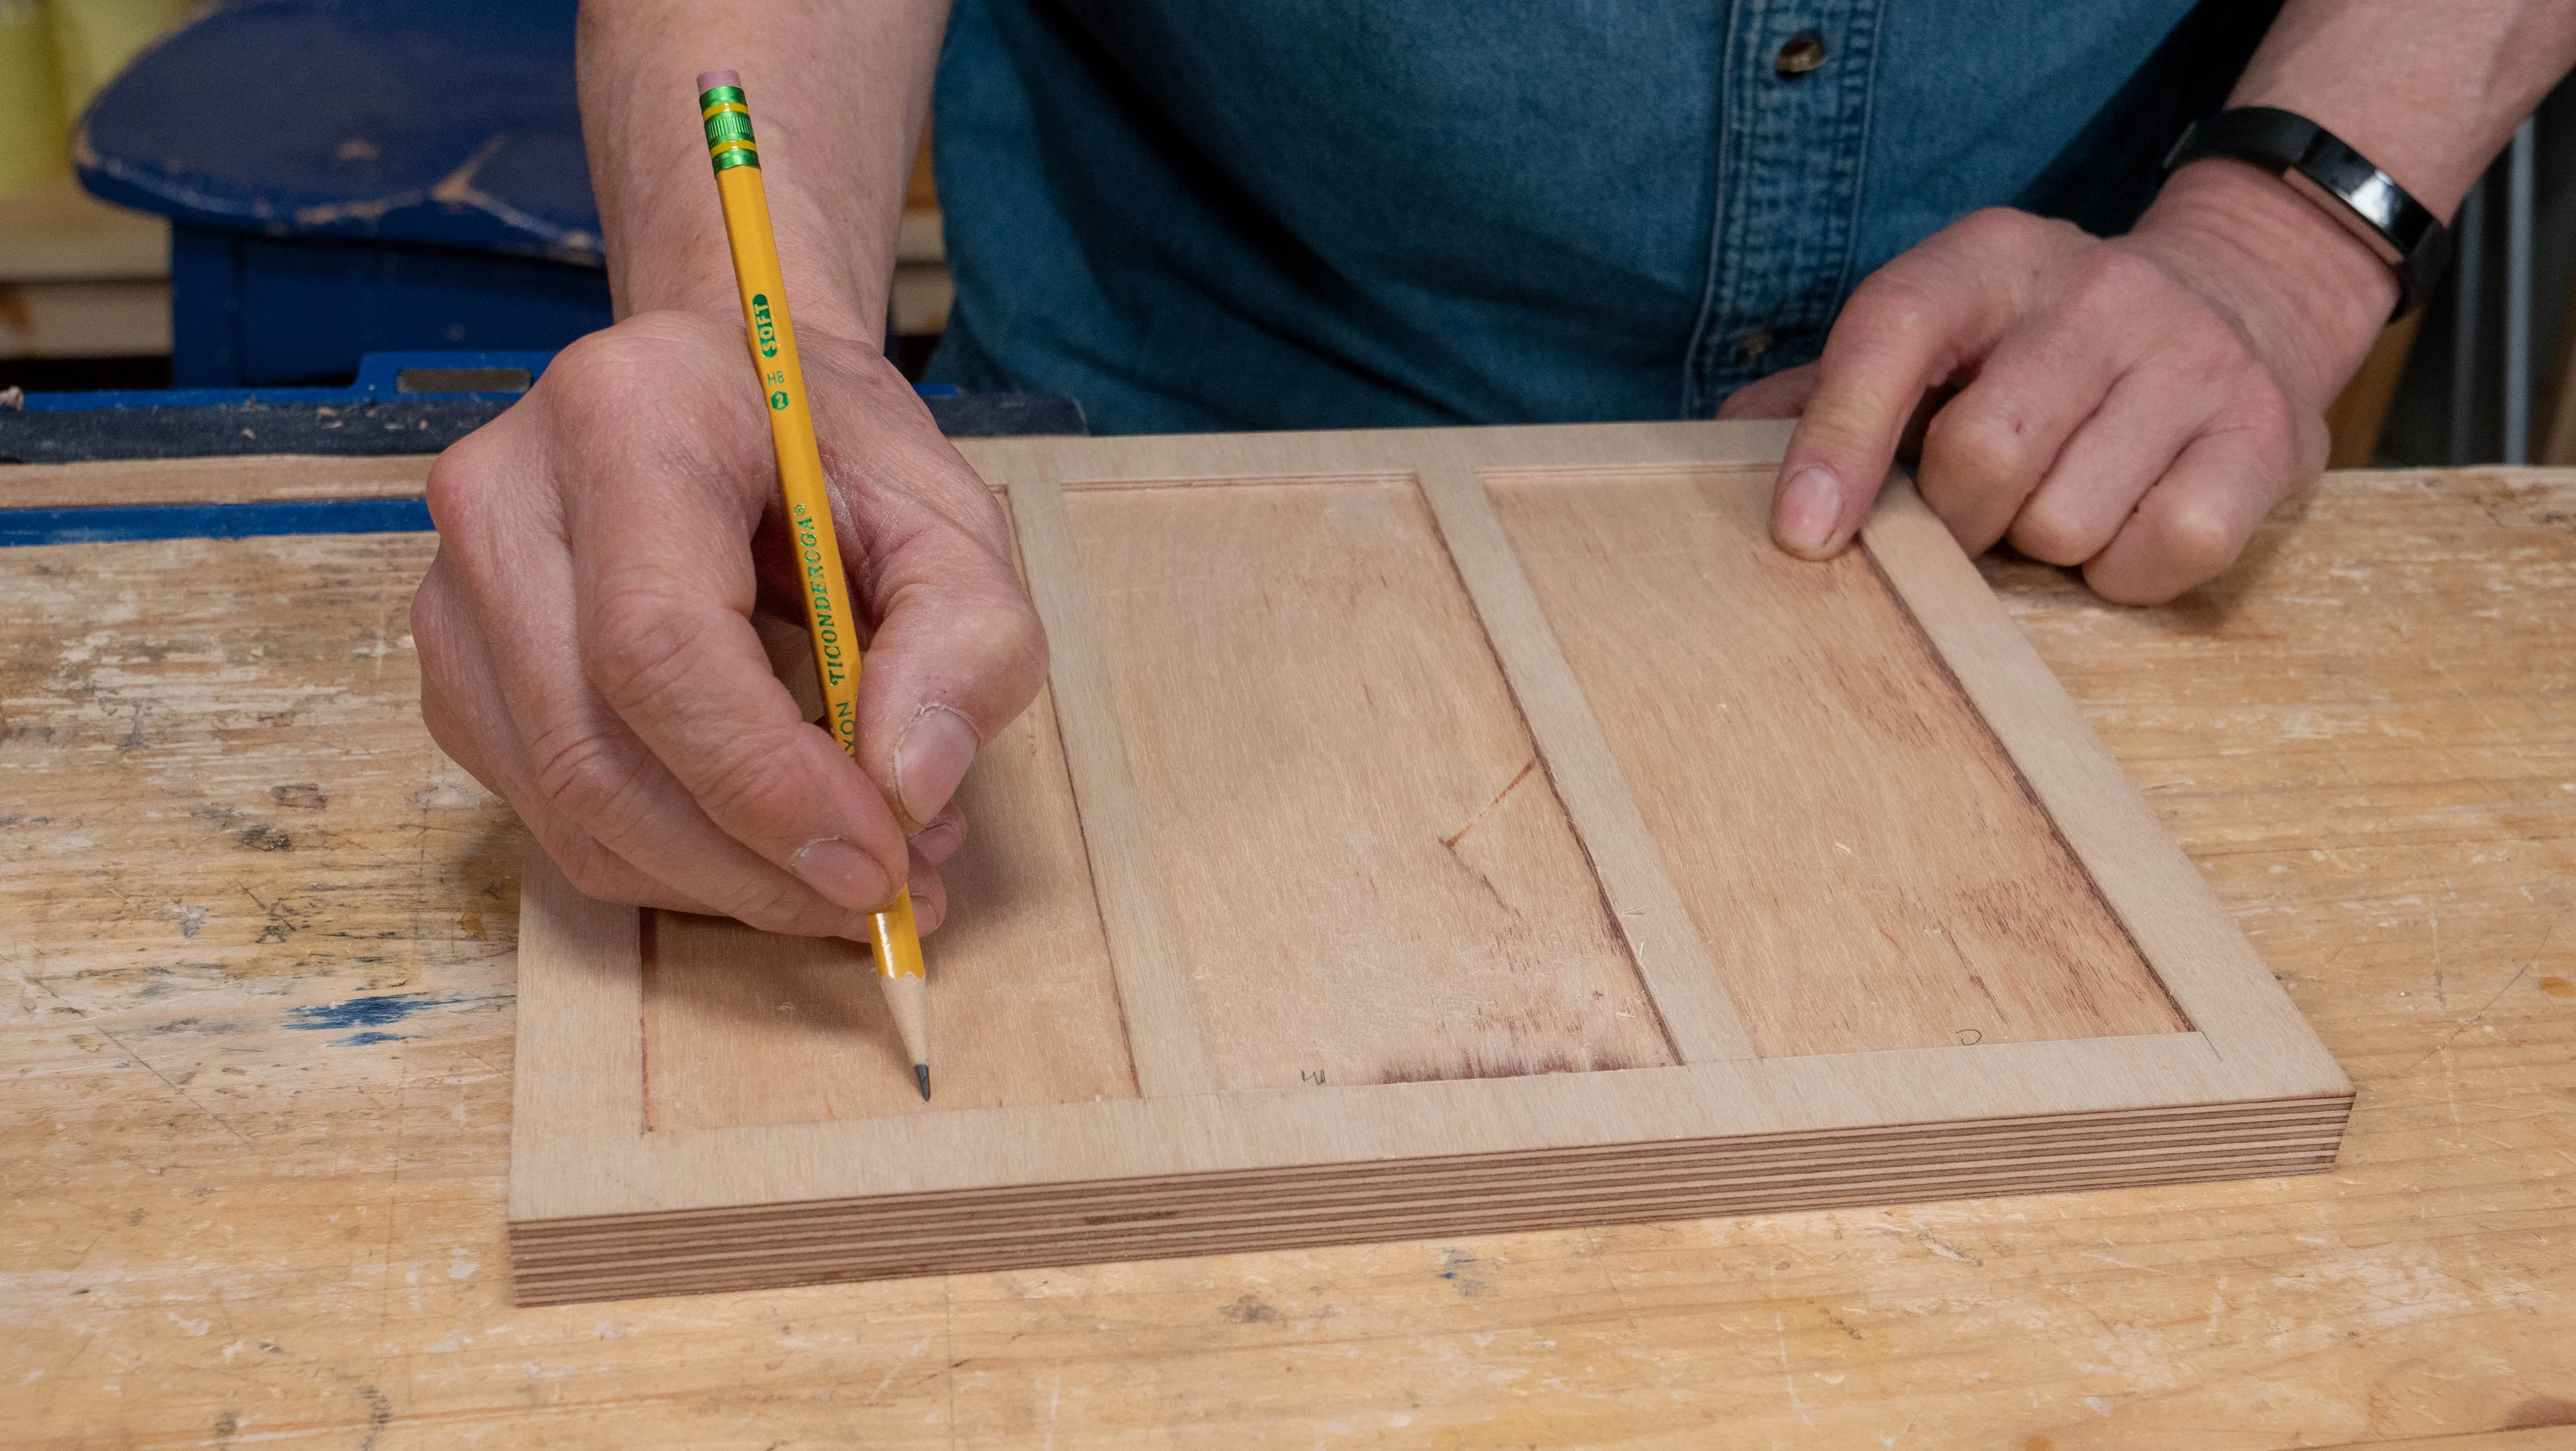
Laying out the Recess PositionsMeasure ¾” (19mm) in from each edge to create a border. Put one of your diamonds stones on this border line and make sure it is spaced an equal distance from the top and bottom. Draw around the stone with a pencil.

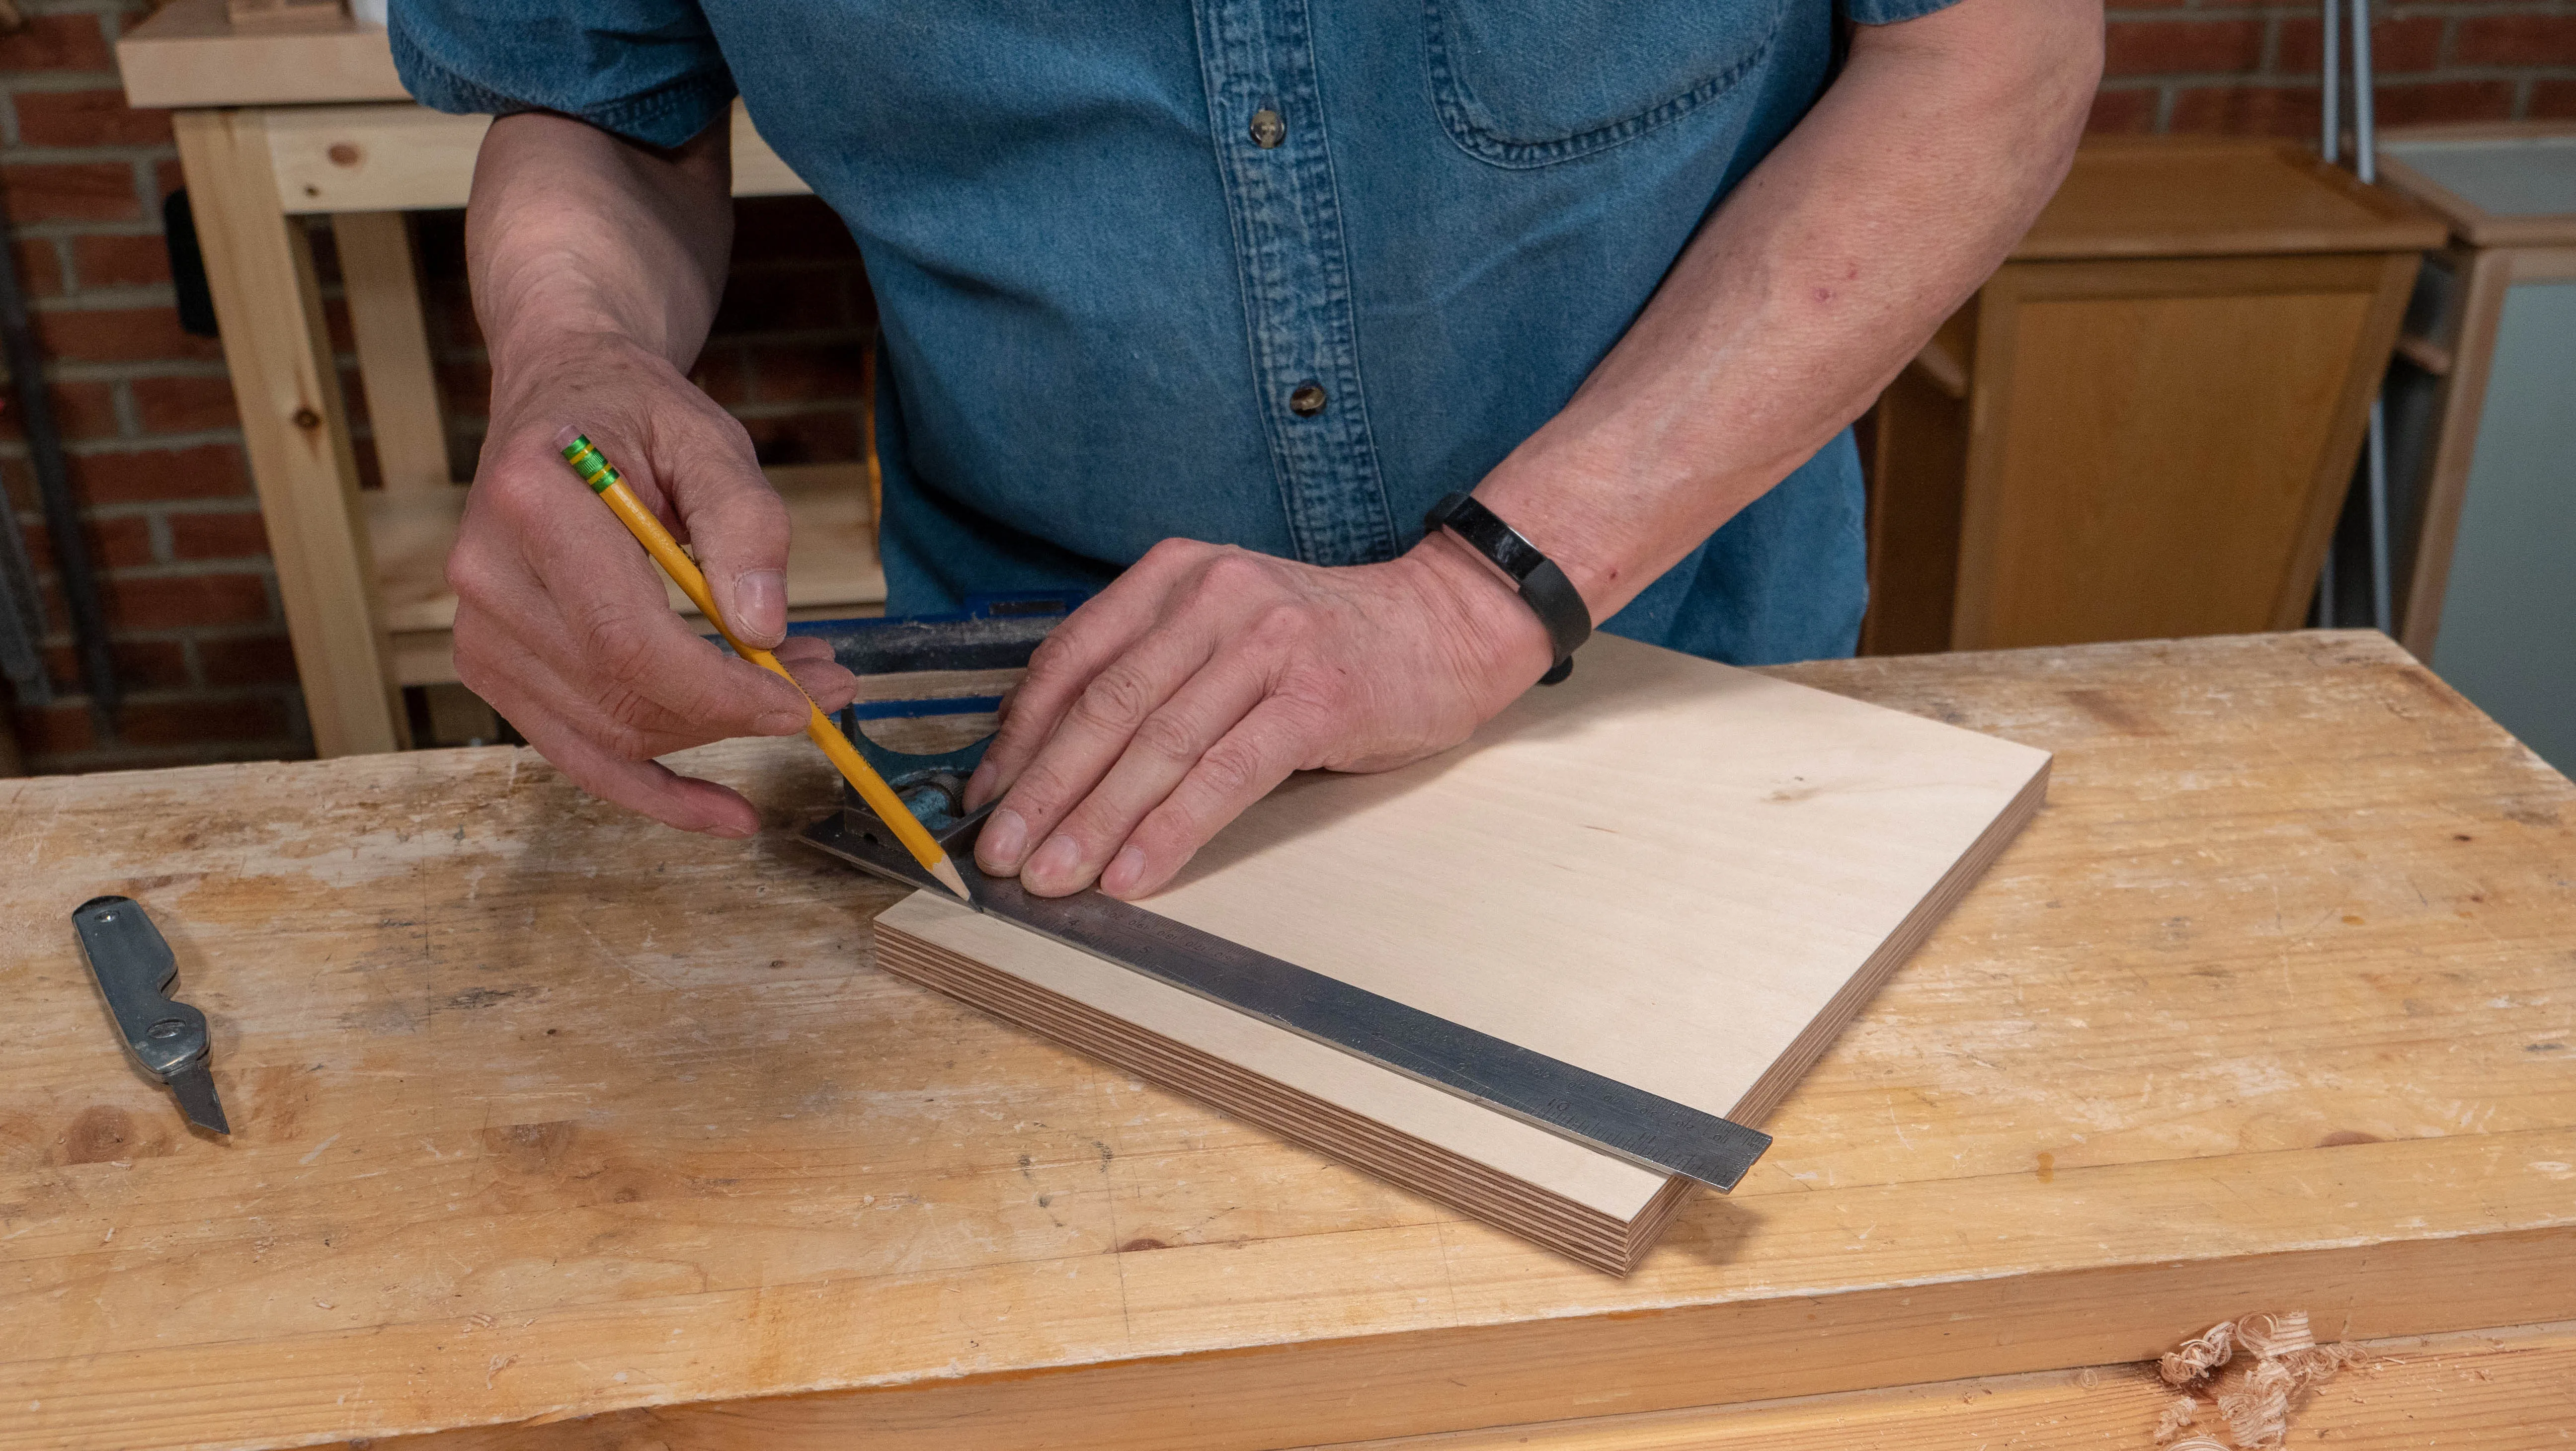
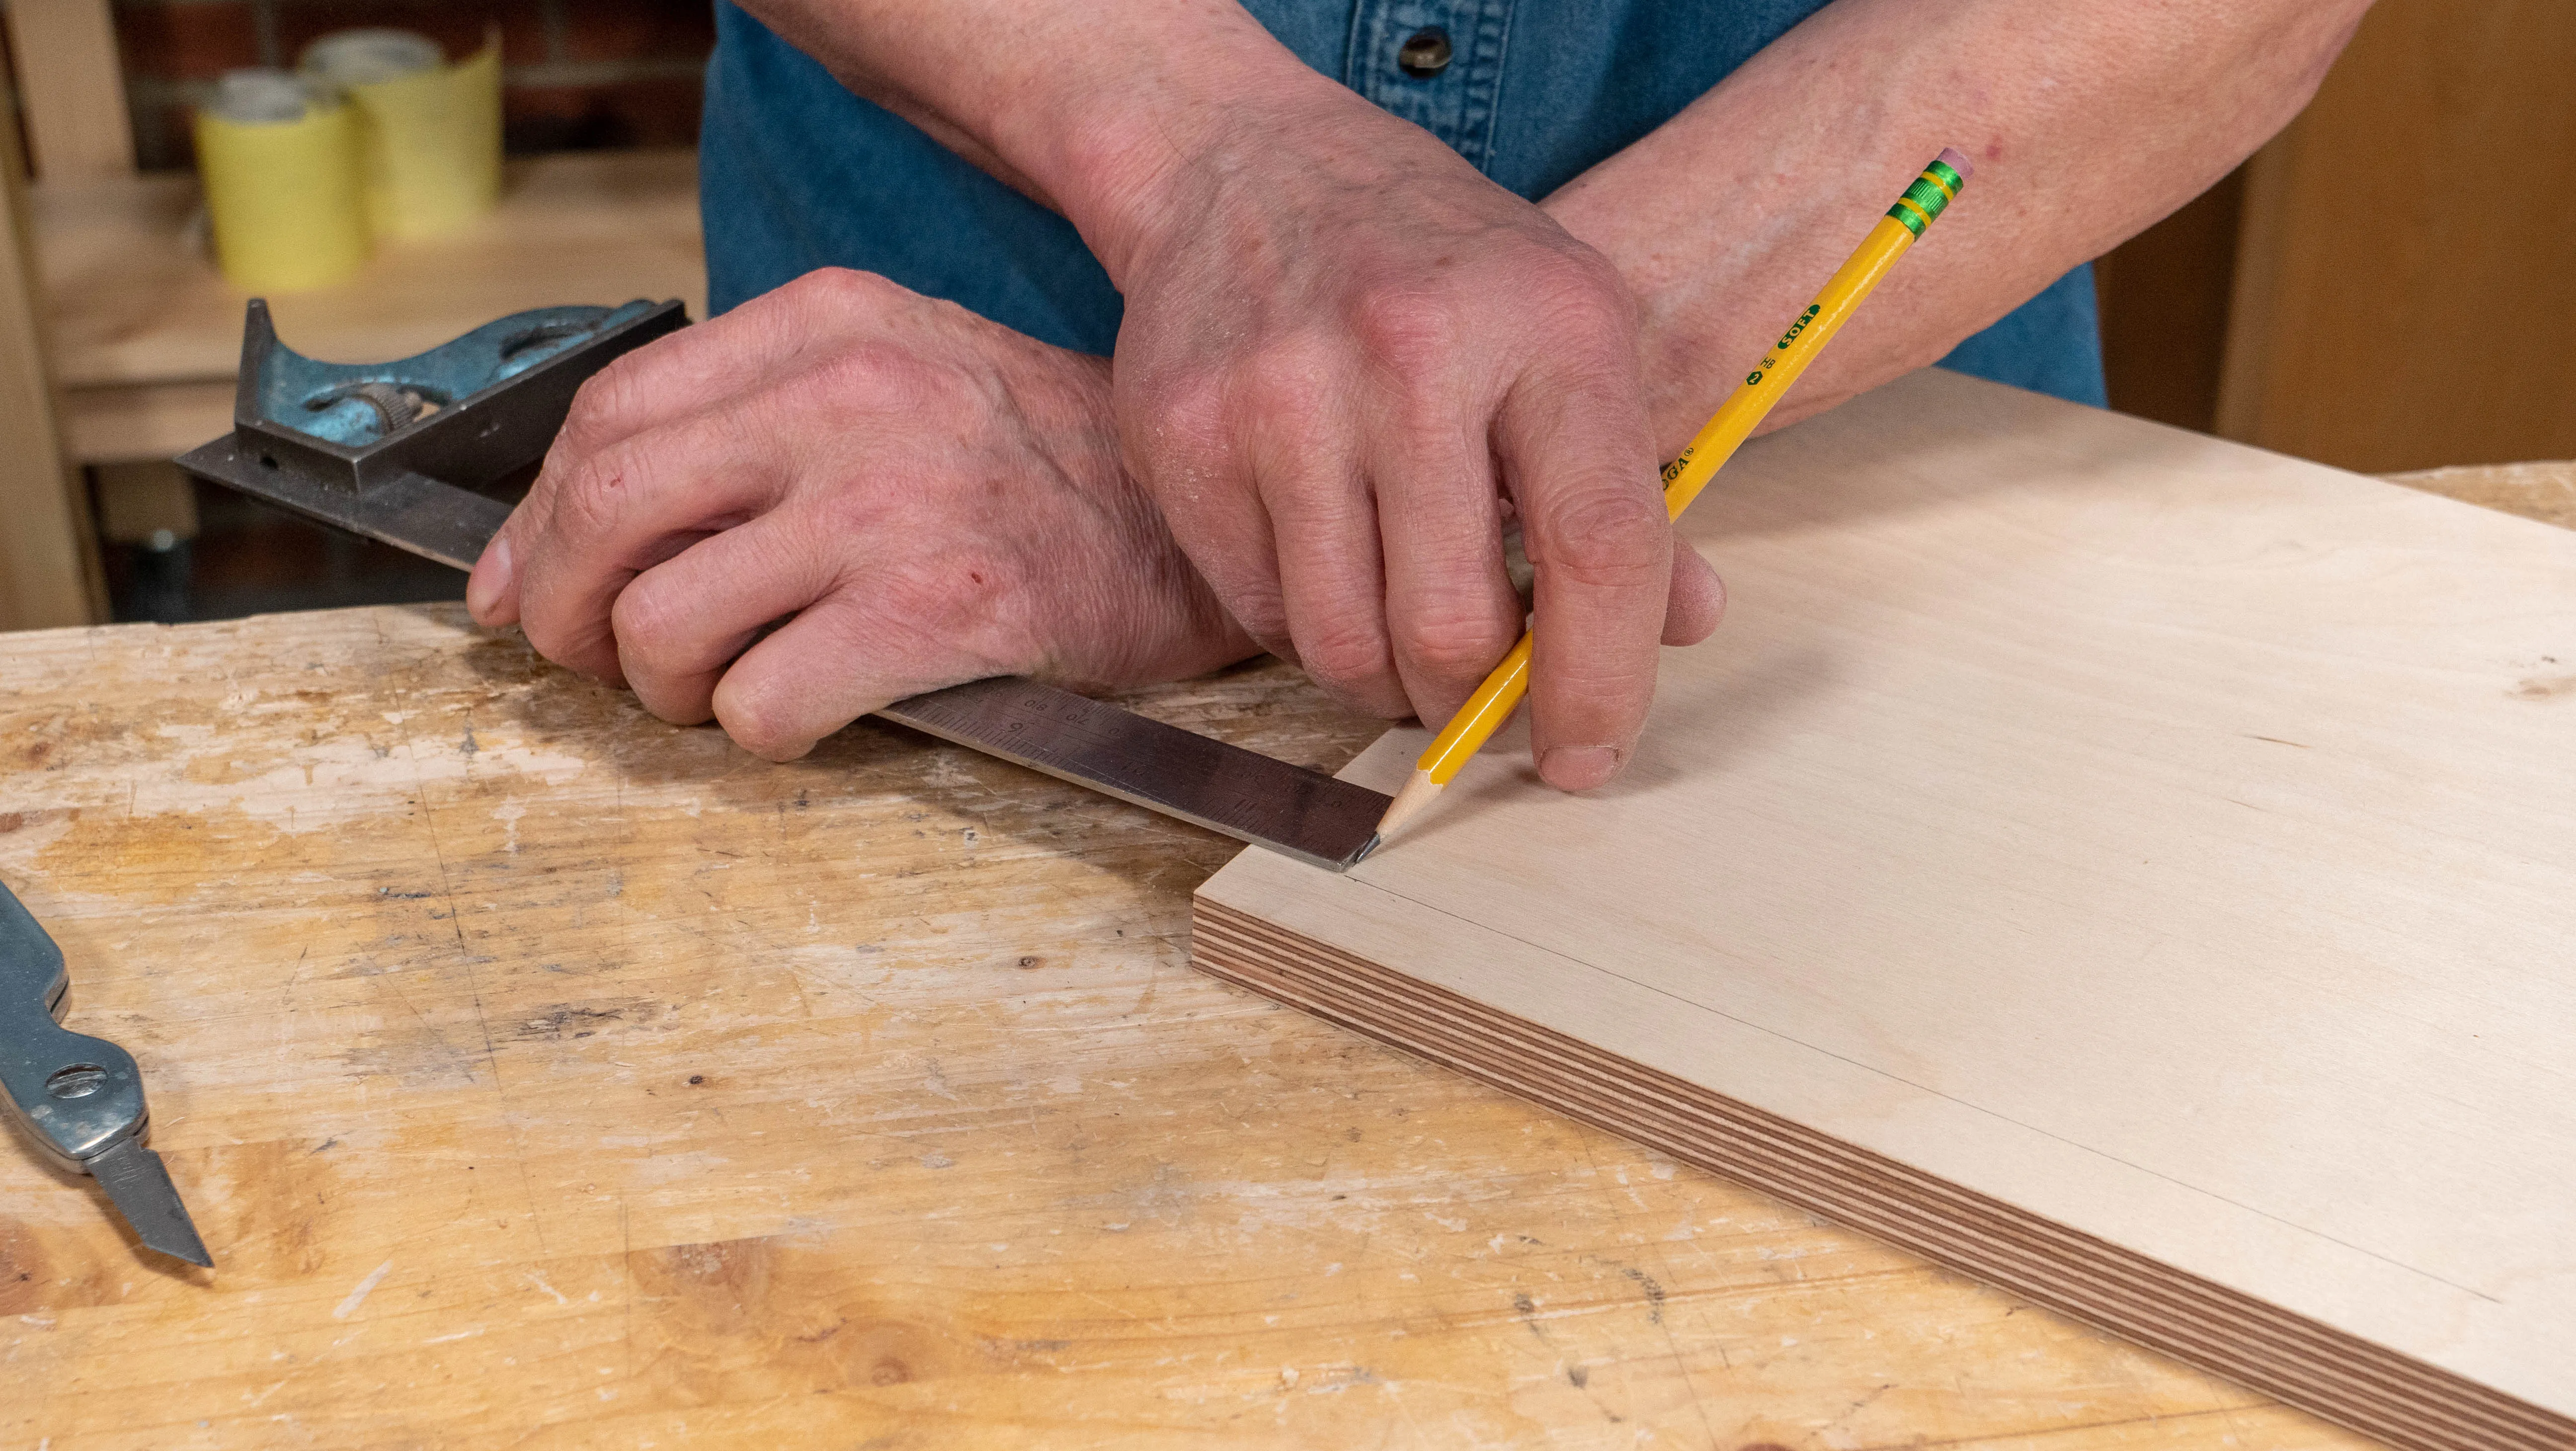
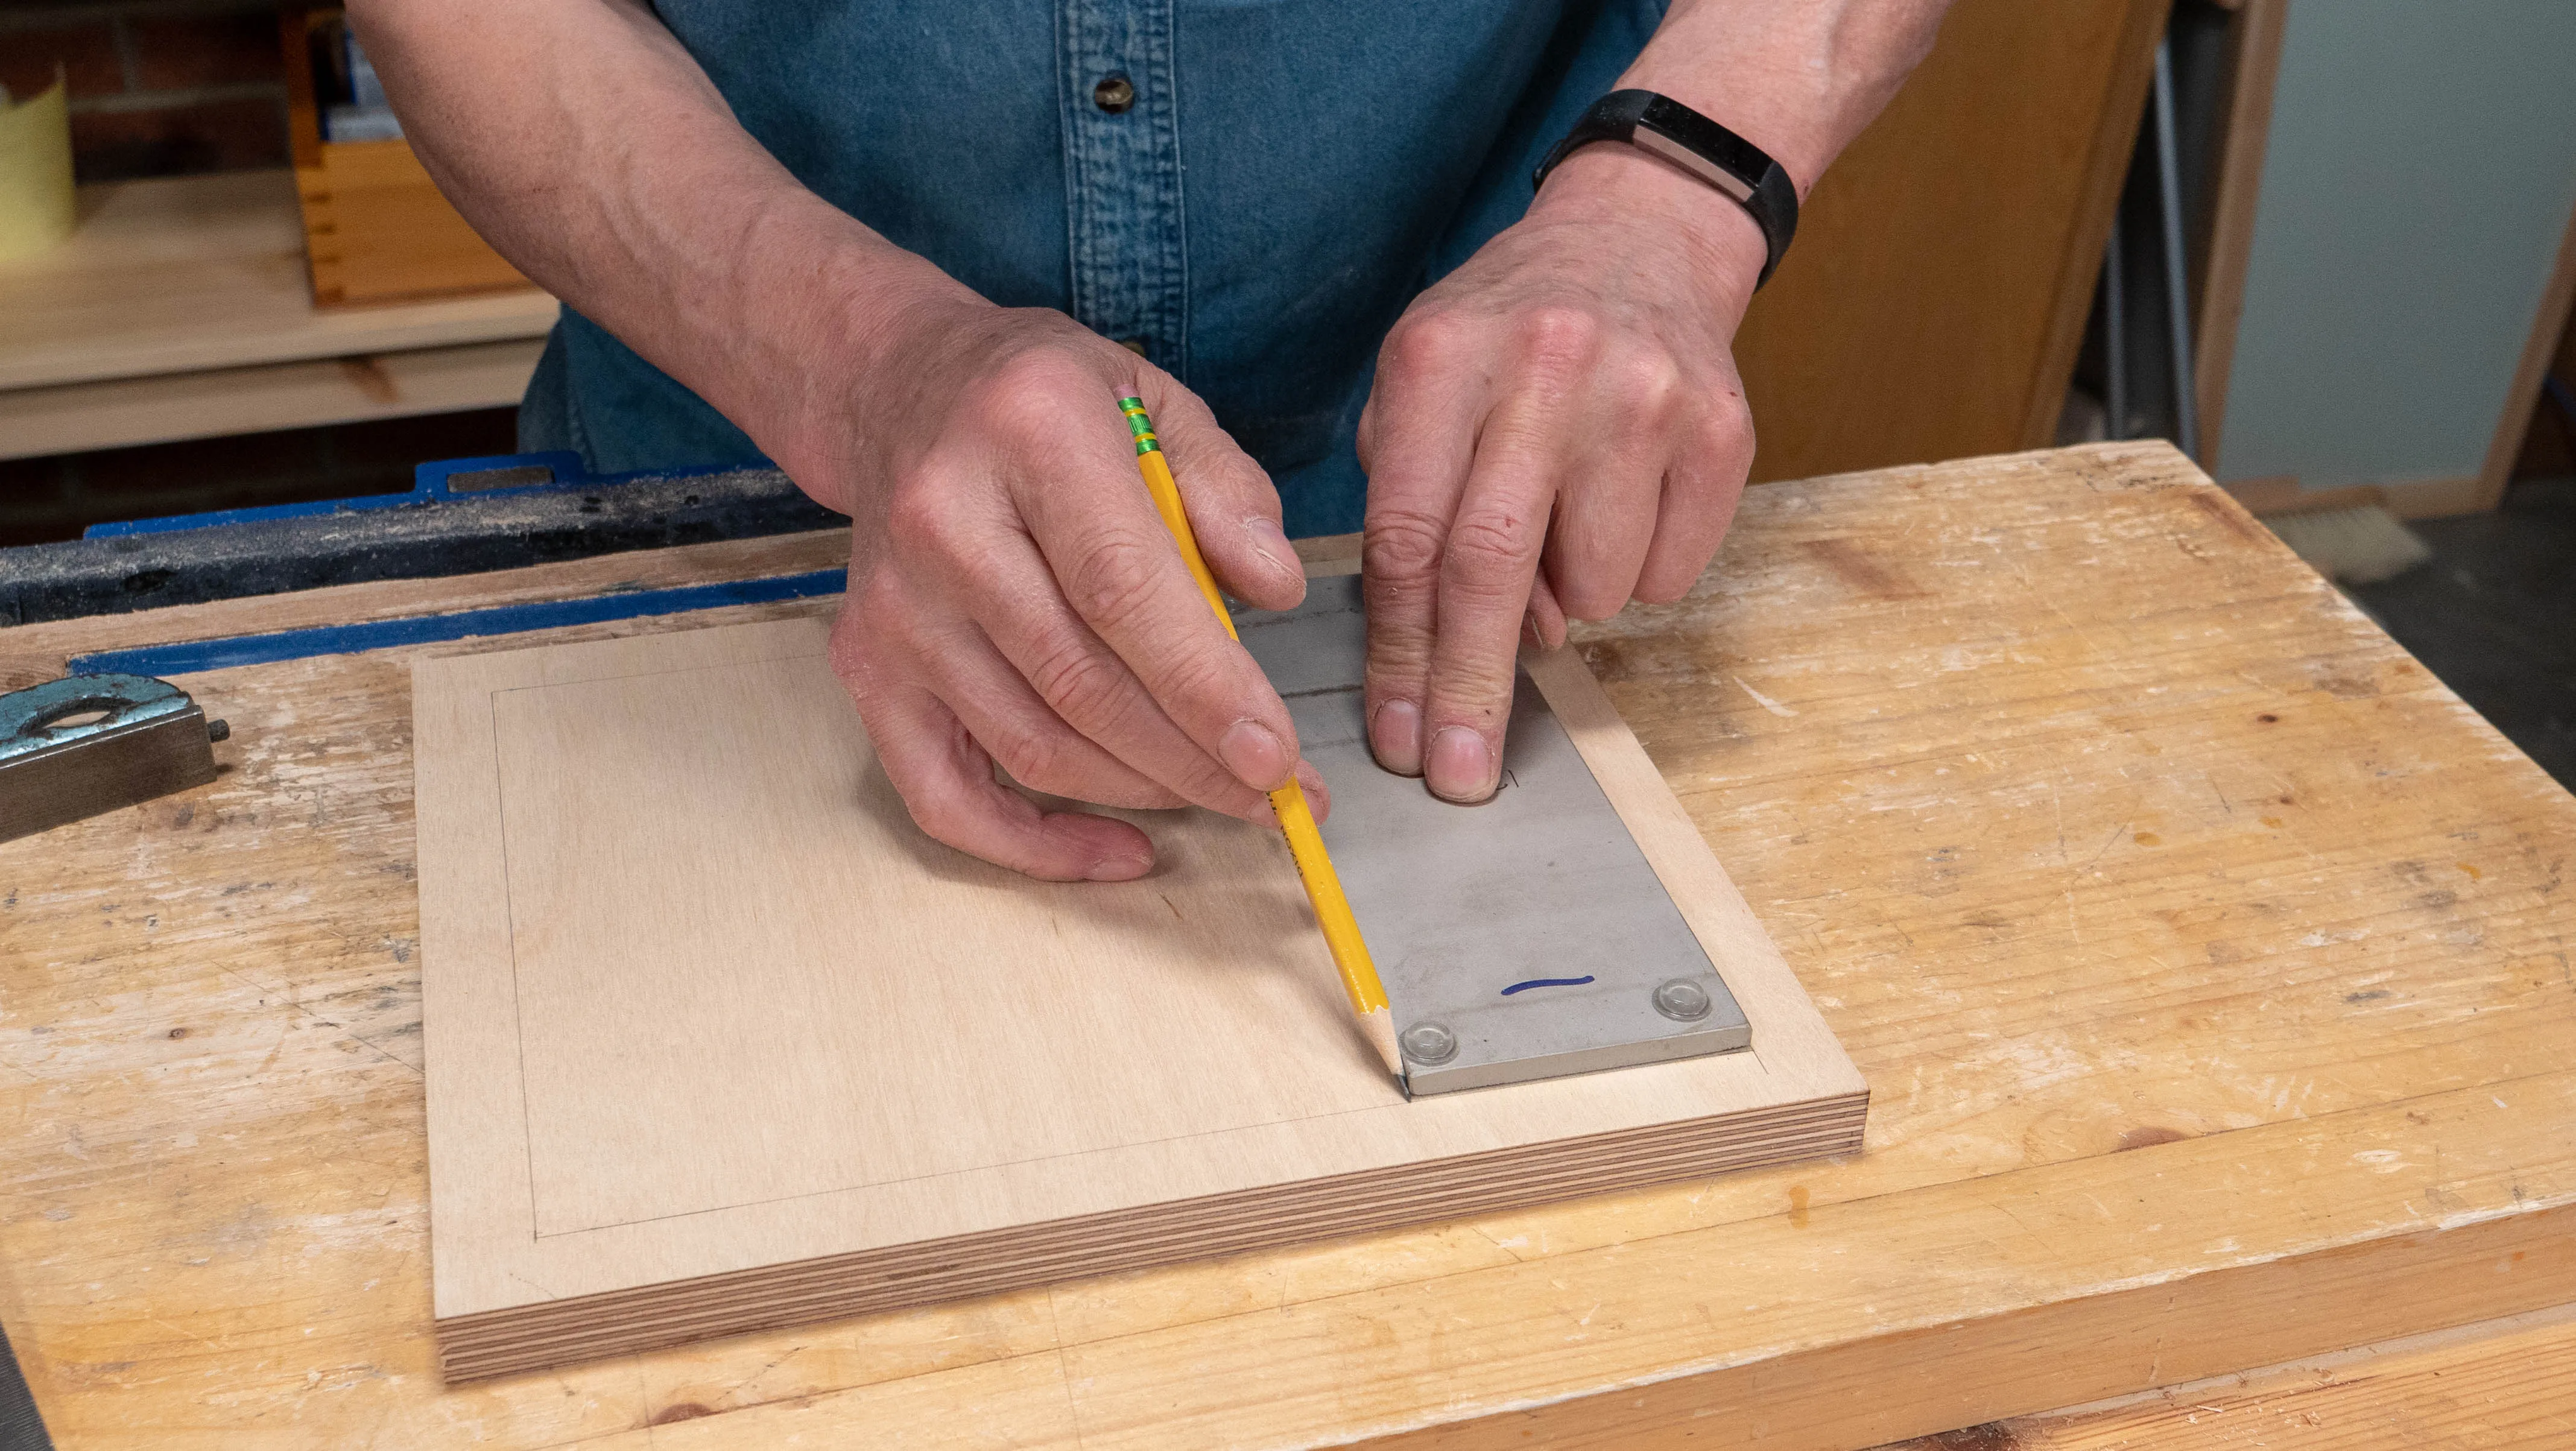
Place the next stone ½“ (13mm) away from the first one and mark around. Repeat the same for the last stone.
Note: Use the stones themselves to lay out the recess positions as they can vary in size. Using each stone to measure means that each recess will be tailored to fit that stone.
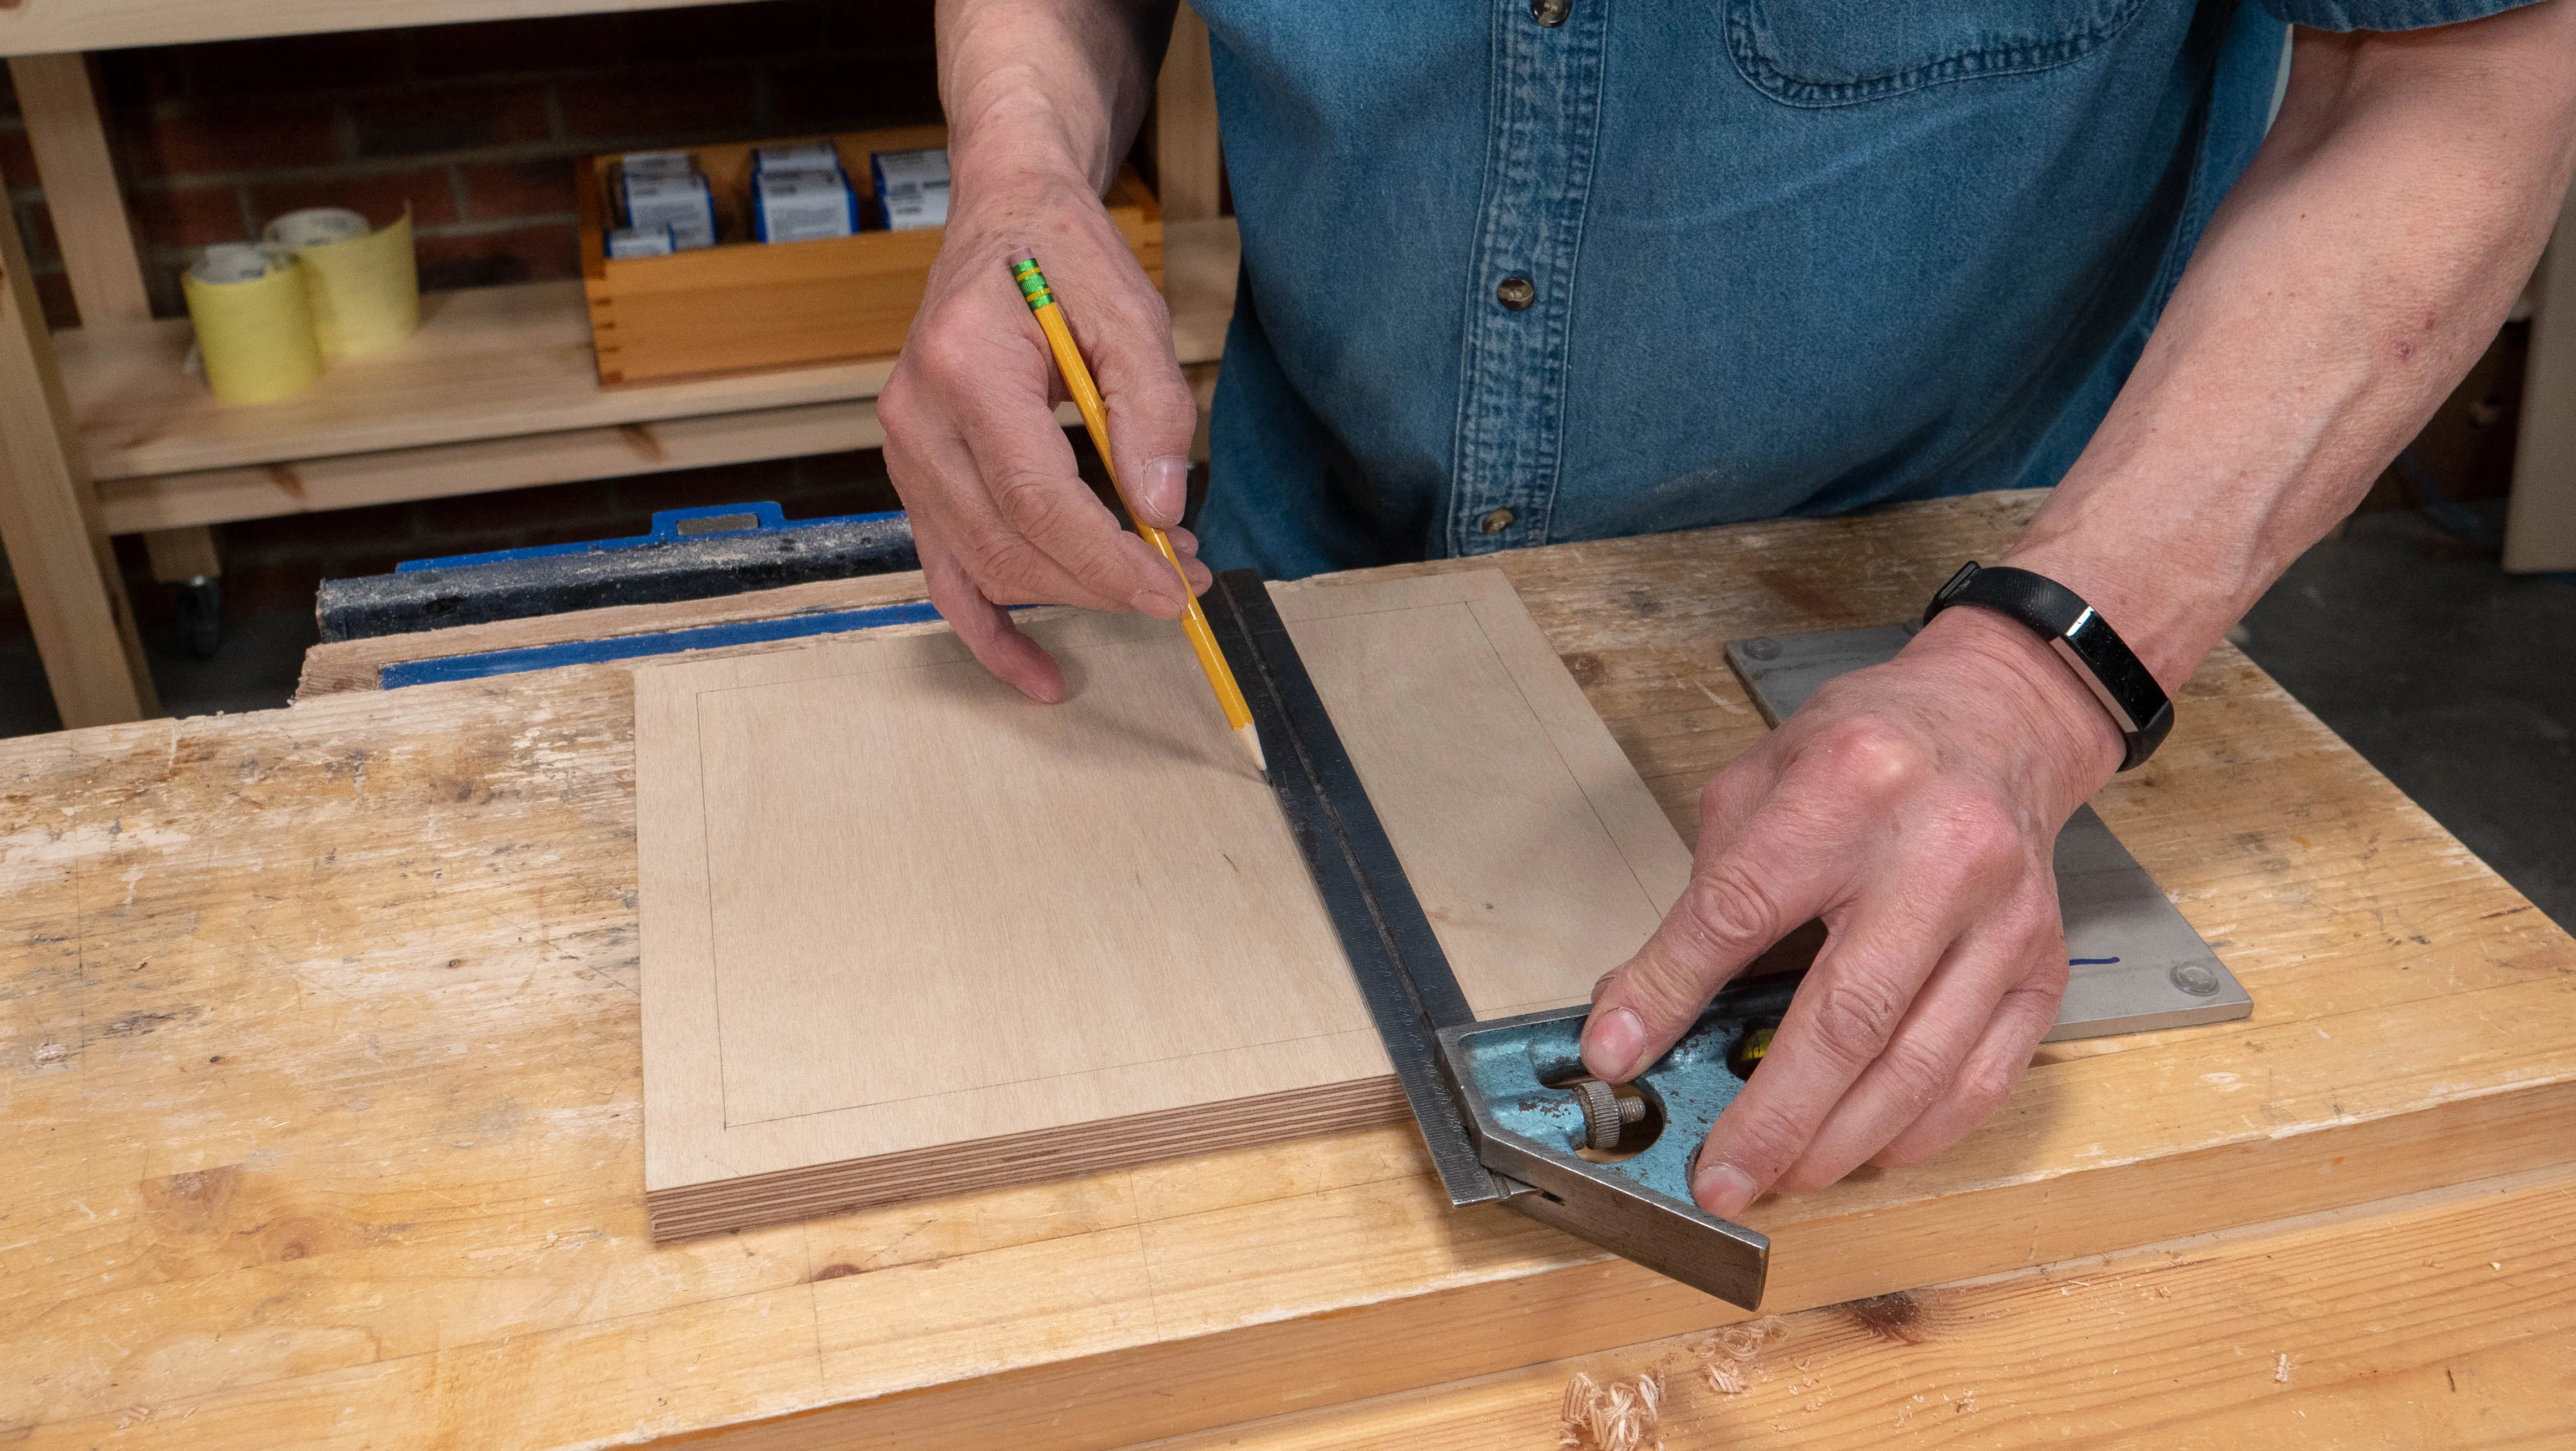
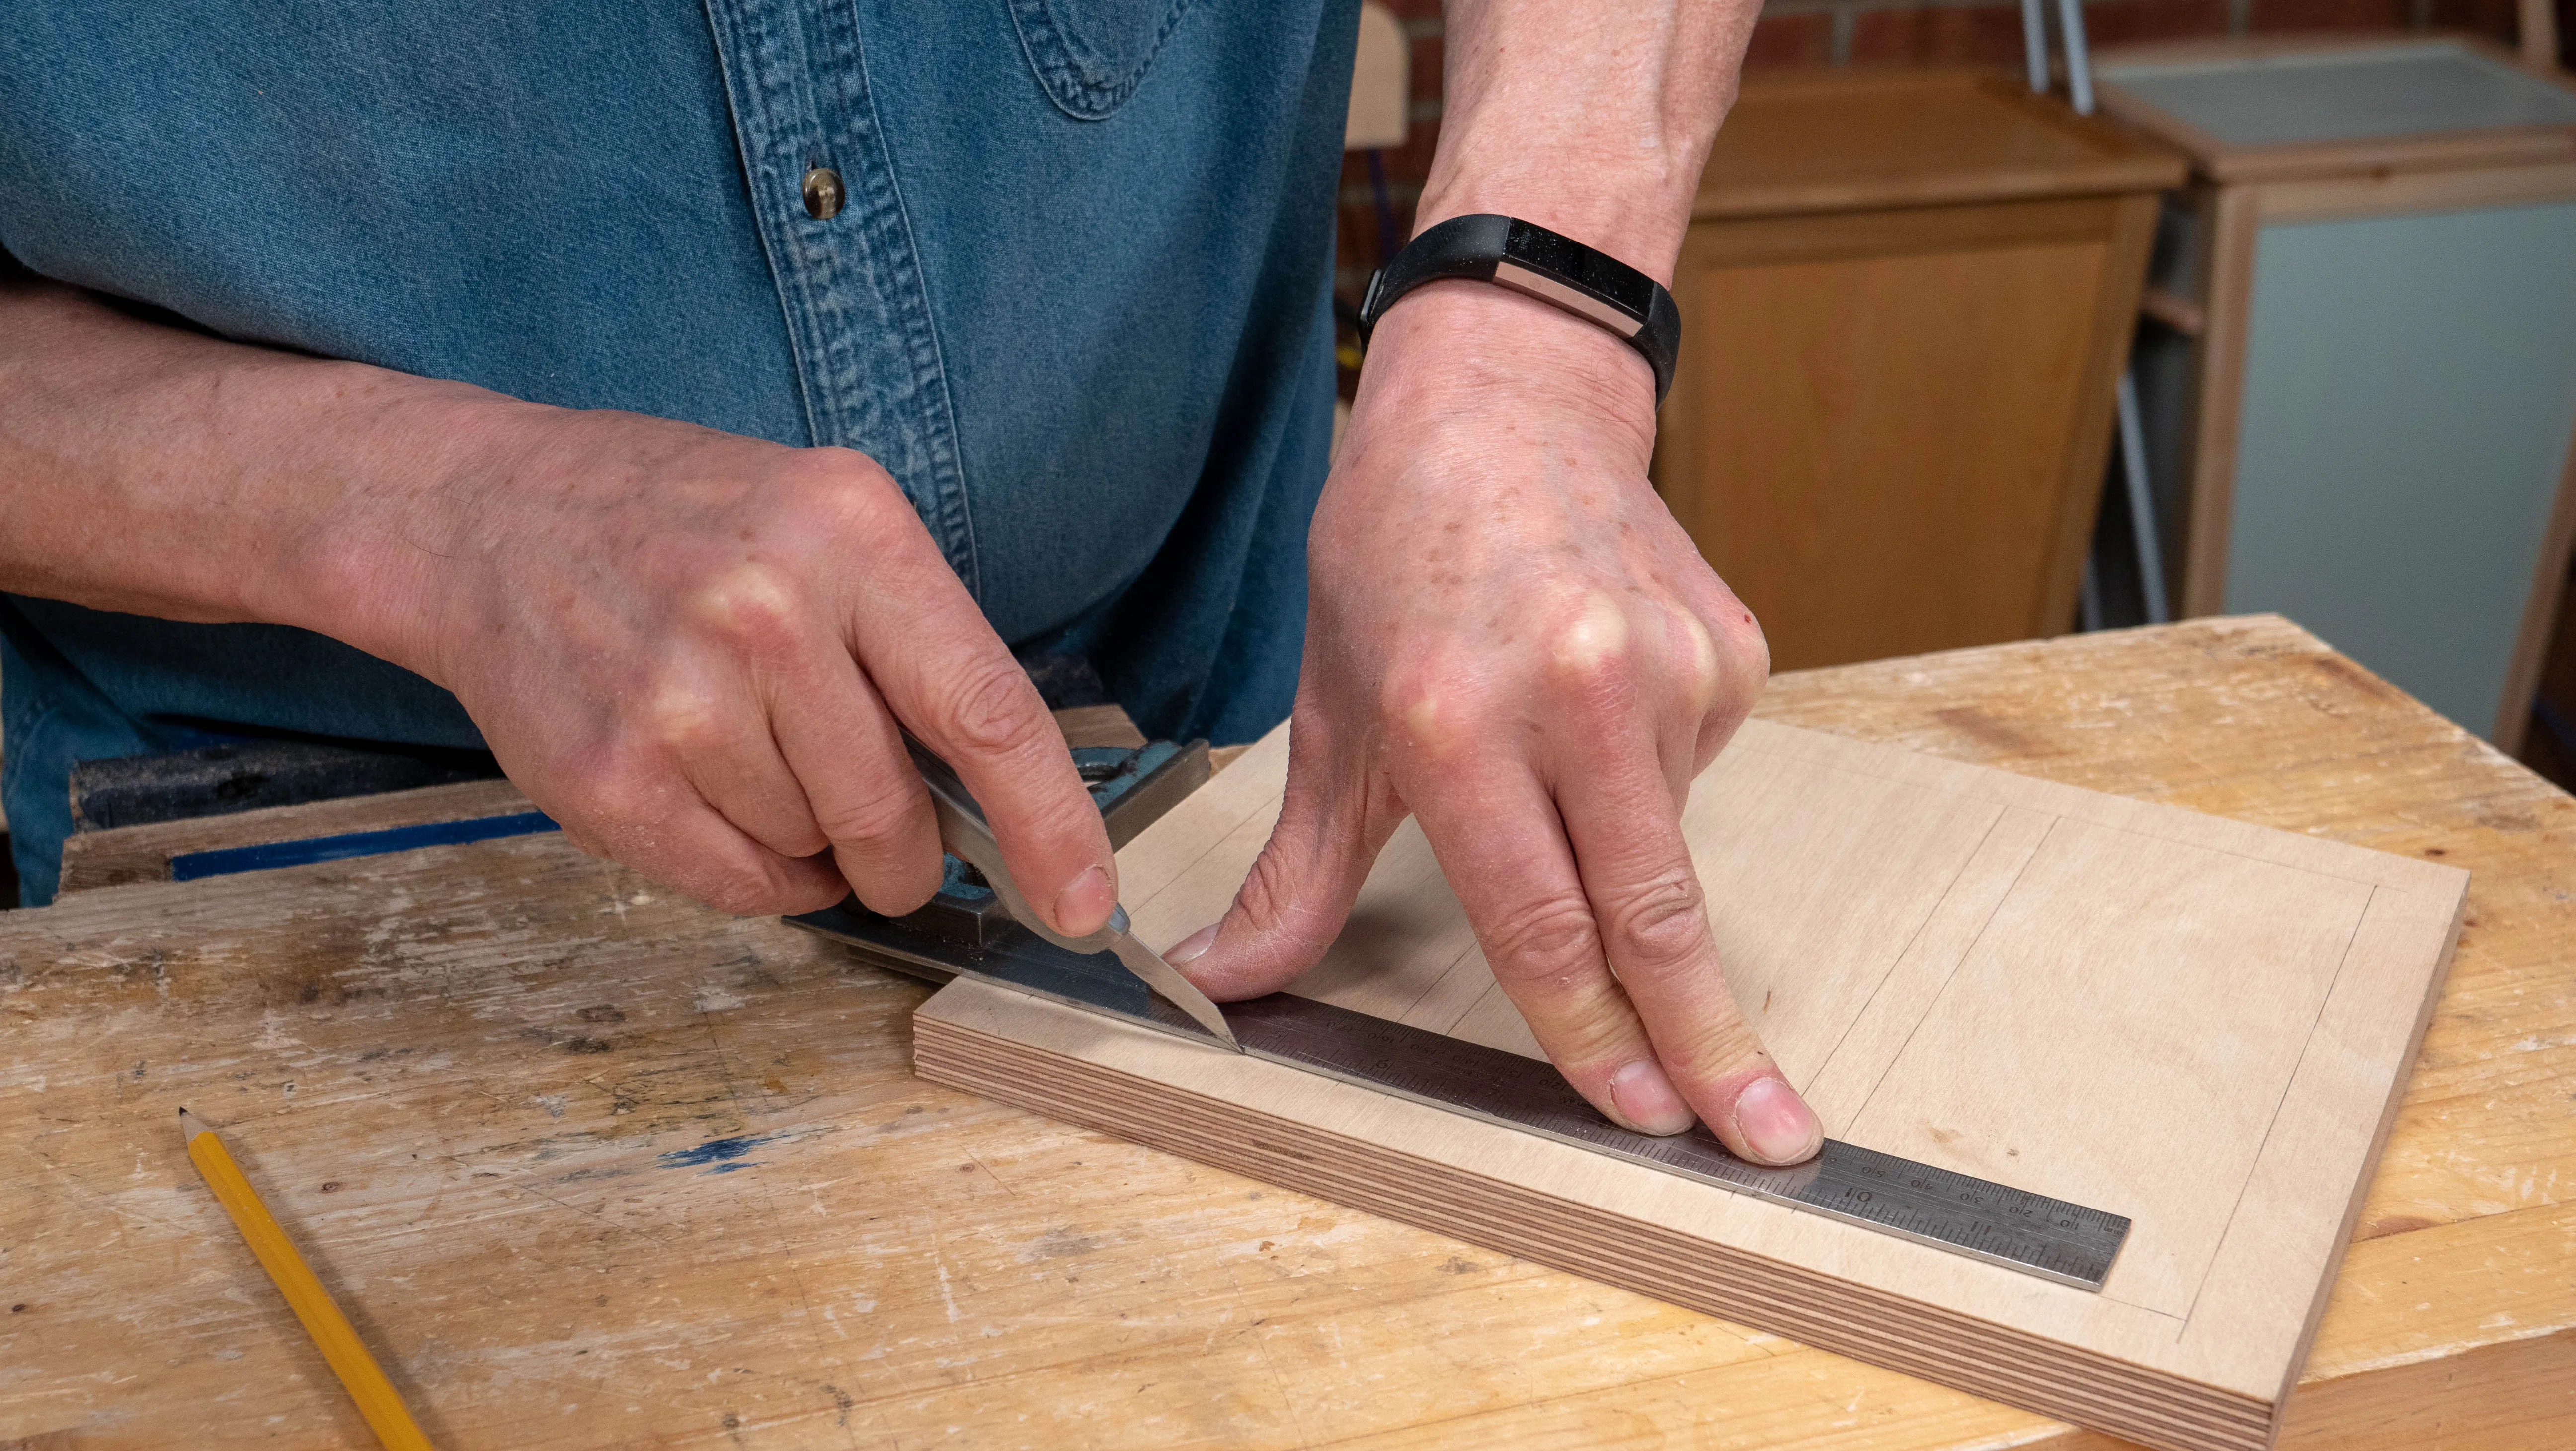
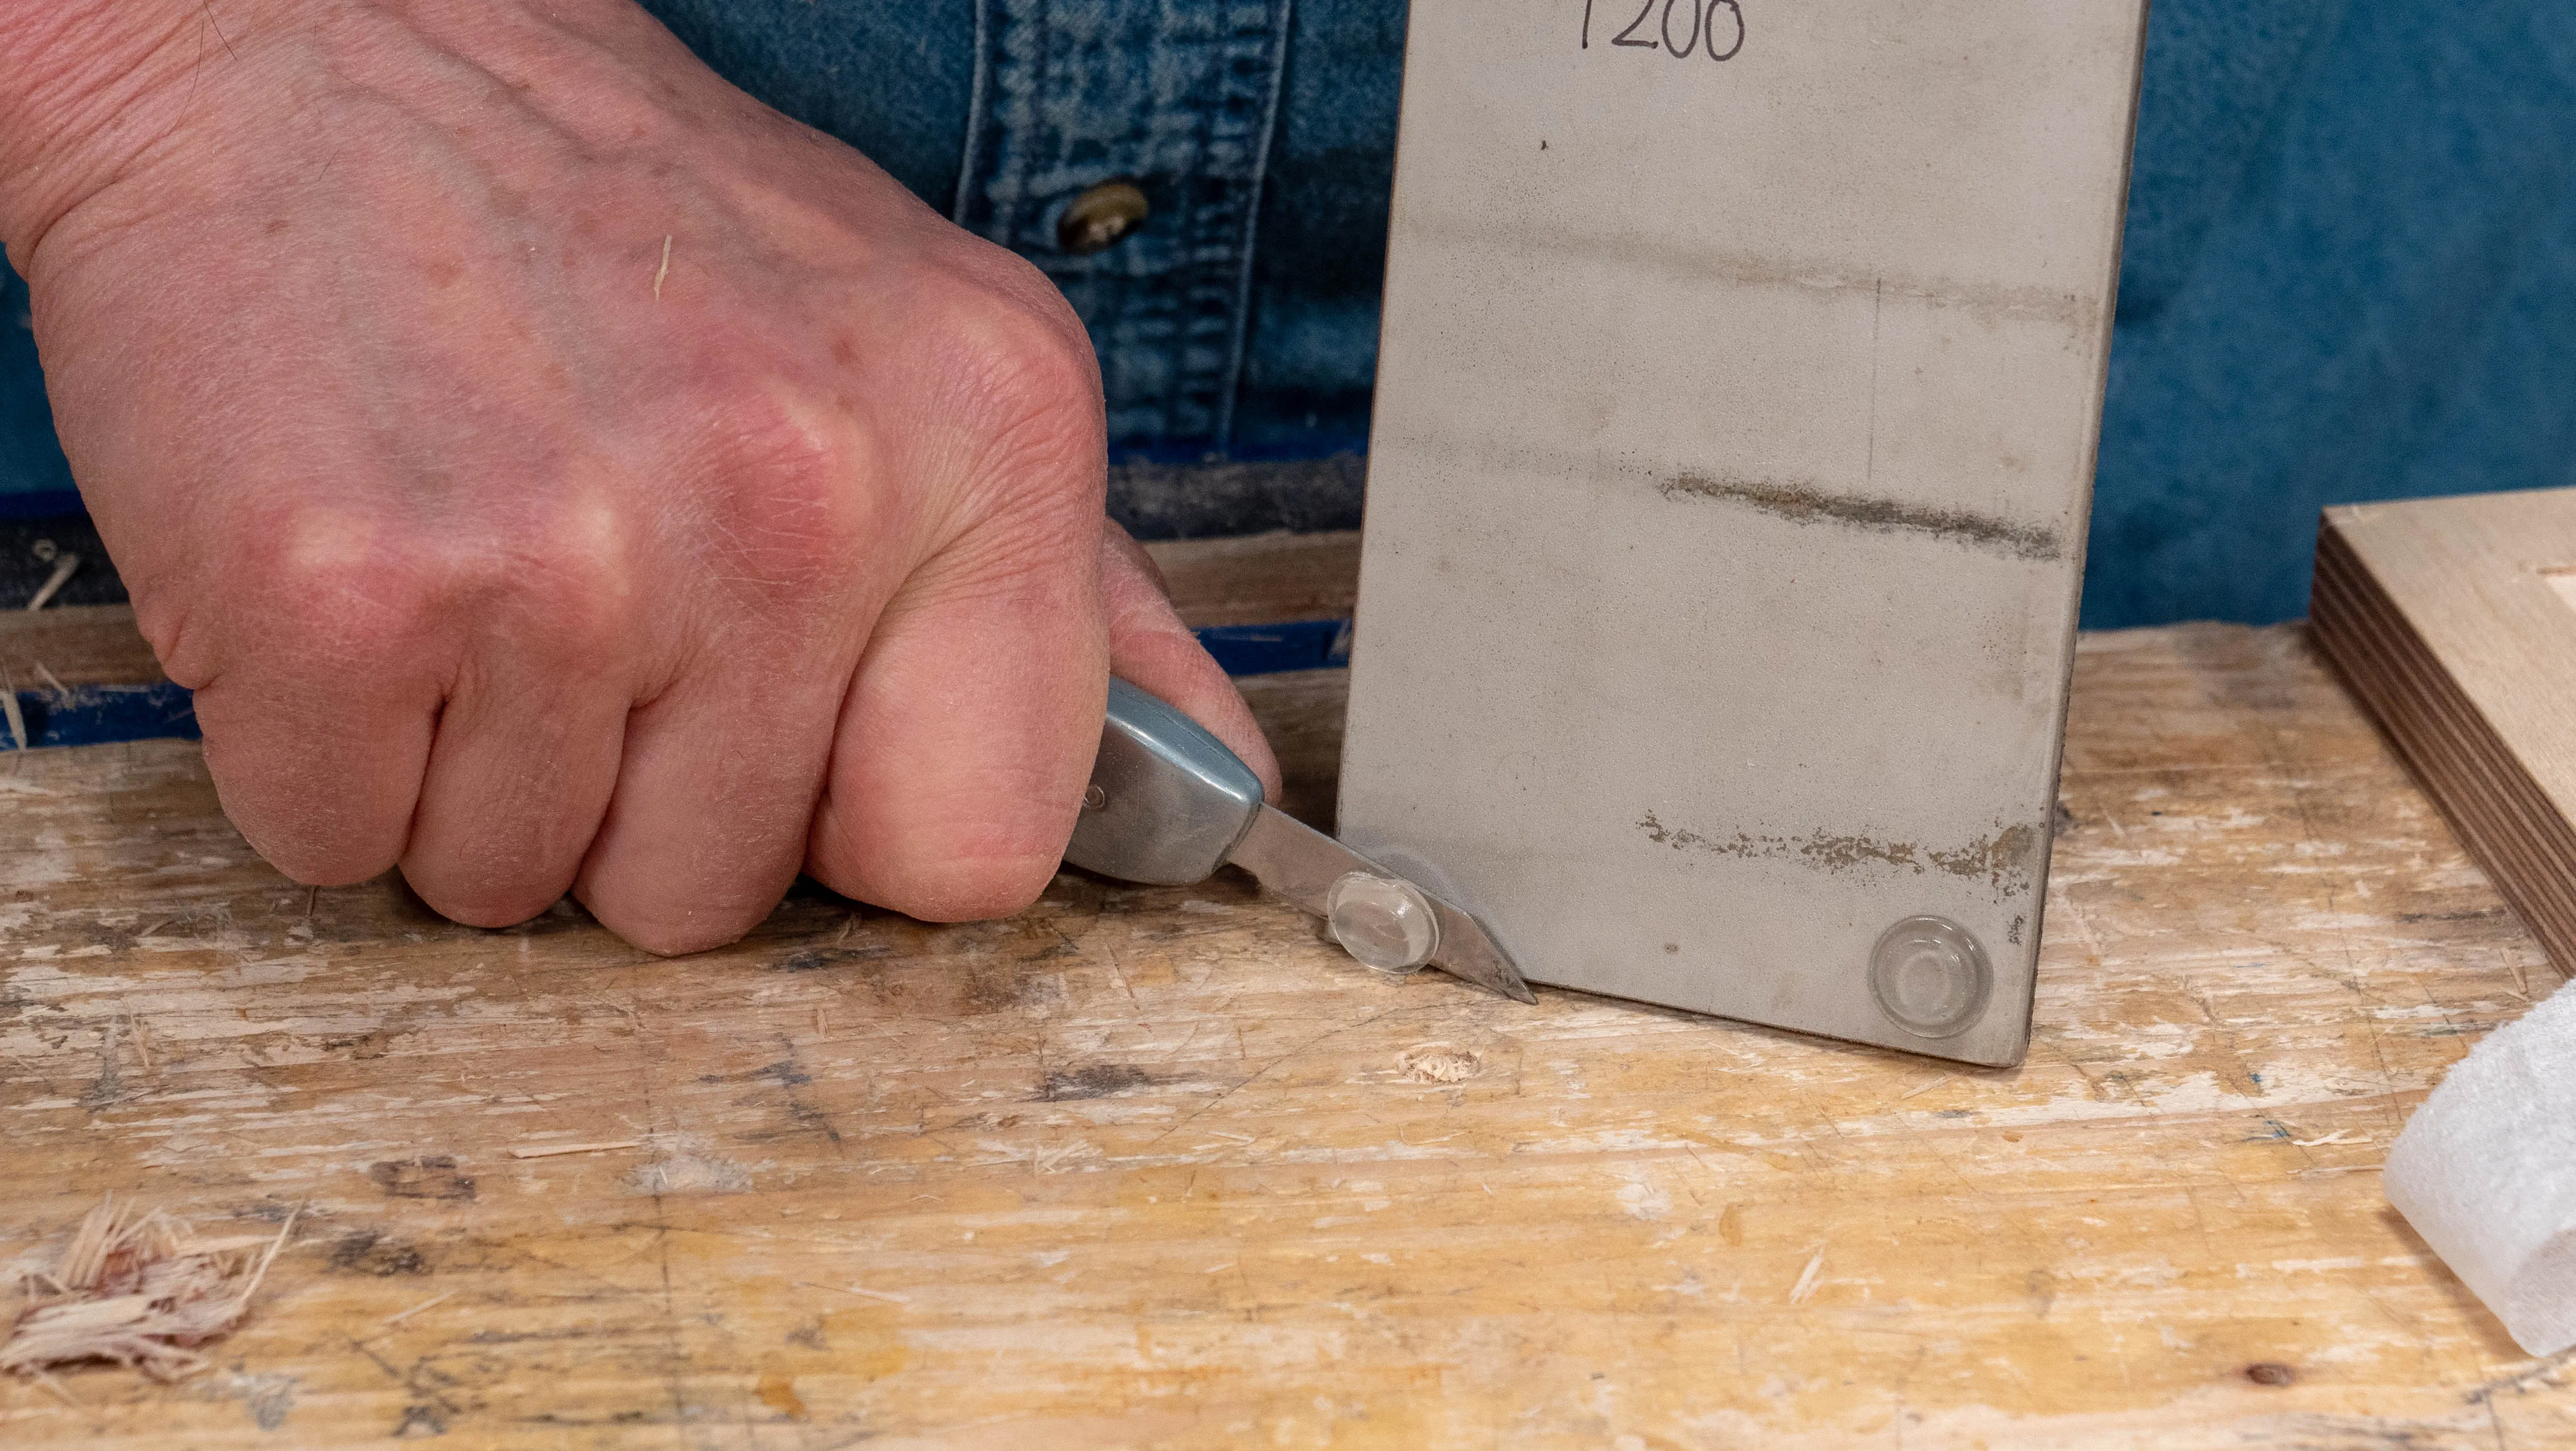
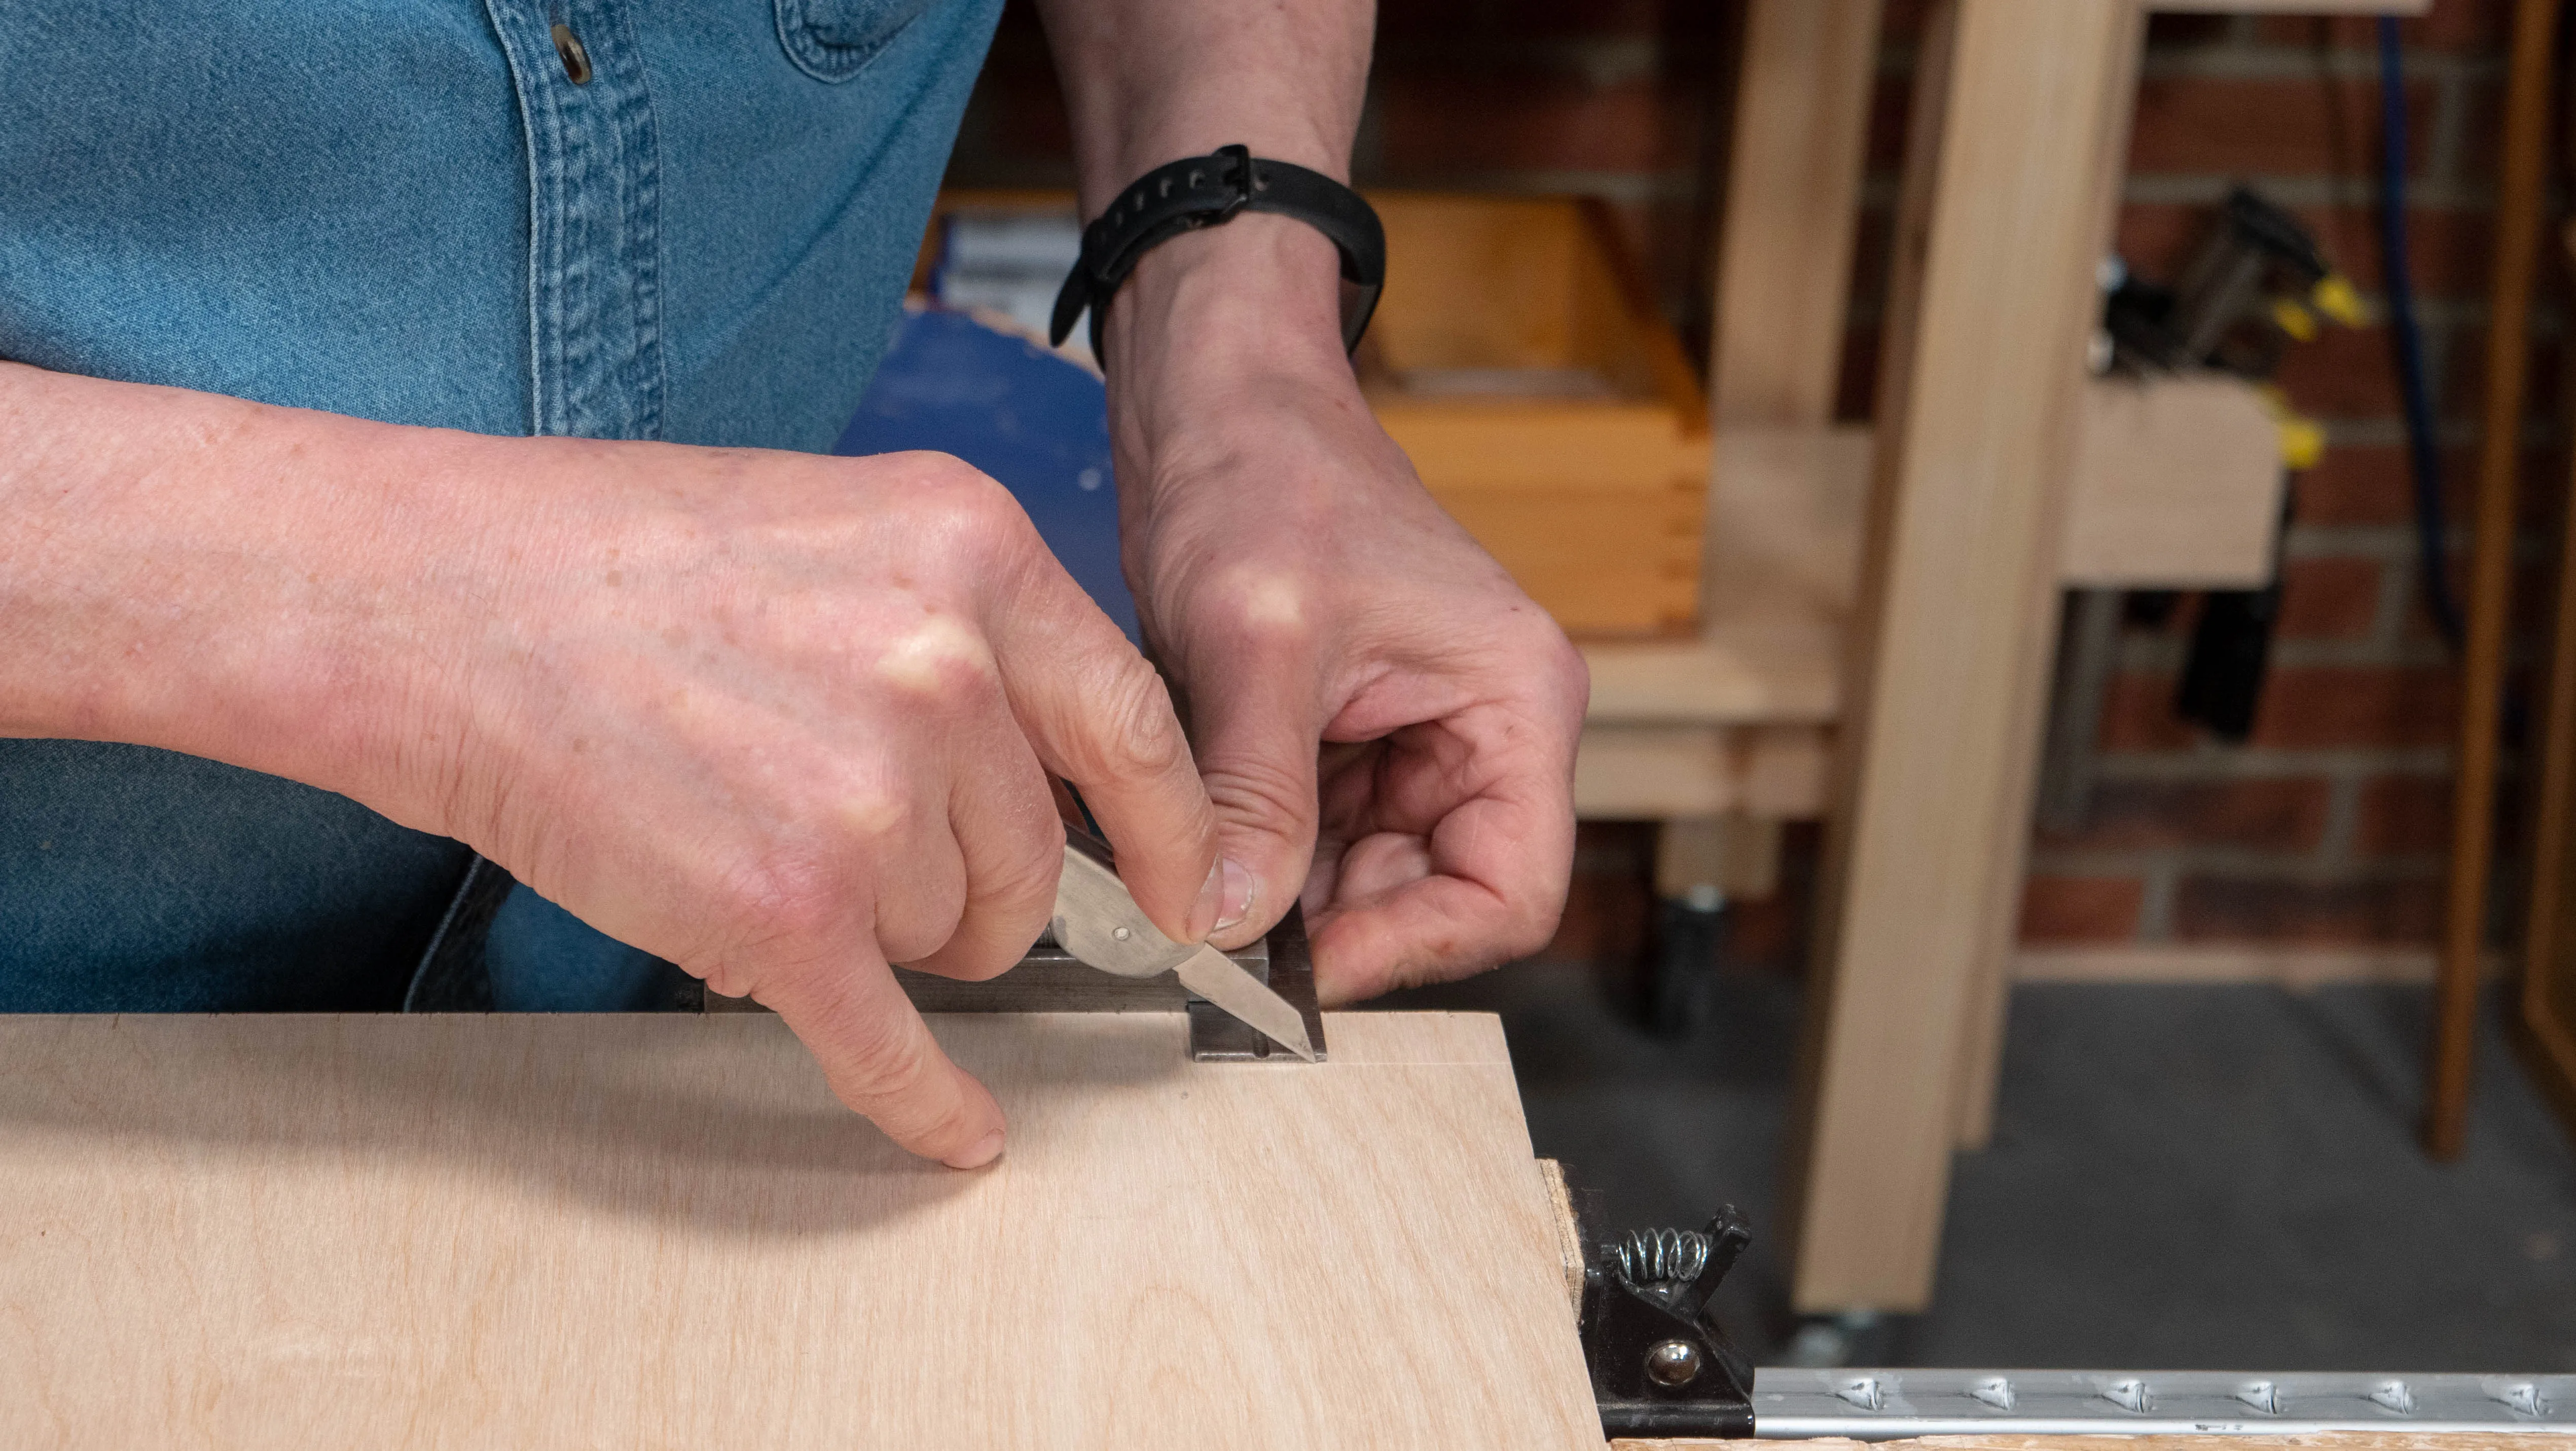
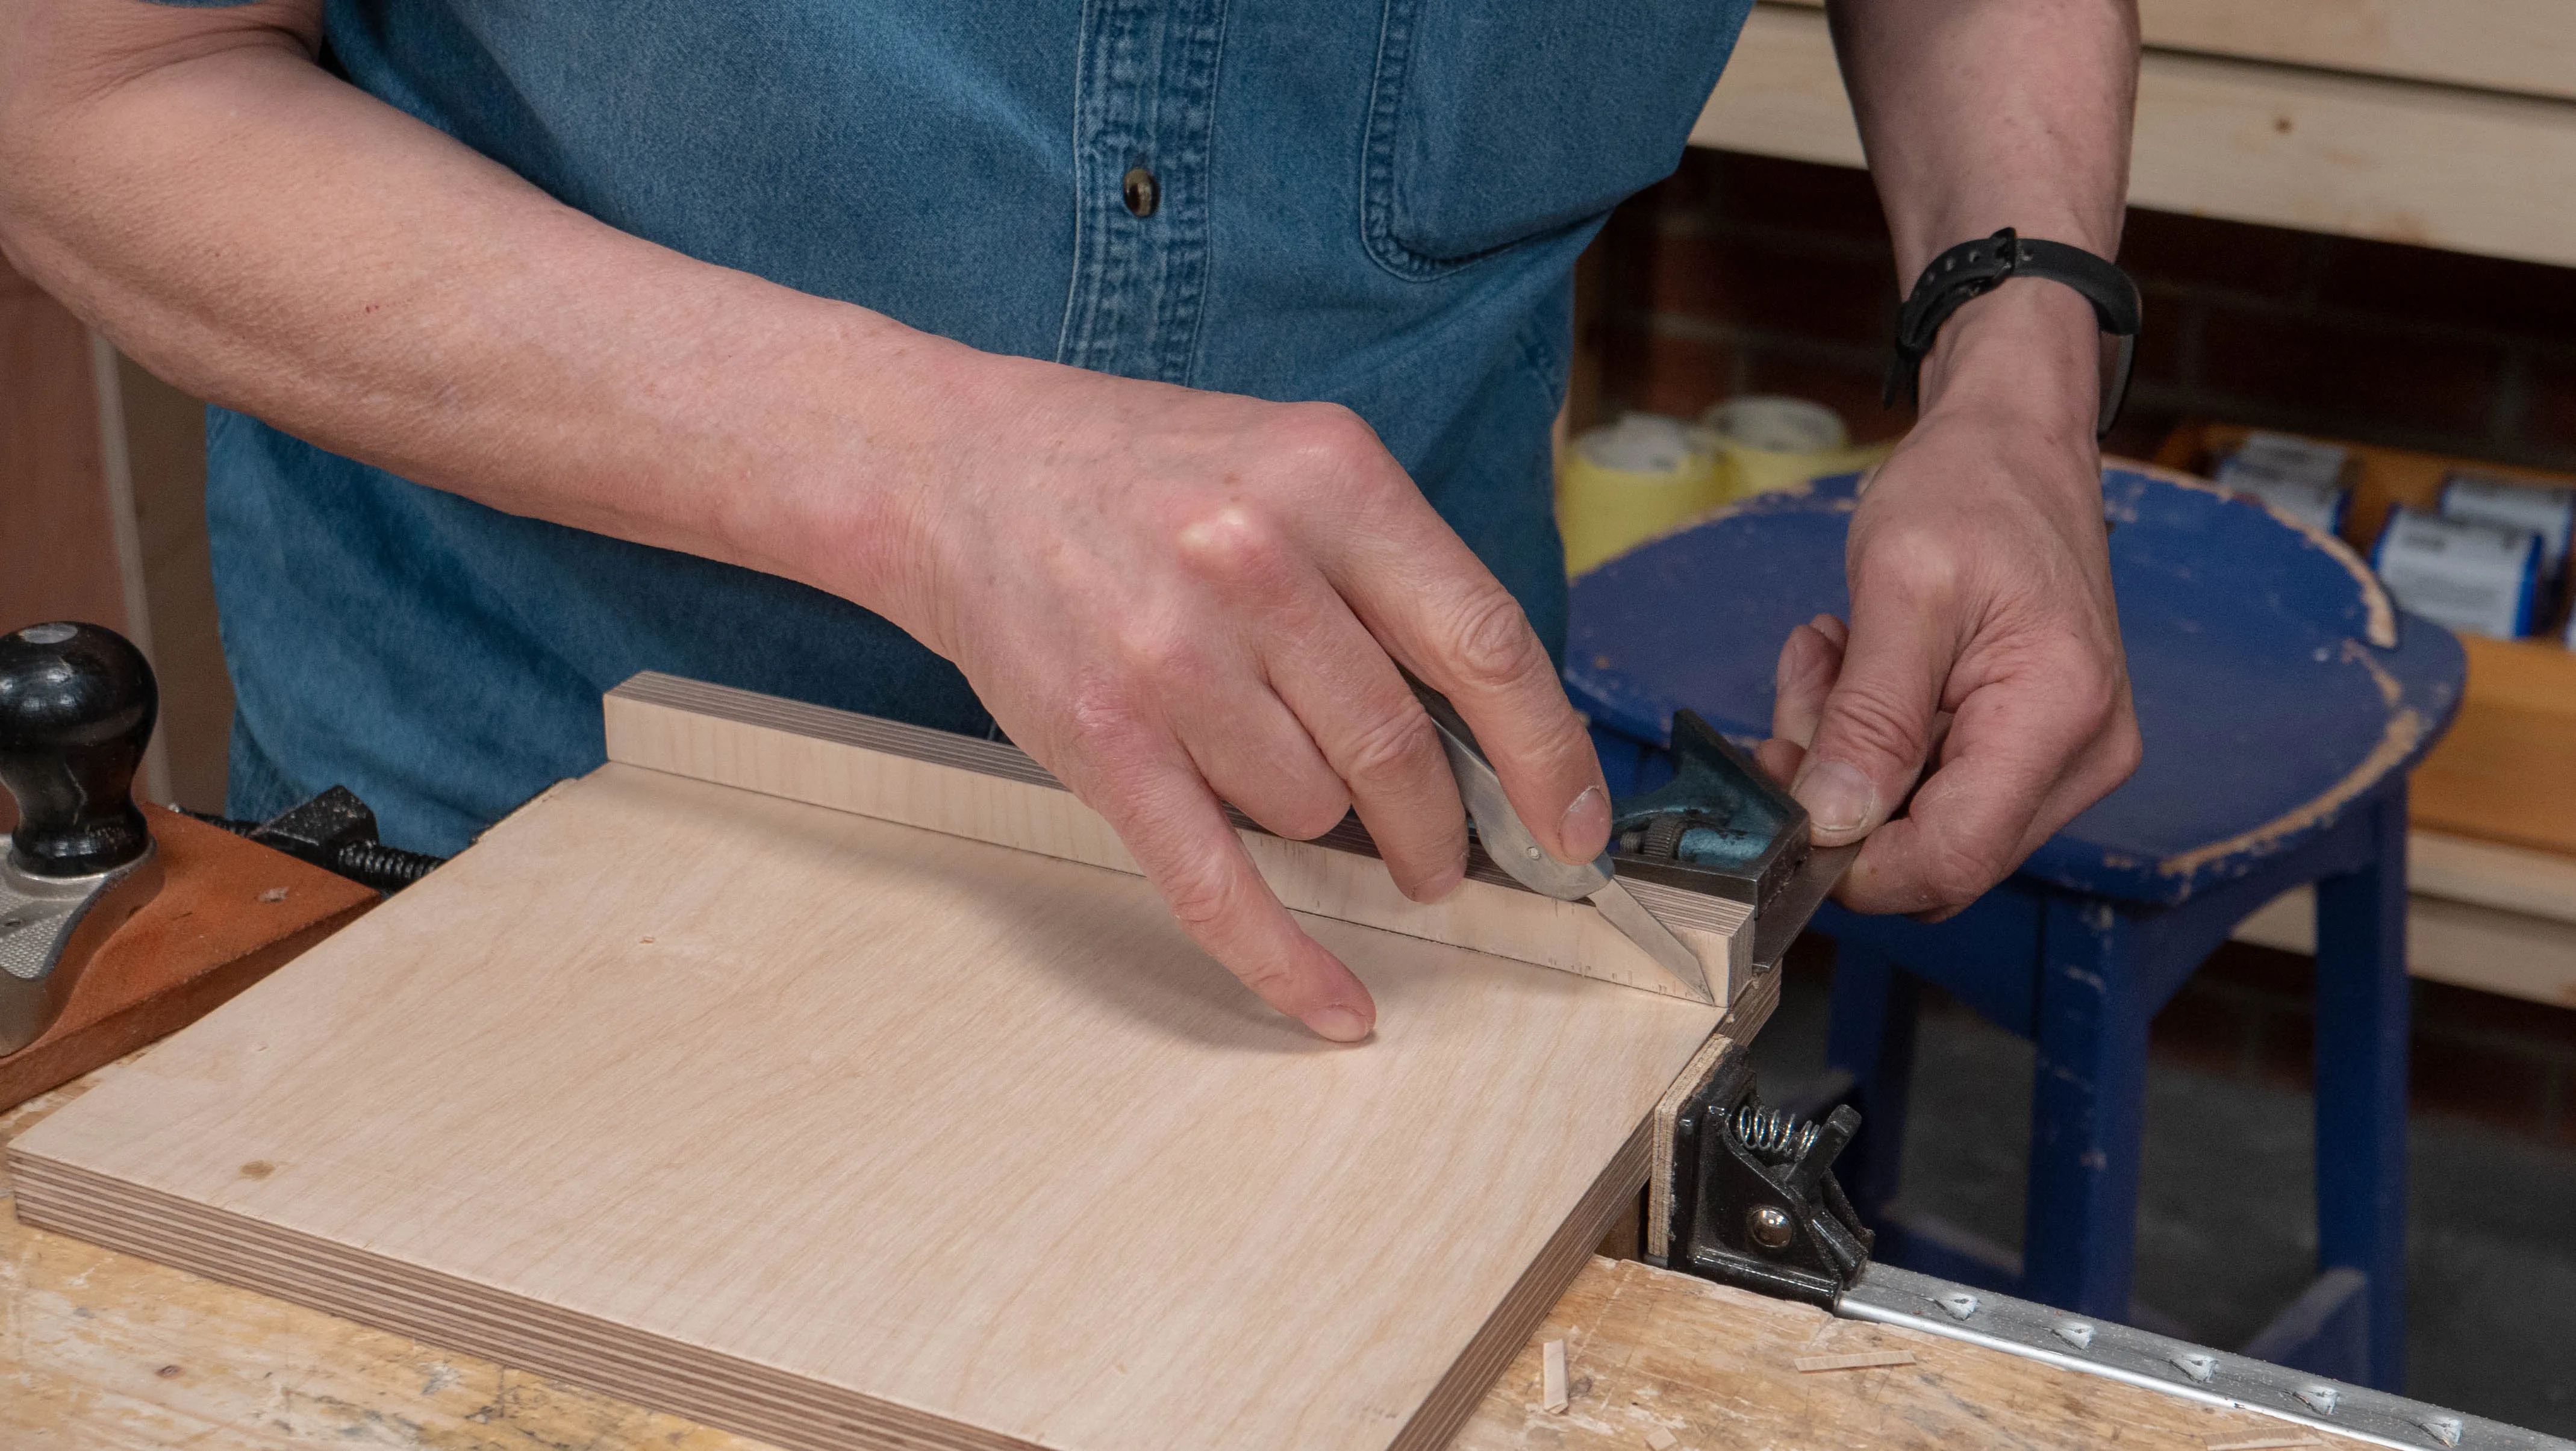
Go over the pencil marks with a knife and a square.
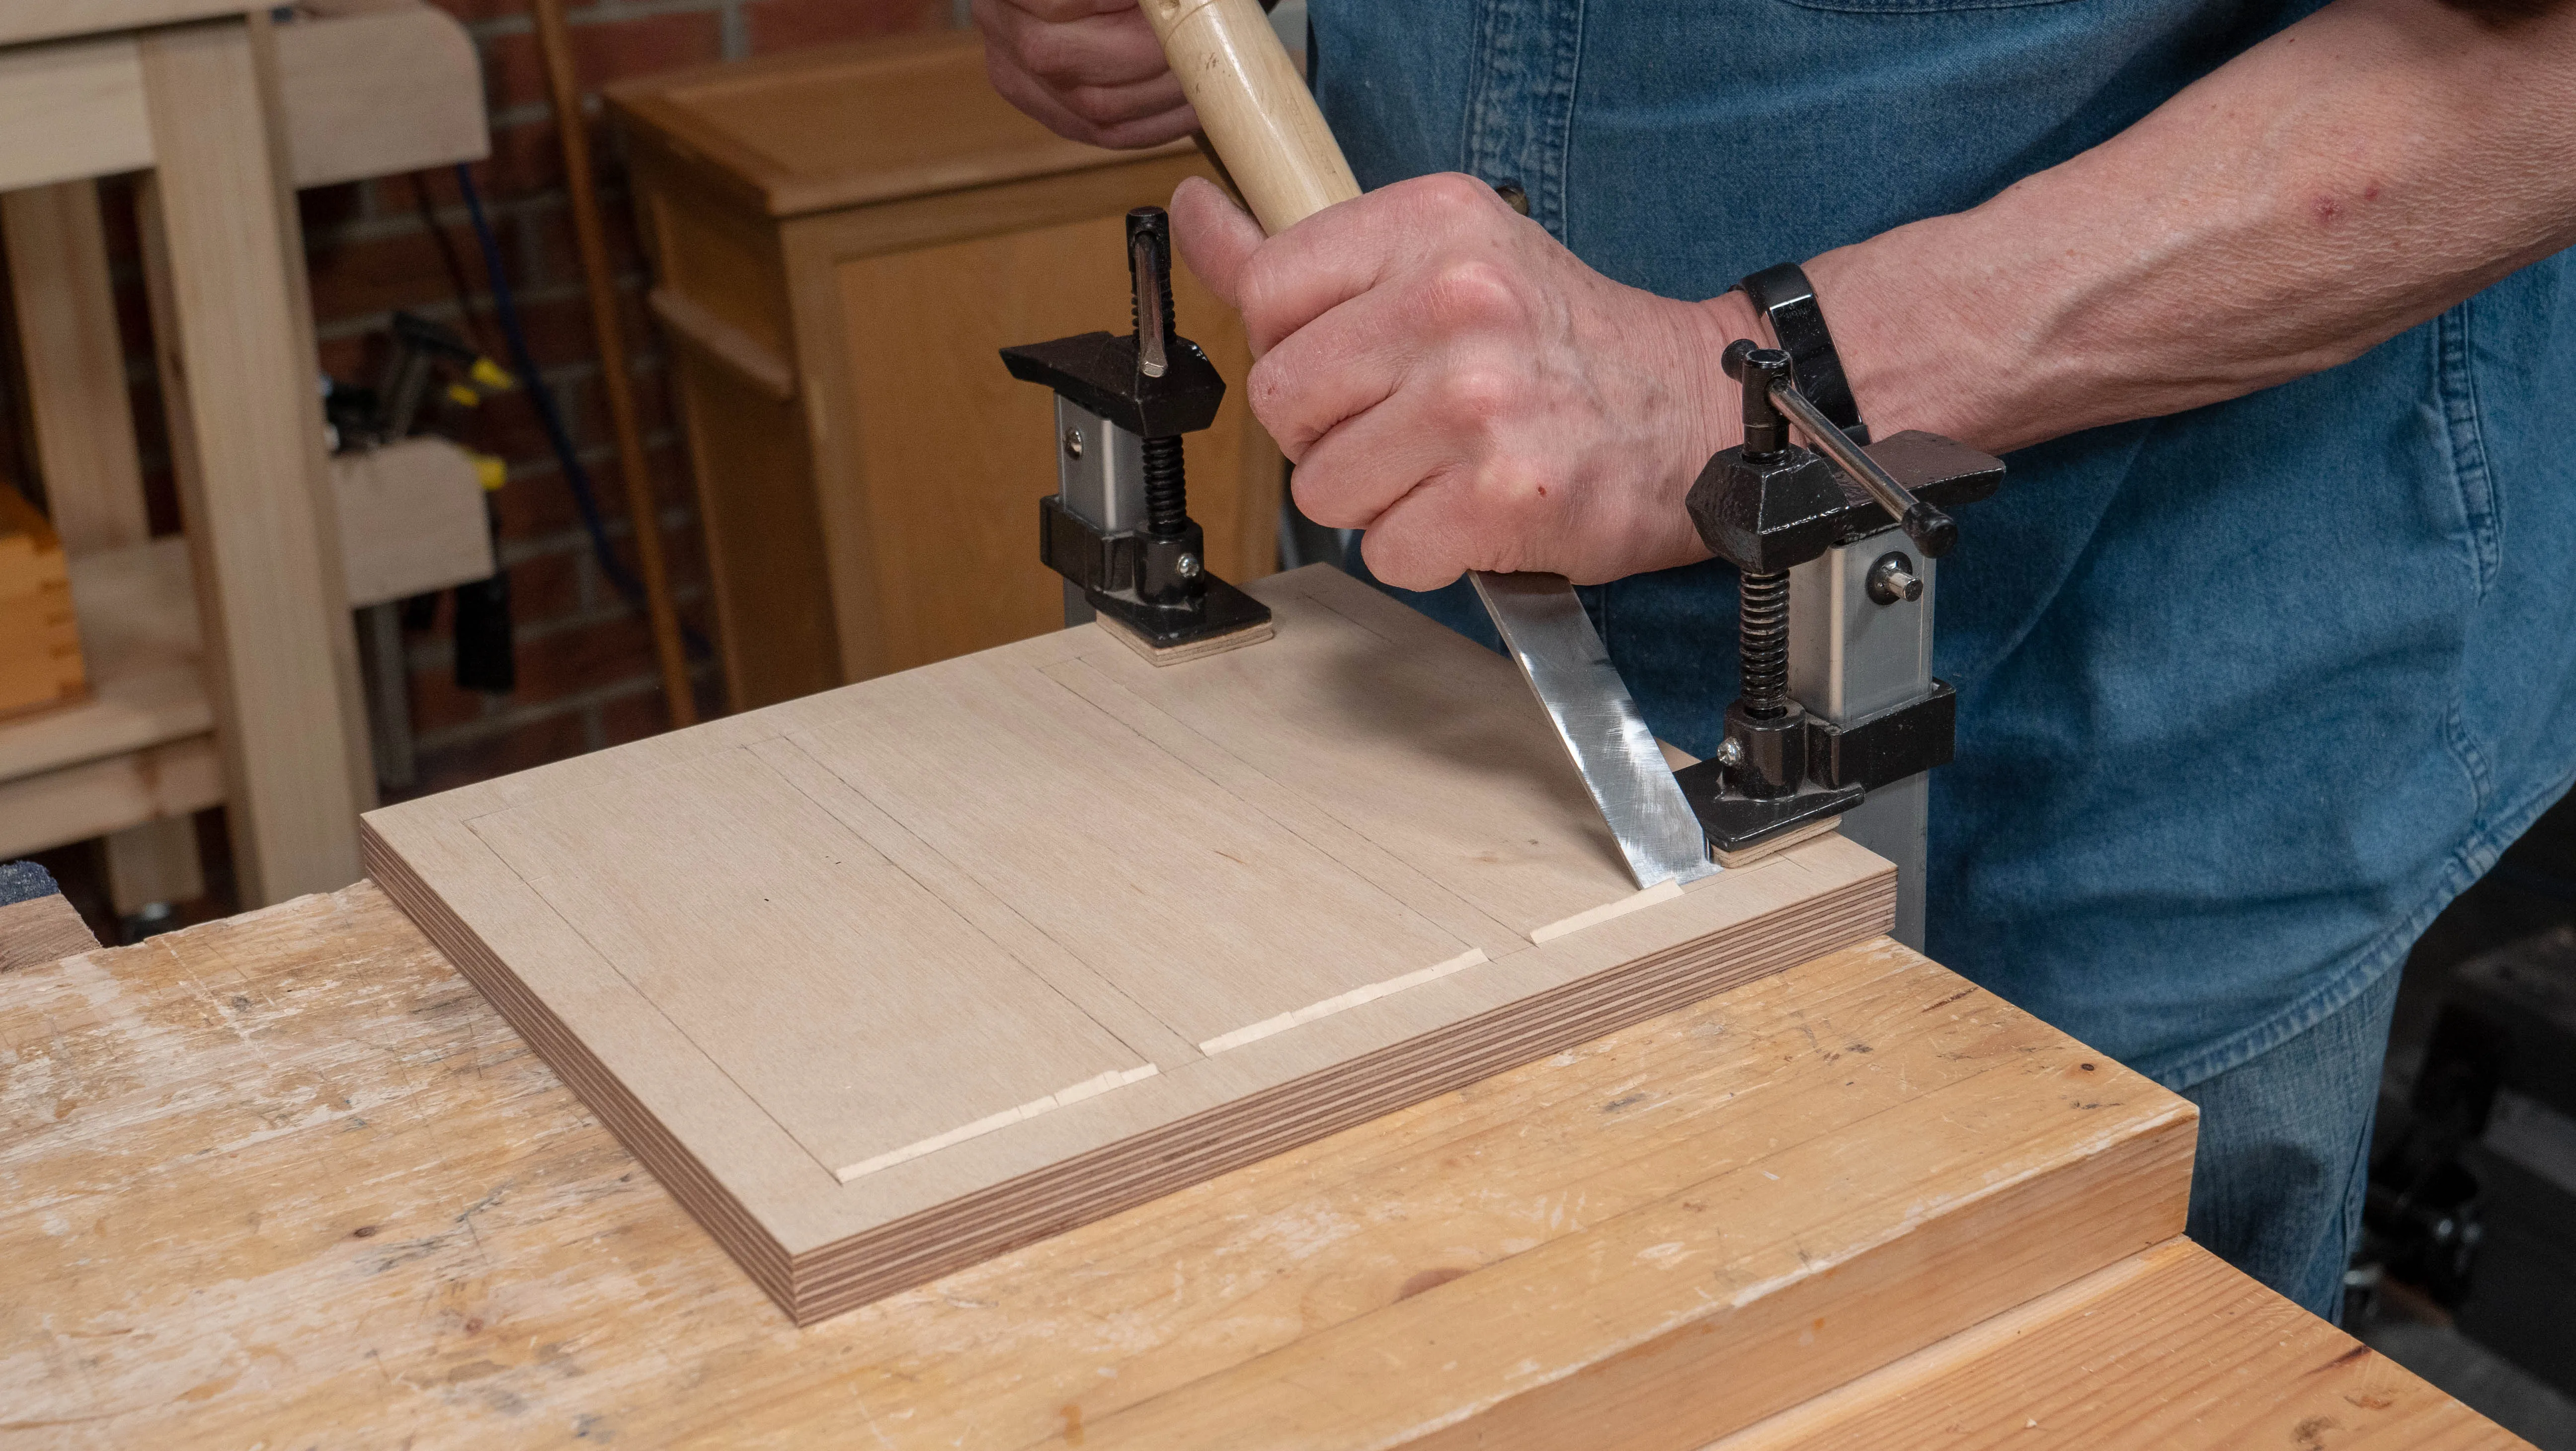
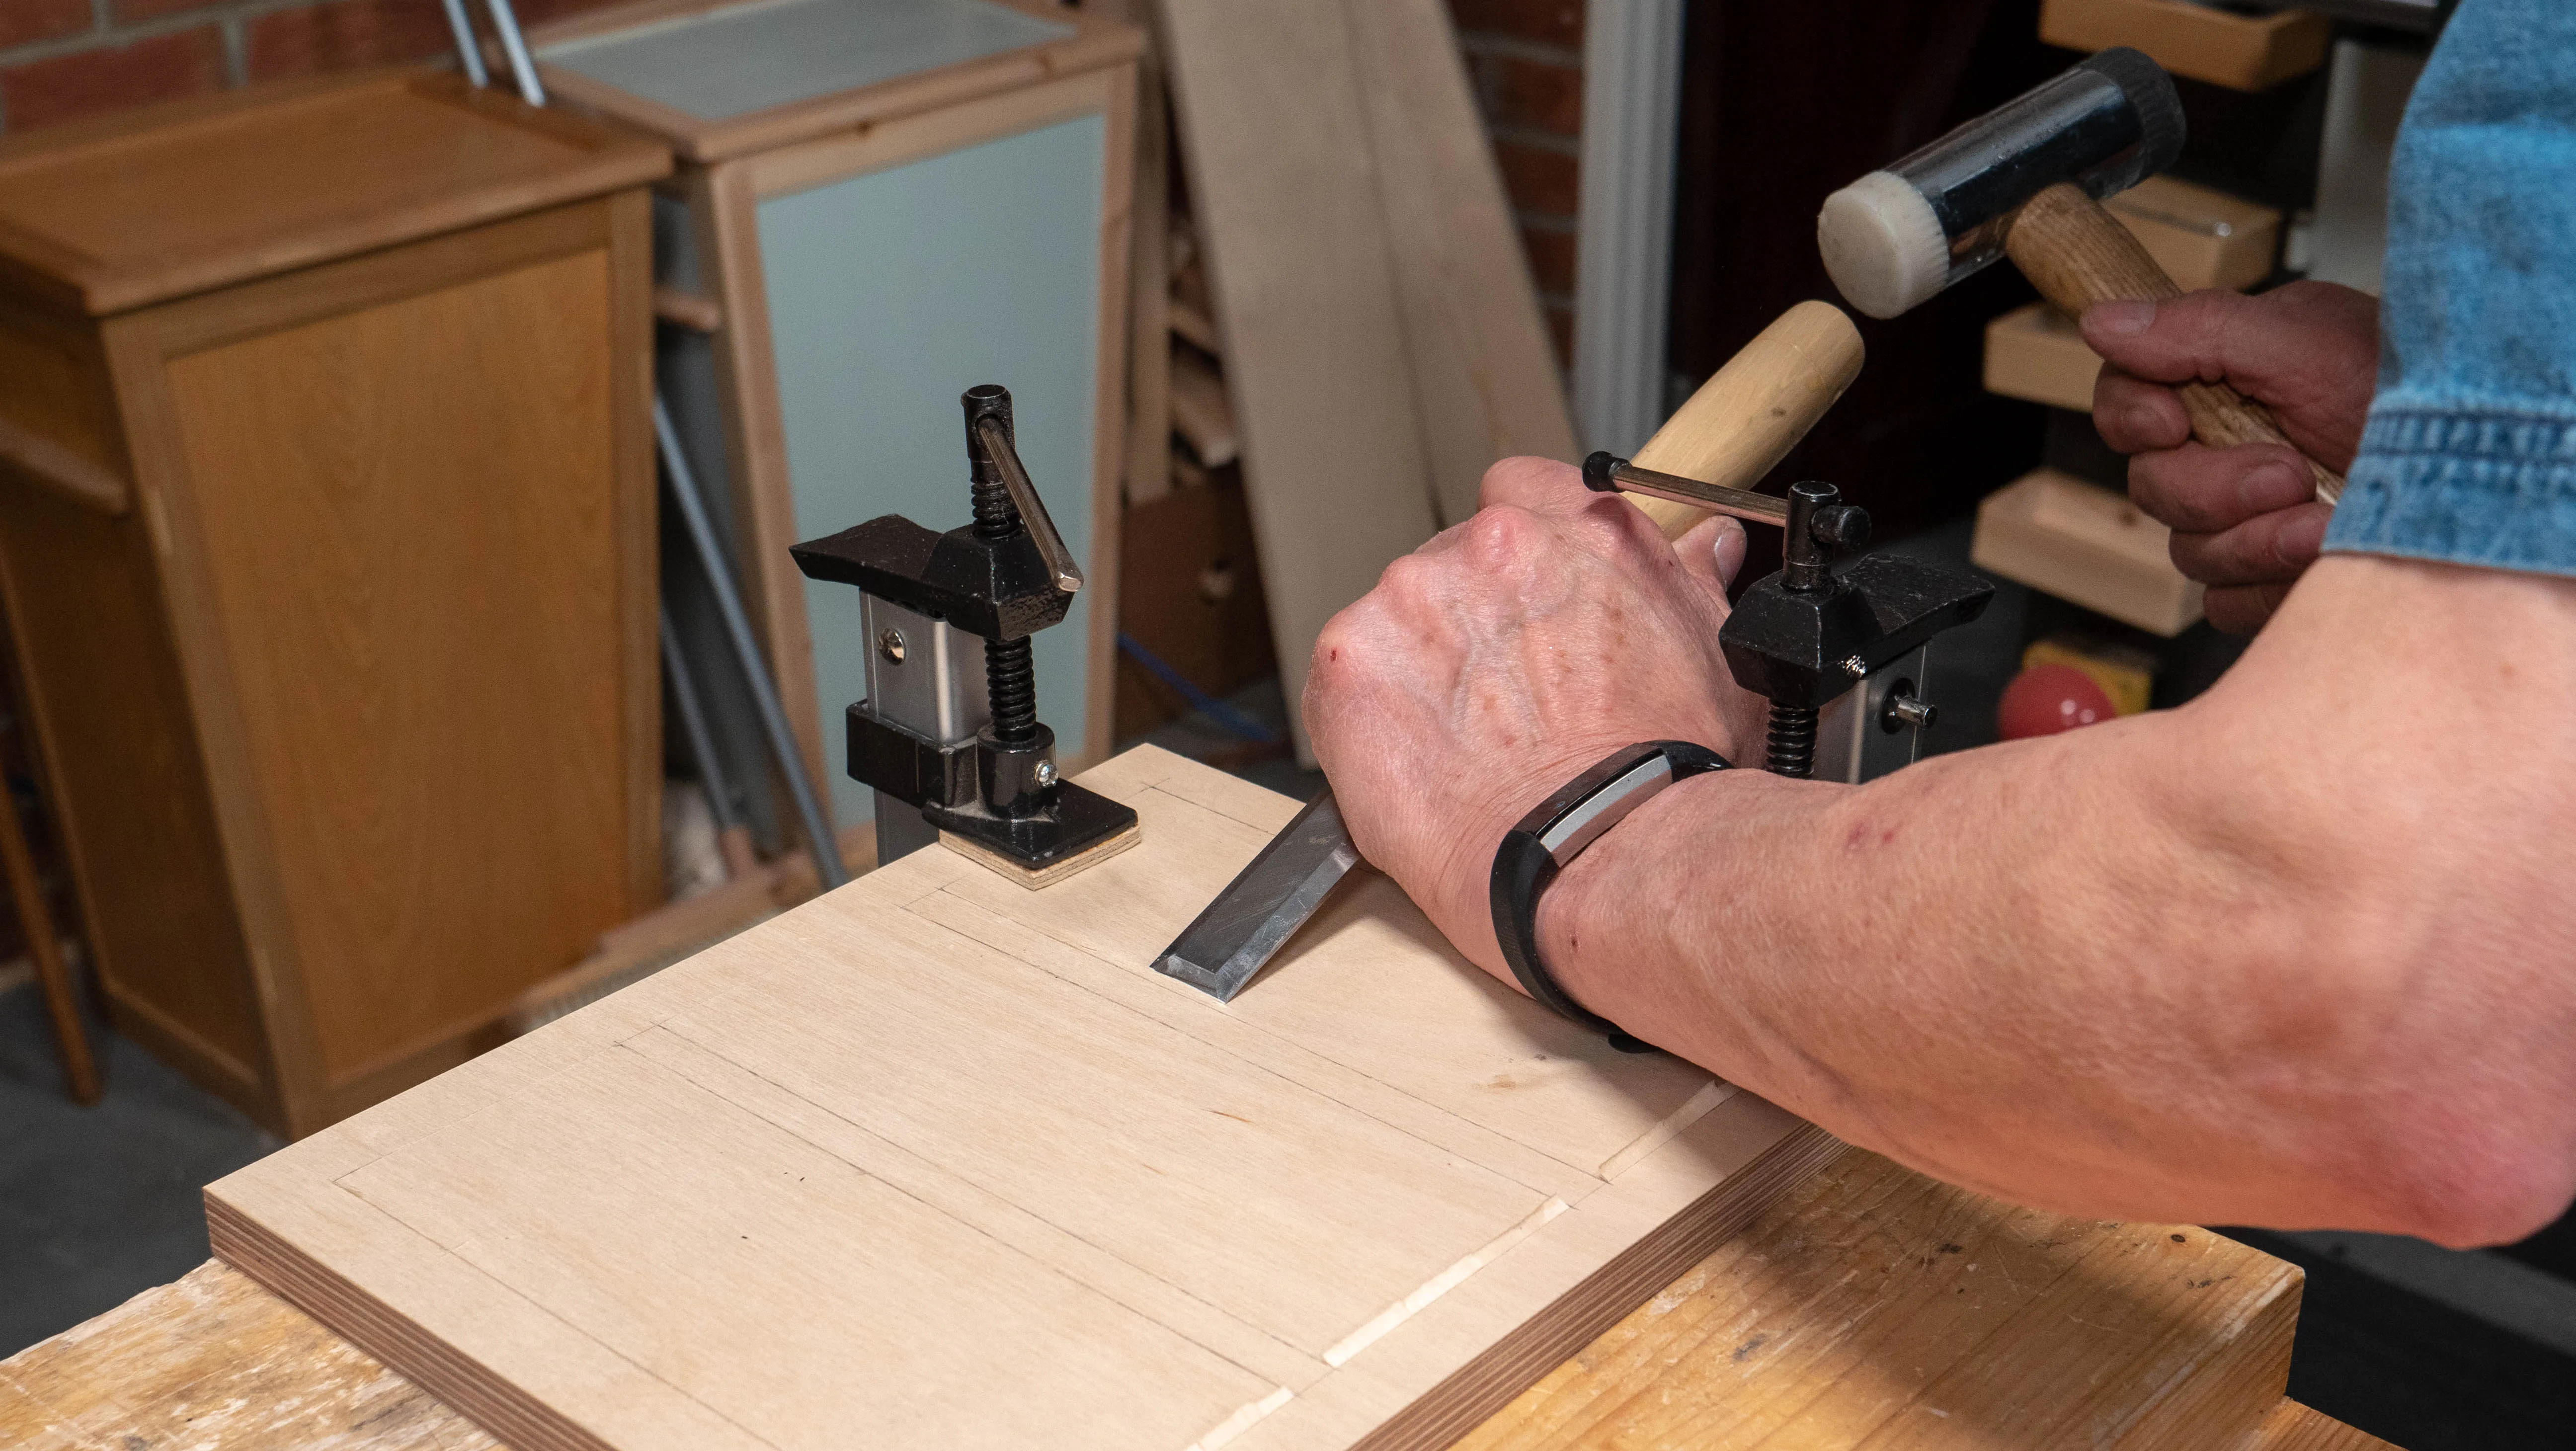
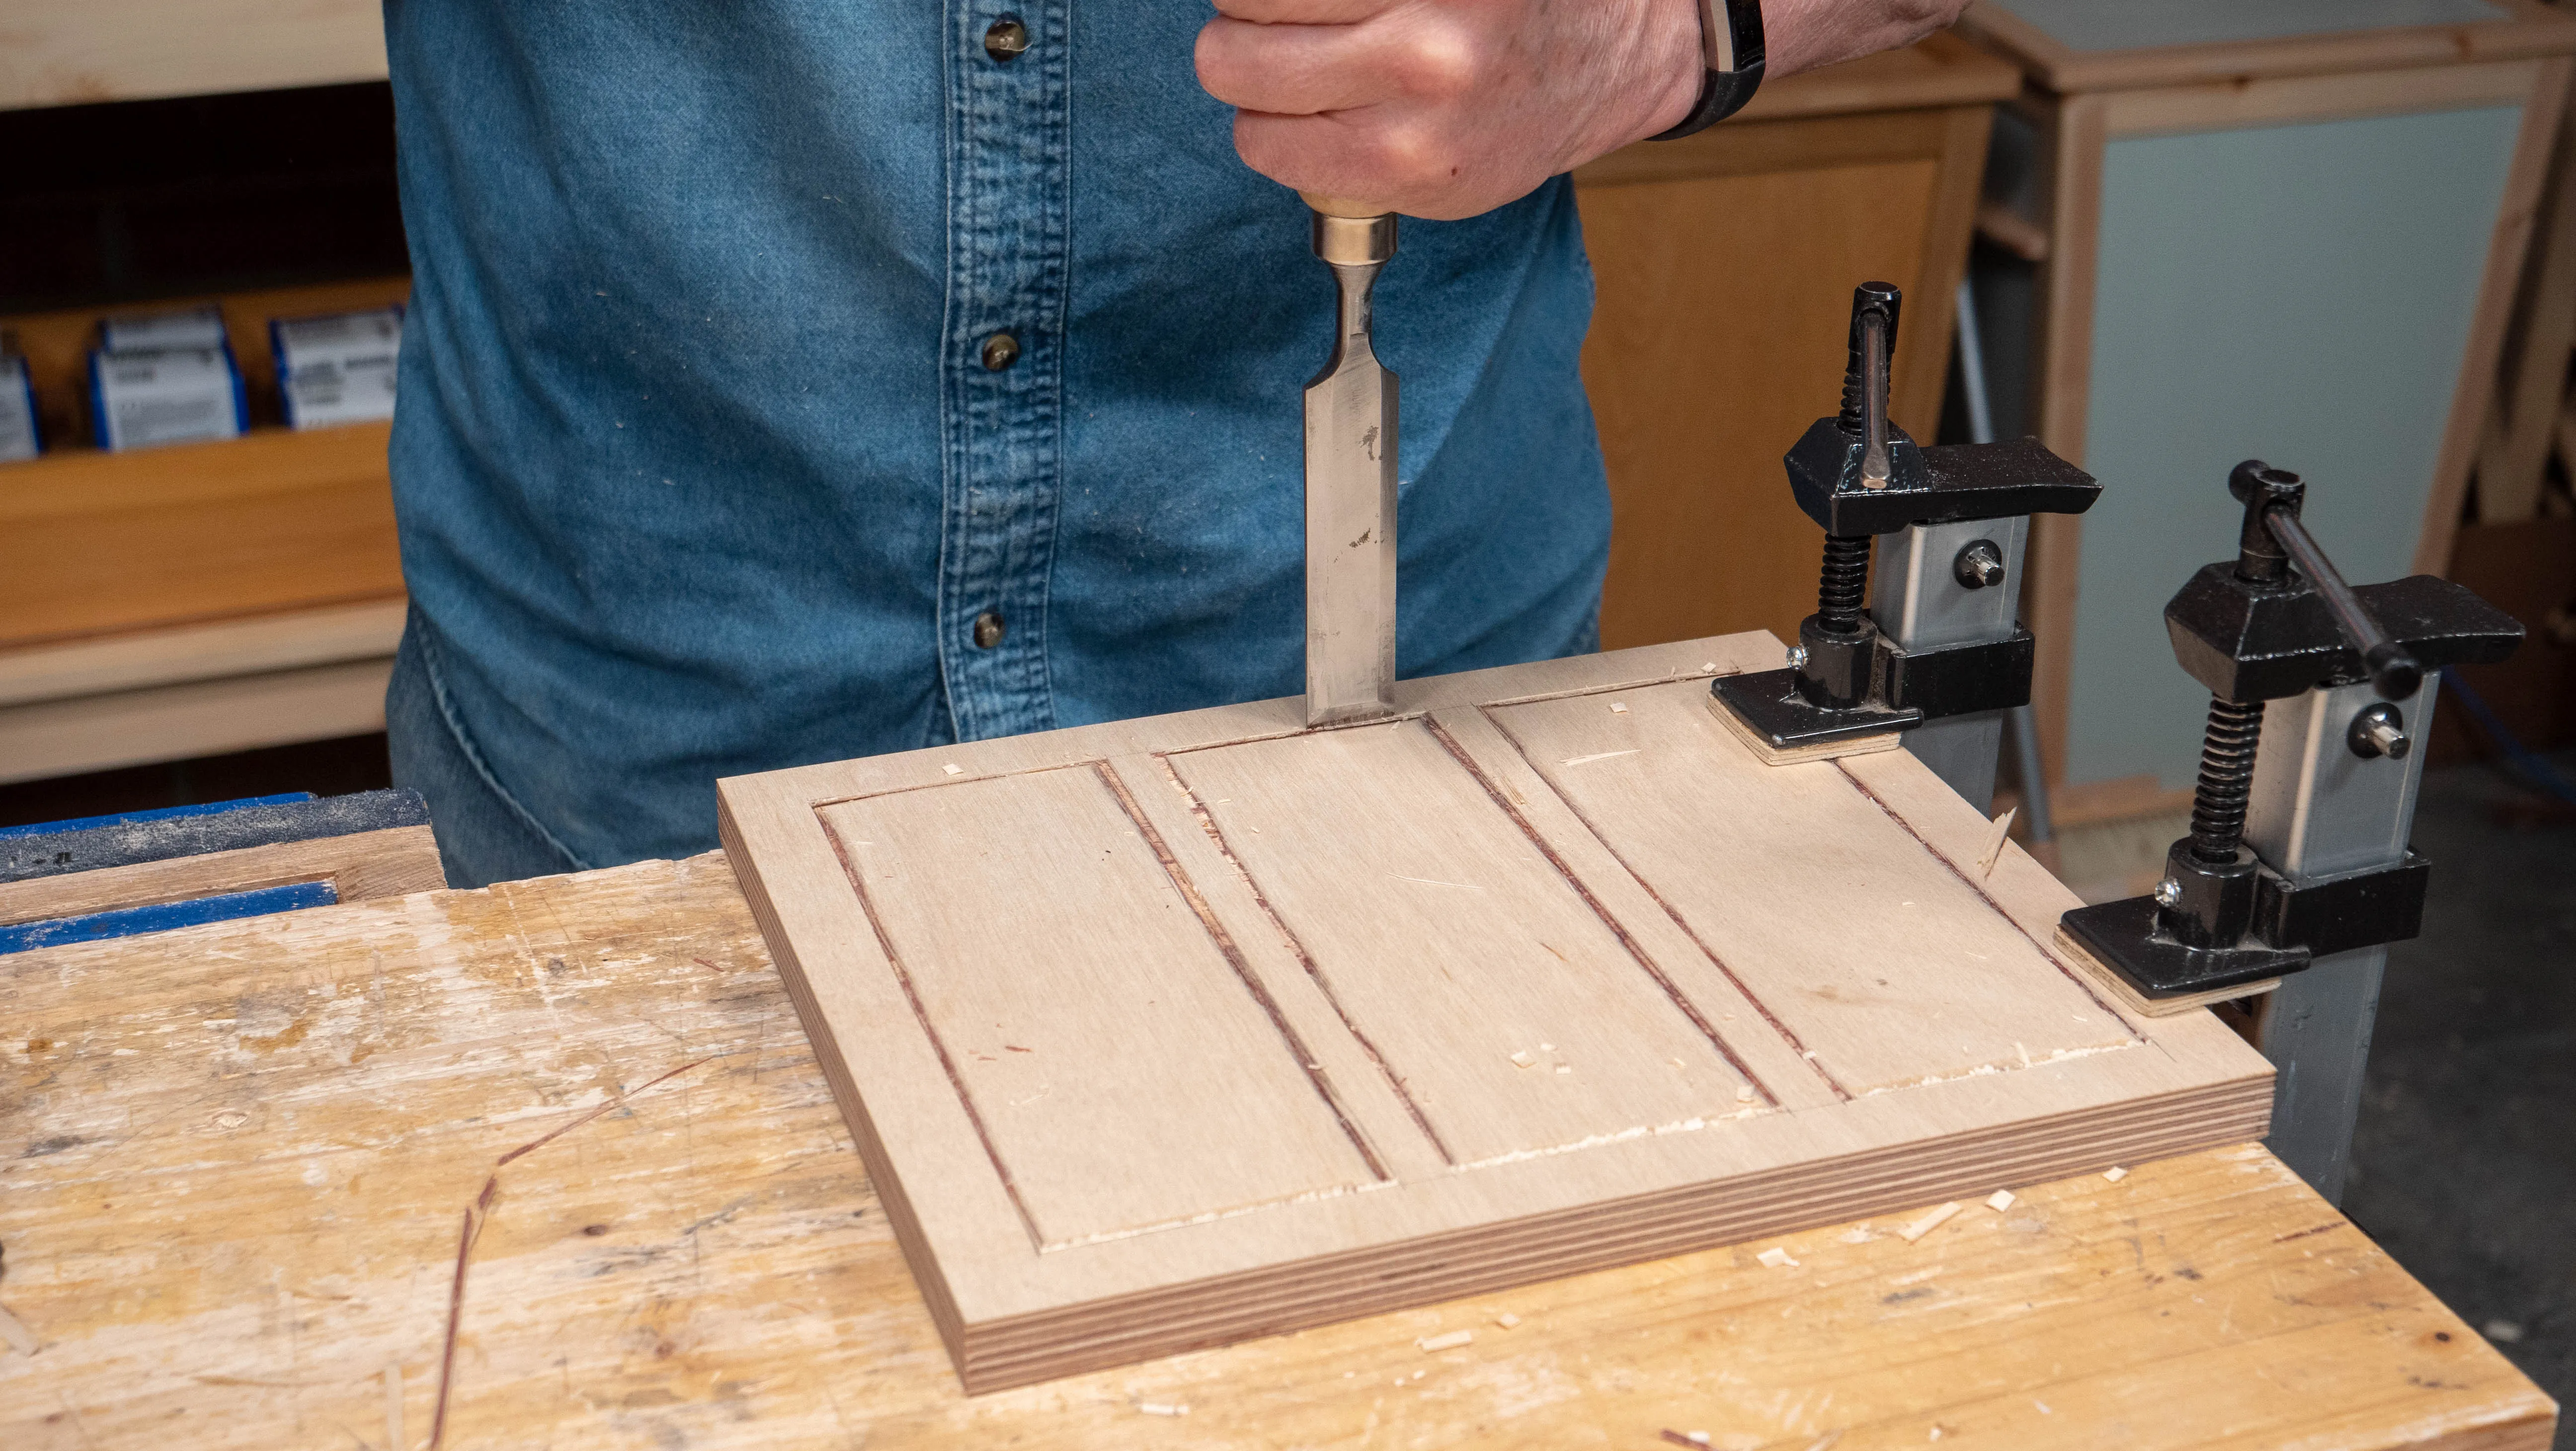
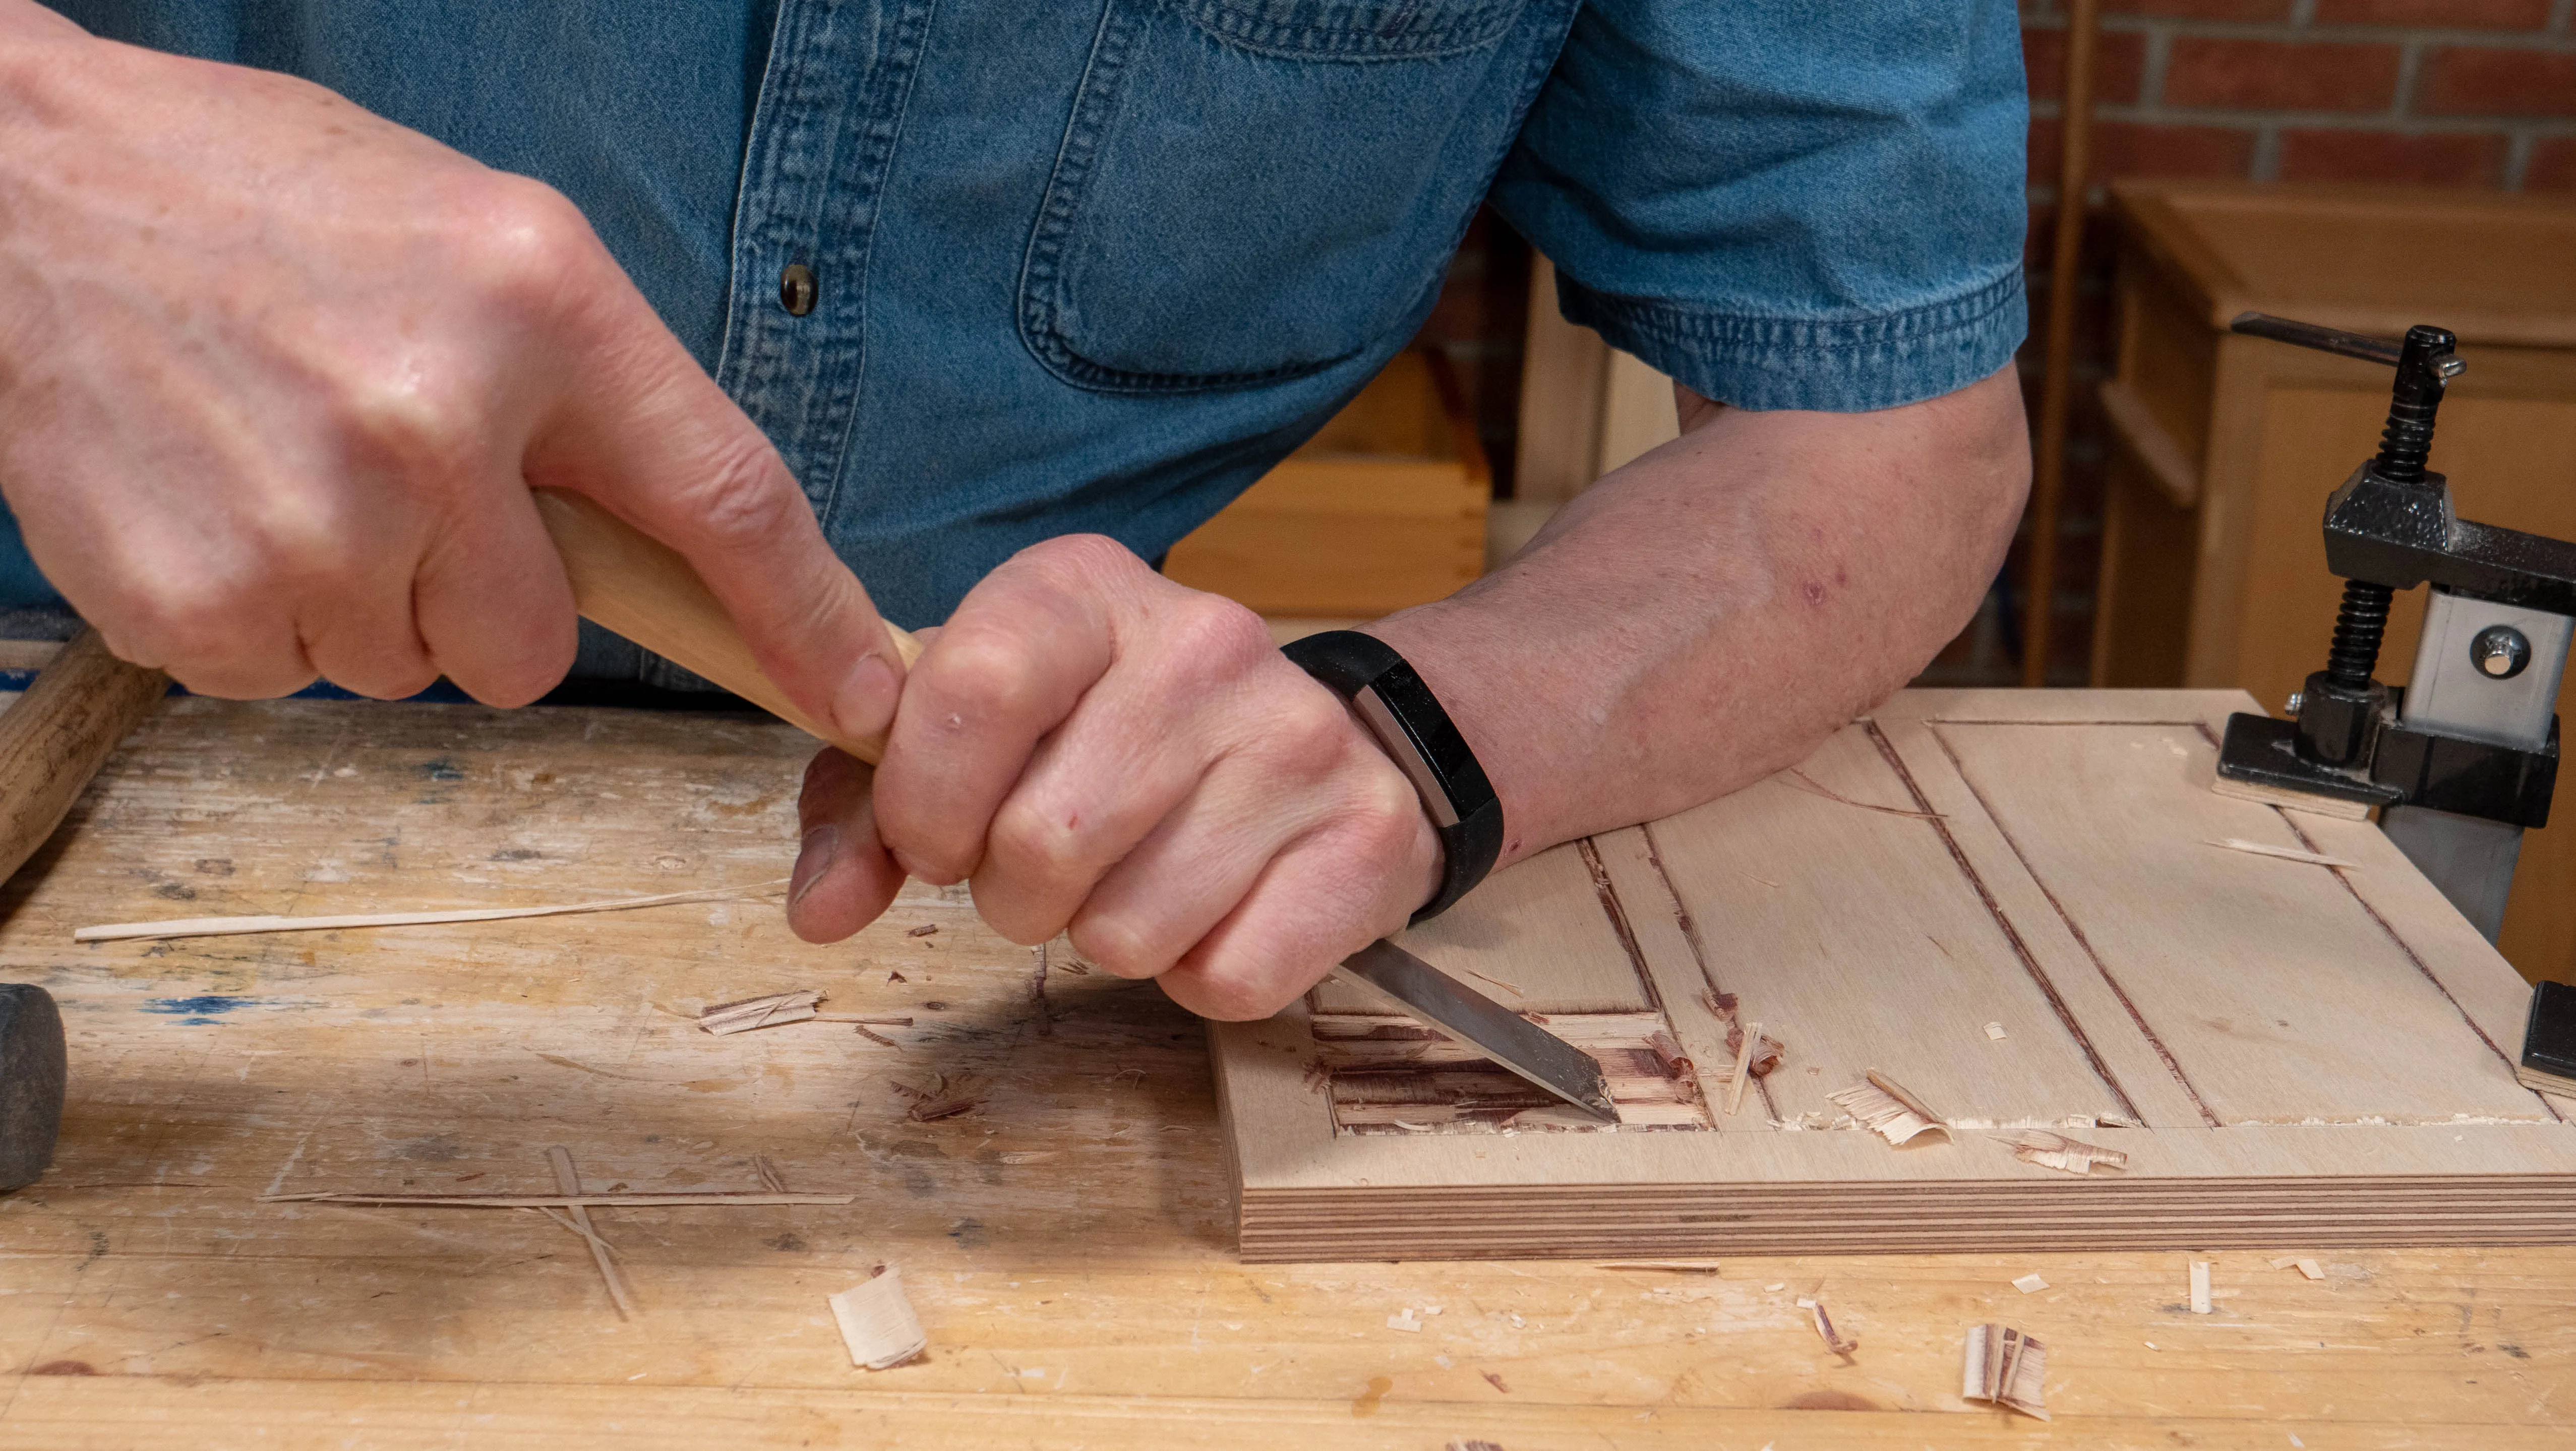
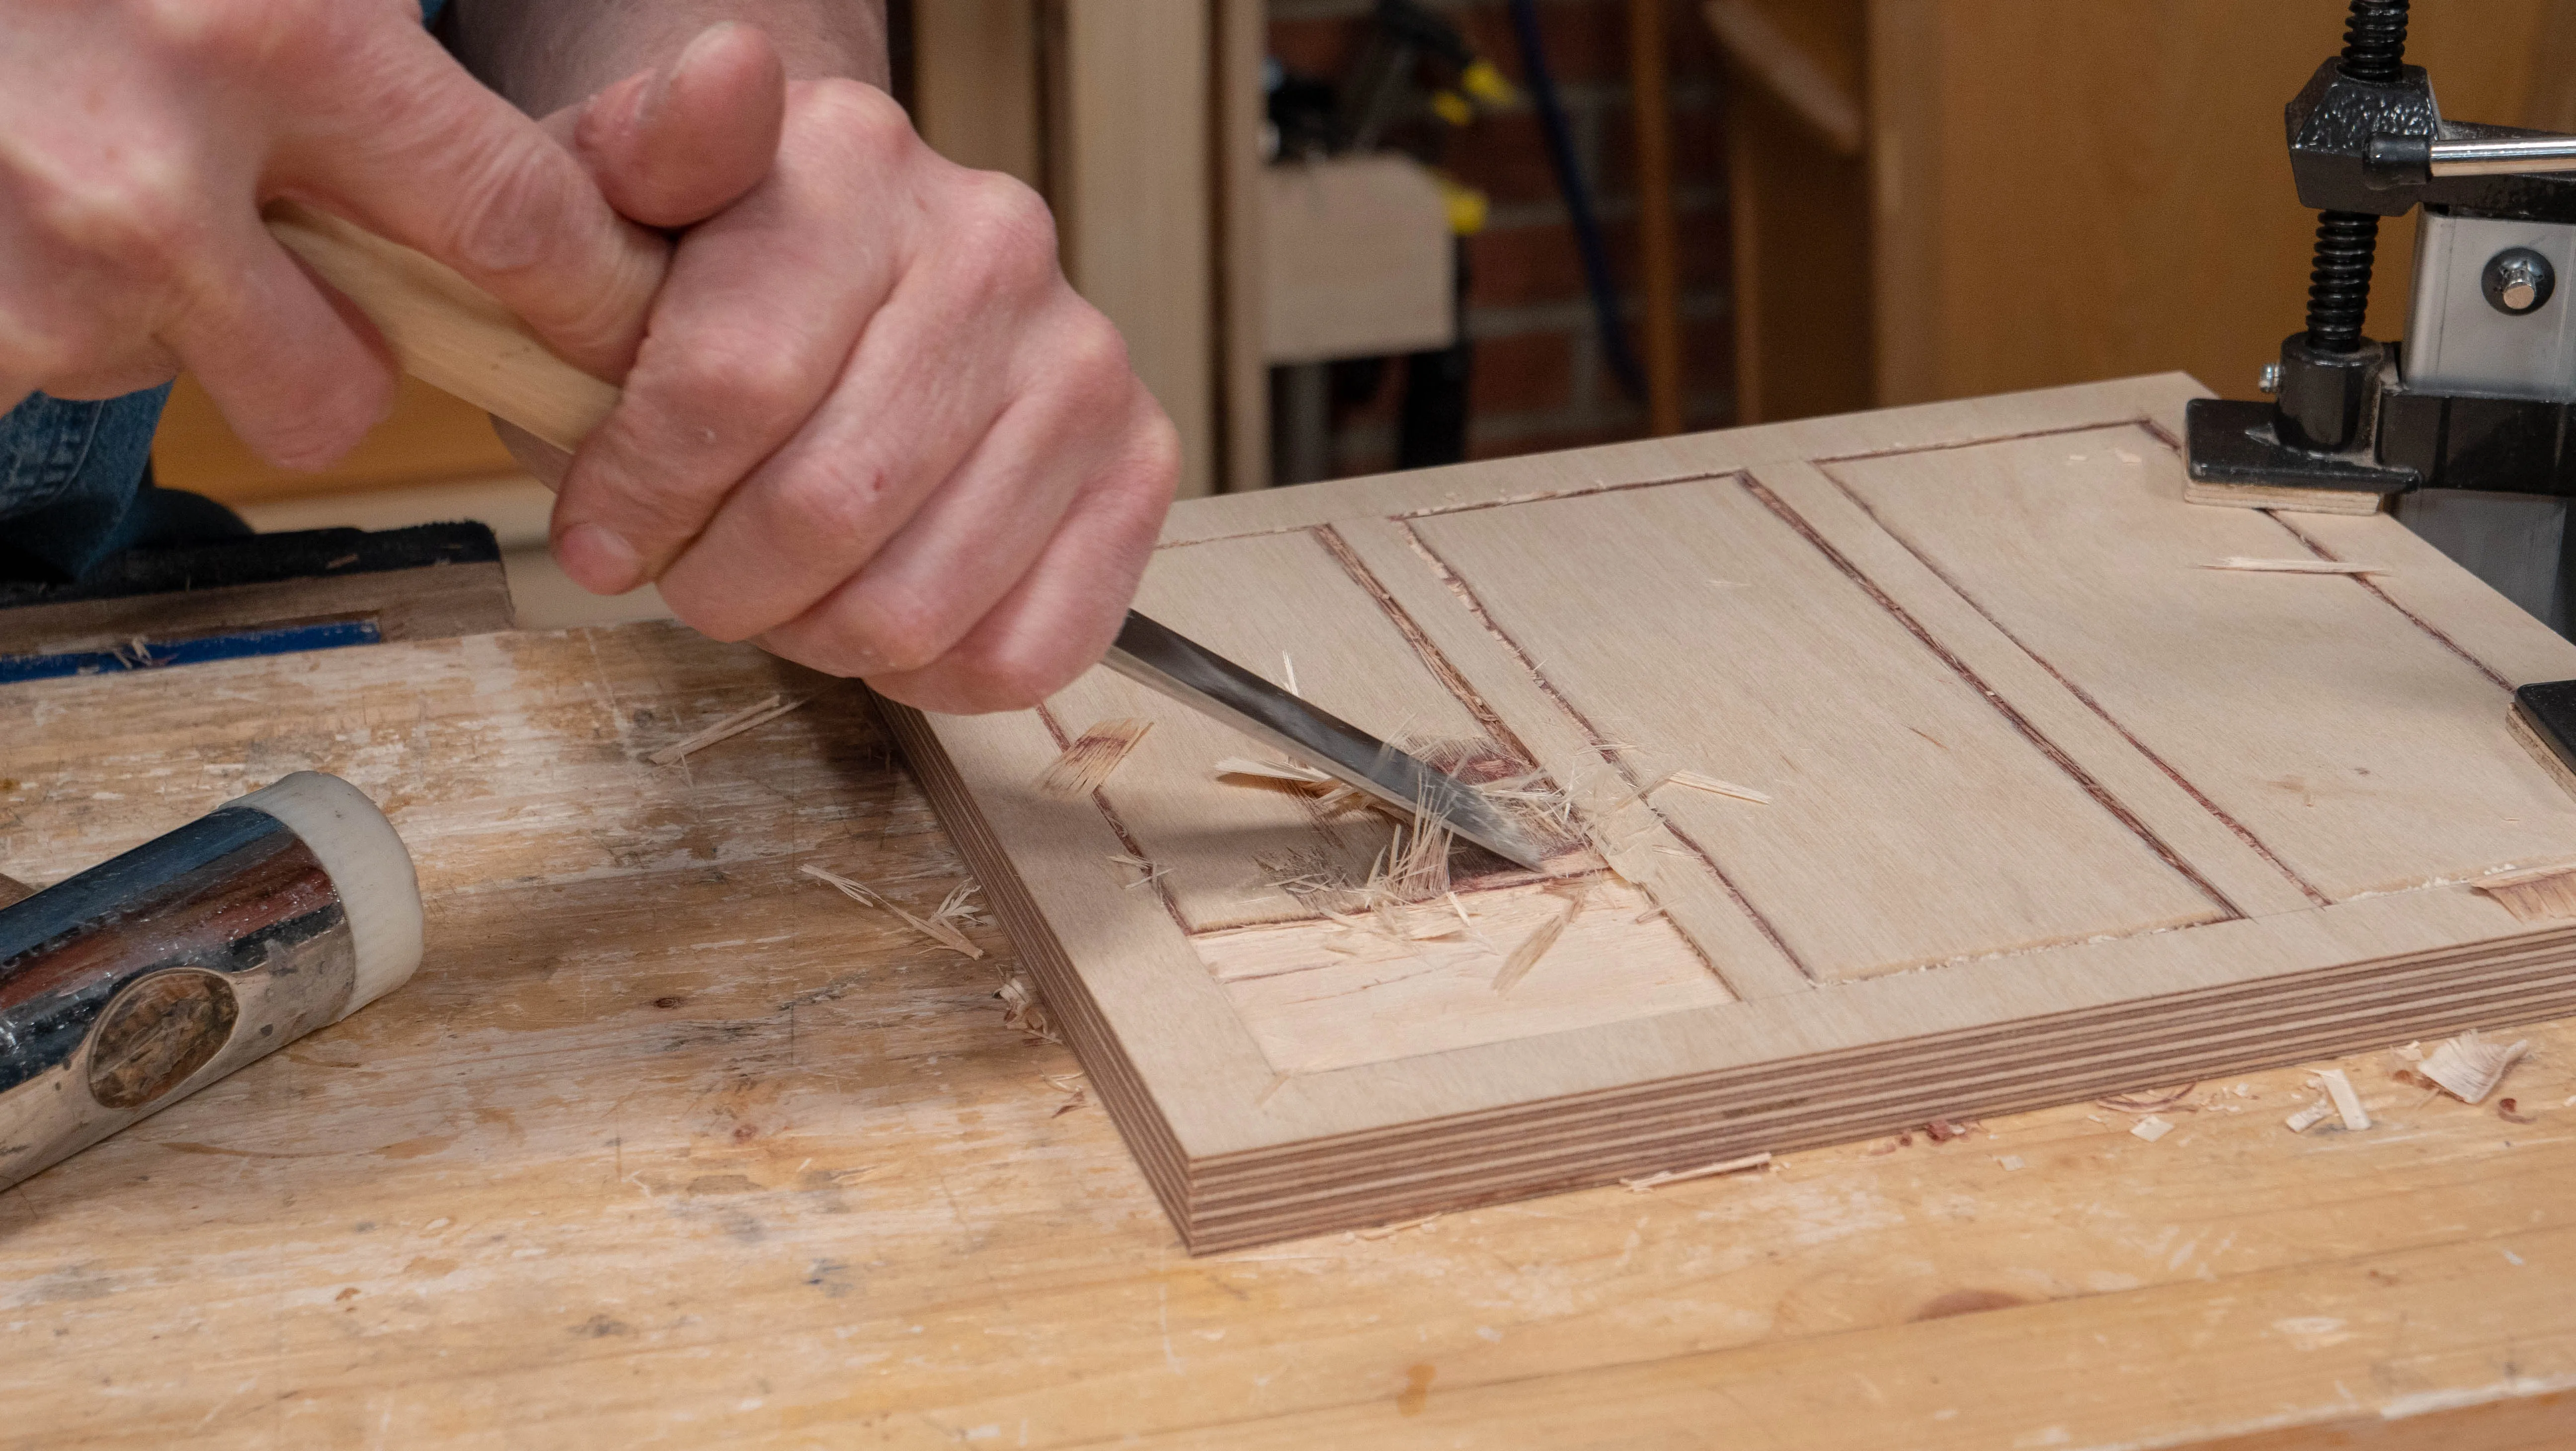
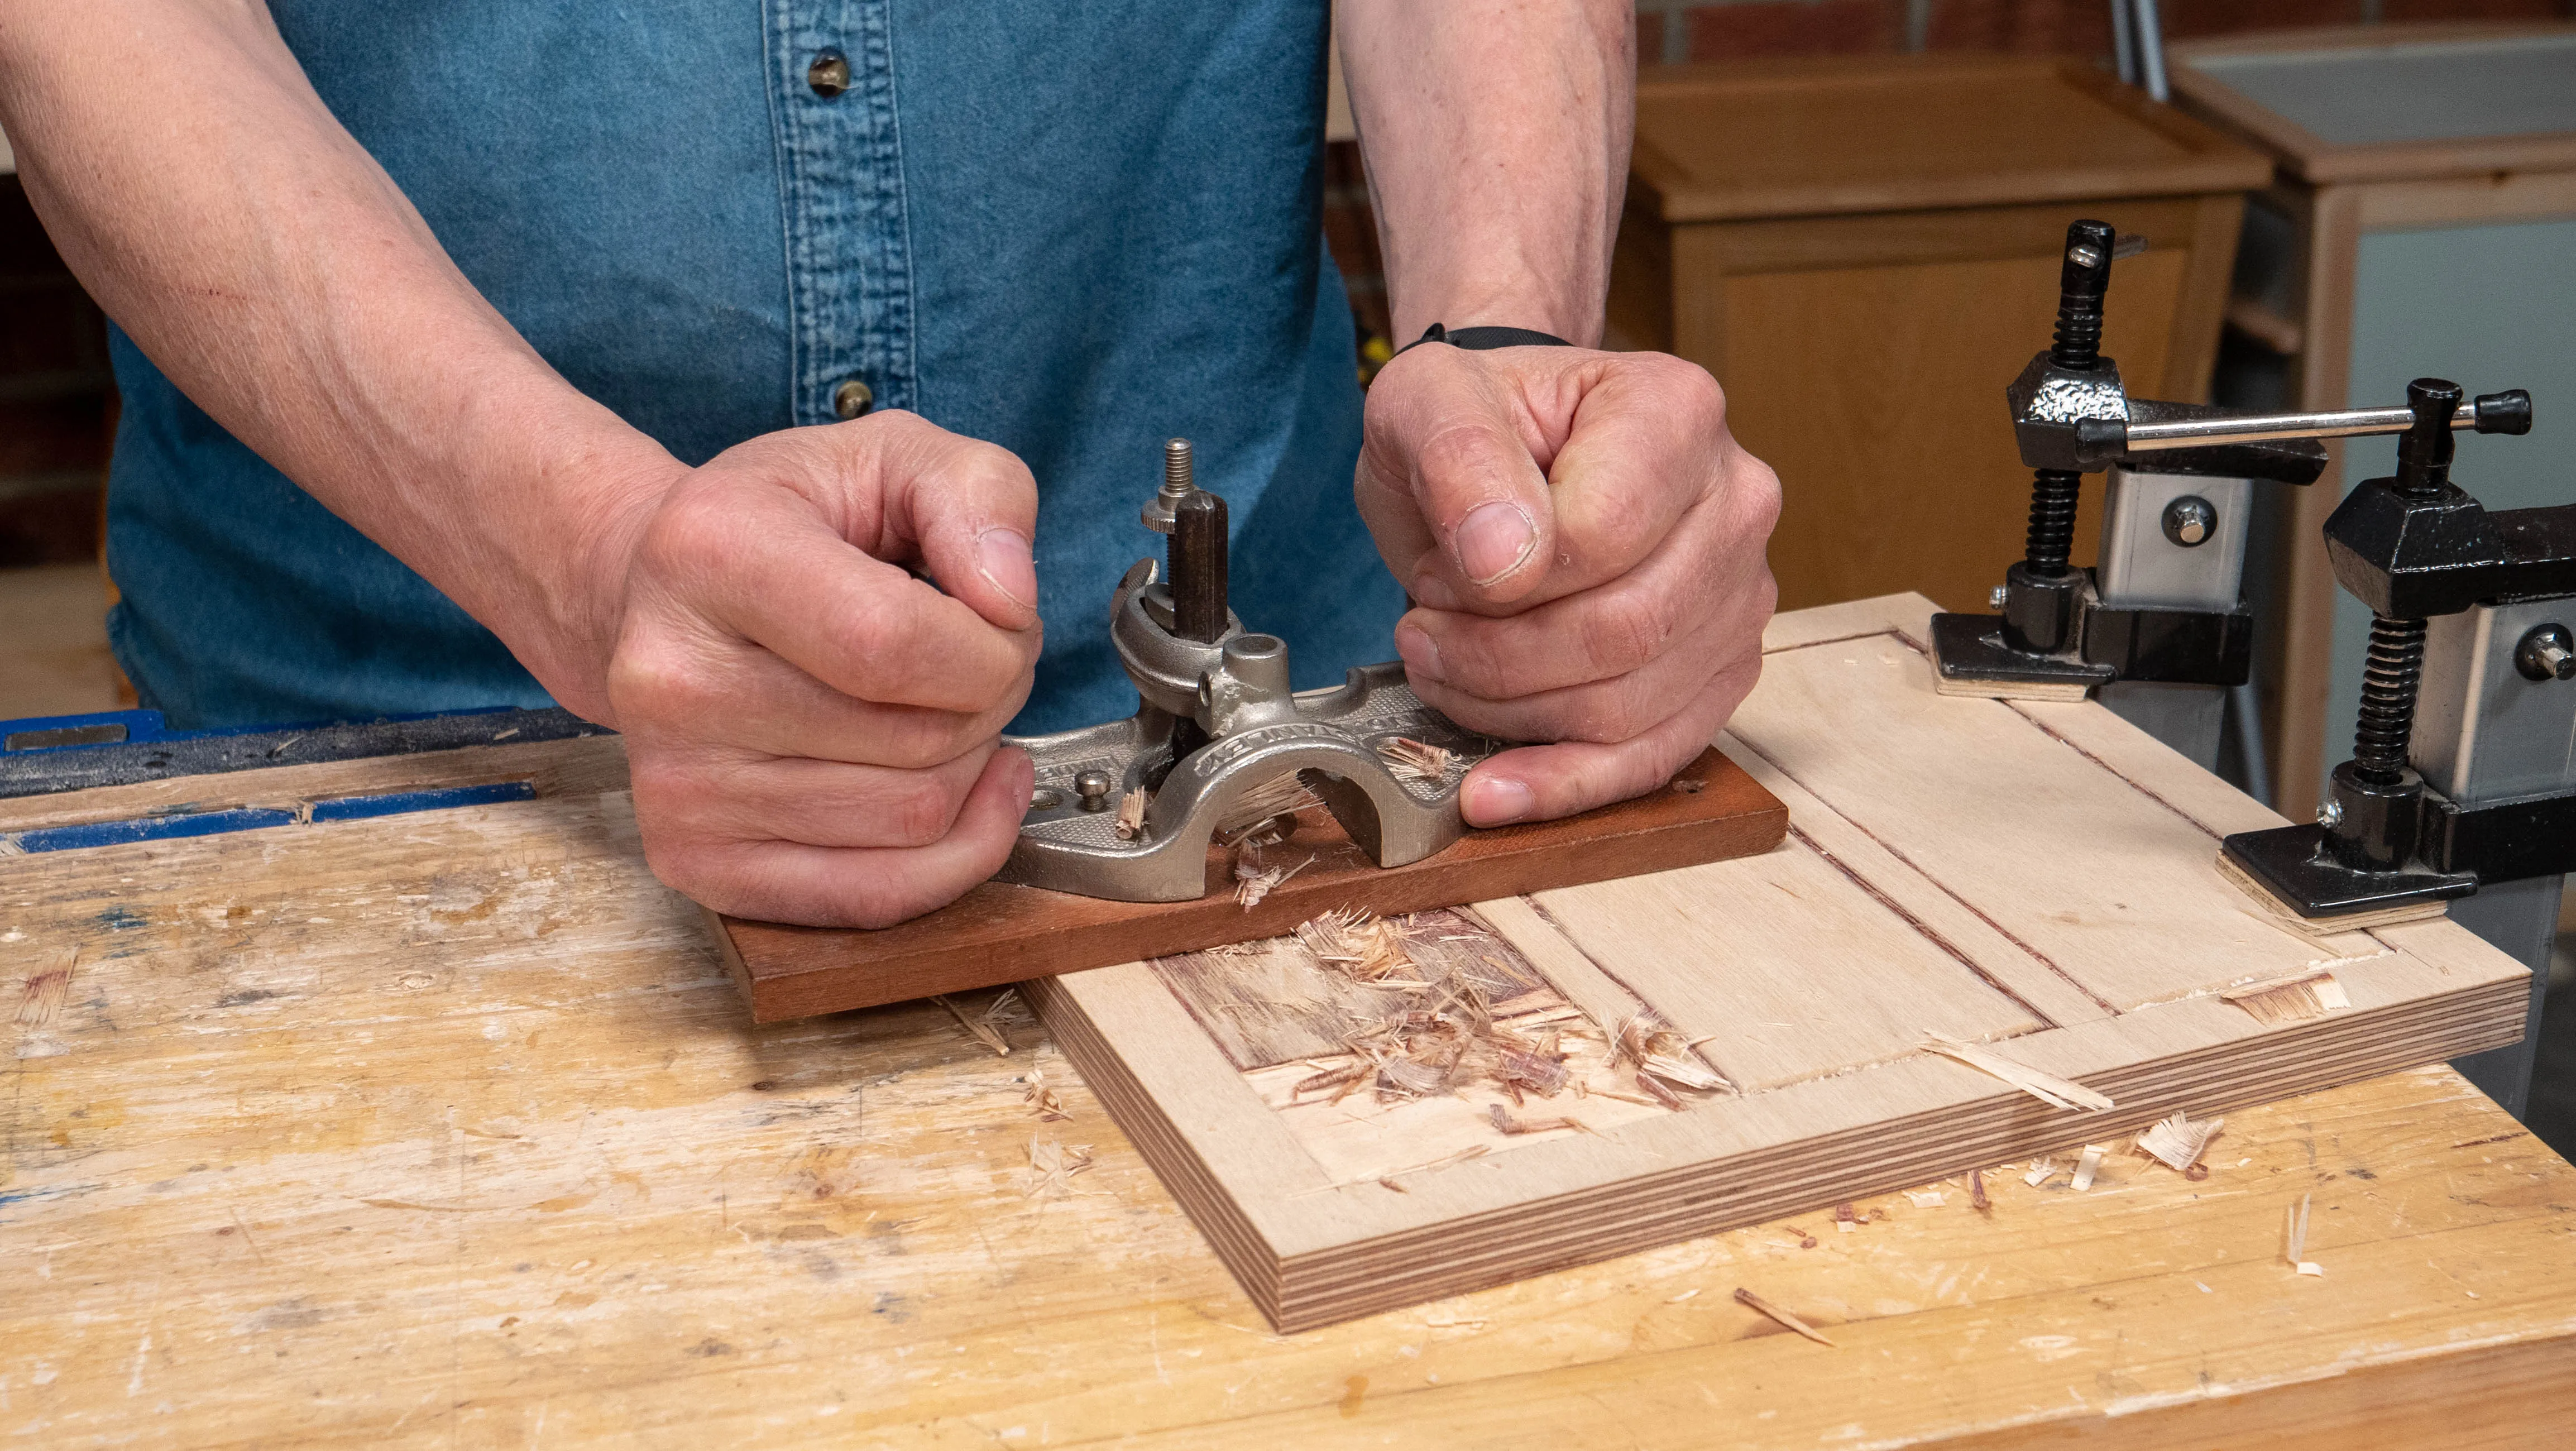
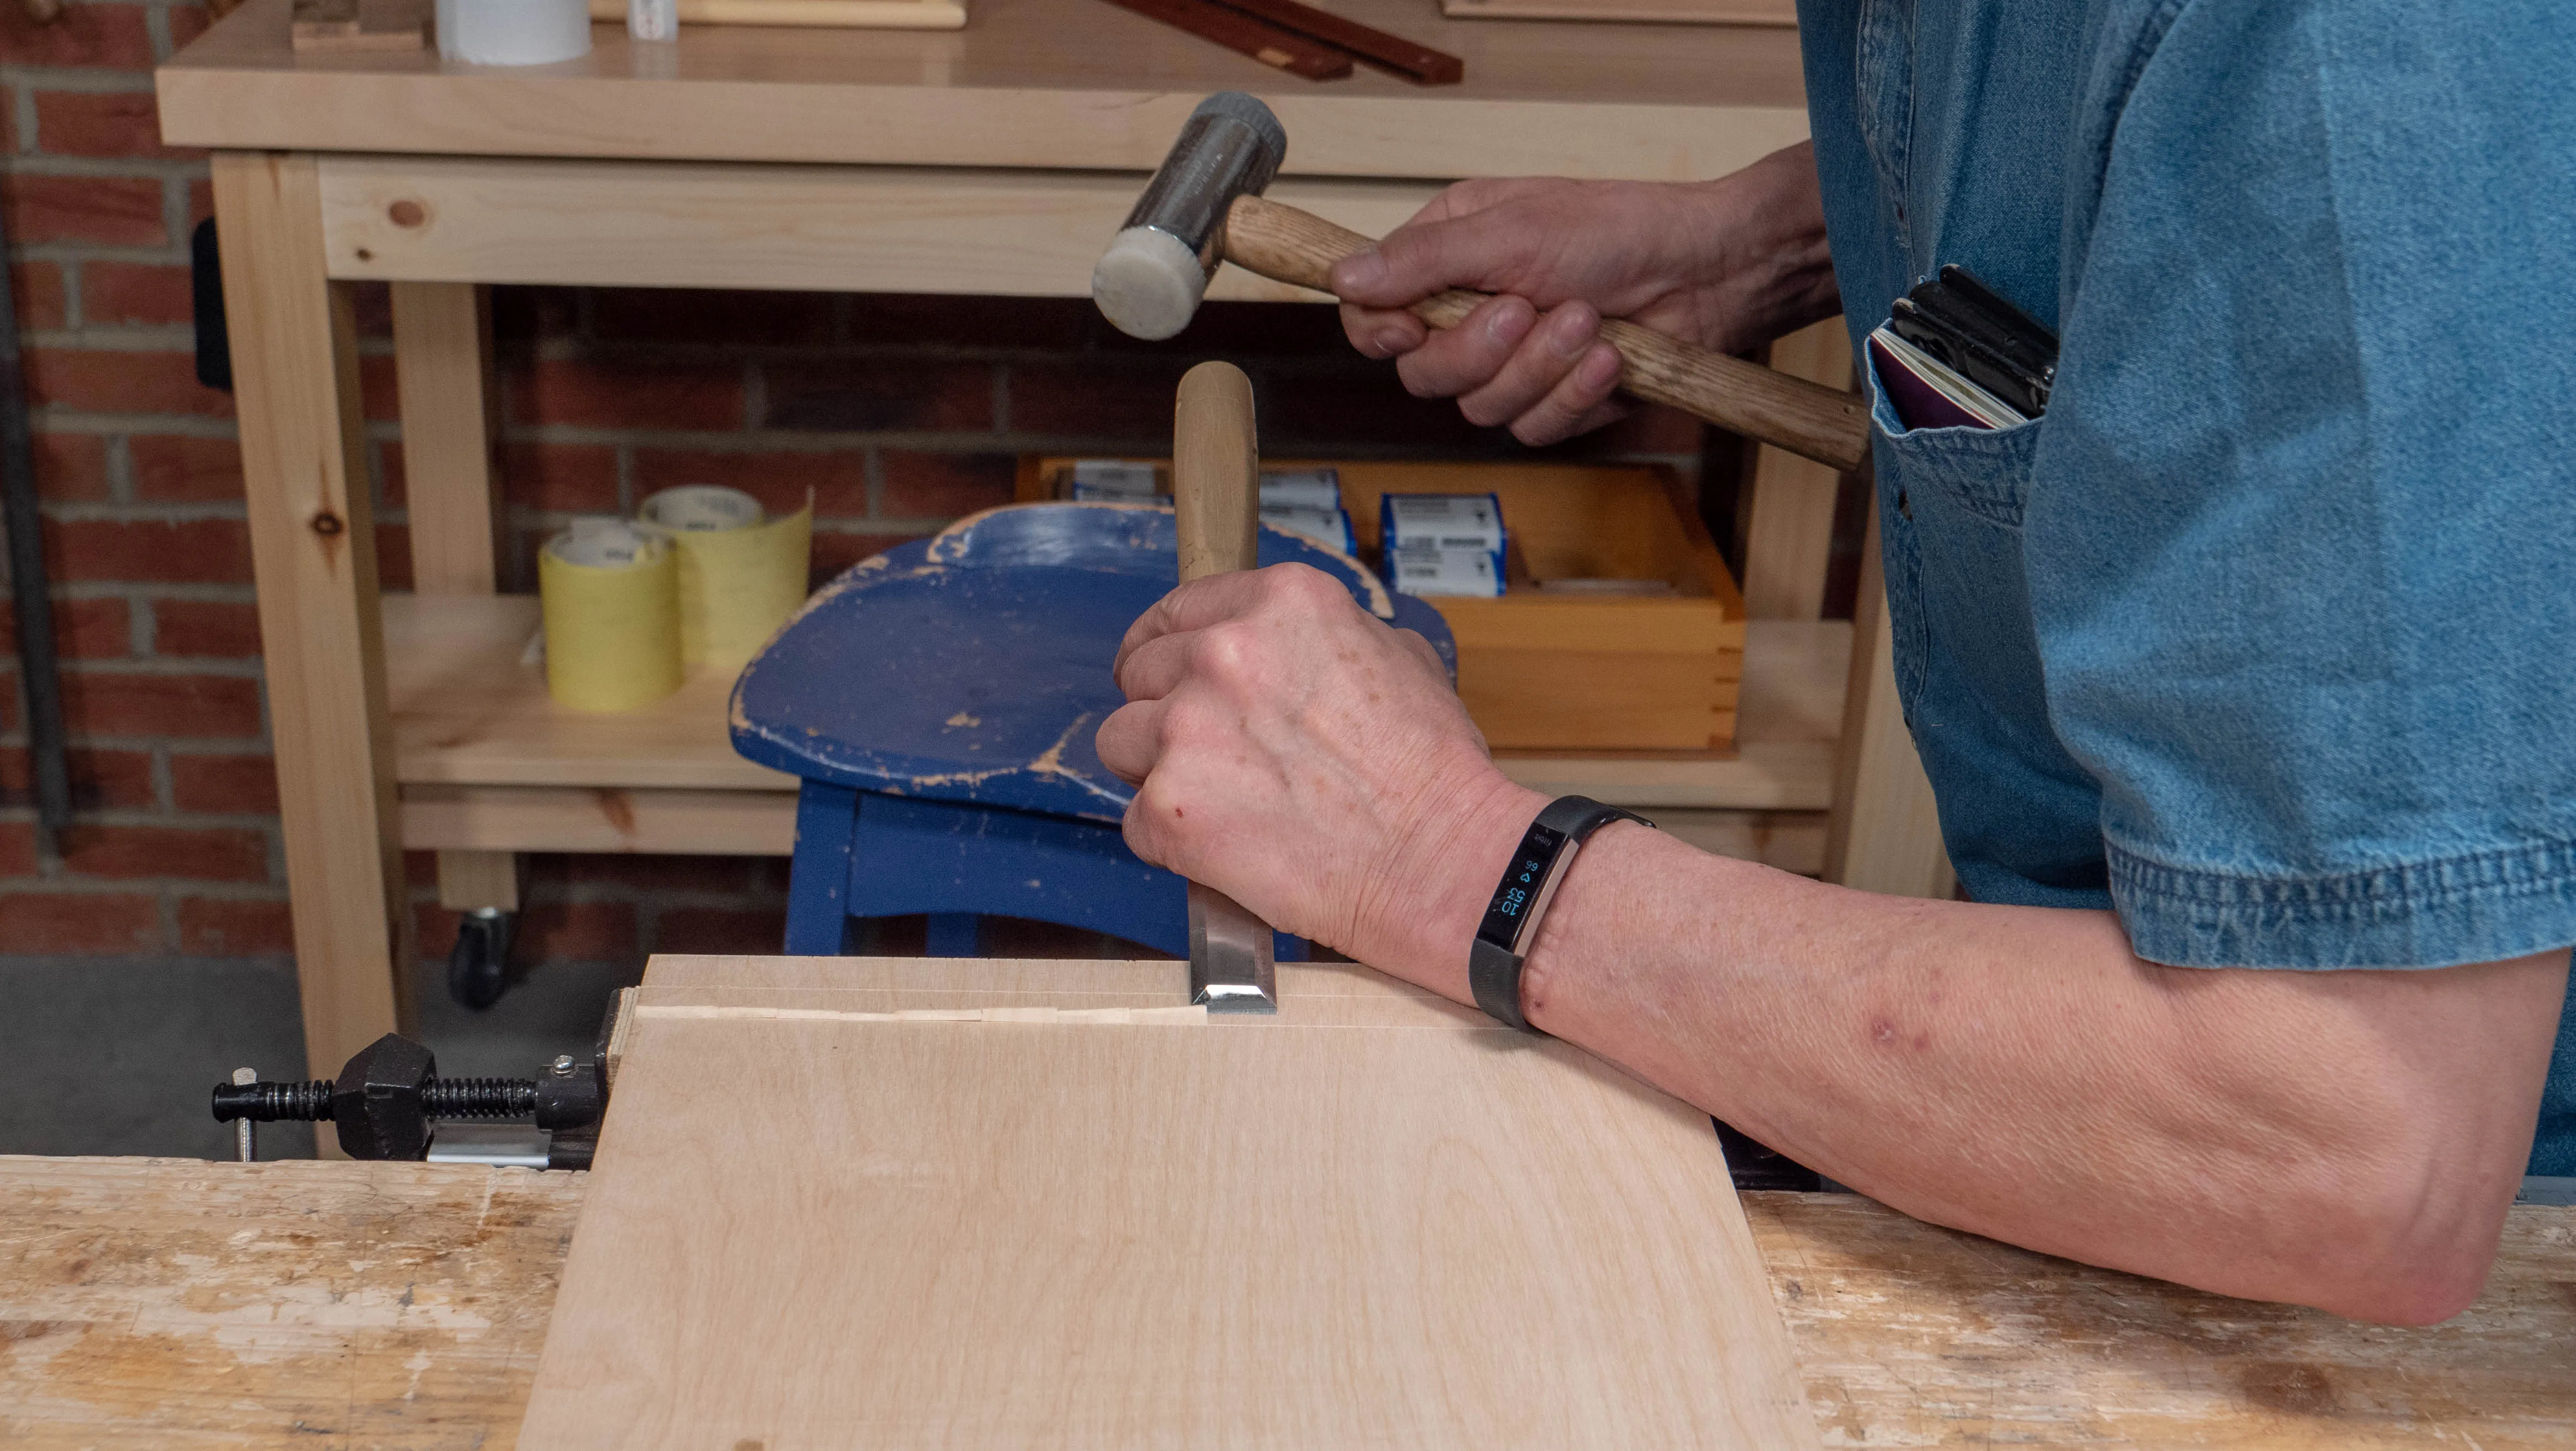
Chopping the Recesses
Use the chisel bevel down on the waste side of the knifewall. Make chops along the length of the recess, going across the grain approximately 3/32” (2mm) deep with the chisel.
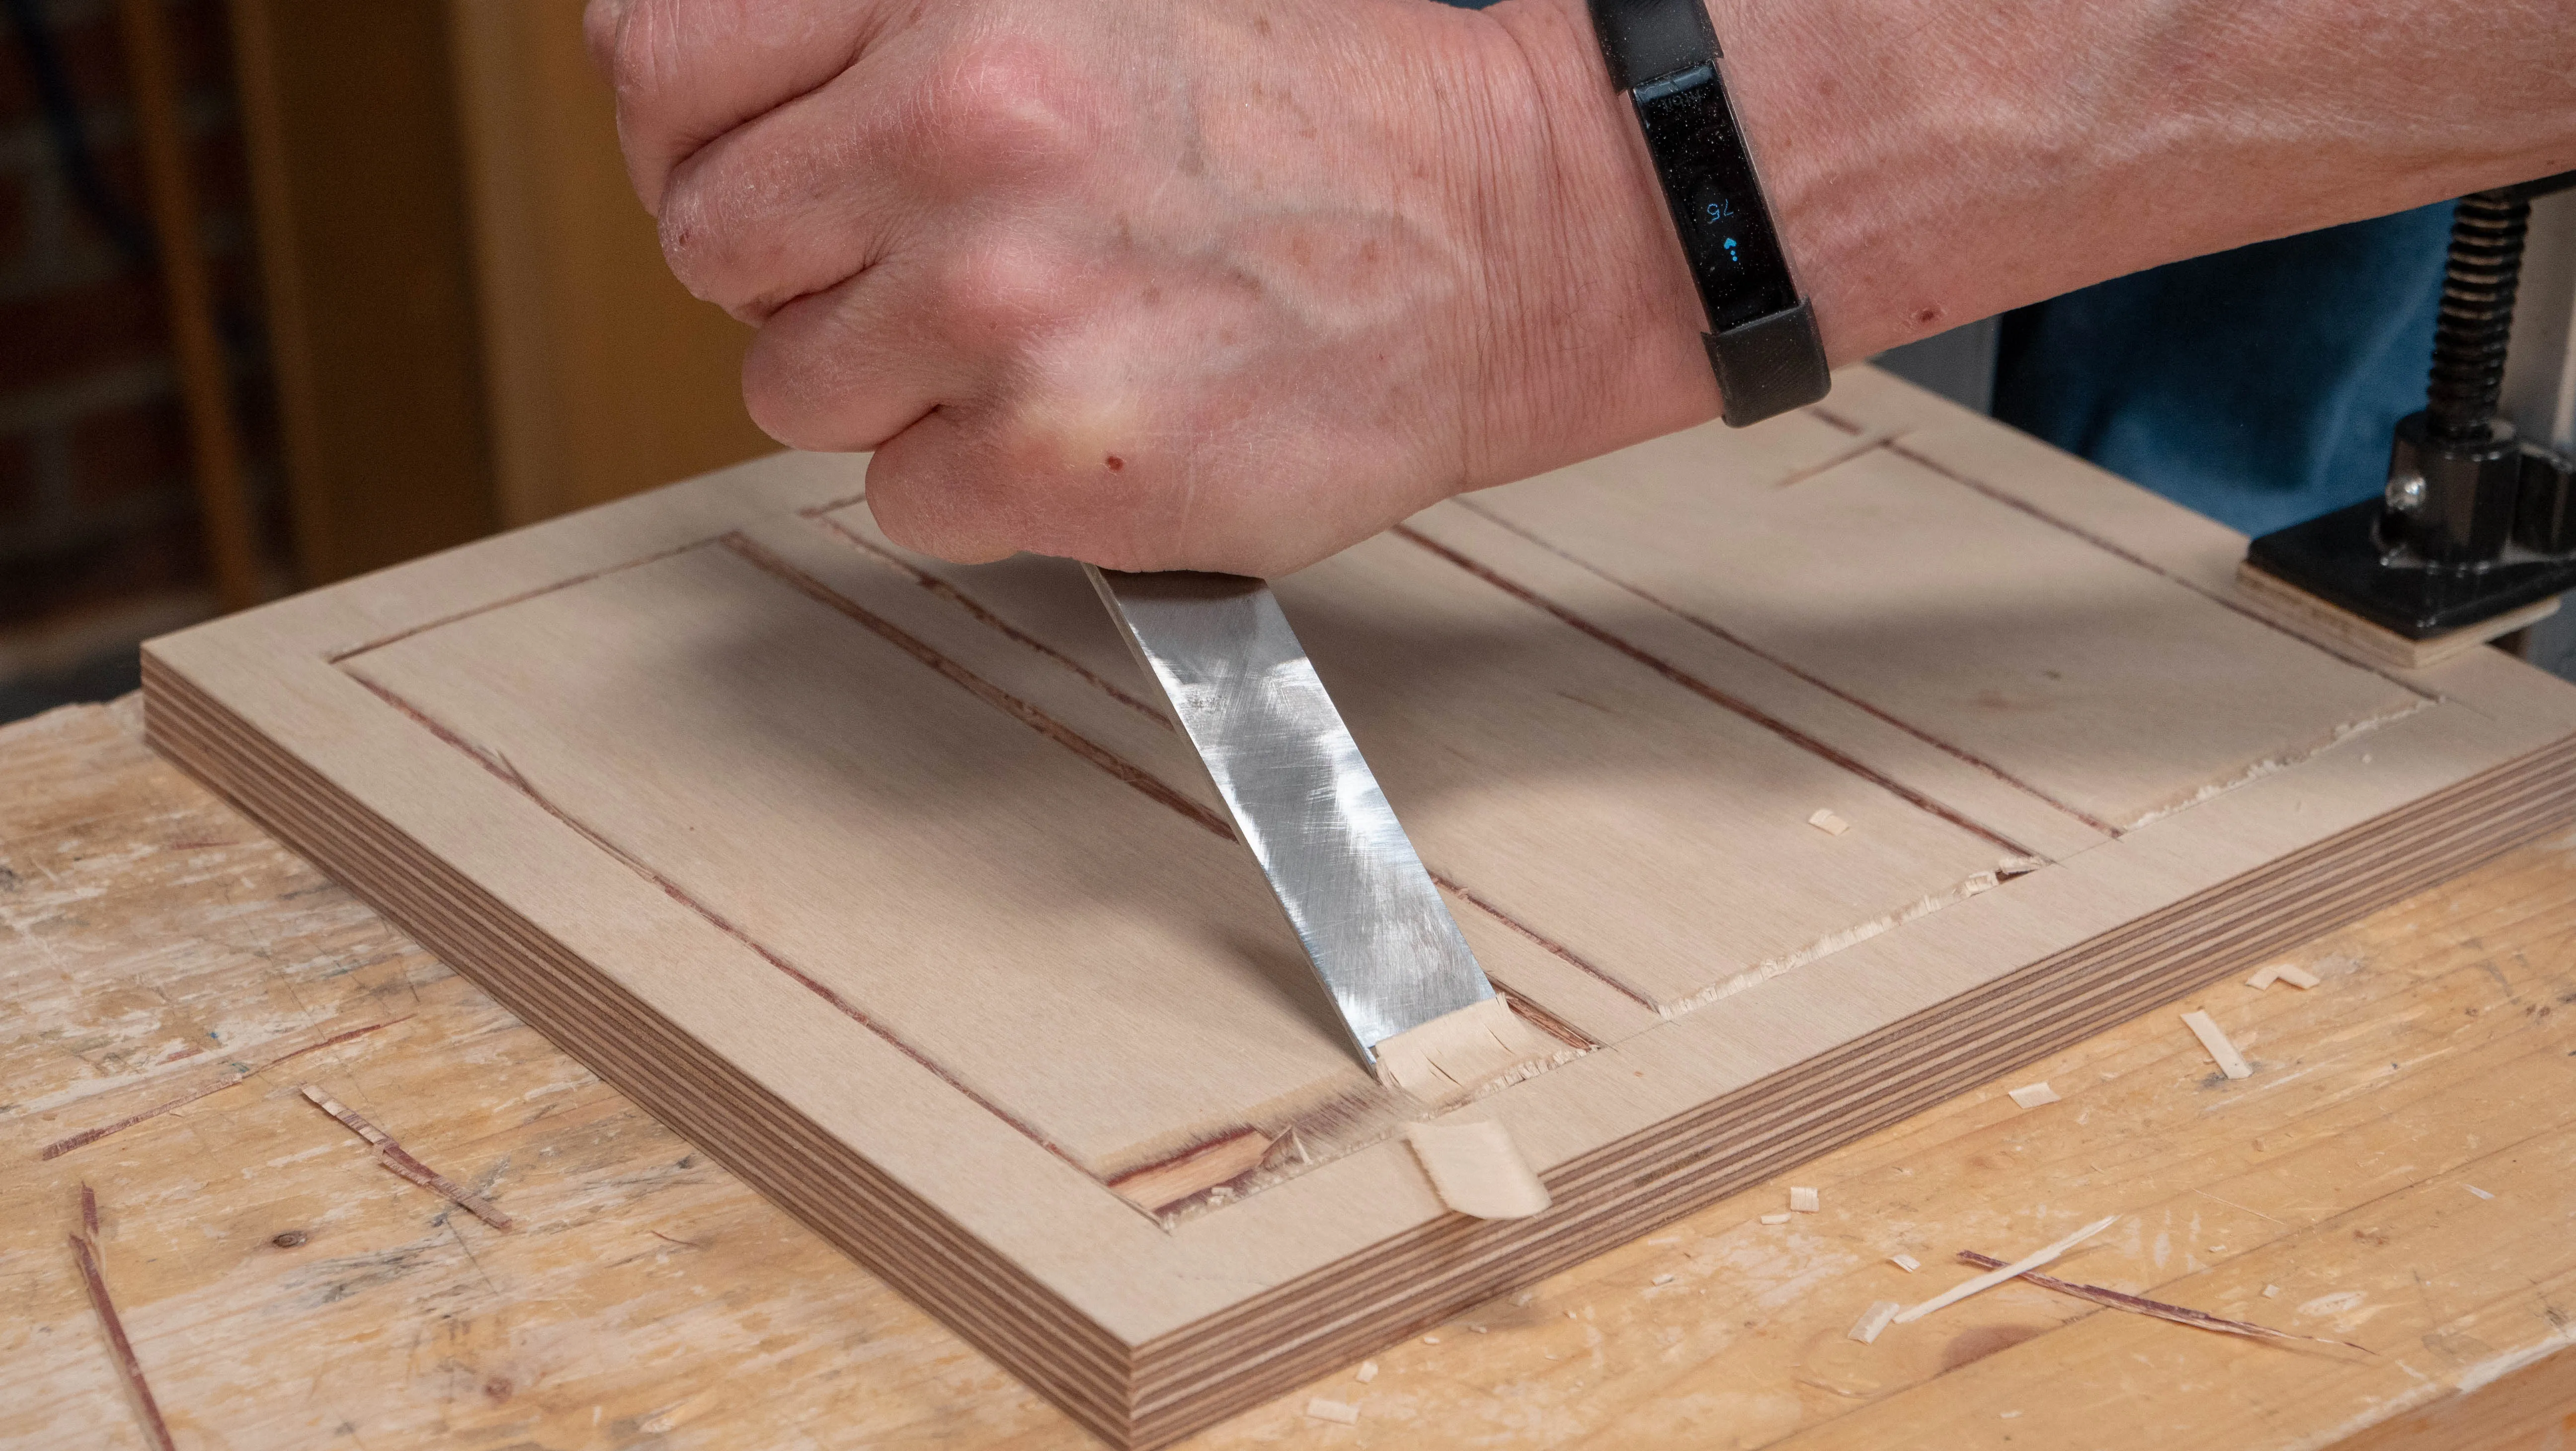
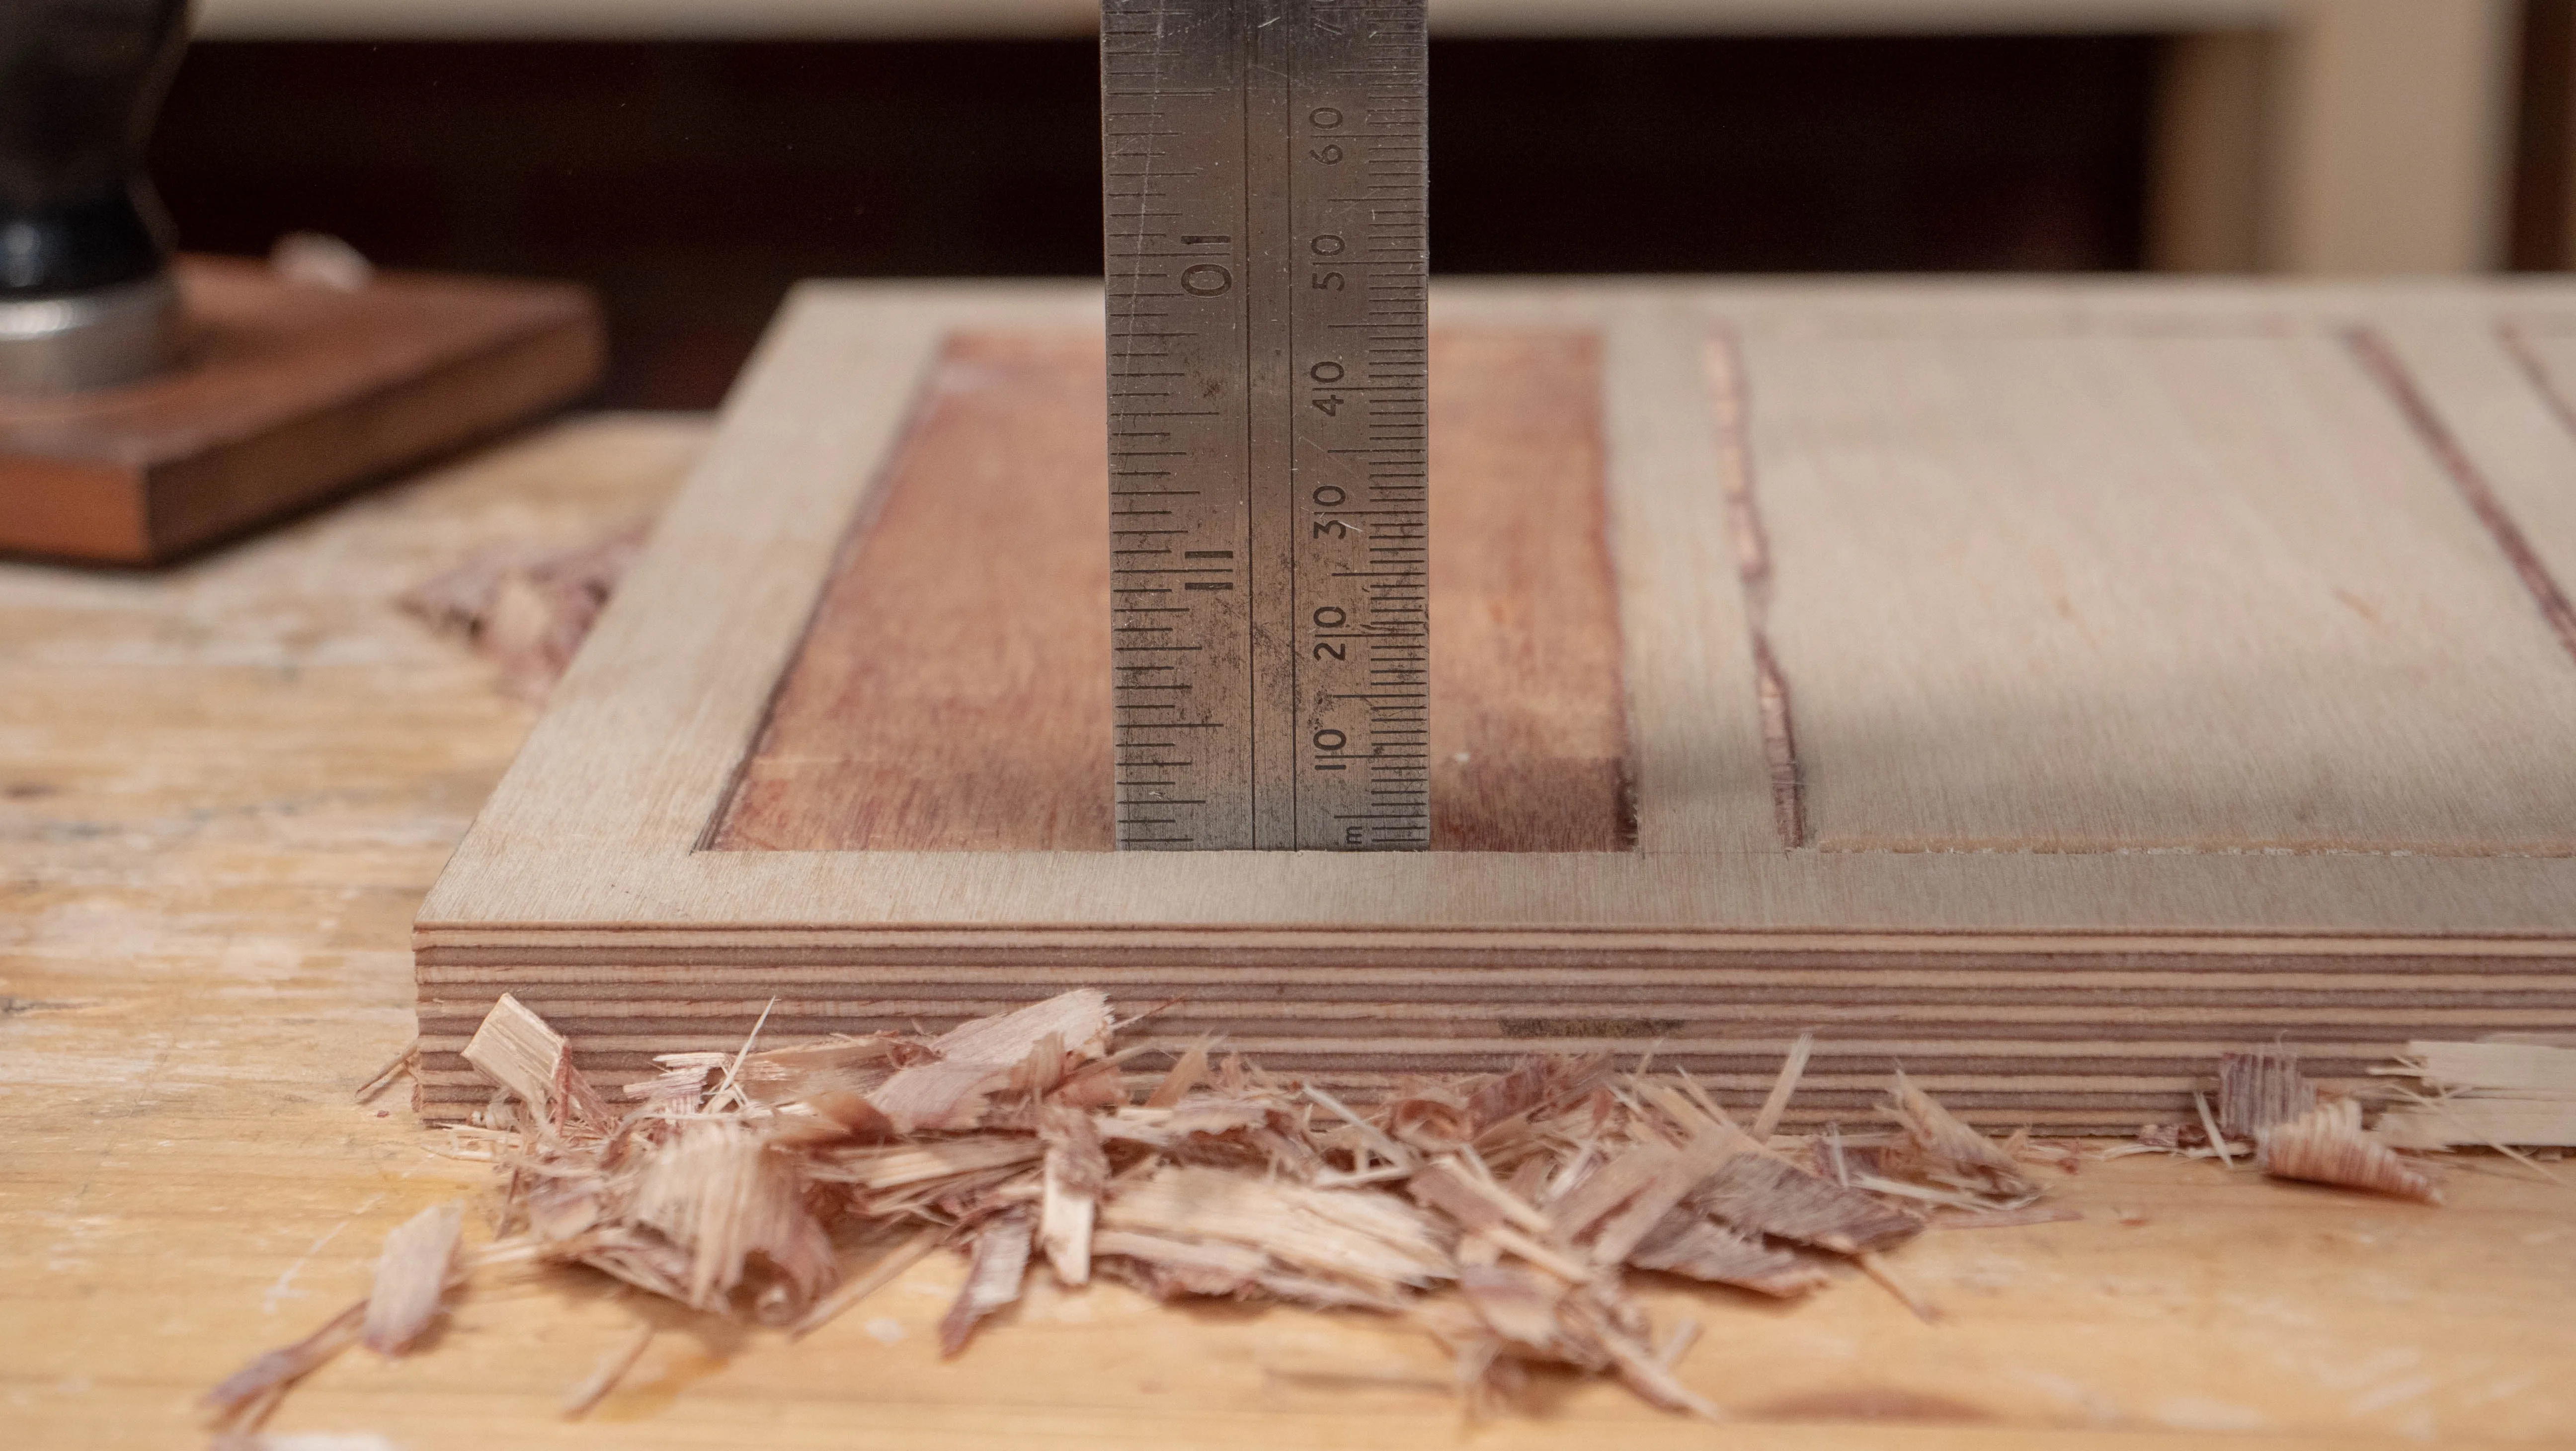
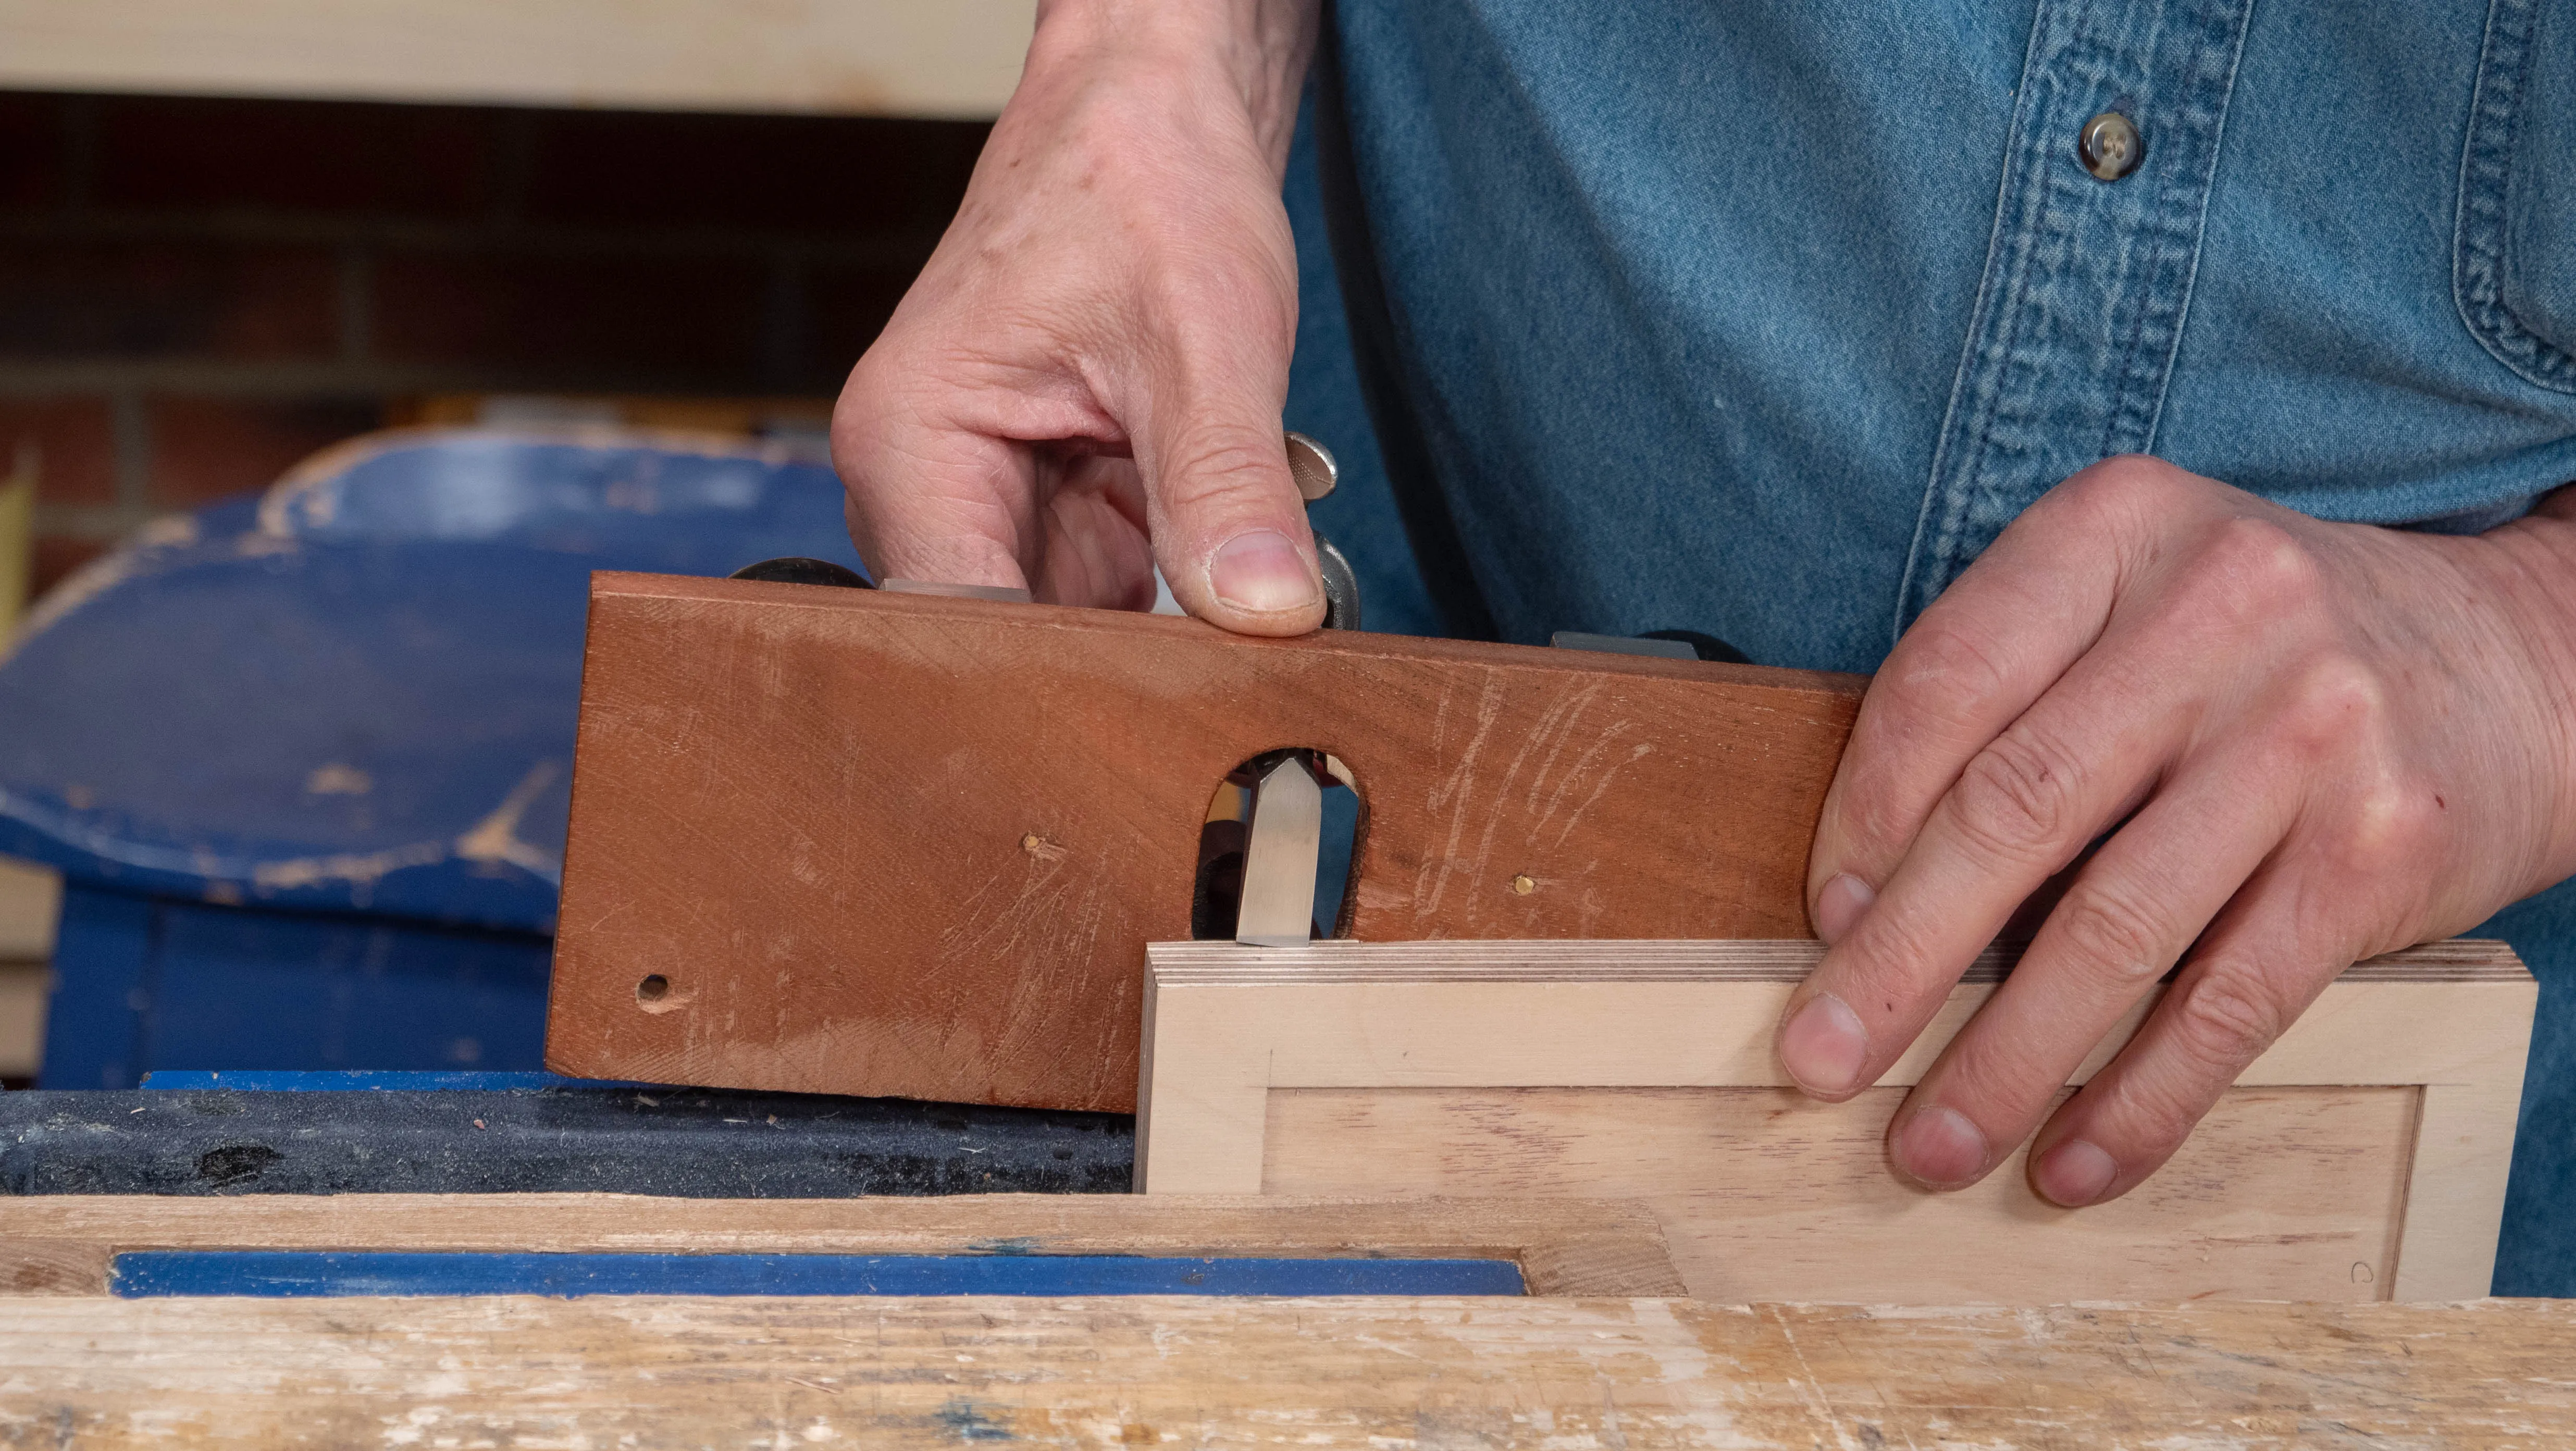
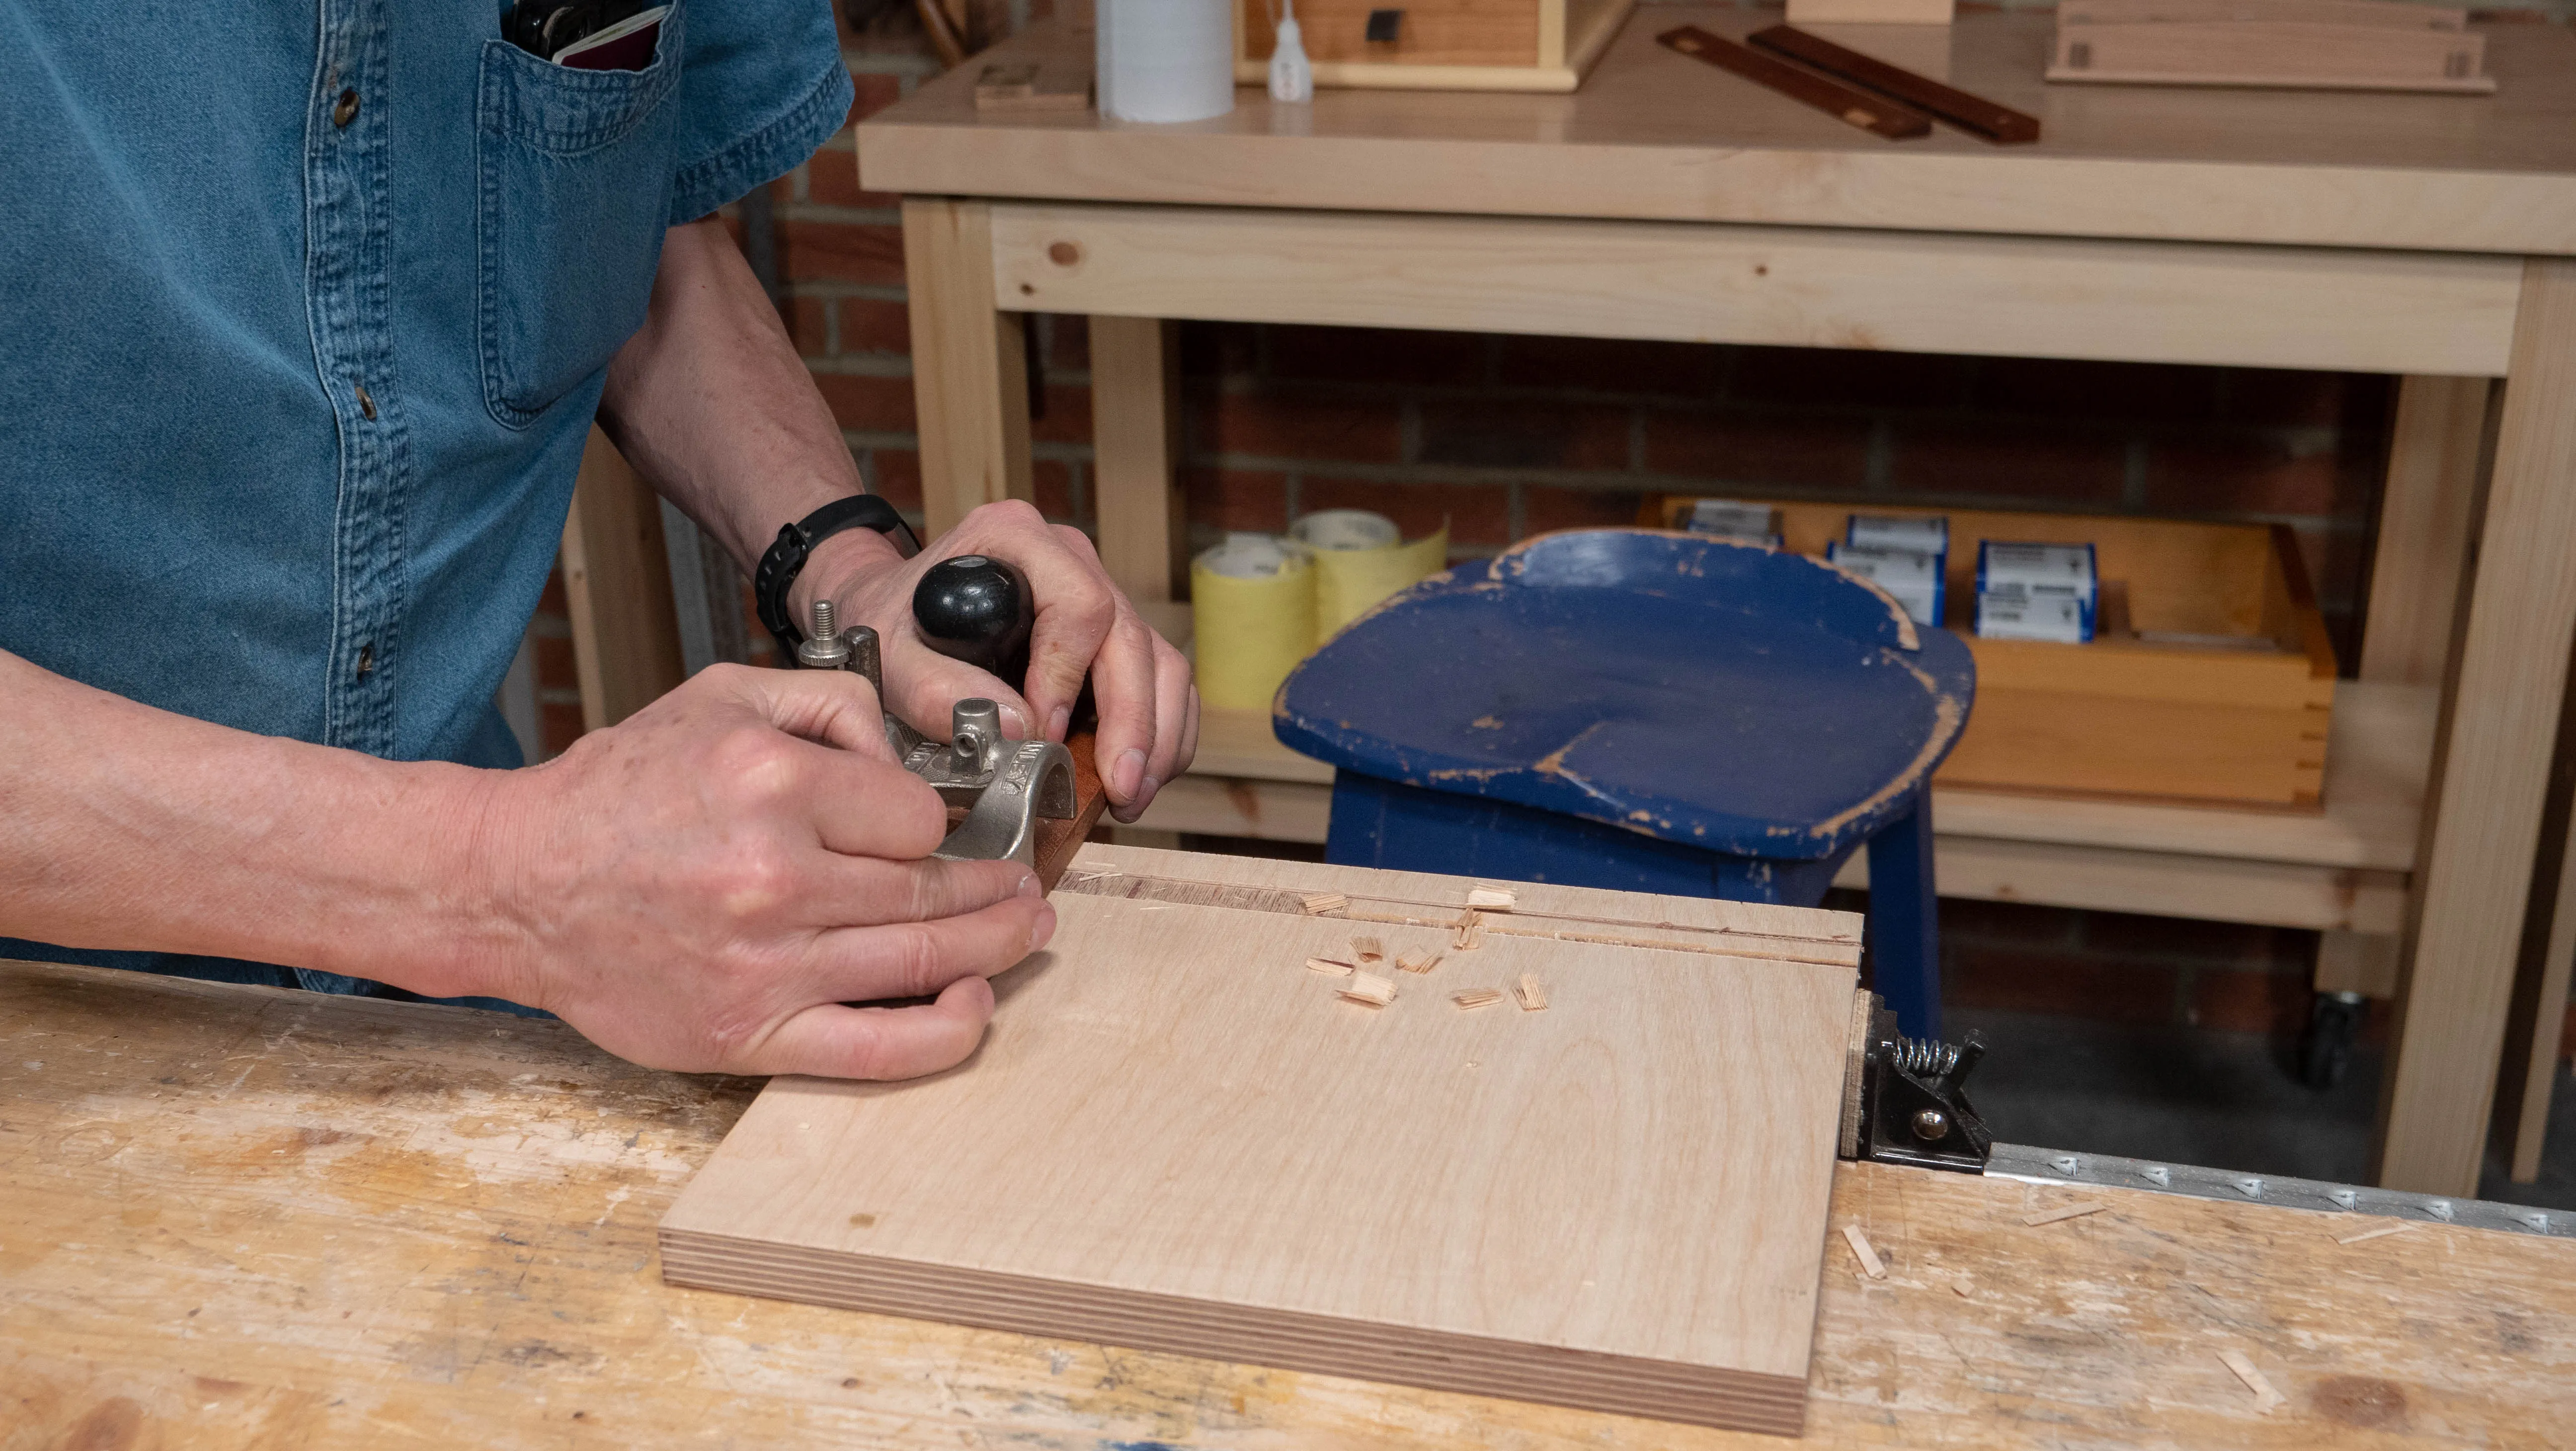
Use the router plane to reach the final depth of ⅛” (3mm). Paul recommends using a wooden router or one with a wooden sole if you have one. This is because the wood is less likely to mark the border of your holder.
If your diamond stones have feet, chop these off using a knife so they will sit flush in the recess.
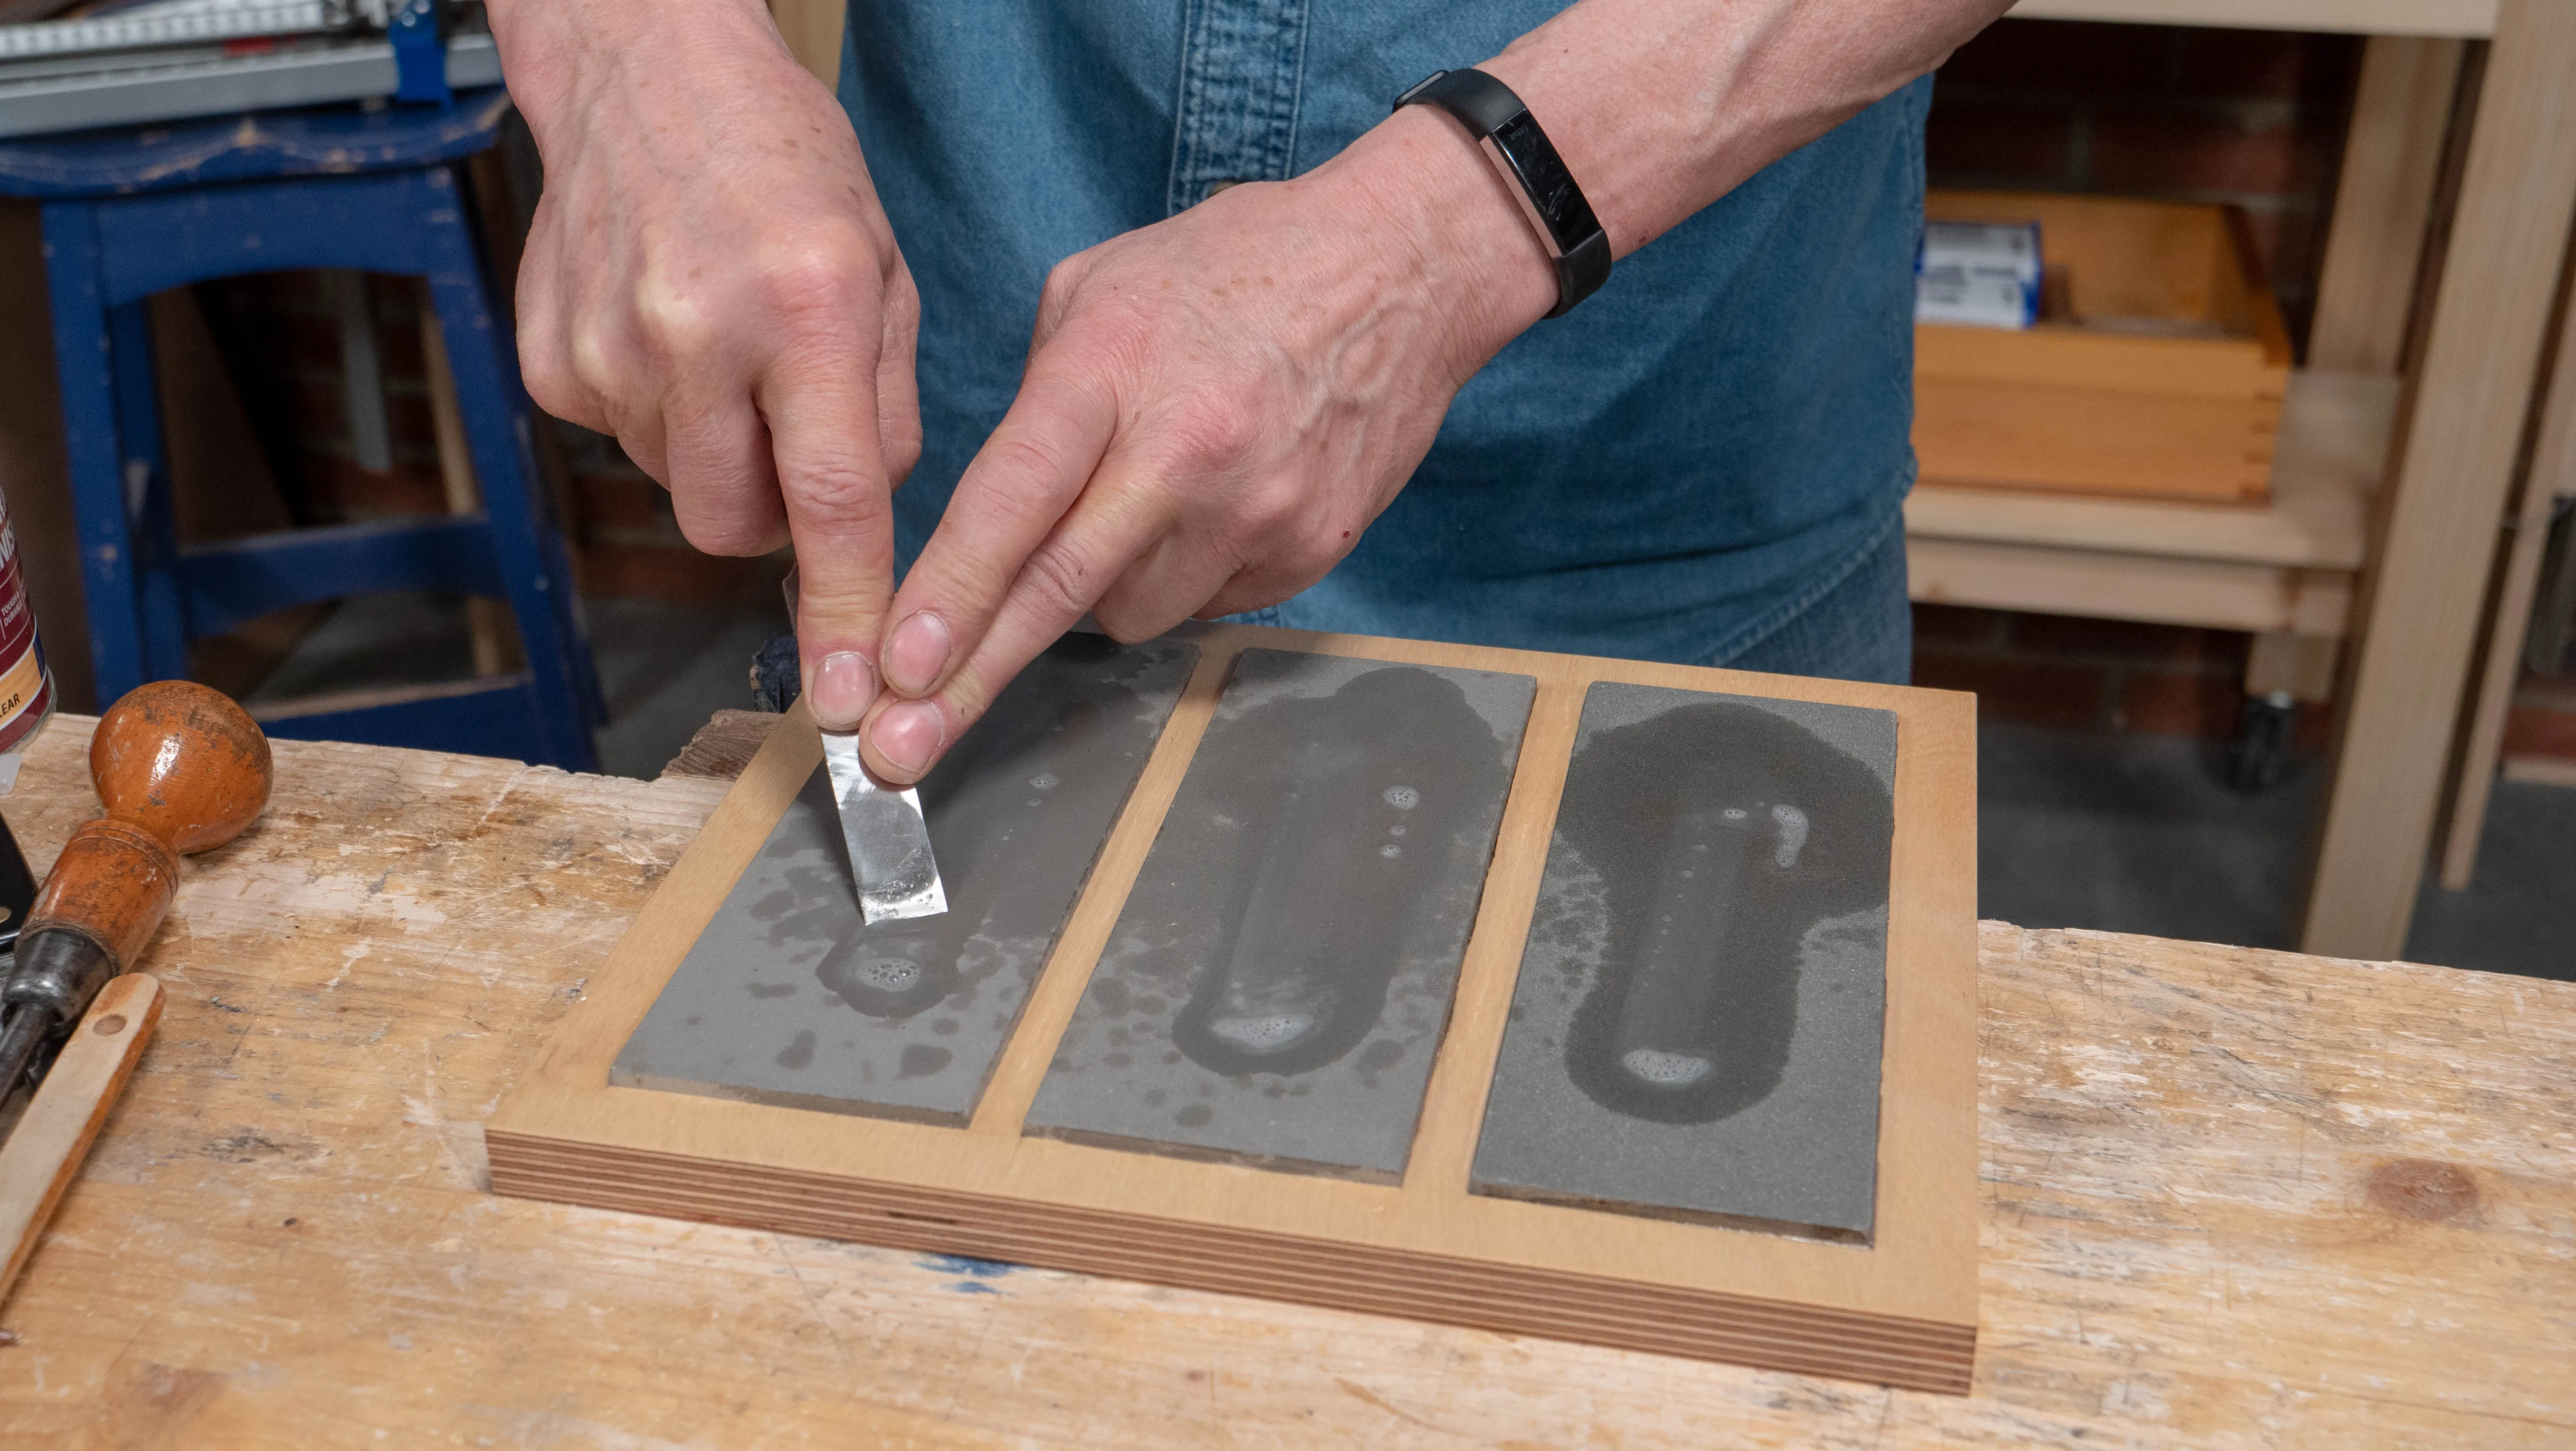
Check the stones fit in their specific recesses. Tweak if necessary.

Repeat on the other two stones until you are down to depth. Mark which recess fits which stone.
Cutting the Vise Block Recess
To attach the vise block to the underside you will be using a housing dado joint. Turn your holder upside down and mark ¾” (19mm) in from the edge using a knife.
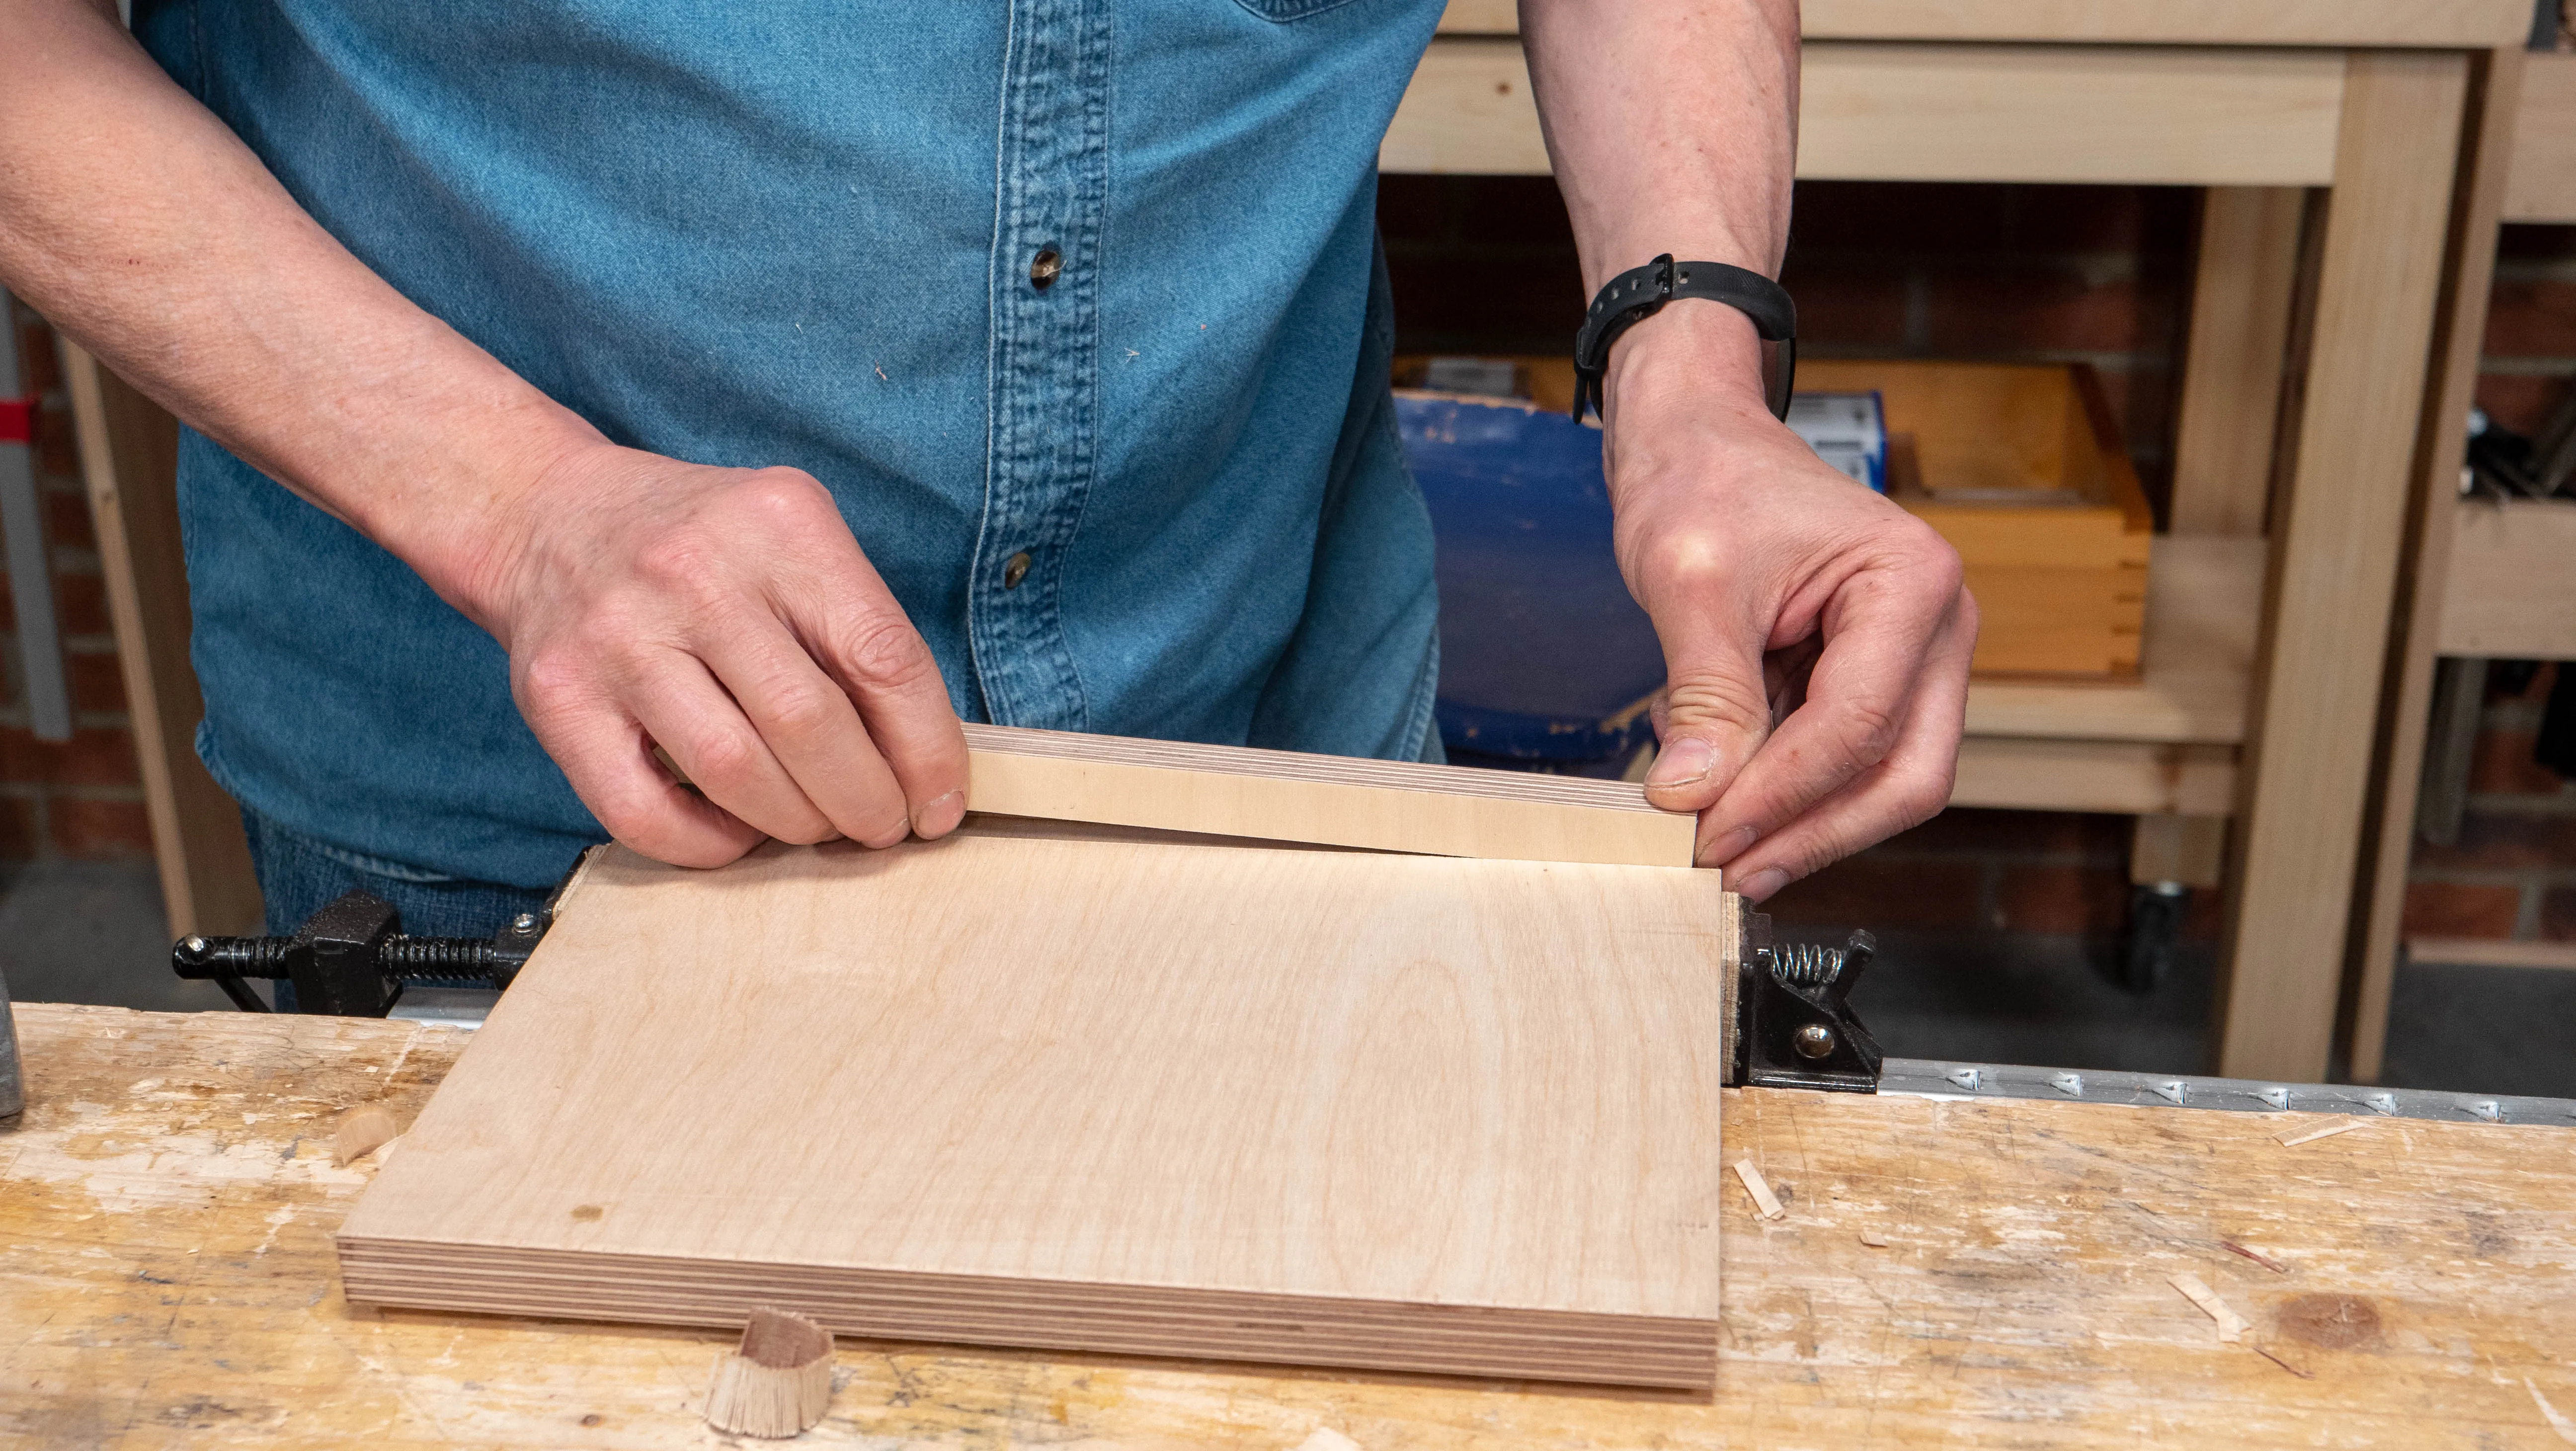
Take the vise block strip of wood and line it up with the line you have just marked. Mark on the other side using a knife, tilting it slightly inwards to ensure a tight fit.
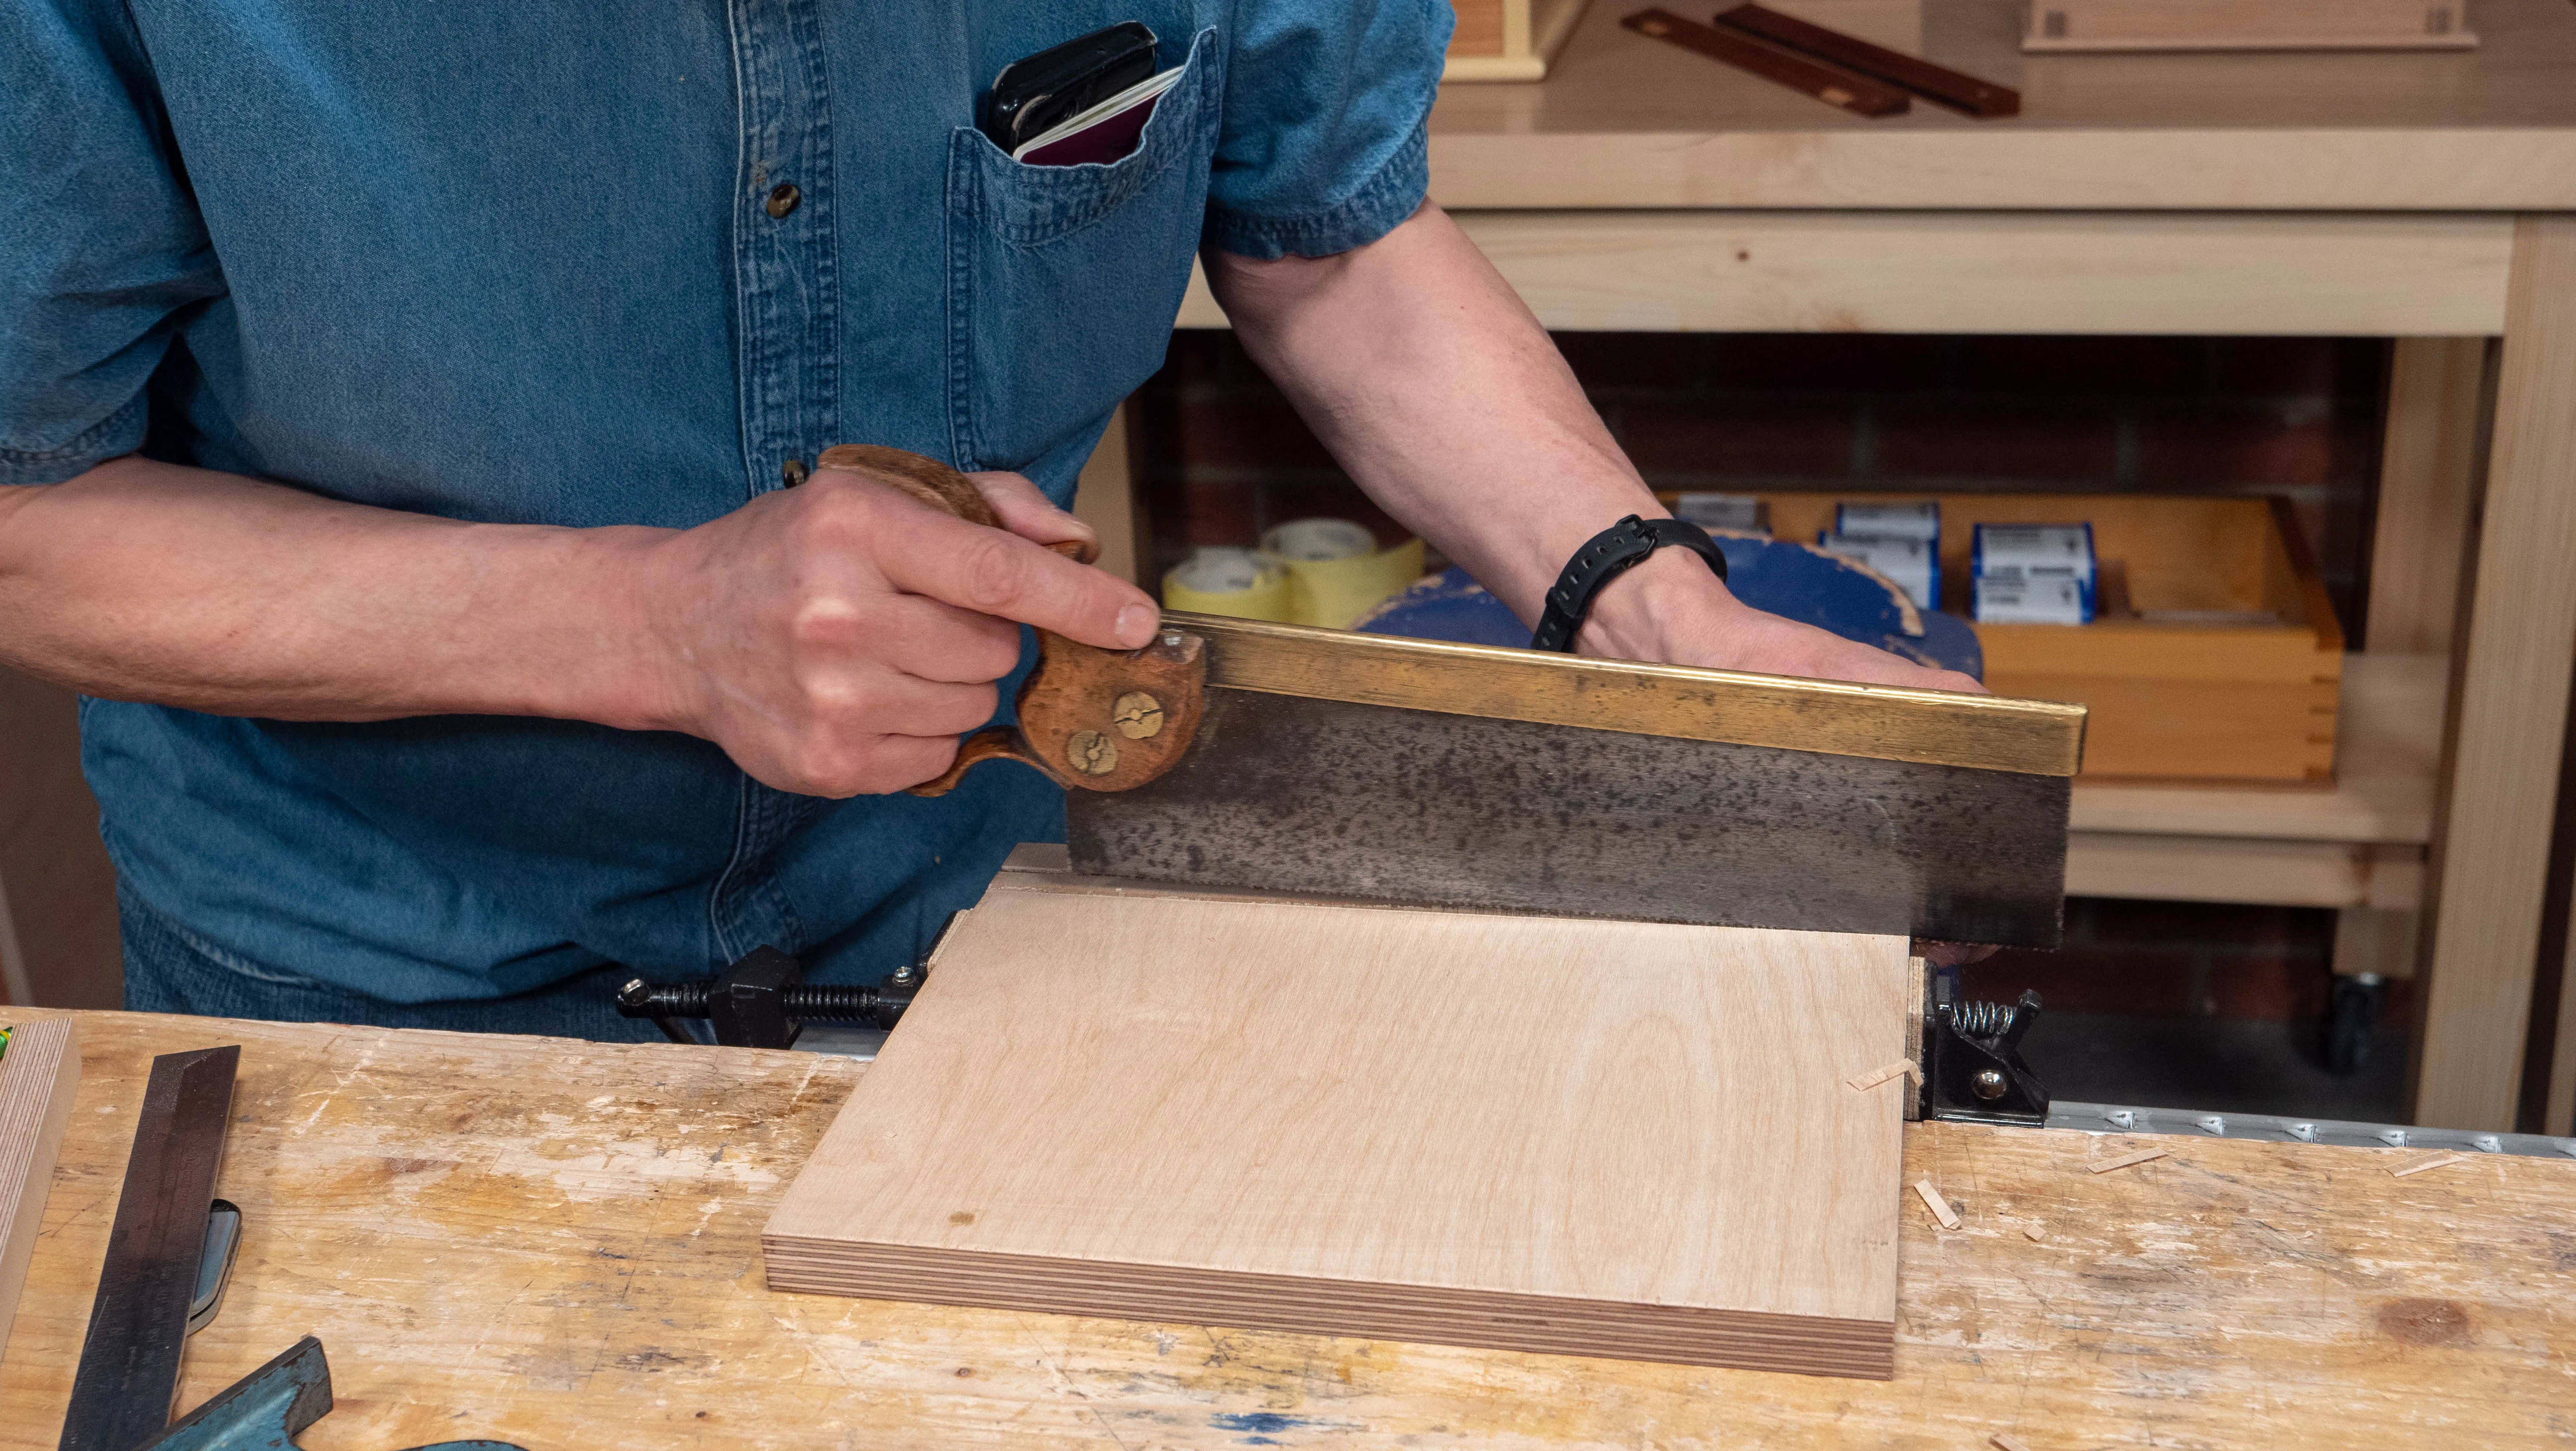
Set the gauge (or router plane) to 3mm and run this between both the lines on the edge. Use a ¾” (19mm) chisel to create a step down on the waste side of each line to guide the saw. Cut down both lines ⅛” (3mm), until you reach the gauge/router lines, using a tenon saw.
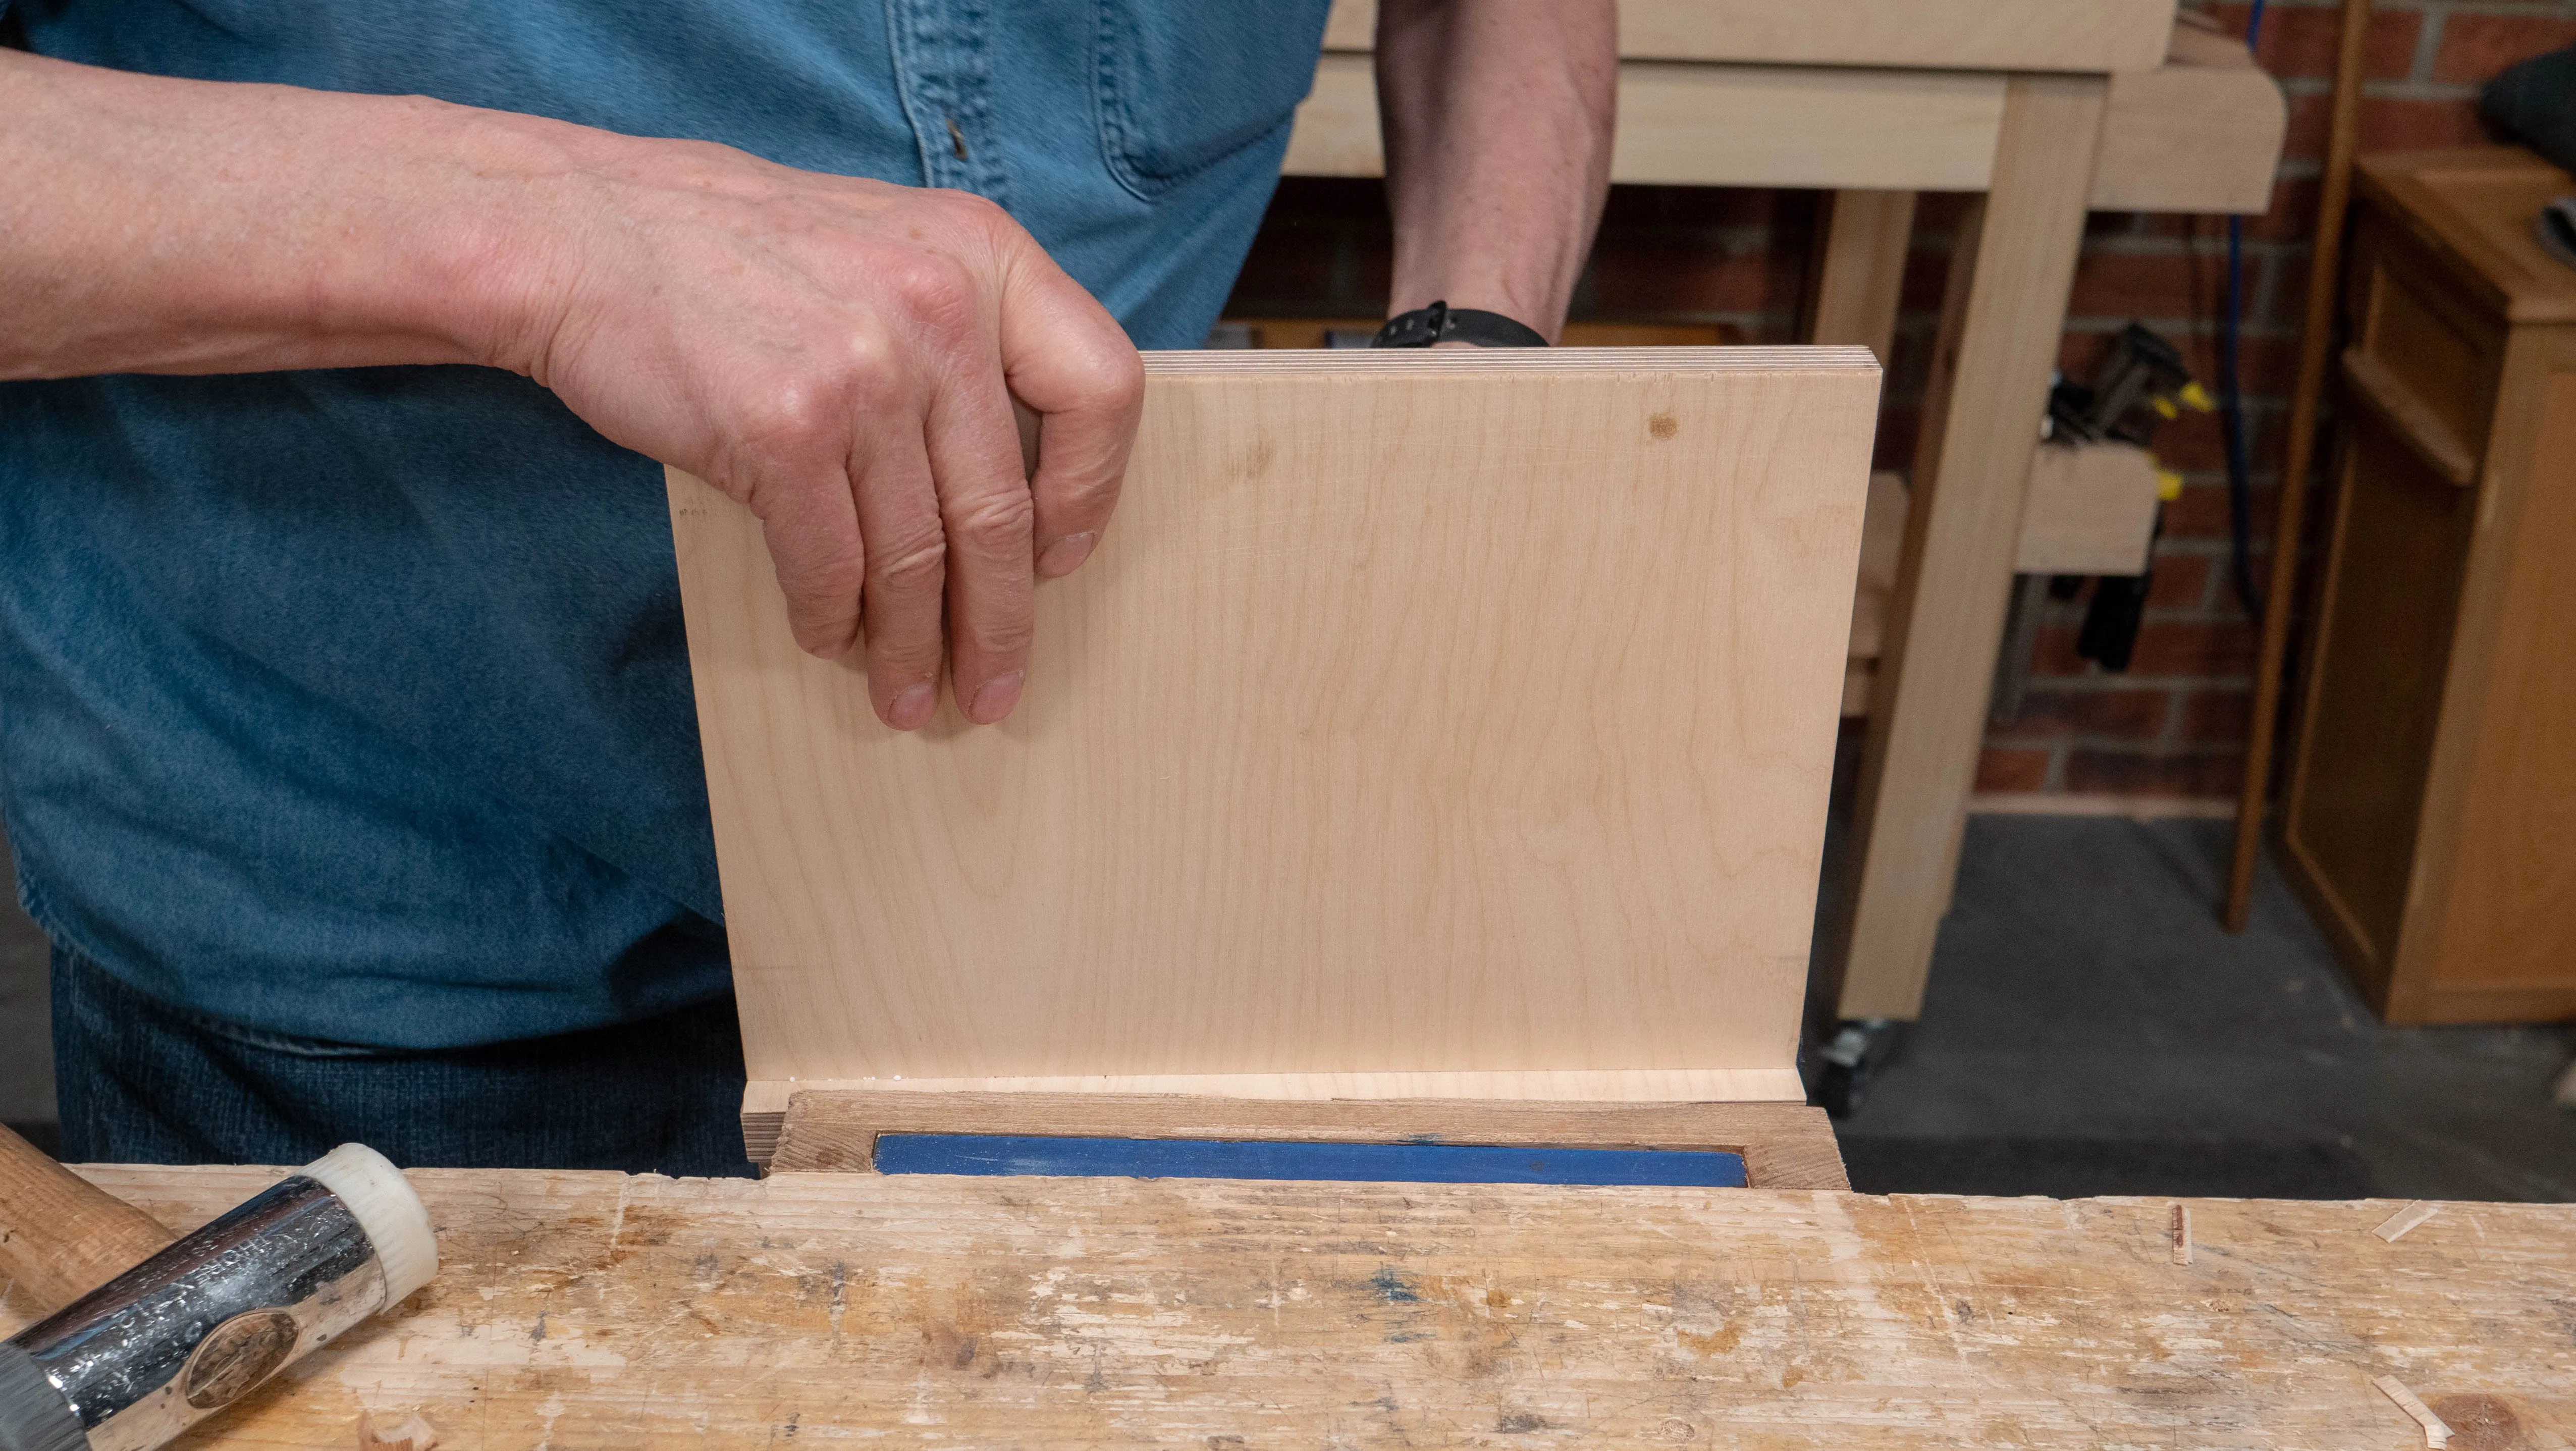
Use the router to reach the final ⅛” (3mm) depth. Check the recess fits the vise block. If it is too tight, plane down the vise block.
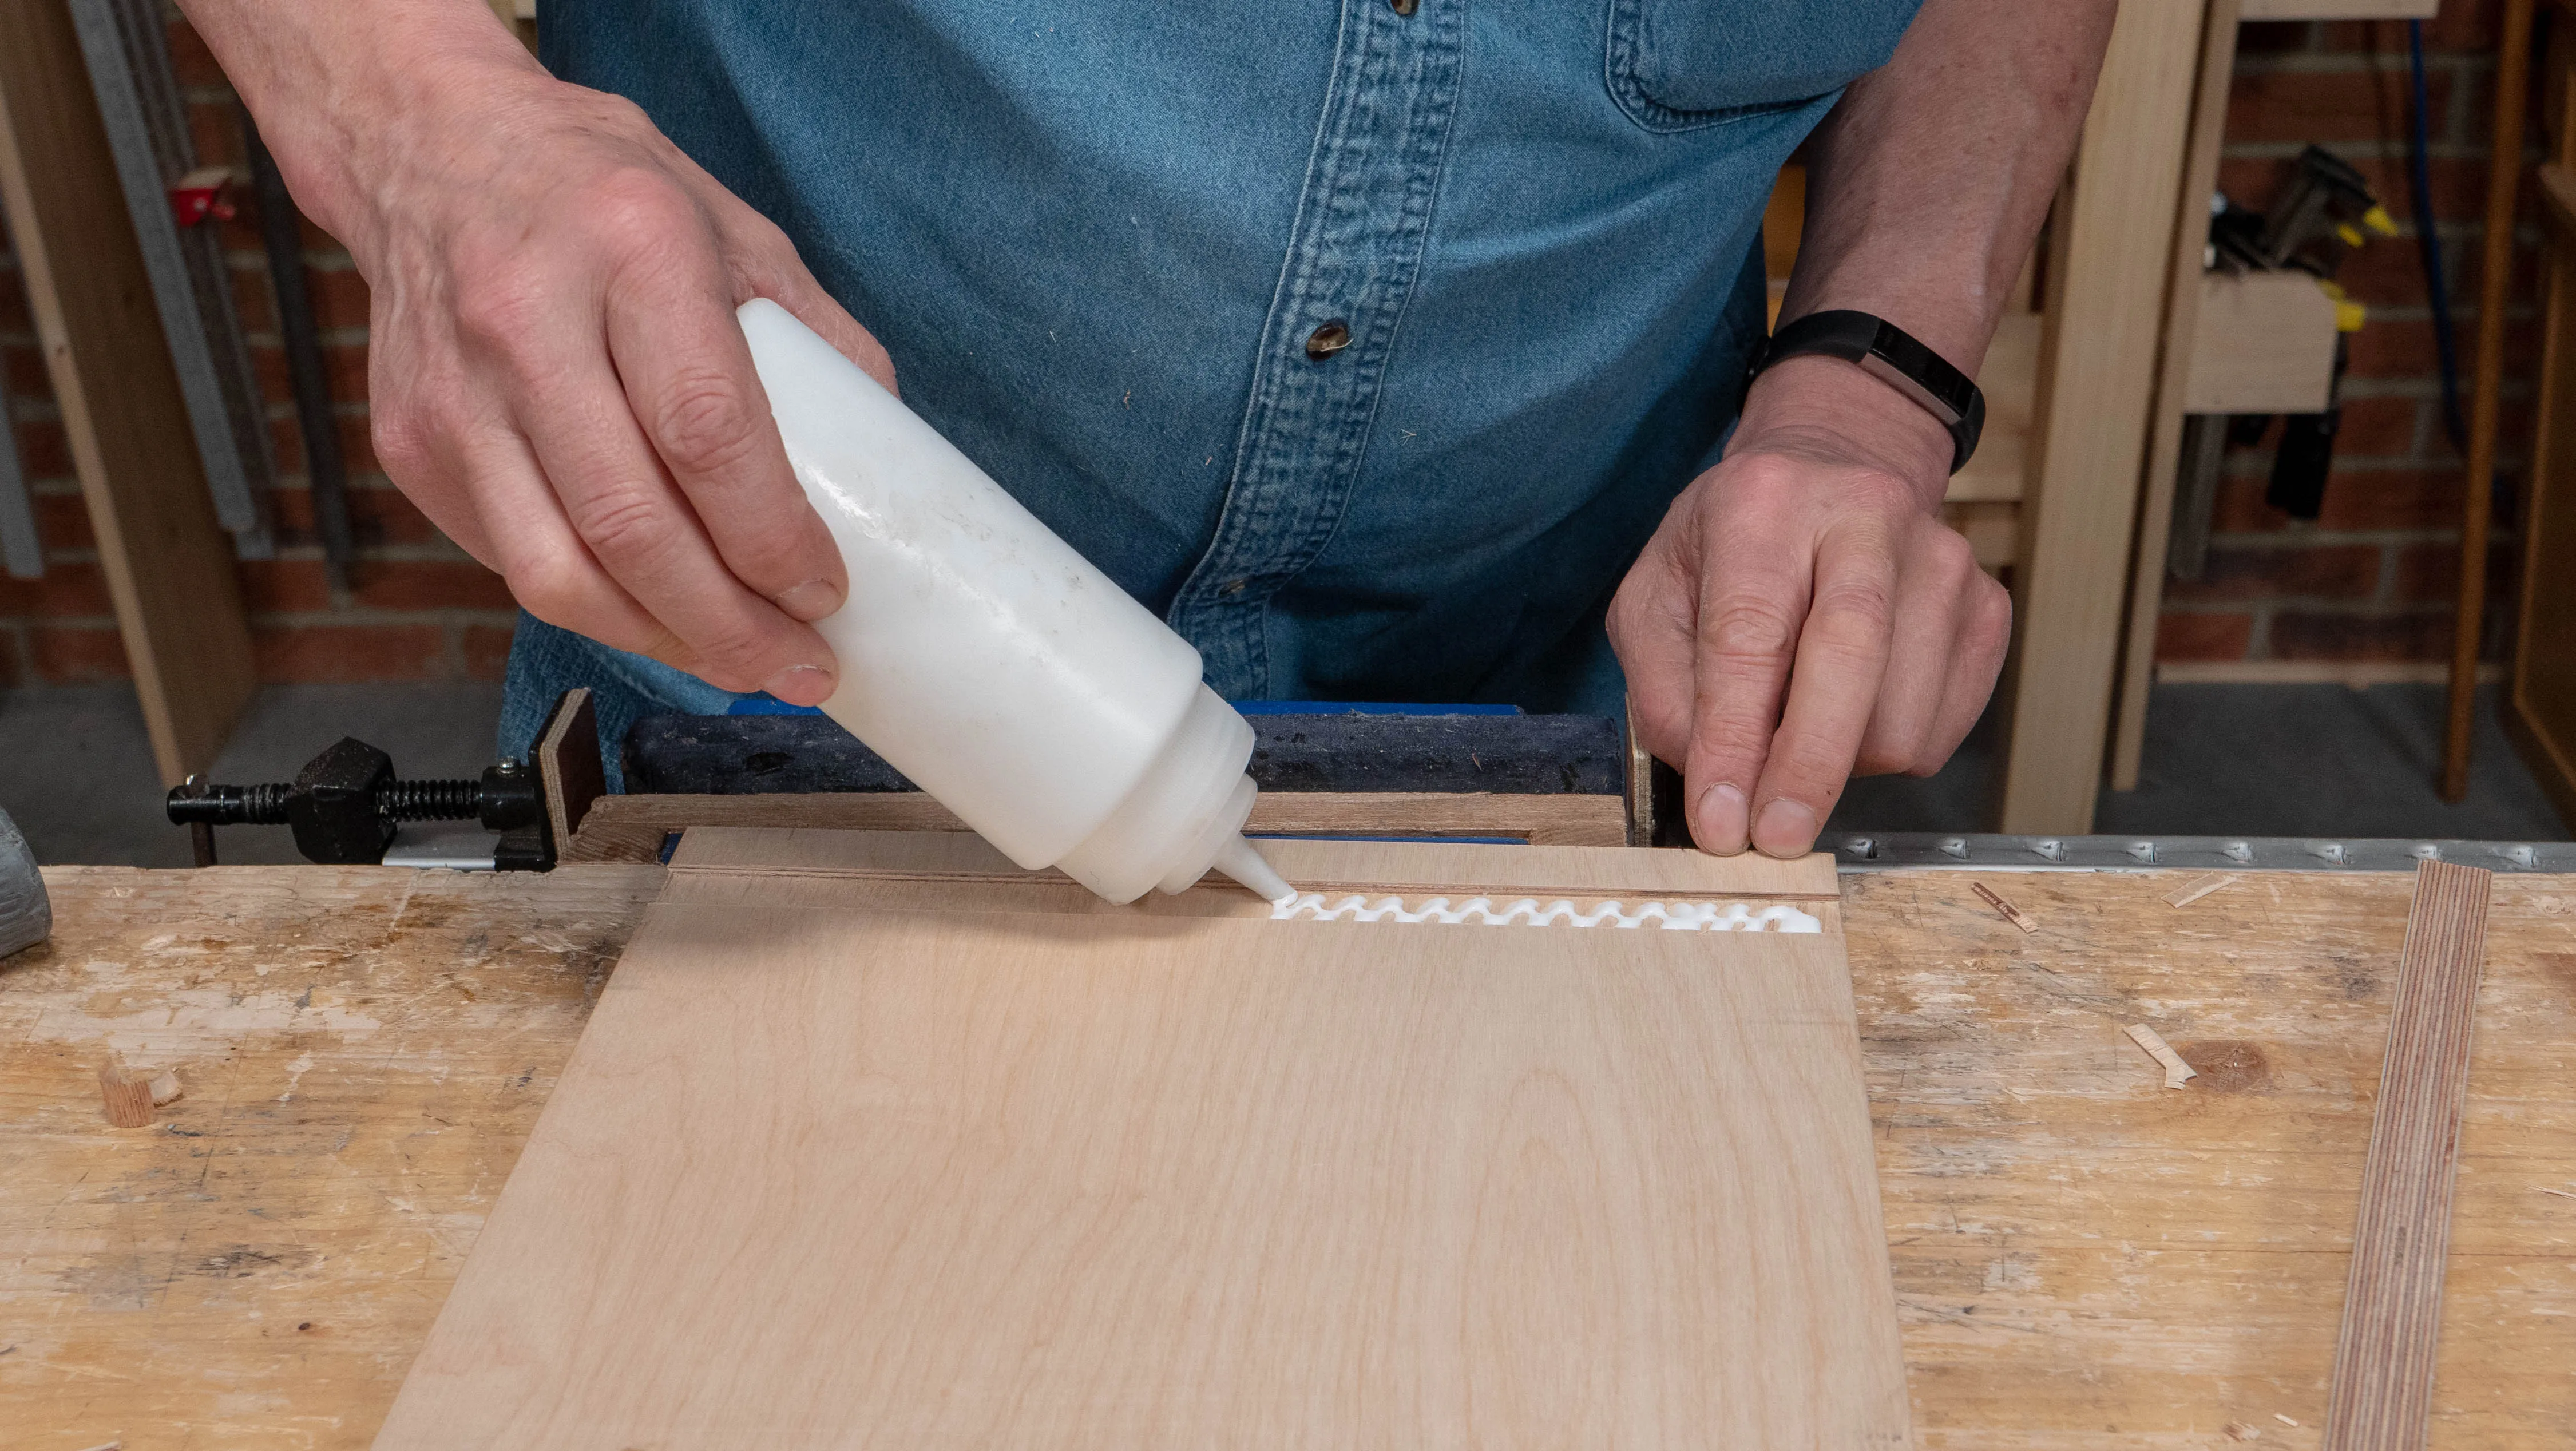
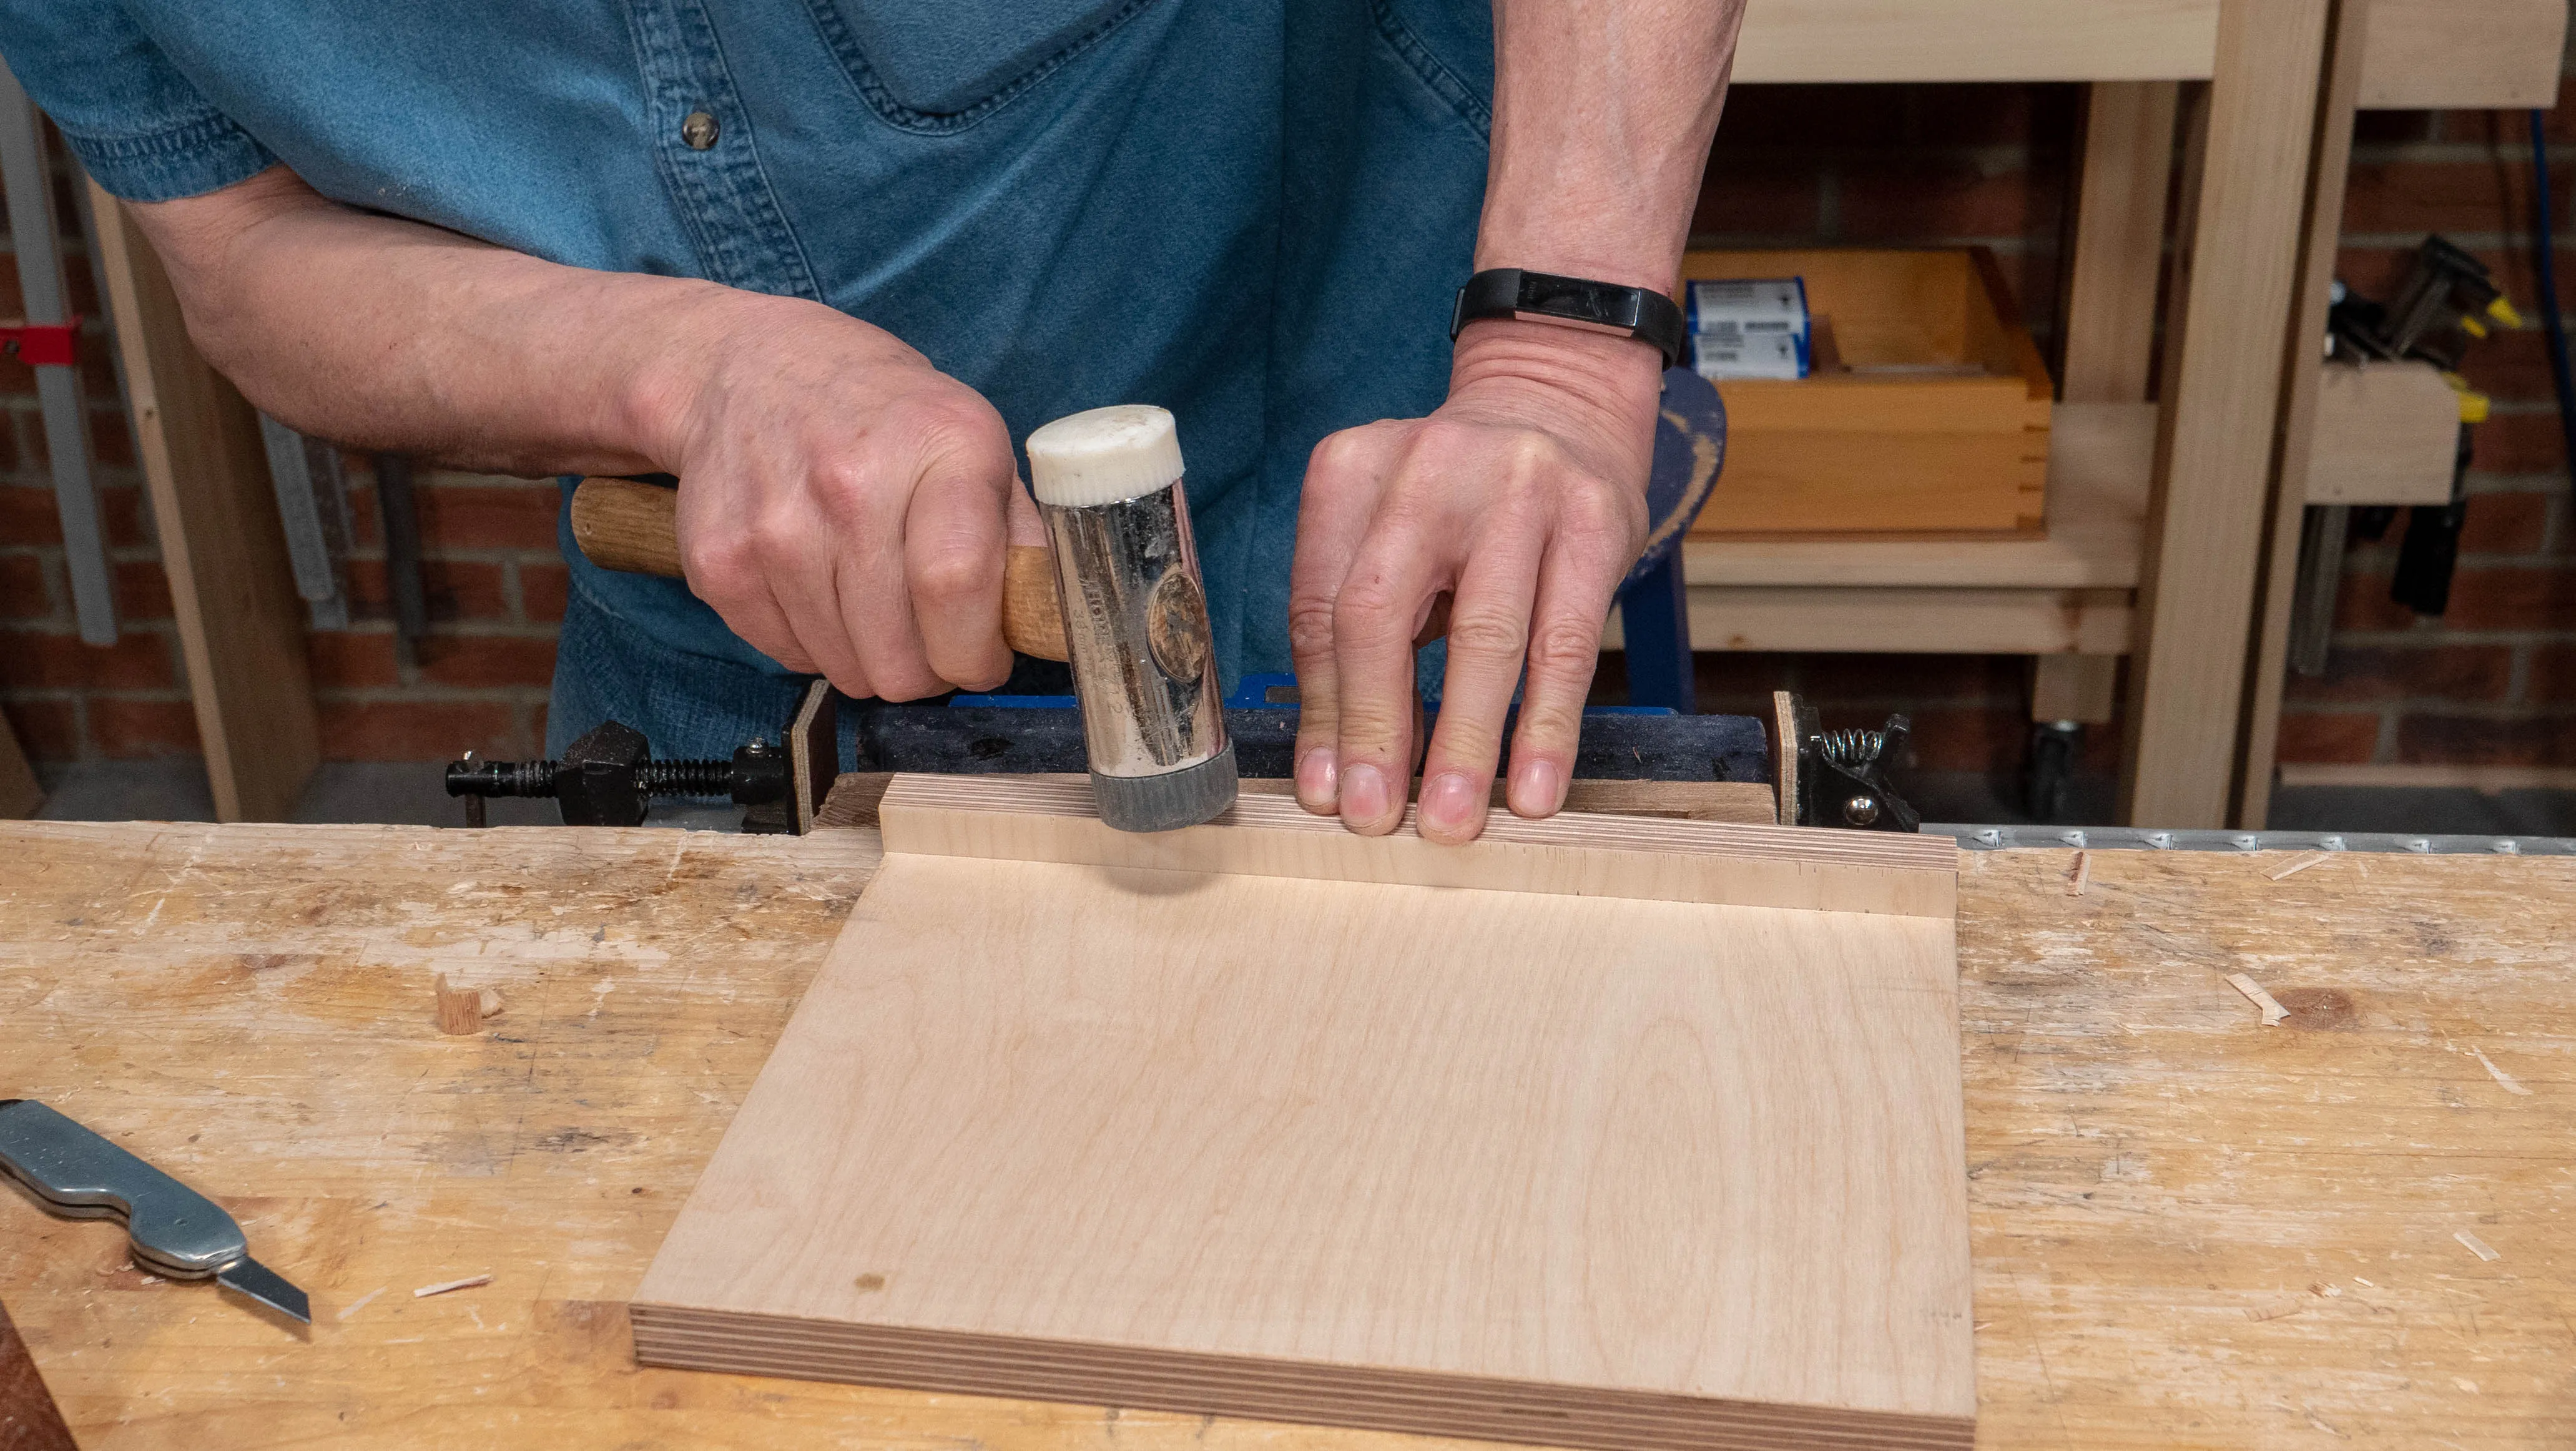
Glue the vise block in place. To ensure it is fully seated clamp it in the vise. This will remove any air pockets. Clamping may cause some of the glue to squeeze out. Wipe this away with a tissue. Clamp overnight.
Finishing
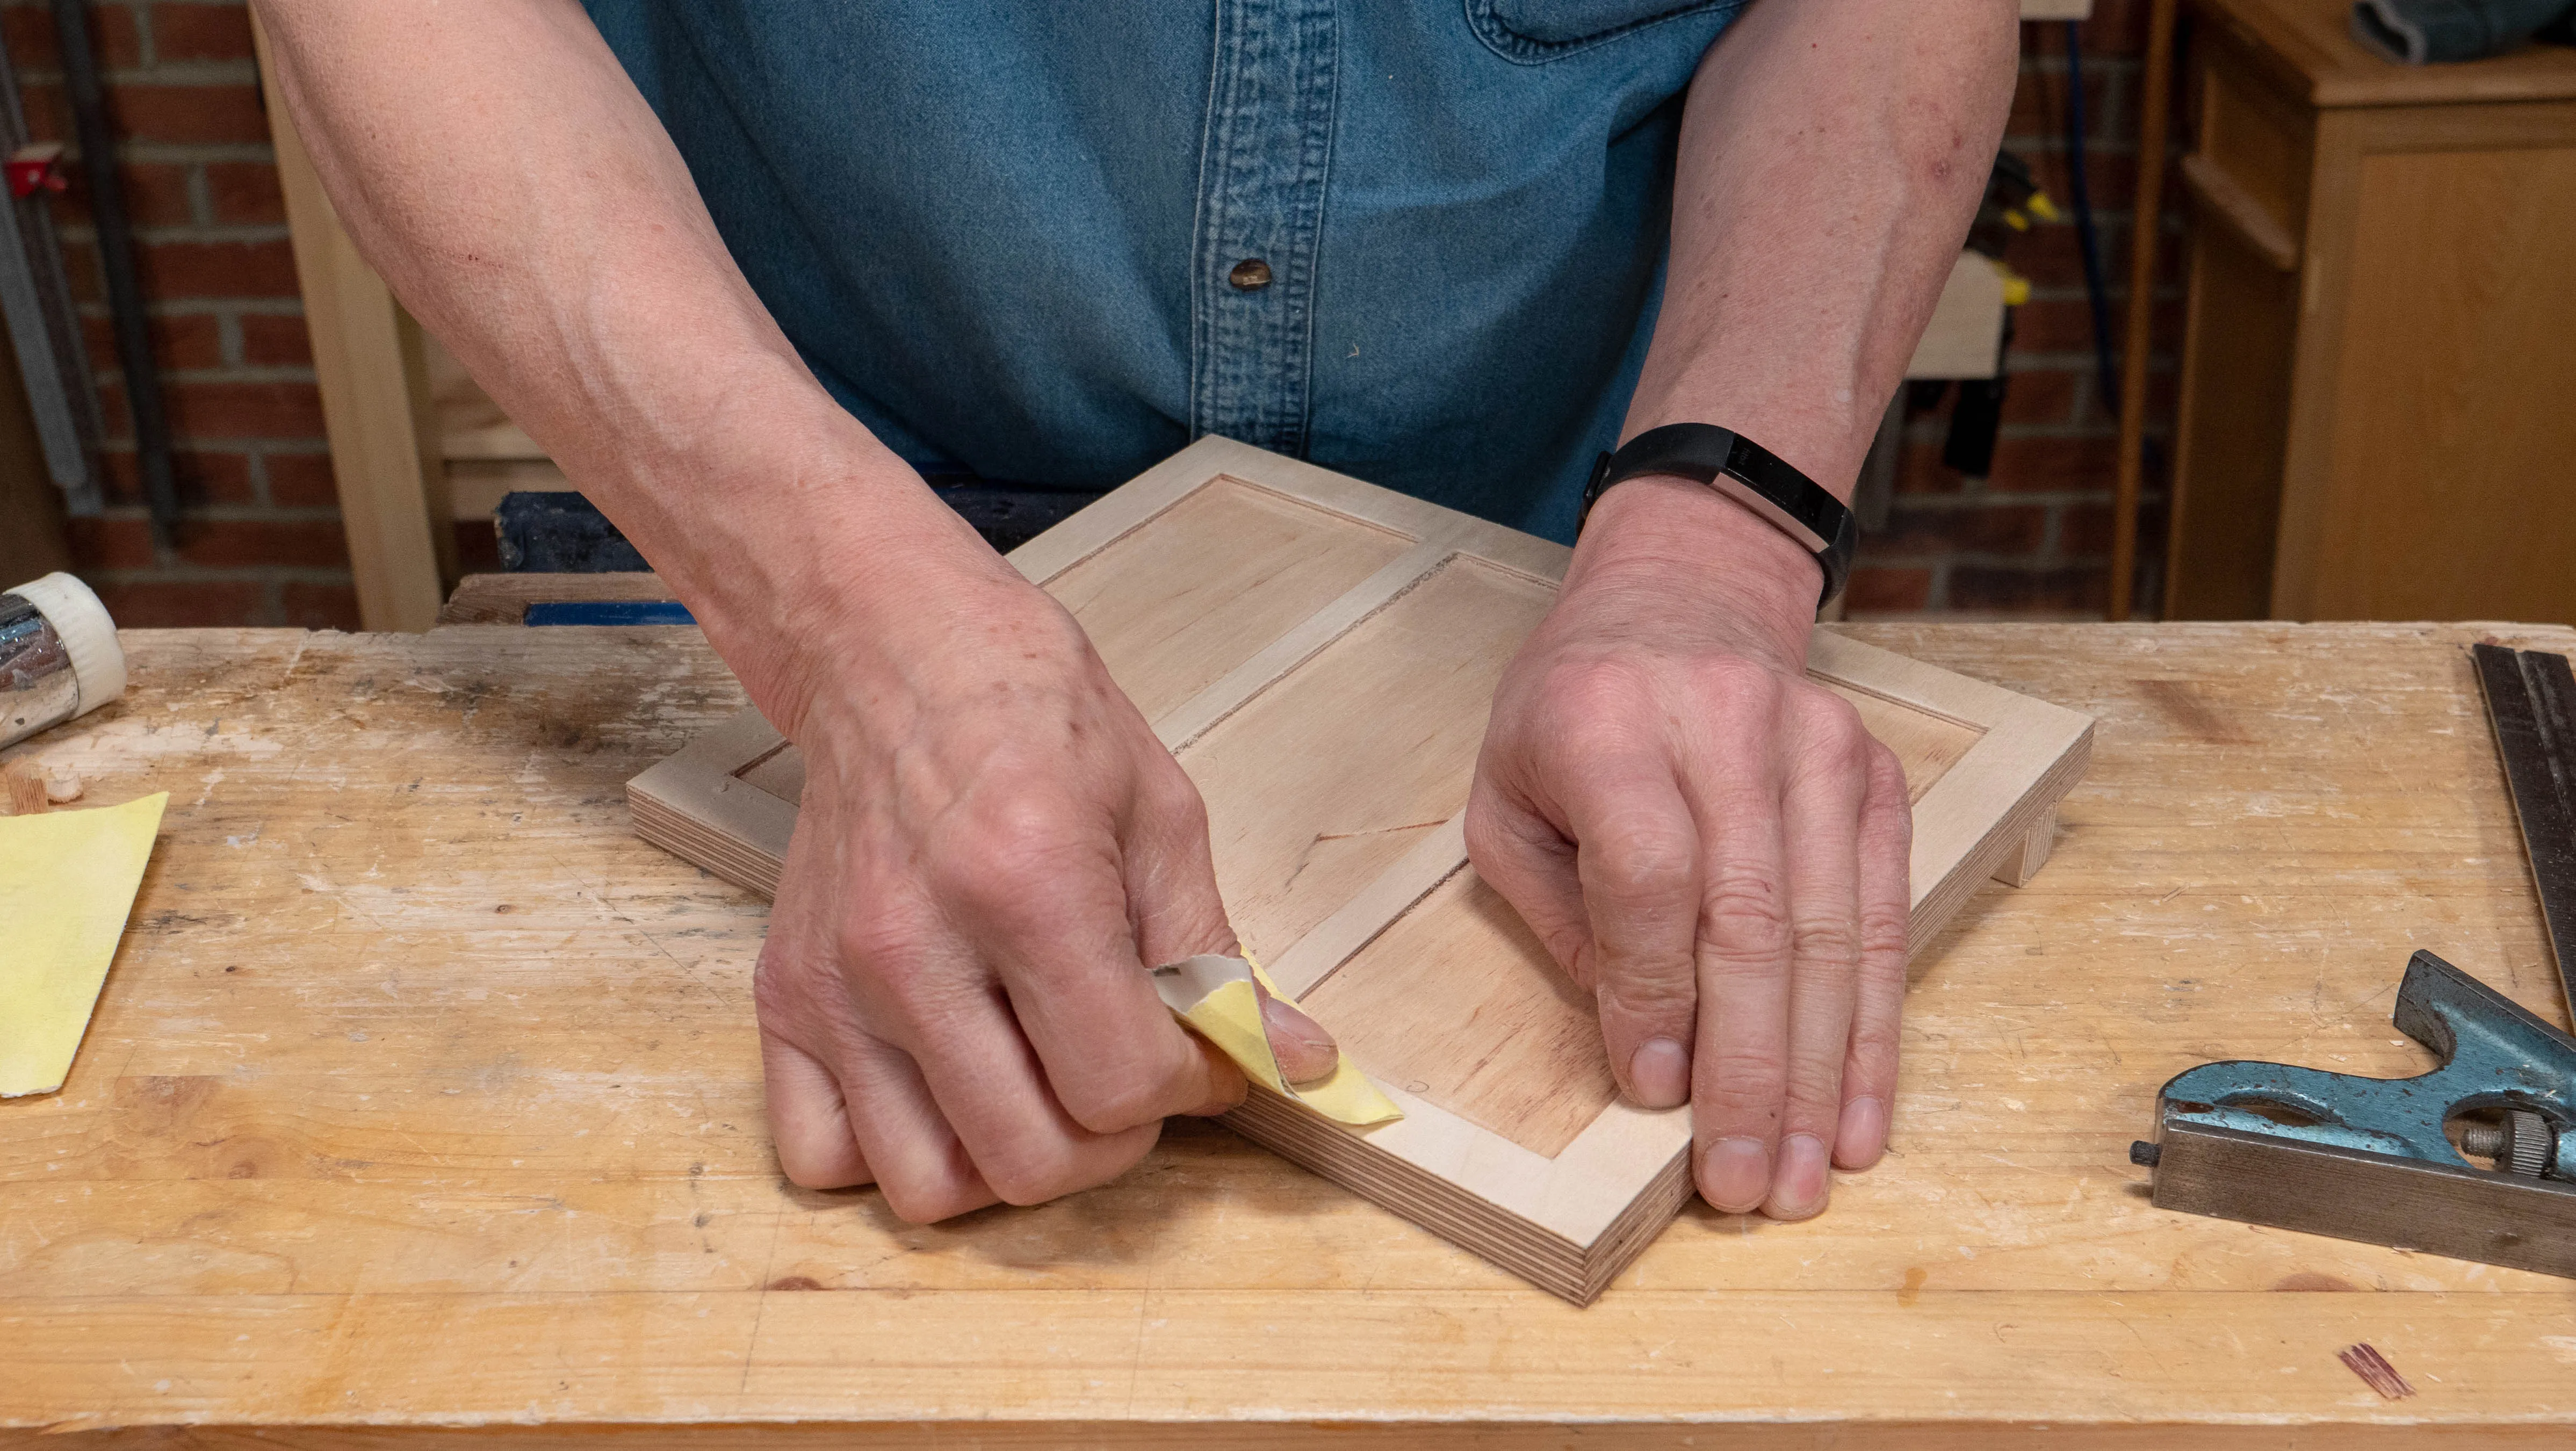
Use 240 grit sandpaper all over the holder.
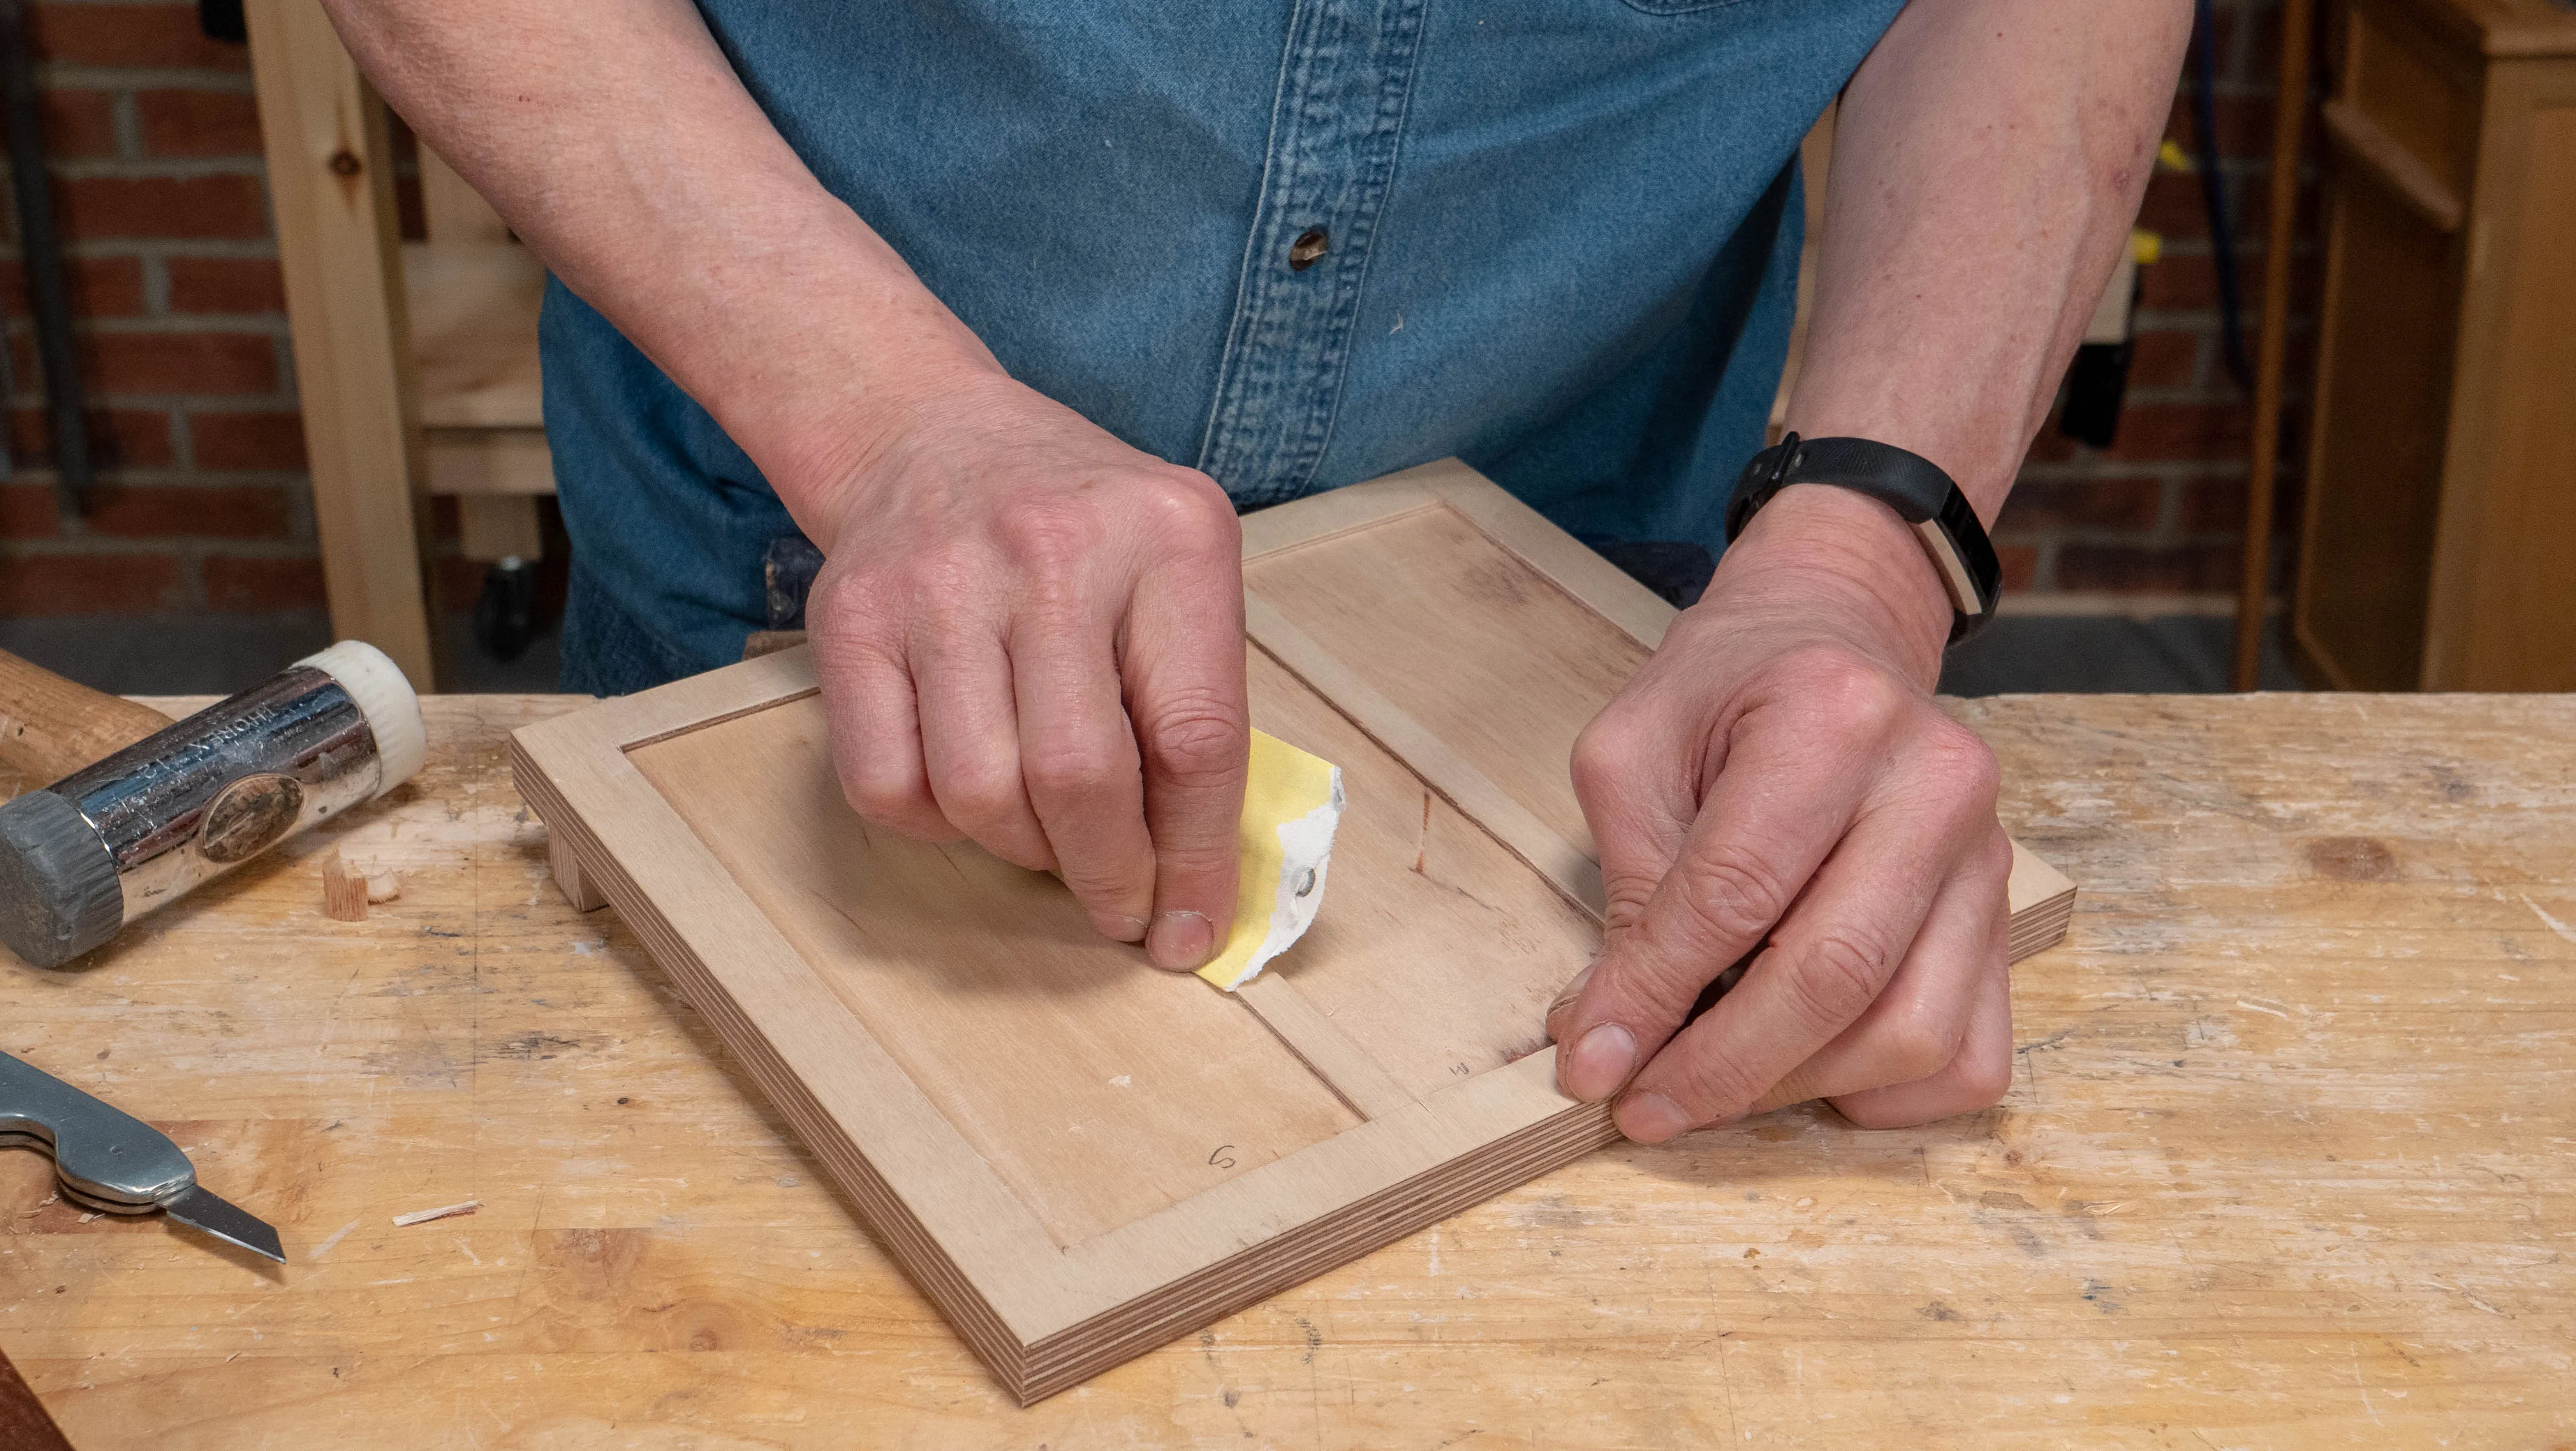
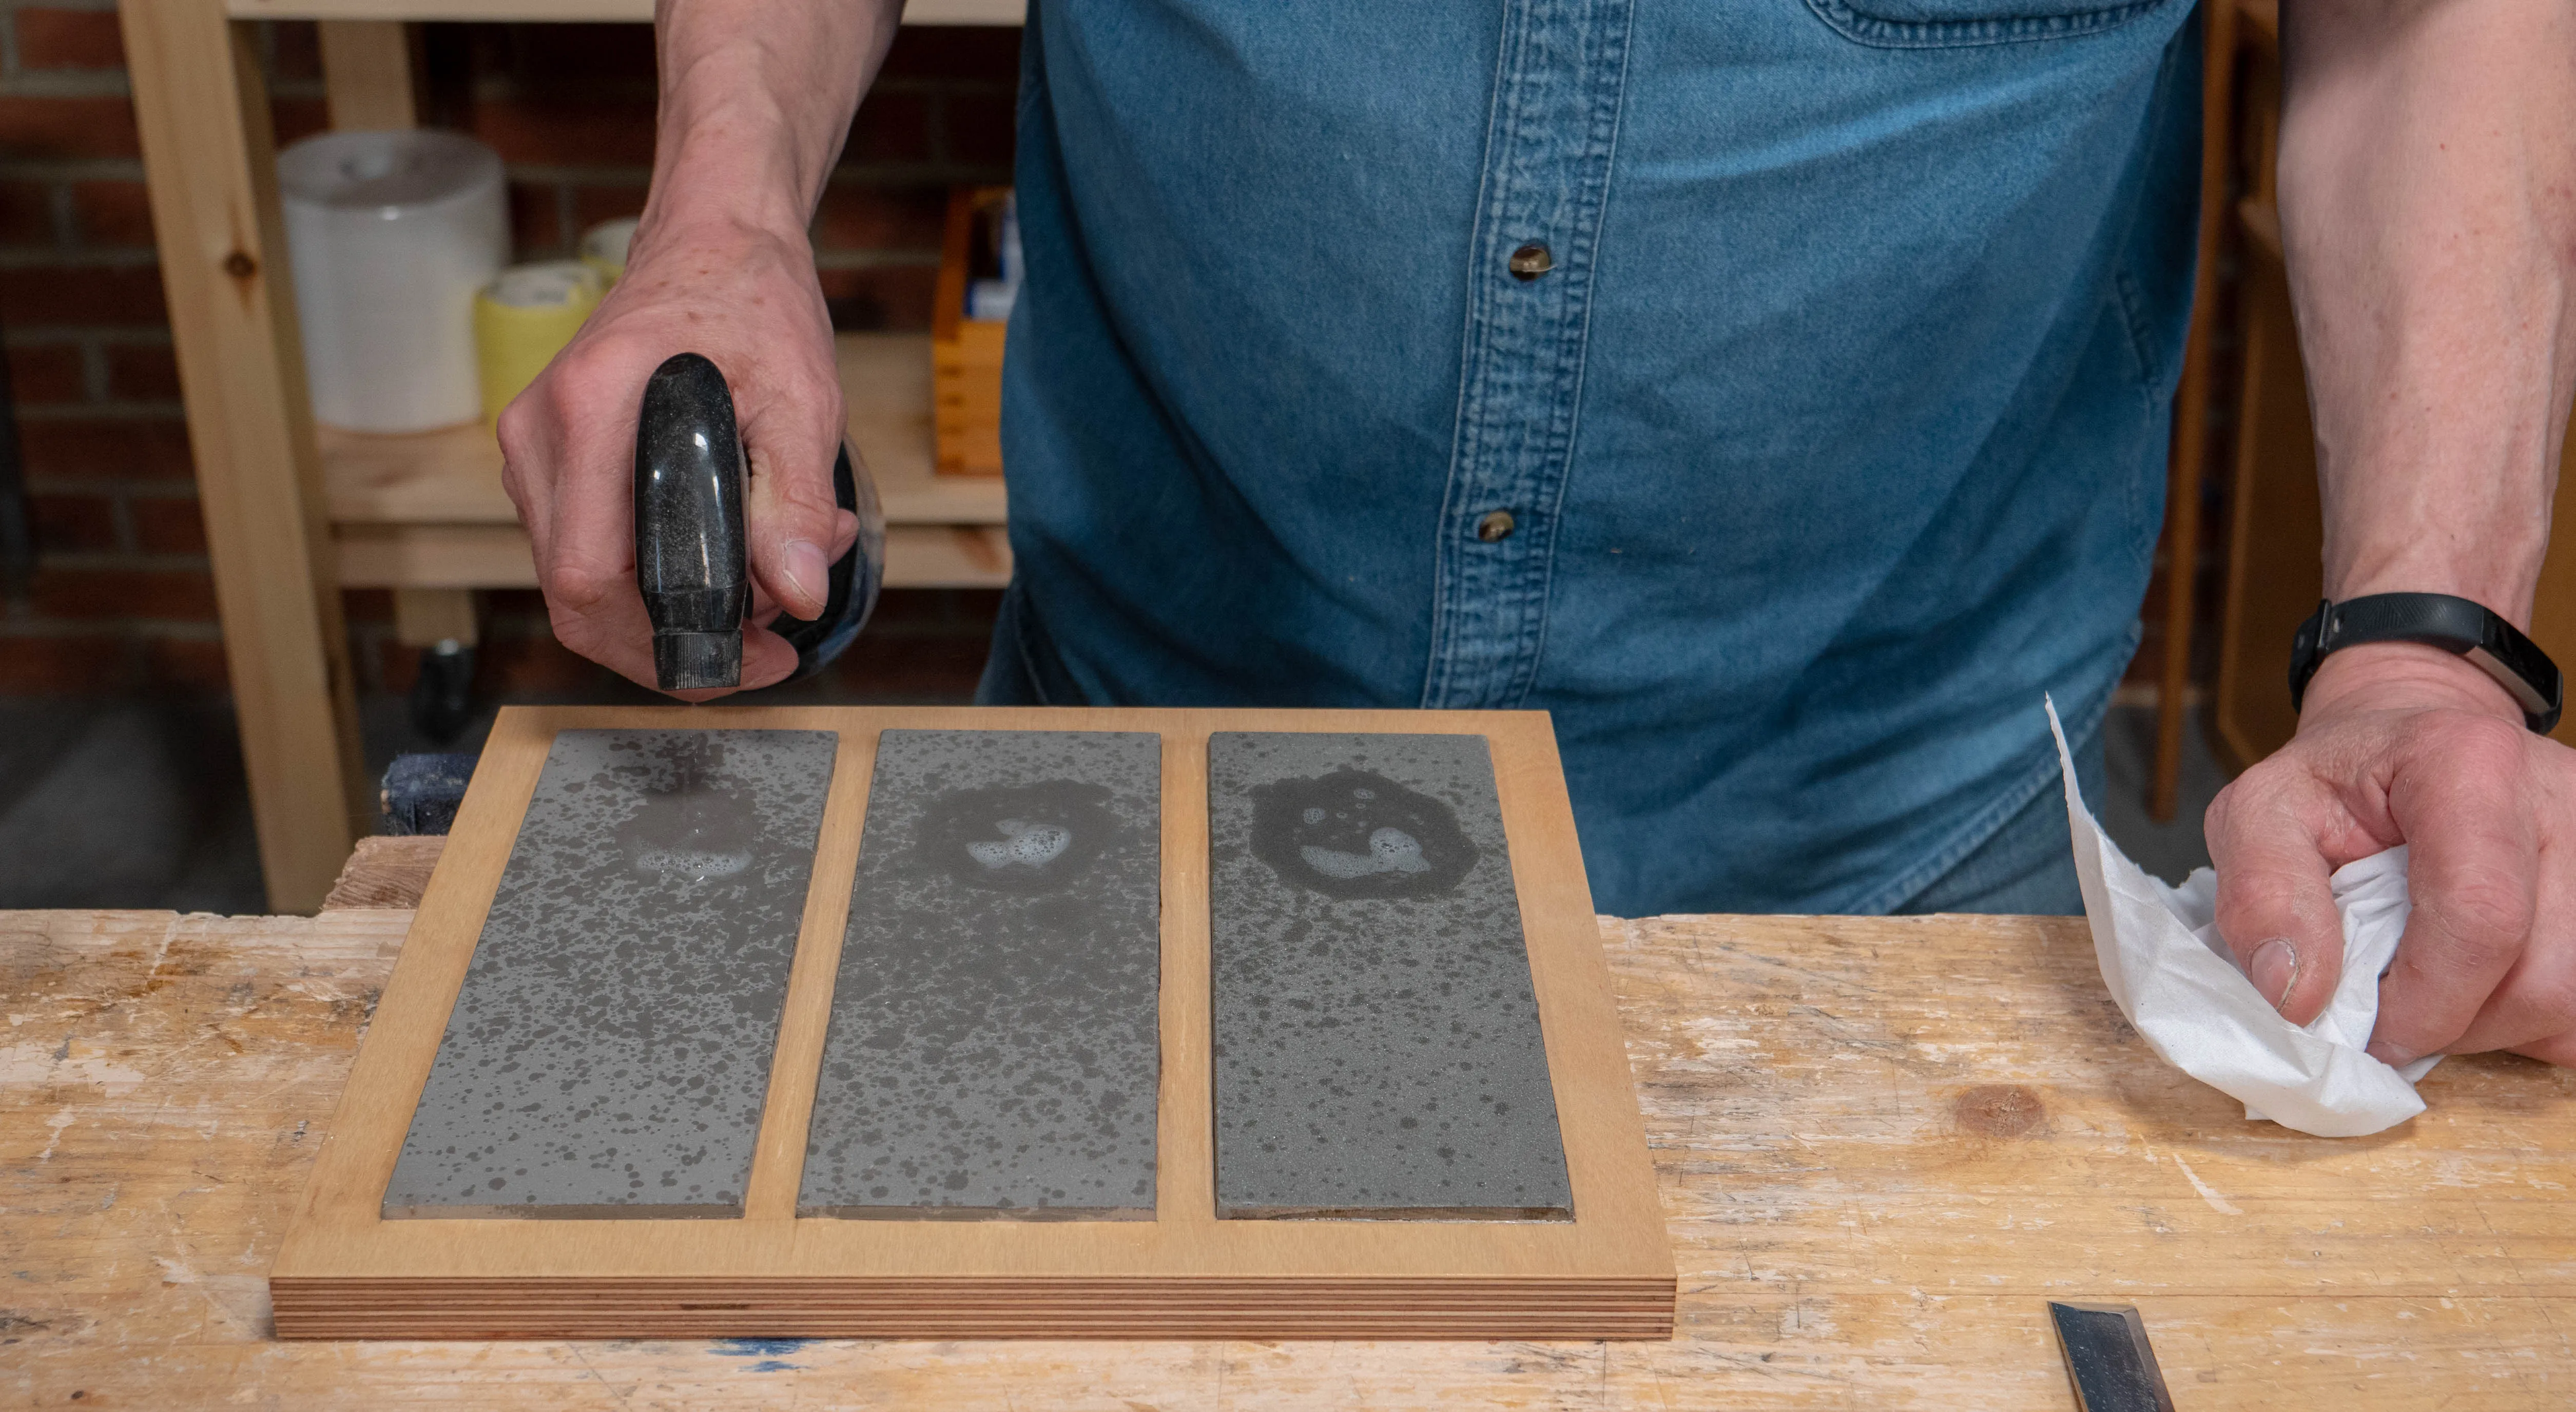
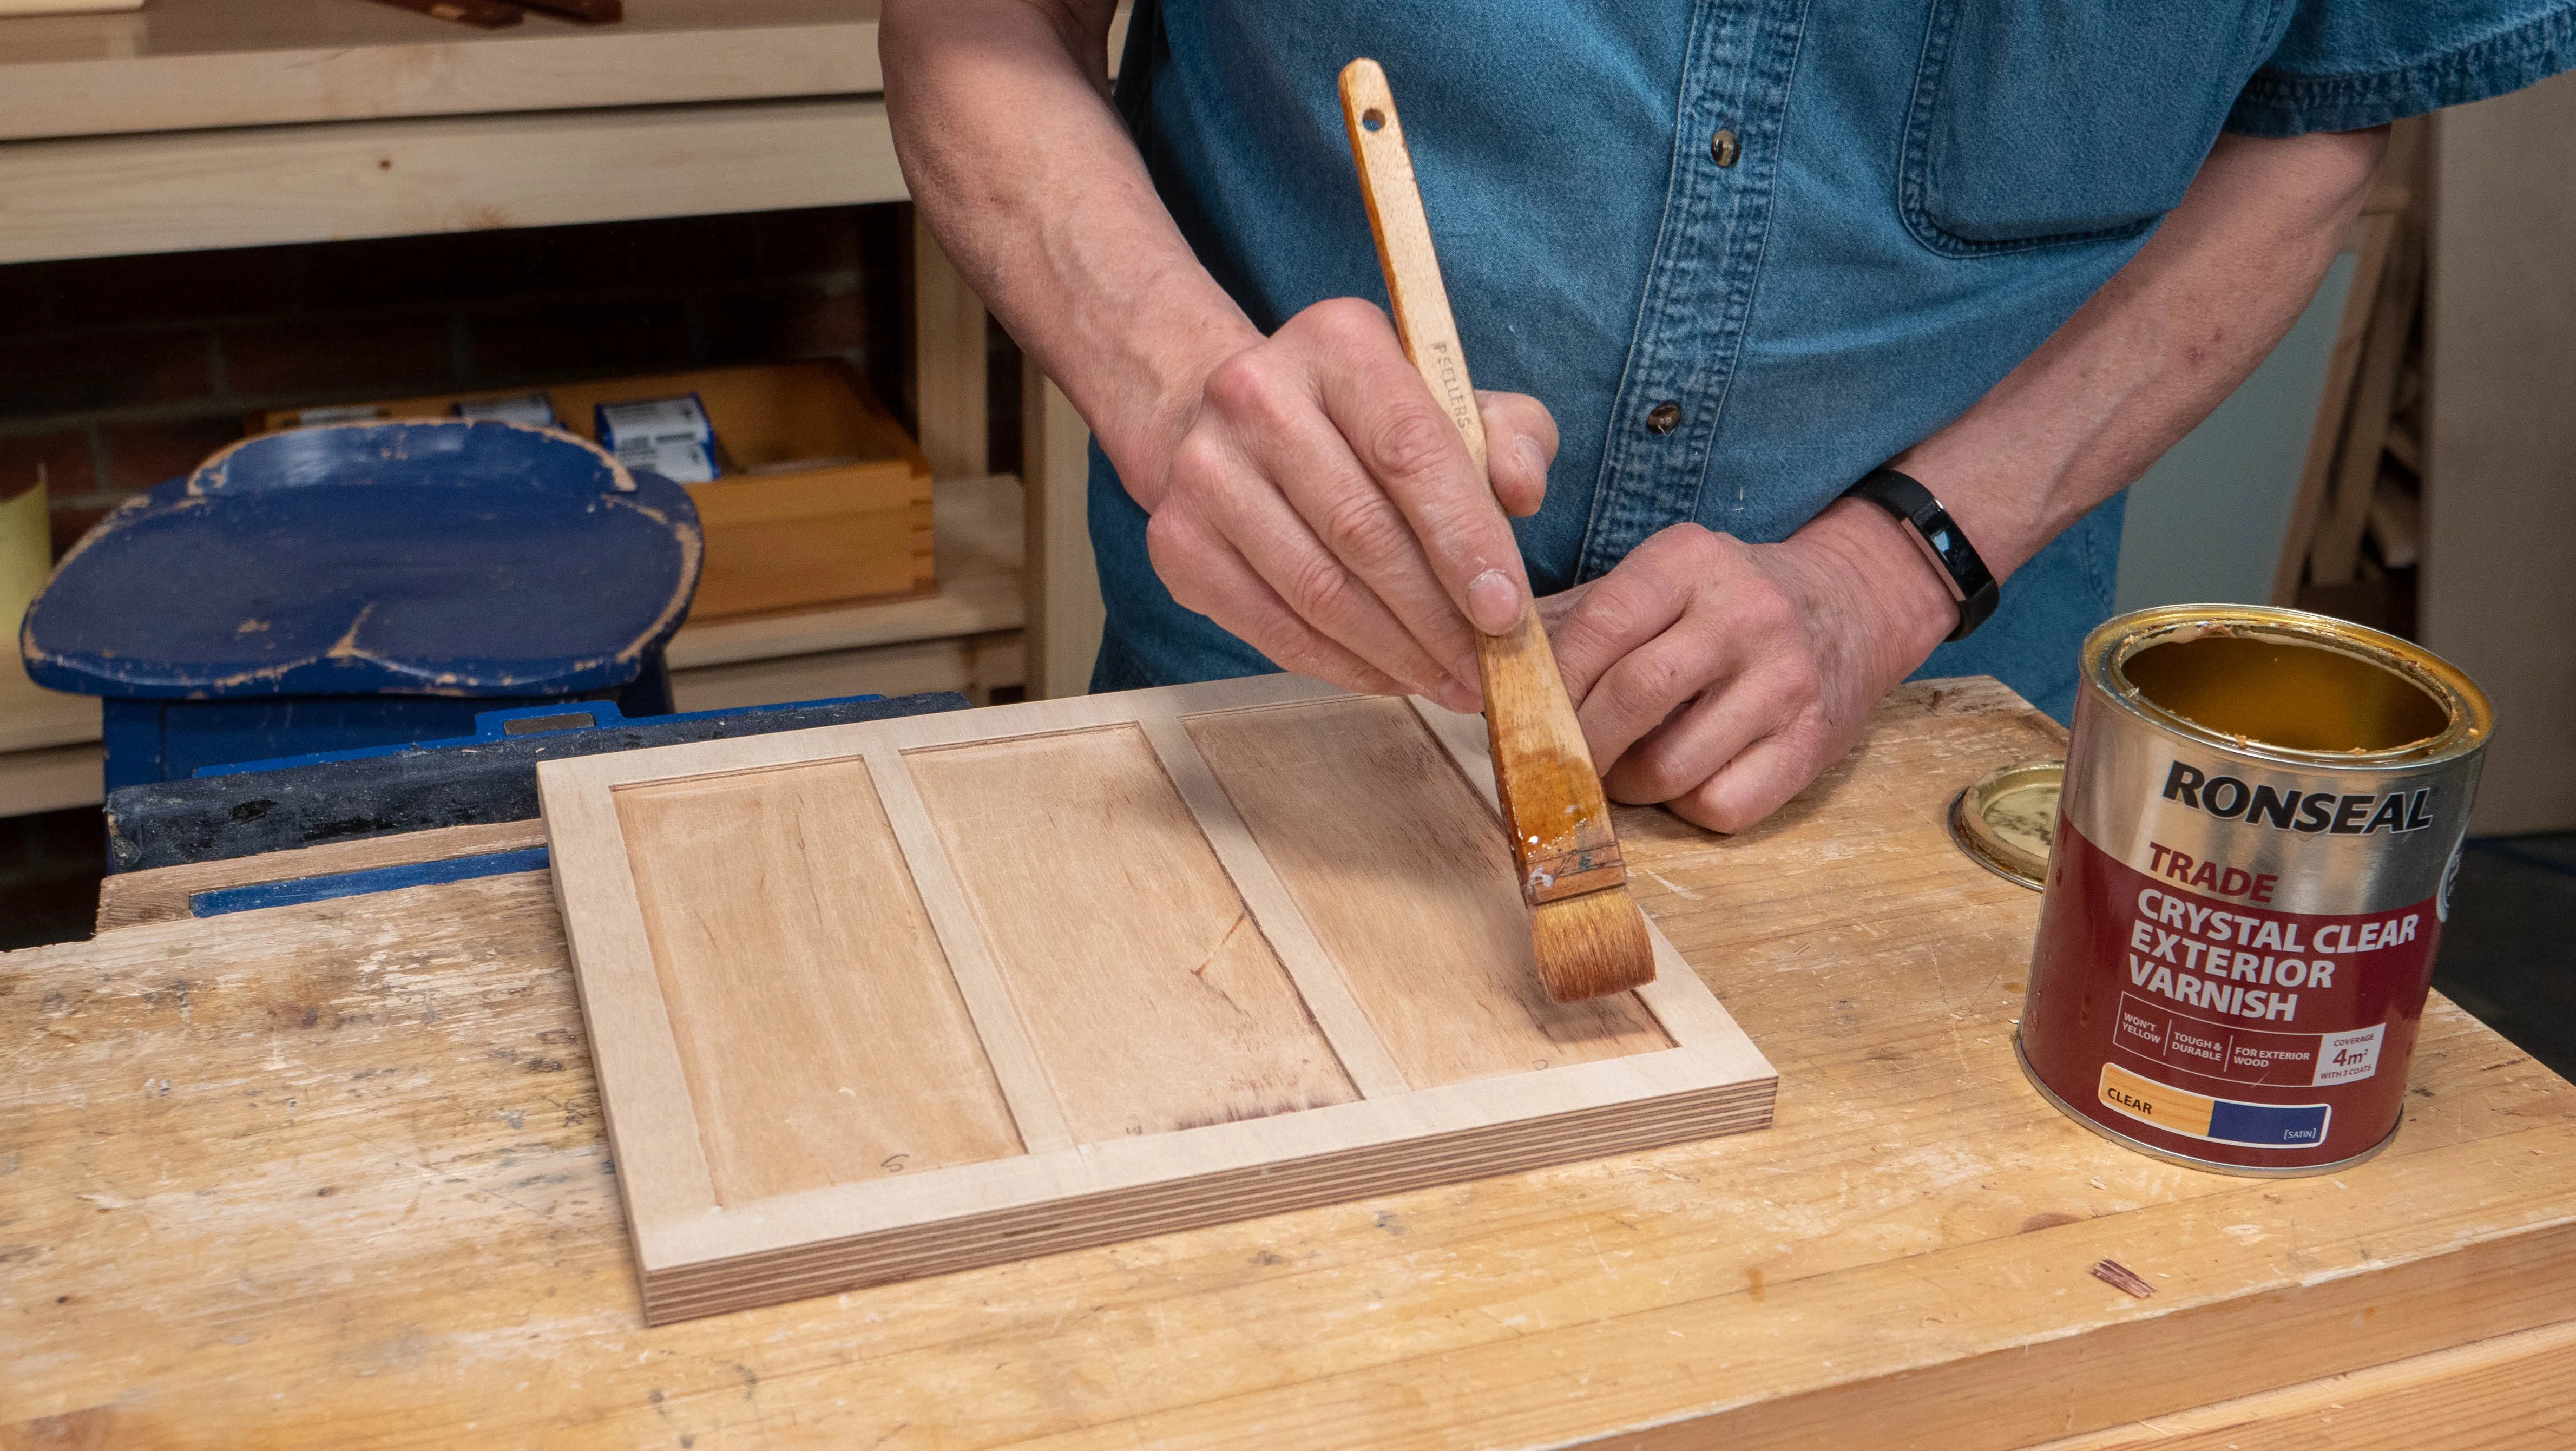
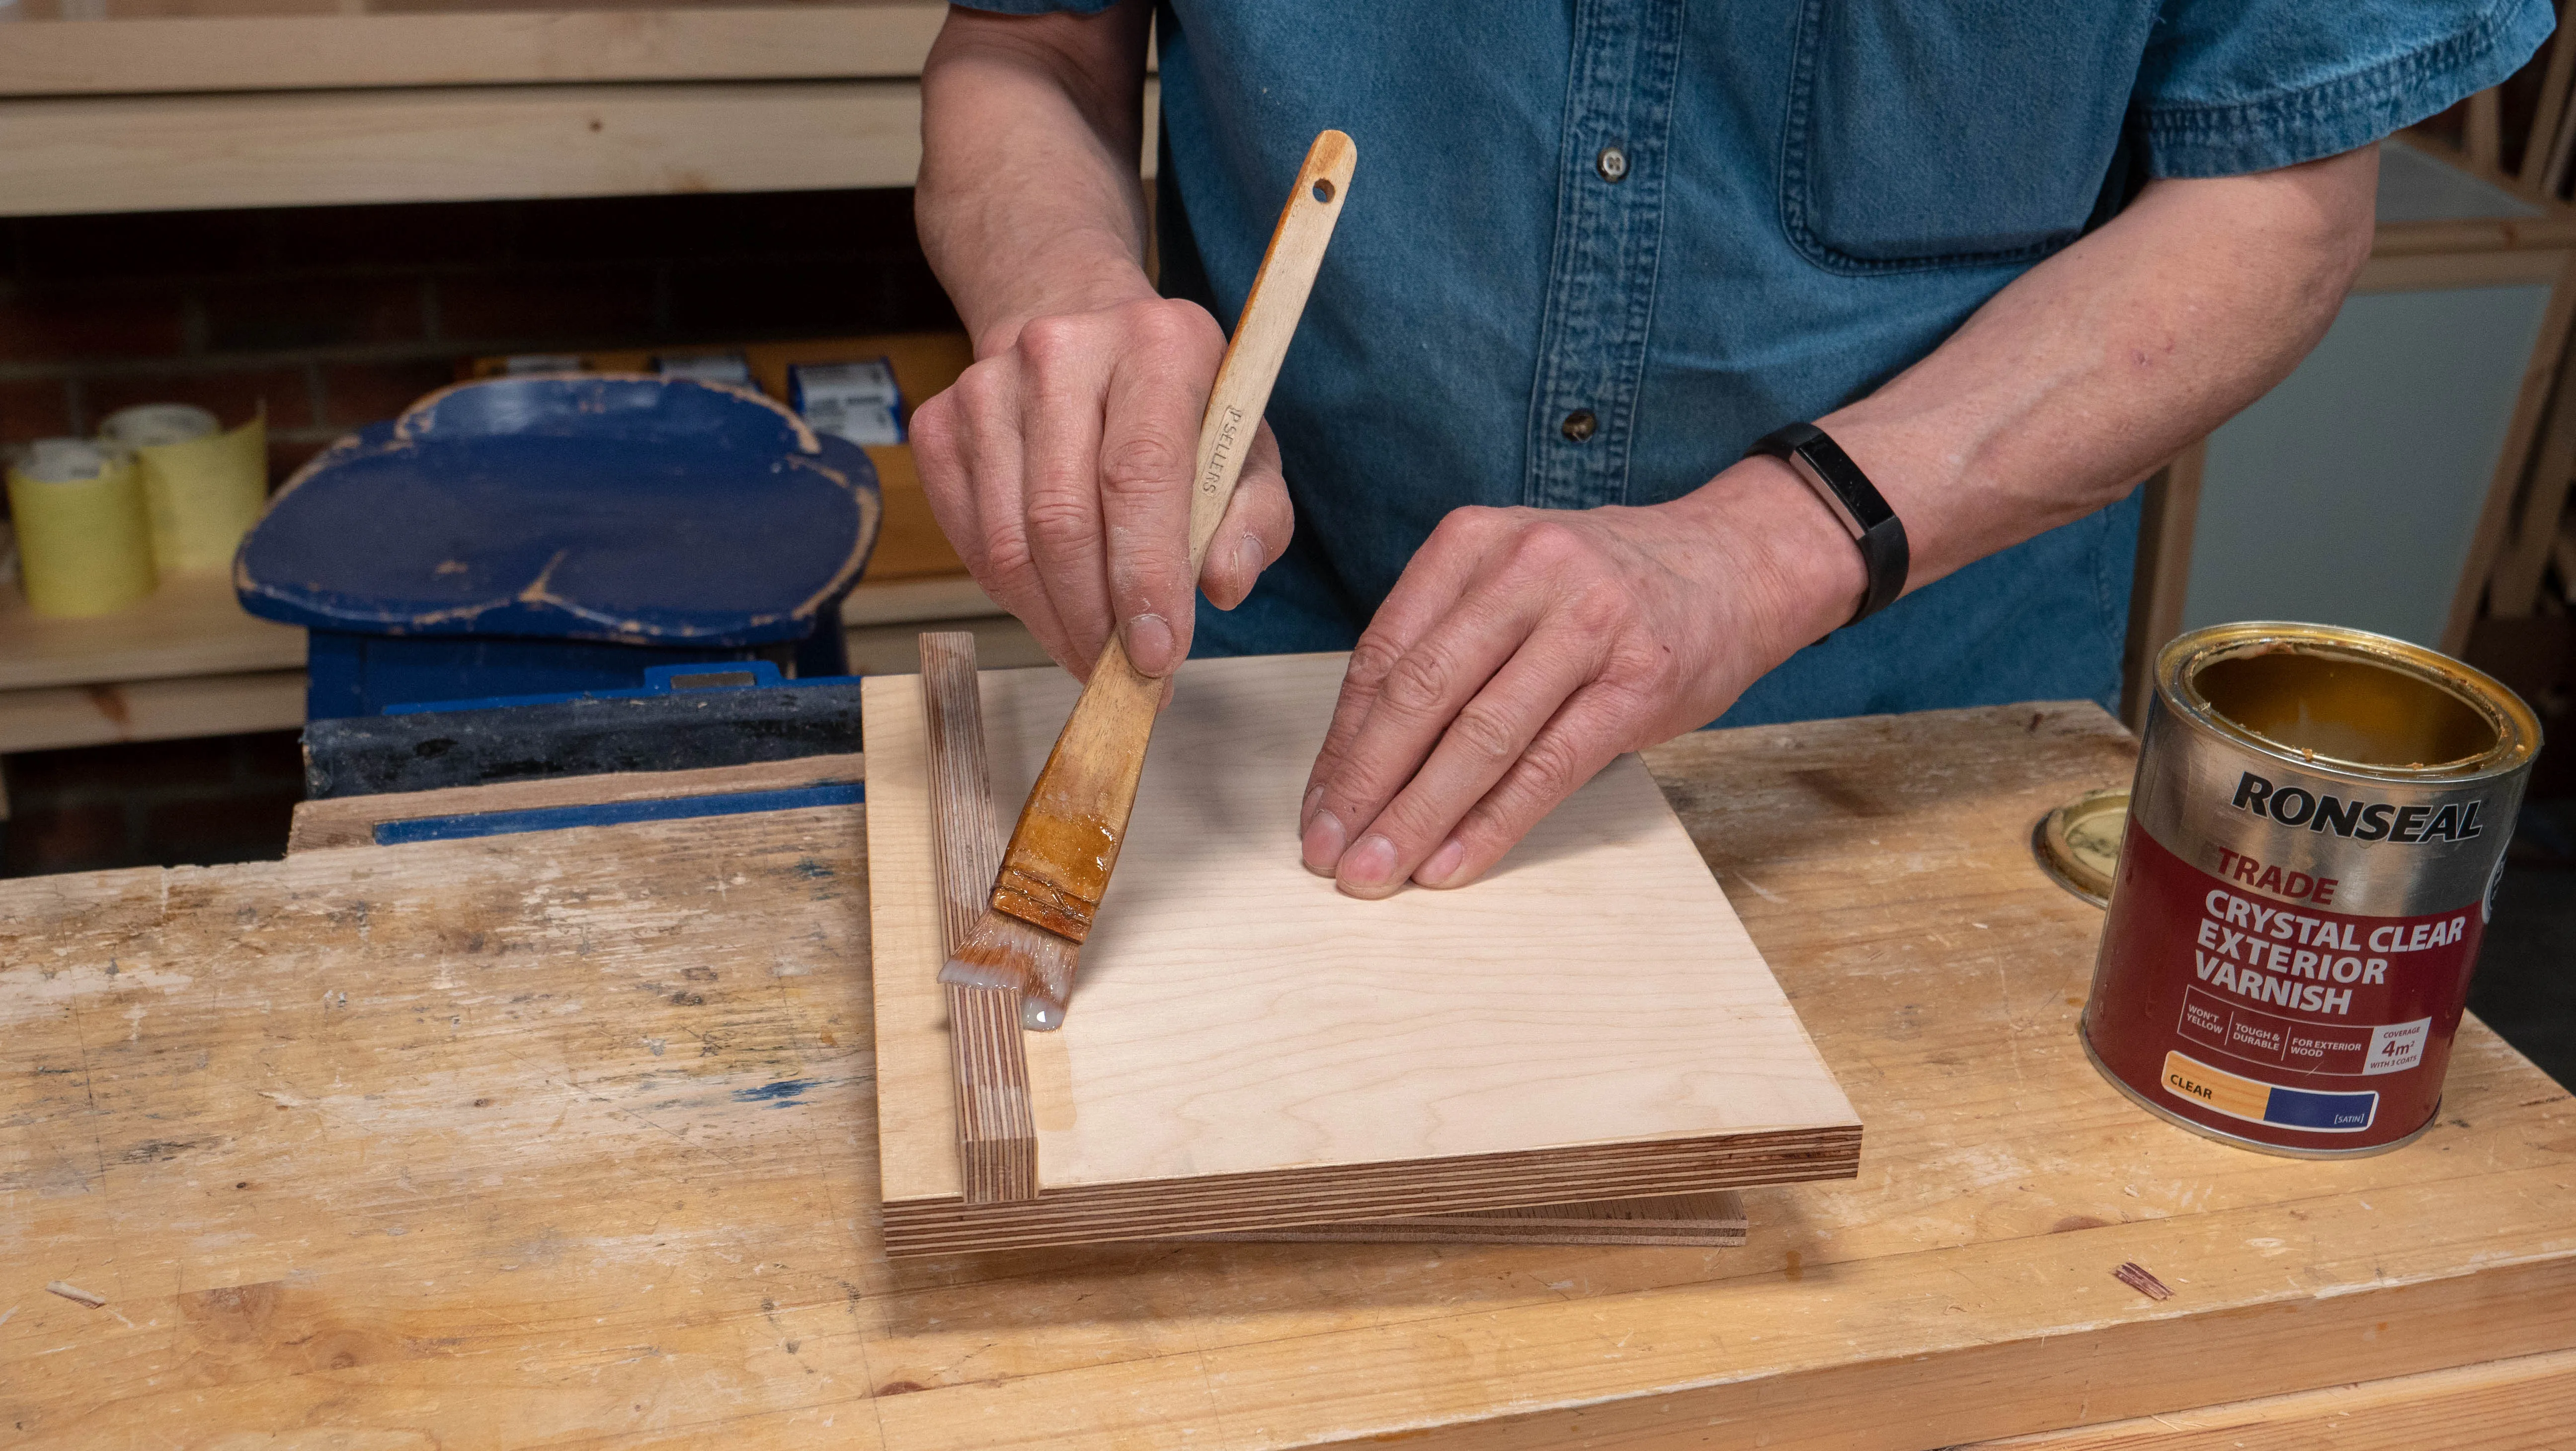
Finish the holder with 3 coats of varnish, including in the recesses, to avoid the holder absorbing the auto glass cleaner during use. Varnish is more durable than the shellac finish that Paul usually uses to finish projects with. However, it is applied in a very similar way, so see our ‘How to Apply Shellac’ guide for tips on this.
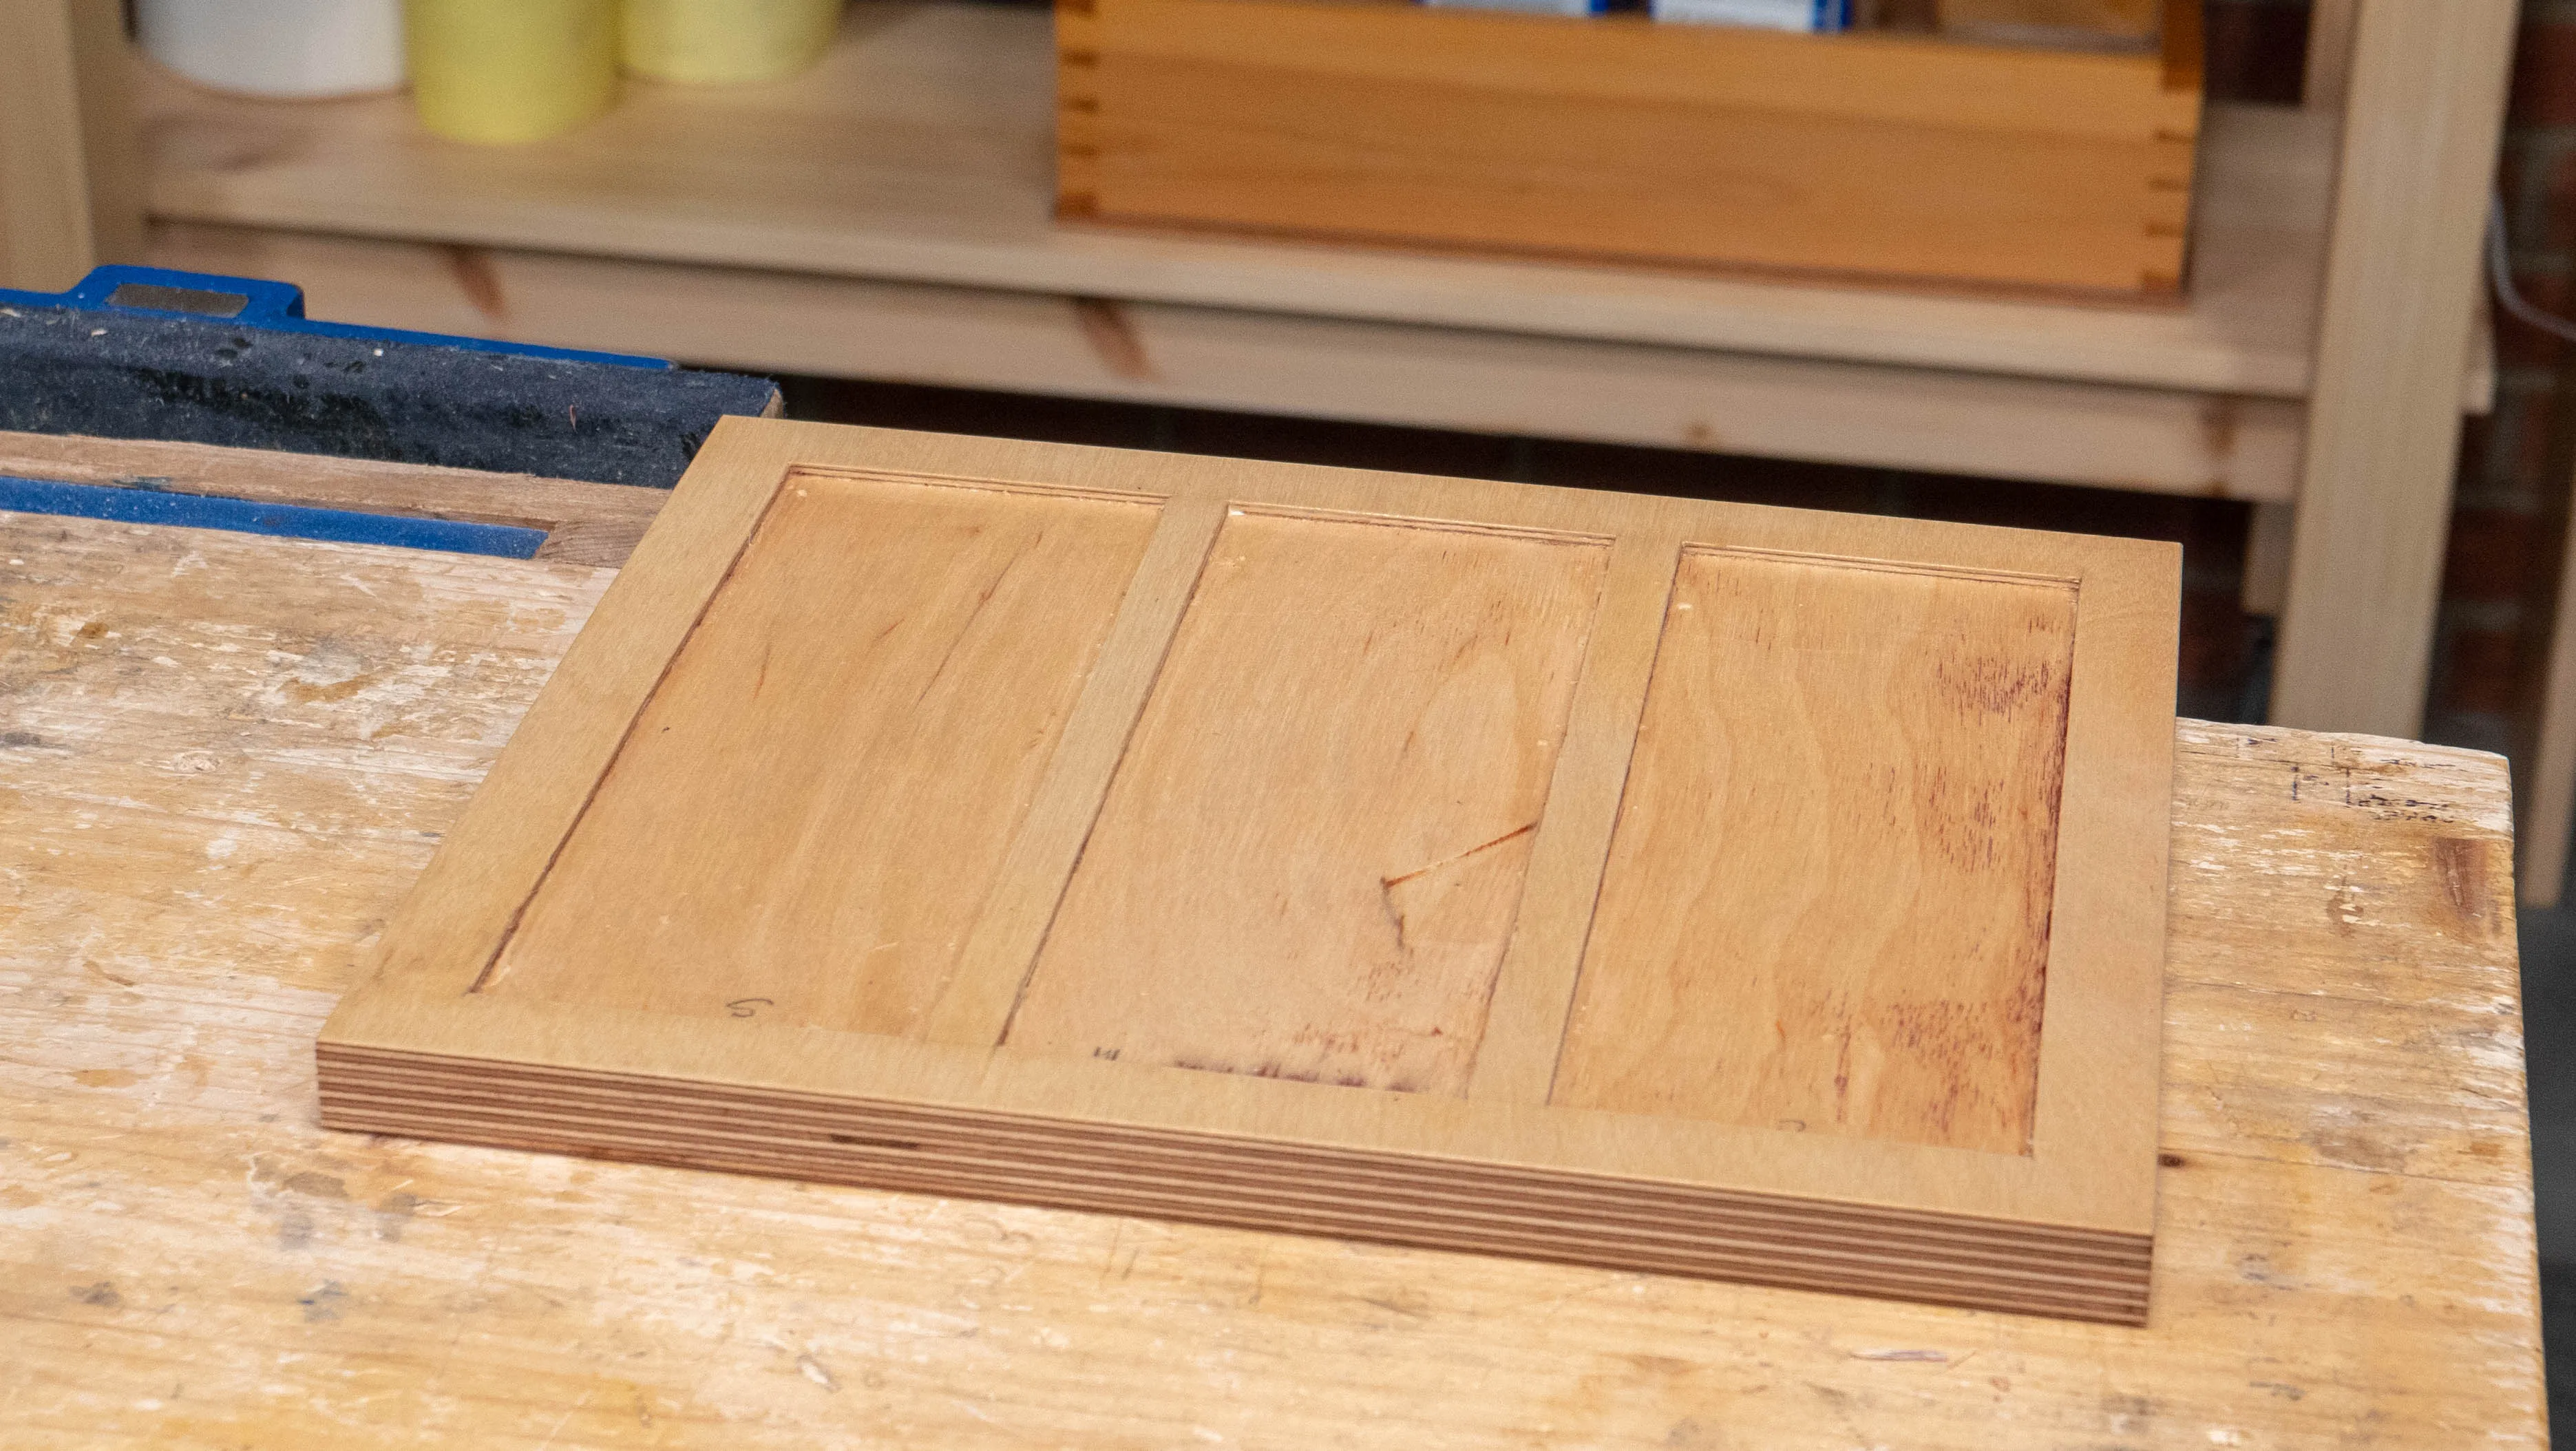
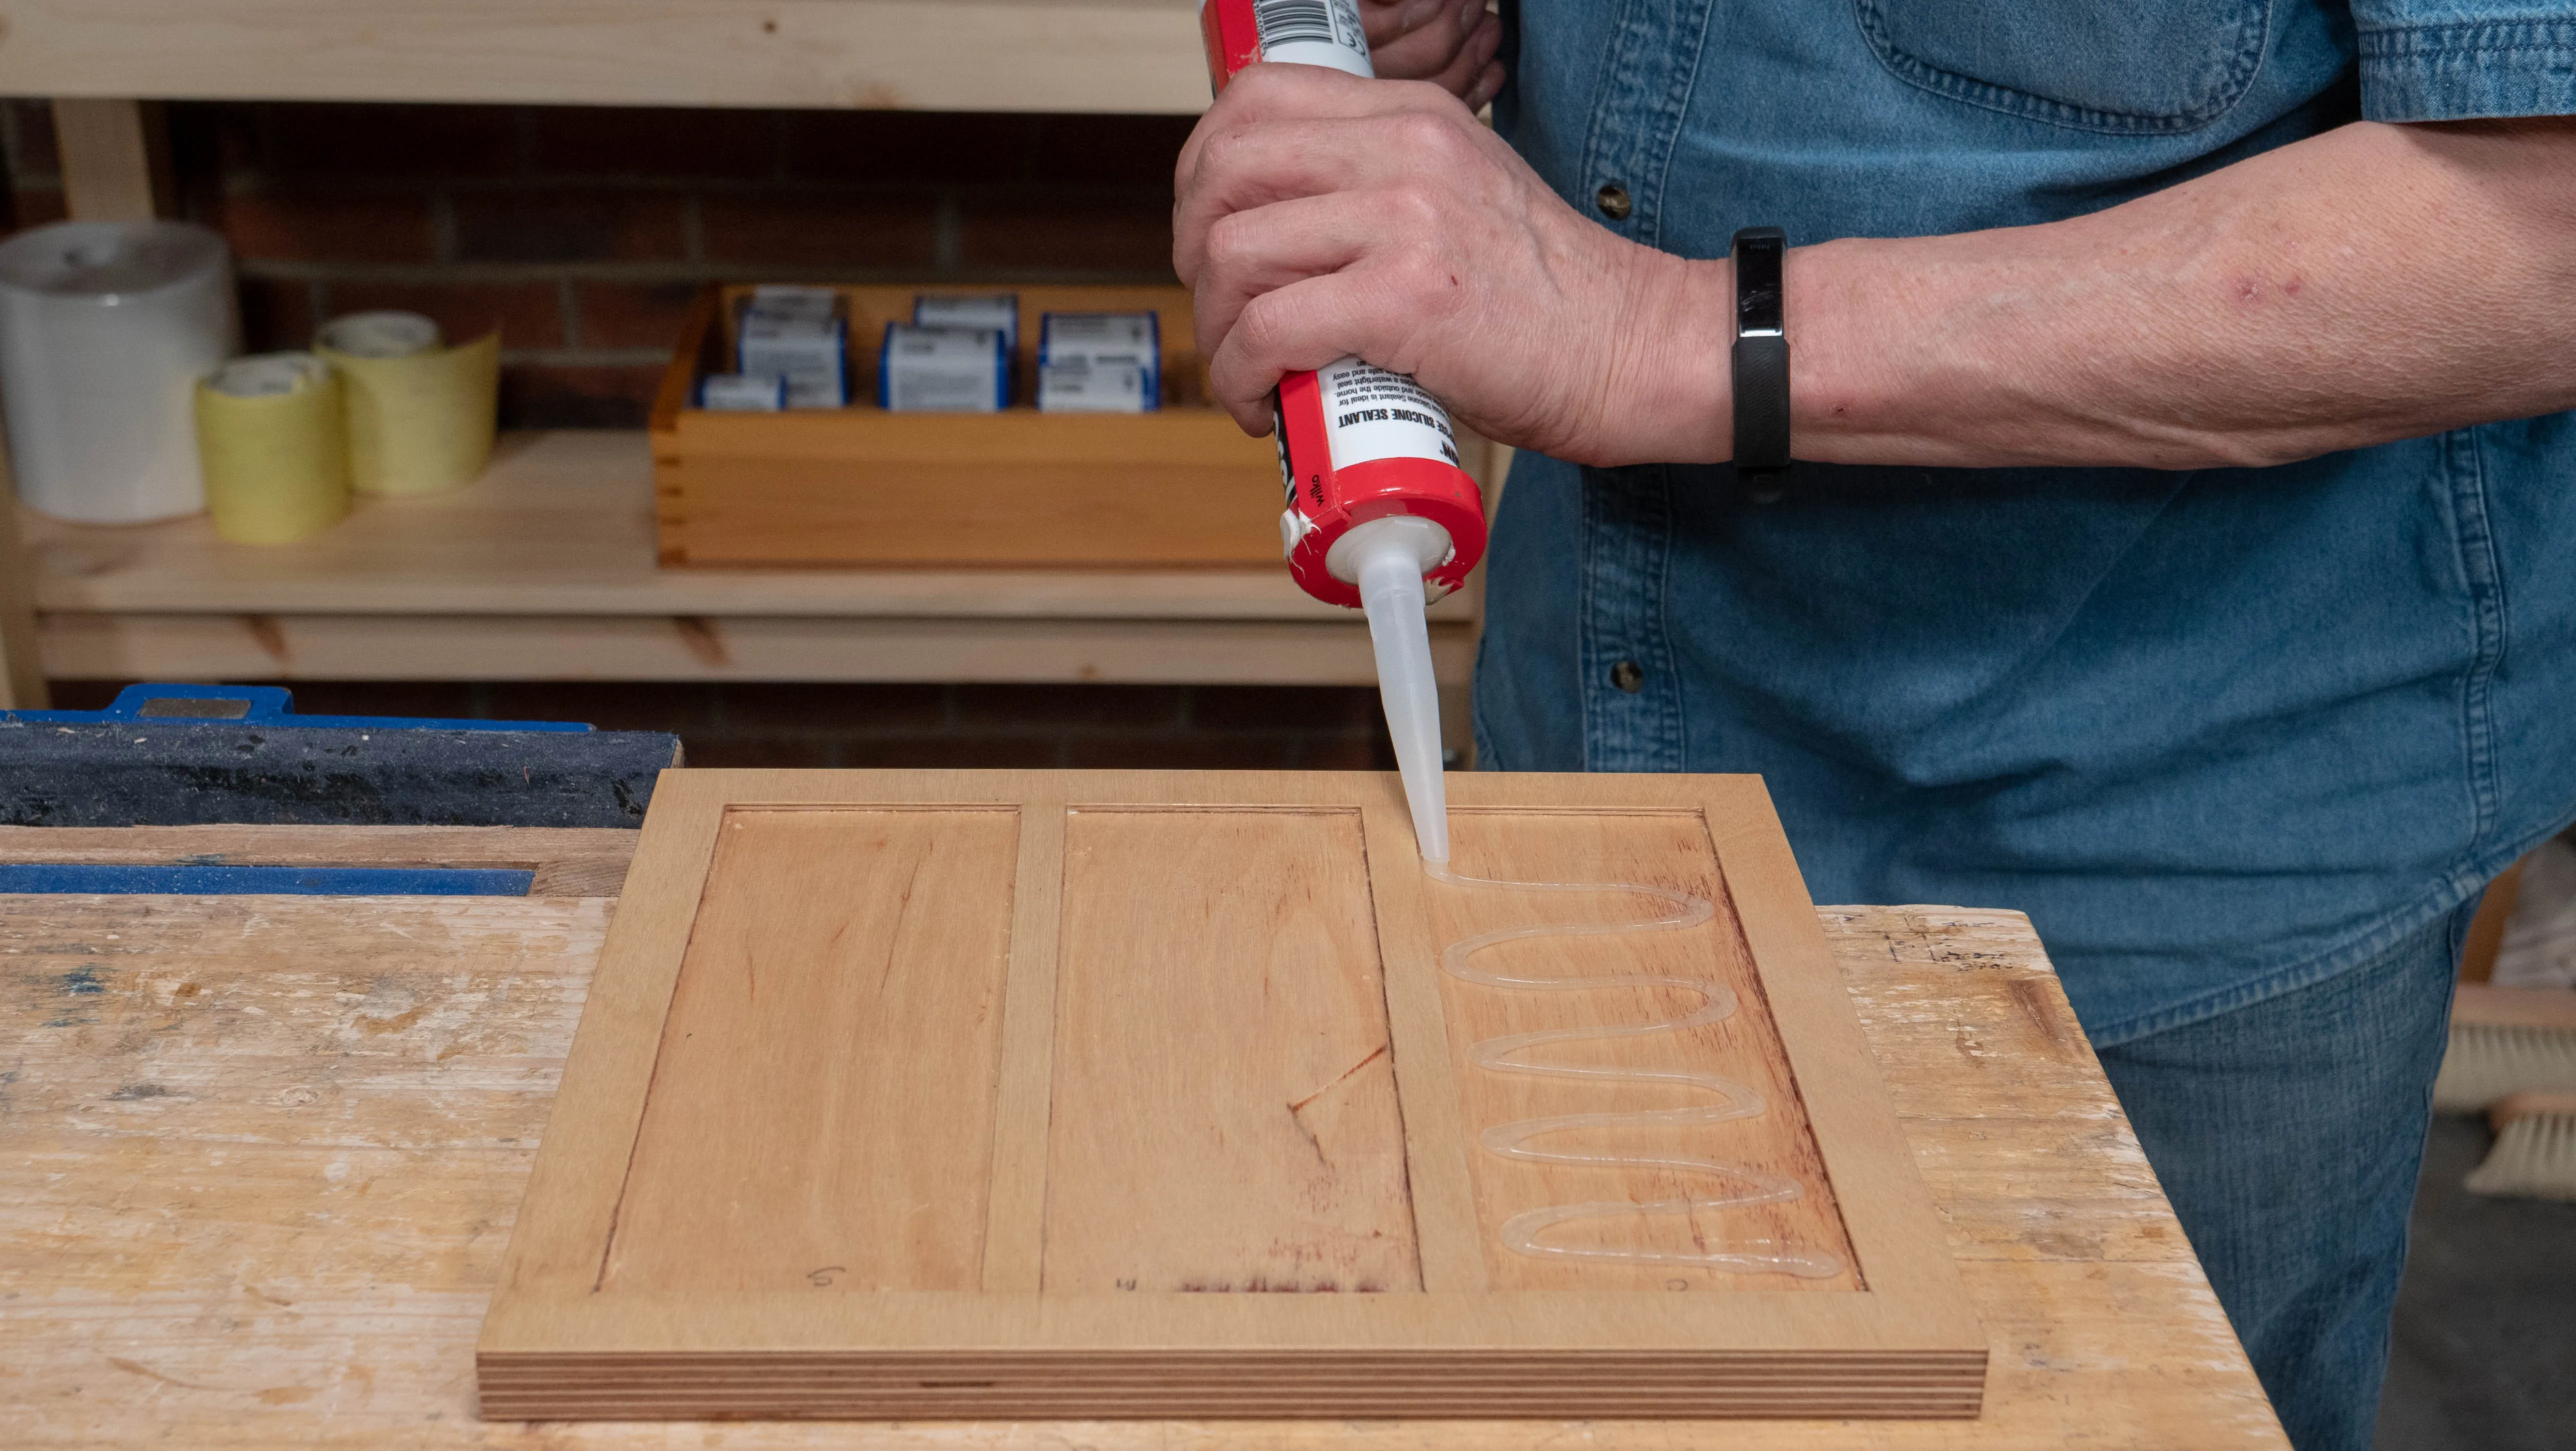
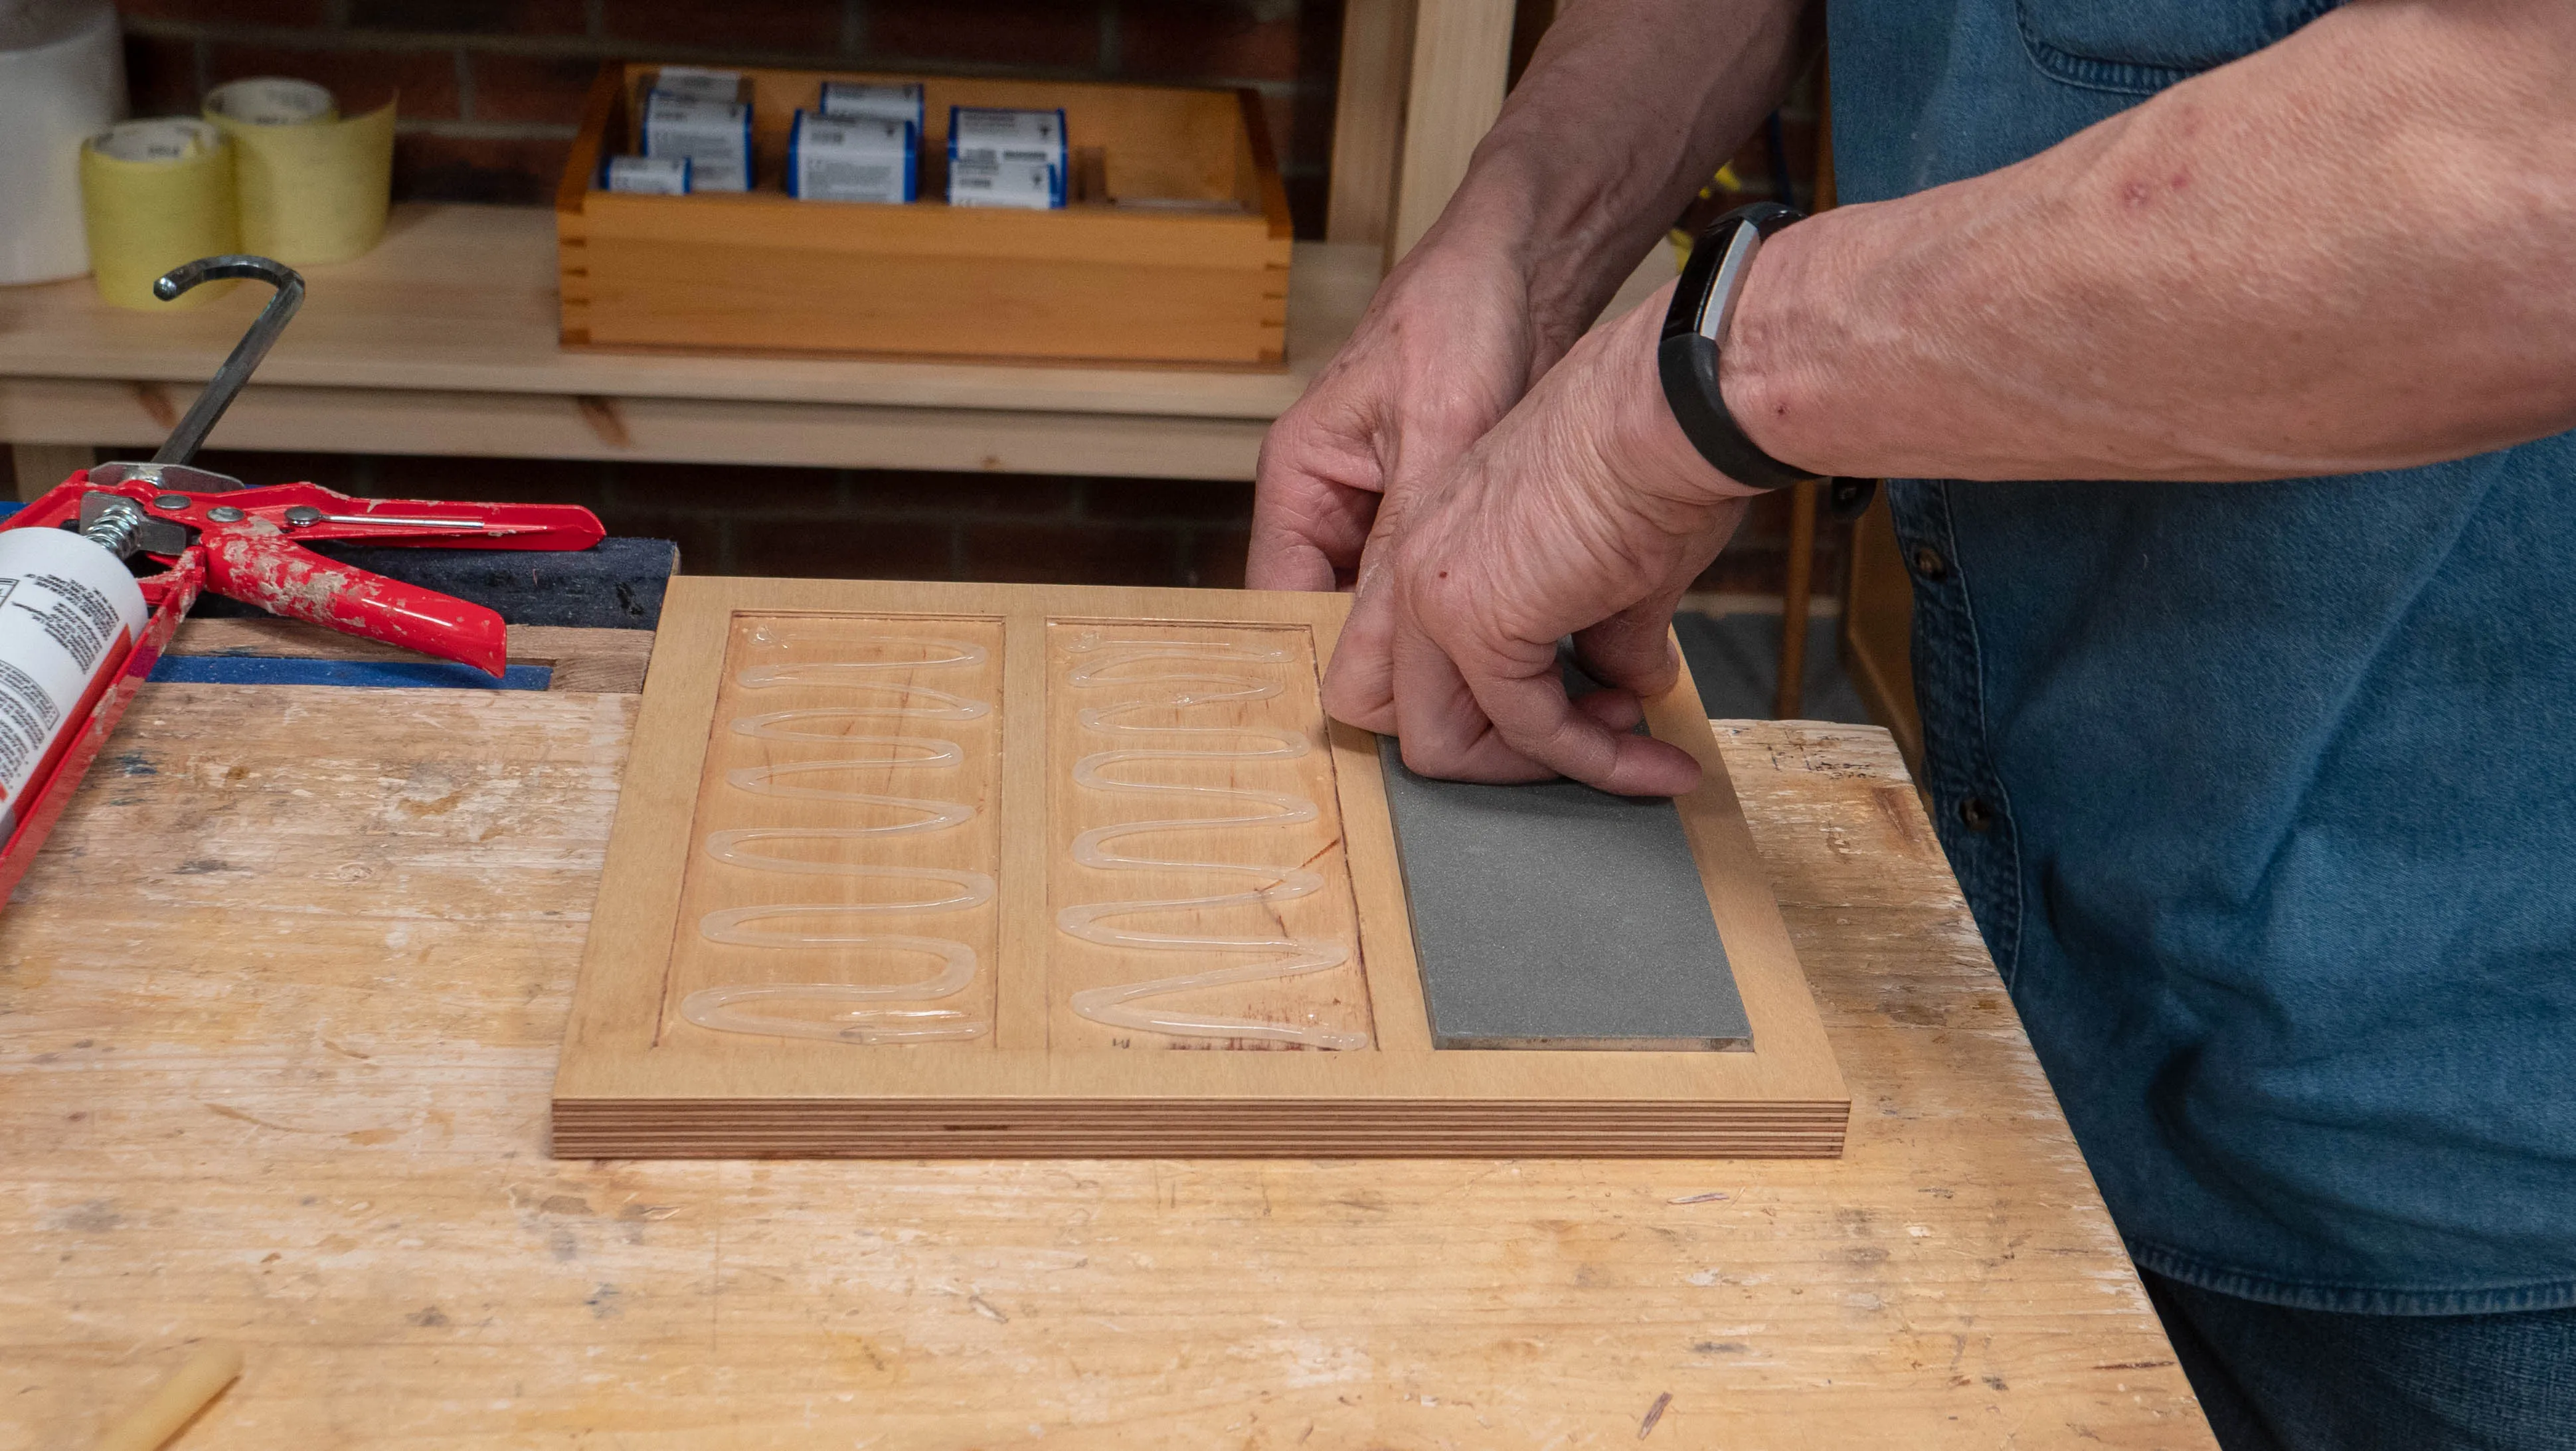
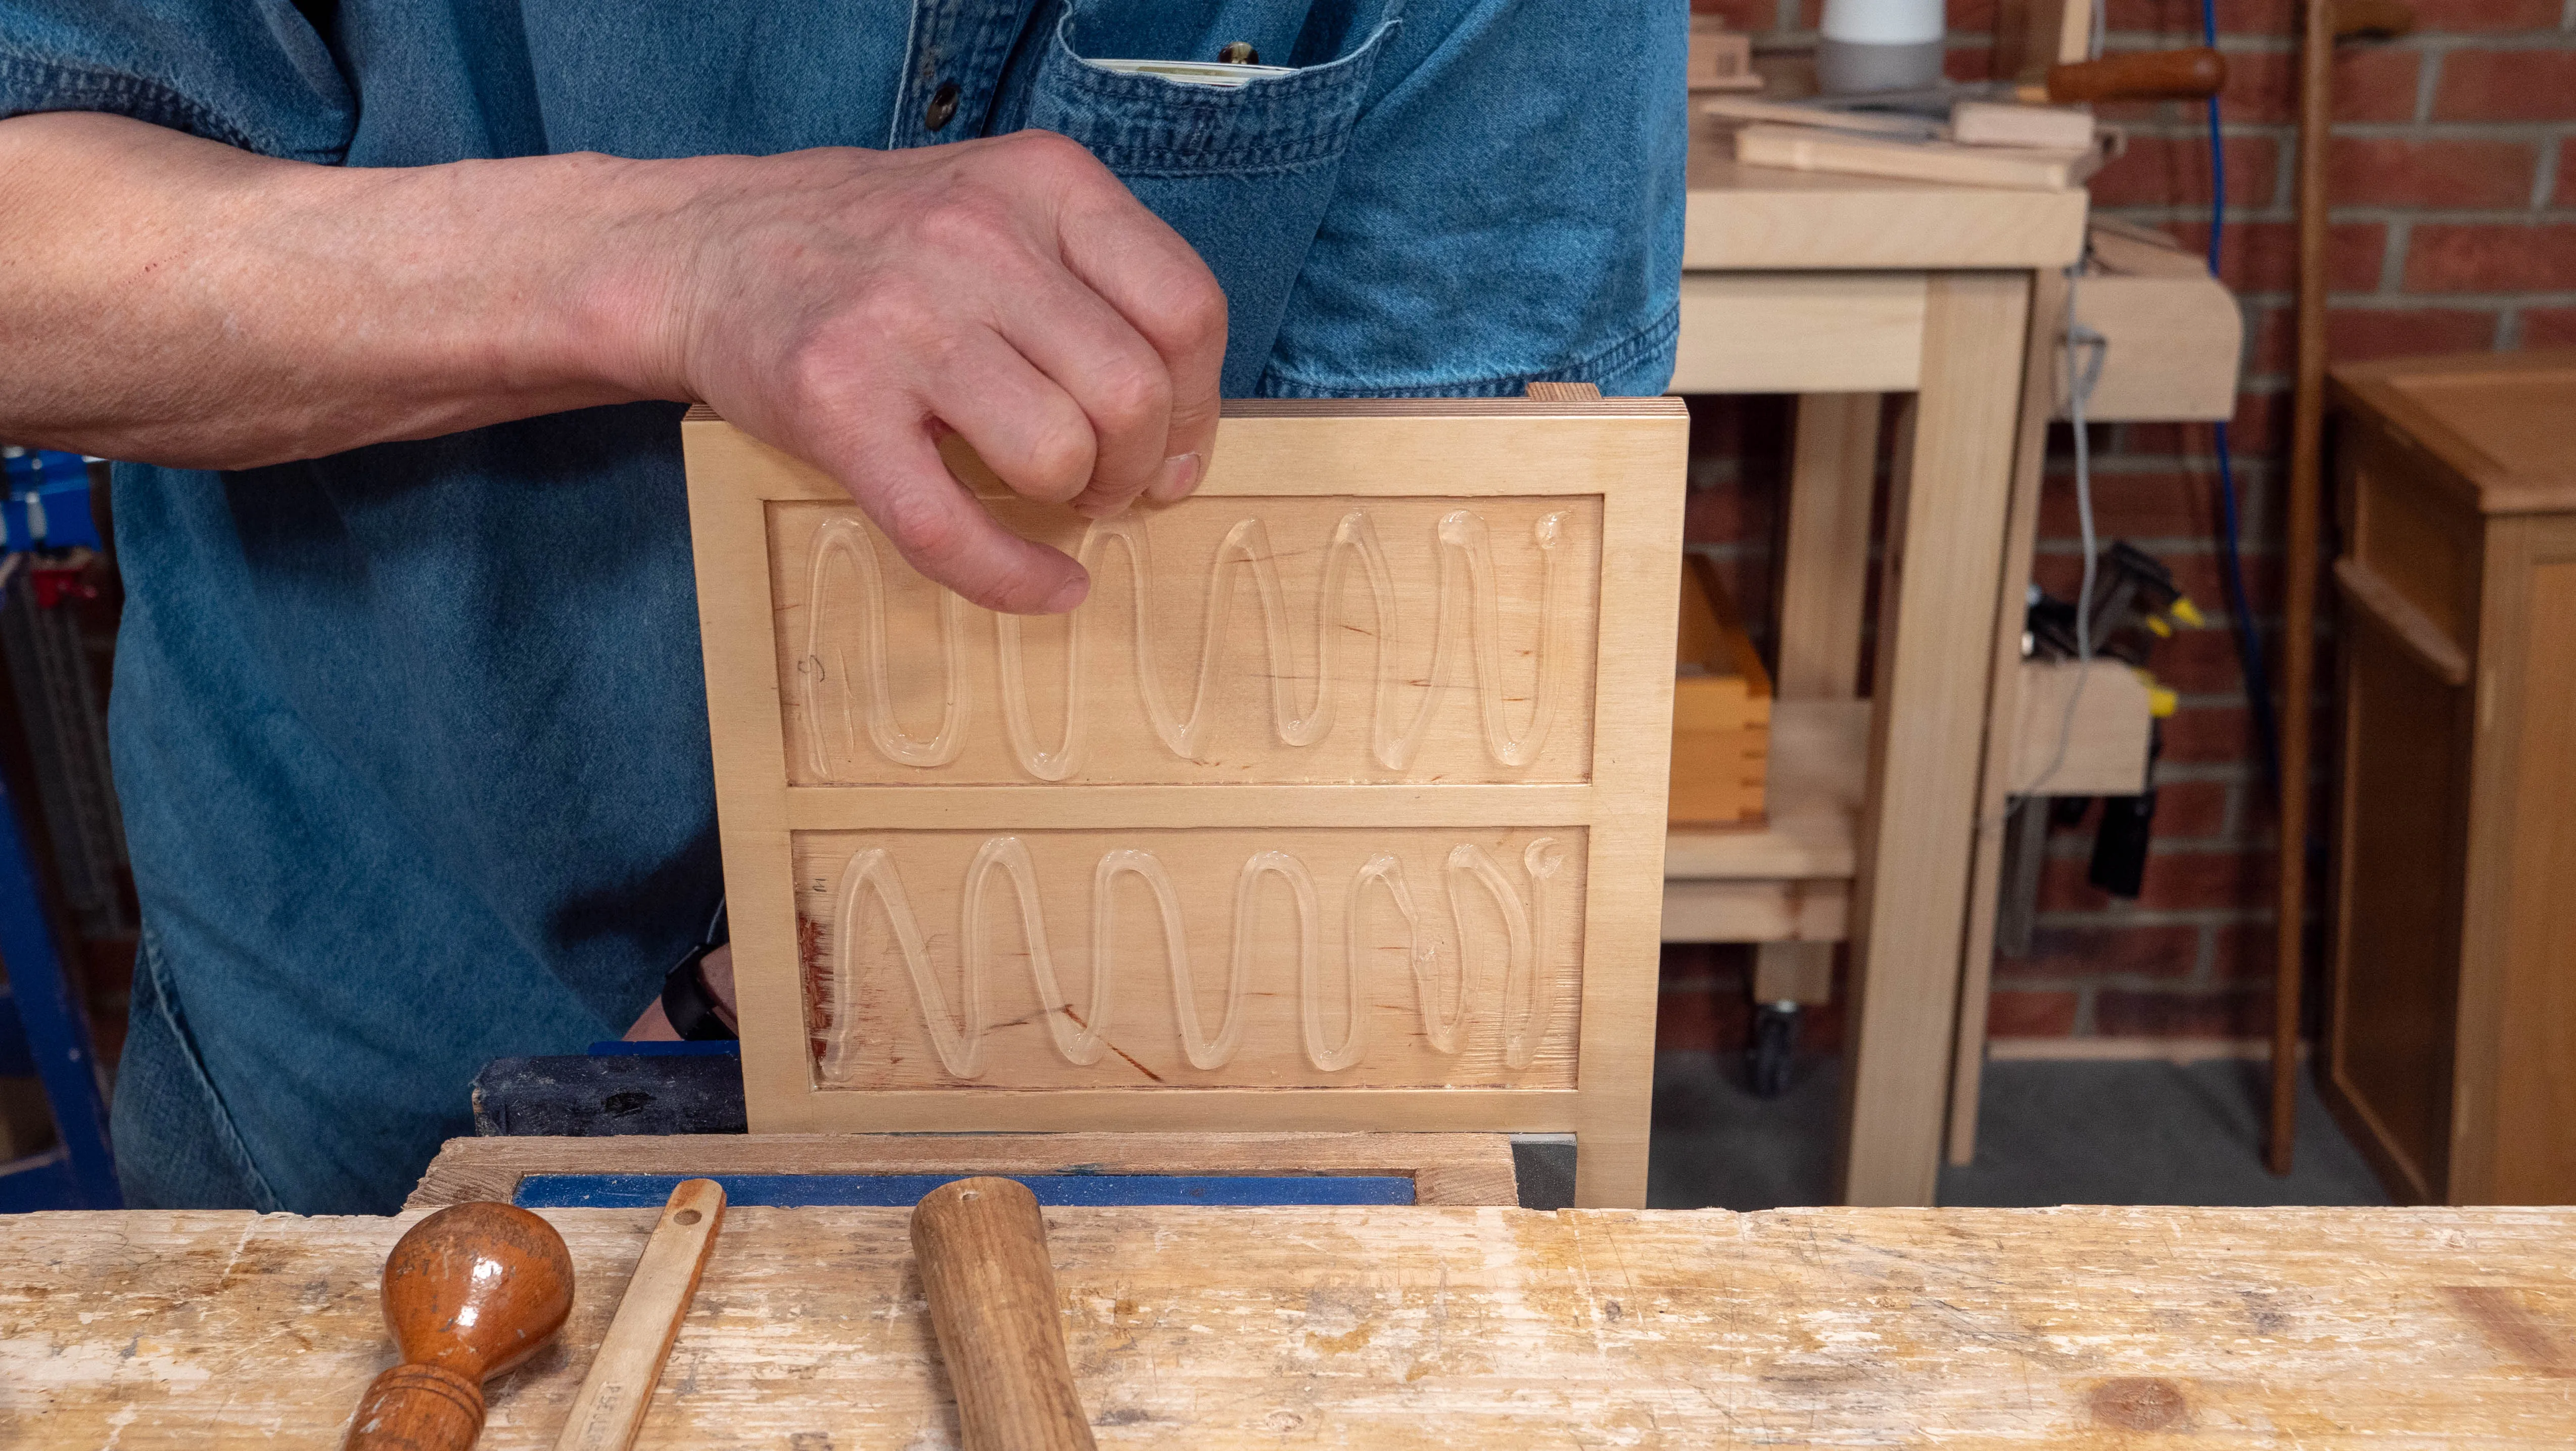
Once the finish is dry, use silicone to fix the stones in place in the recesses. This will enable you to remove them if you need to.
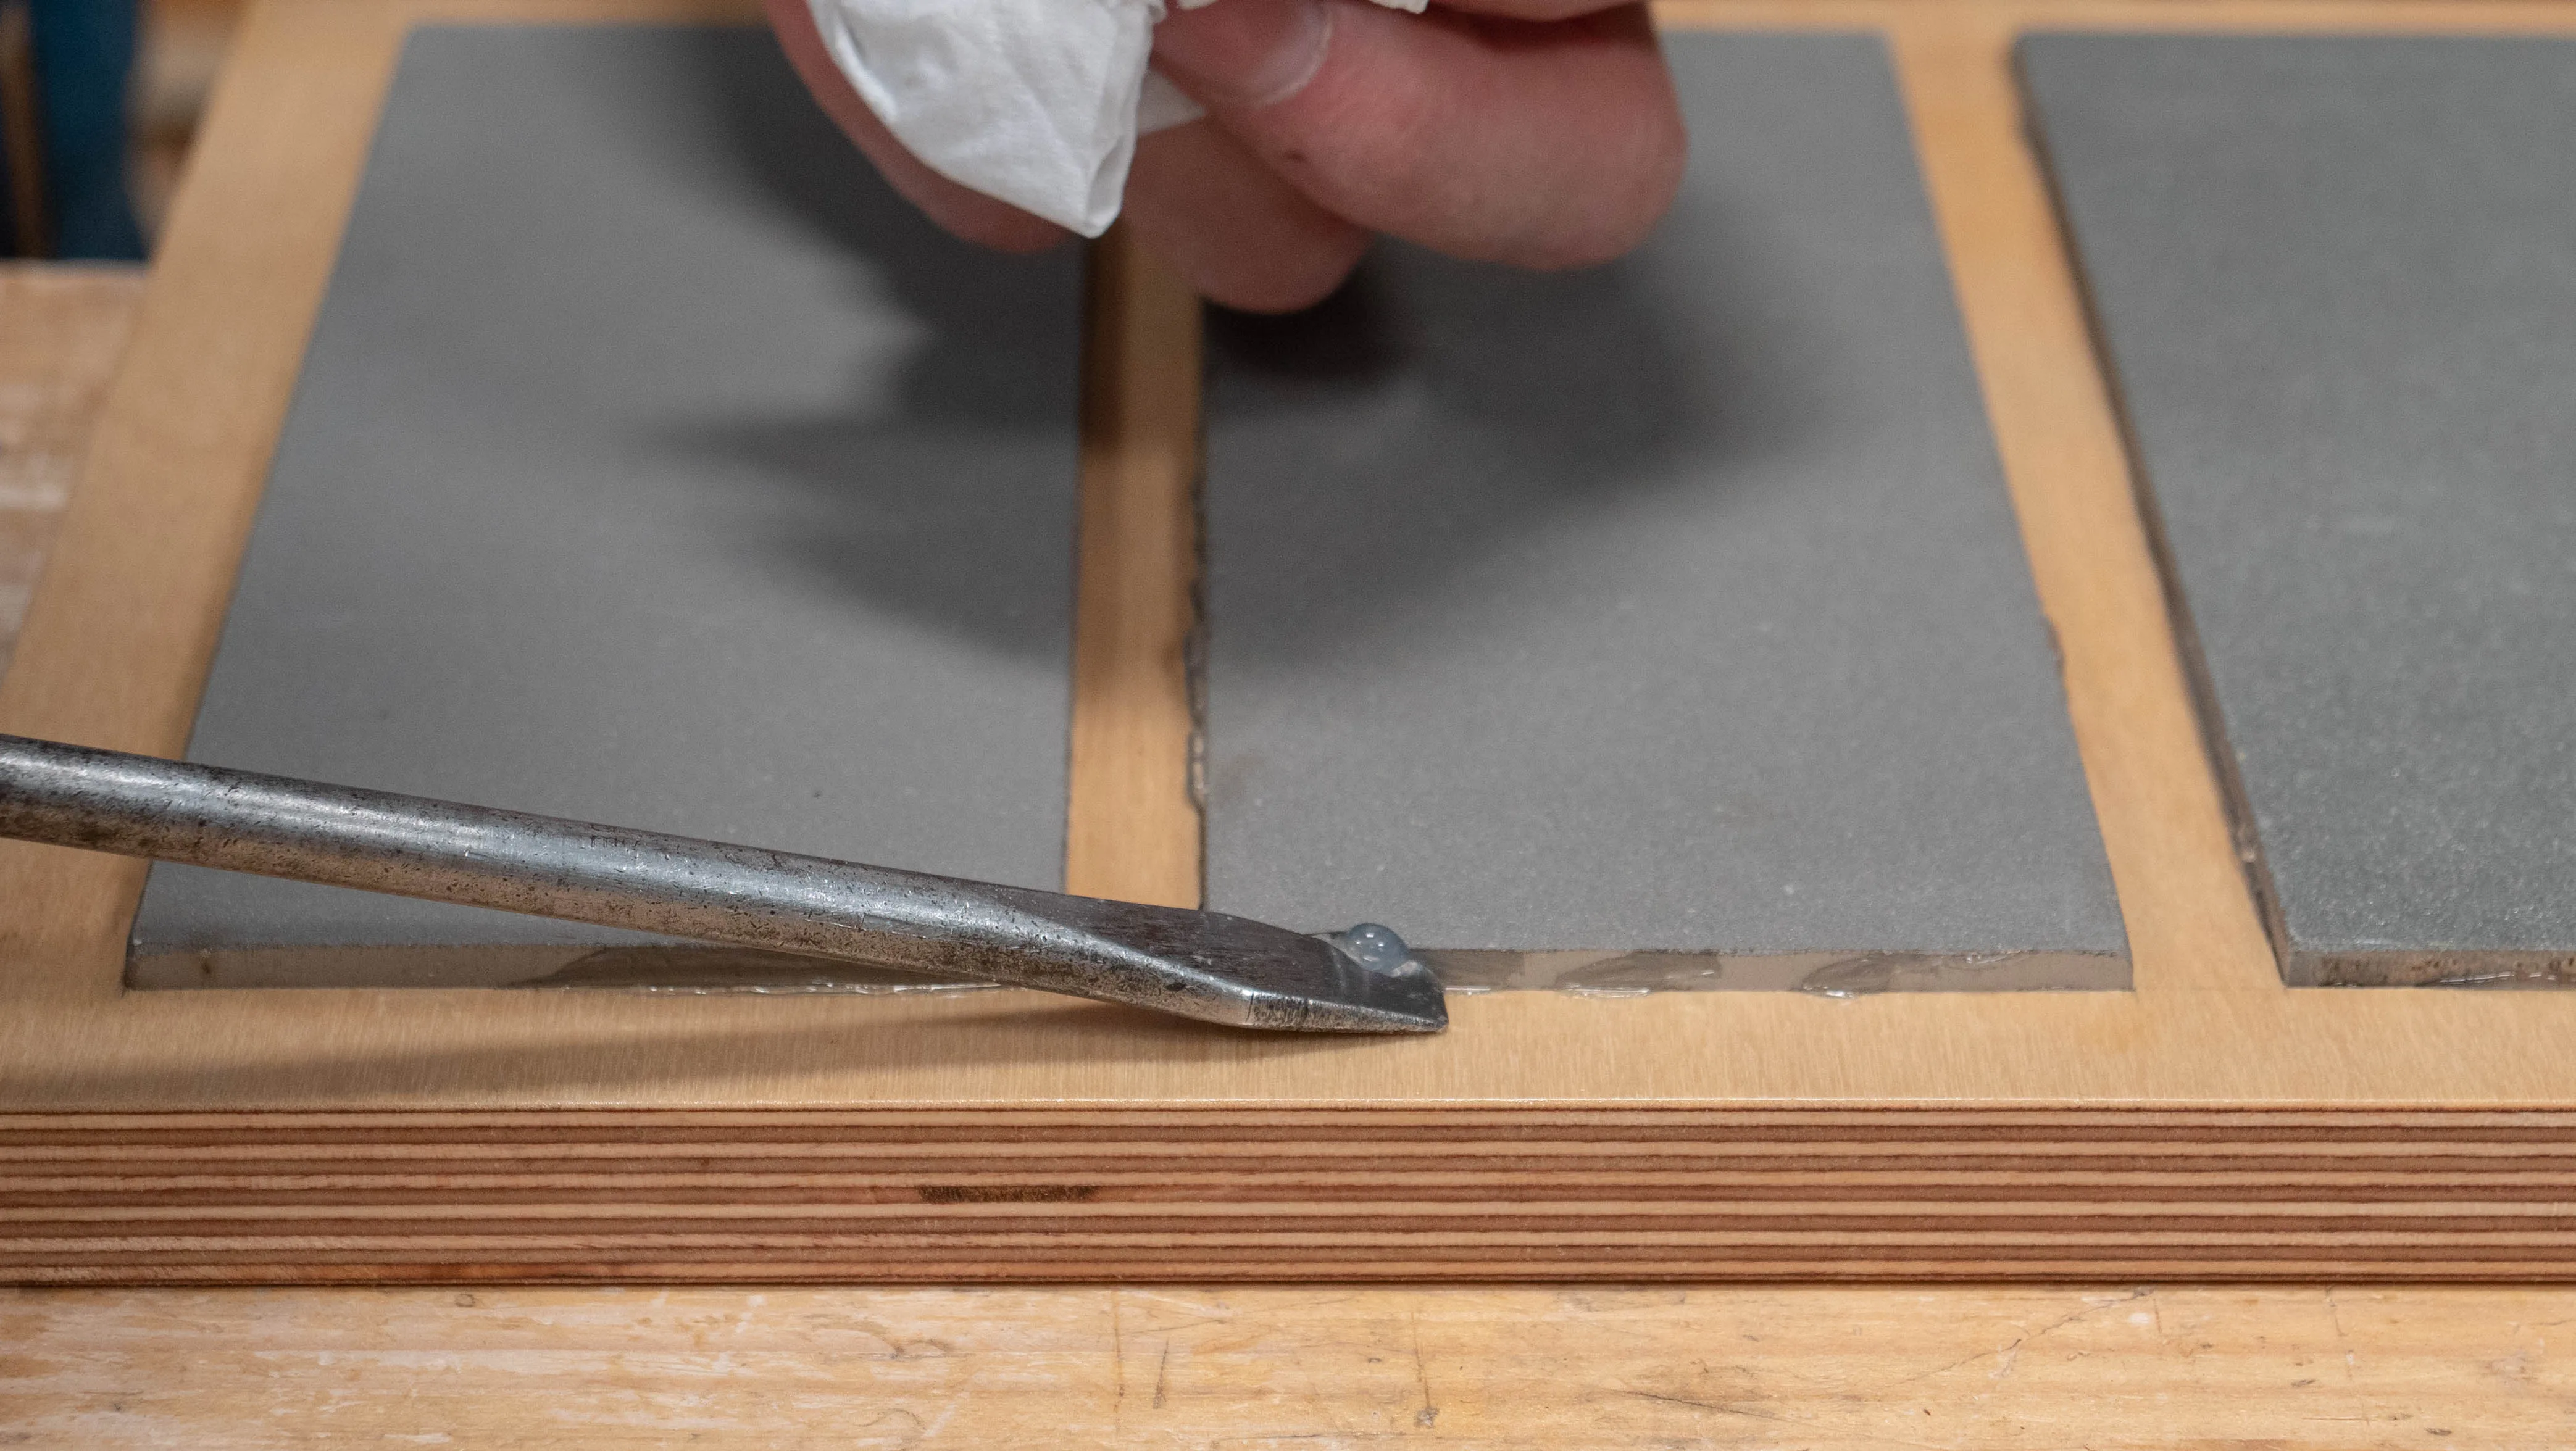
Note: Over time you may notice a build up around the edge of each diamond stone within the holder. This will be swarf residue. To remove it, just use a chisel bevel down, be sure not to touch the diamond stone and this may damage the edge of your chisel.
Using the Holder
To learn how to sharpen your tools, see our Sharpening a Chisel guide.