How to Make a Rag-in-a-Can Oiler
Note: Some oils spontaneously combust. See Paul's blog post here. Do not use these in the rag-in-a-can-oiler.
Note: Some oils spontaneously combust. See Paul’s blog post here. Do not use these in the rag-in-a-can-oiler.
Equipment Needed:
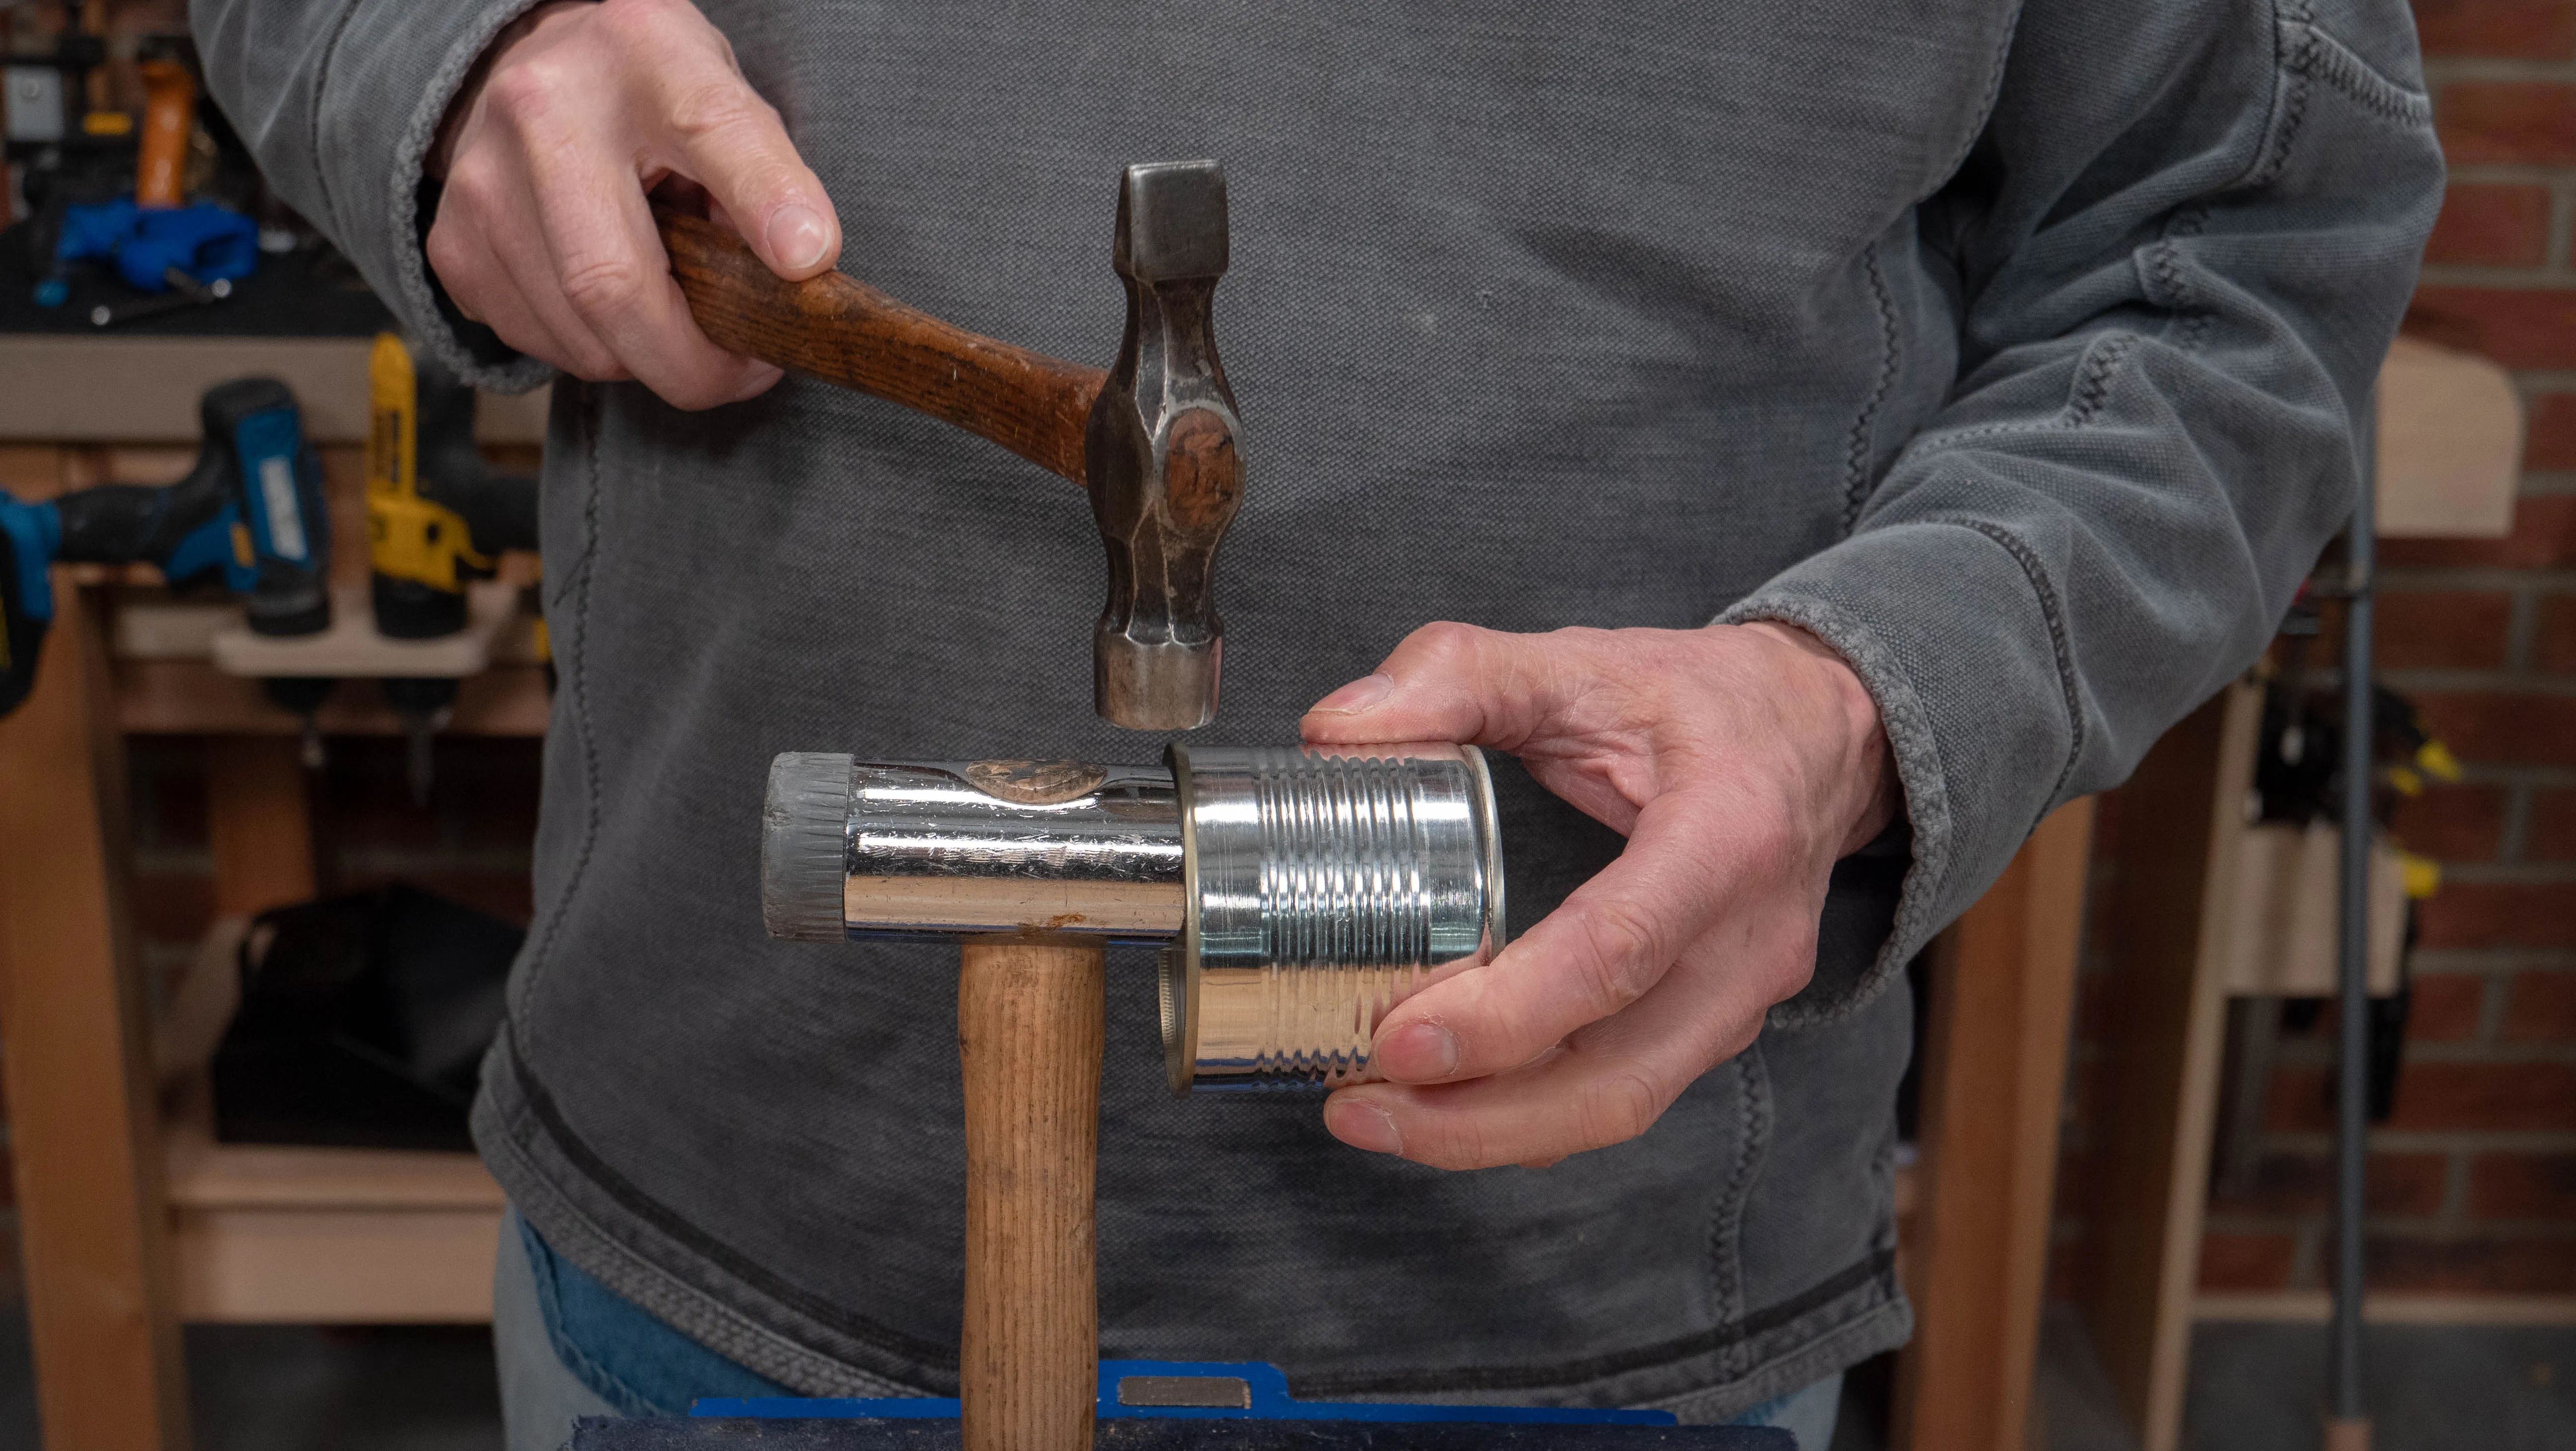
Use a chisel hammer in the vise and a steel hammer to remove the sharp inside edge. Make sure you are resting on the metal part of the chisel hammer, not the nylon or rubber face.
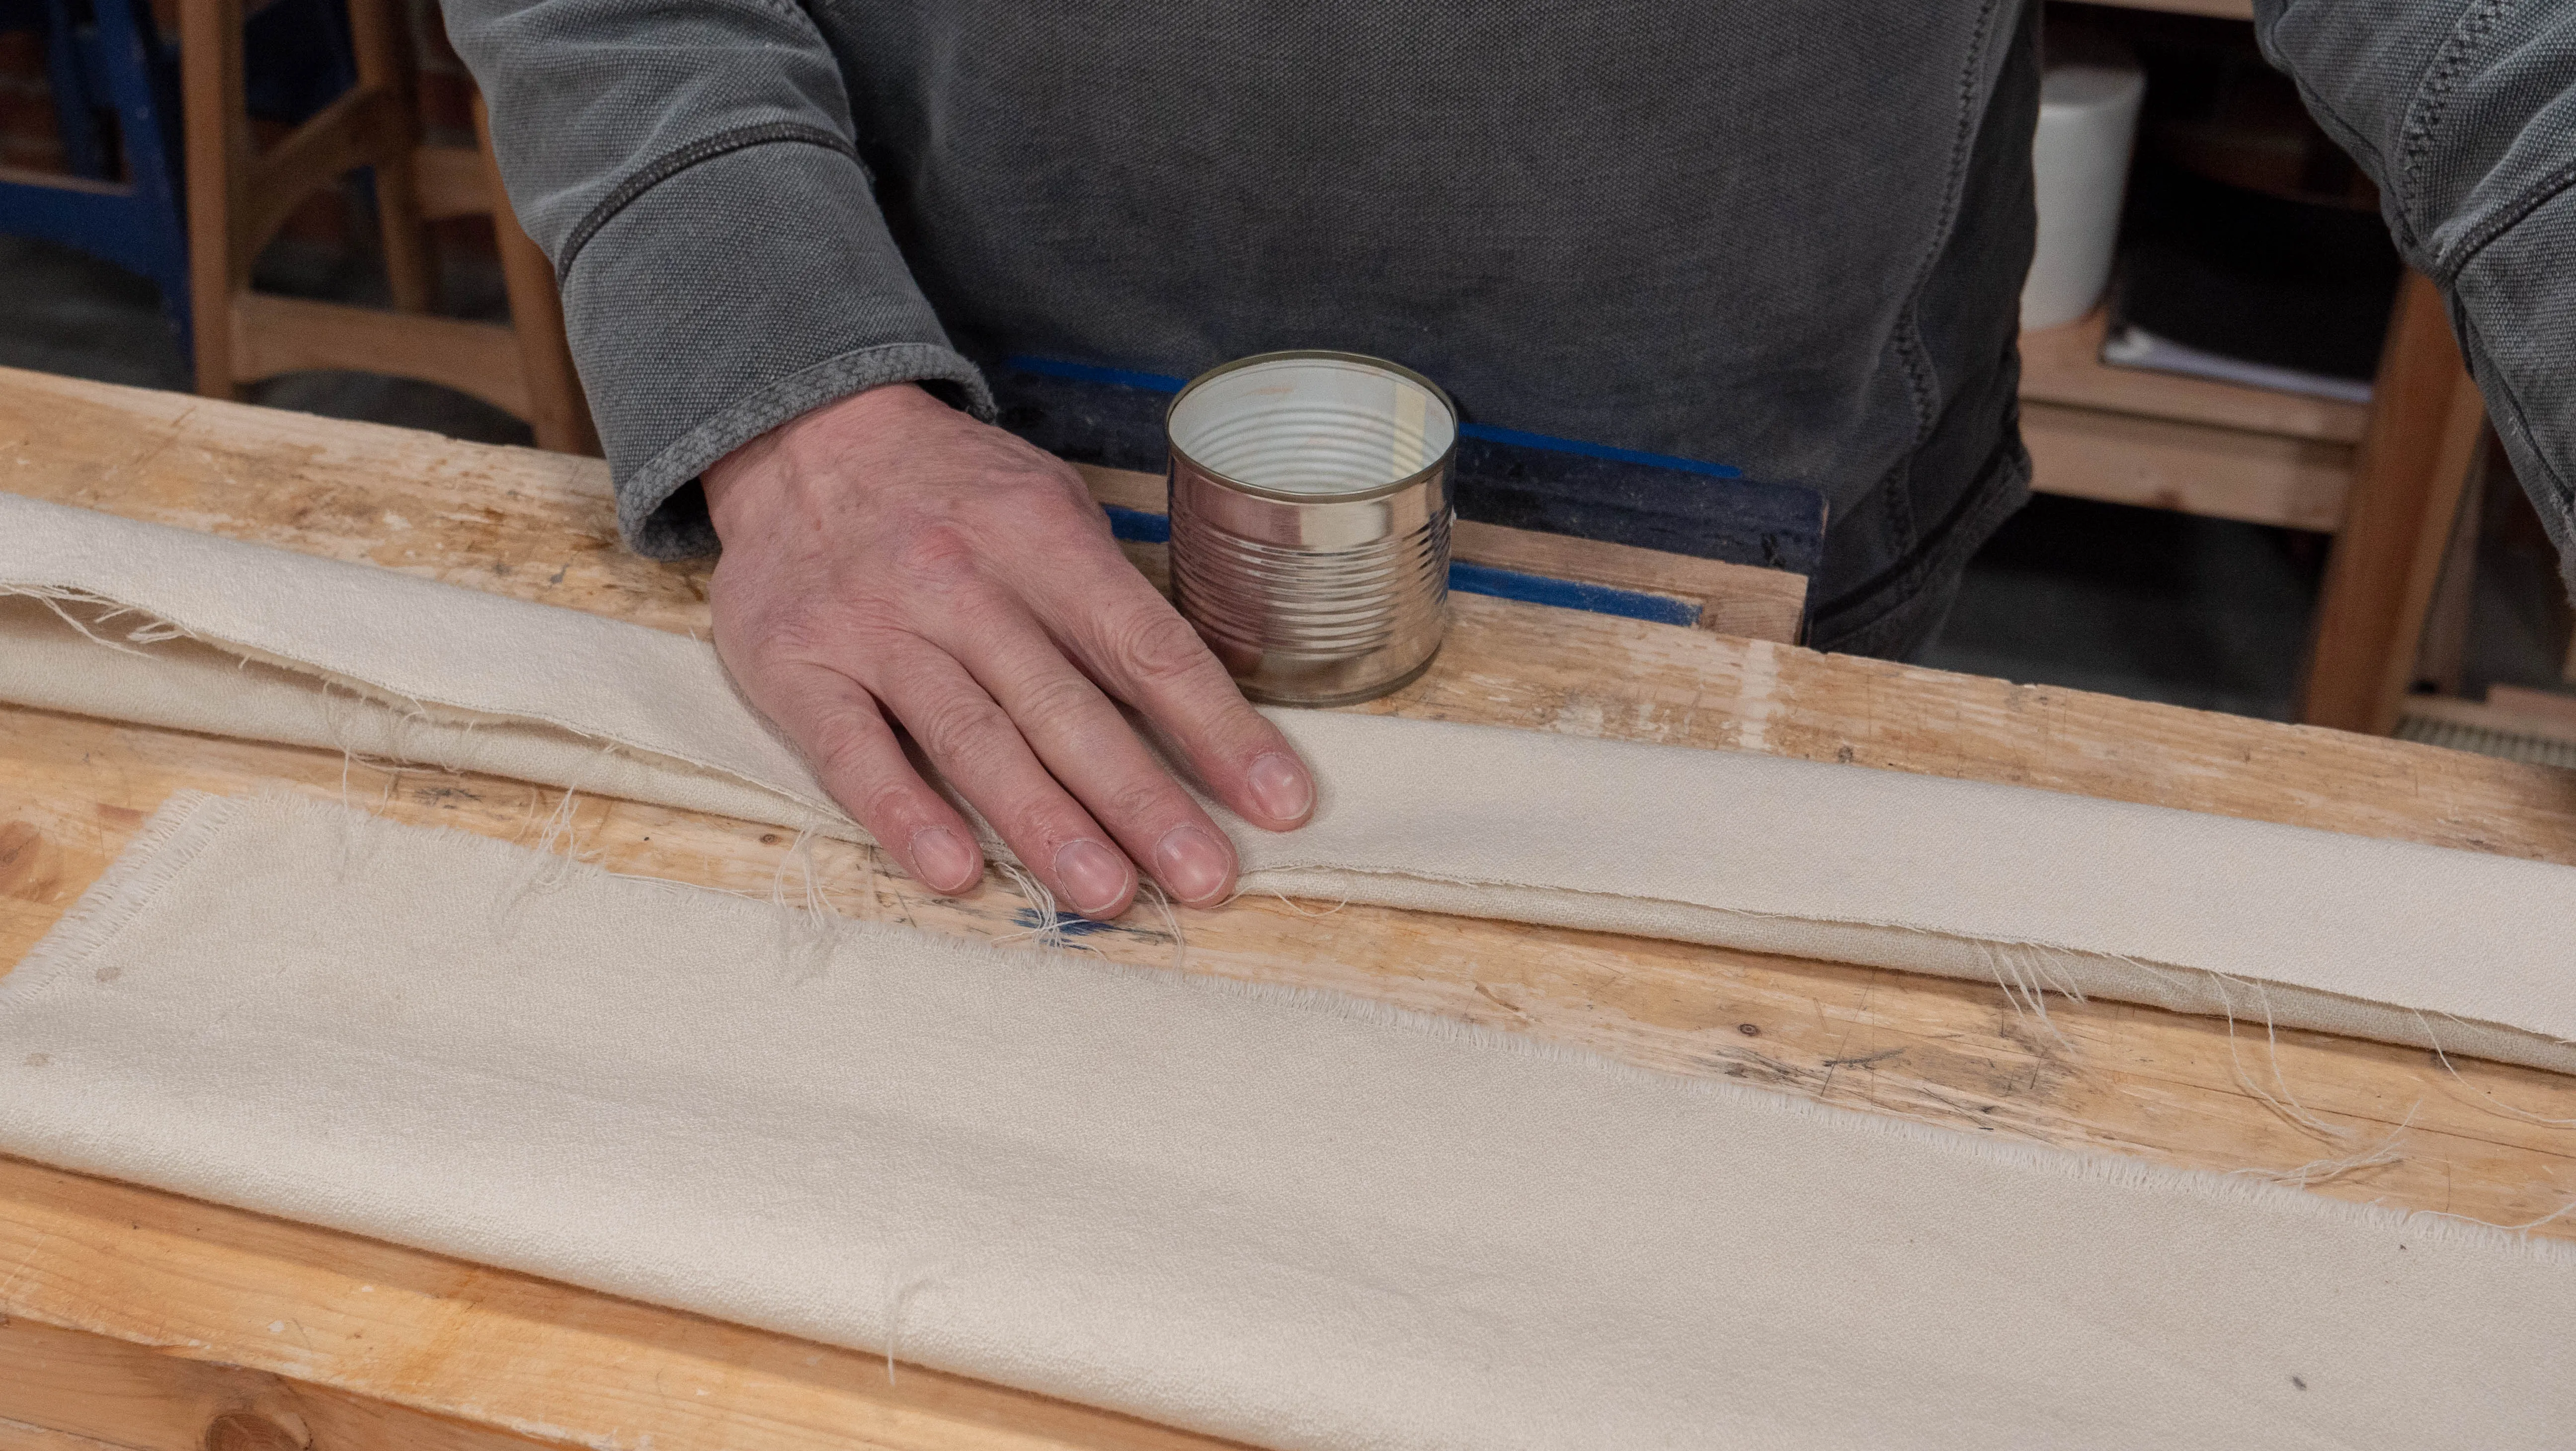
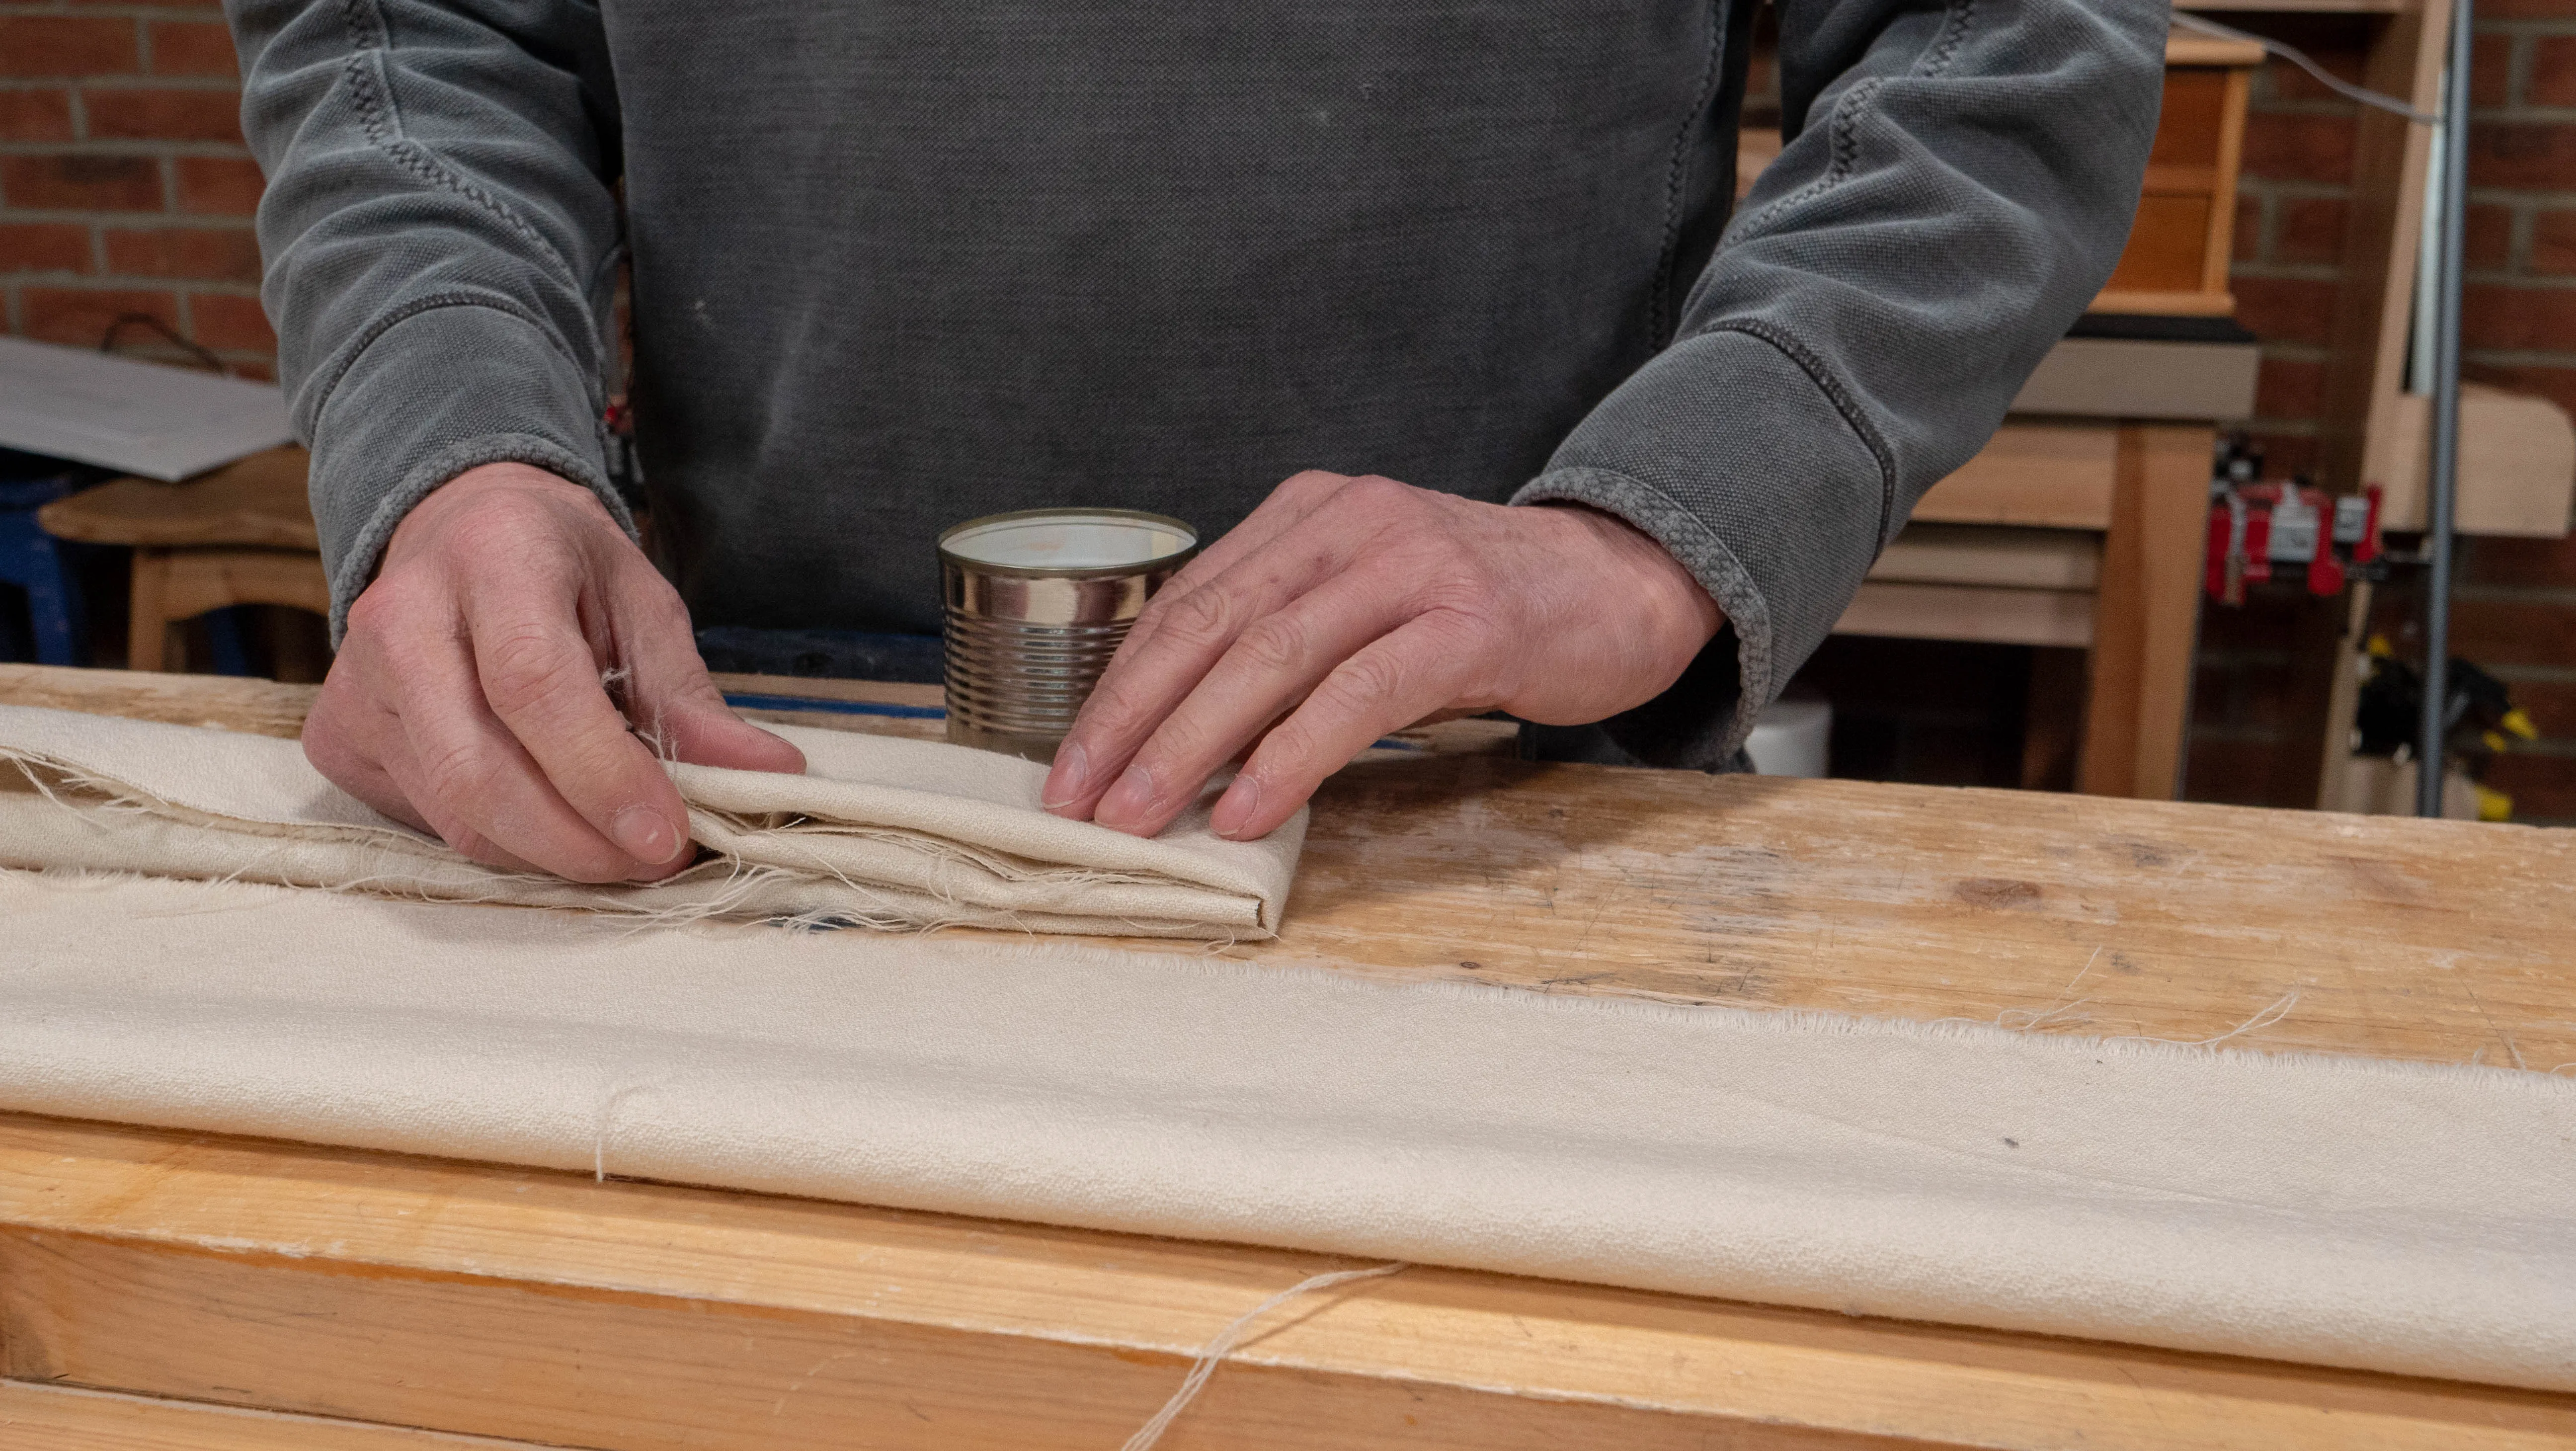
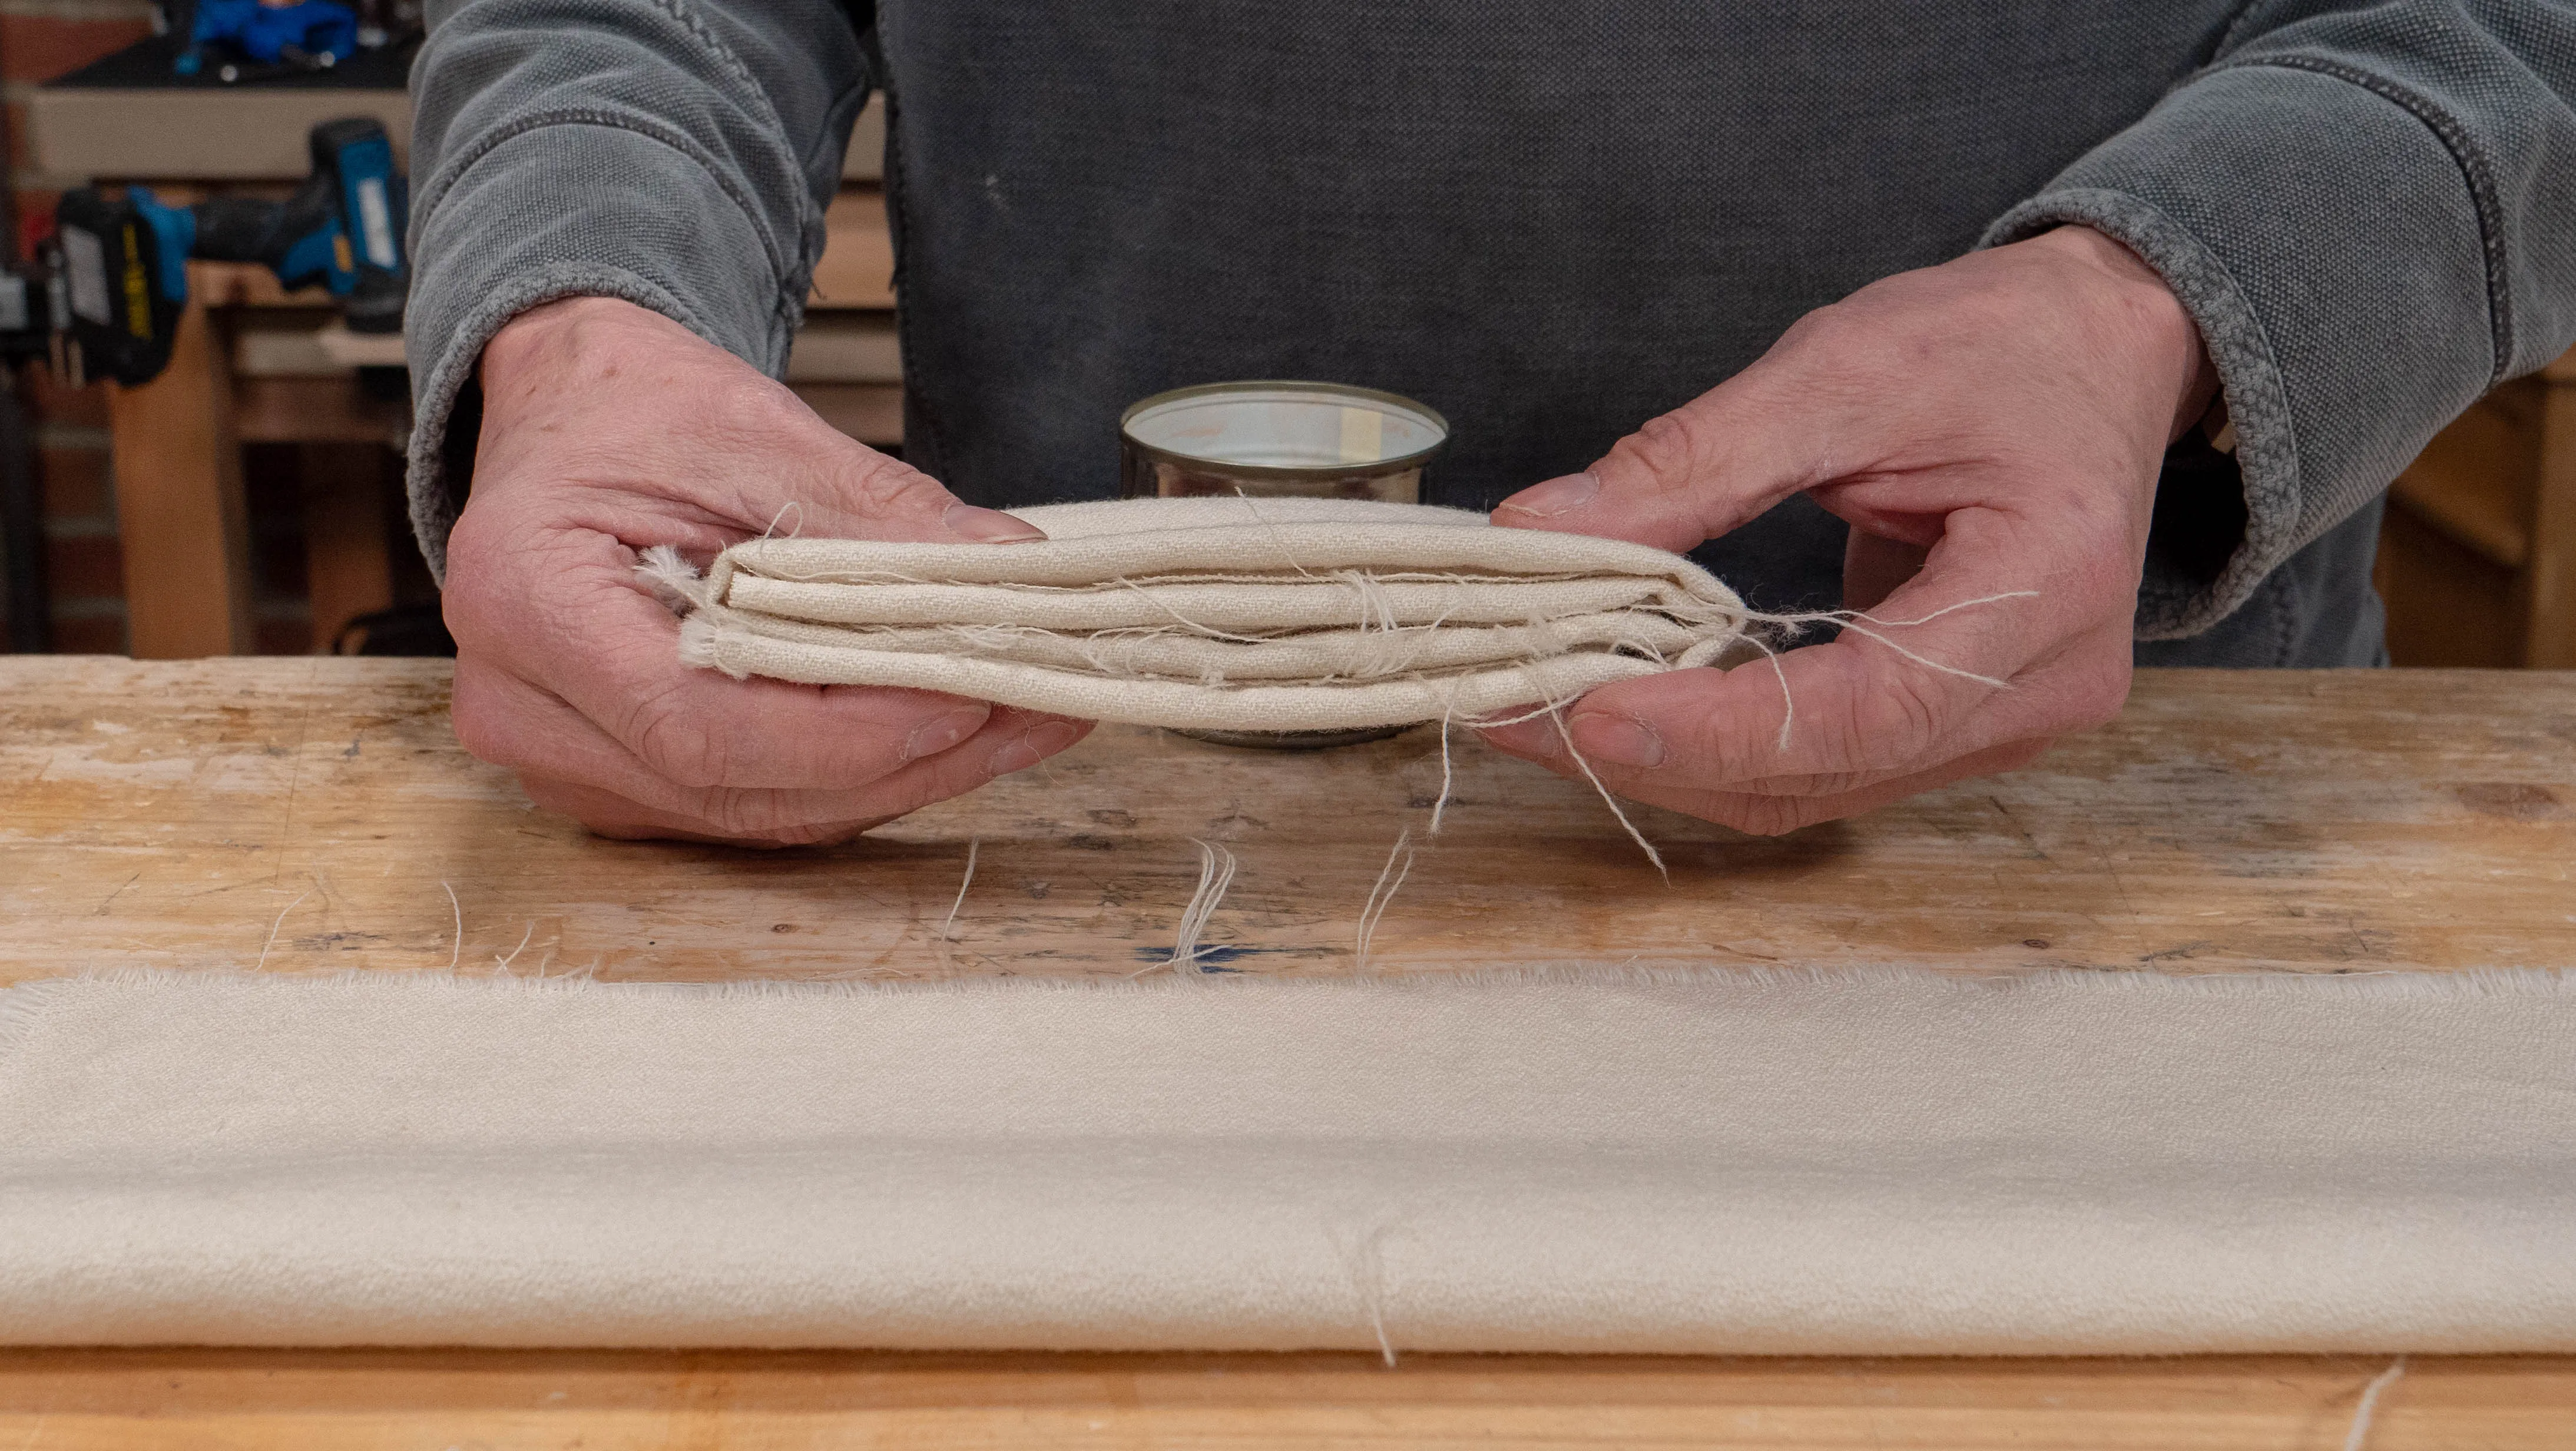
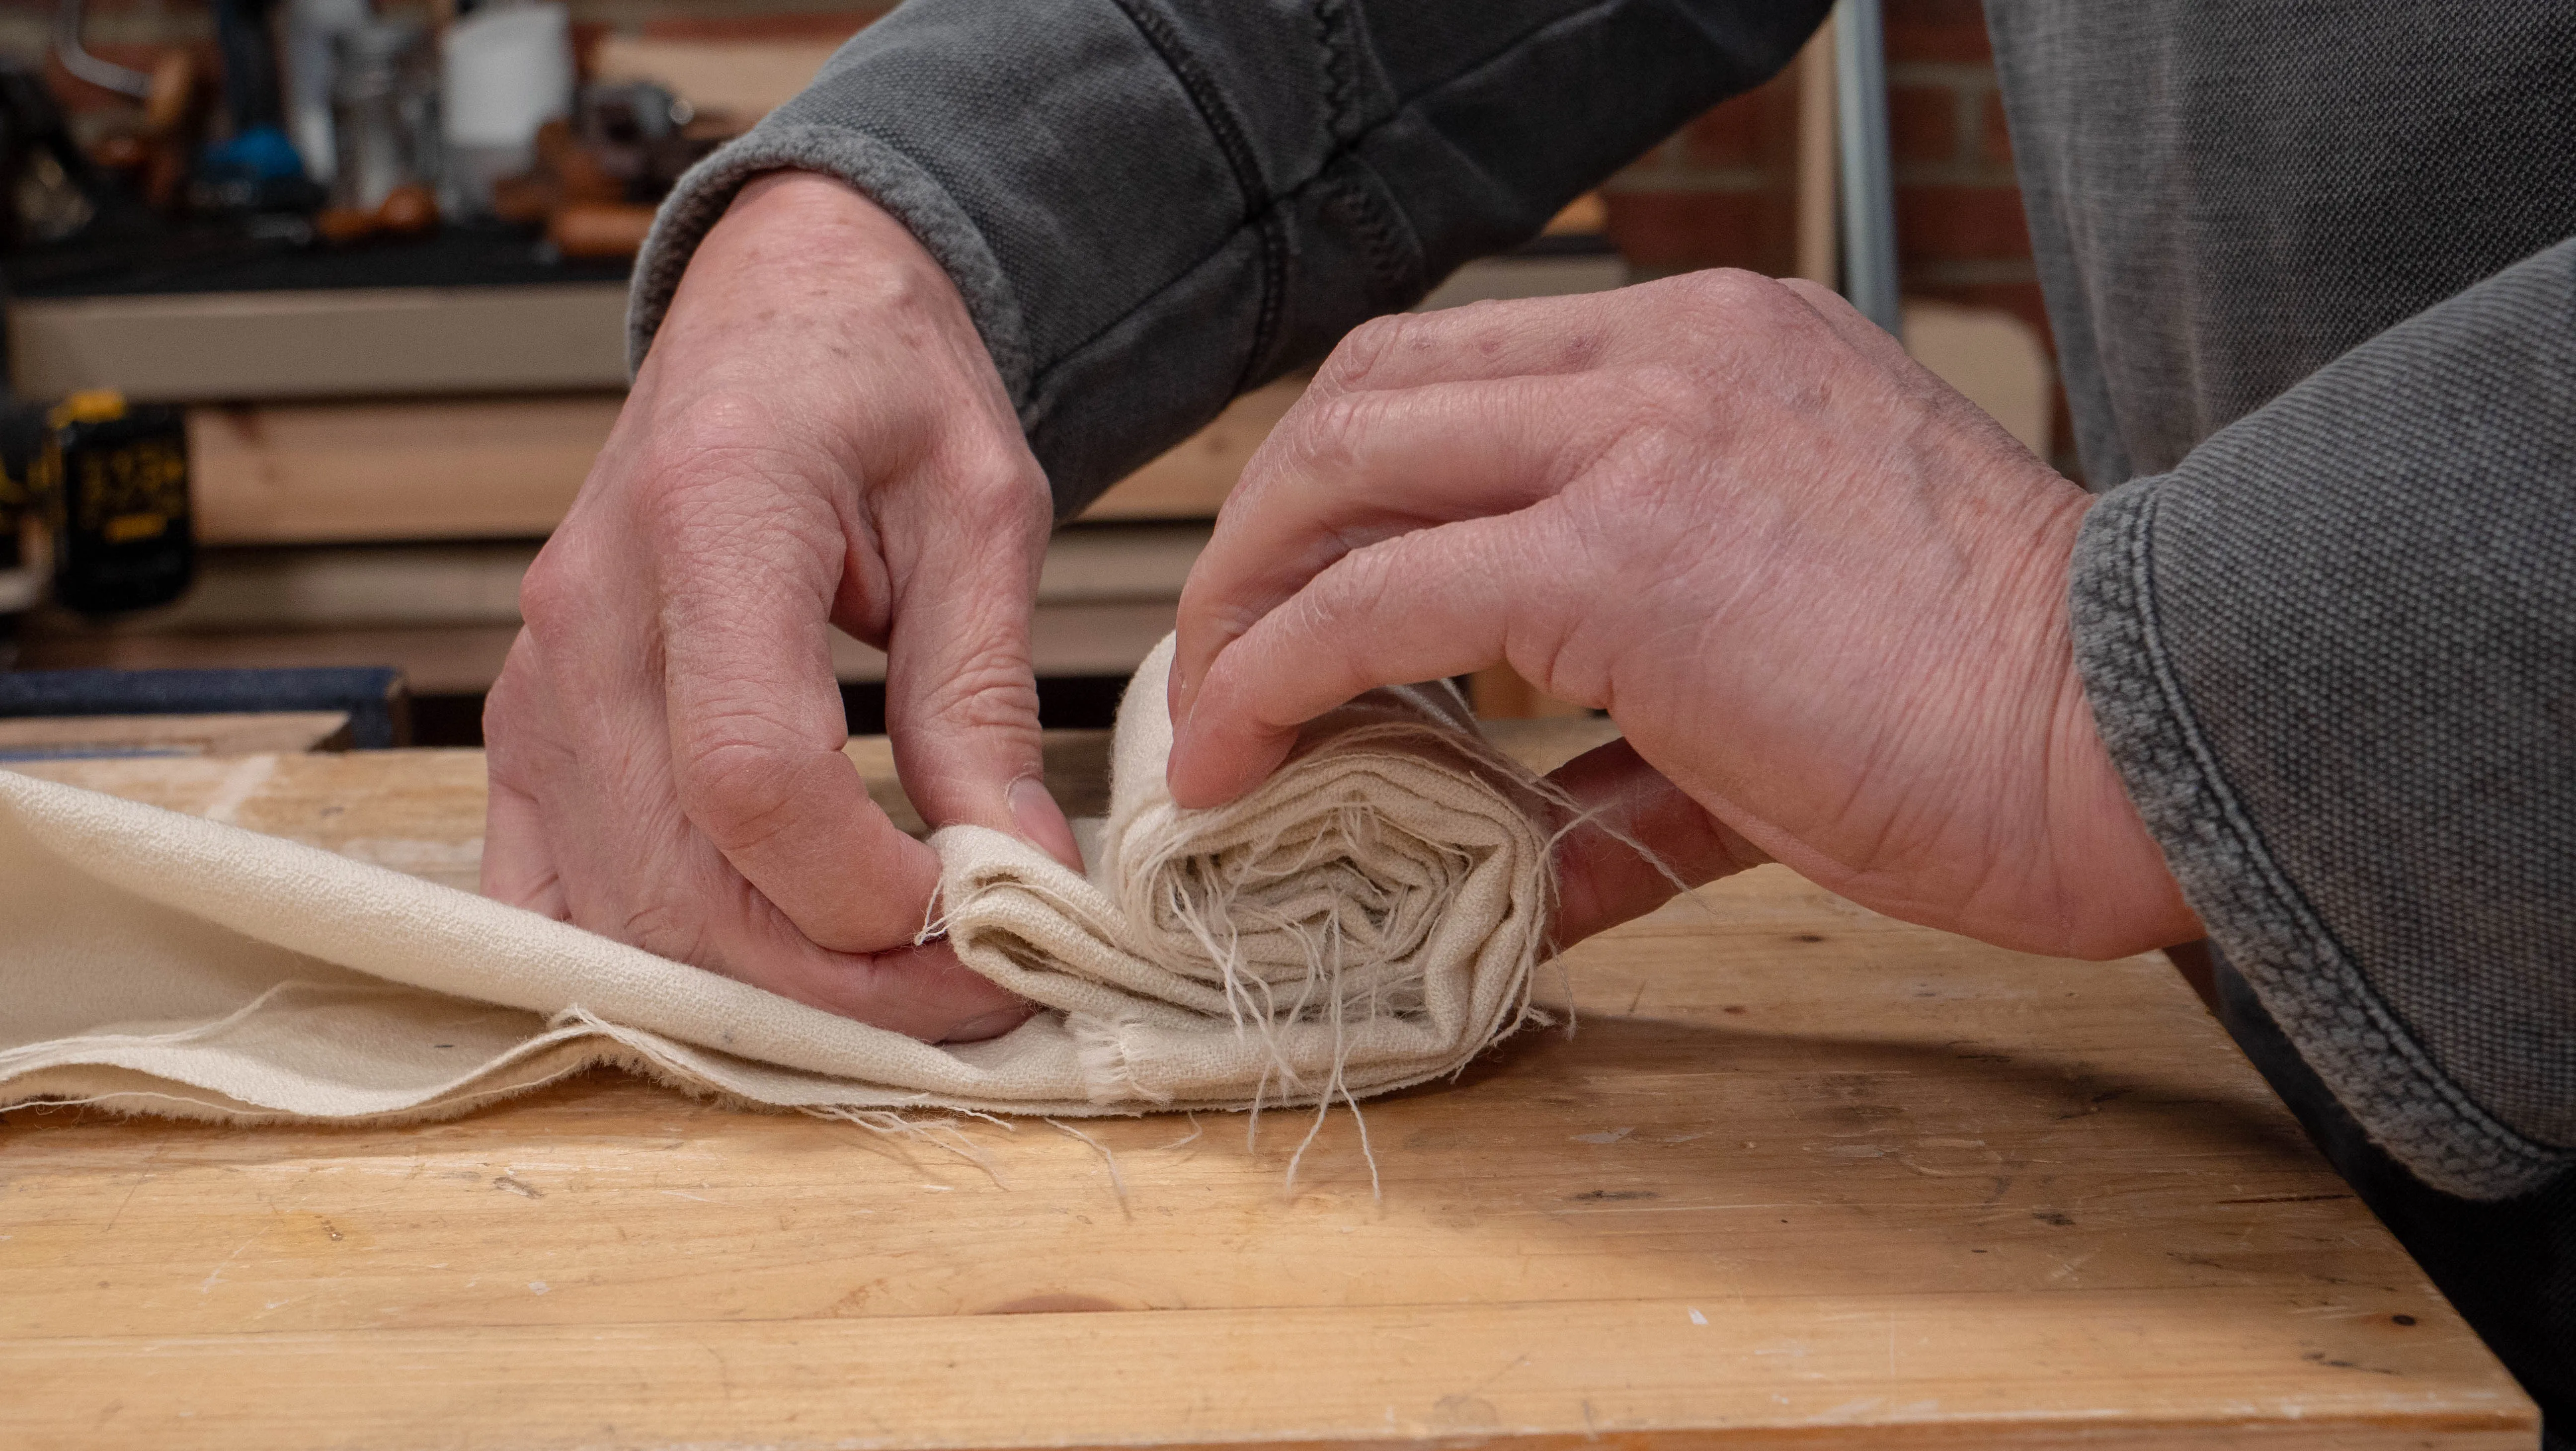
If your material has a torn edge, bring it into the centre so you have rounded edges. Then fold the bottom edge towards the centre too. Measure against your can, making it slightly taller than the height of your can.
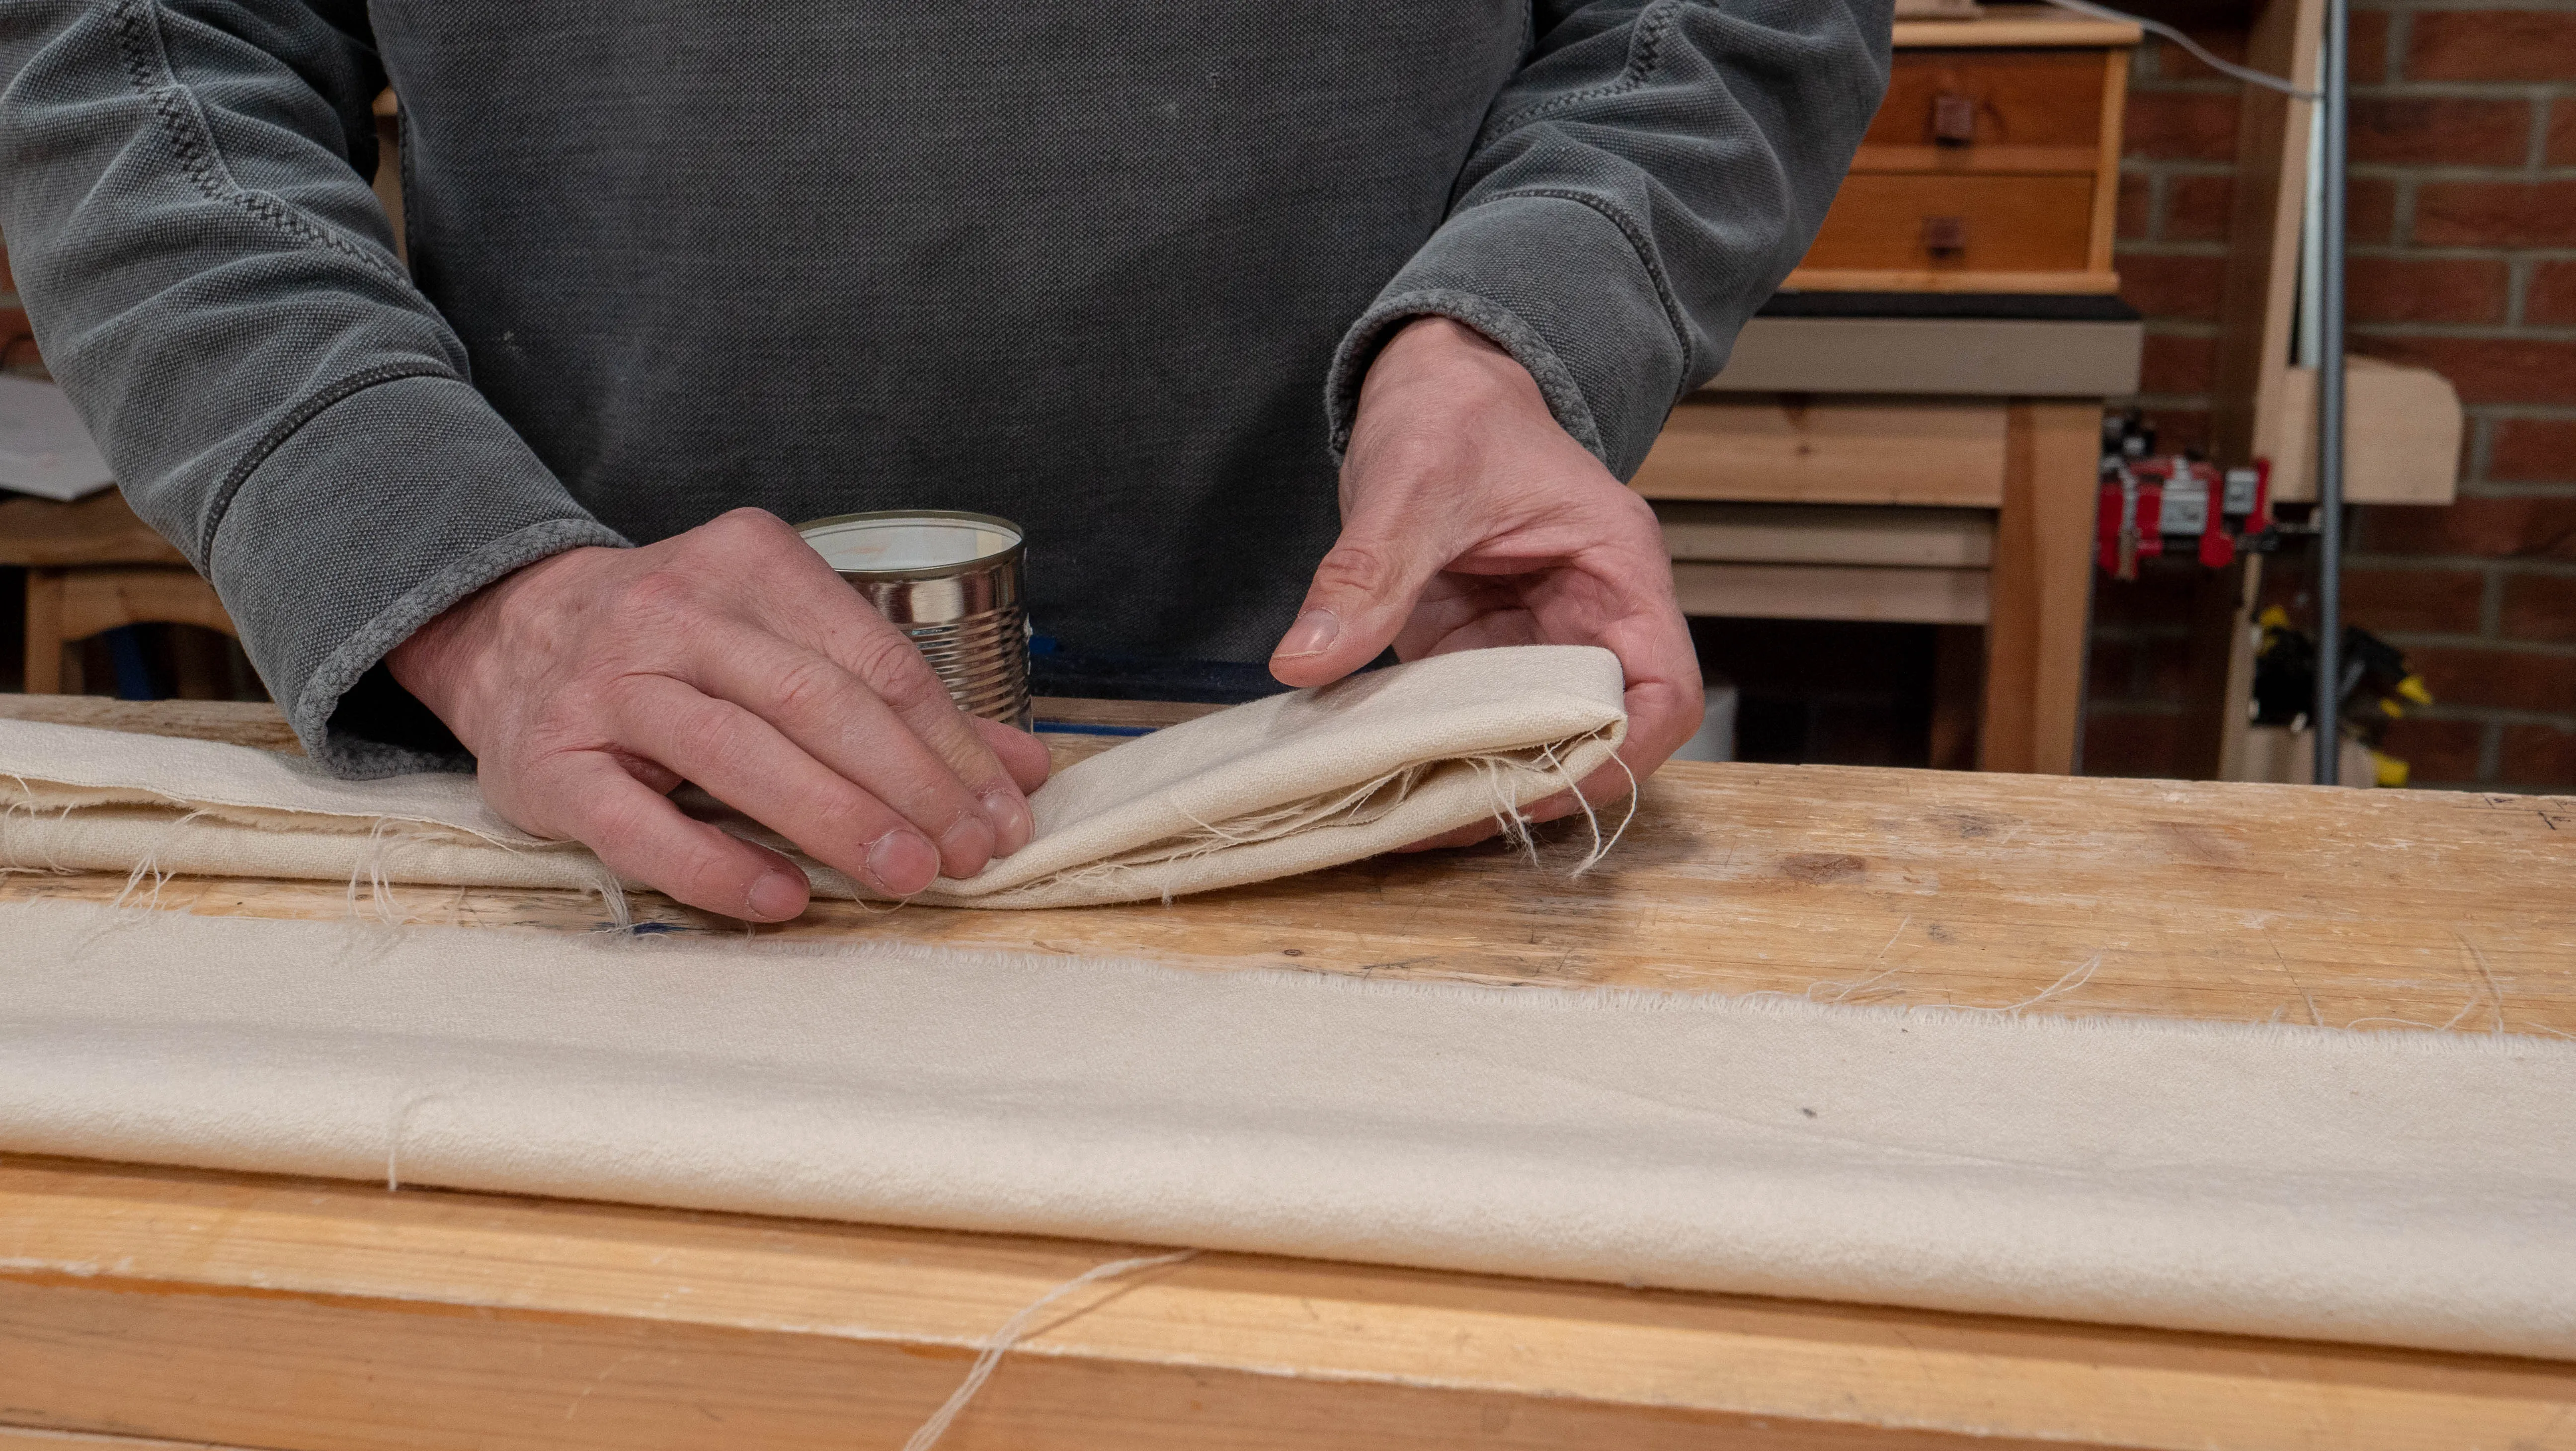
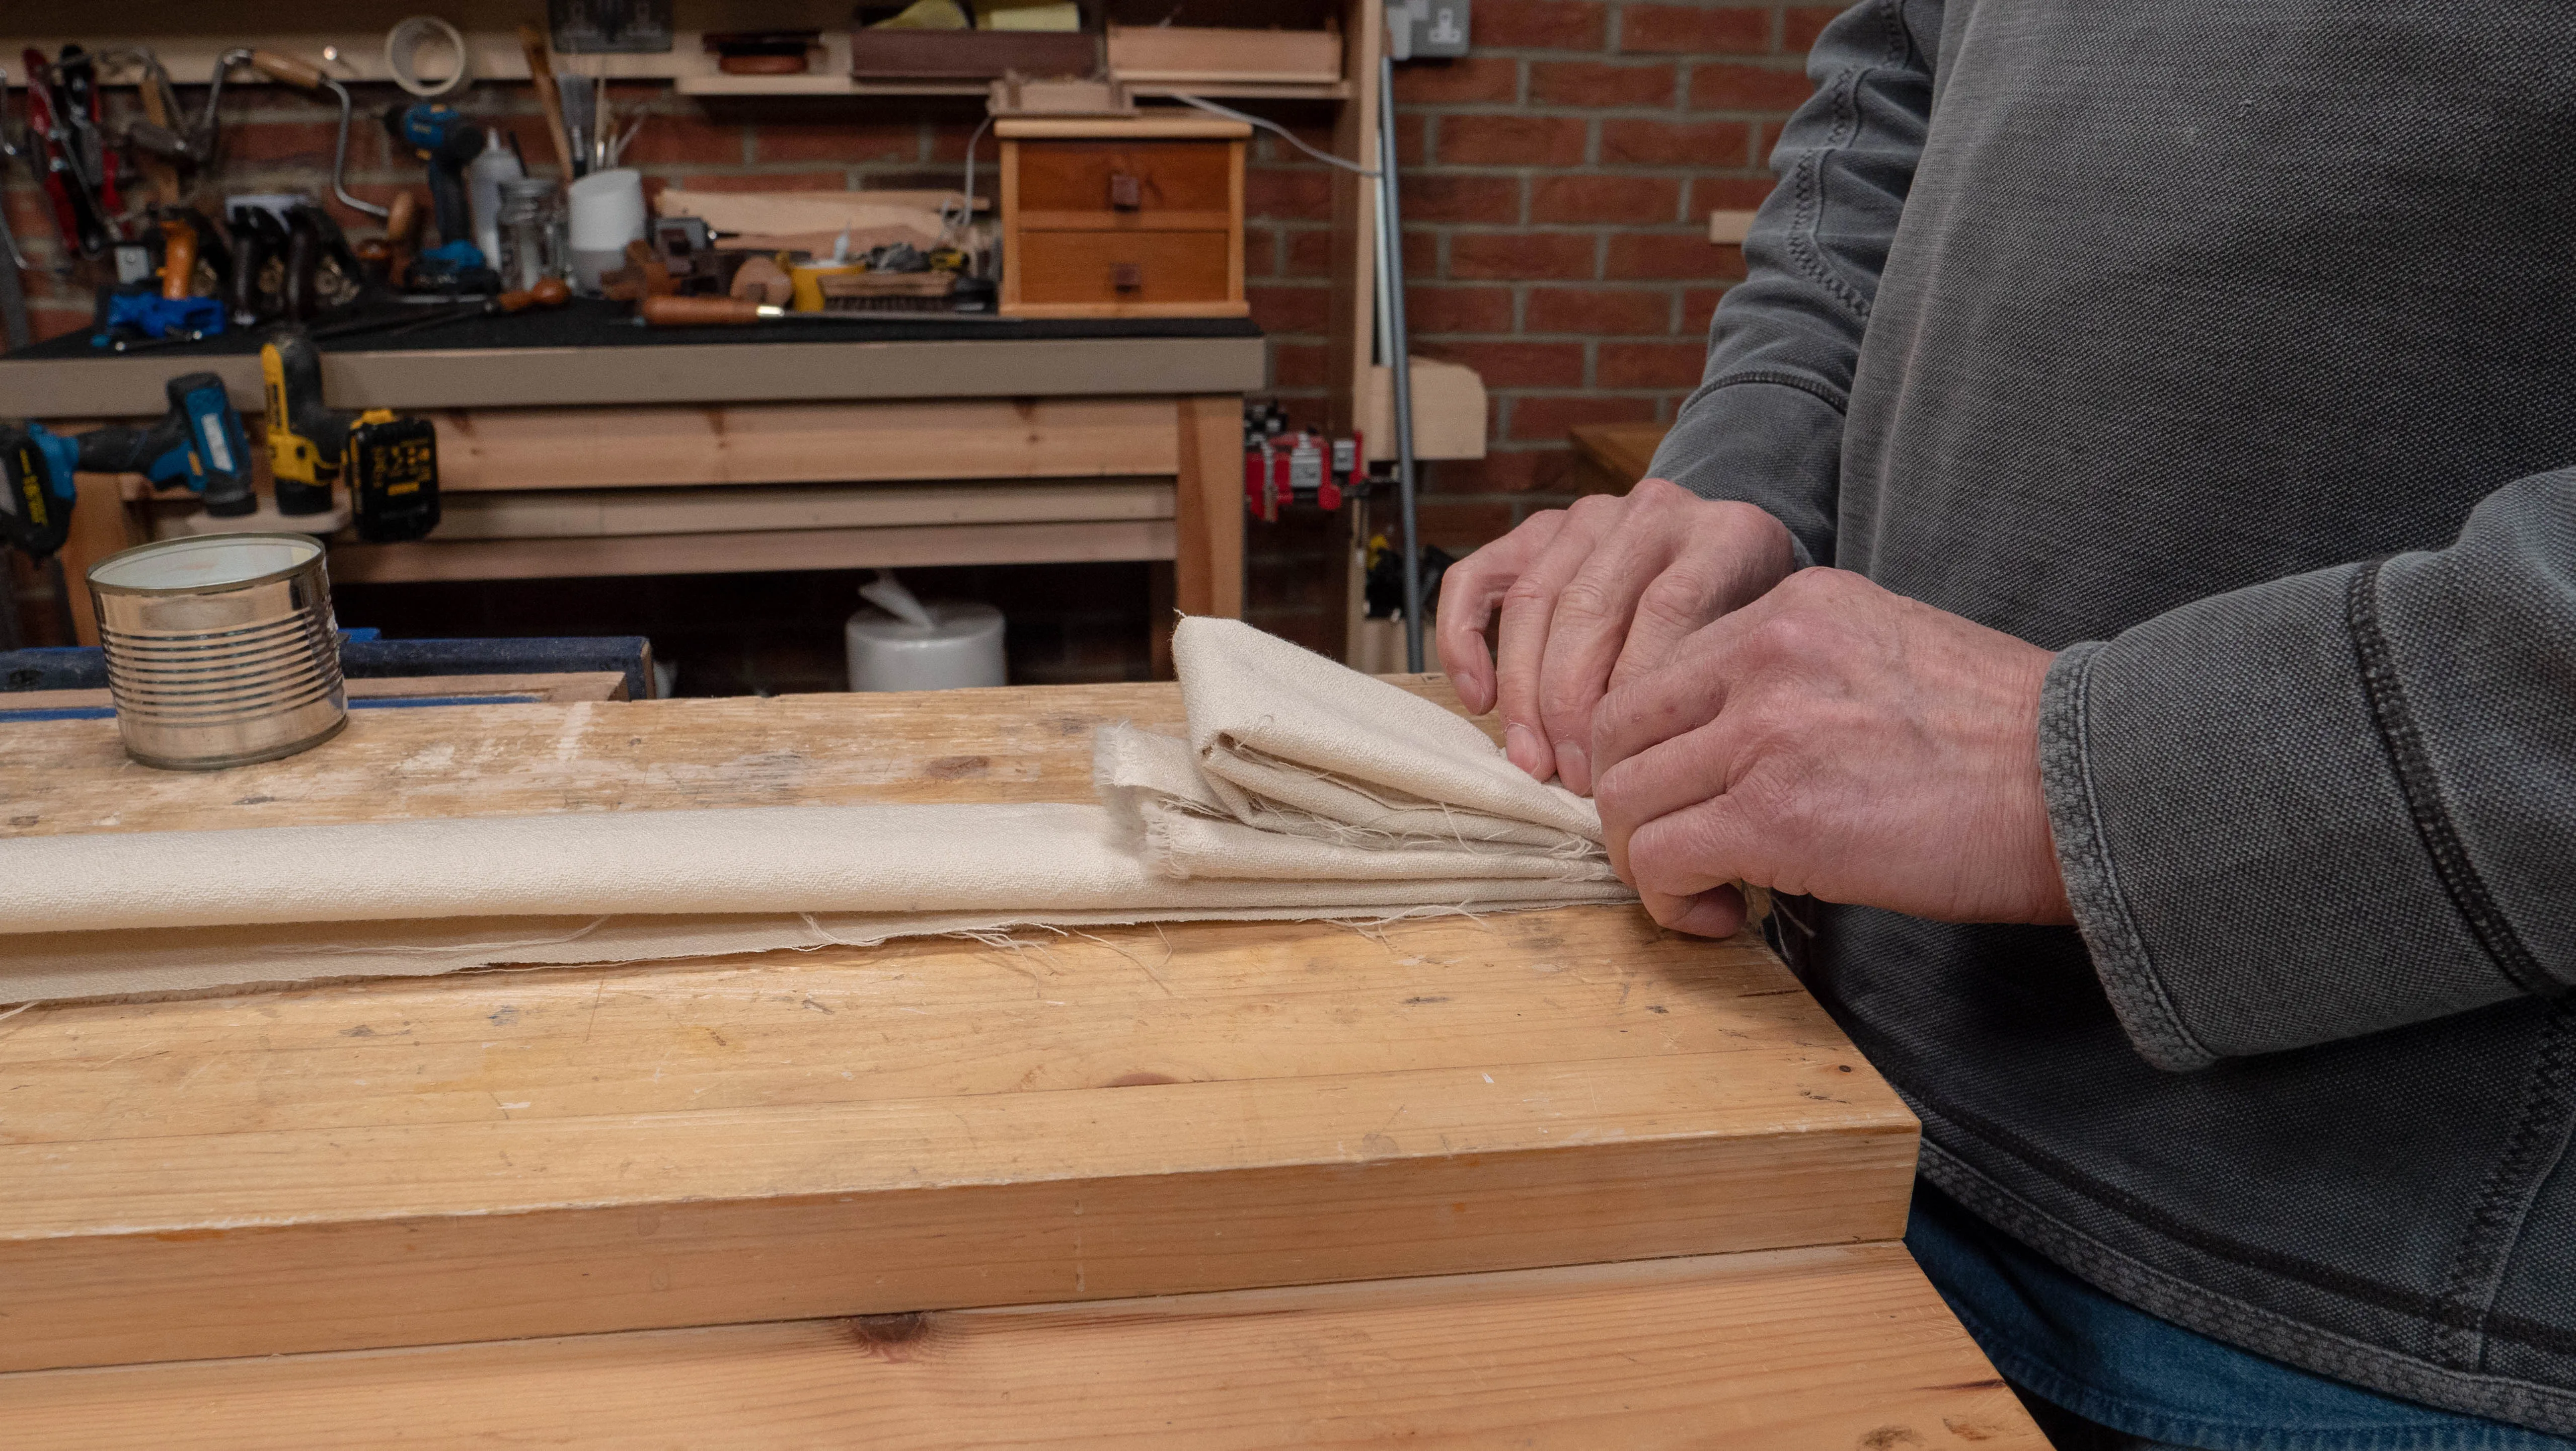
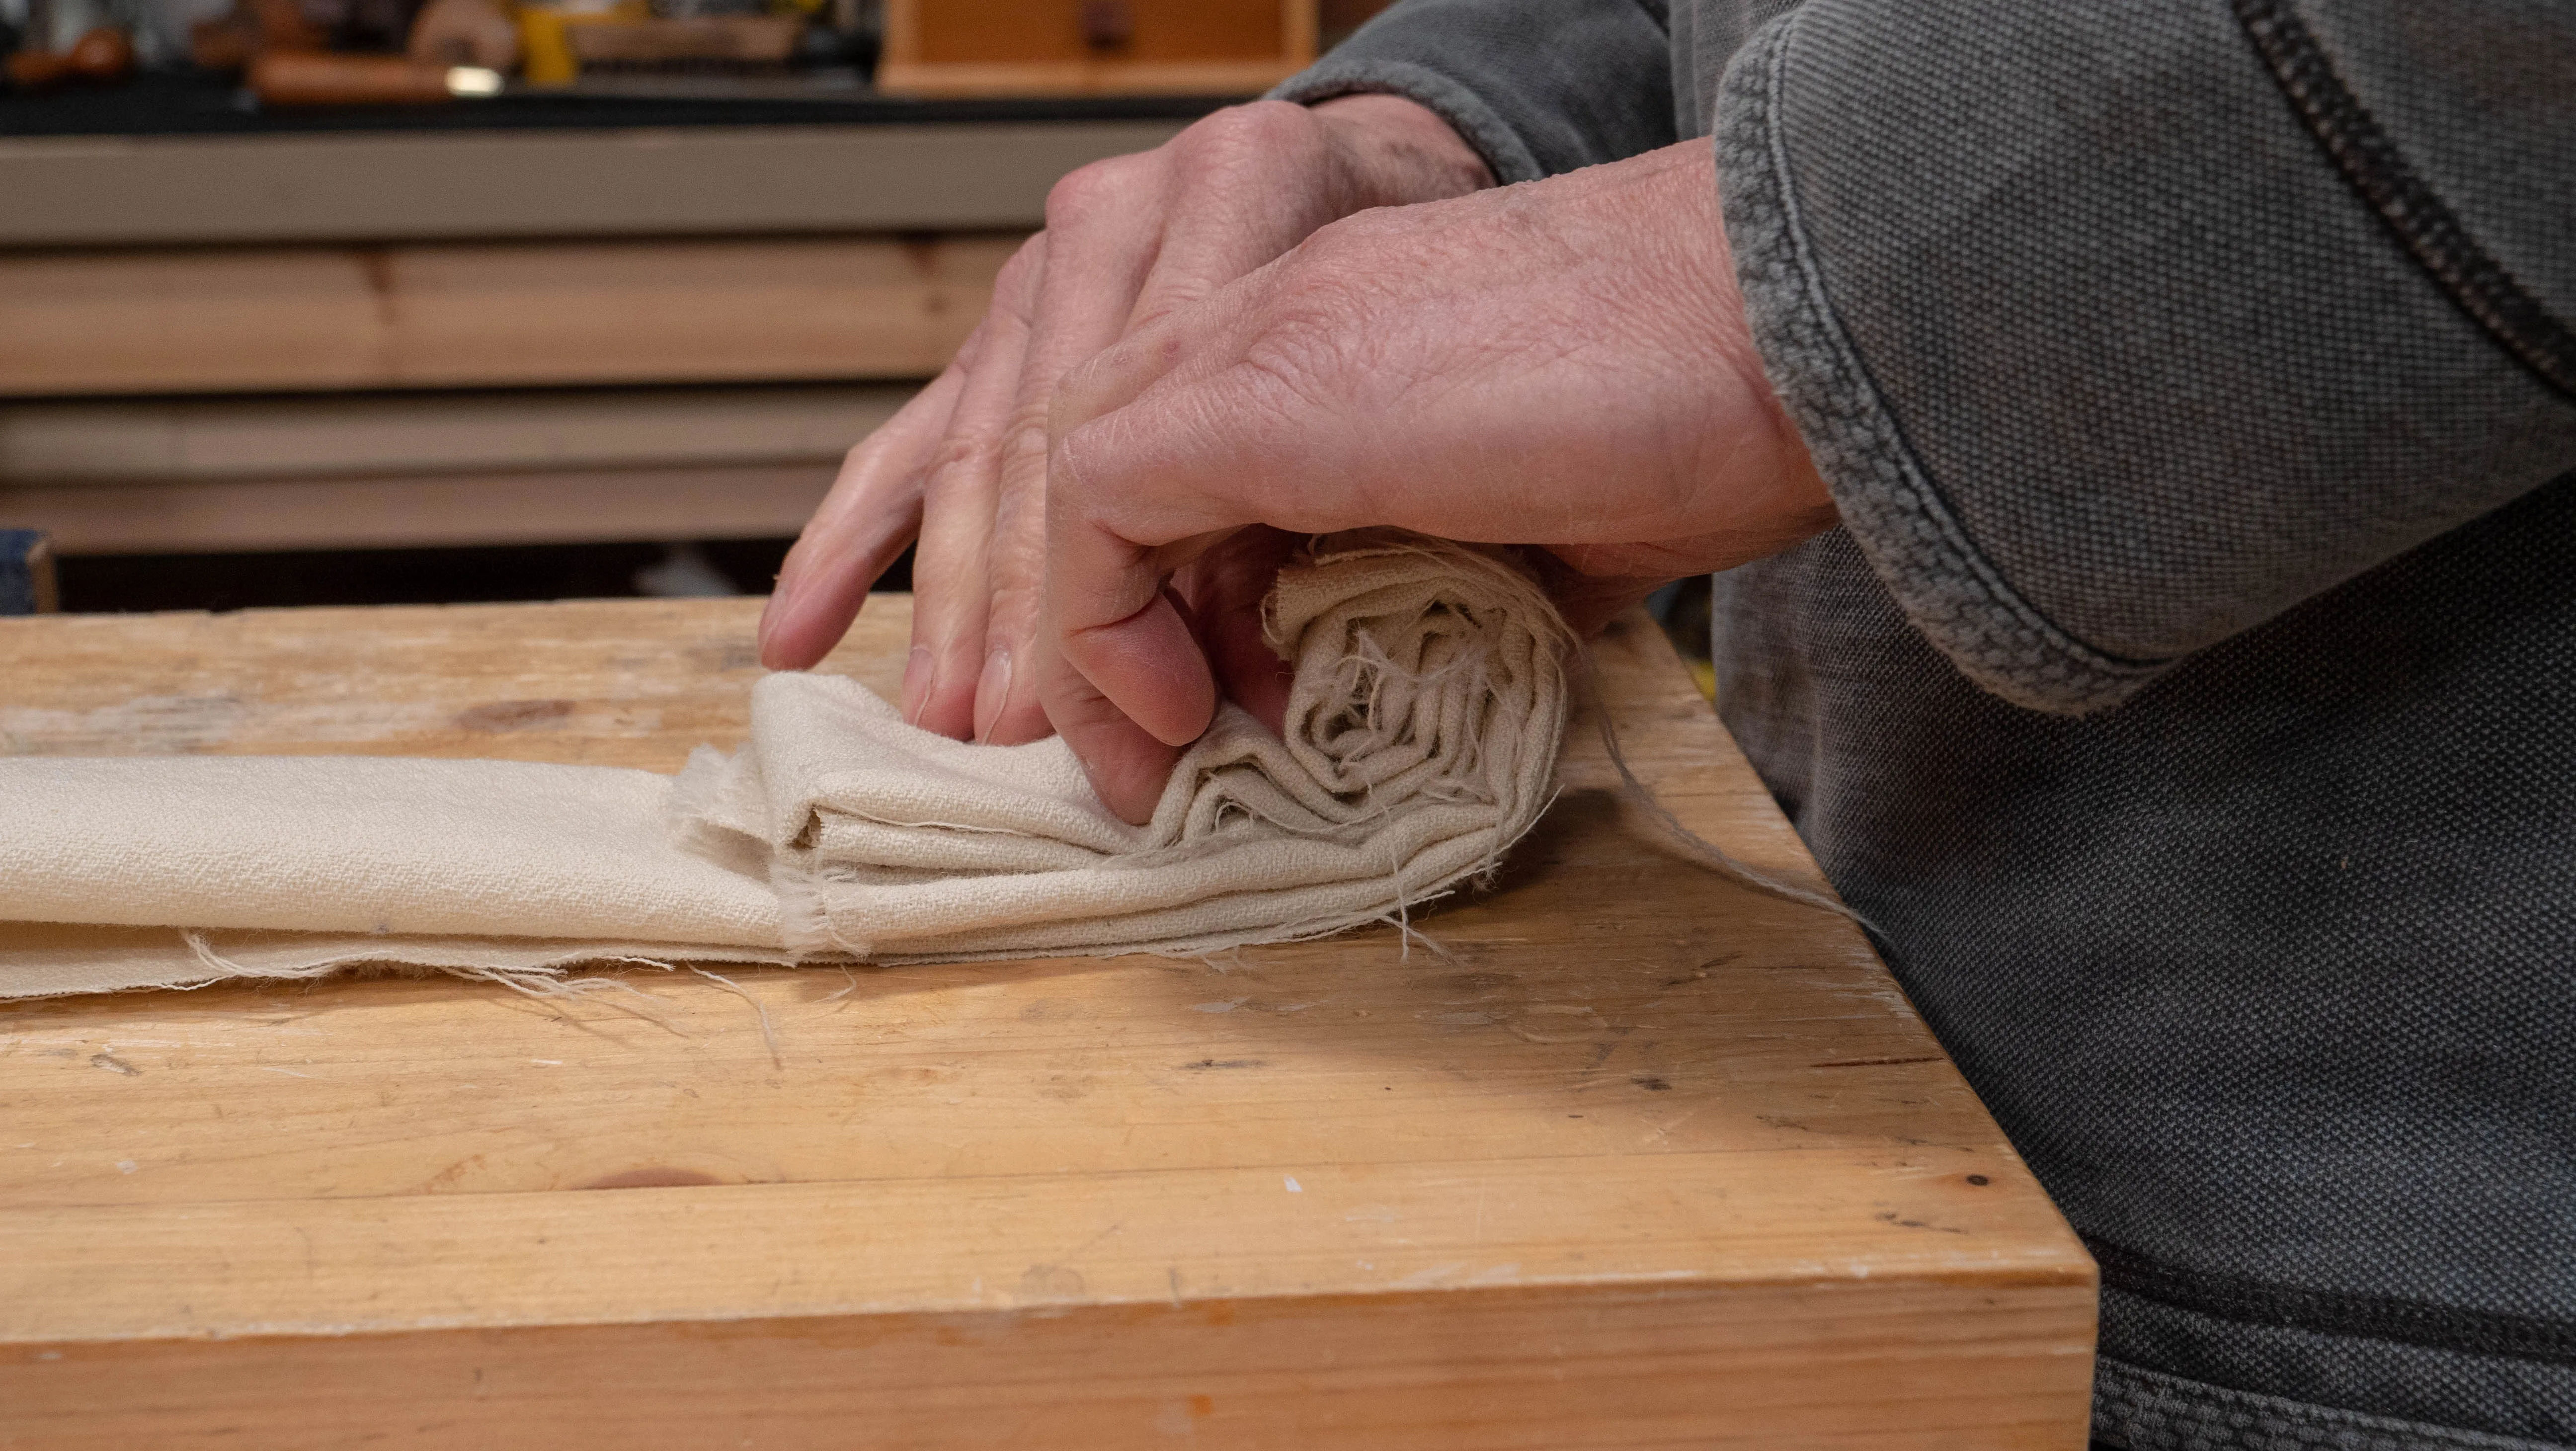
Fold the ends in towards the centre and begin to roll.
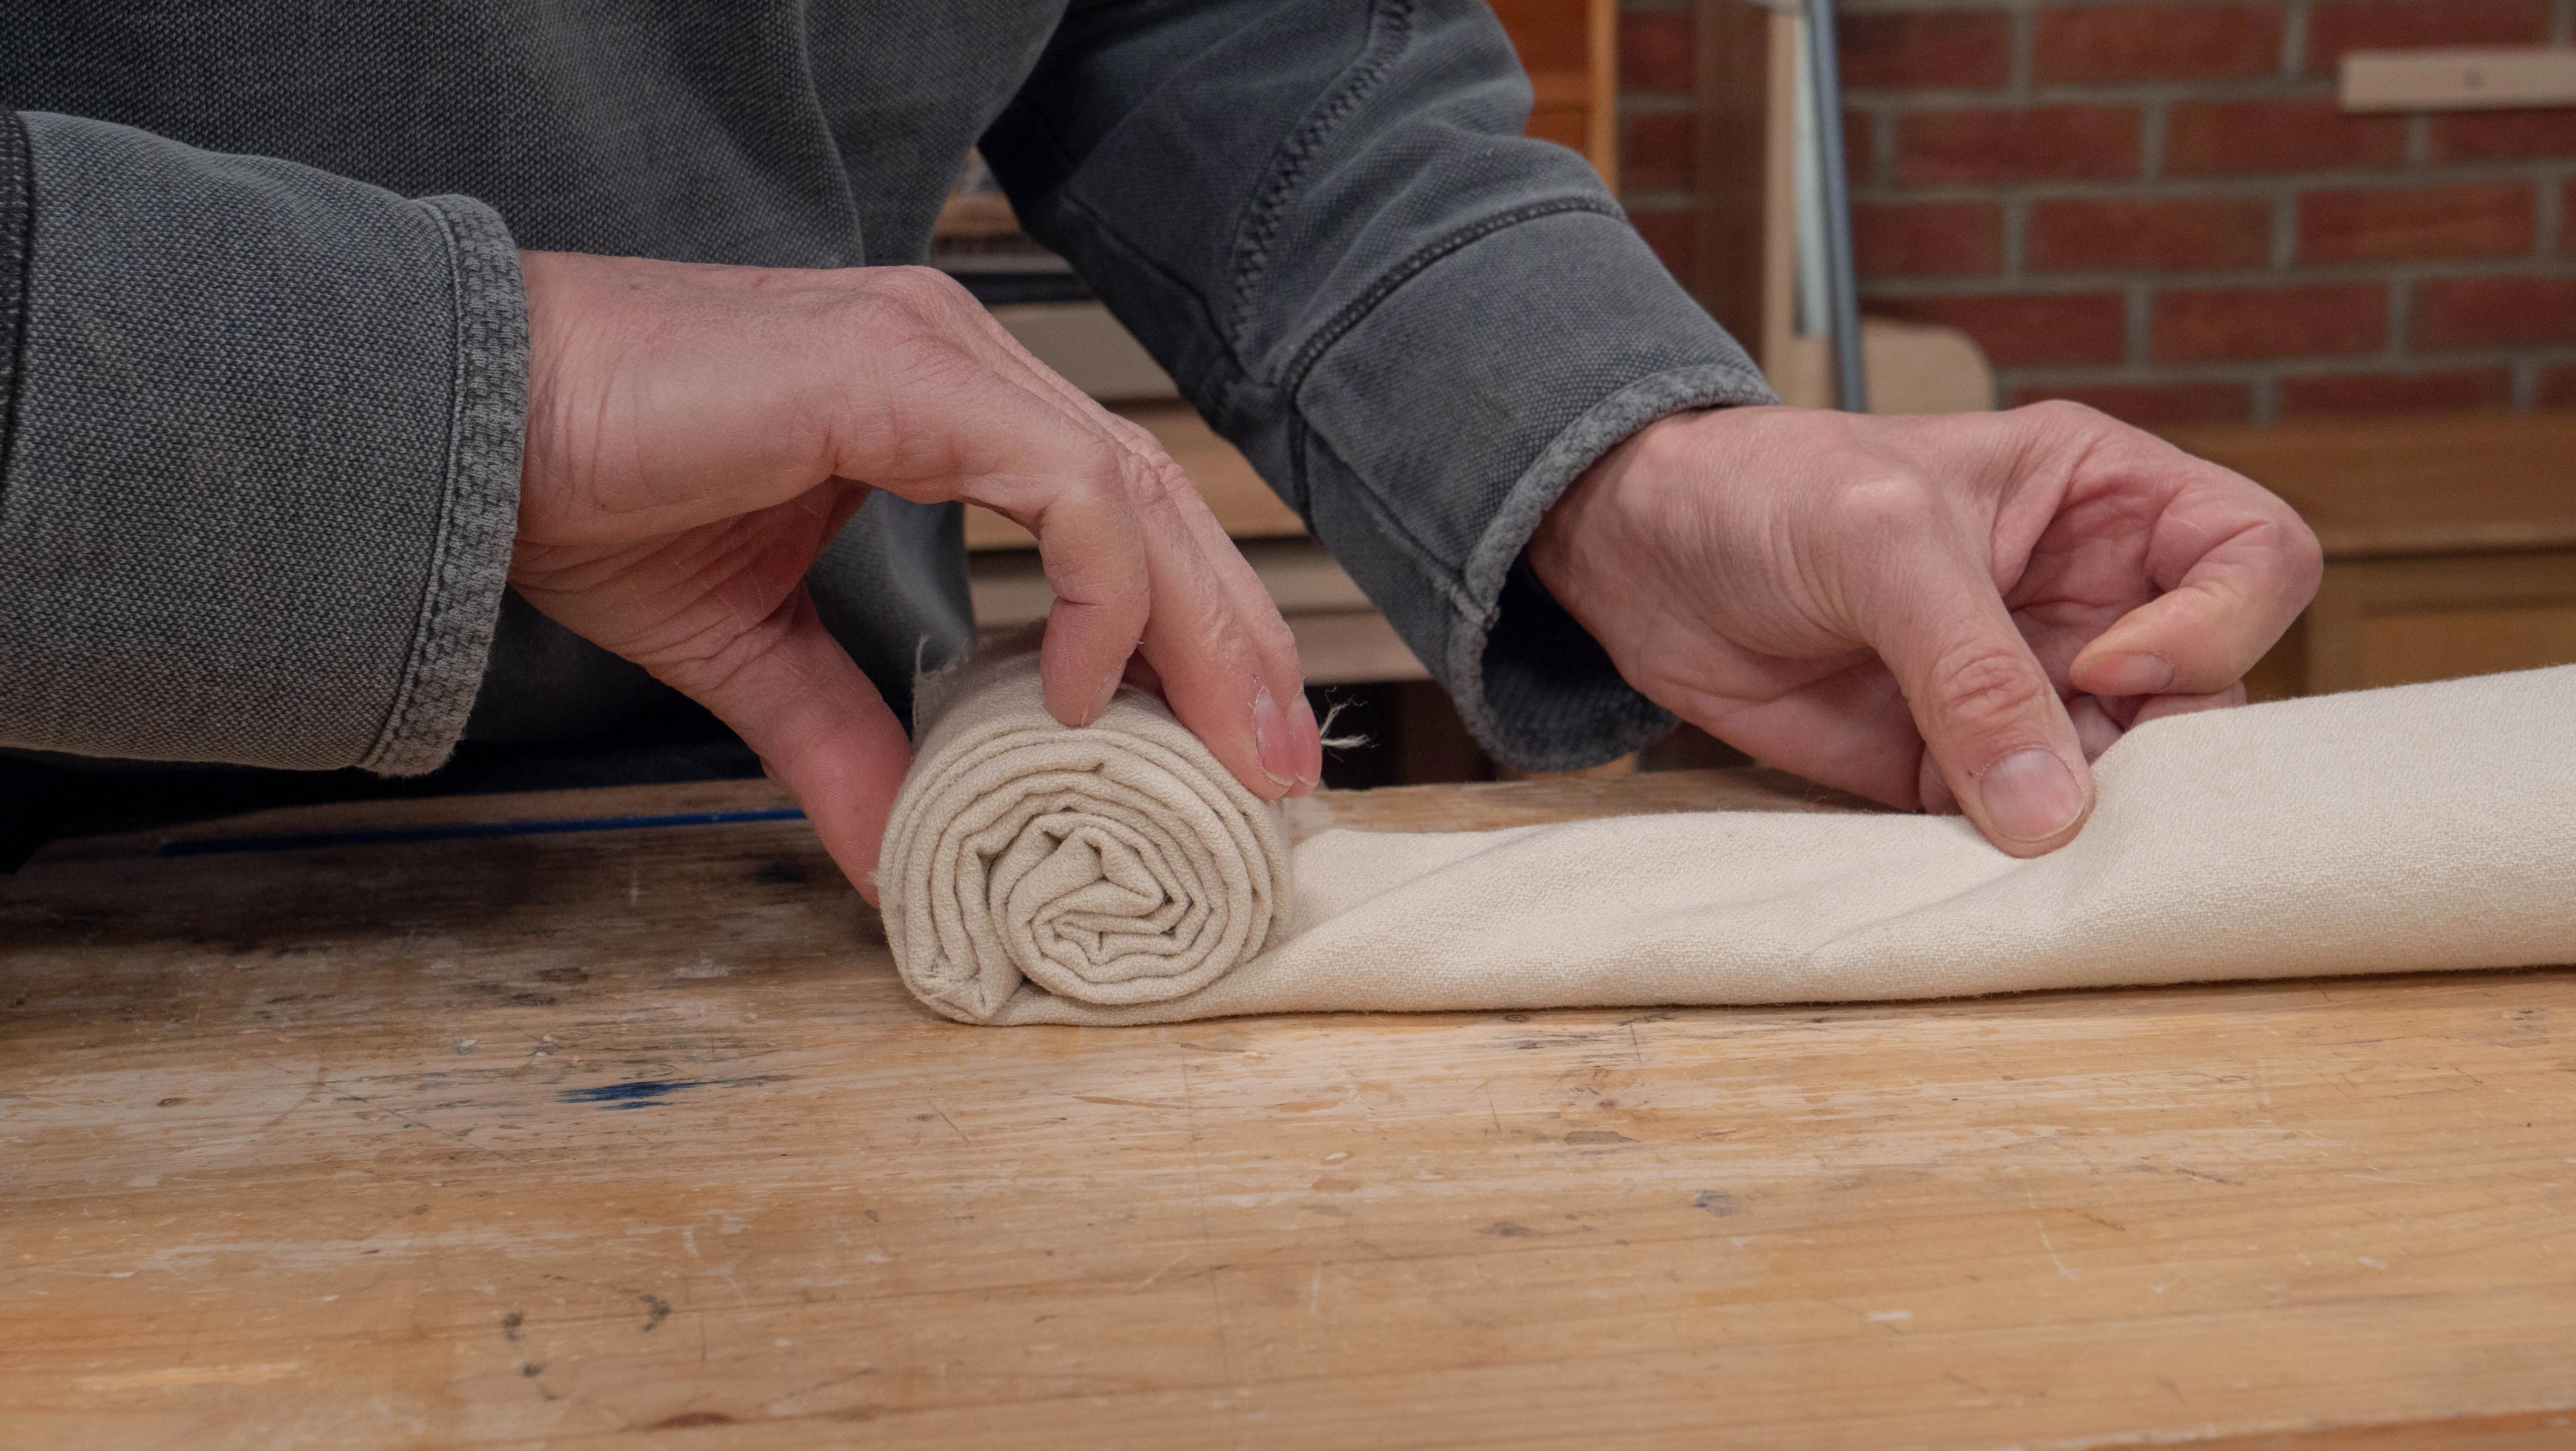
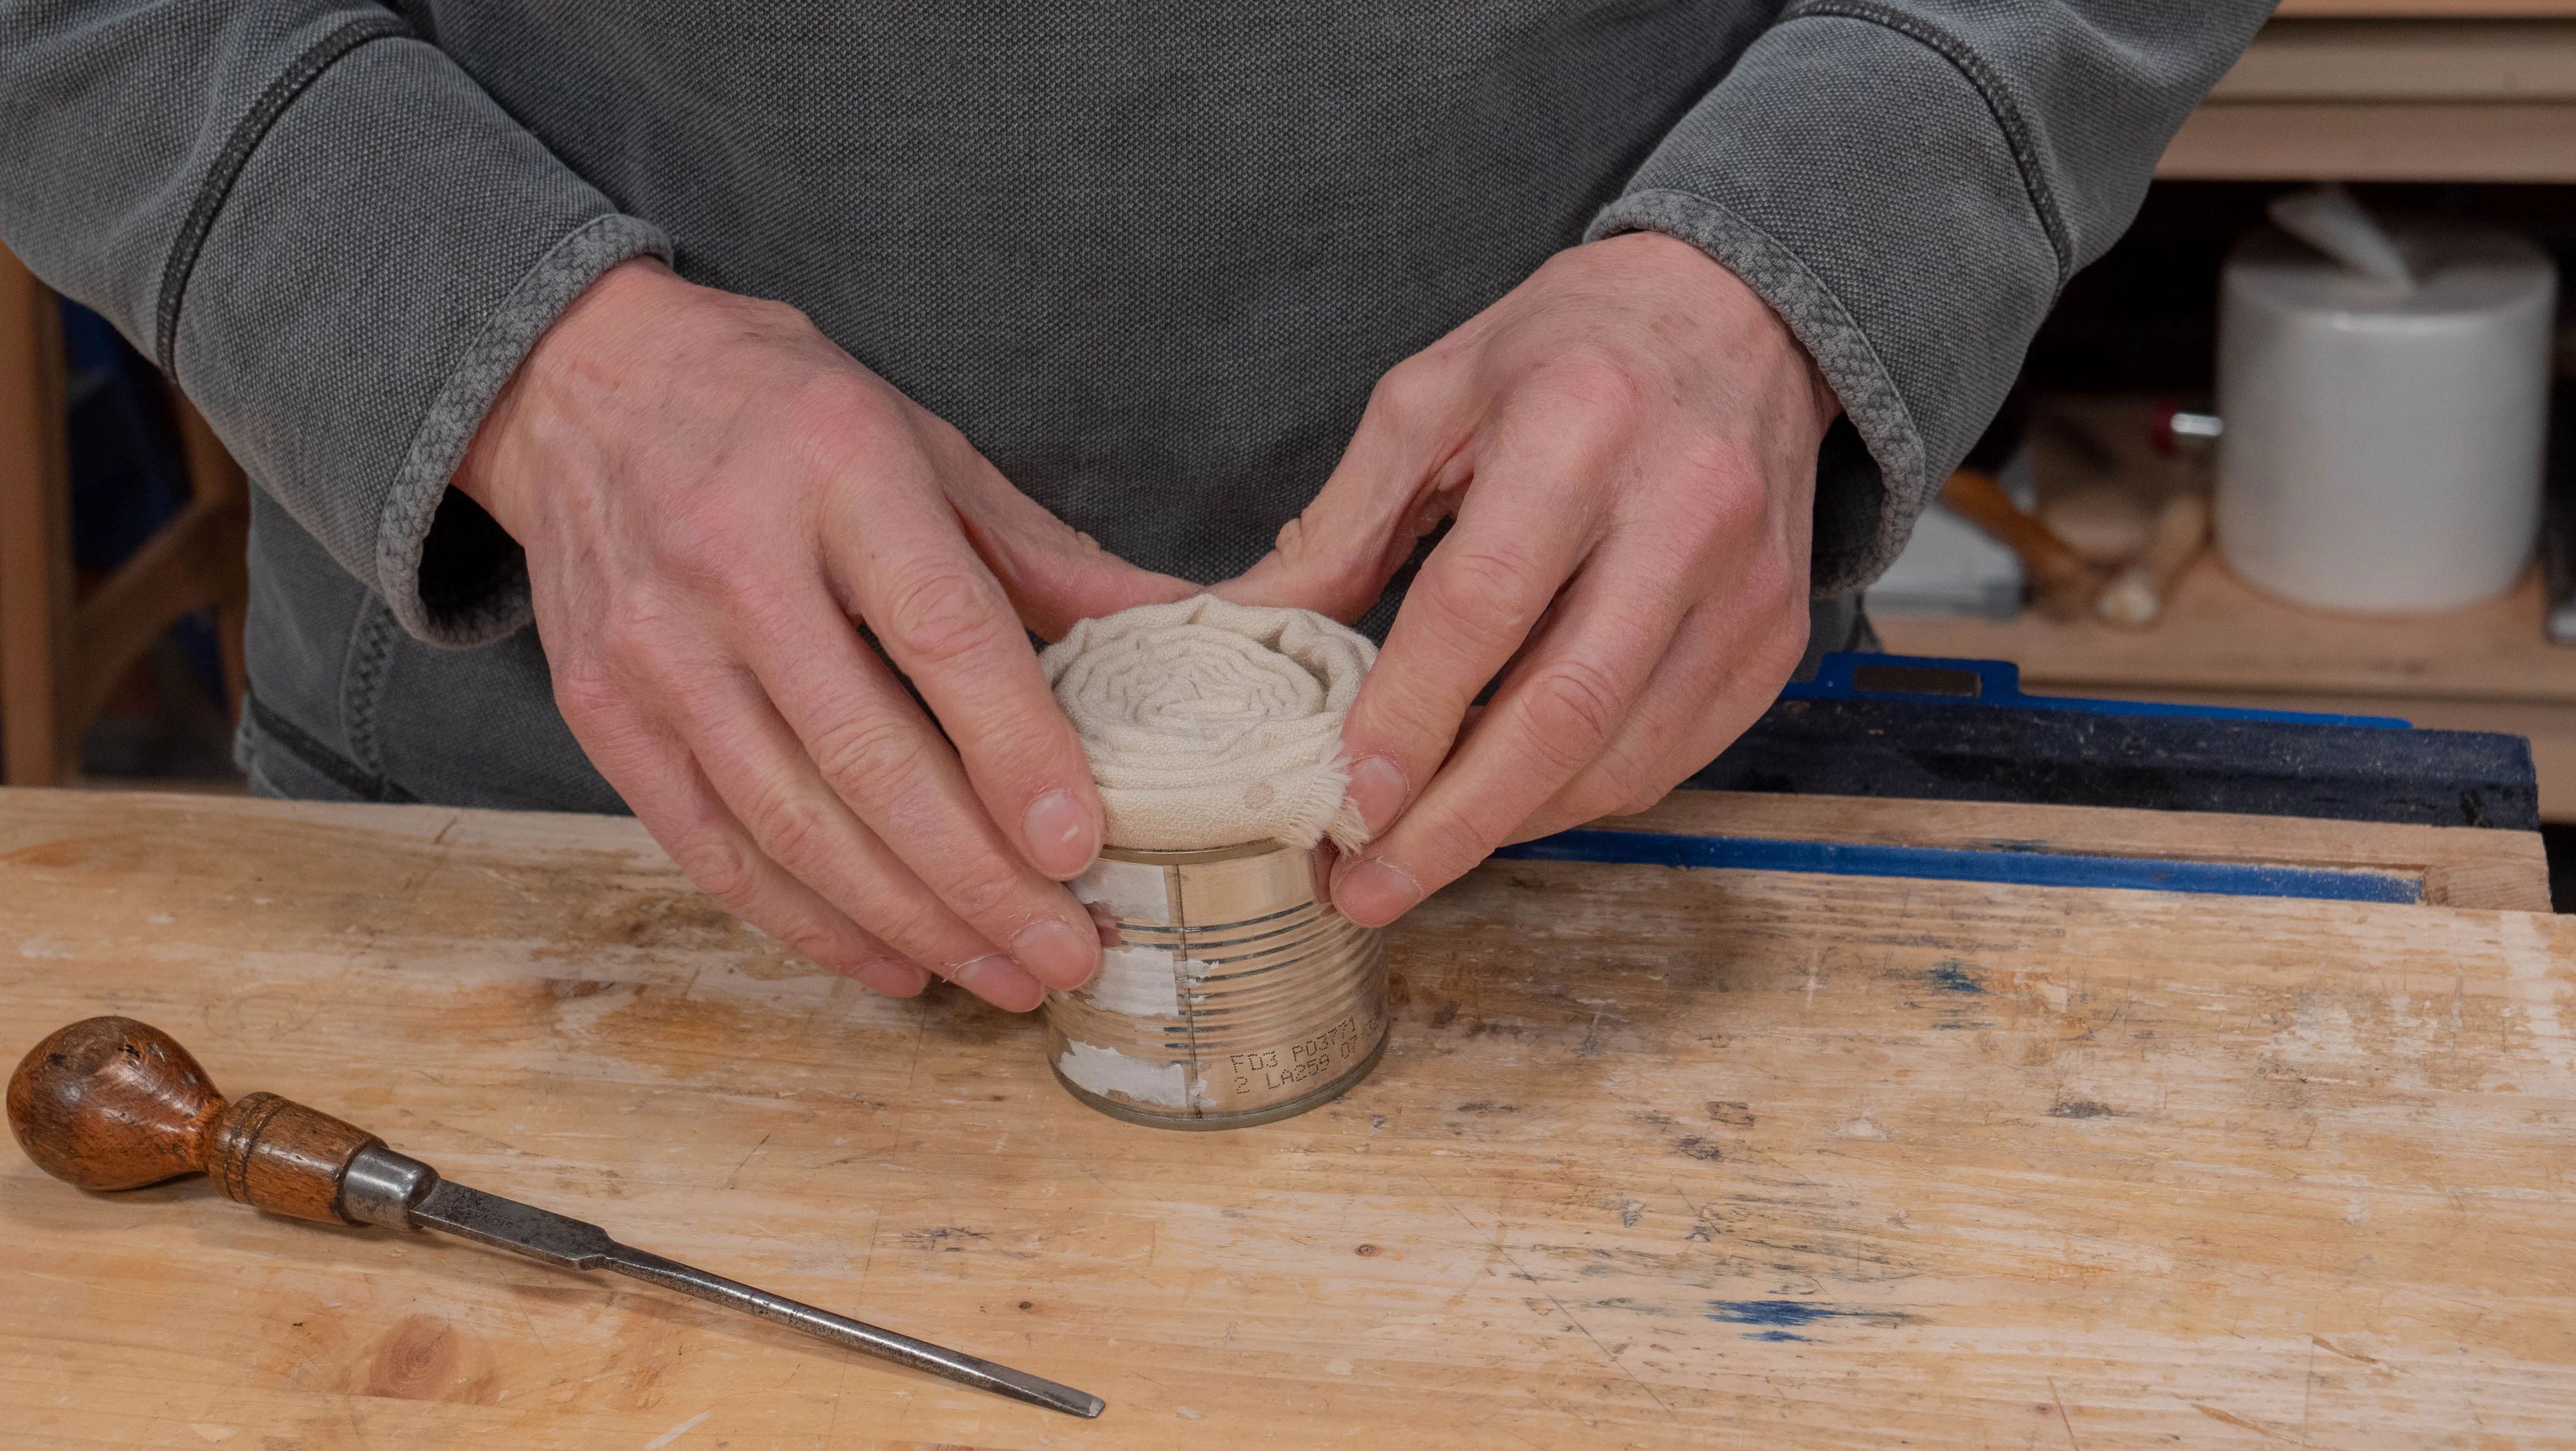
Put the rolled up rag into the can. Check it isn’t larger than the diameter. If it is too small, keep your wrapped up rag in the vise to keep it tight, and then get some spare cotton and wrap it around the existing roll to bulk it up. Keep checking the size against your can. It’s better to have it slightly too big rather than too small.
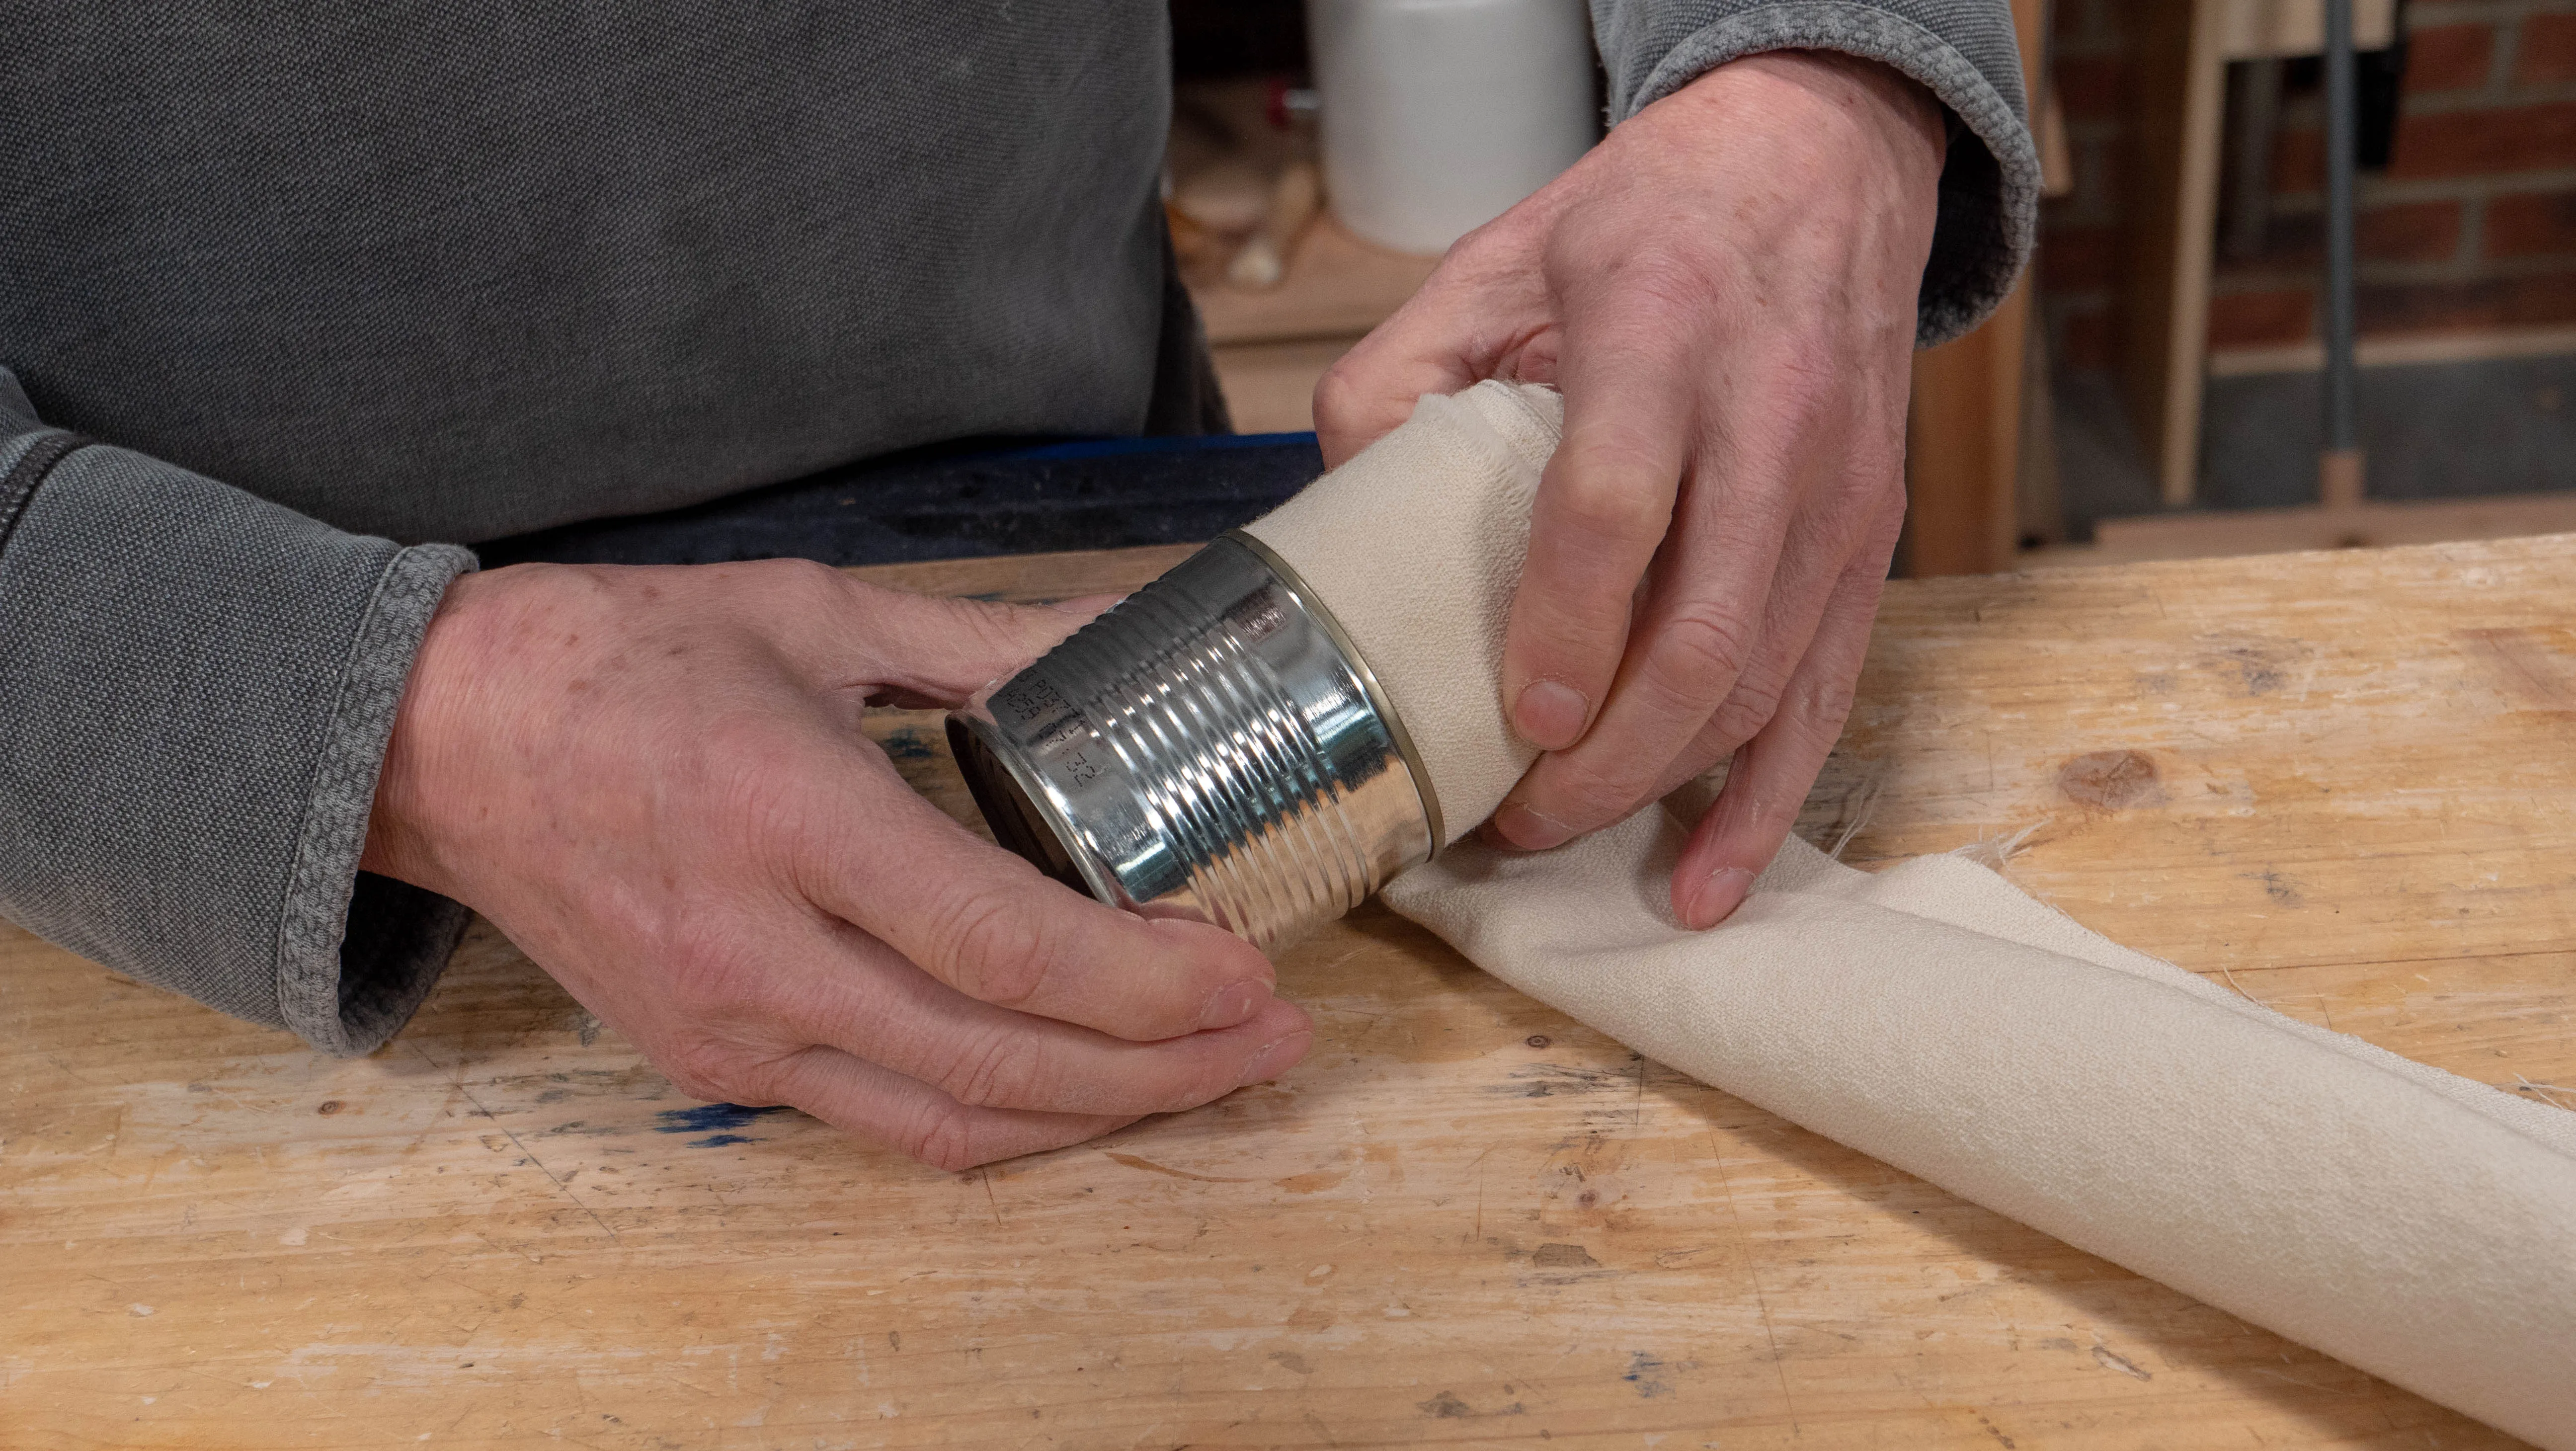
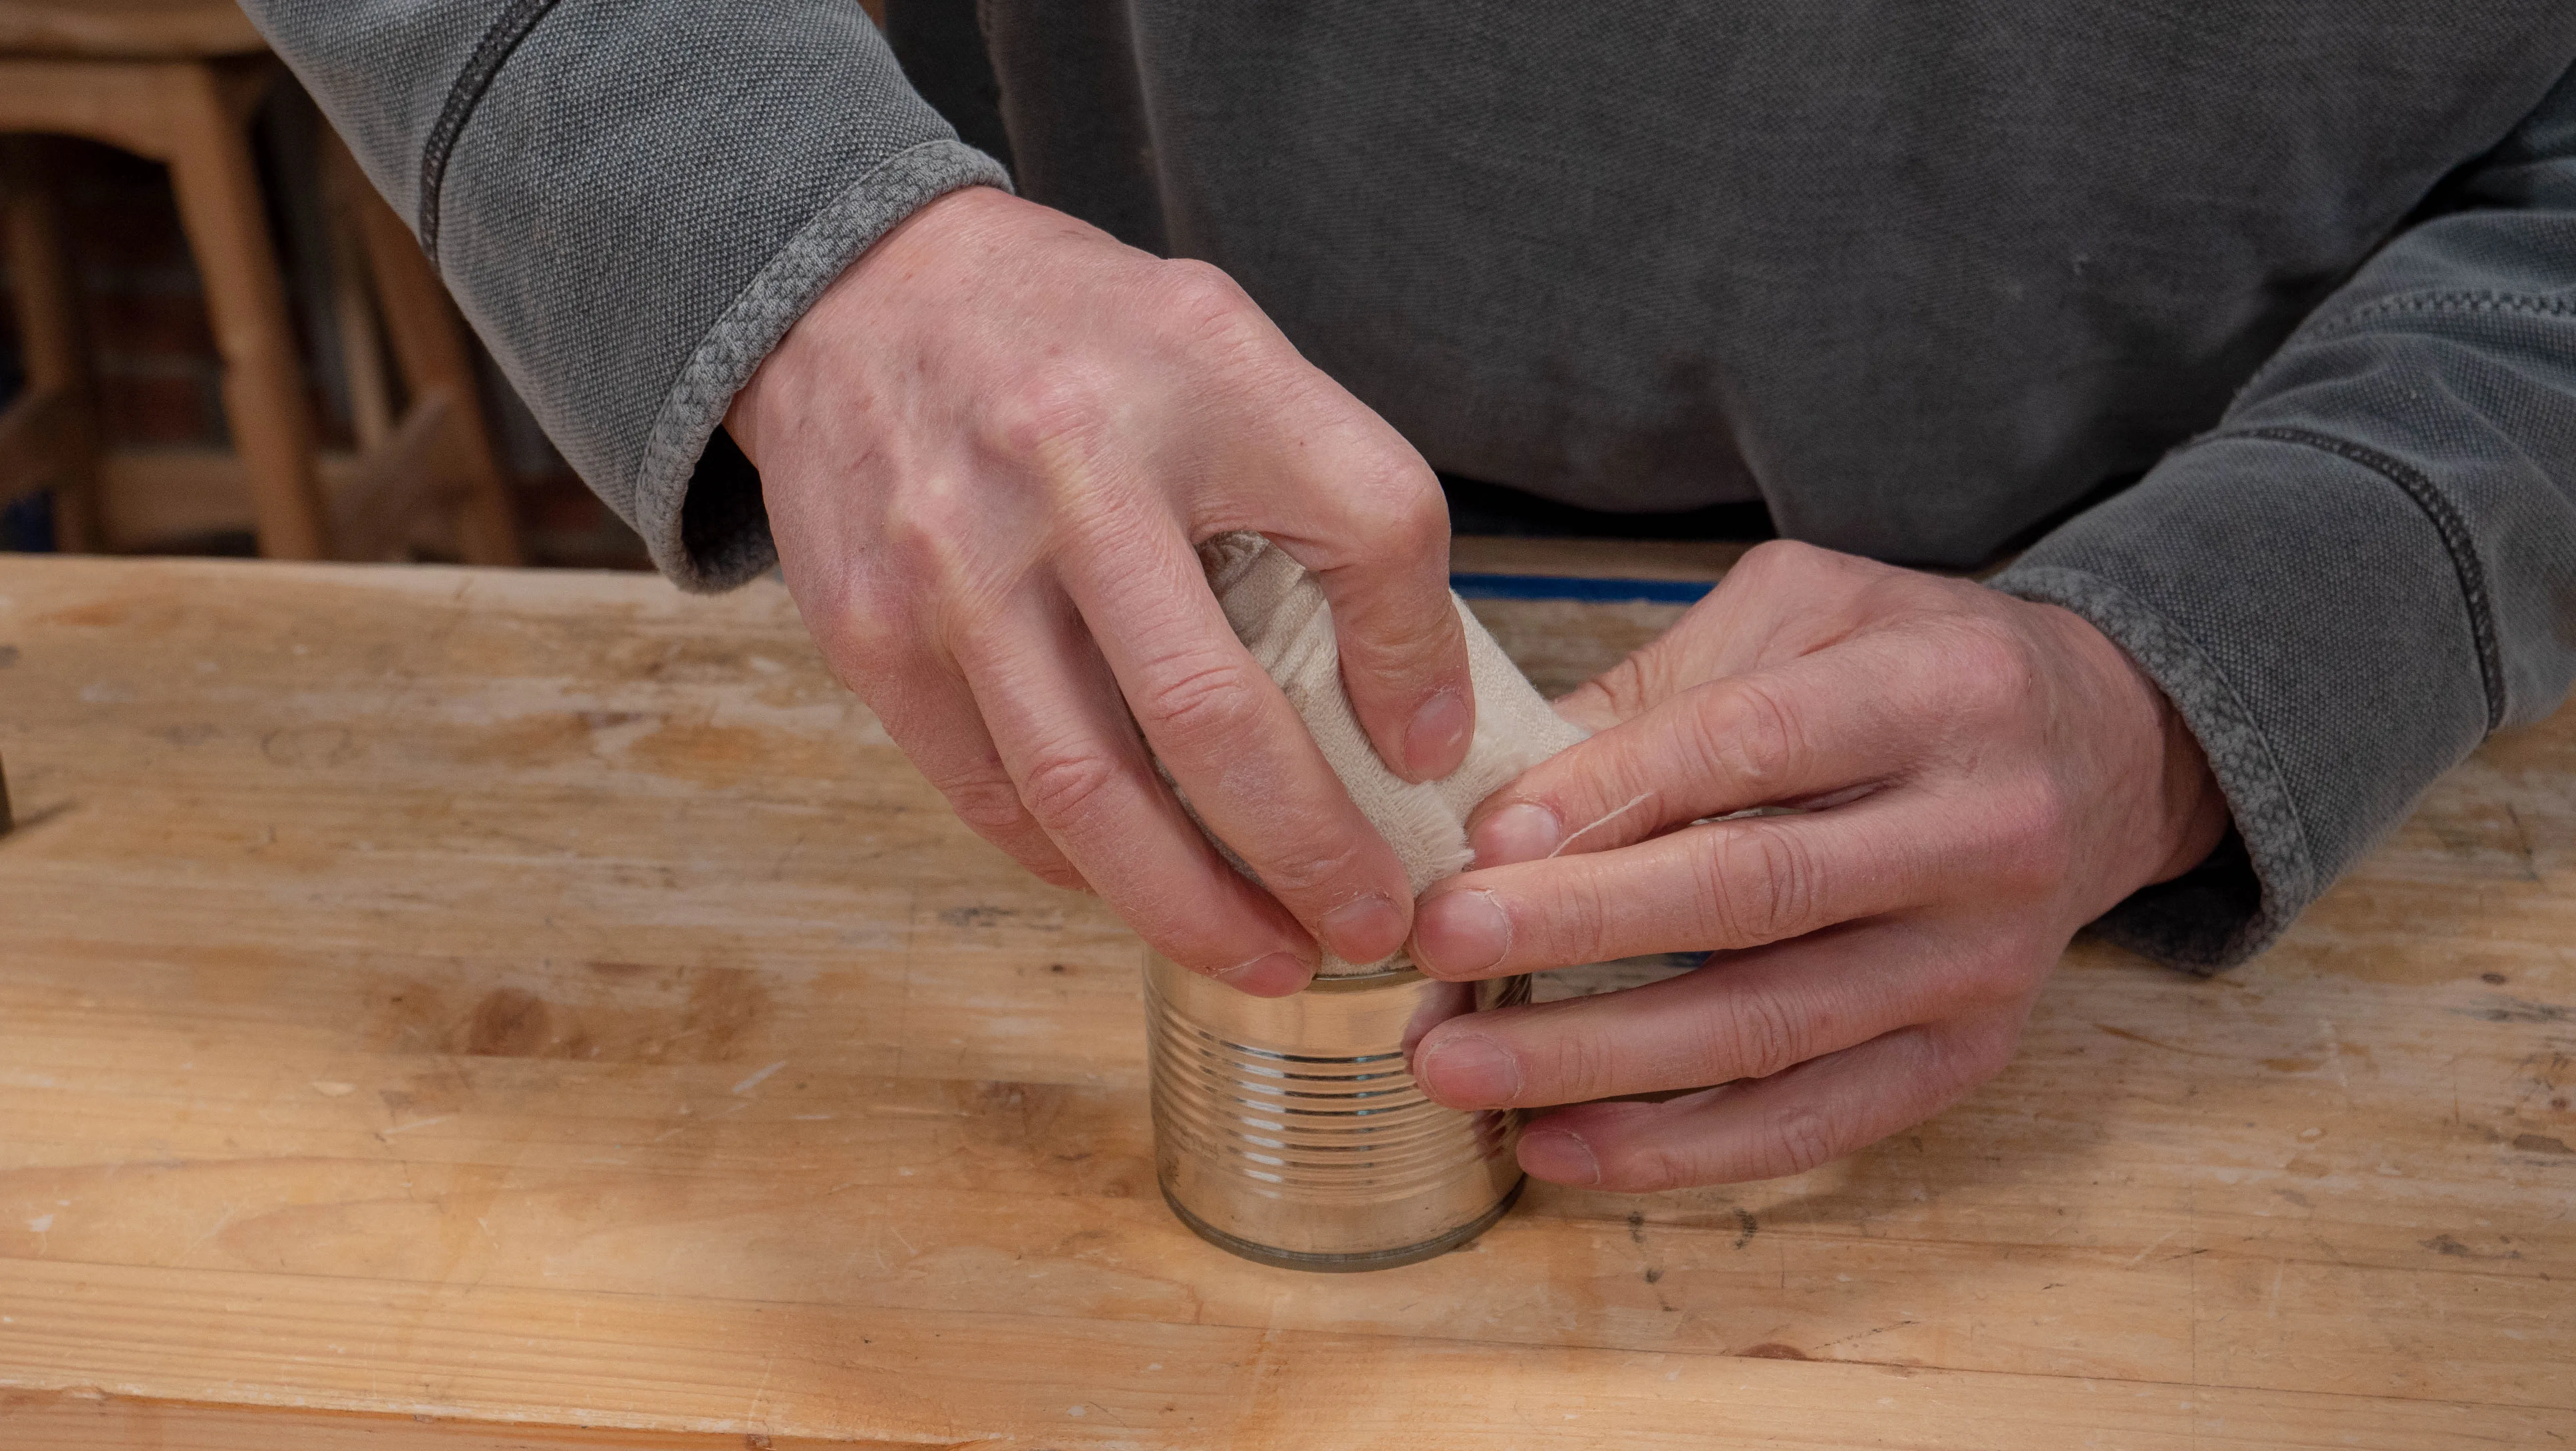
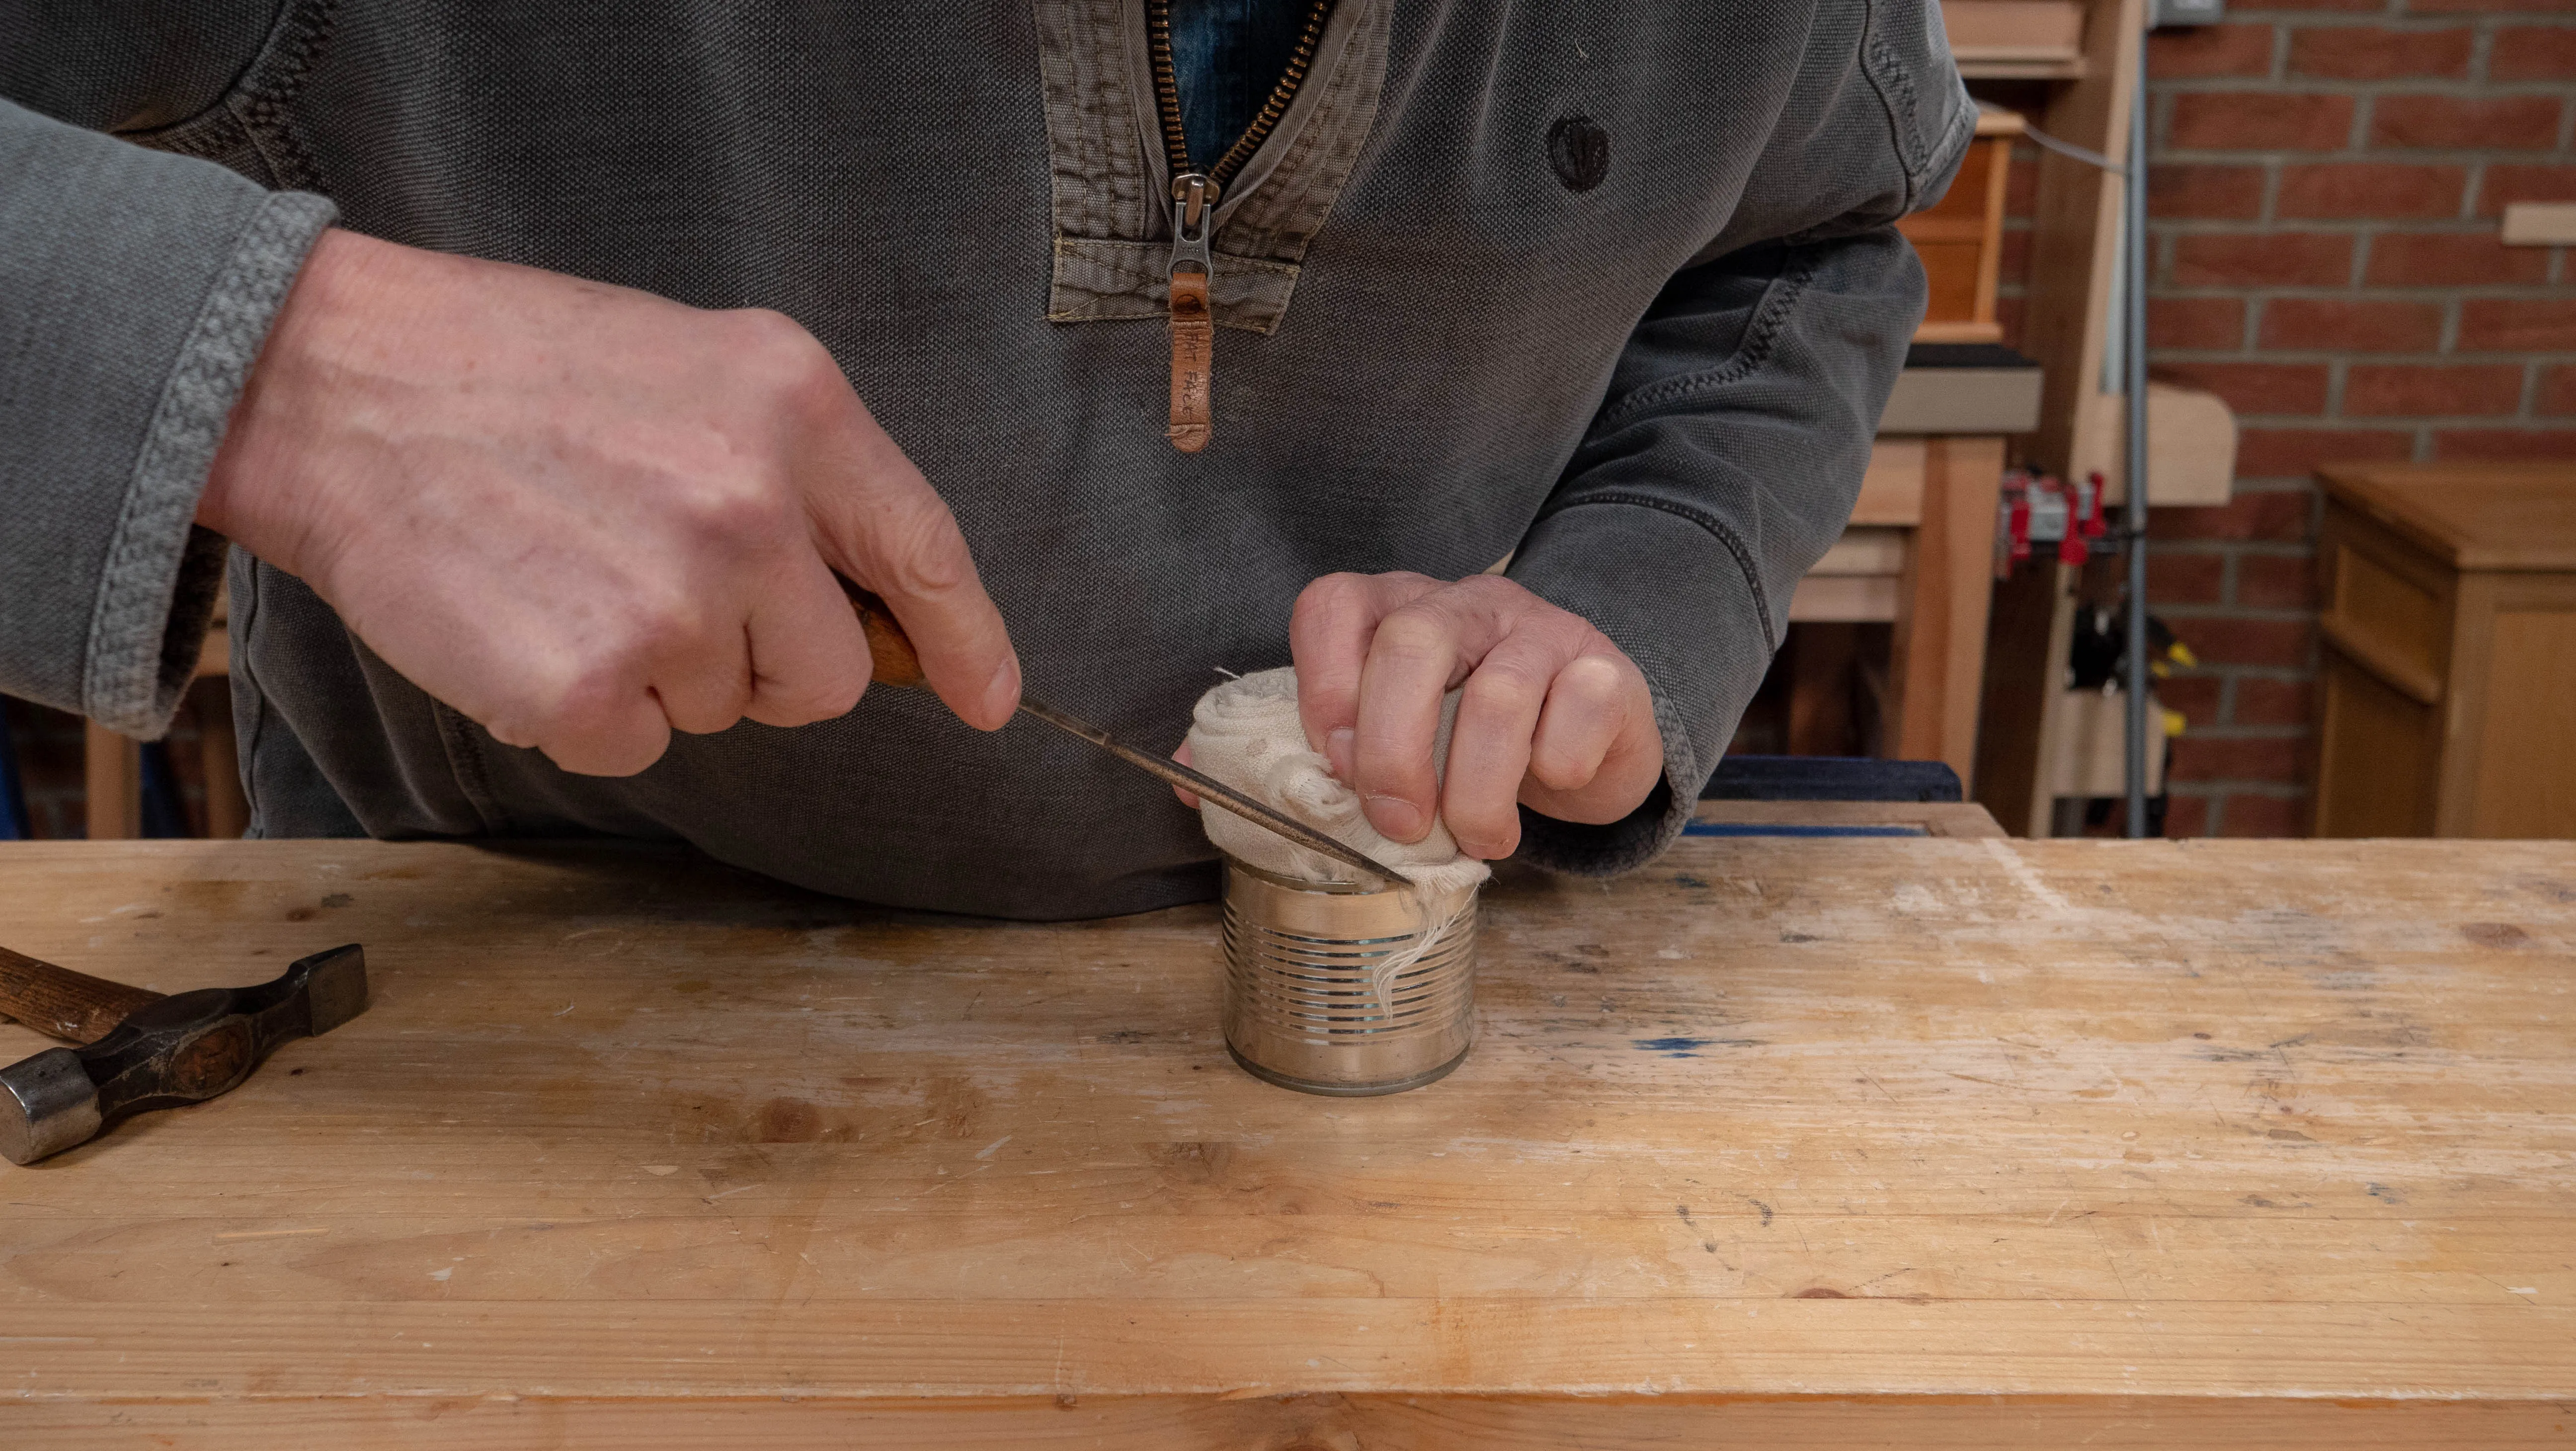
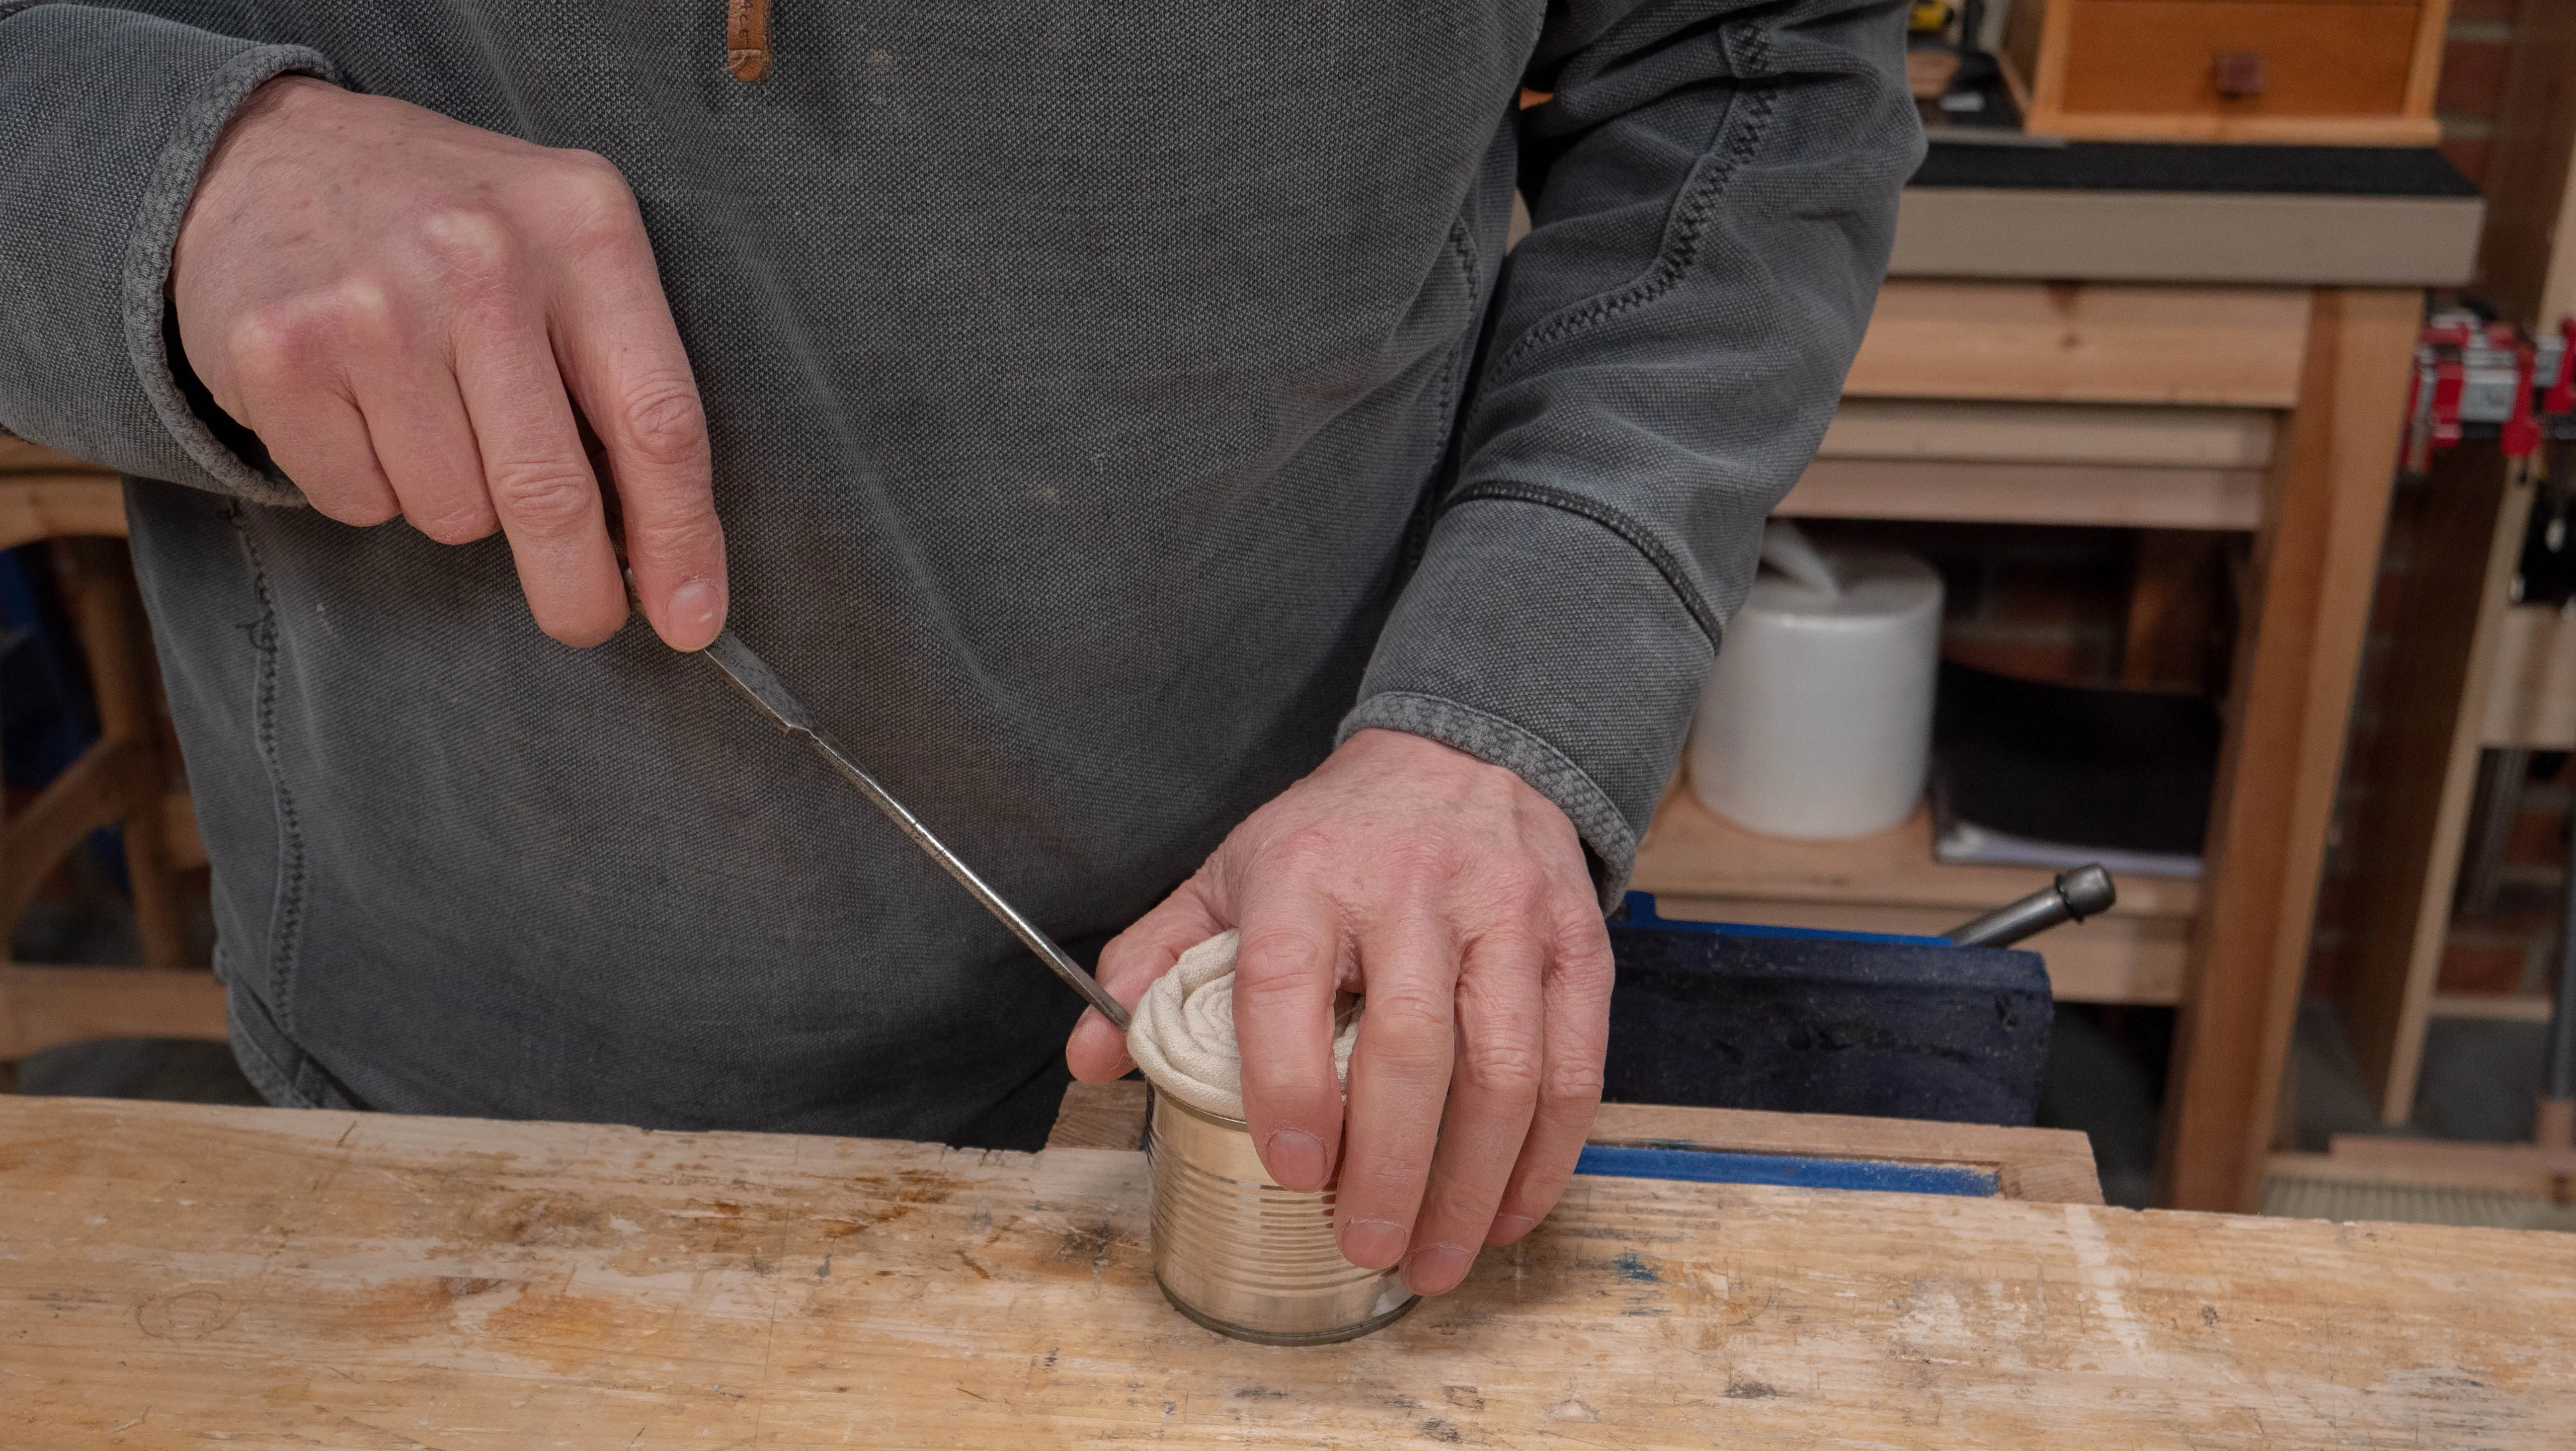
Use a screwdriver to help push the rolled up rag into the can. Leave a bit of the rag protruding as this will protect your tools from coming in contact with the edge of the can.
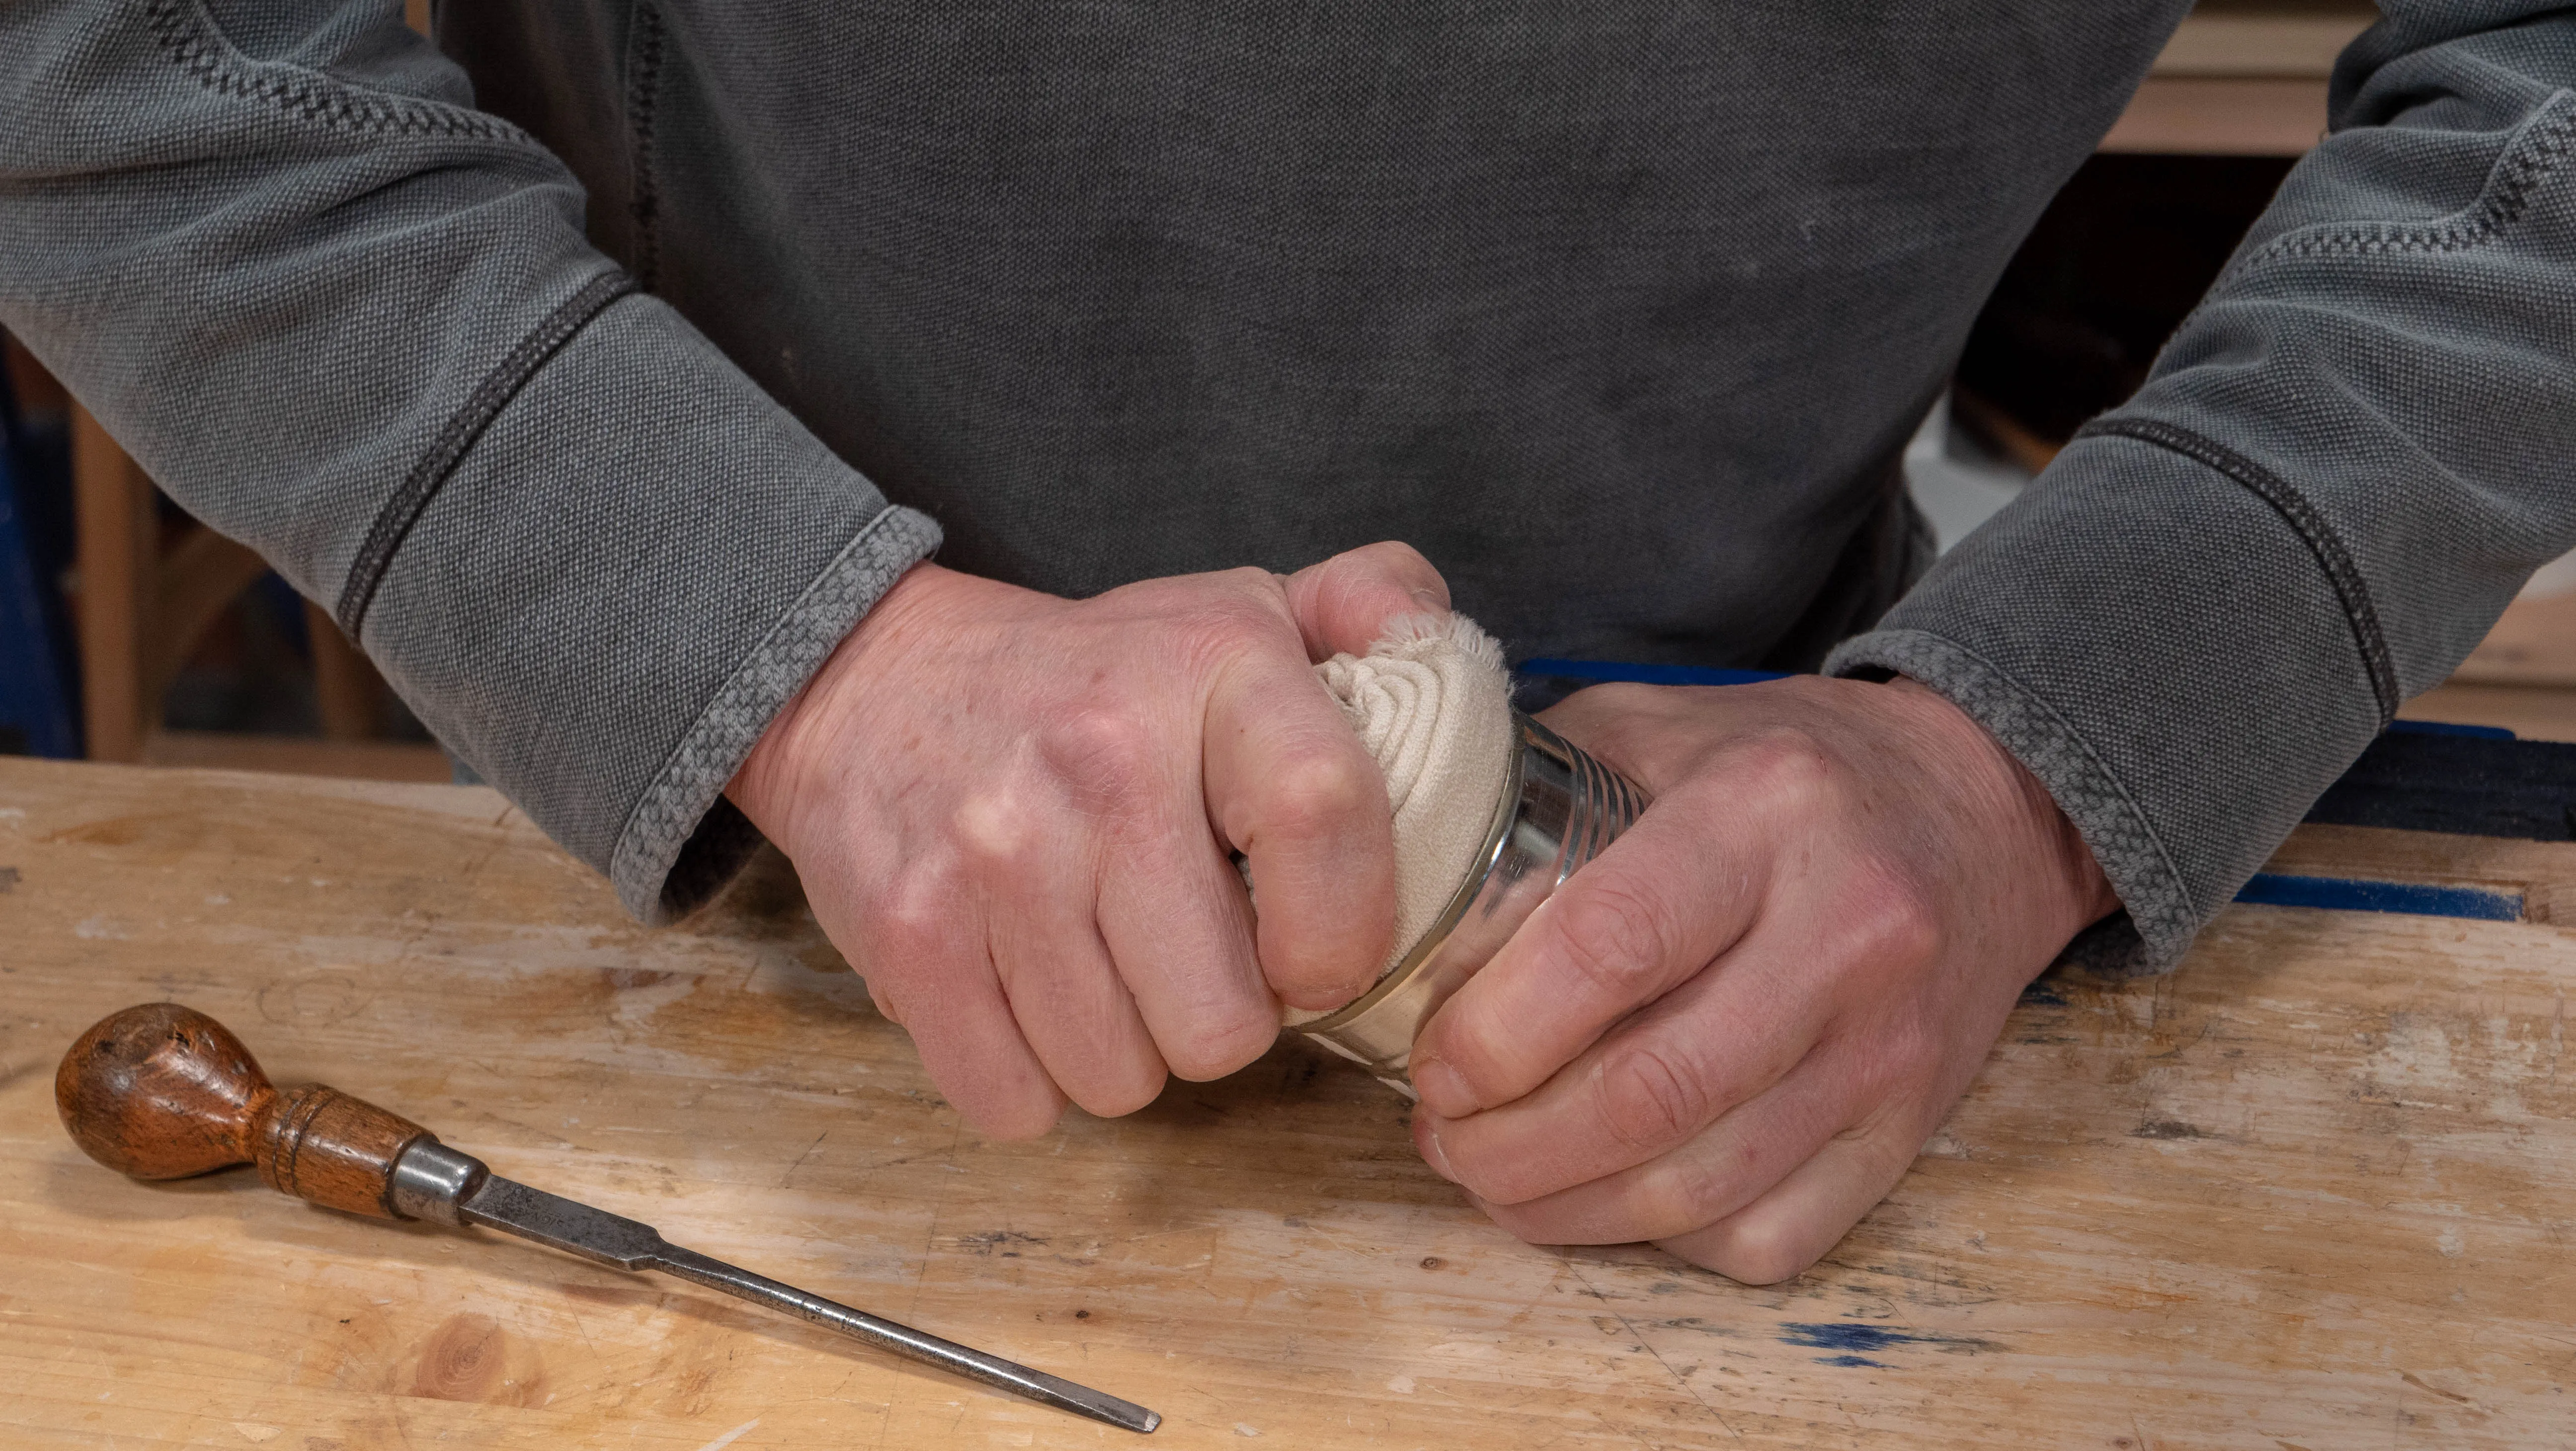
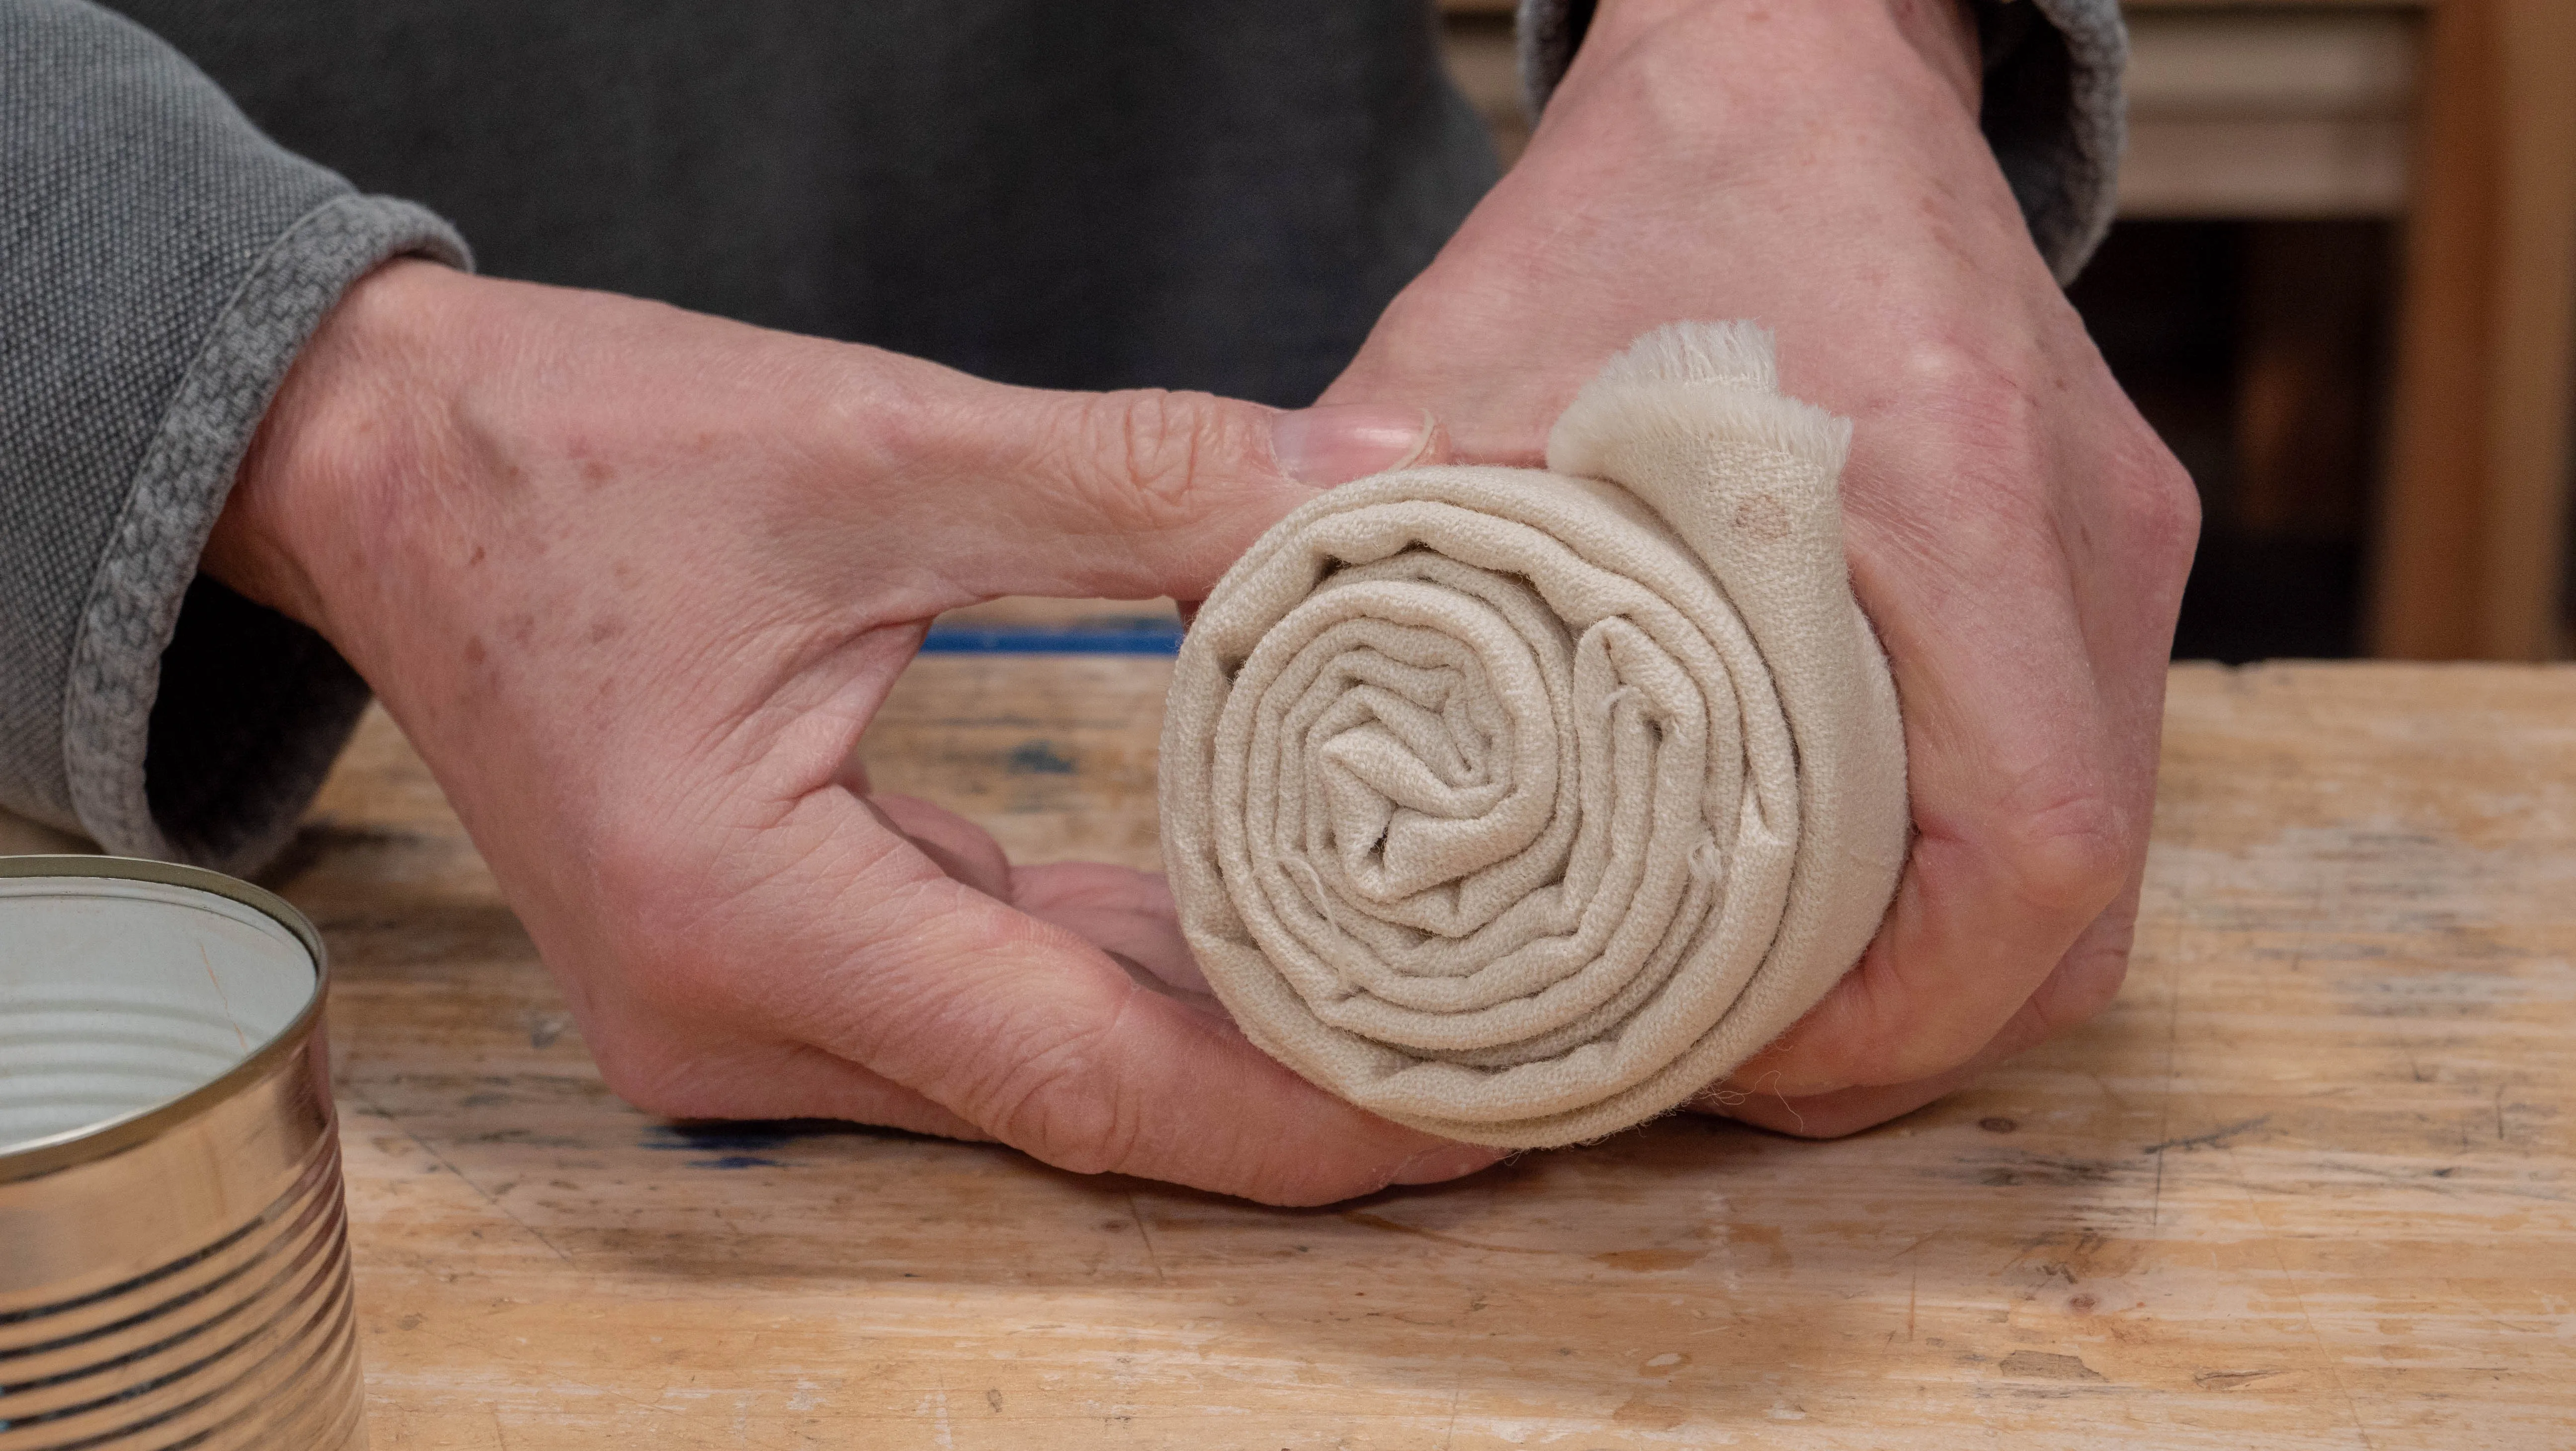
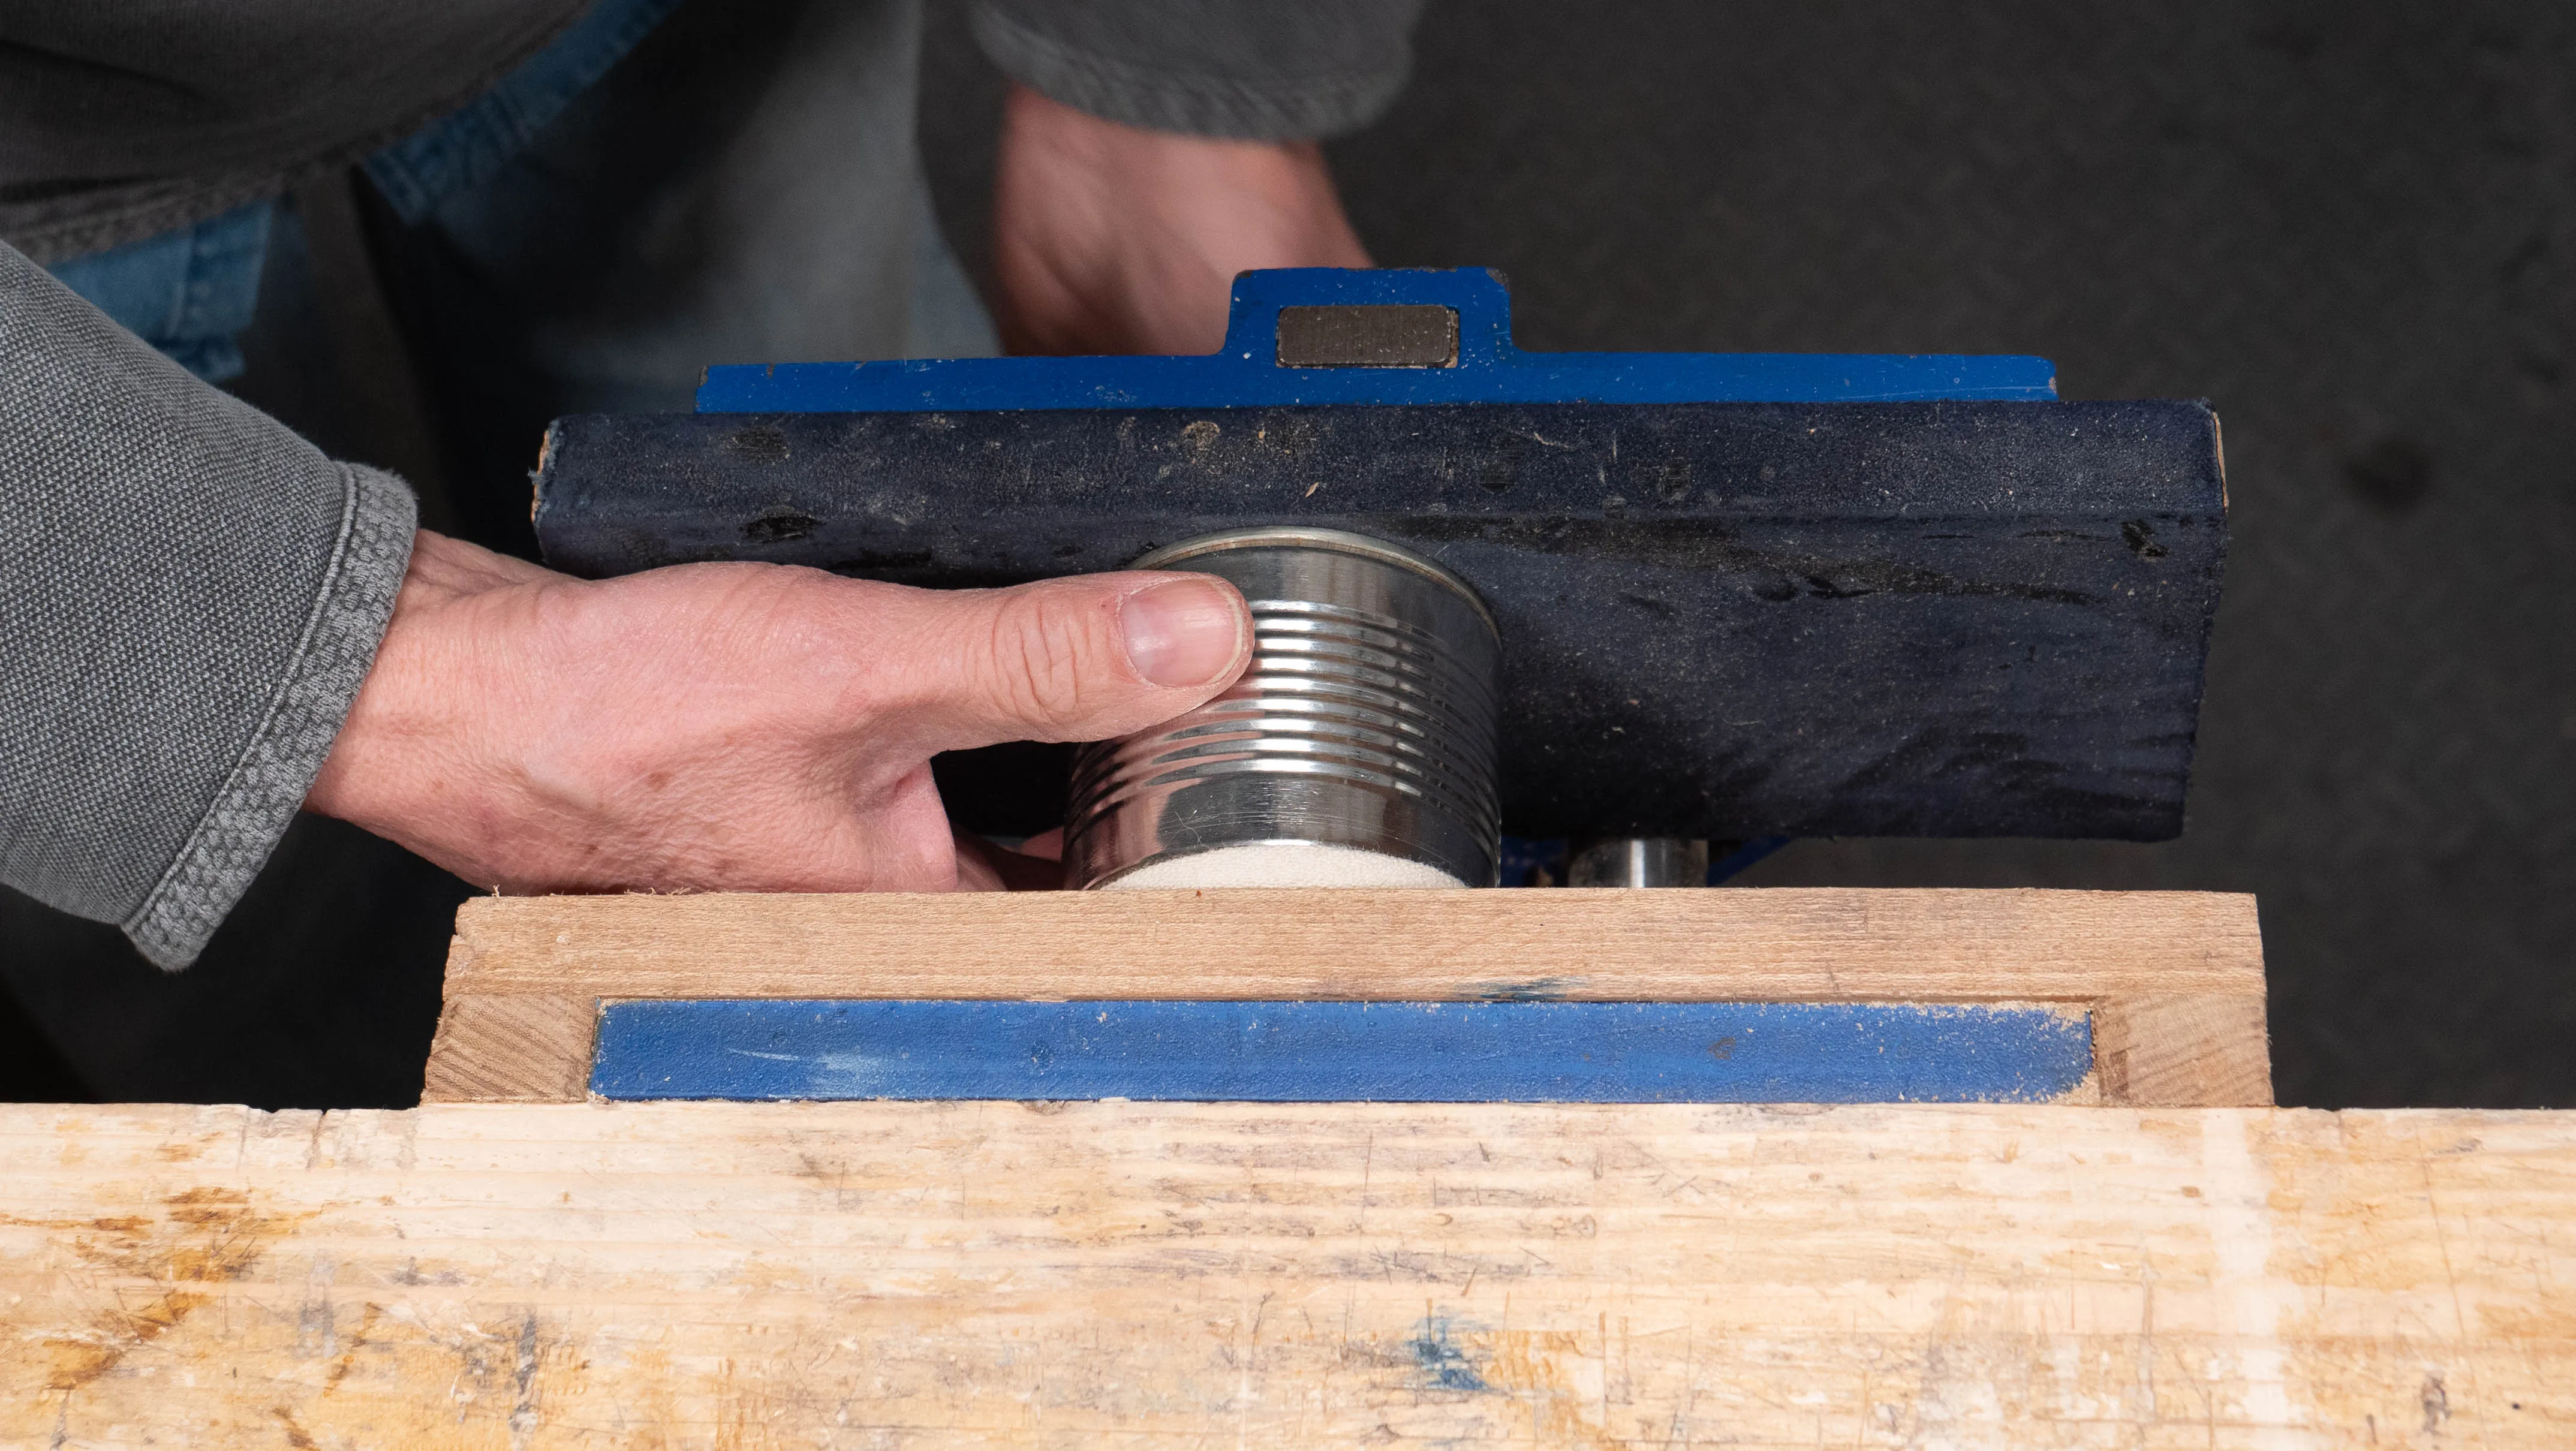
Use the vise to push the rag down even further.
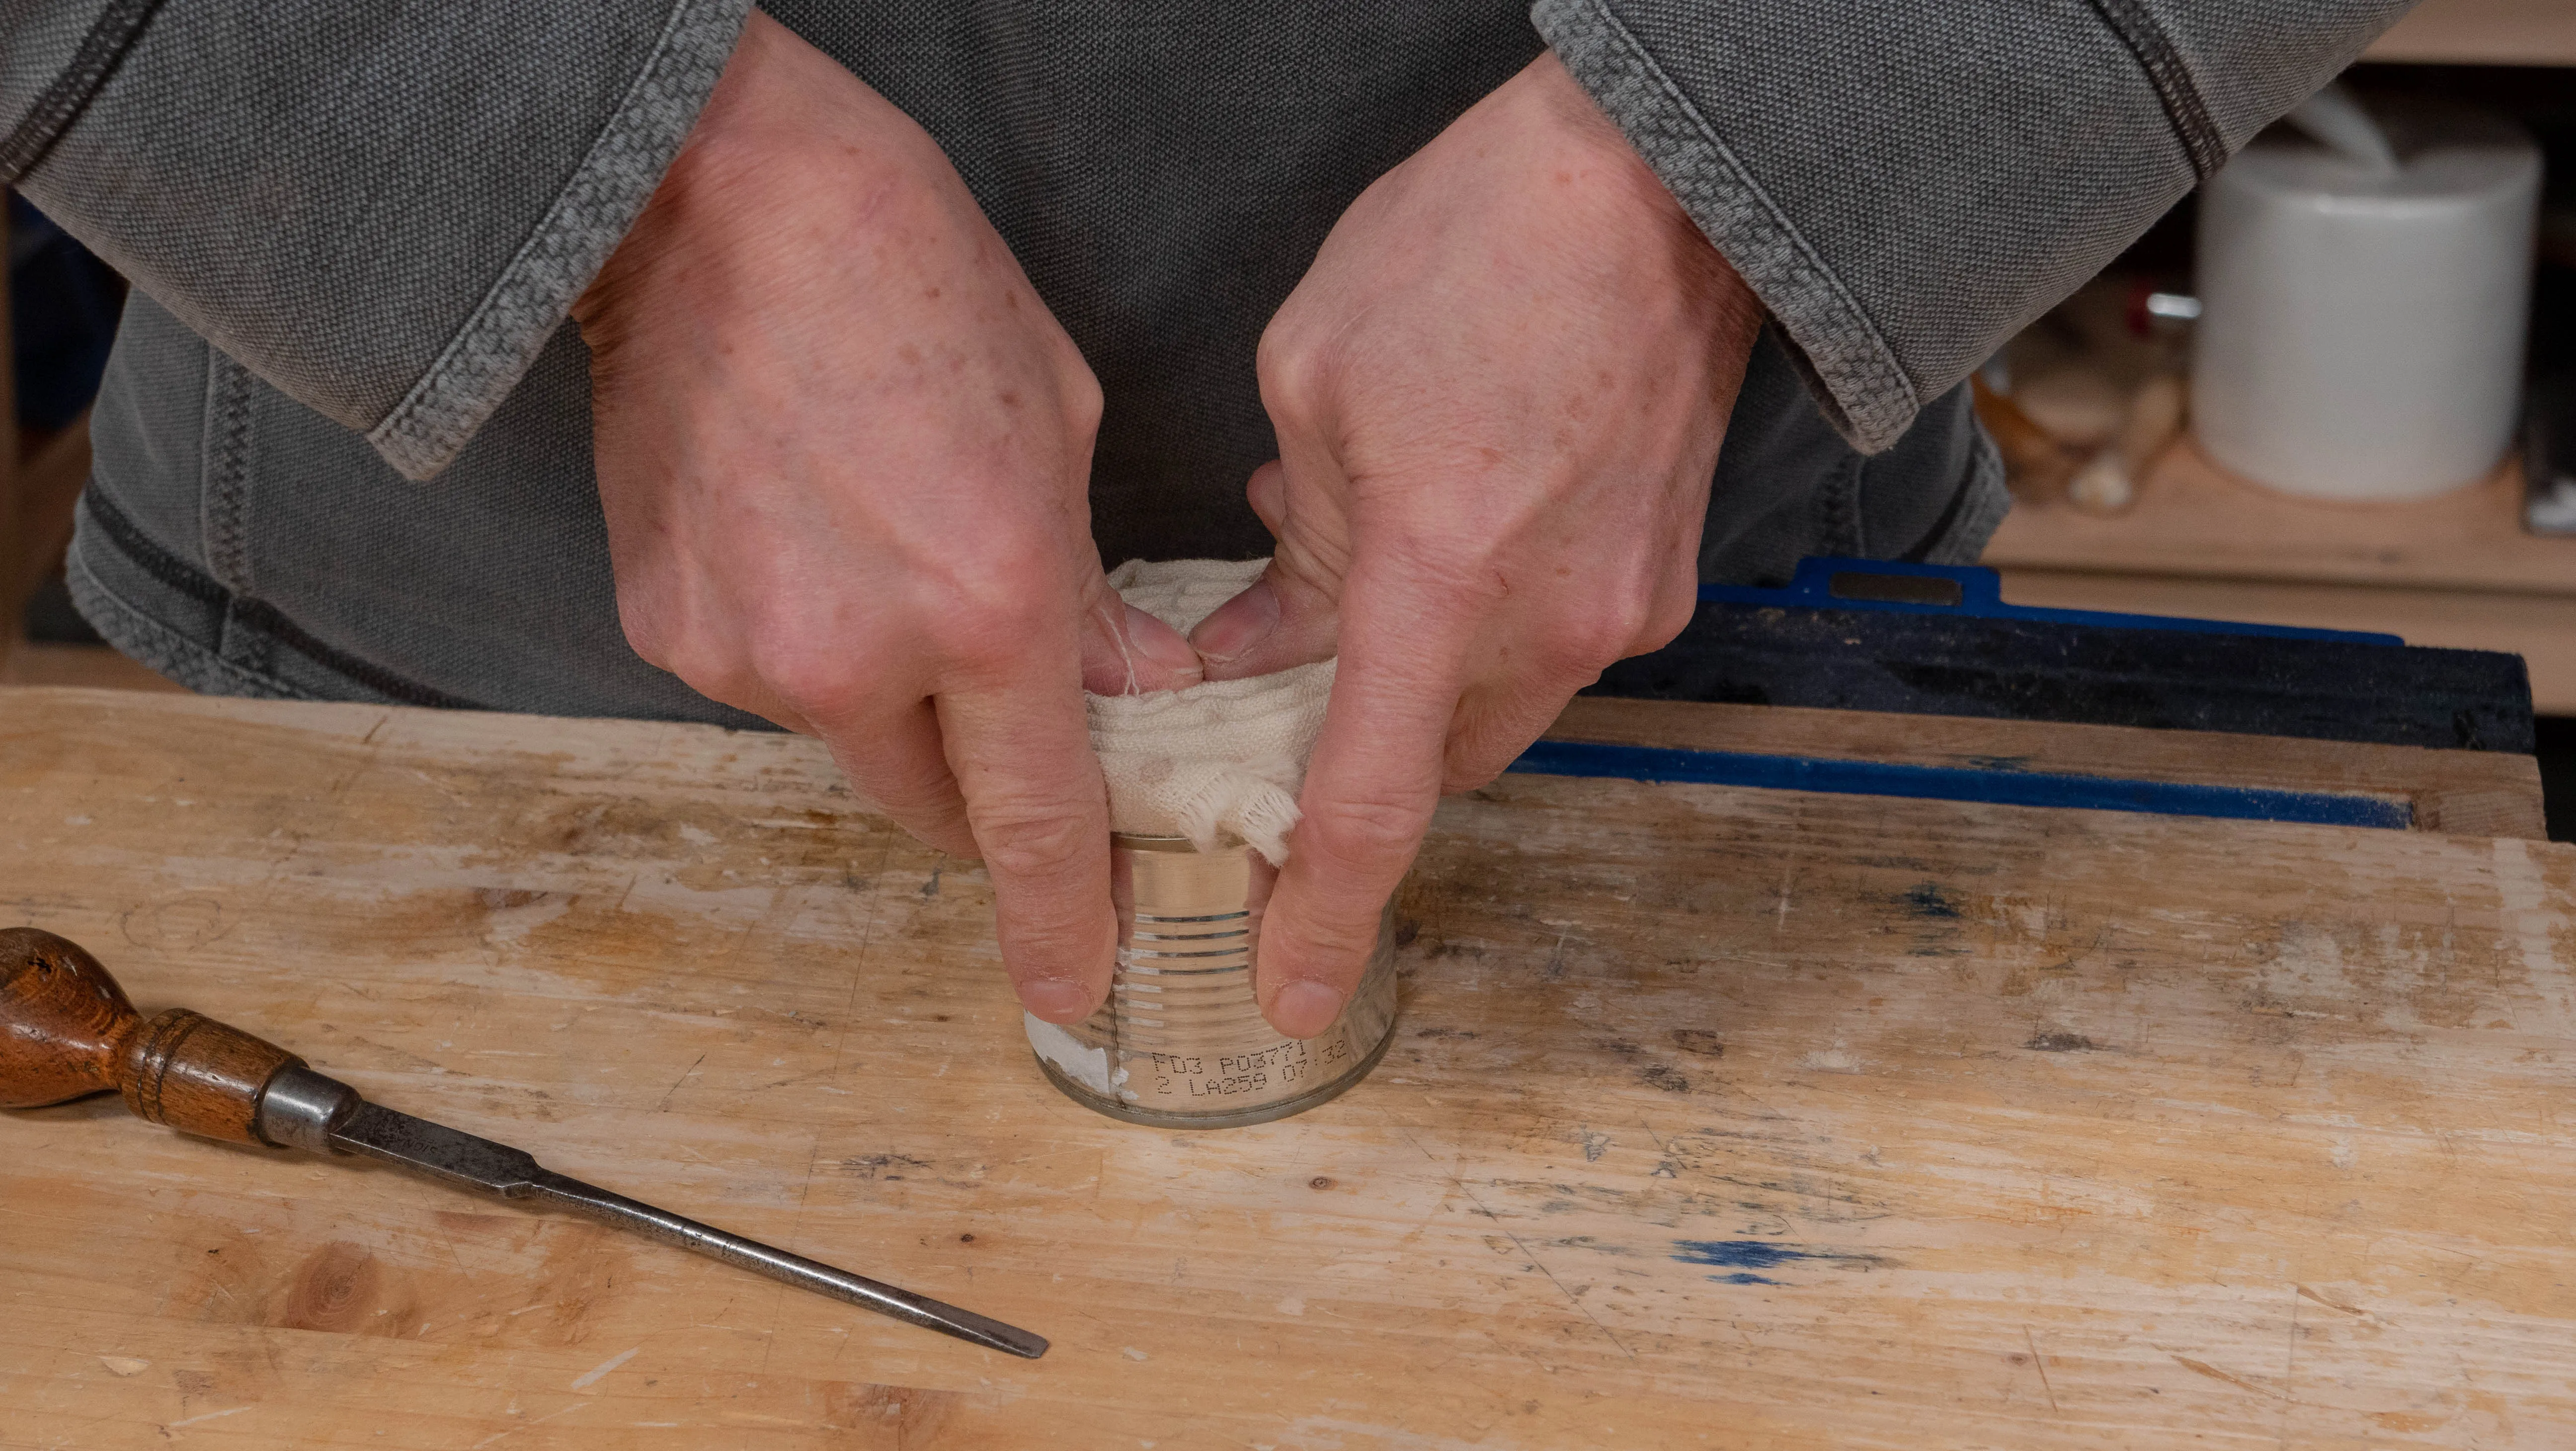
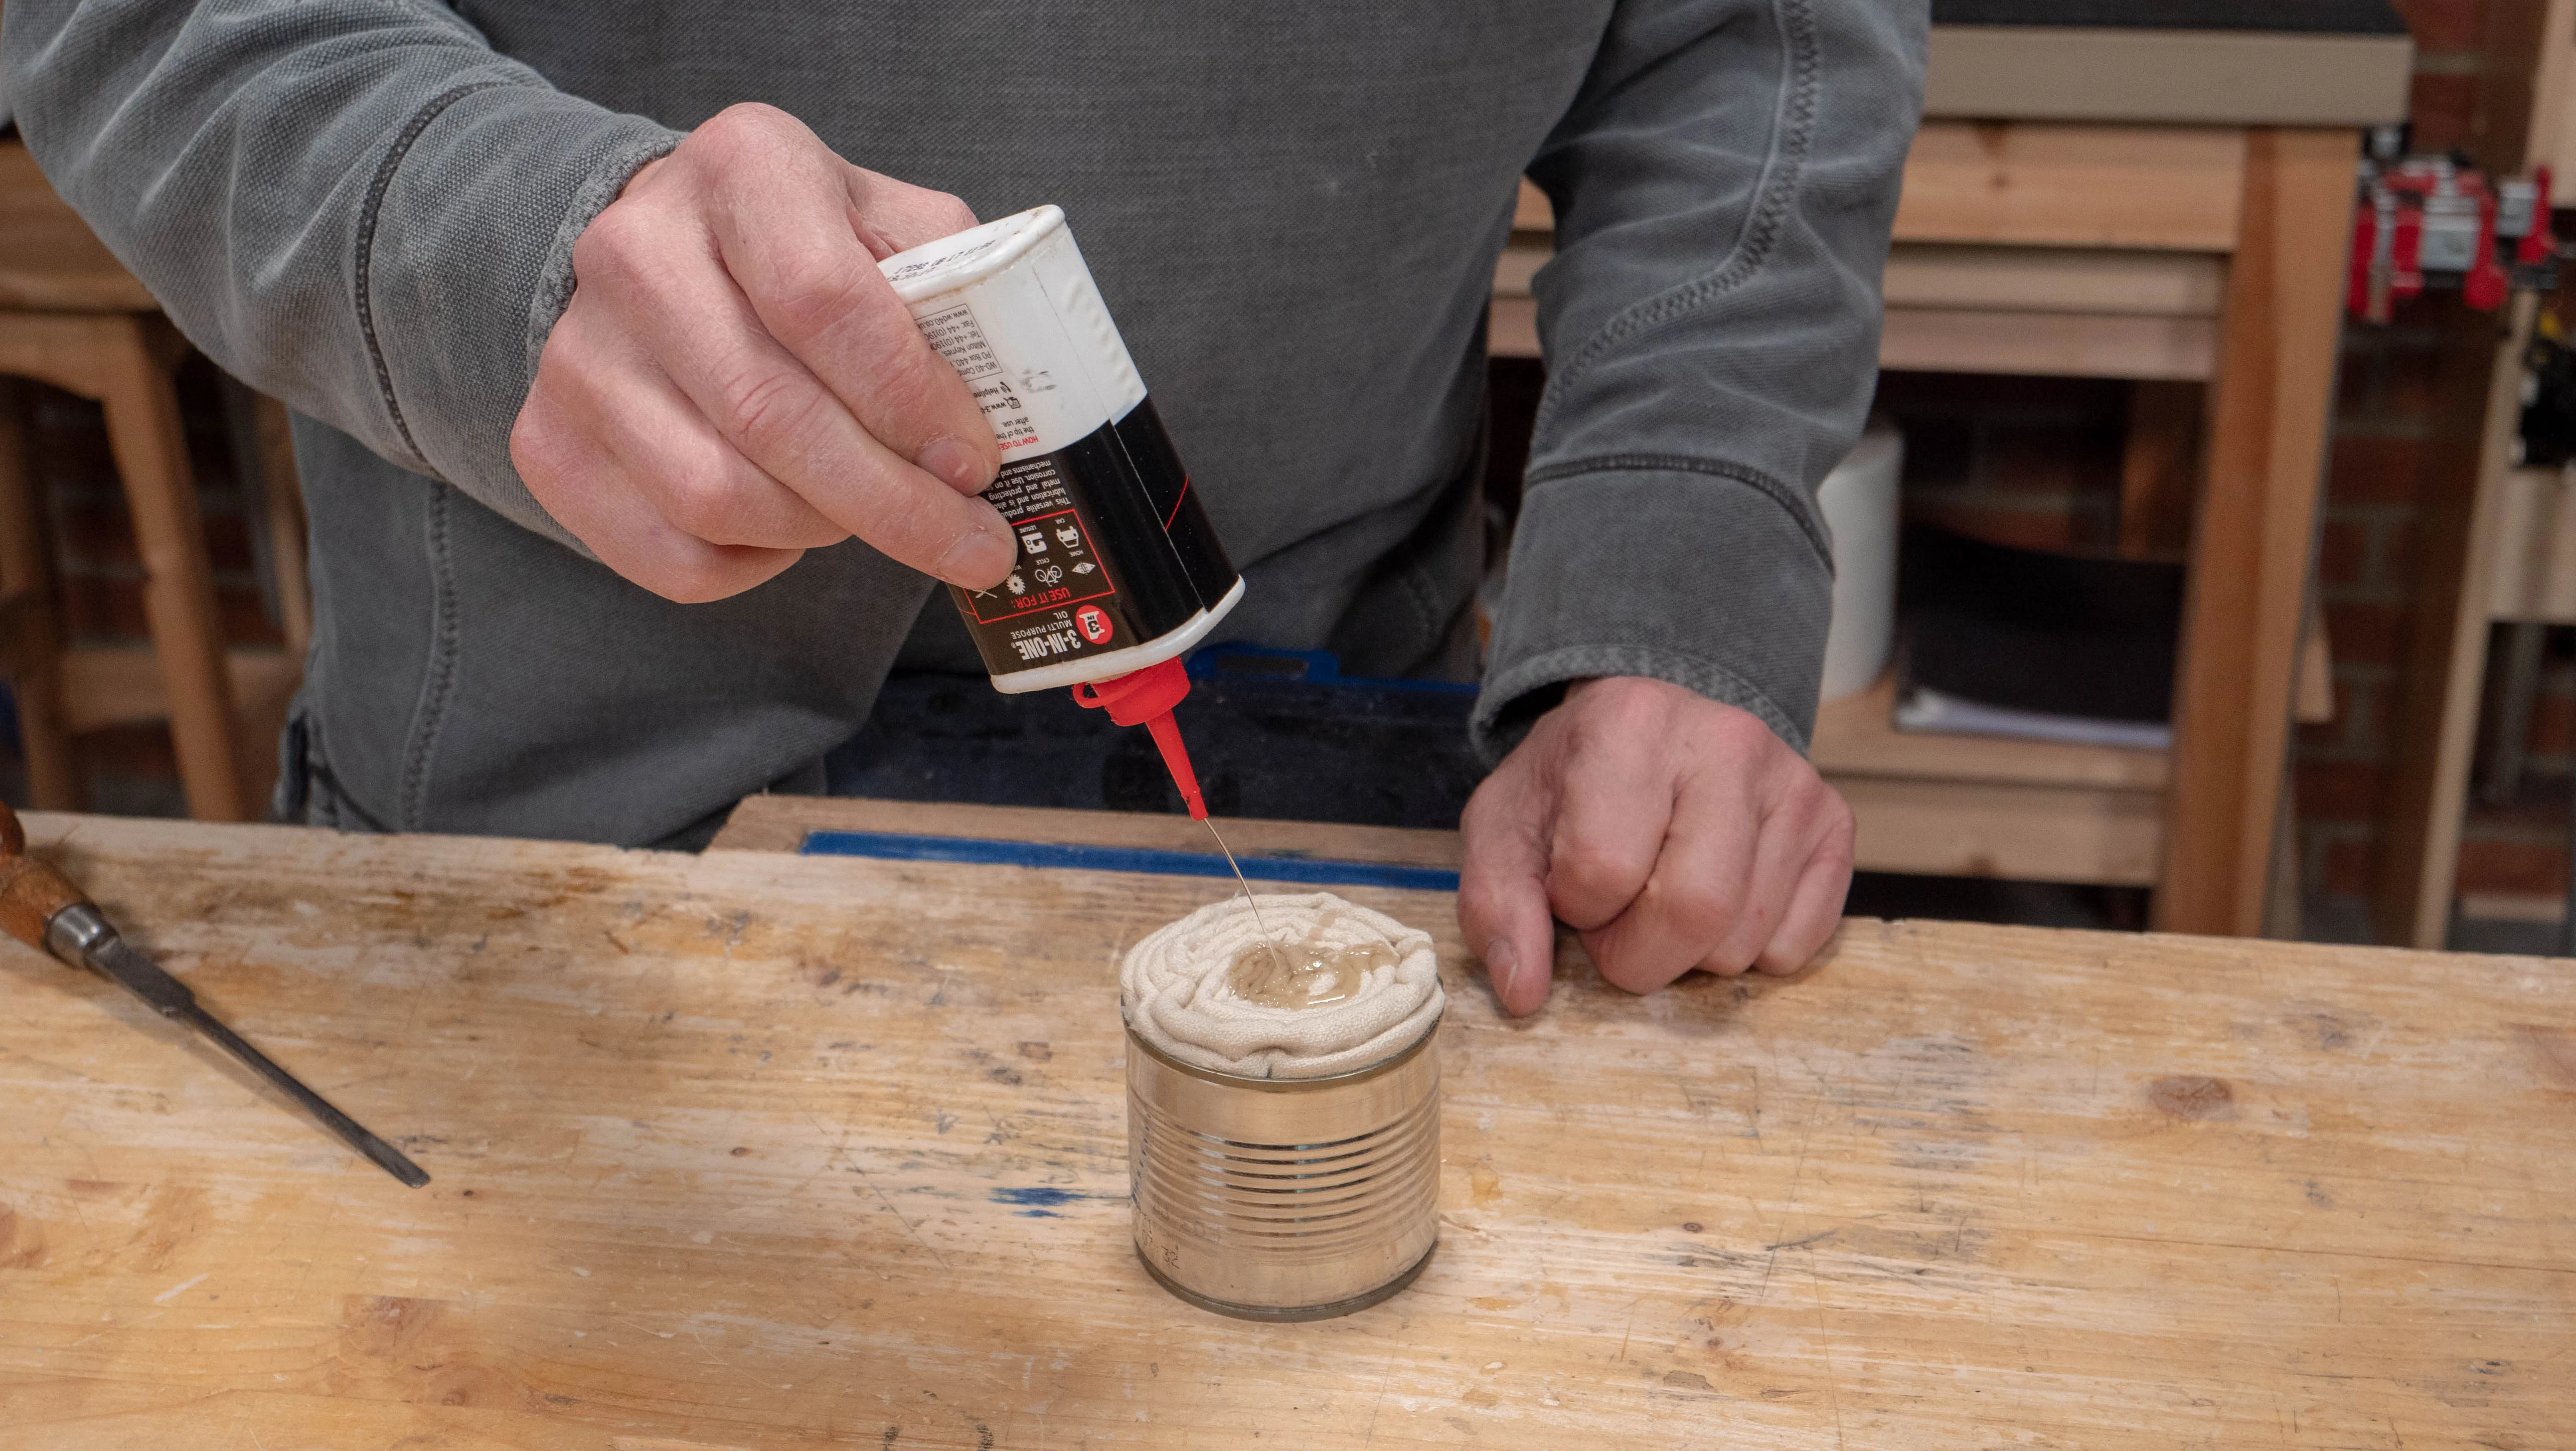
Once you are happy with the position of the rag, soak with 3-in-One oil and leave for a day. If you use it straight away there will be too much oil, so leave it to soak in for a while.
Note: Paul hasn’t found that using the oiler on his tools affects the use of finish or glue.