How to Apply Shellac
In this guide Paul will show you how to apply shellac to your project. This can be adapted depending on the project and the coverage you want to achieve.
In this guide Paul will show you how to apply shellac to your project. This can be adapted depending on the project and the coverage you want to achieve.
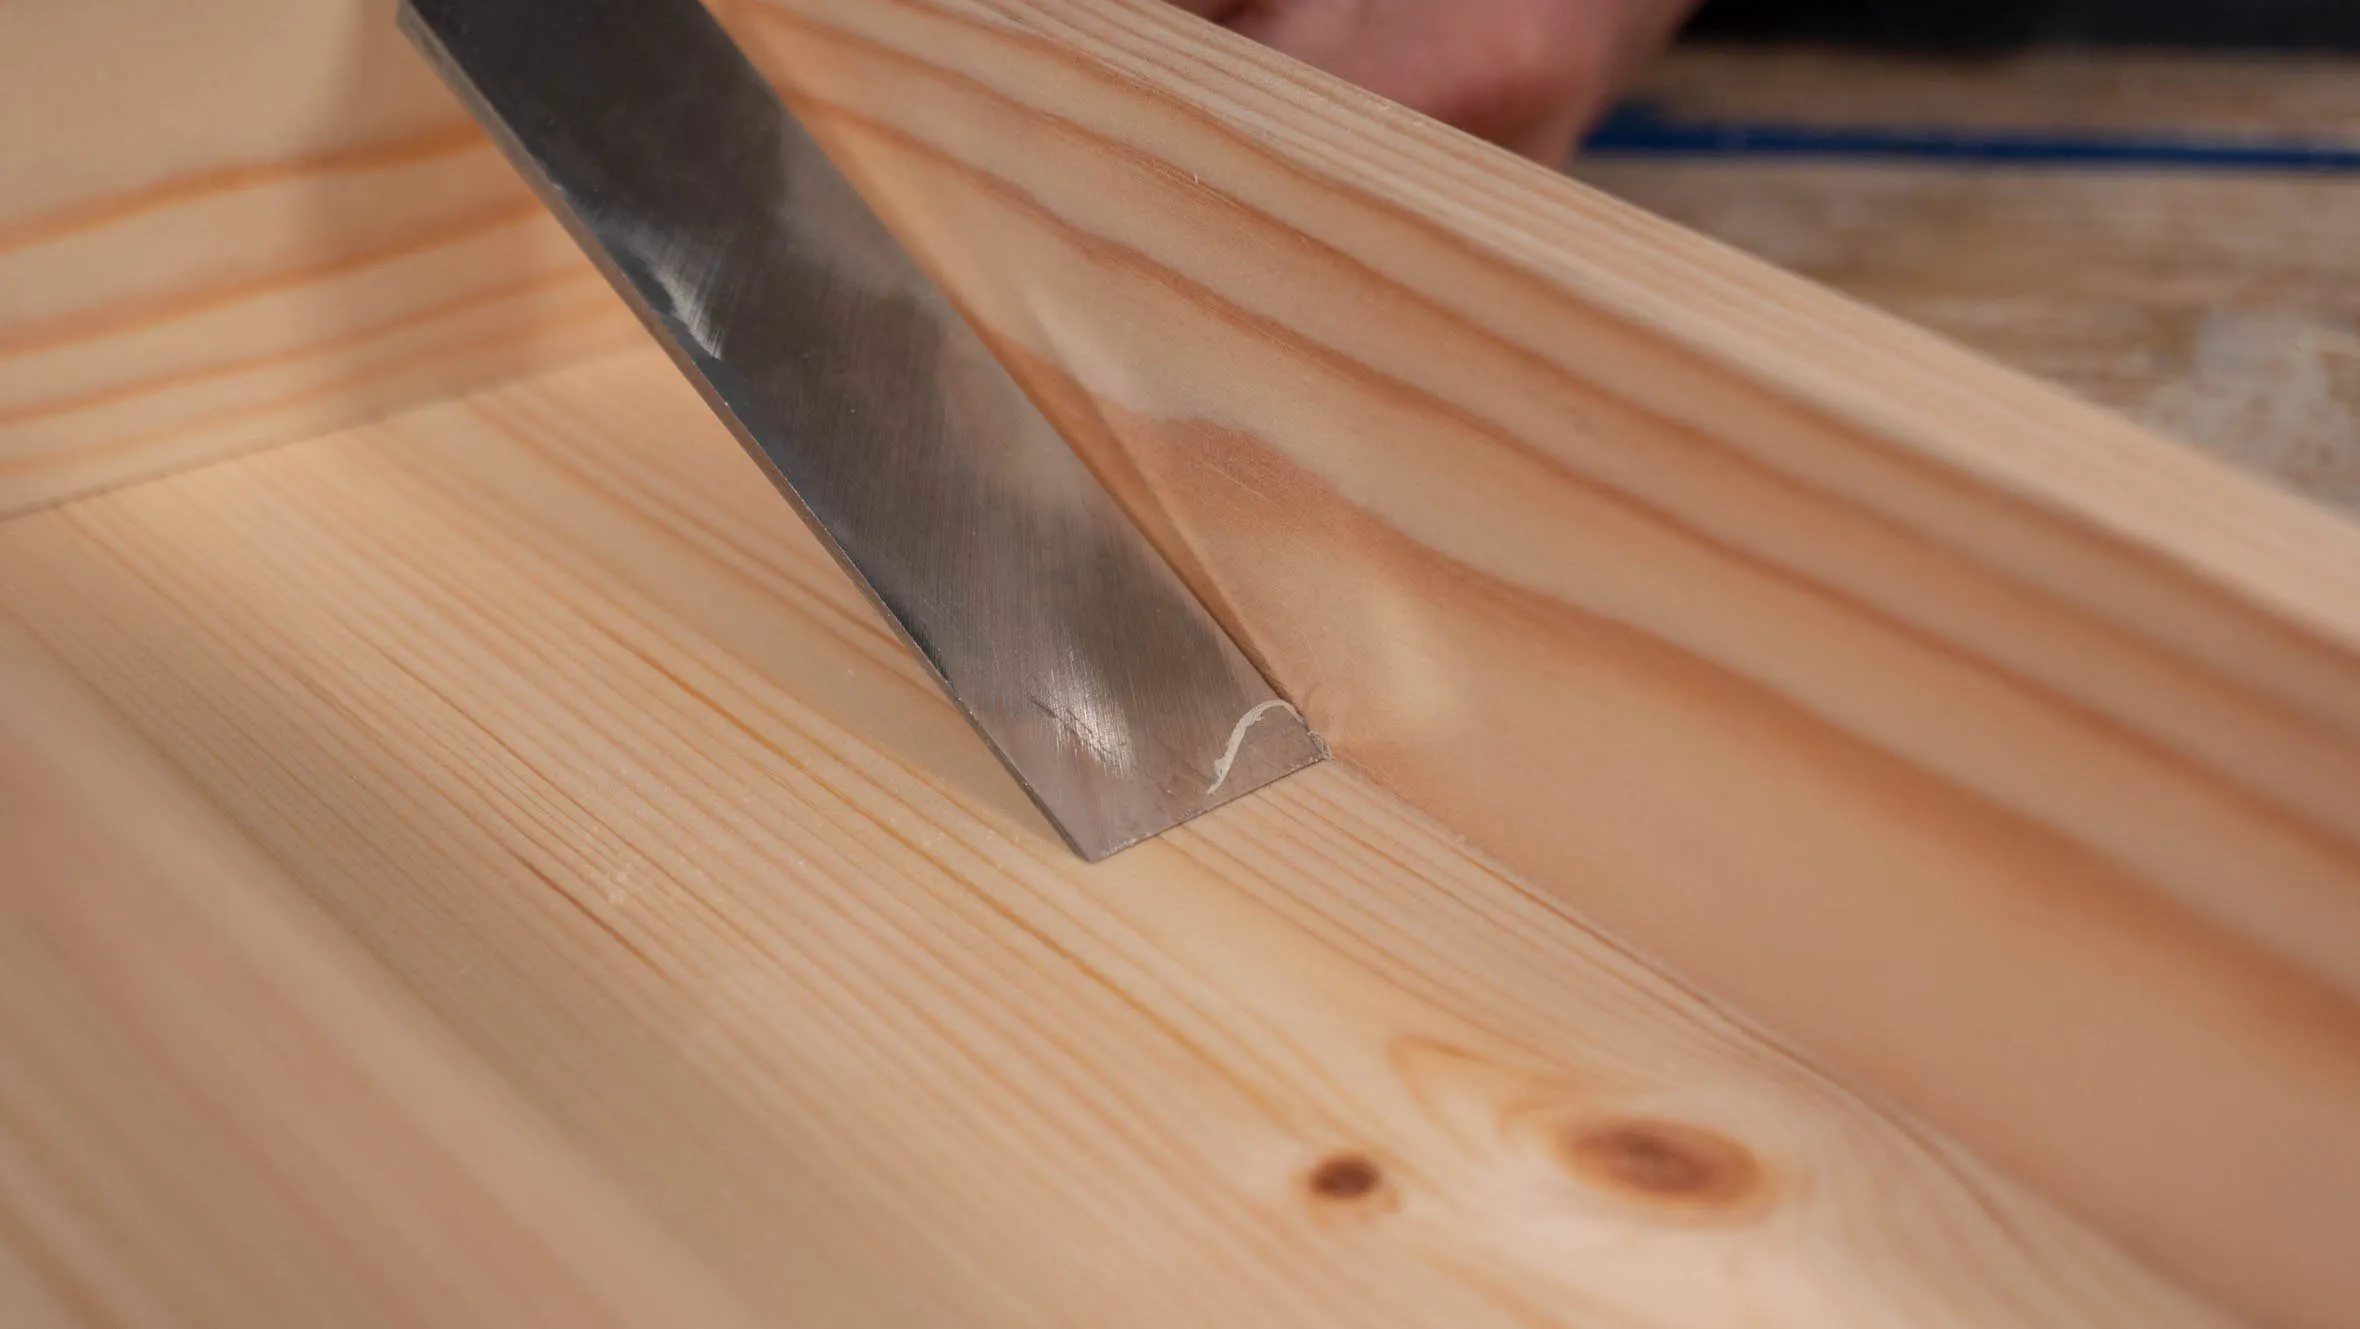
Before applying finish to your project, make sure you have removed any dried glue as this will be visible on your project after the finish is applied and is more difficult to remove at that stage. Use a sharp chisel or a plane depending on the size and location of the area.
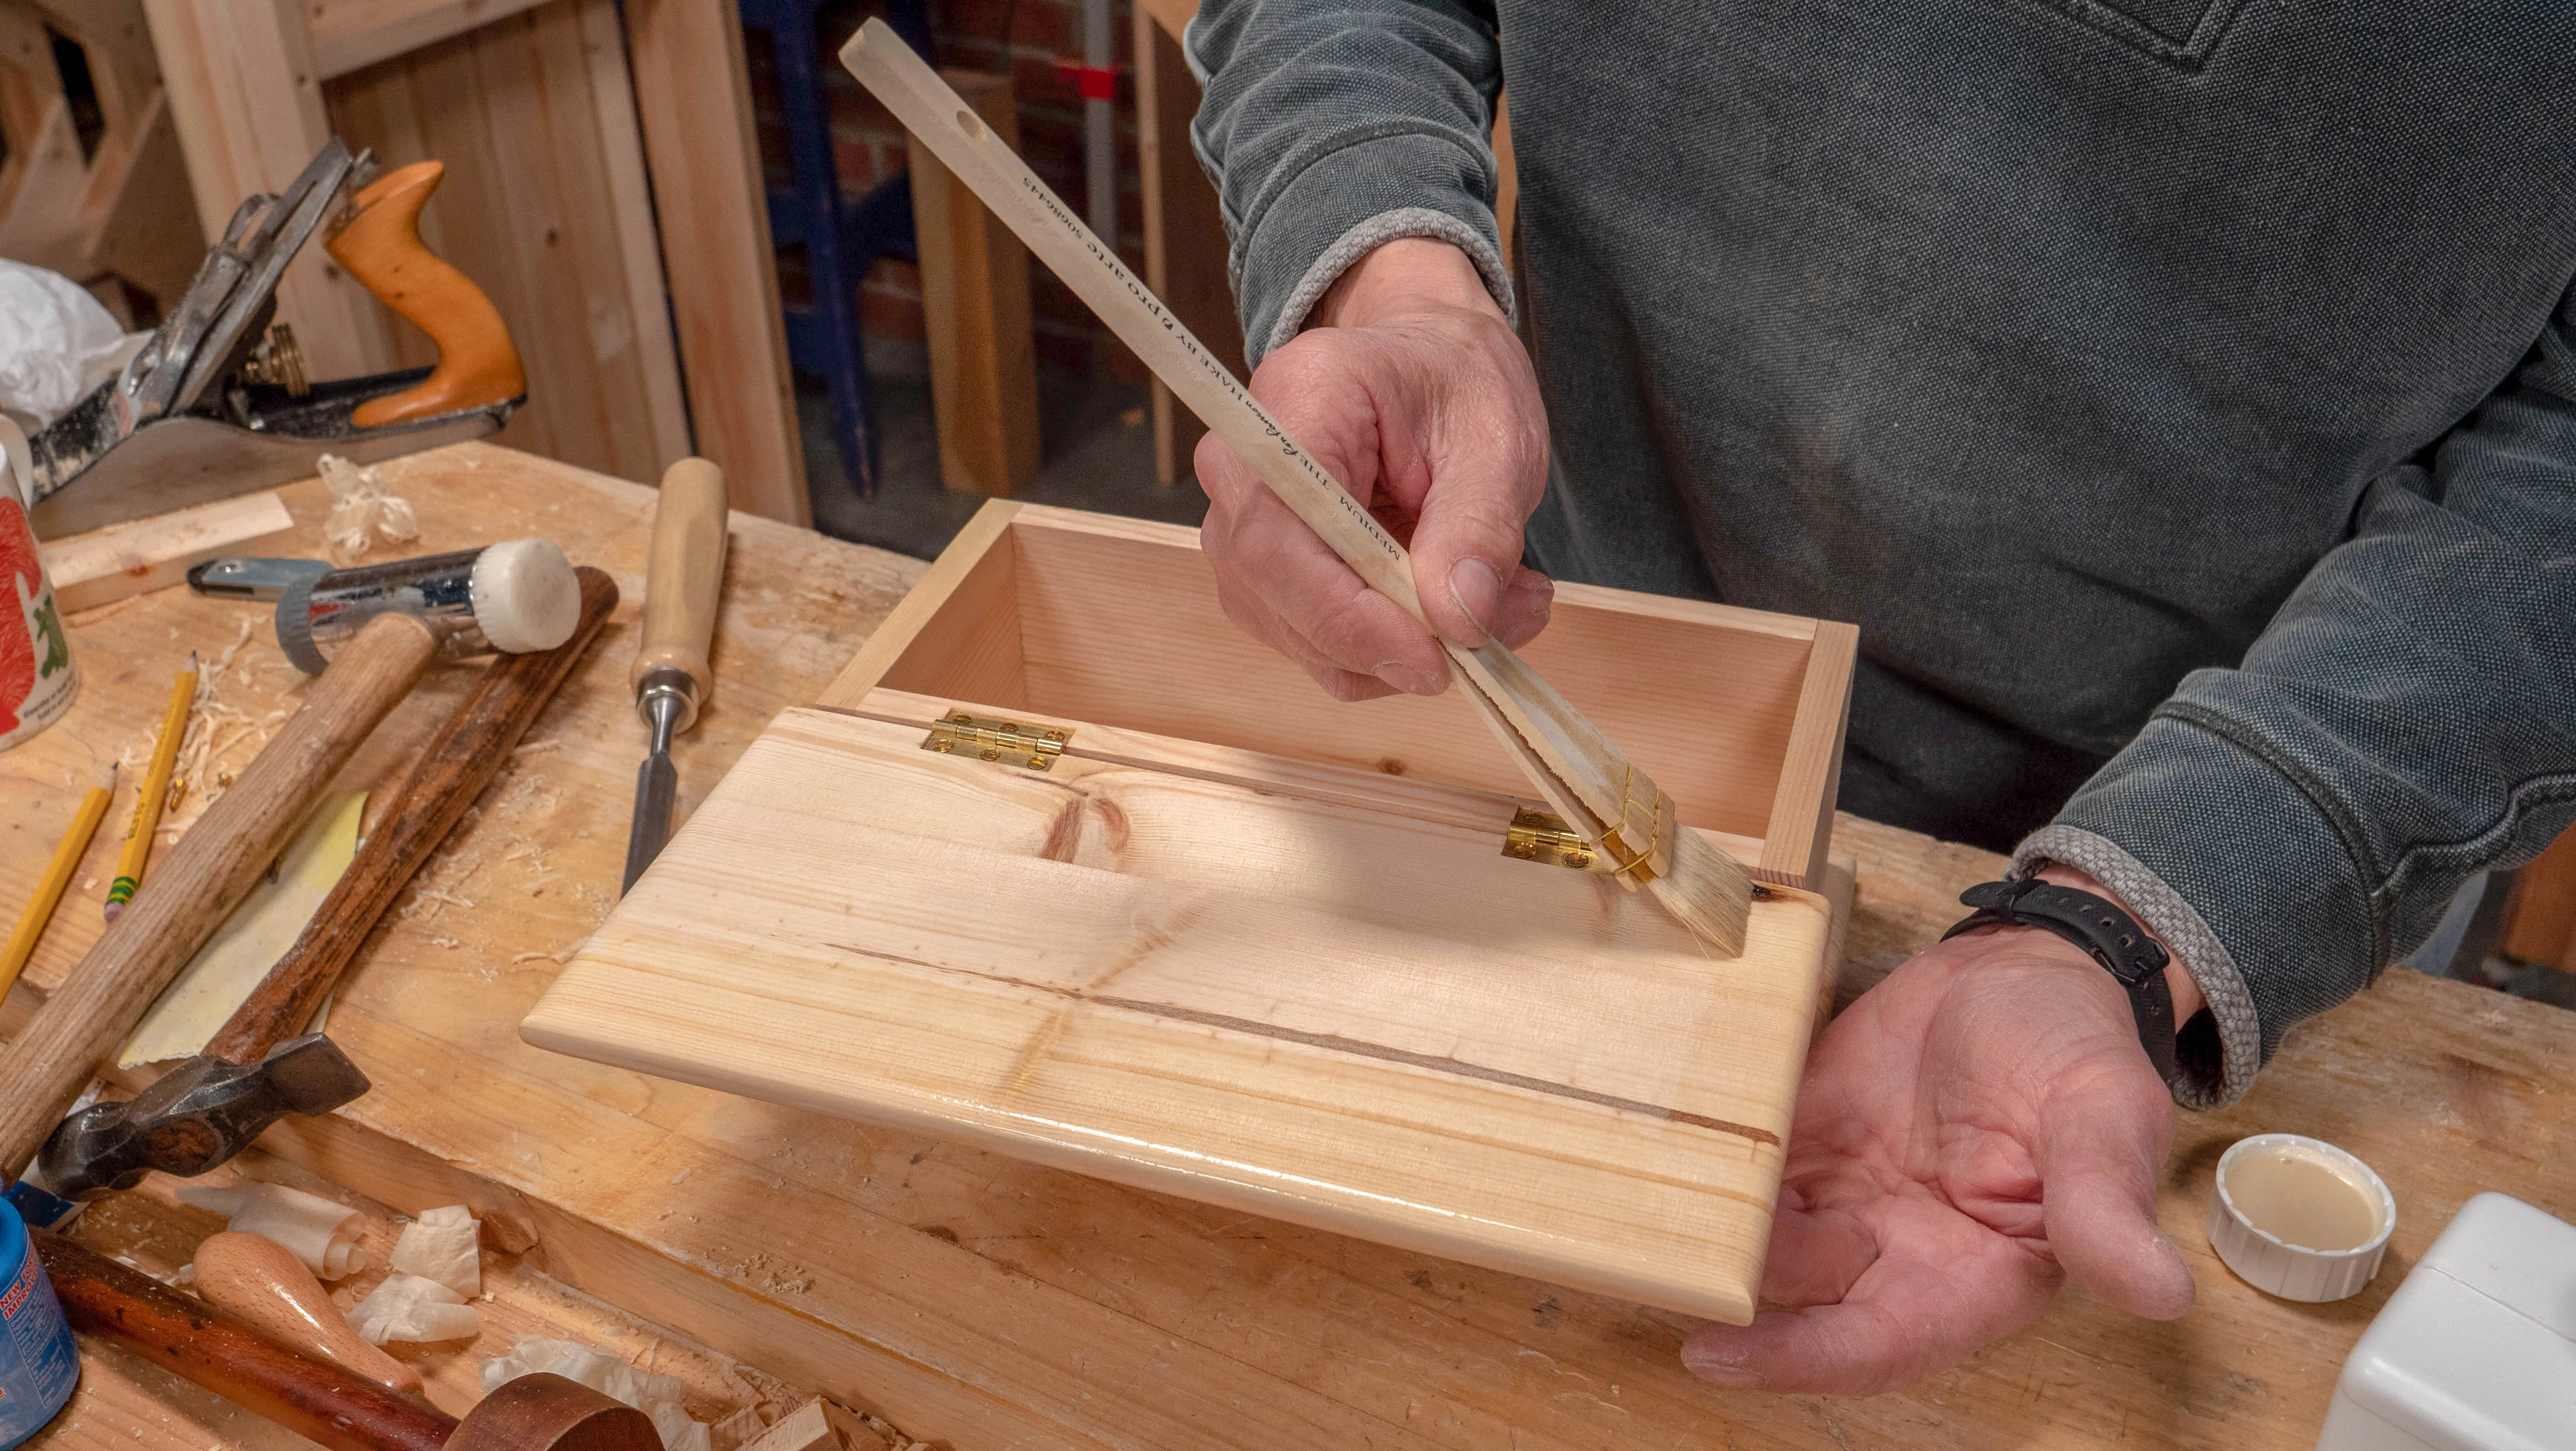
Paul uses a hake brush. This is because it doesn’t hold too much product and is wide and thin, which gives an even coating to the surface. The thin, soft bristles don’t leave any brush marks so you end up with a flawless finish. You can use a regular paint brush with natural bristles too.
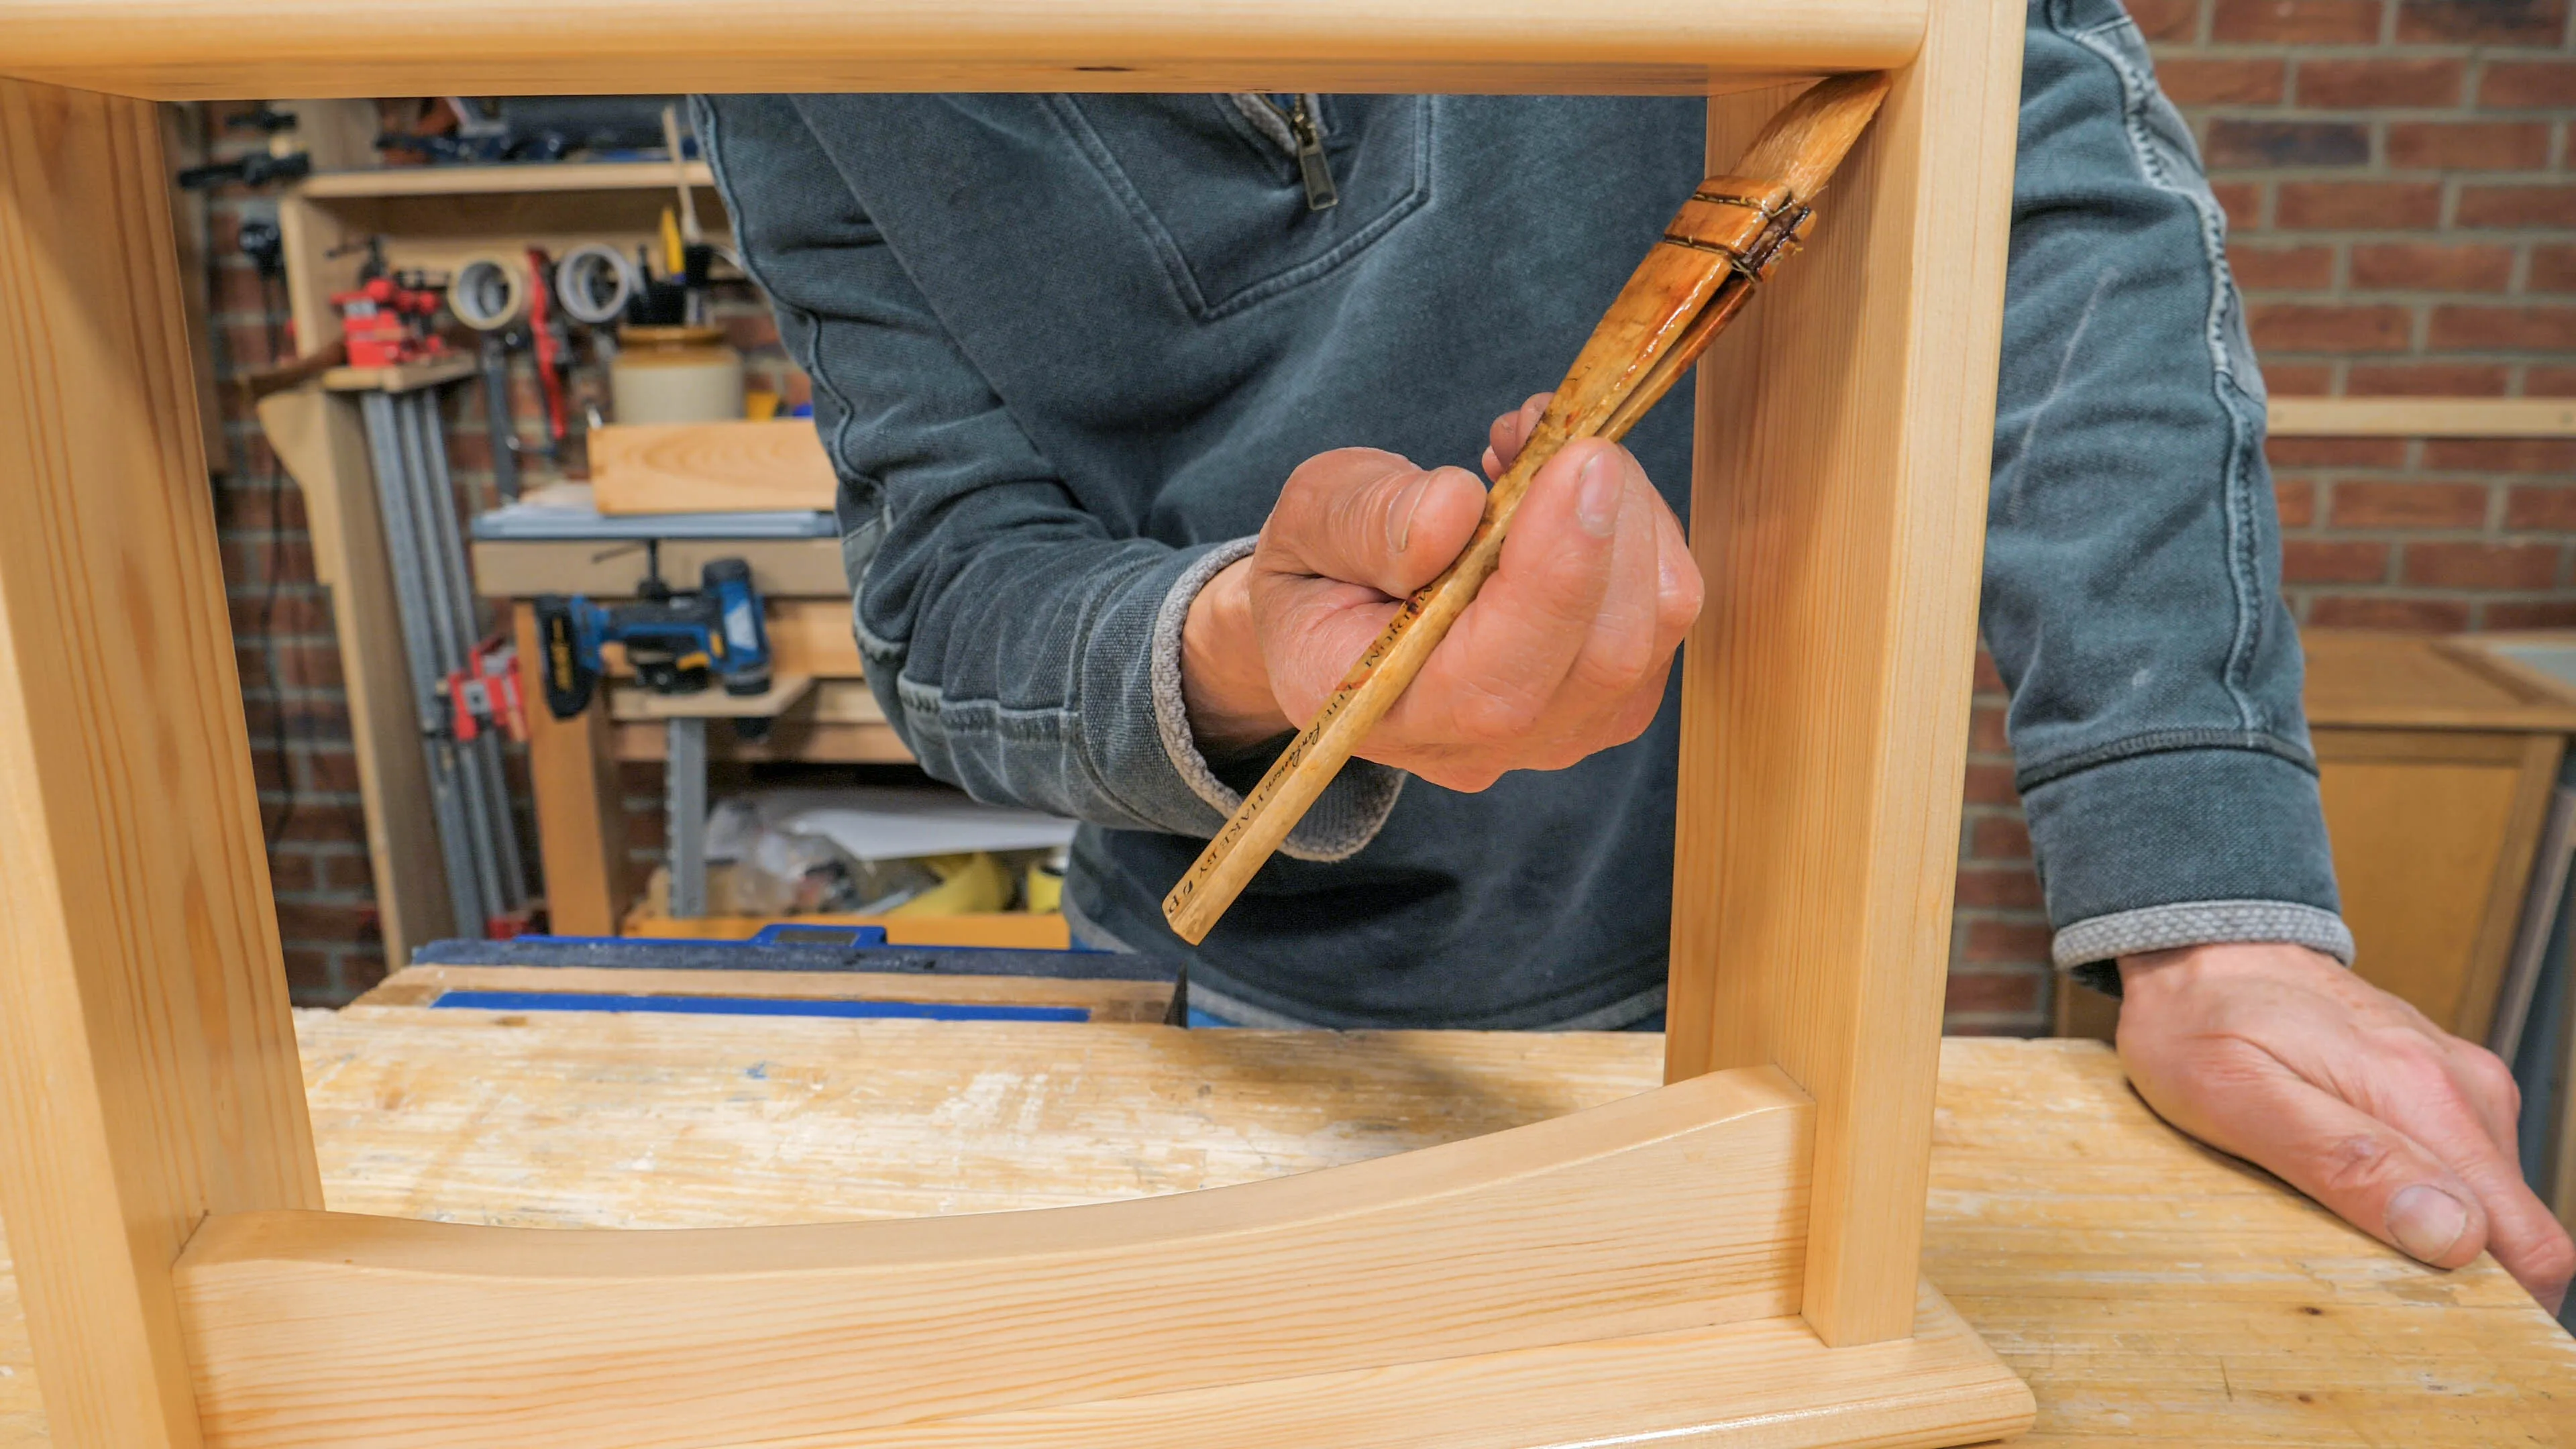
Apply to end grain first, leave time for it to soak in and then, once the rest of your project is coated, you can add another layer onto the end grain. End grain absorbs finish quicker and usually needs more coats than long grain surfaces. Coat your project along the grain. Then across the grain. Then along the grain for a second time. This will ensure any brush stroke marks are going along the grain, which makes them less visible. It will also even out the finish. You don’t want the shellac to drip and run, but if you find a drip make sure to brush it into the project as soon as possible. Paul usually applies 3-4 coats of shellac.
![]()
Leave the project for a minimum of an hour once coated, before you apply the next coat.
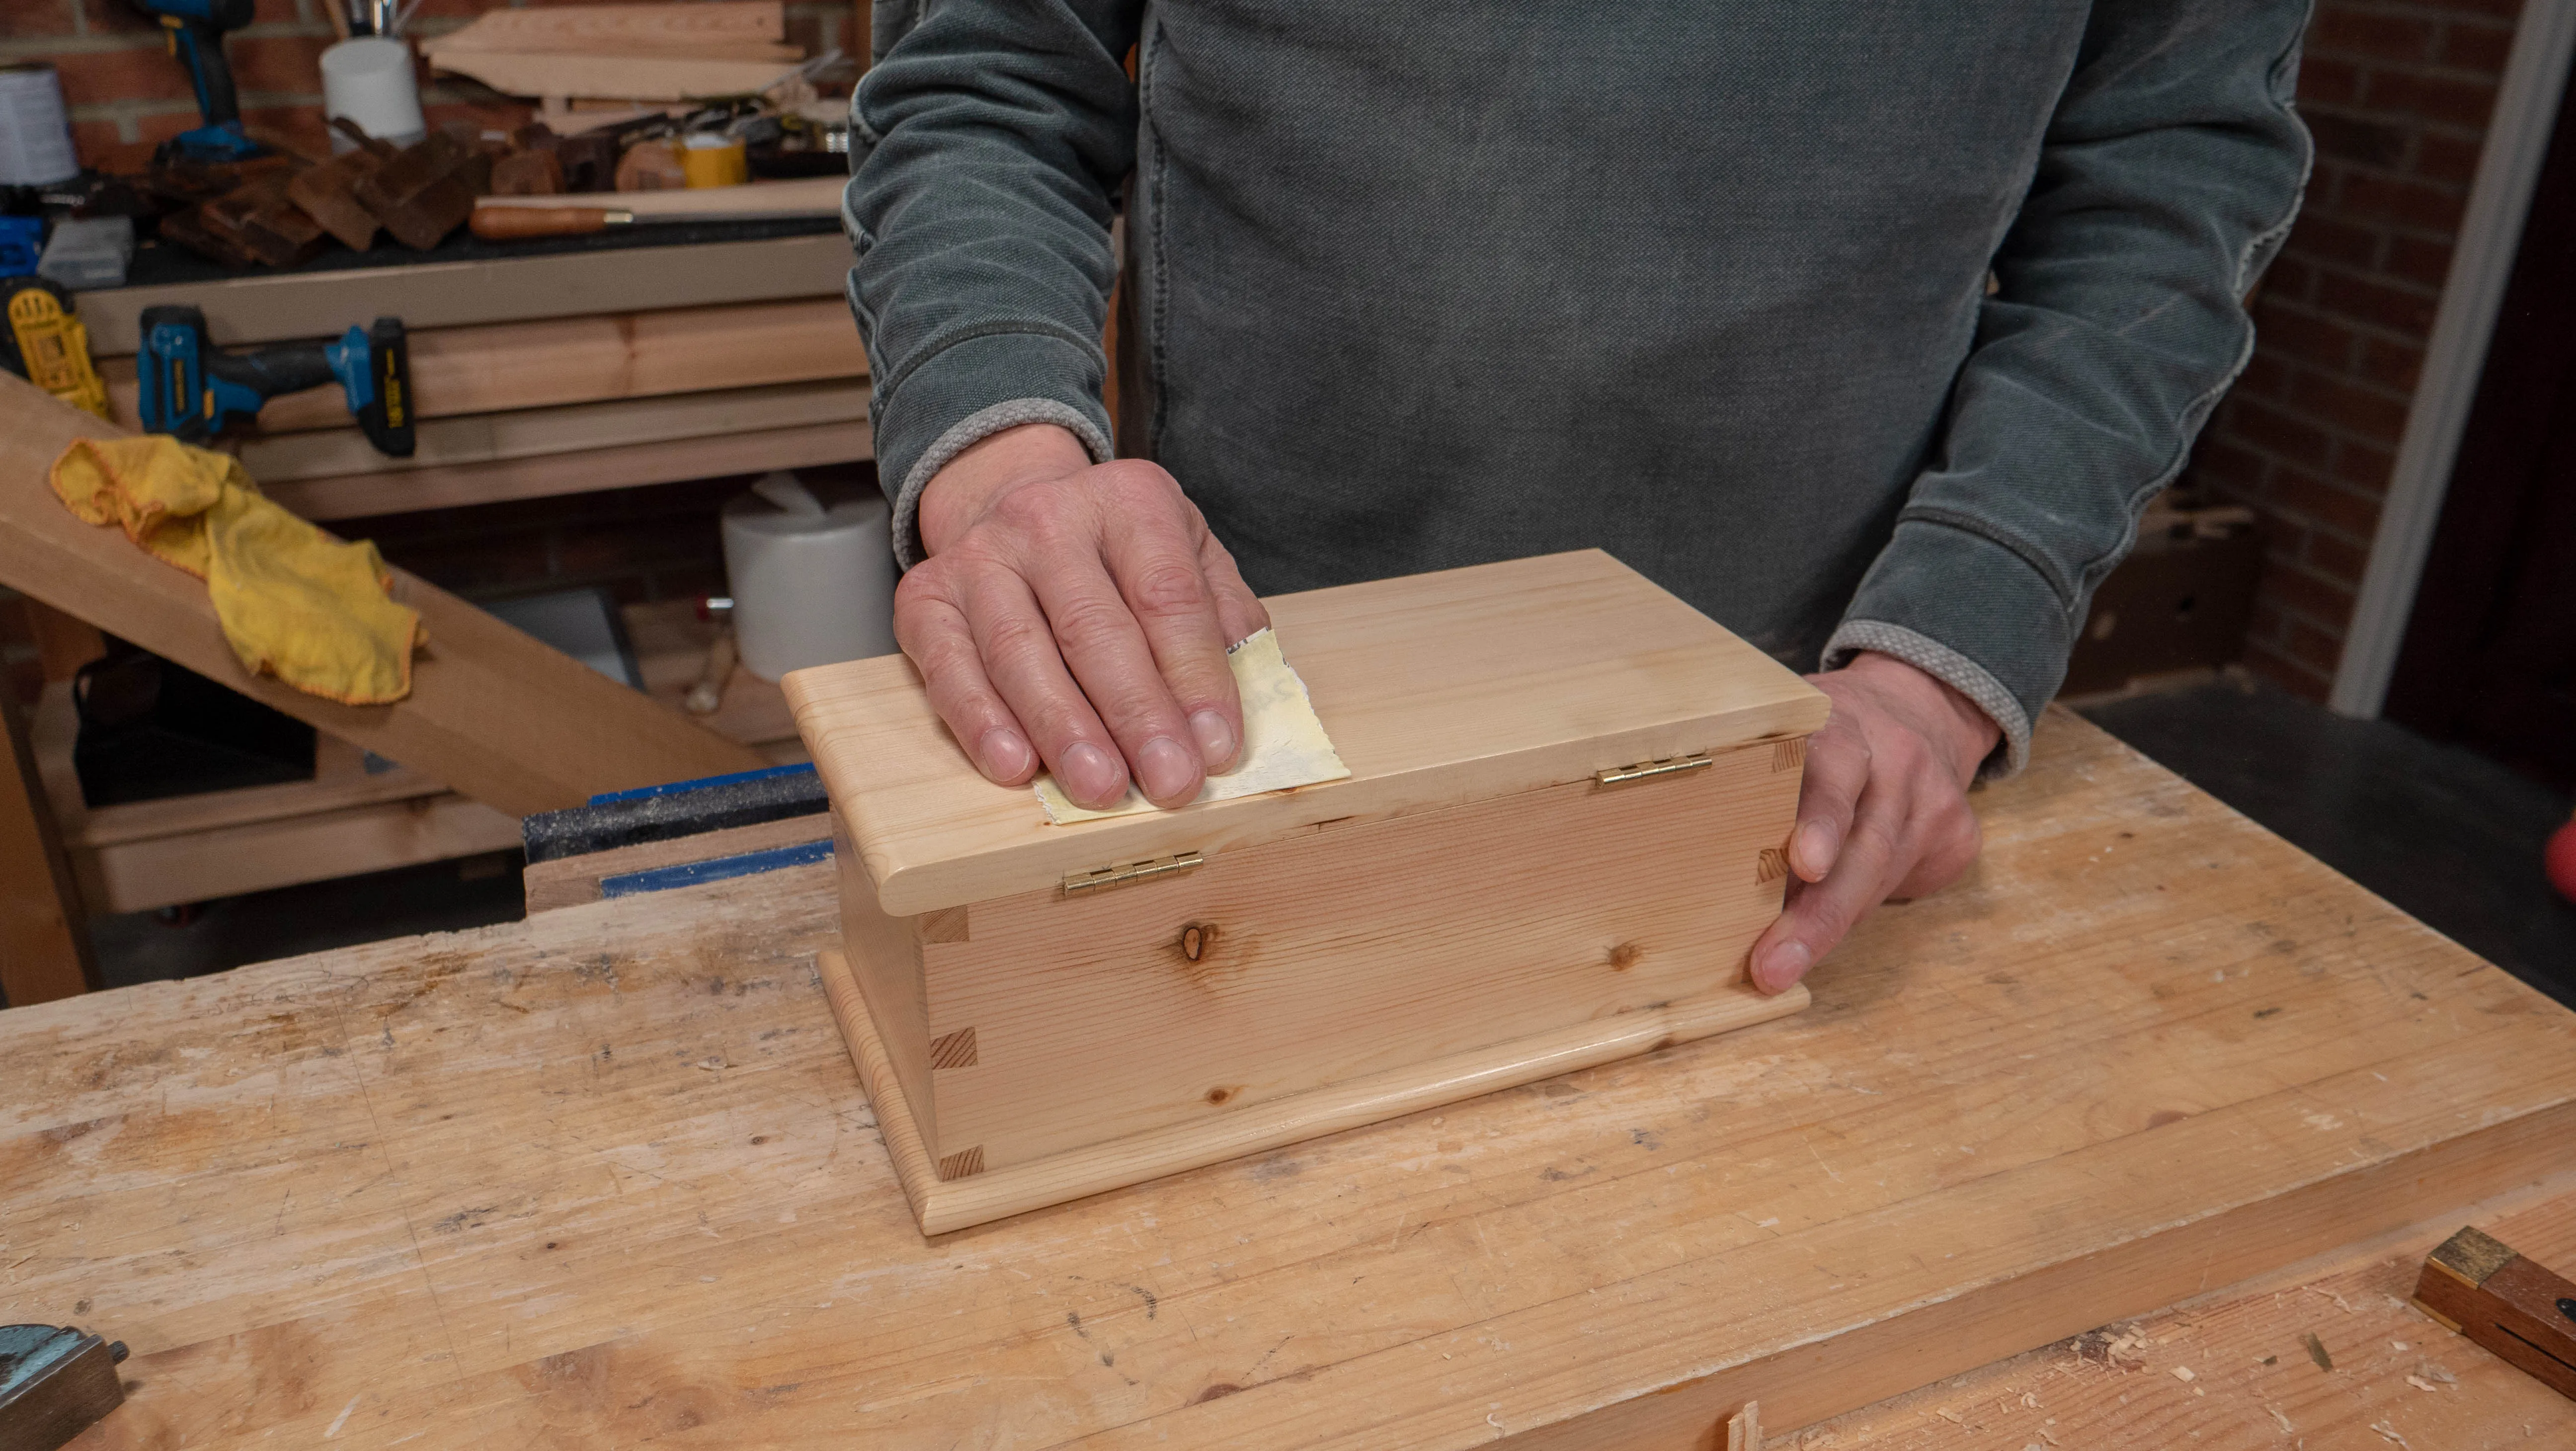
After the first coat of shellac causes the grain to rise , sand with 250 grit. Air pockets in the wood will also cause the surface to become textured. Sanding will remove any surface nibbing to give your project a smooth finish.
To coat the underside on smaller projects, screw 4 screws into a scrap piece of wood and use the tips of the screws to rest the project upon. This will enable you to coat all sides with minimal contamination to the wet surface. For larger projects, depending on space, you can either apply shellac before you put the project together or once it is fully constructed.
Use steel wool (#0000) after your last coat has dried. This buffs out any imperfections in the finish.
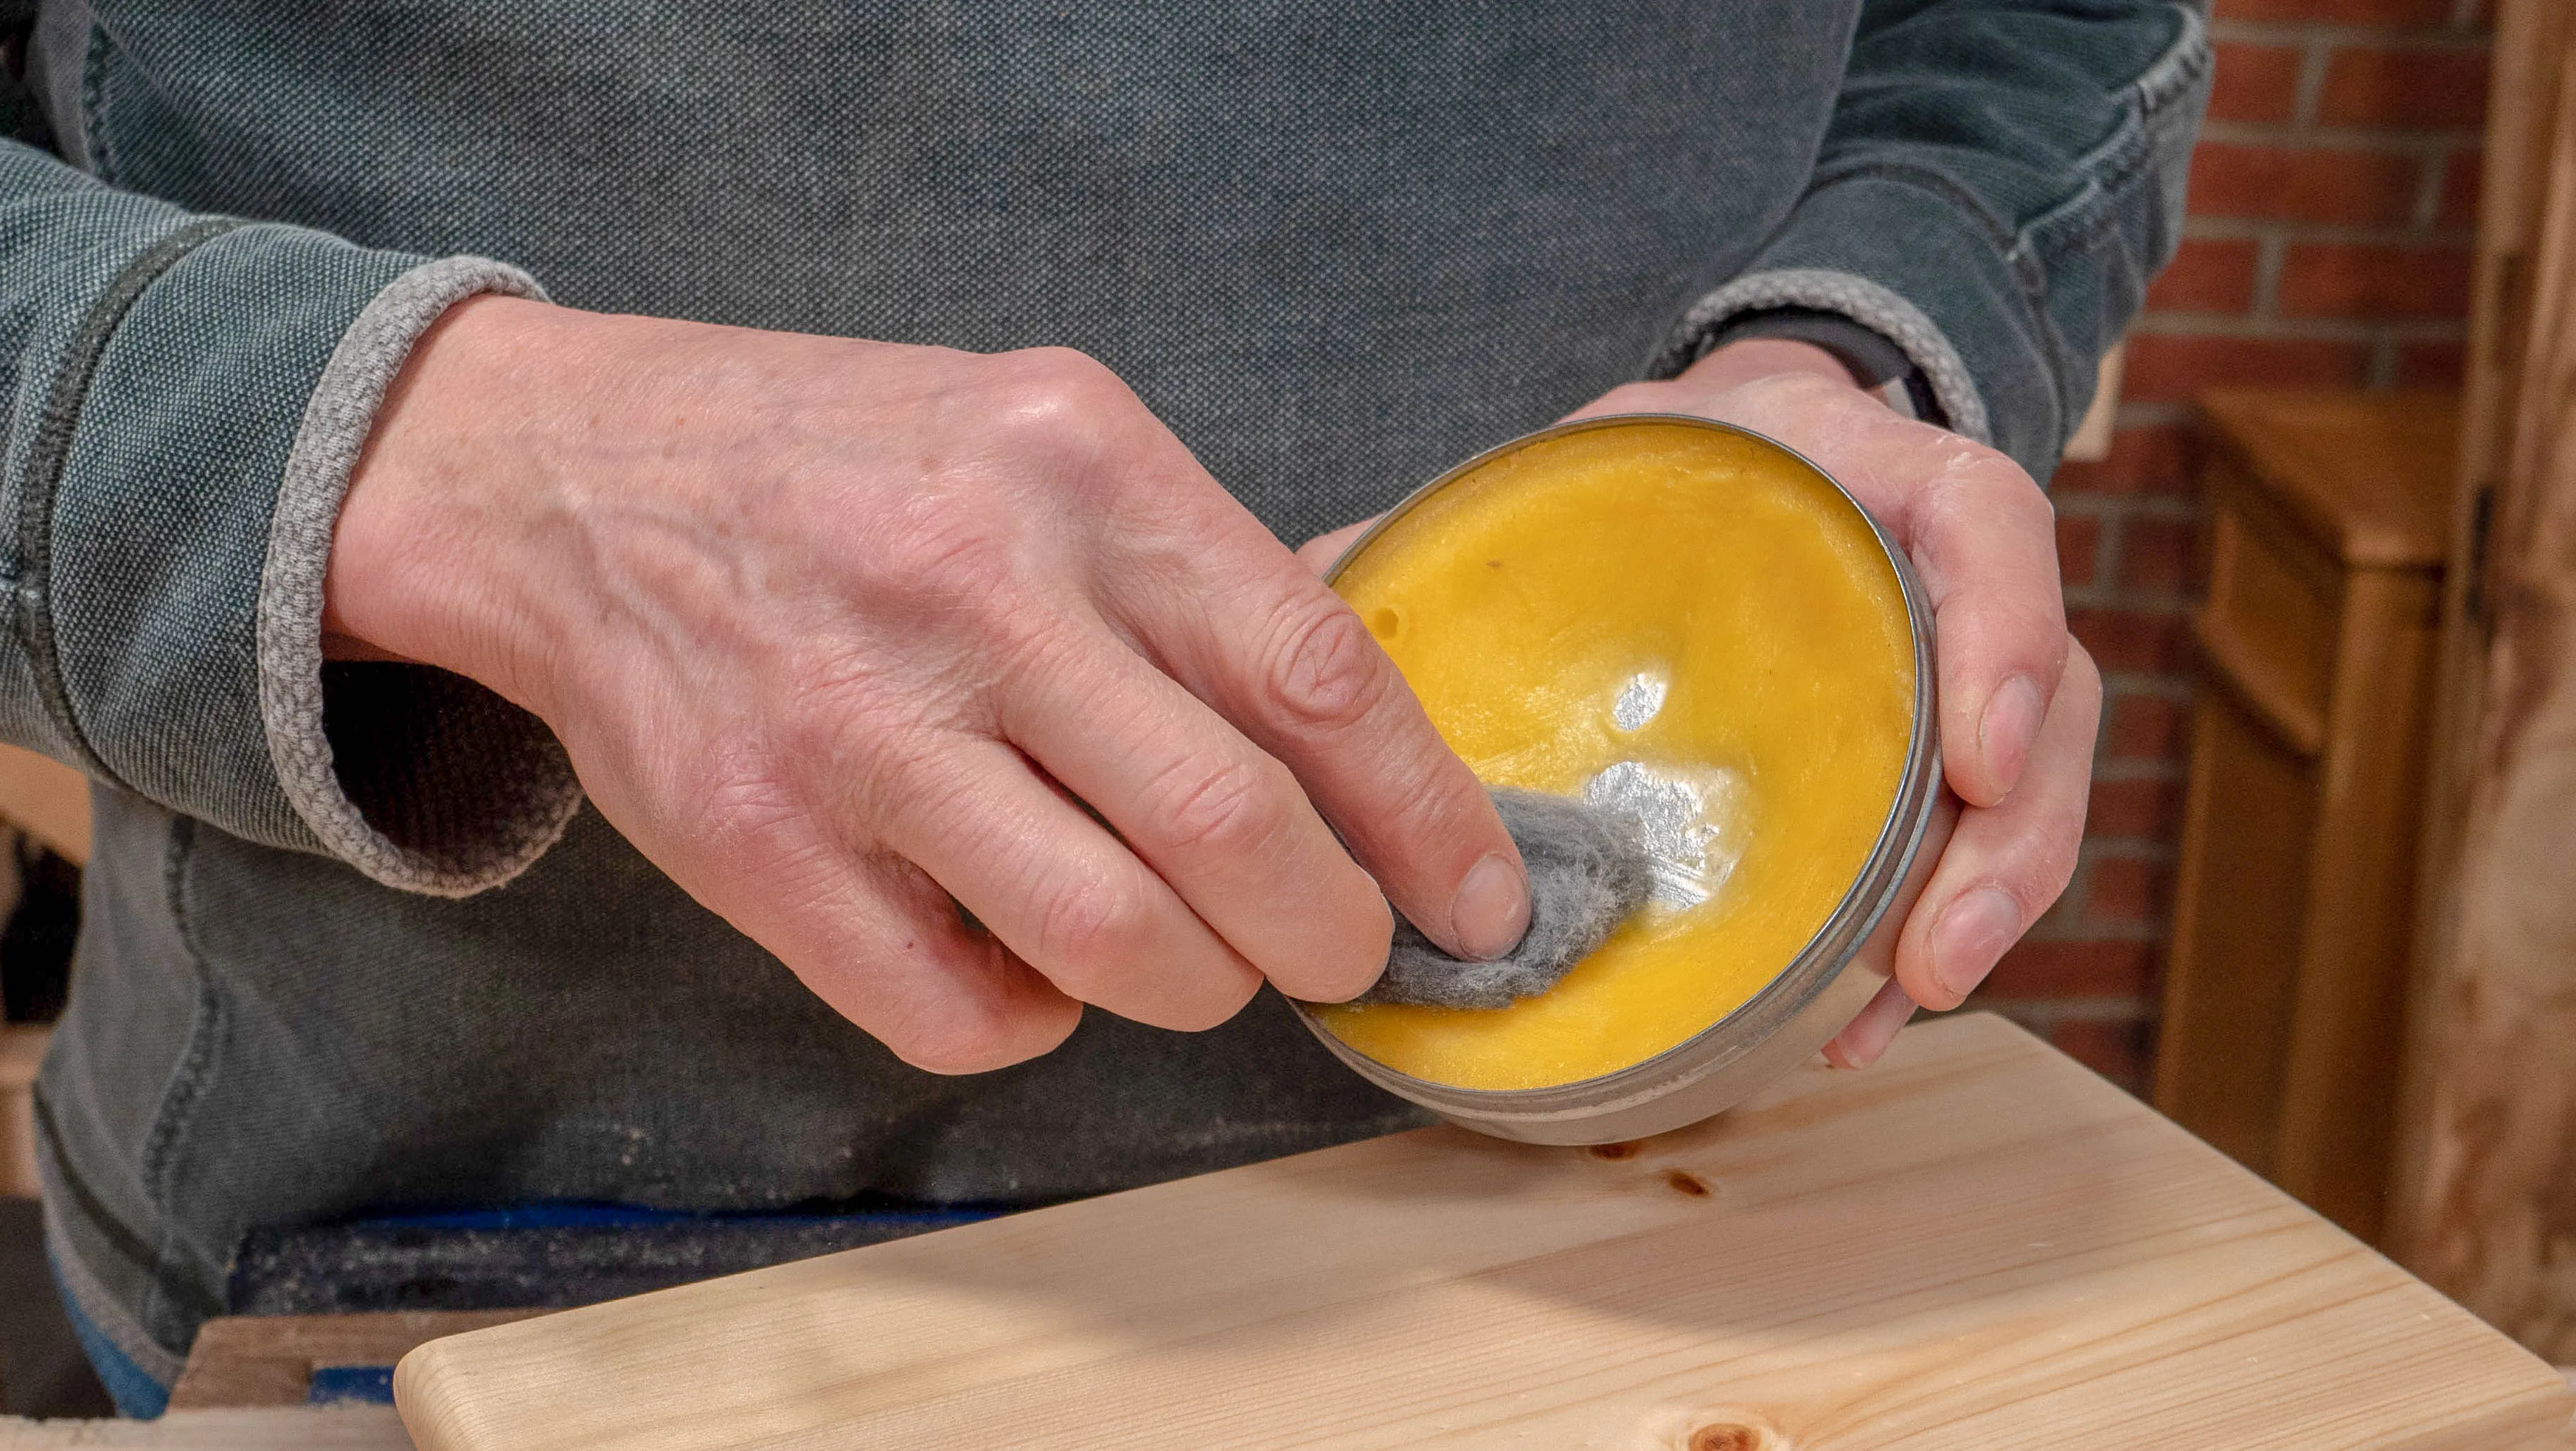
For the final step, dip the steel wool into the furniture wax and apply to your project. You do not need a lot of this, as a small amount goes a long way. (For more information on buying furniture wax, steel wool and shellac, please have a look at our Consumables guide.)
It is a good idea to coat all the surfaces of your project, as this reduces the ingress of moisture. On surfaces that won’t be seen, e.g. insides of boxes or undersides of tables, apply one coat less to these areas.
If your project has metal add ons such as hinges, use the brush to cut in around these. If you get shellac on them it can seep into the joints and stiffen the mechanism, so take care to avoid this.
Shellac is water resistant, but will not withstand large amounts of water.
If you notice a drip mark after it is dry, use some 250 grit sandpaper and sand it until it is level with the rest of your project.