Dovetail Troubleshooting- Part 1
We opened up our postbox for beginners to send in one of their first dovetail to get advice as to why it may not be the standard they had hoped for.
We opened up our postbox for beginners to send in one of their first dovetail to get advice as to why it may not be the standard they had hoped for.
One of our members, Jenny, sent in her dovetail in return for feedback from Paul which he critiqued in his YouTube video. We have summarised the main points below:
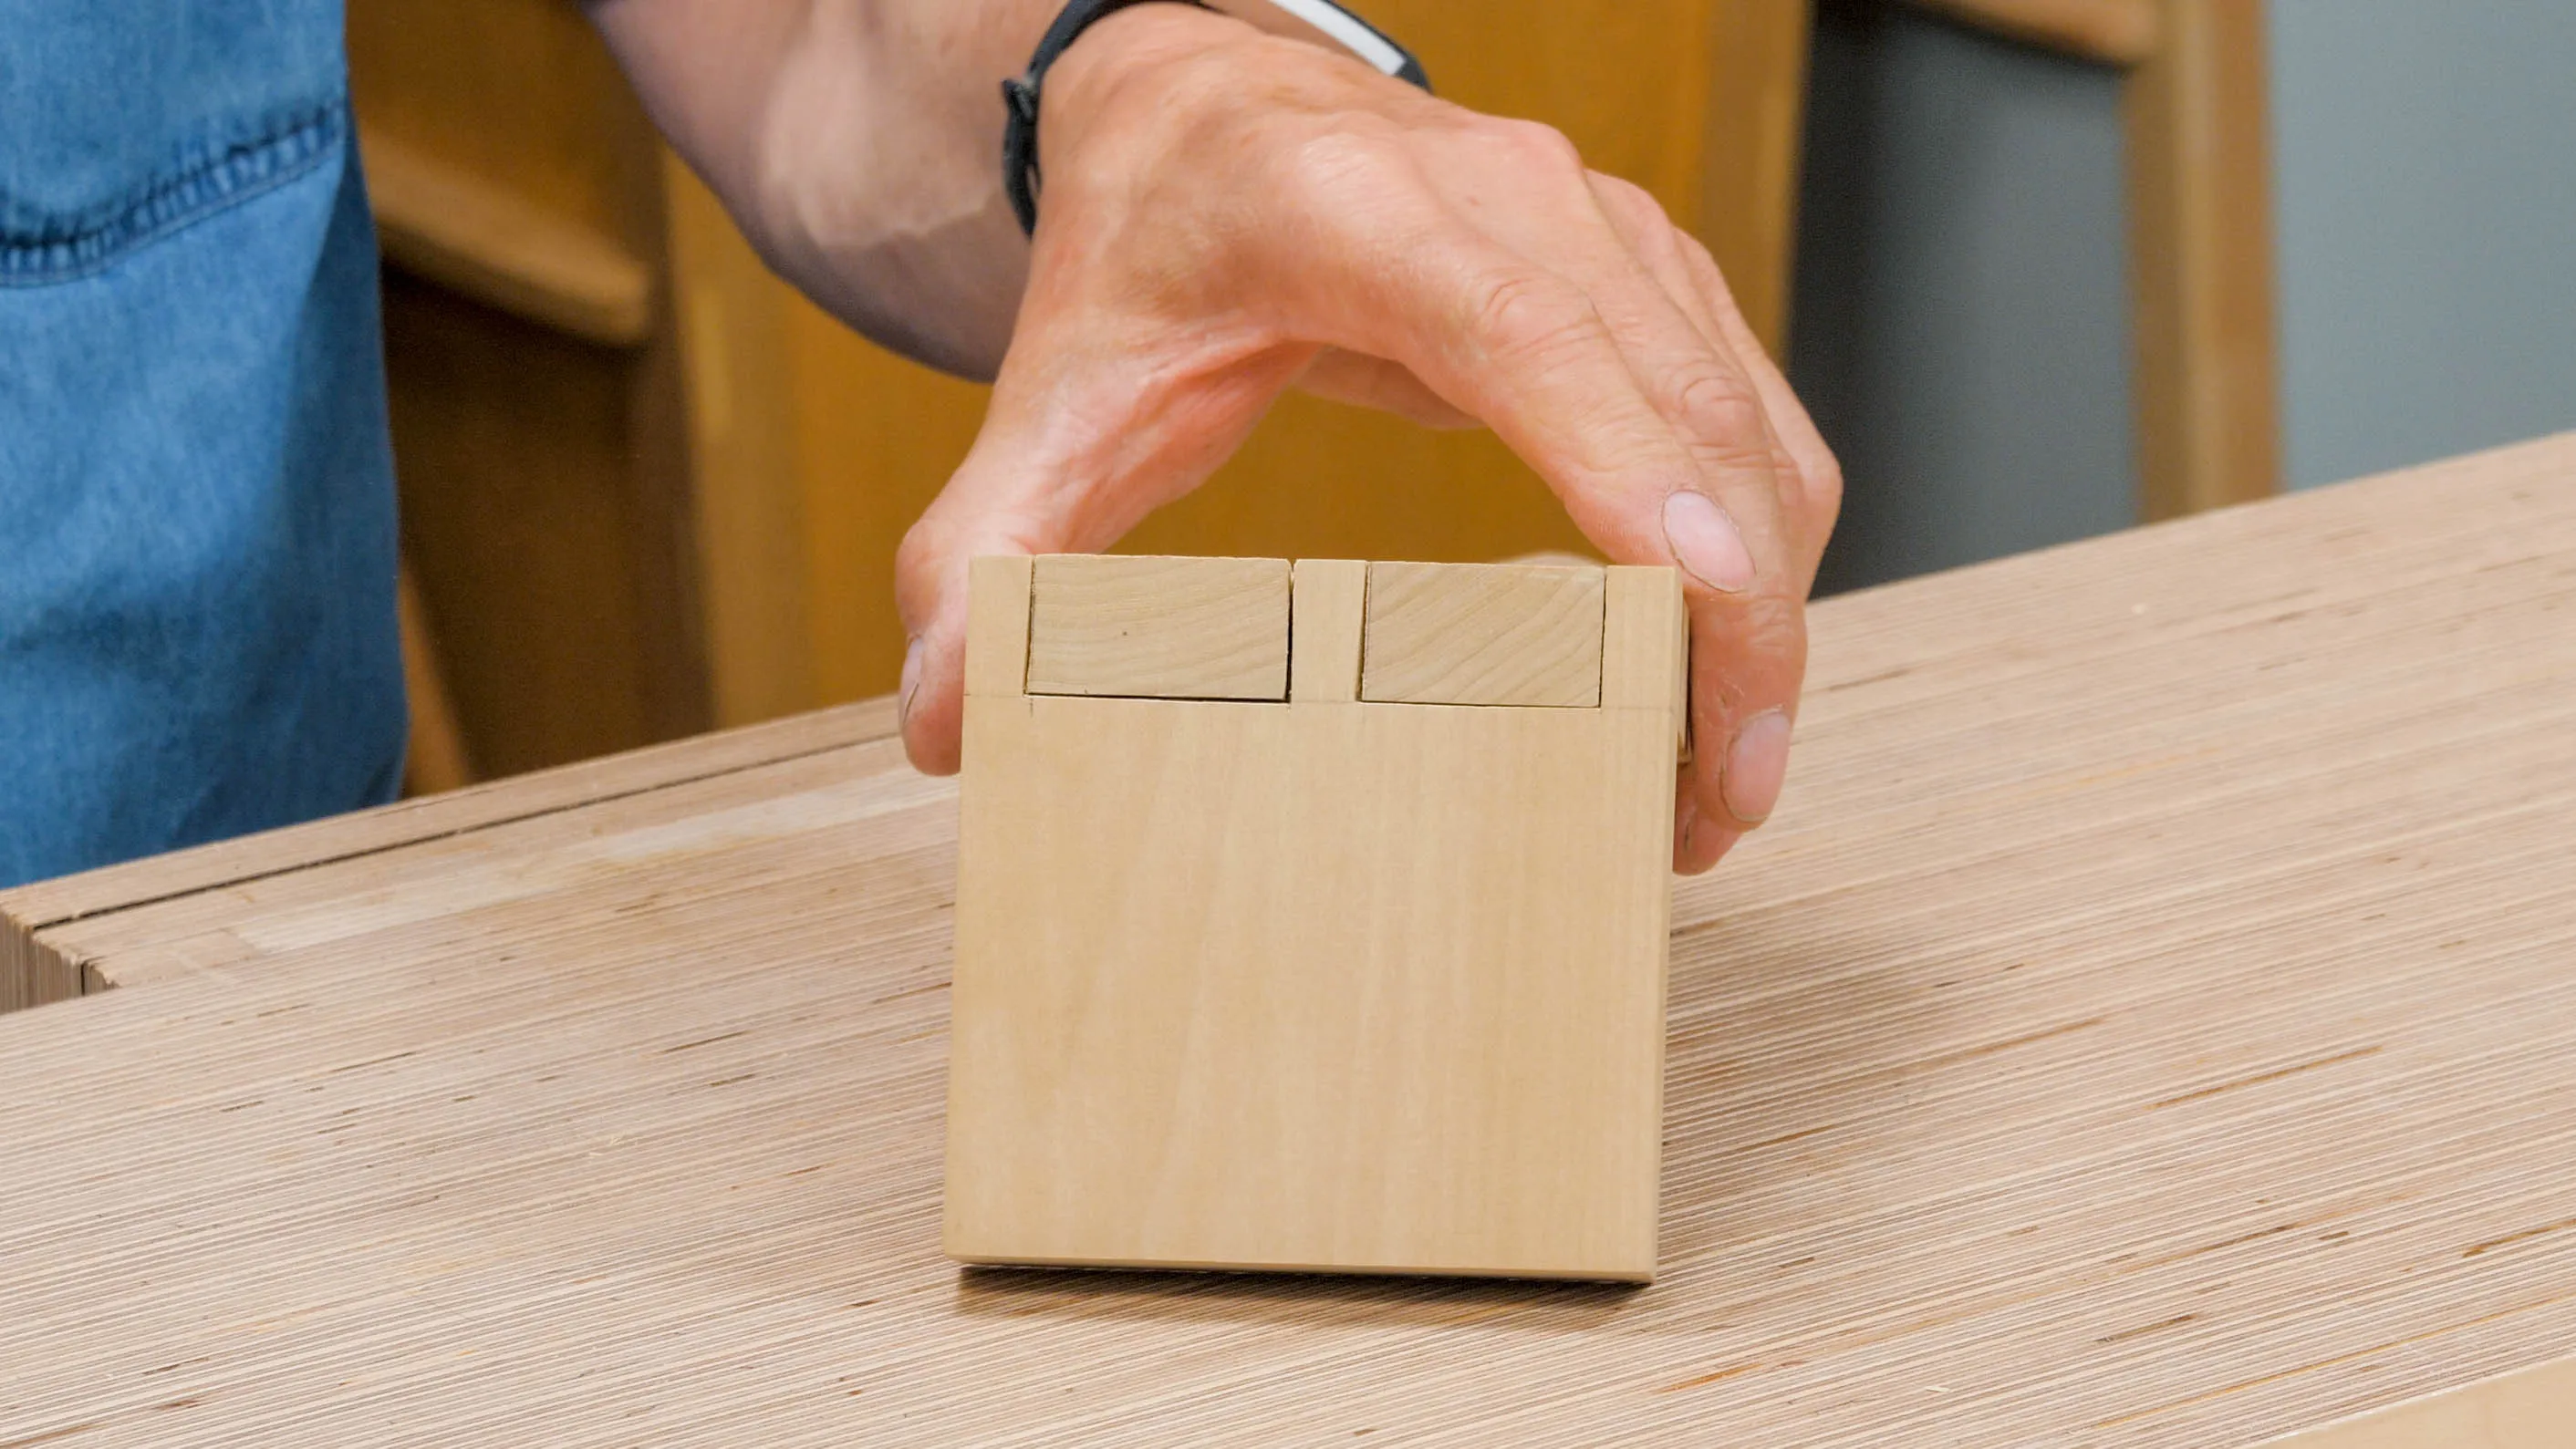
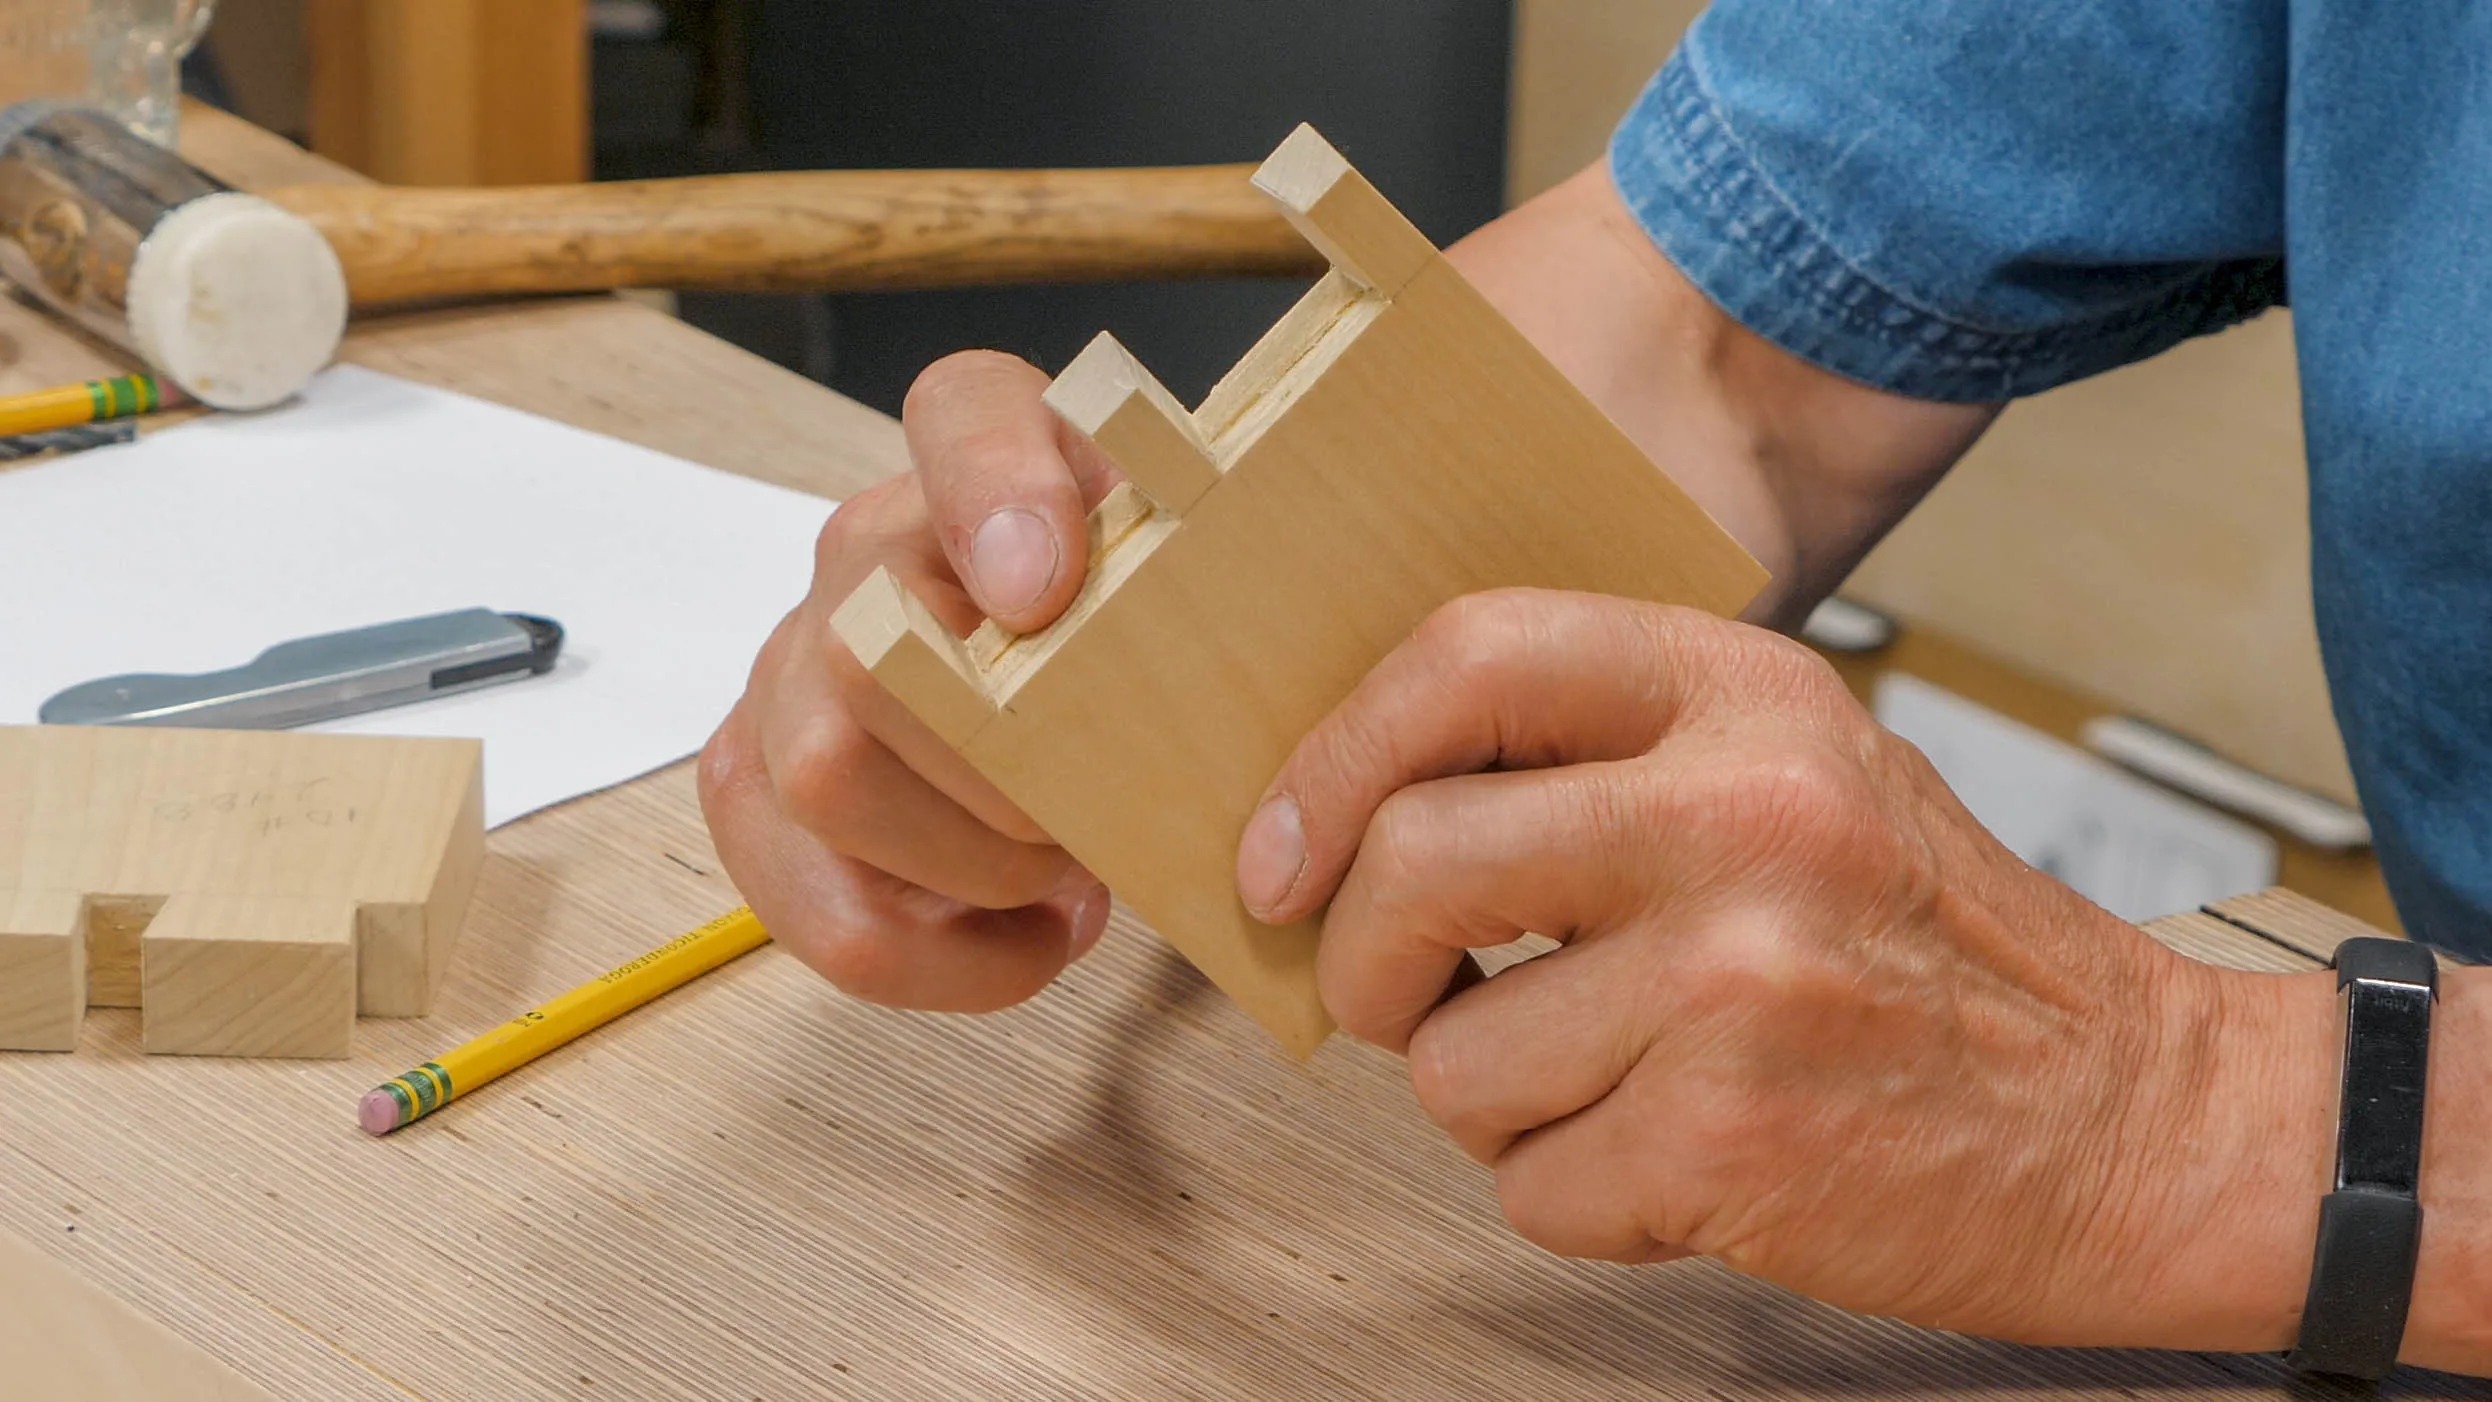
Just because there are gaps, it doesn’t mean that this dovetail won’t stay together. If you glued this up, it could last for 100 years.
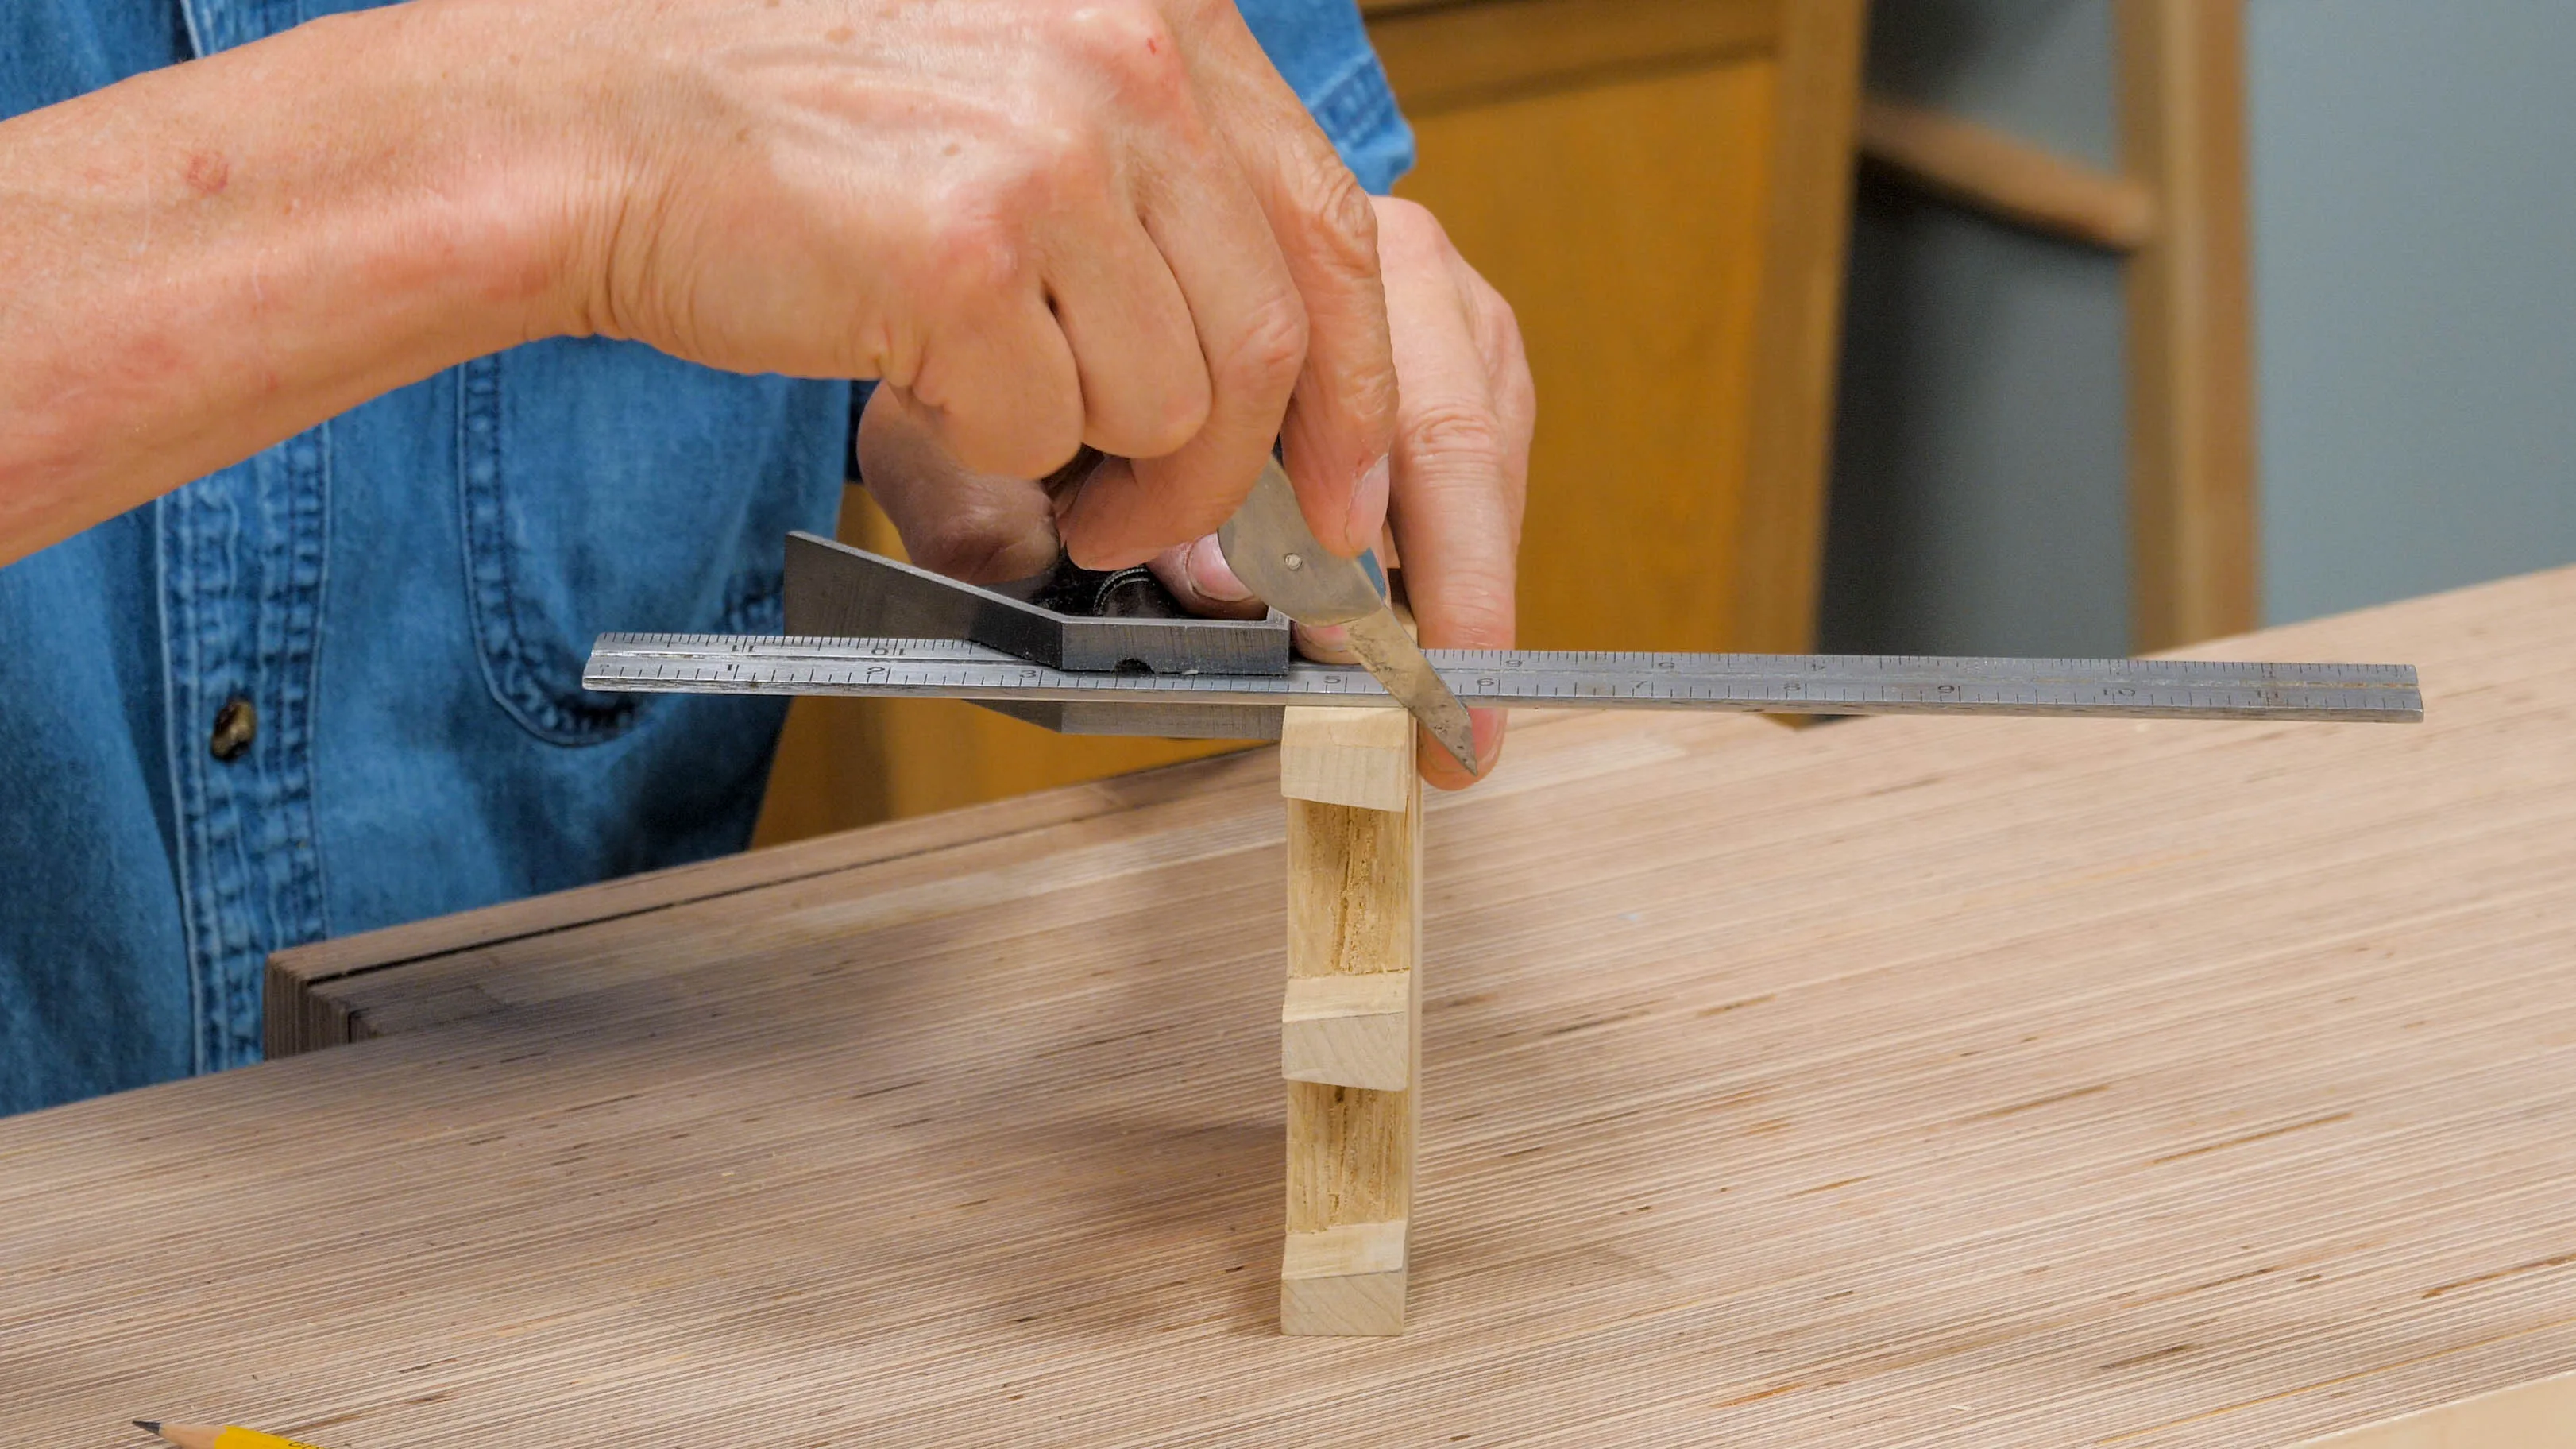
The Importance of Using a knifewall
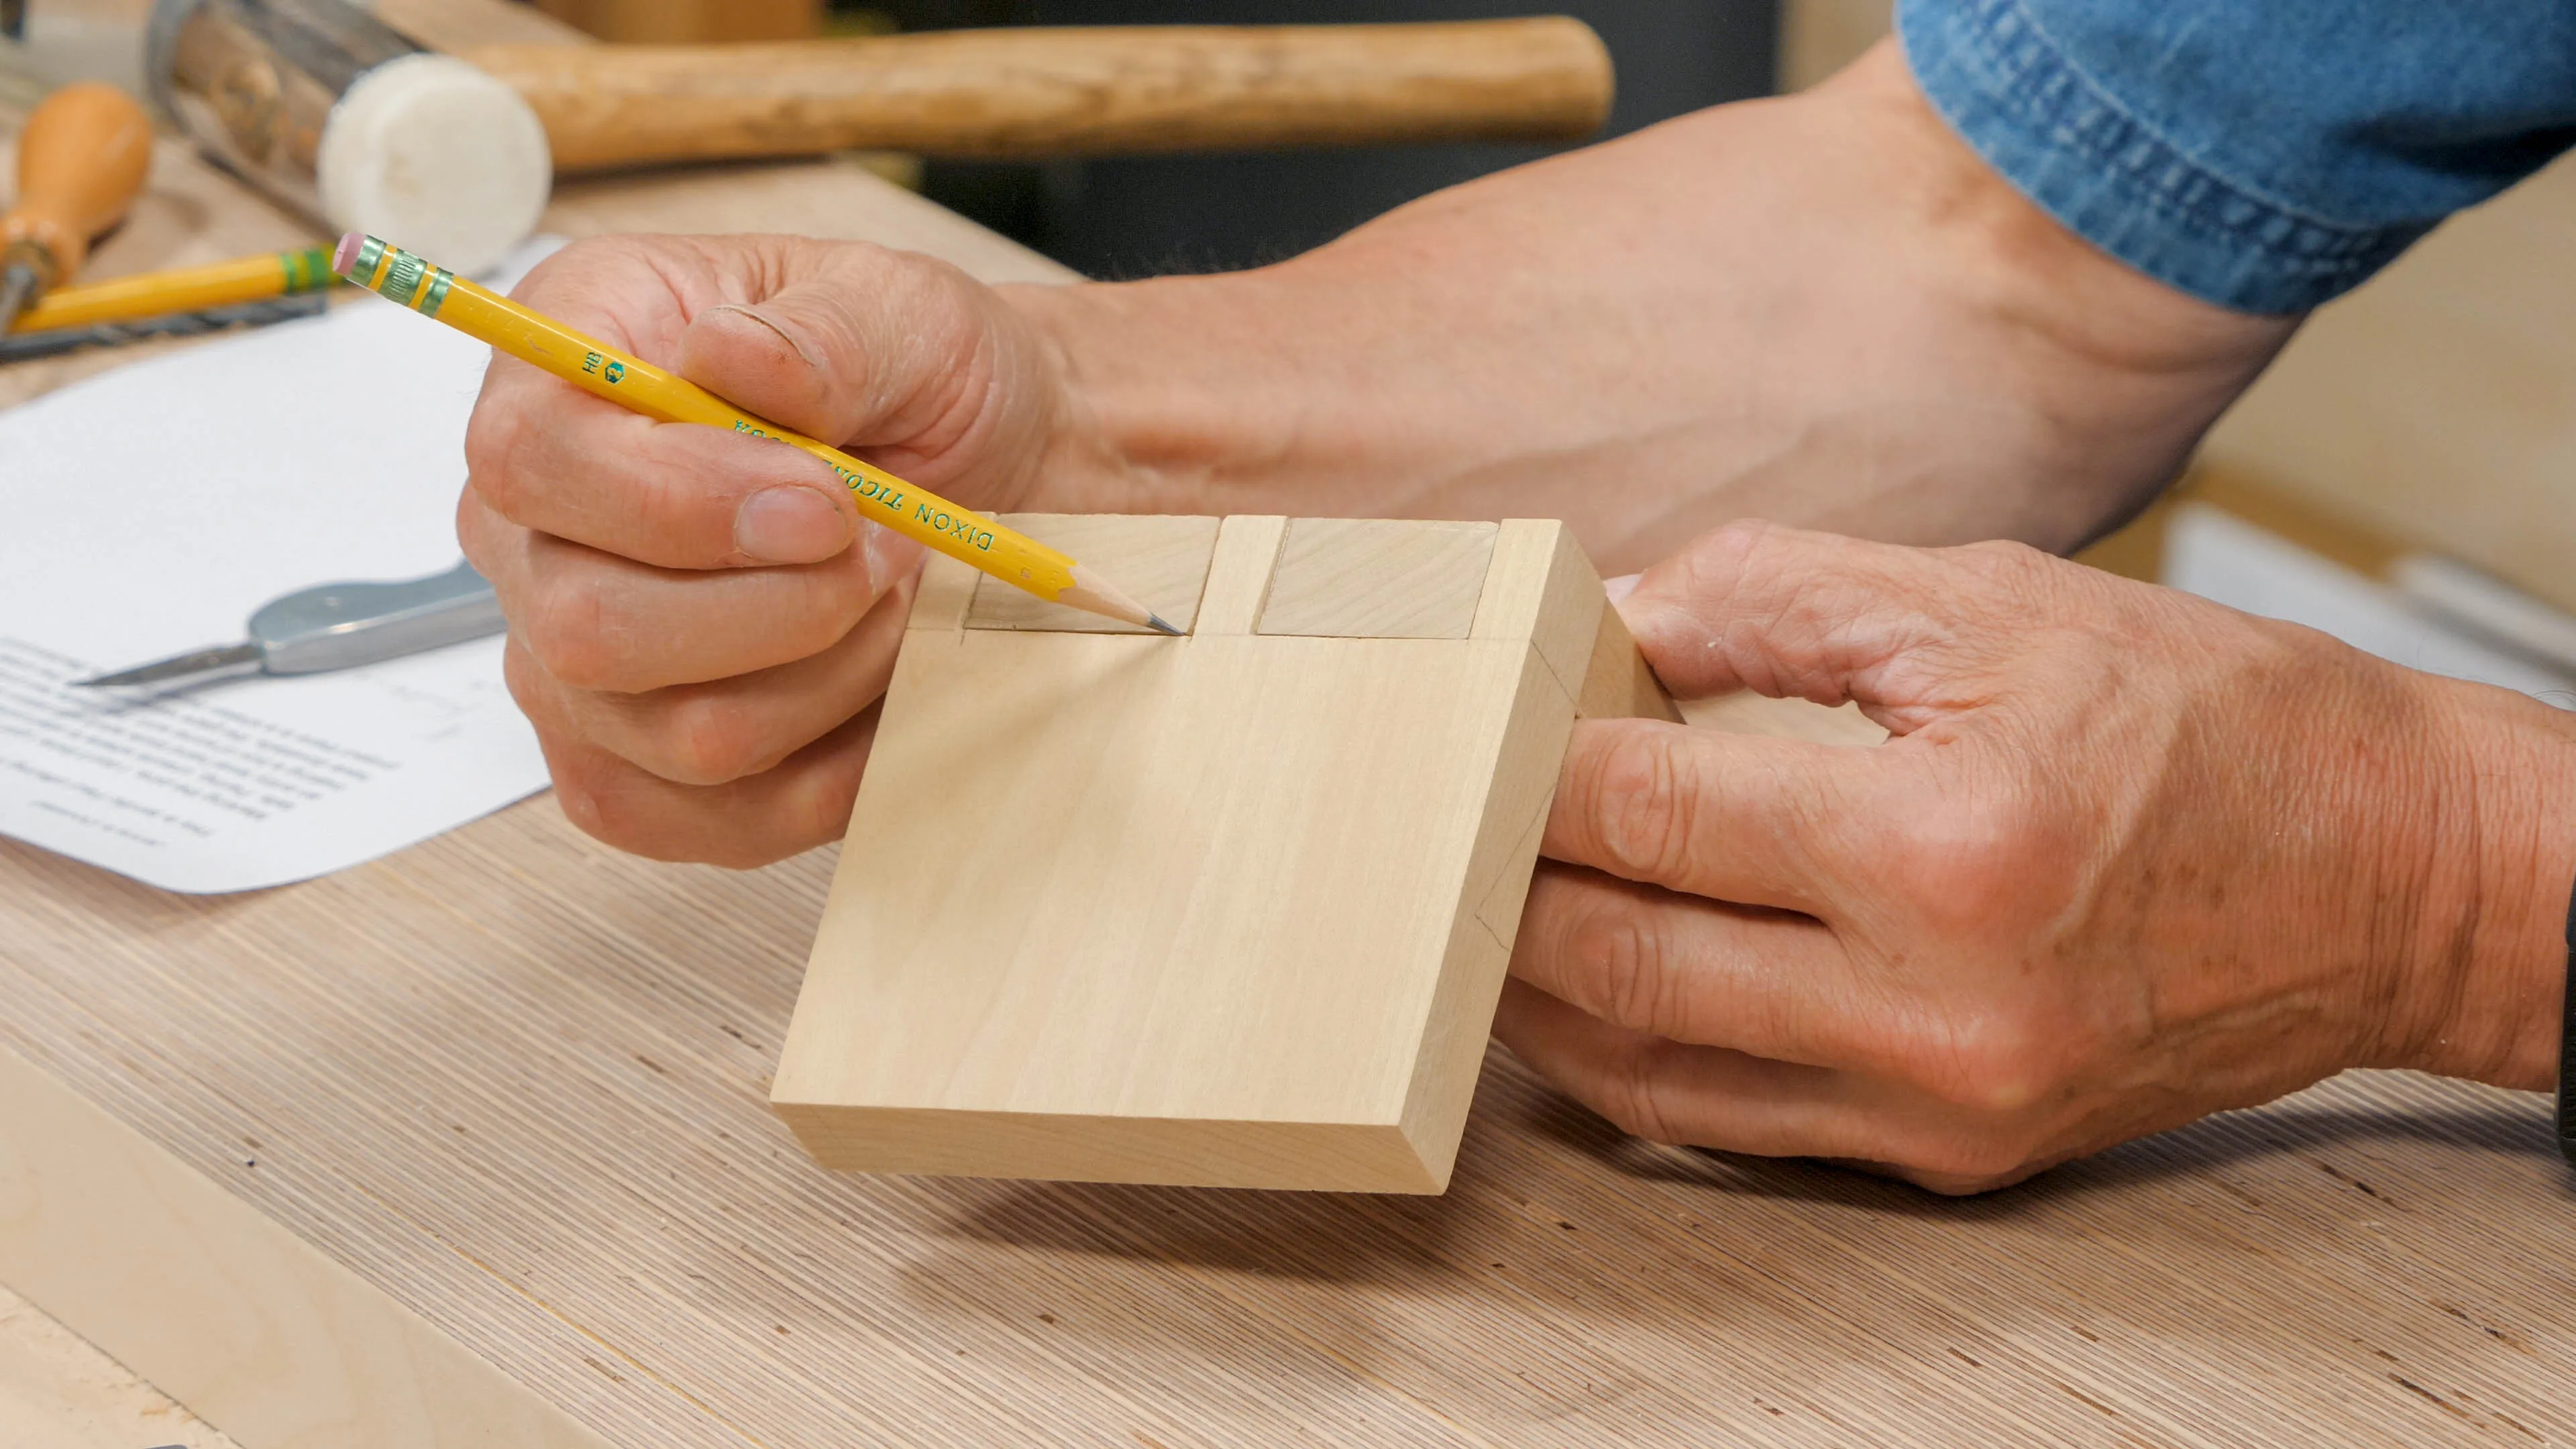
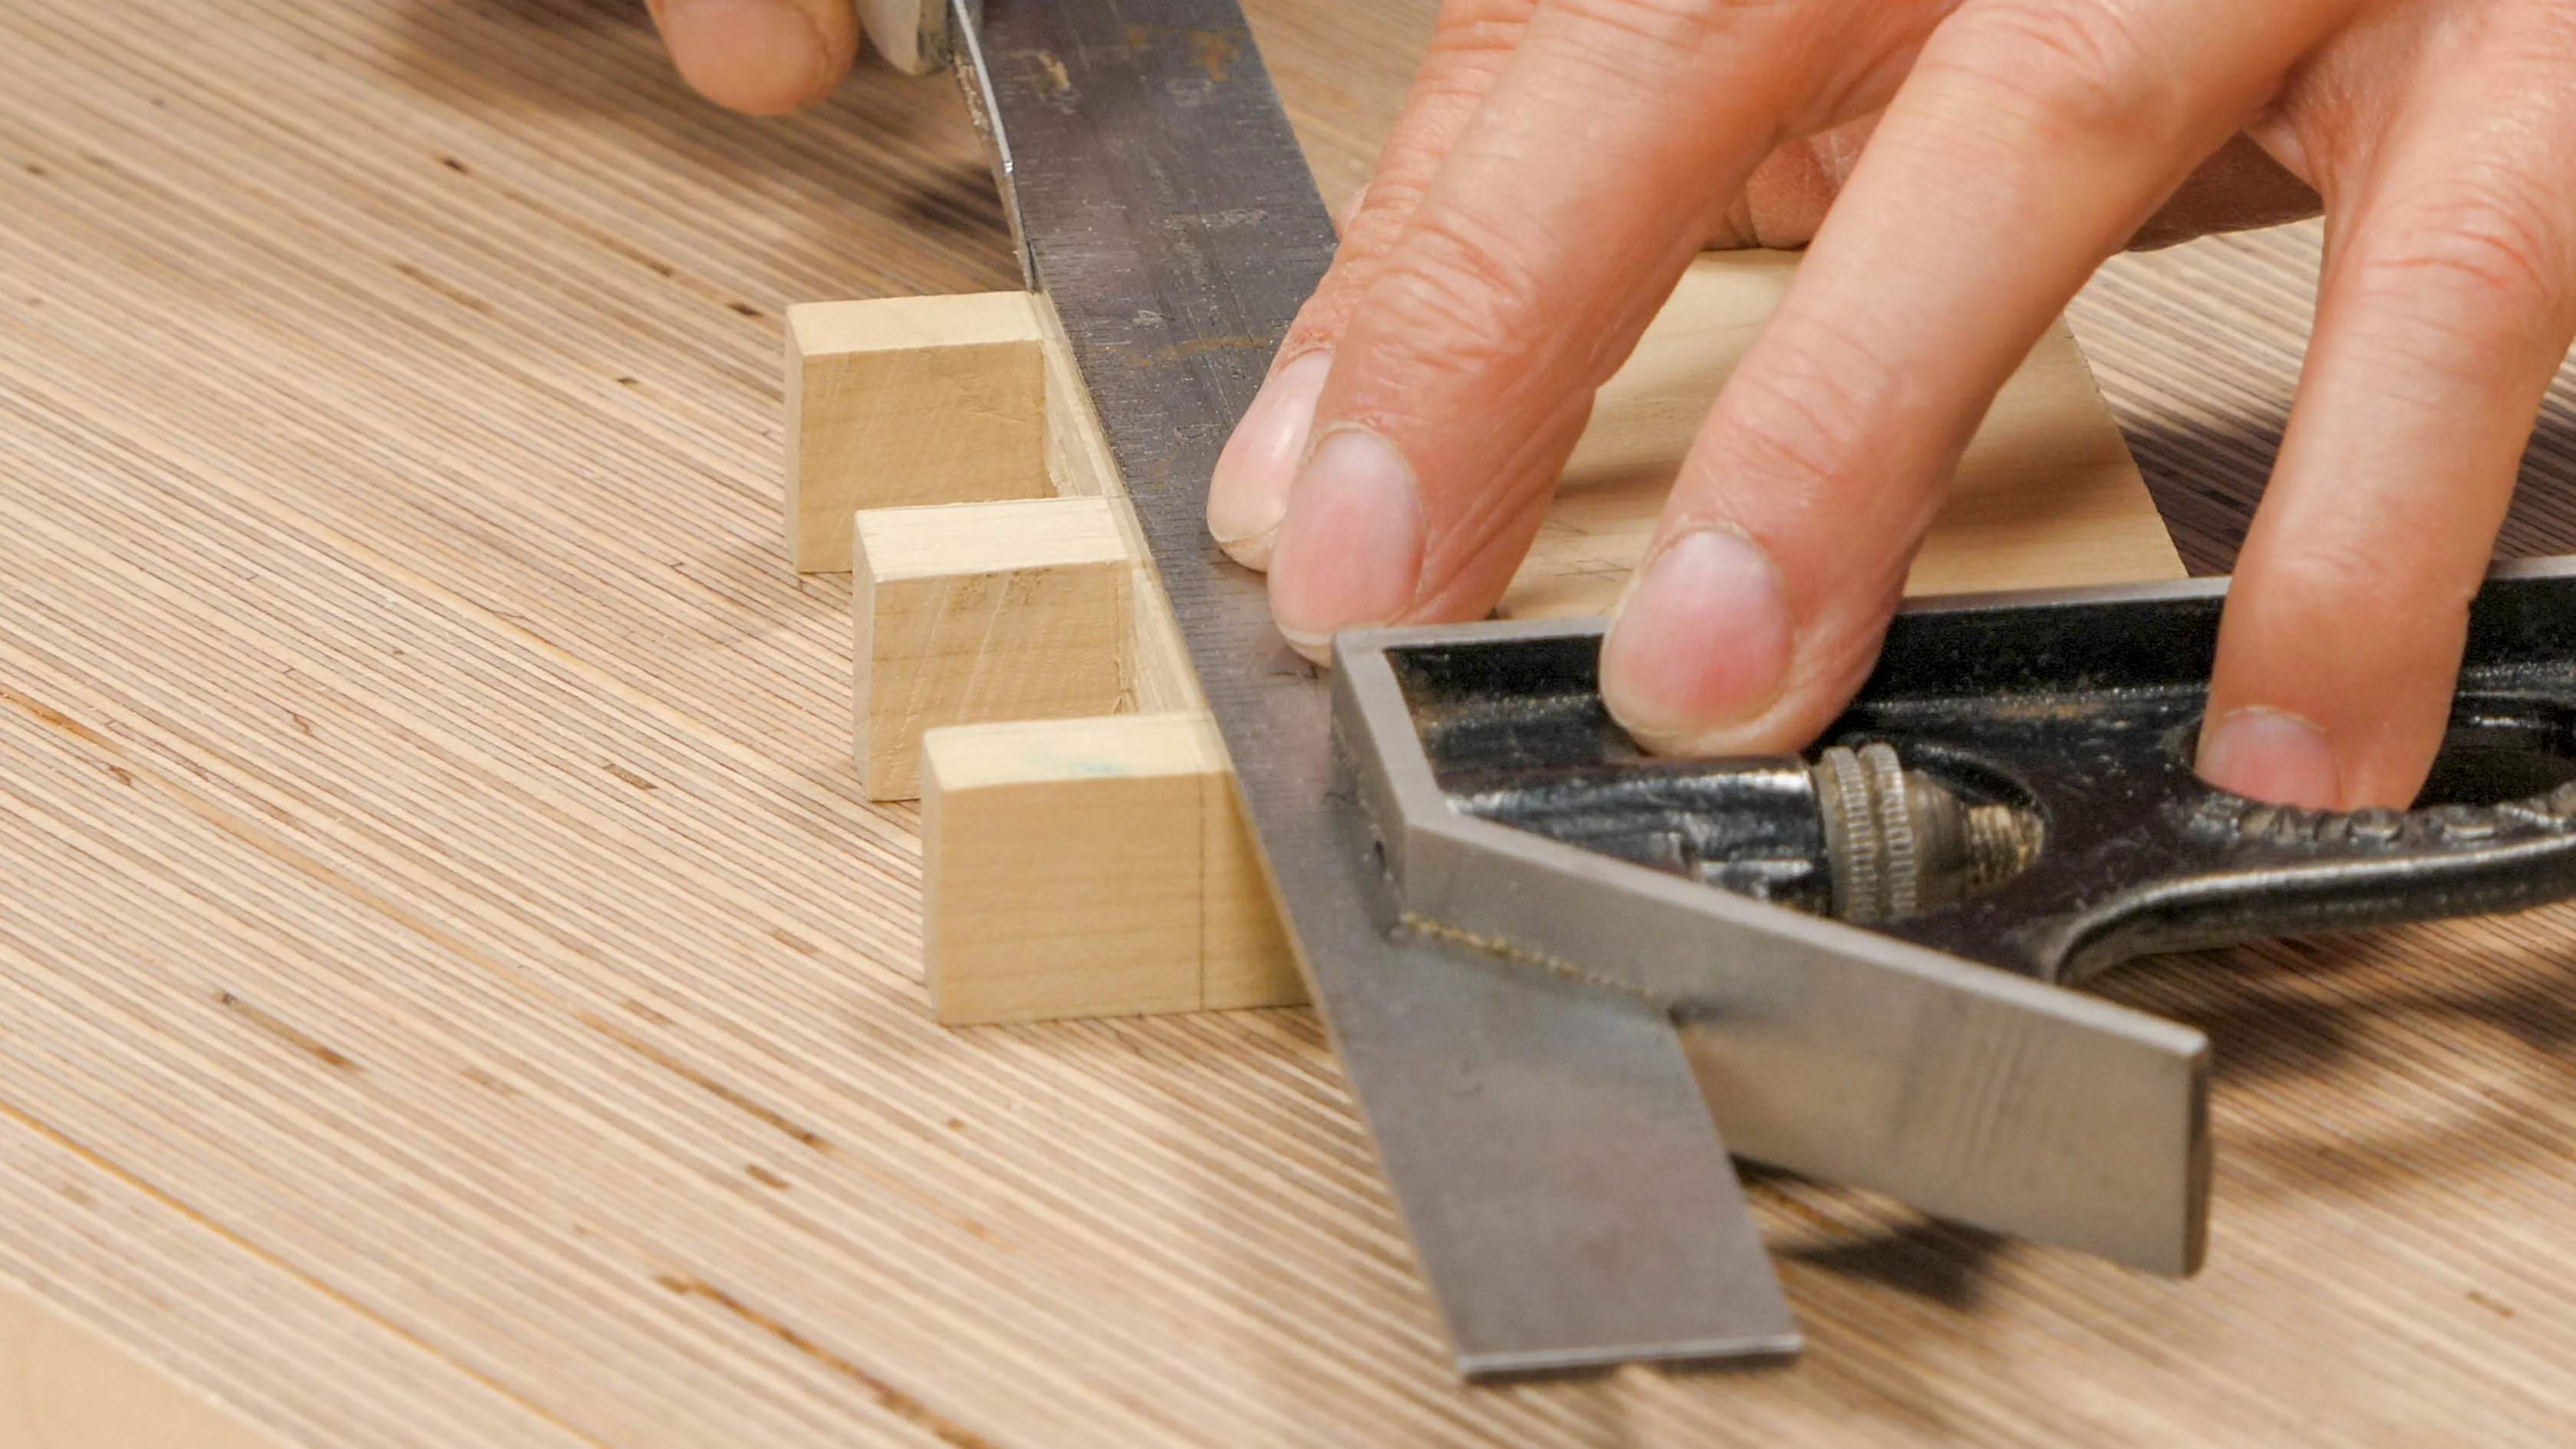
Paul takes the joint apart (remember to use a rubber faced hammer to avoid hammer marks damaging the surface) and checks for an uneven surface between the pins then uses the square to check. When registering the square on one side it shows a gap, but when he registers it to the opposite side there is no gap. This suggests that the knifewall was not accurately transferred. This may be caused by using a pencil line instead of a knifewall to transfer the line.
A knifewall is much more accurate whereas a pencil line is thick and leaves room for error.
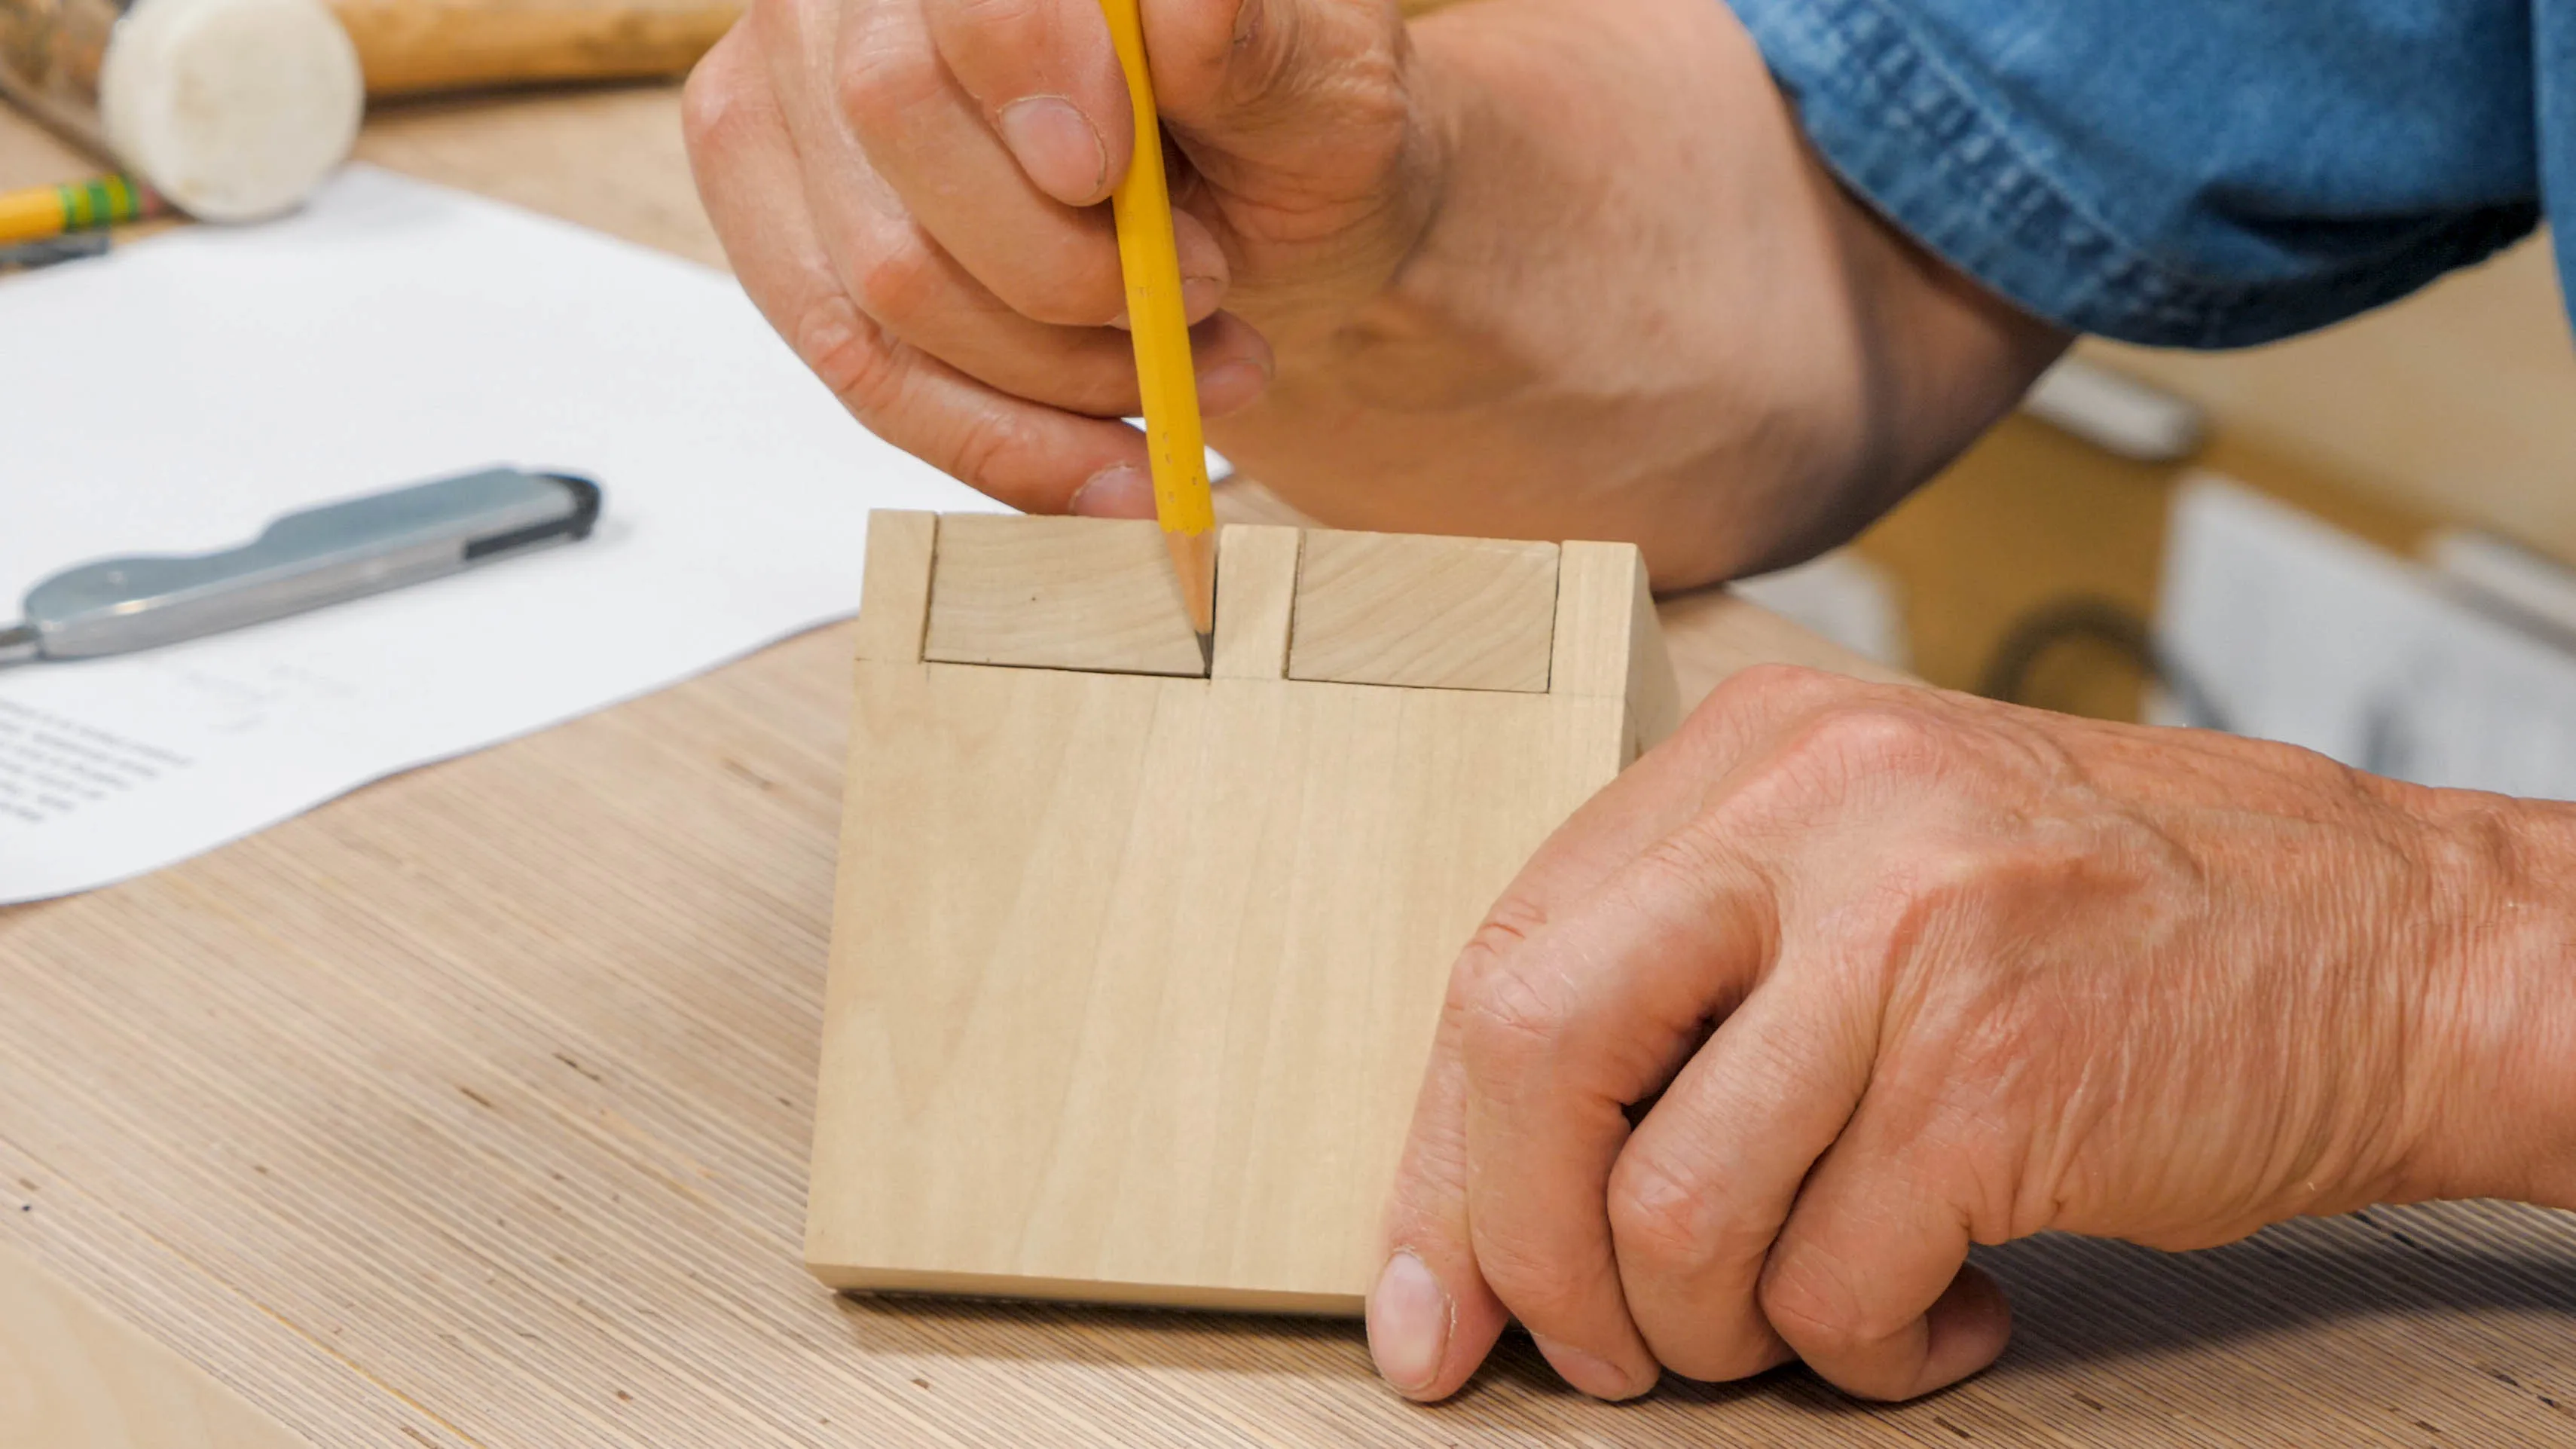
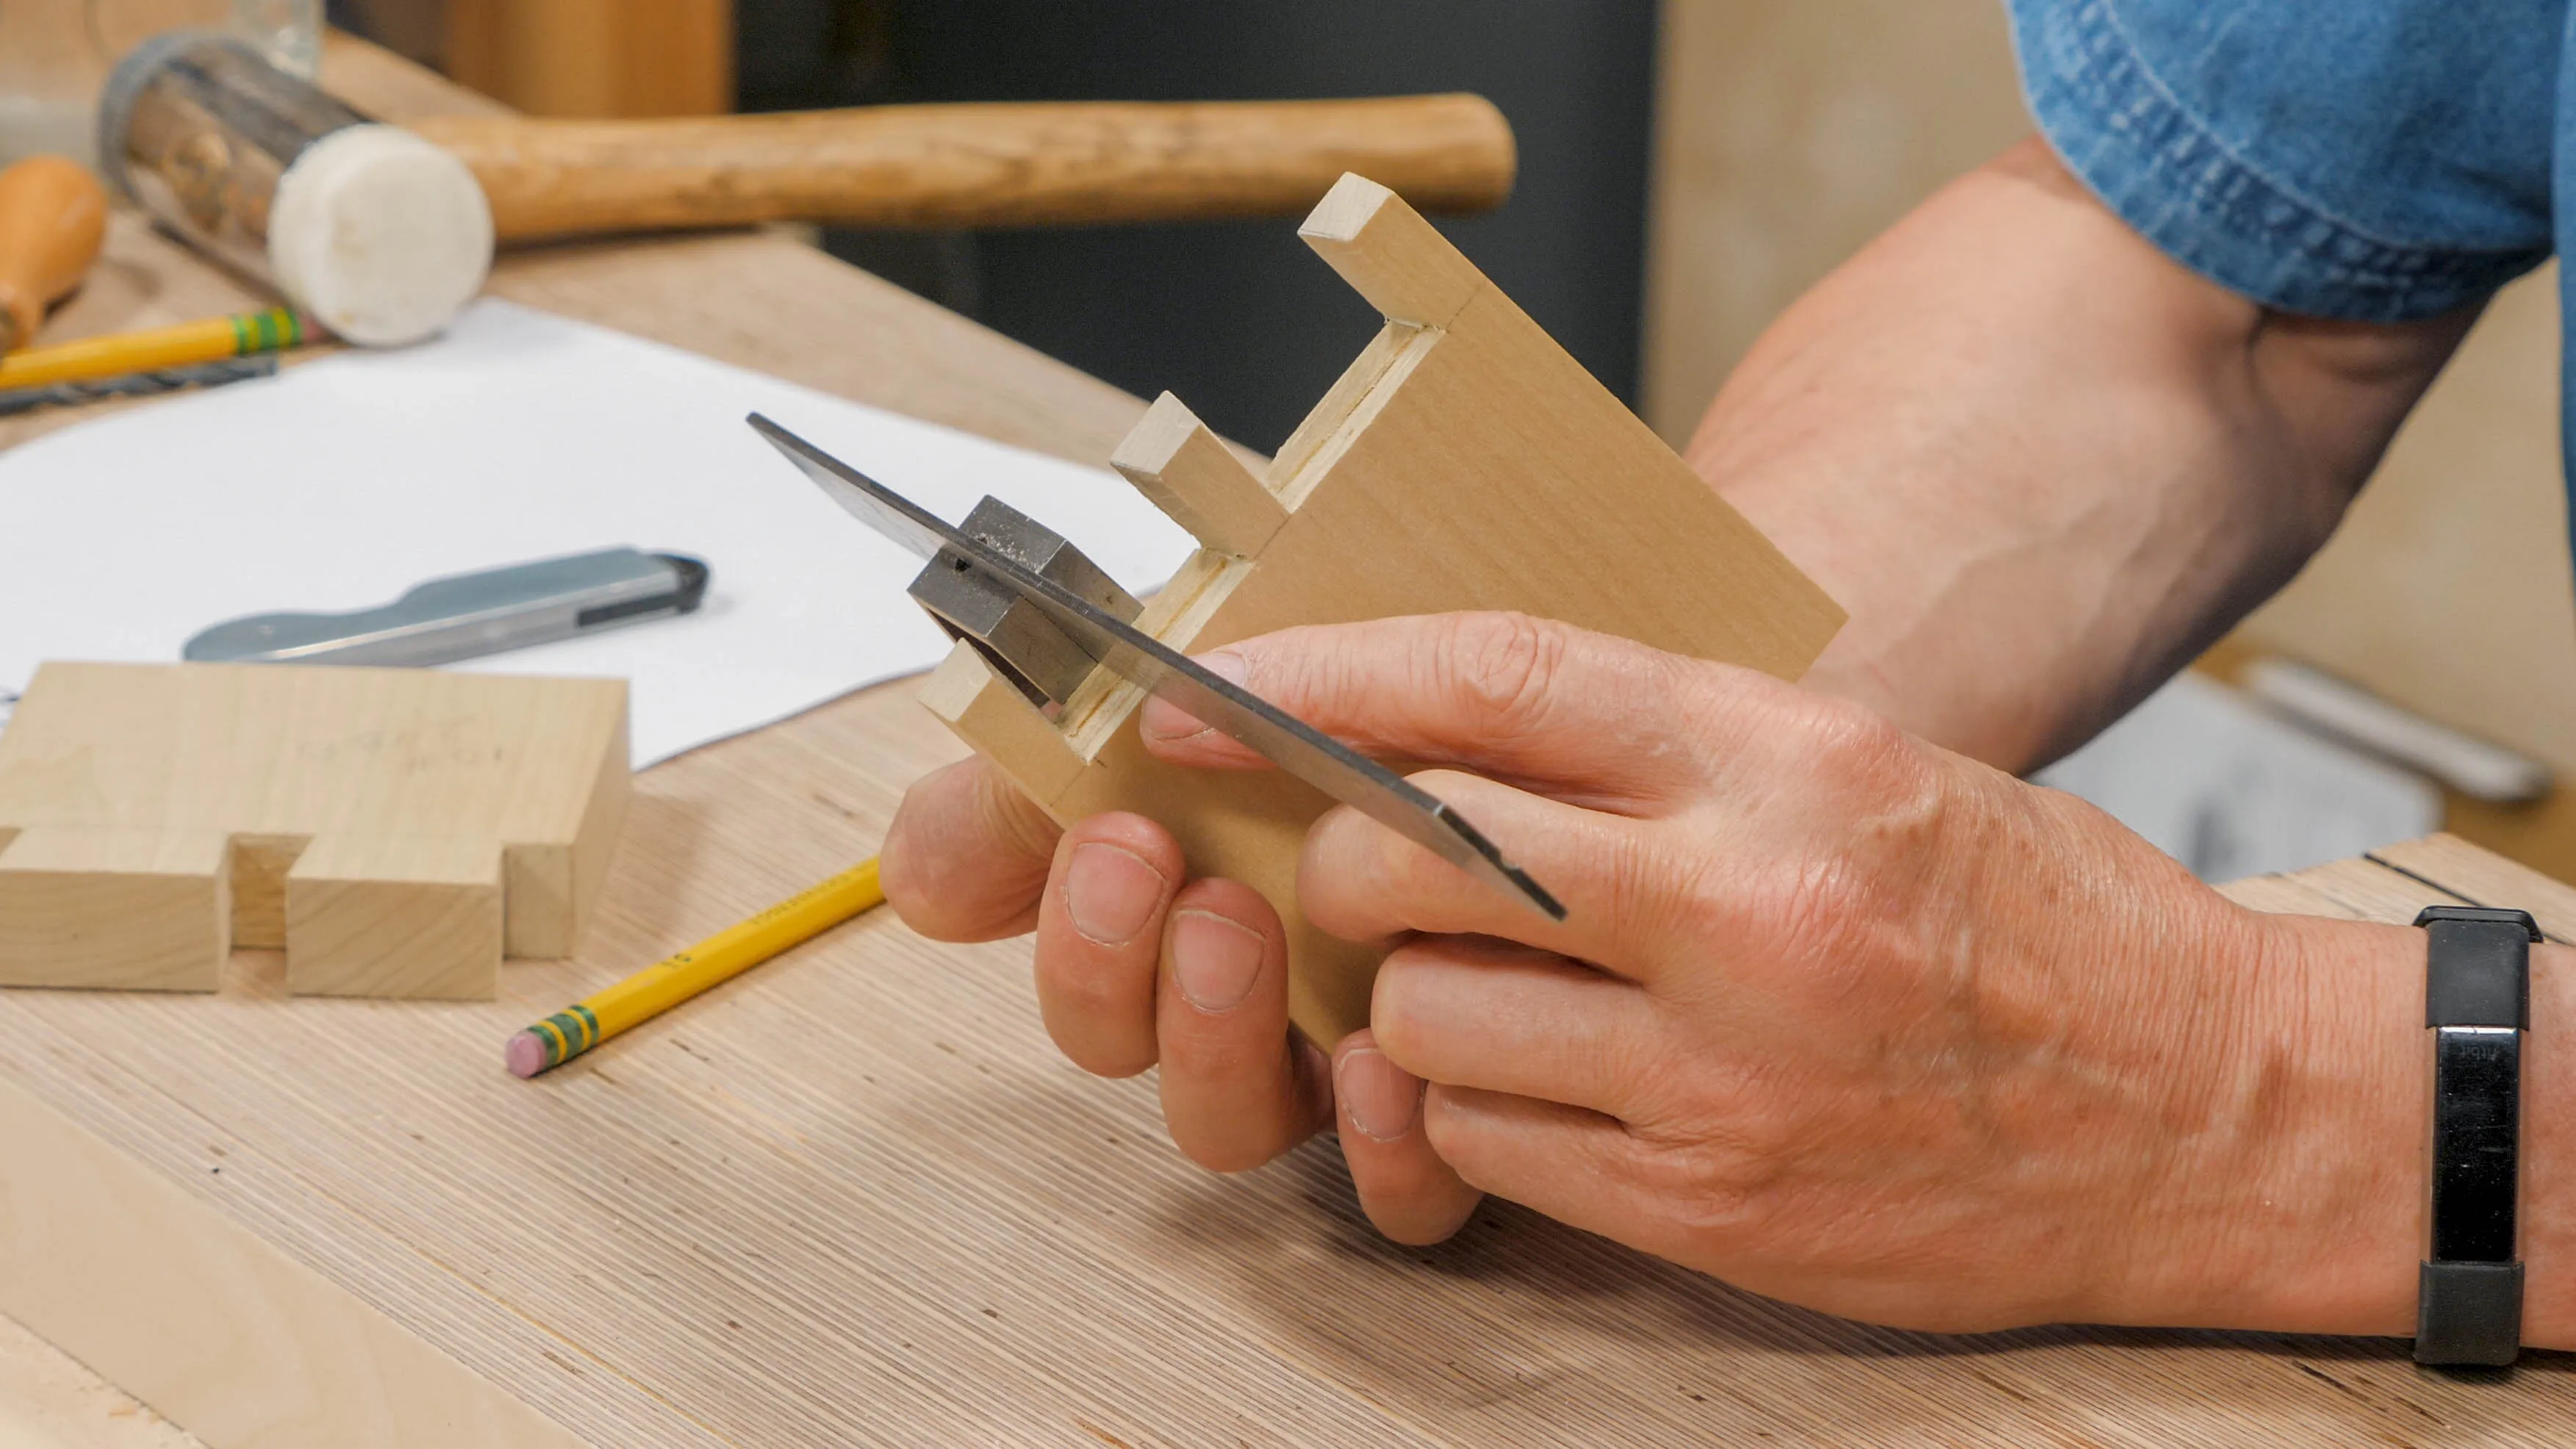
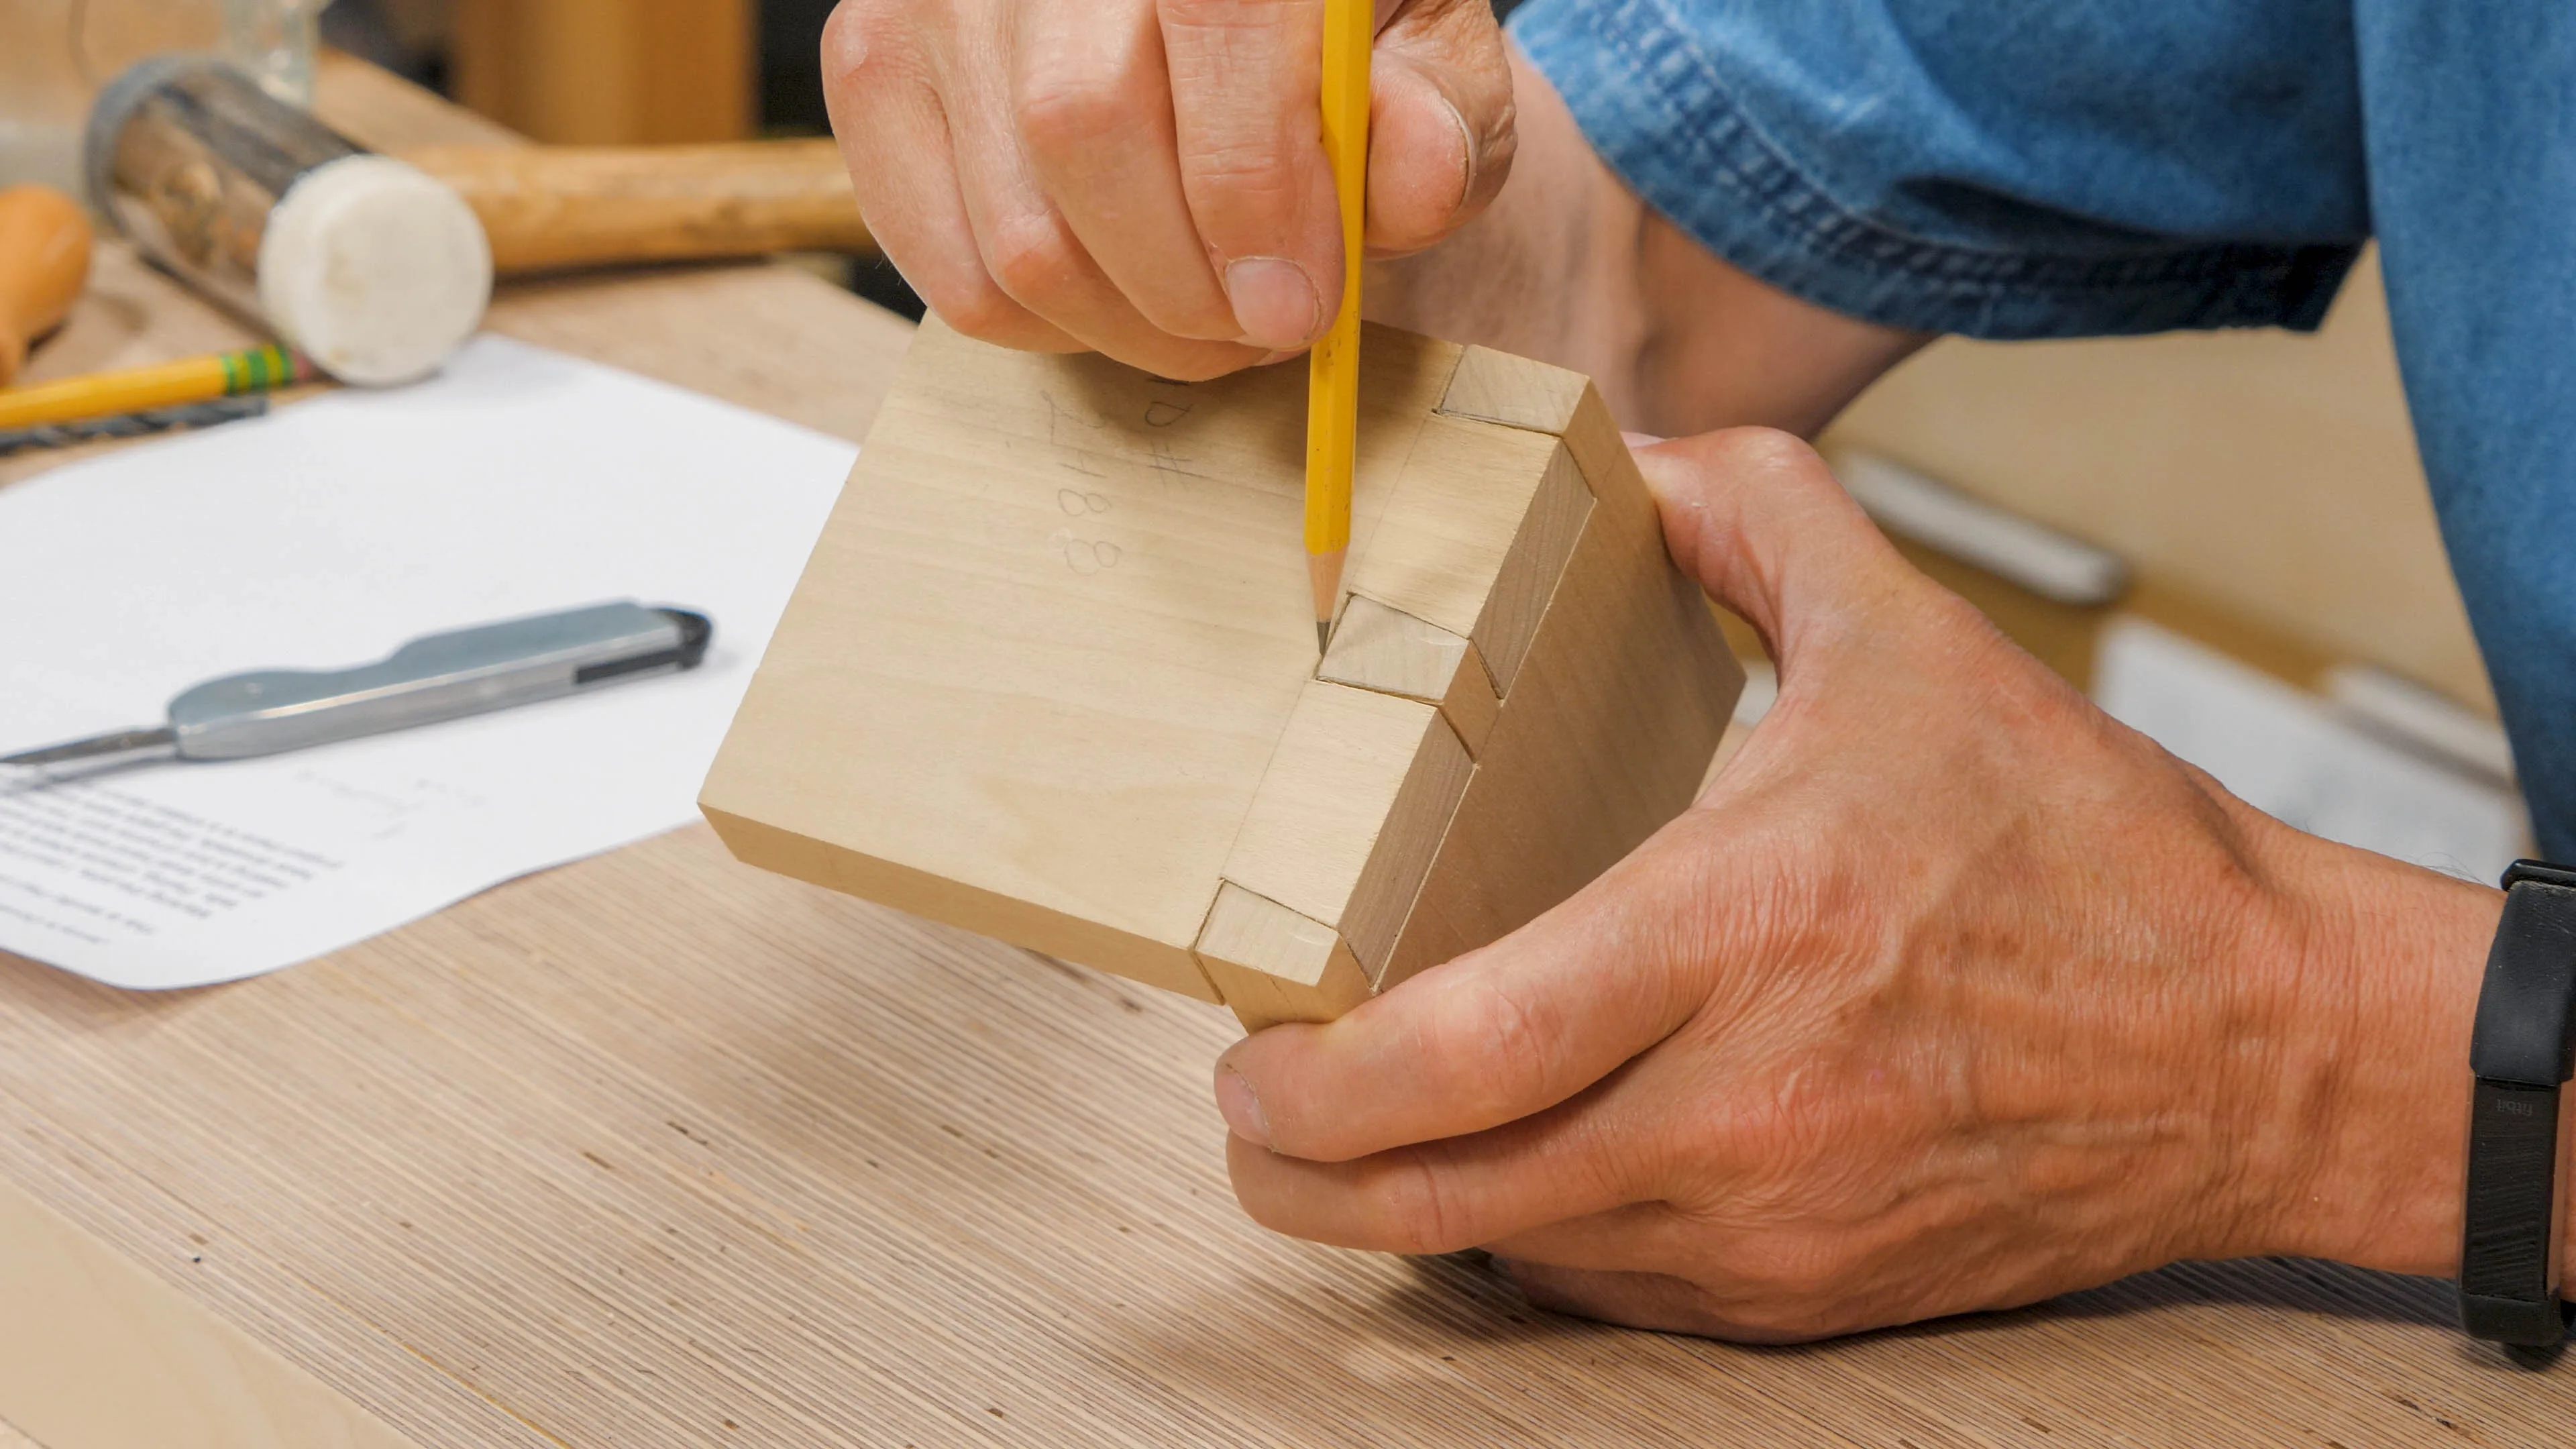
Are the Pins Square?
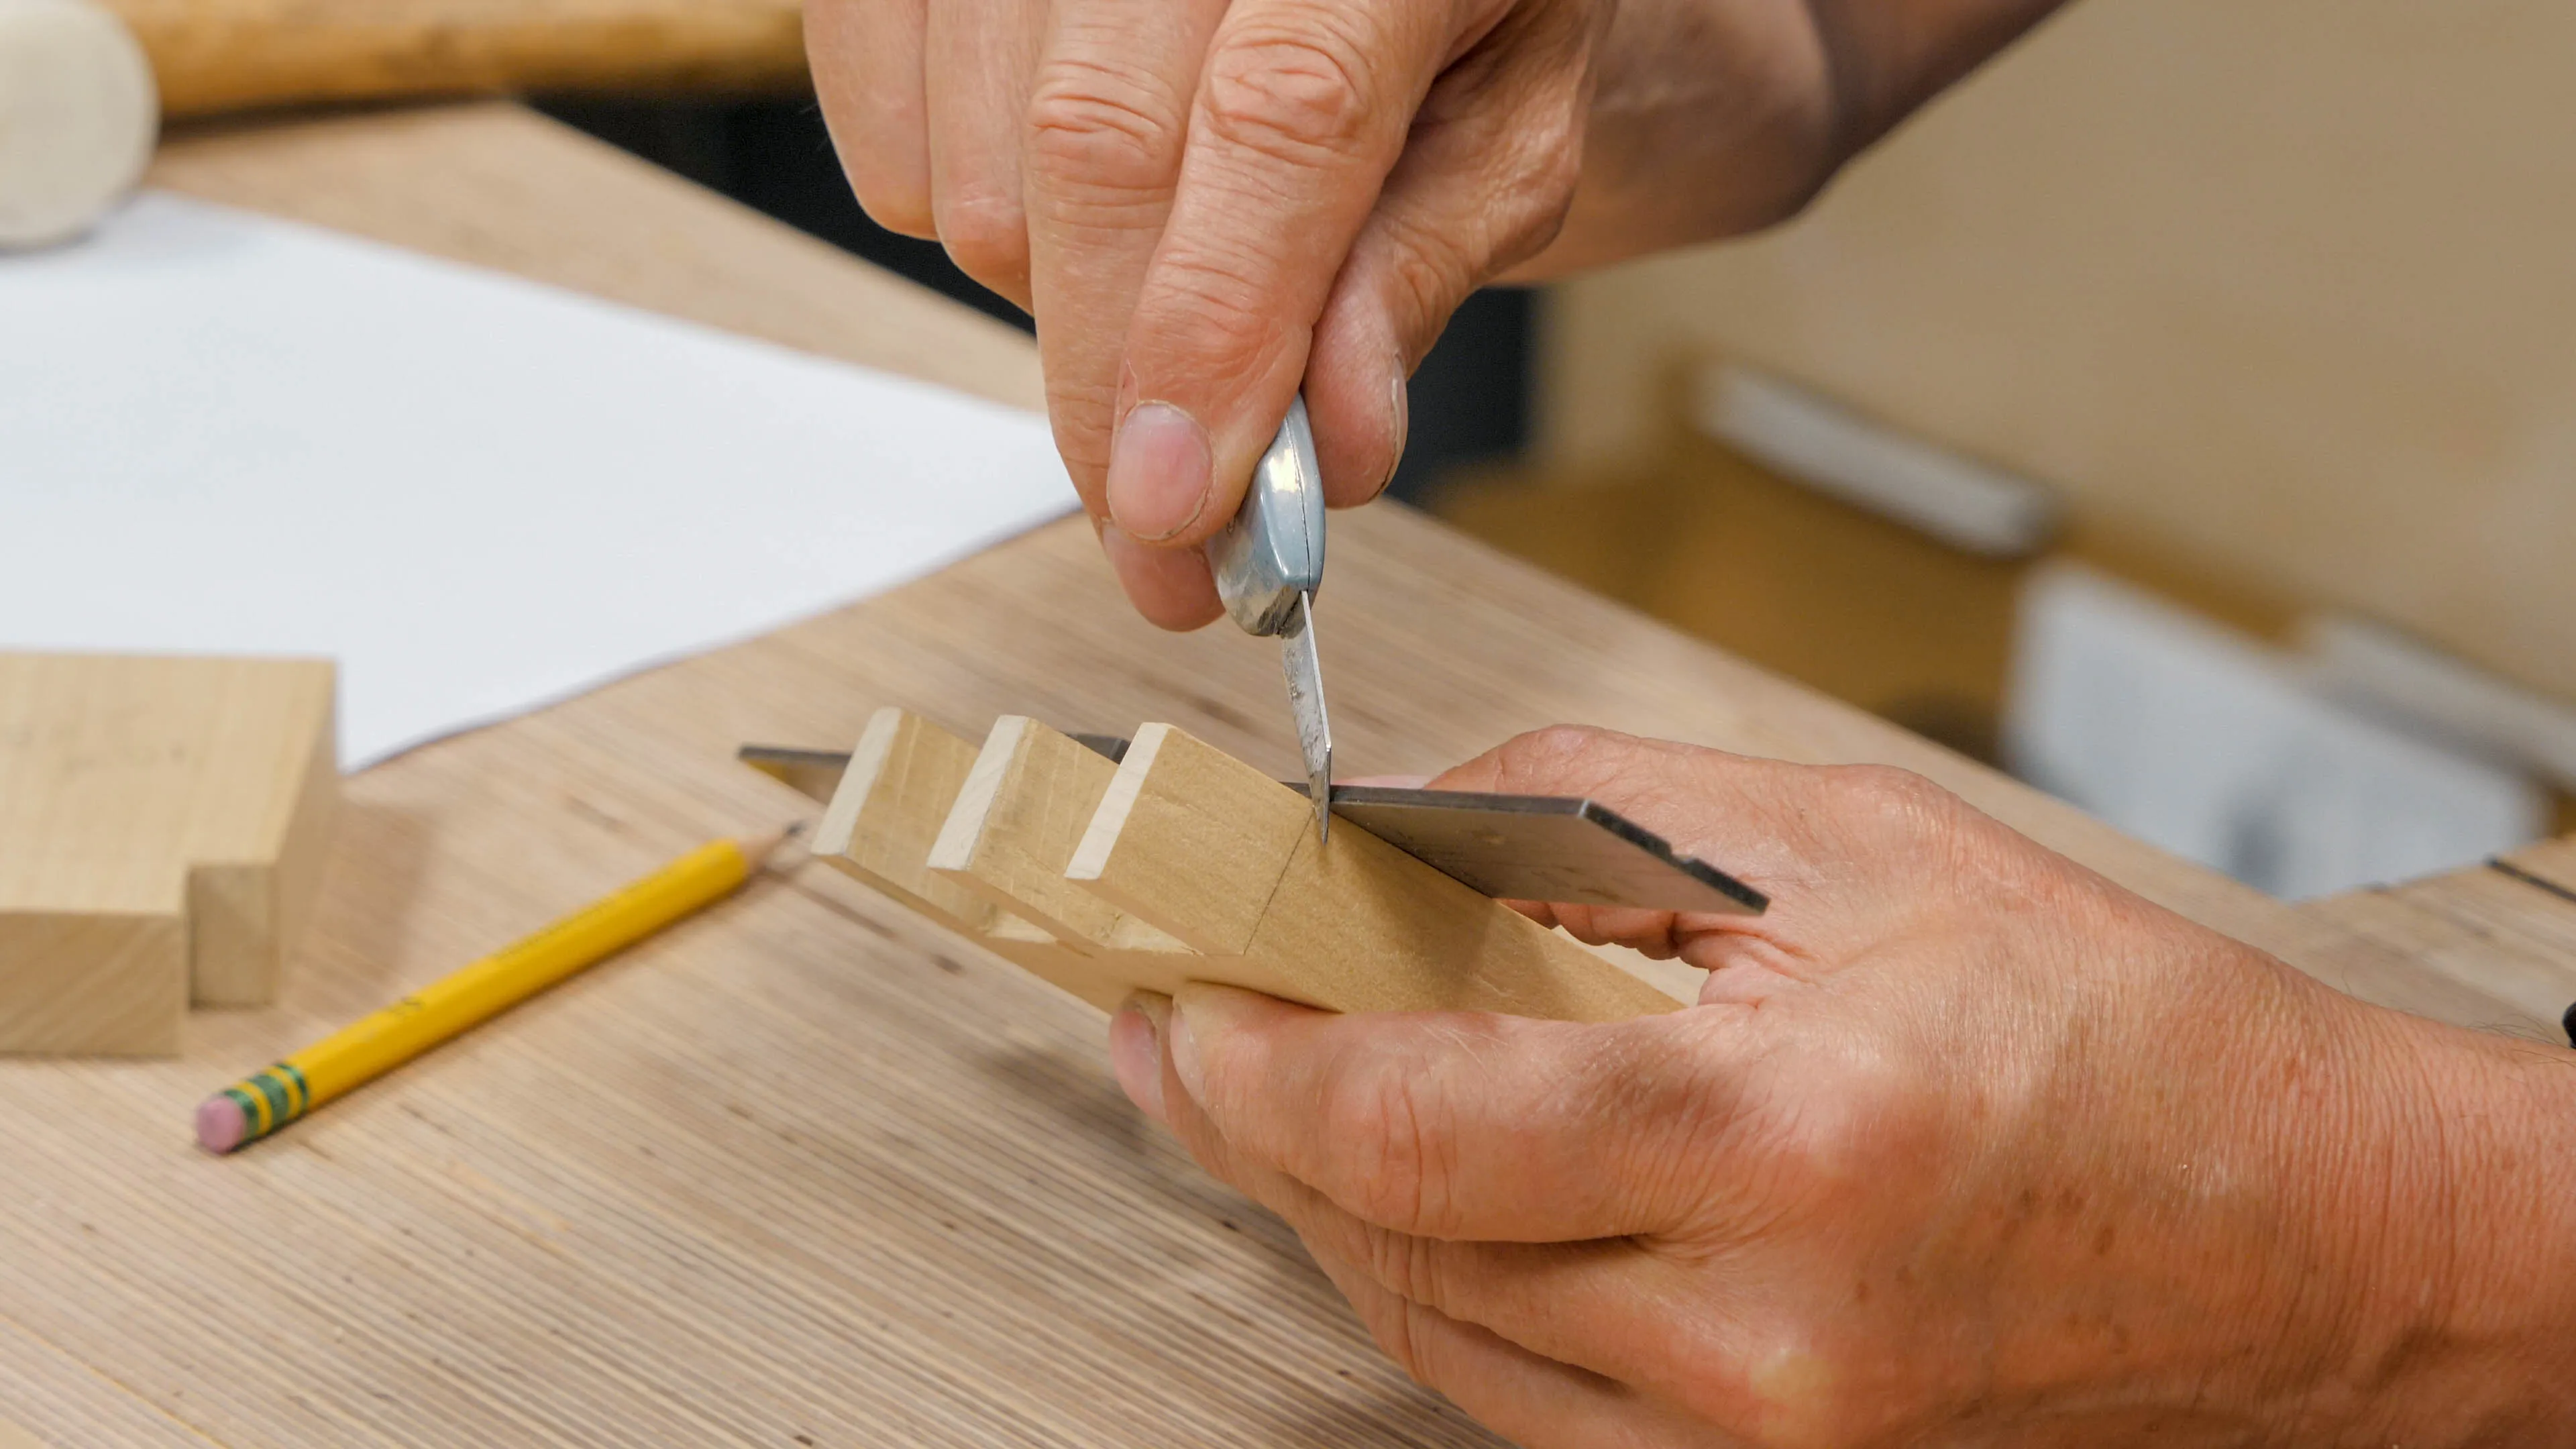
Paul uses the square to check the pins and draws the line on where they should be, he concludes this might have been pared with a chisel which is why is it no longer square.
Try to get the angle directly off the saw for your pins and tails without pare cutting, if possible only use pare cutting for the recess in between the pins as this is from your chisel, not a saw line.
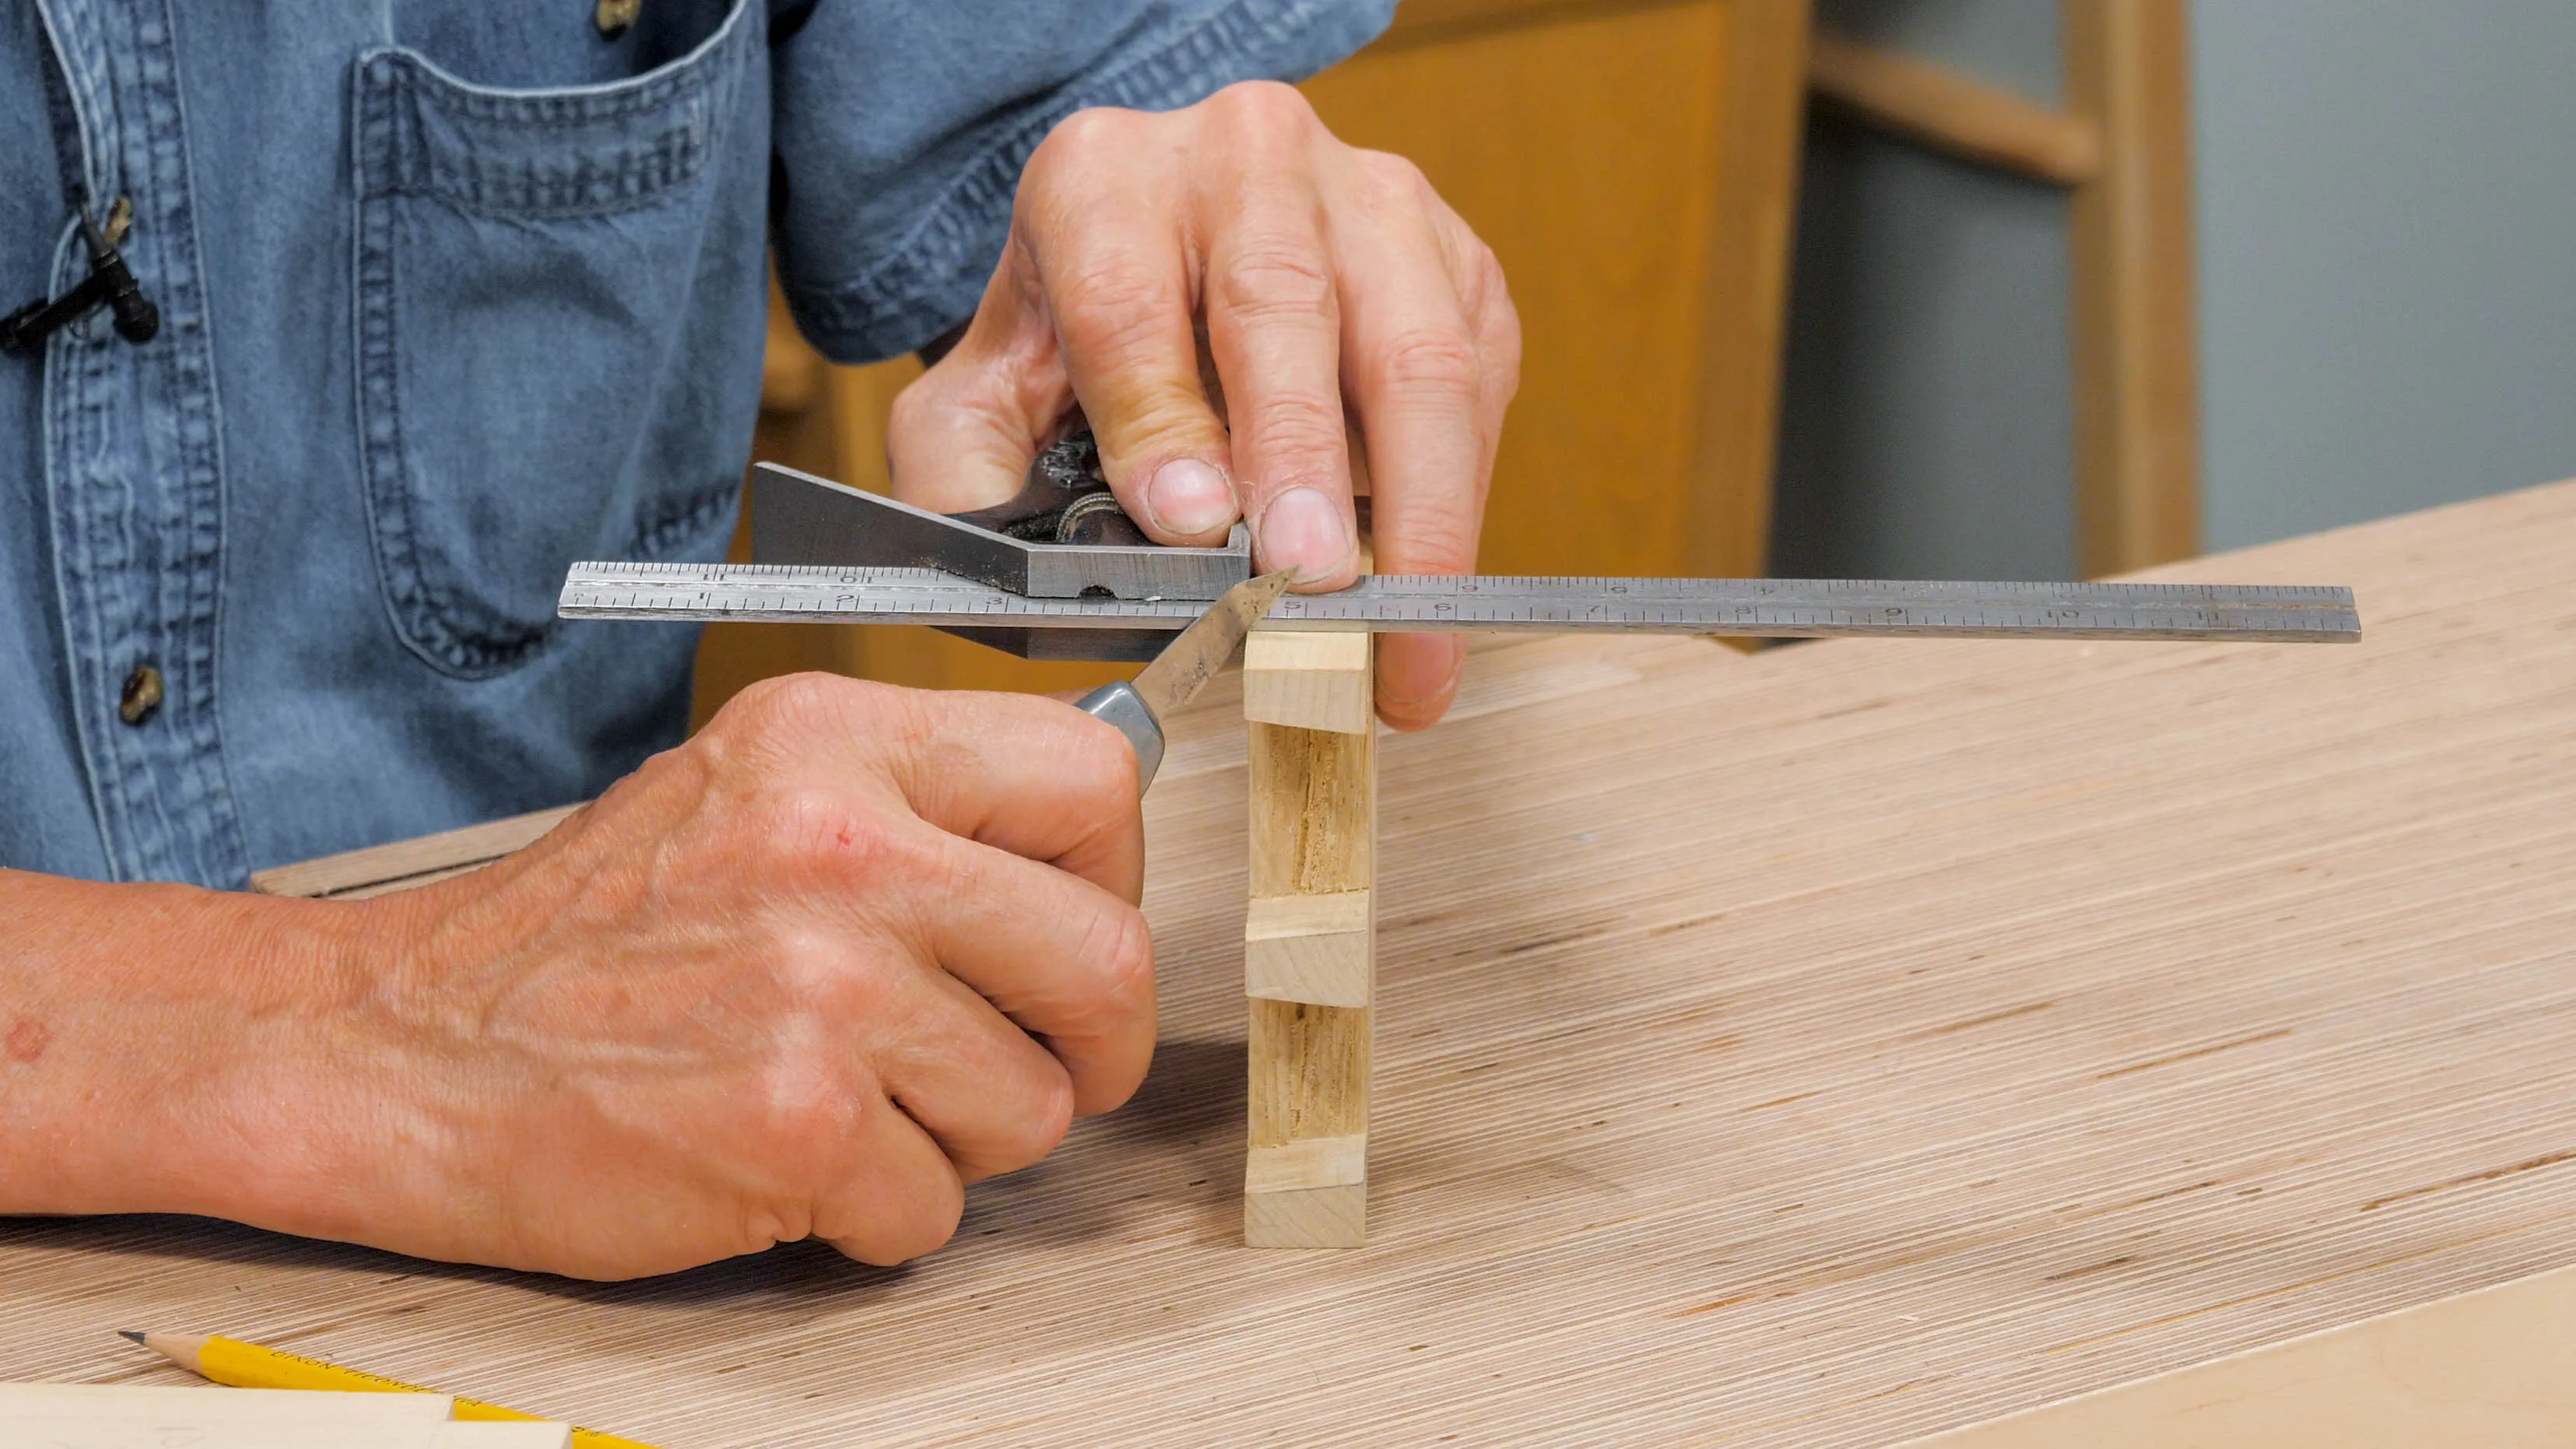
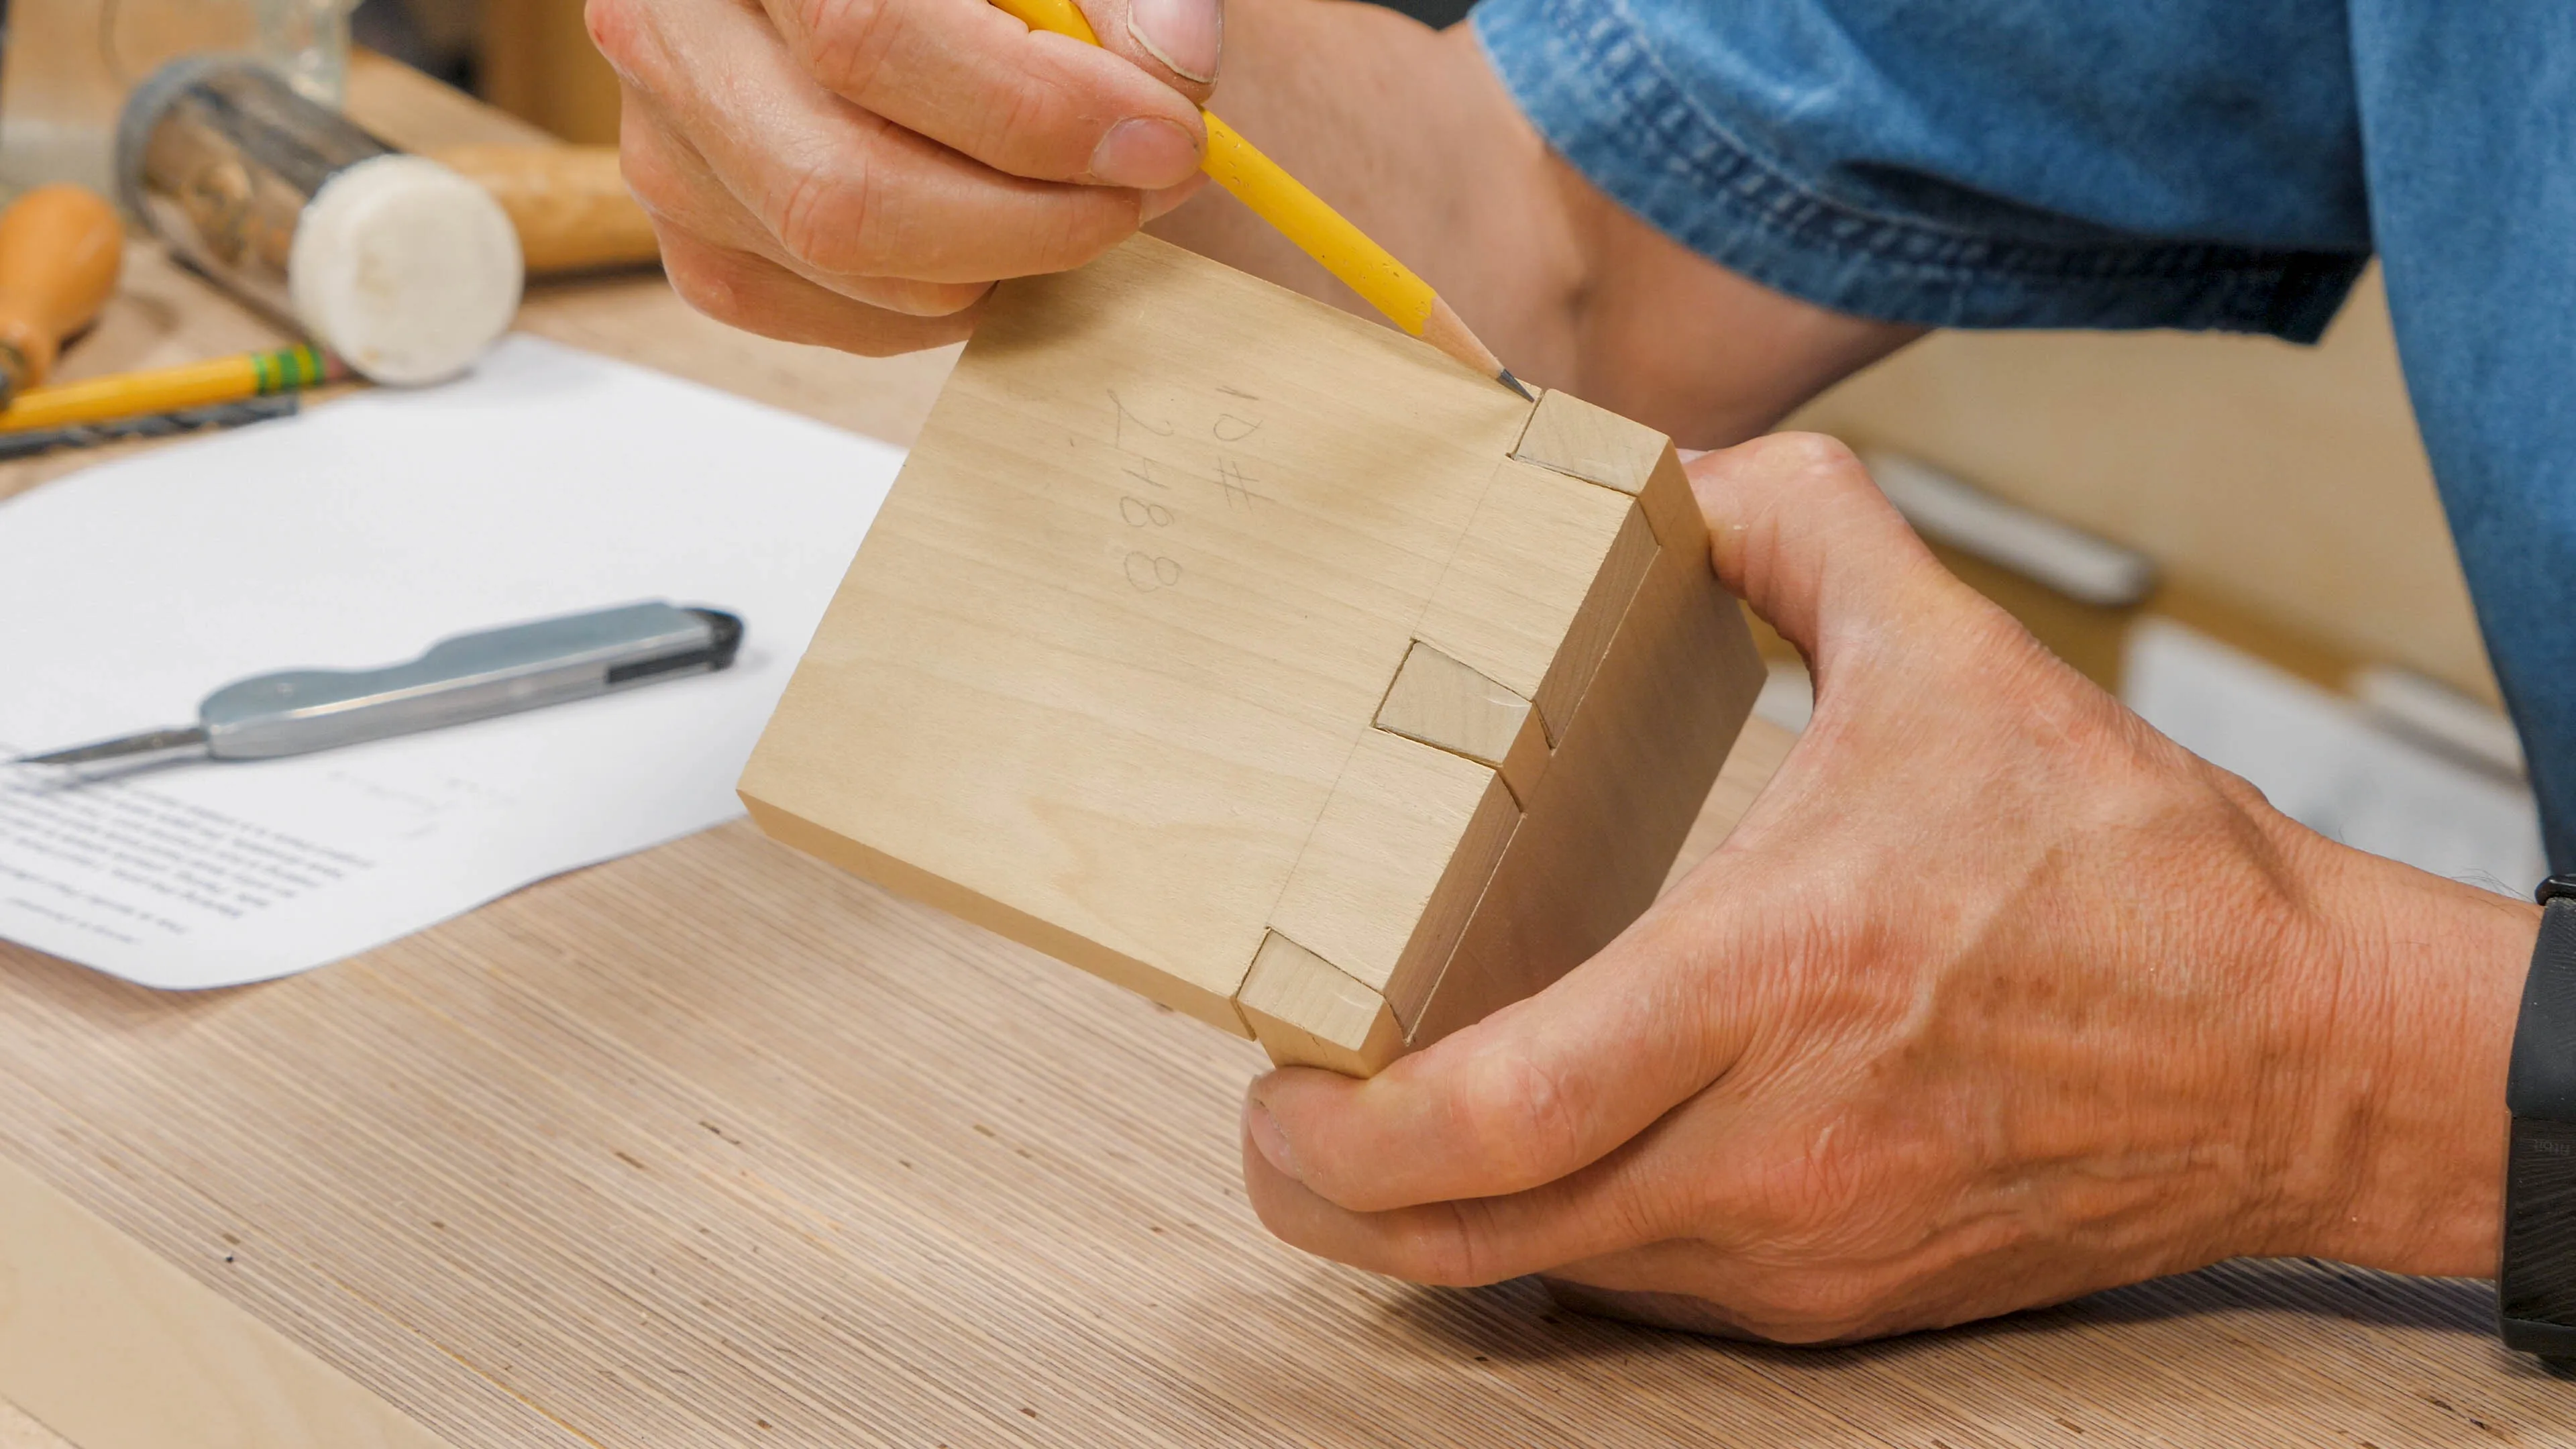
The shoulders haven’t been cut to the line, this will stop the joint seating properly which means you will have gaps. Make sure you use a knife wall, this means you will have a line to pare cut to.
To practise your dovetails, click here for our free course.