Consumables
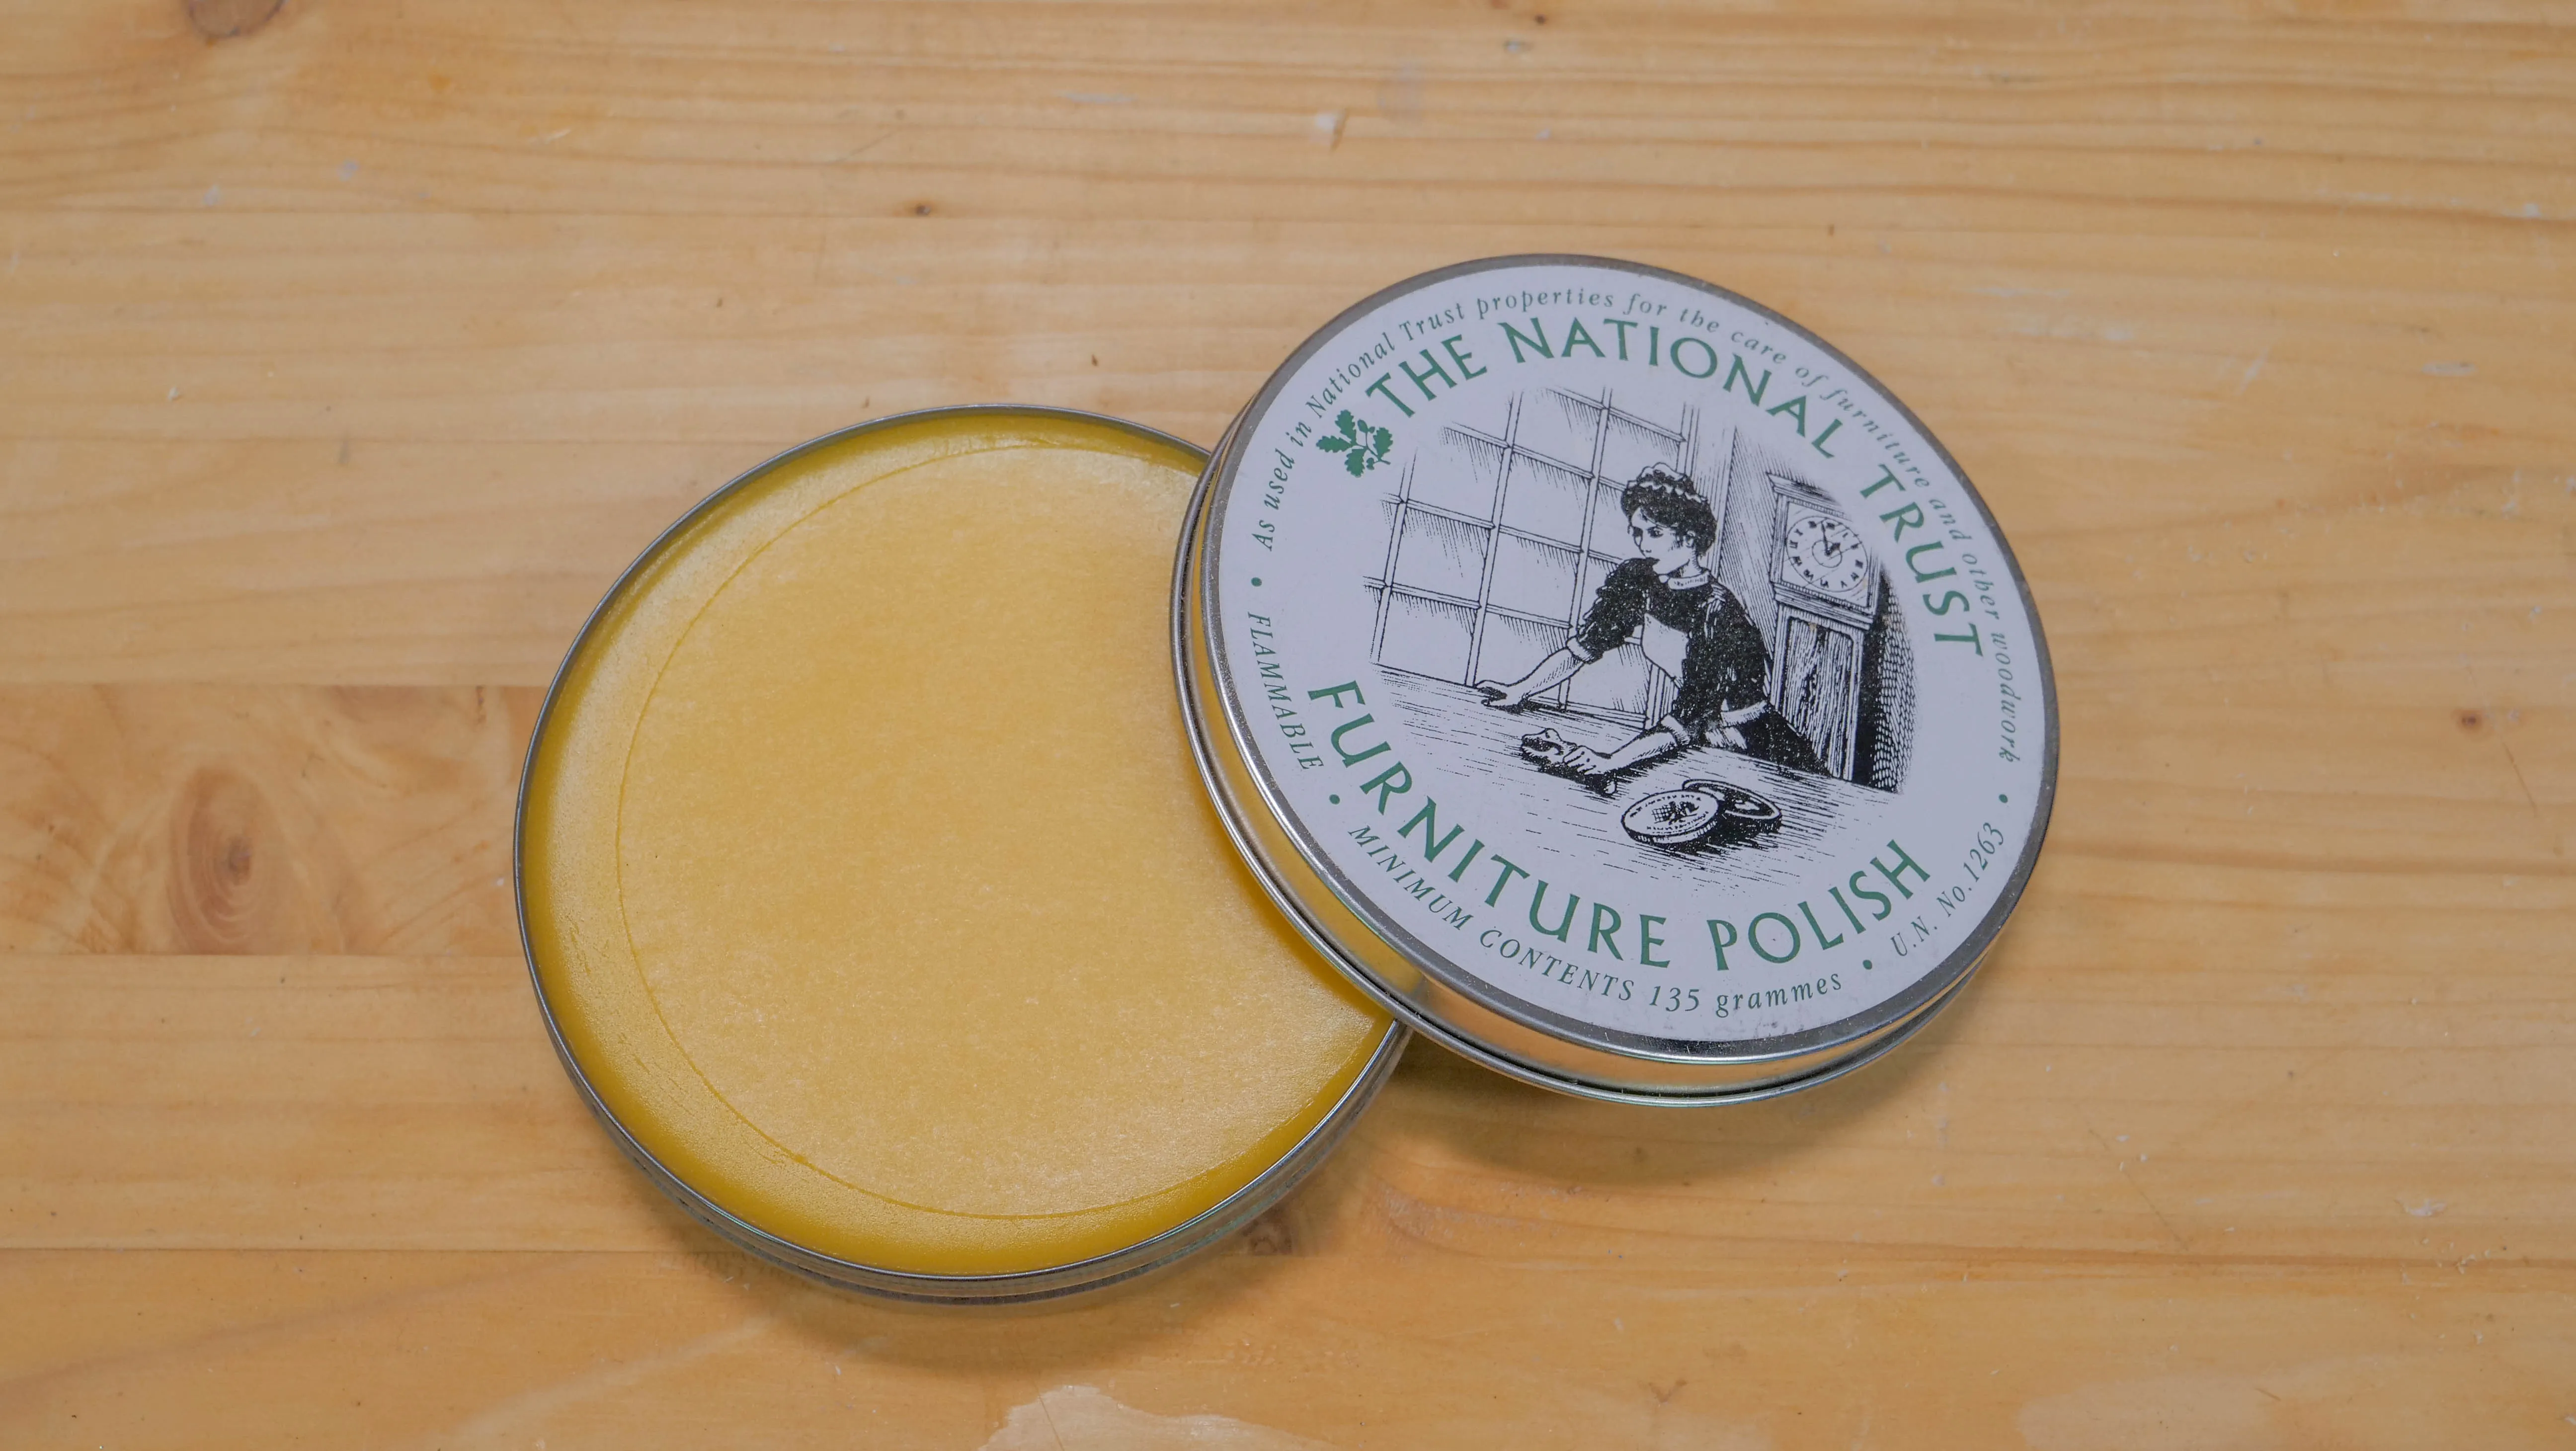
Paul likes to avoid waxes with Toluene in as this can be harmful. Furniture wax can be applied as a frictionless polish on top of shellac.
Furniture Wax
Paul likes to avoid waxes with Toluene in as this can be harmful. Furniture wax can be applied as a frictionless polish on top of shellac.
🇬🇧 Paul uses this one from National Trust UK which costs £6.00* with £4.95 delivery.
🇺🇸 If you are ordering from the US, we are currently testing some new wax. We will update this page soon.
Steel Wool
This can come in several different grades, in order from most coarse to super fine:
| Grade | Name |
|---|---|
| 4 | Extra- Coarse |
| 3 | Coarse |
| 2 | Medium- Coarse |
| 1 | Medium |
| 0 | Medium- Fine |
| 00 | Fine |
| 000 | Extra- Fine |
| 0000 | Finest |
Paul recommends 0000 for finishing, as this is good for removing surface nibbing or roughness.
Steel wool would usually be used on the last application of shellac, once dry, to buff out the surface. If you want to add wax to your projects, you can apply it with super fine steel wool.
Steel wool can also be used with solvent when restoring tools. The super fine texture removes rust without causing surface damage. You can also use it on handles when they become worn and grubby. Steel wool can remove the top layer of shellac, which can then be recoated. Look for non-oiled if possible.
We purchased this 1M Liberon Steel Wool 0000 from Amazon for £3.49 in May 2018. In our latest price check* the price was unchanged
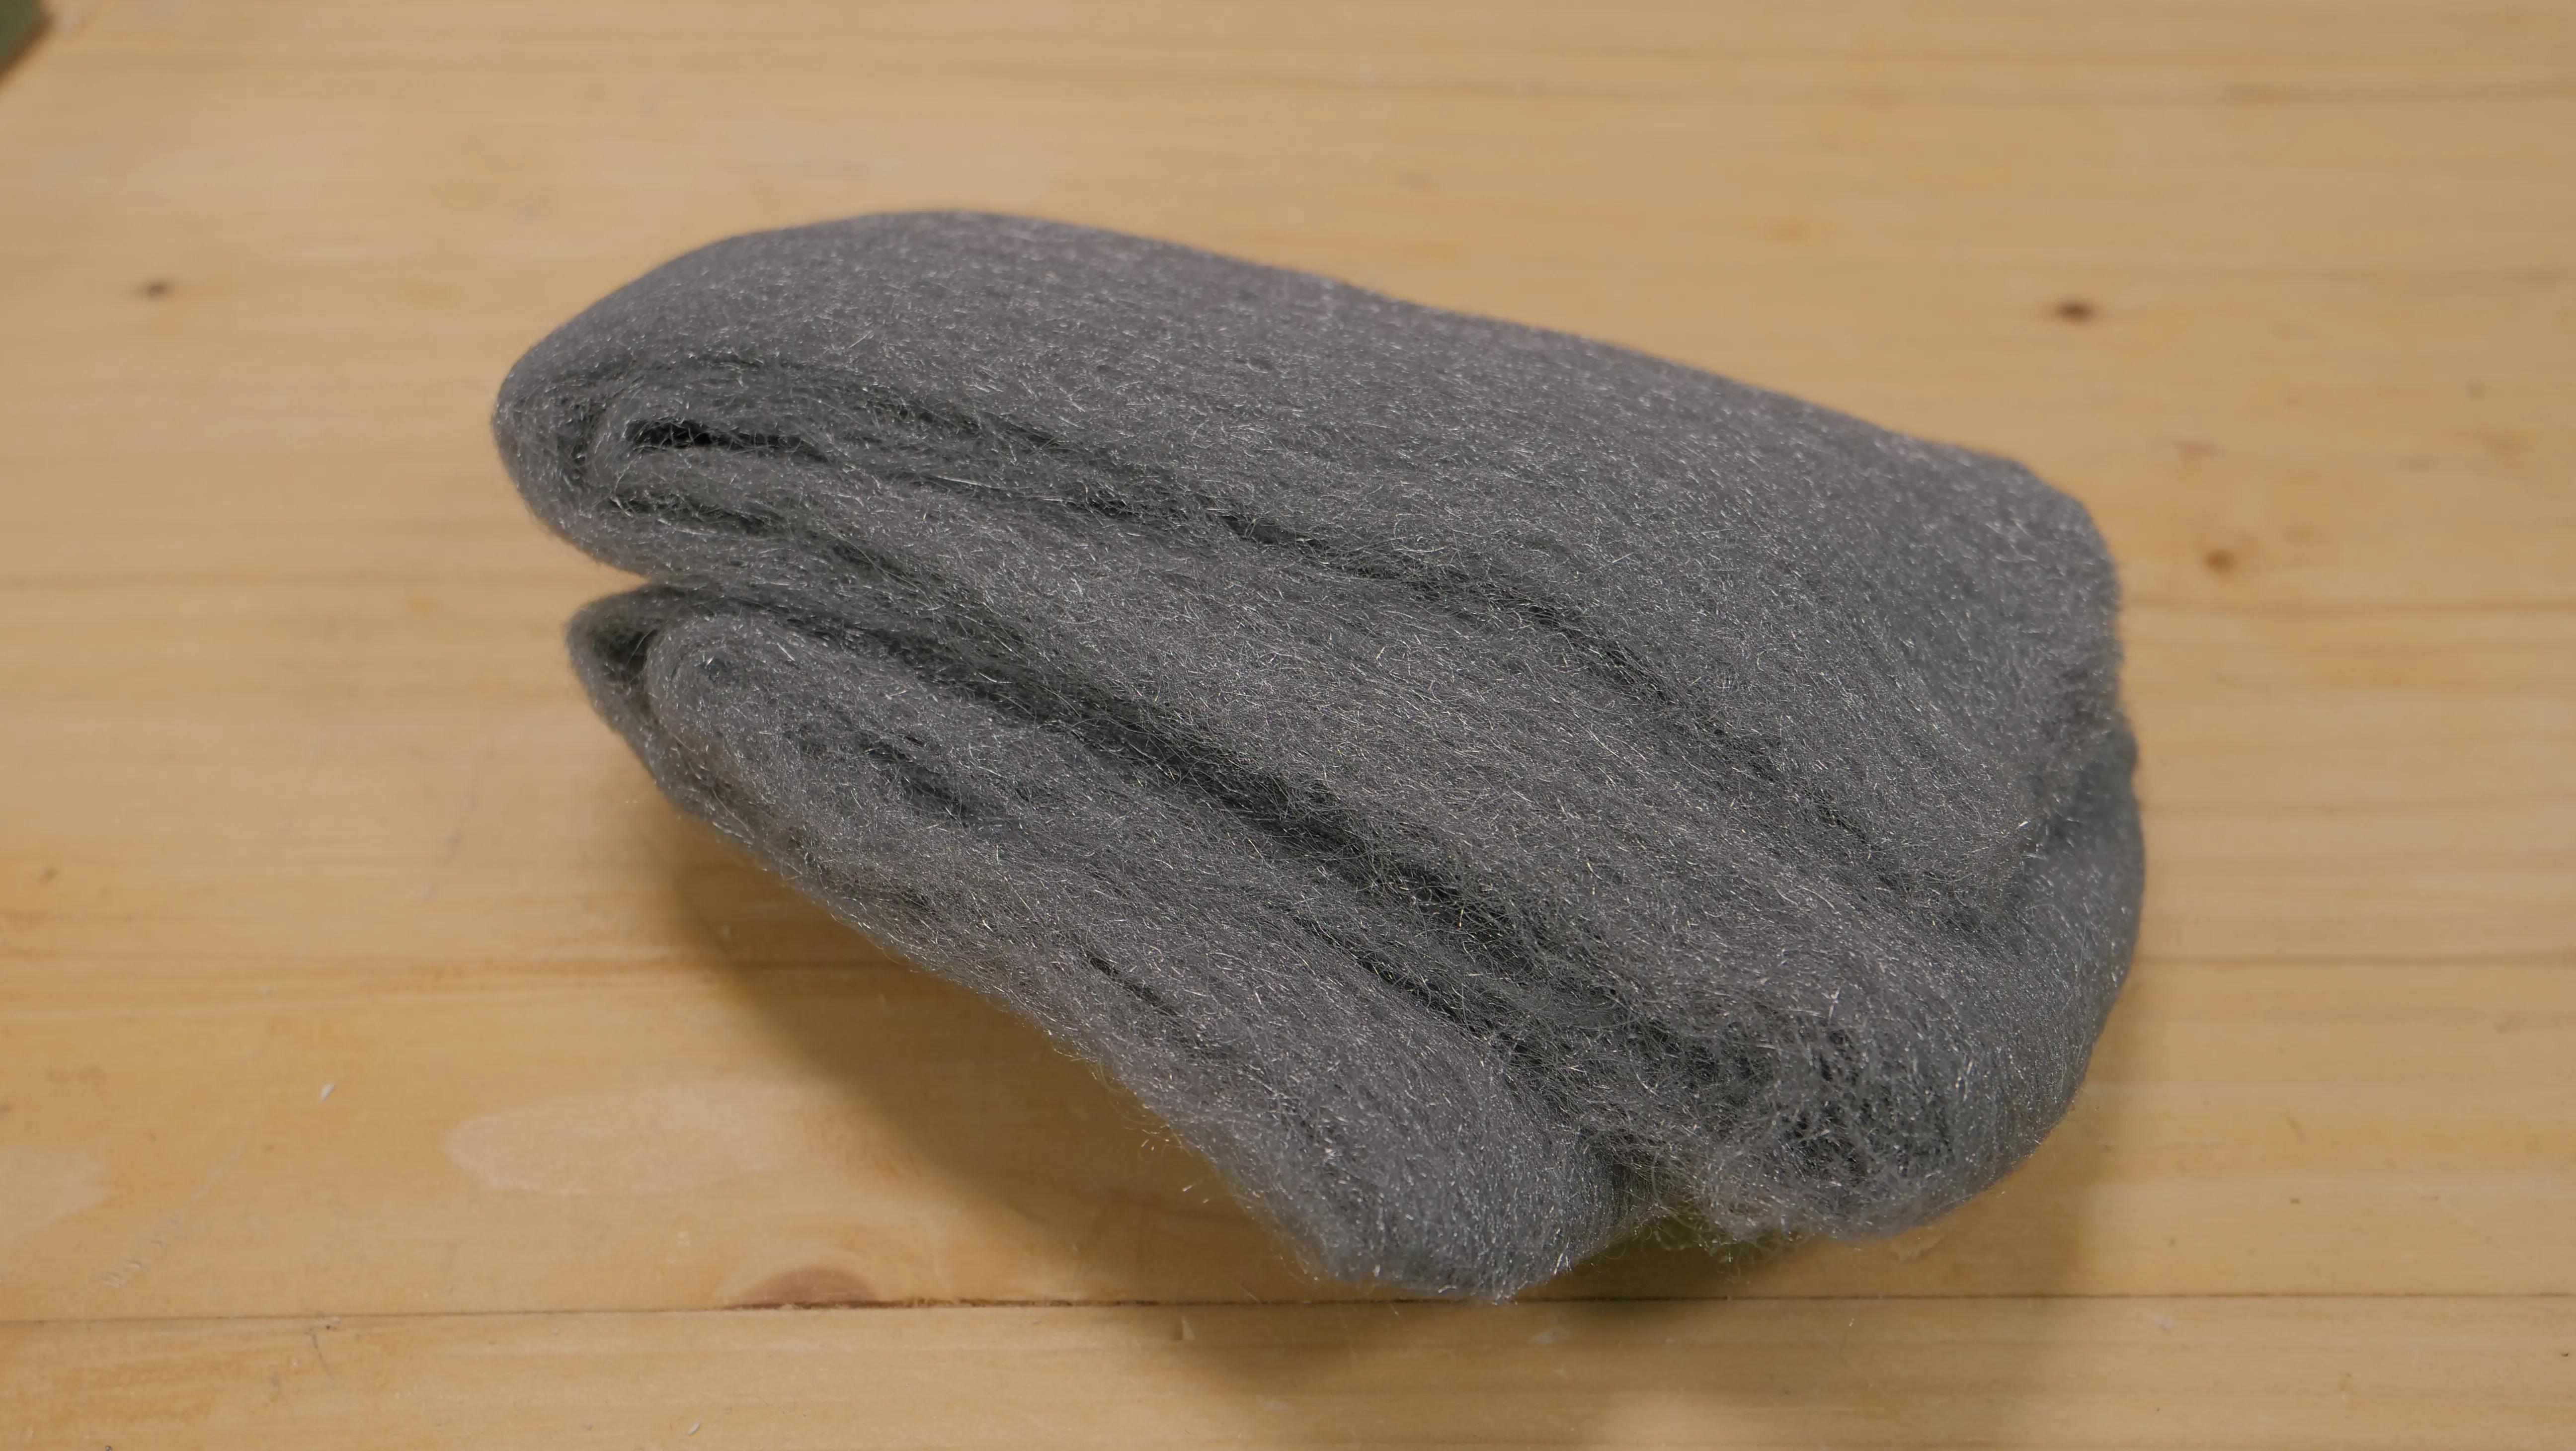
Buying this small an amount is an expensive option in the long run, but good if you are just starting out. Paul recommends buying a larger roll (10M or so) for £10 as this will last a long time.
Note: Be sure to keep it in a dry place as the steel wool will rust if it is exposed long term to damp.
Danger: Keep away from any sparks as steel wool is highly flammable.
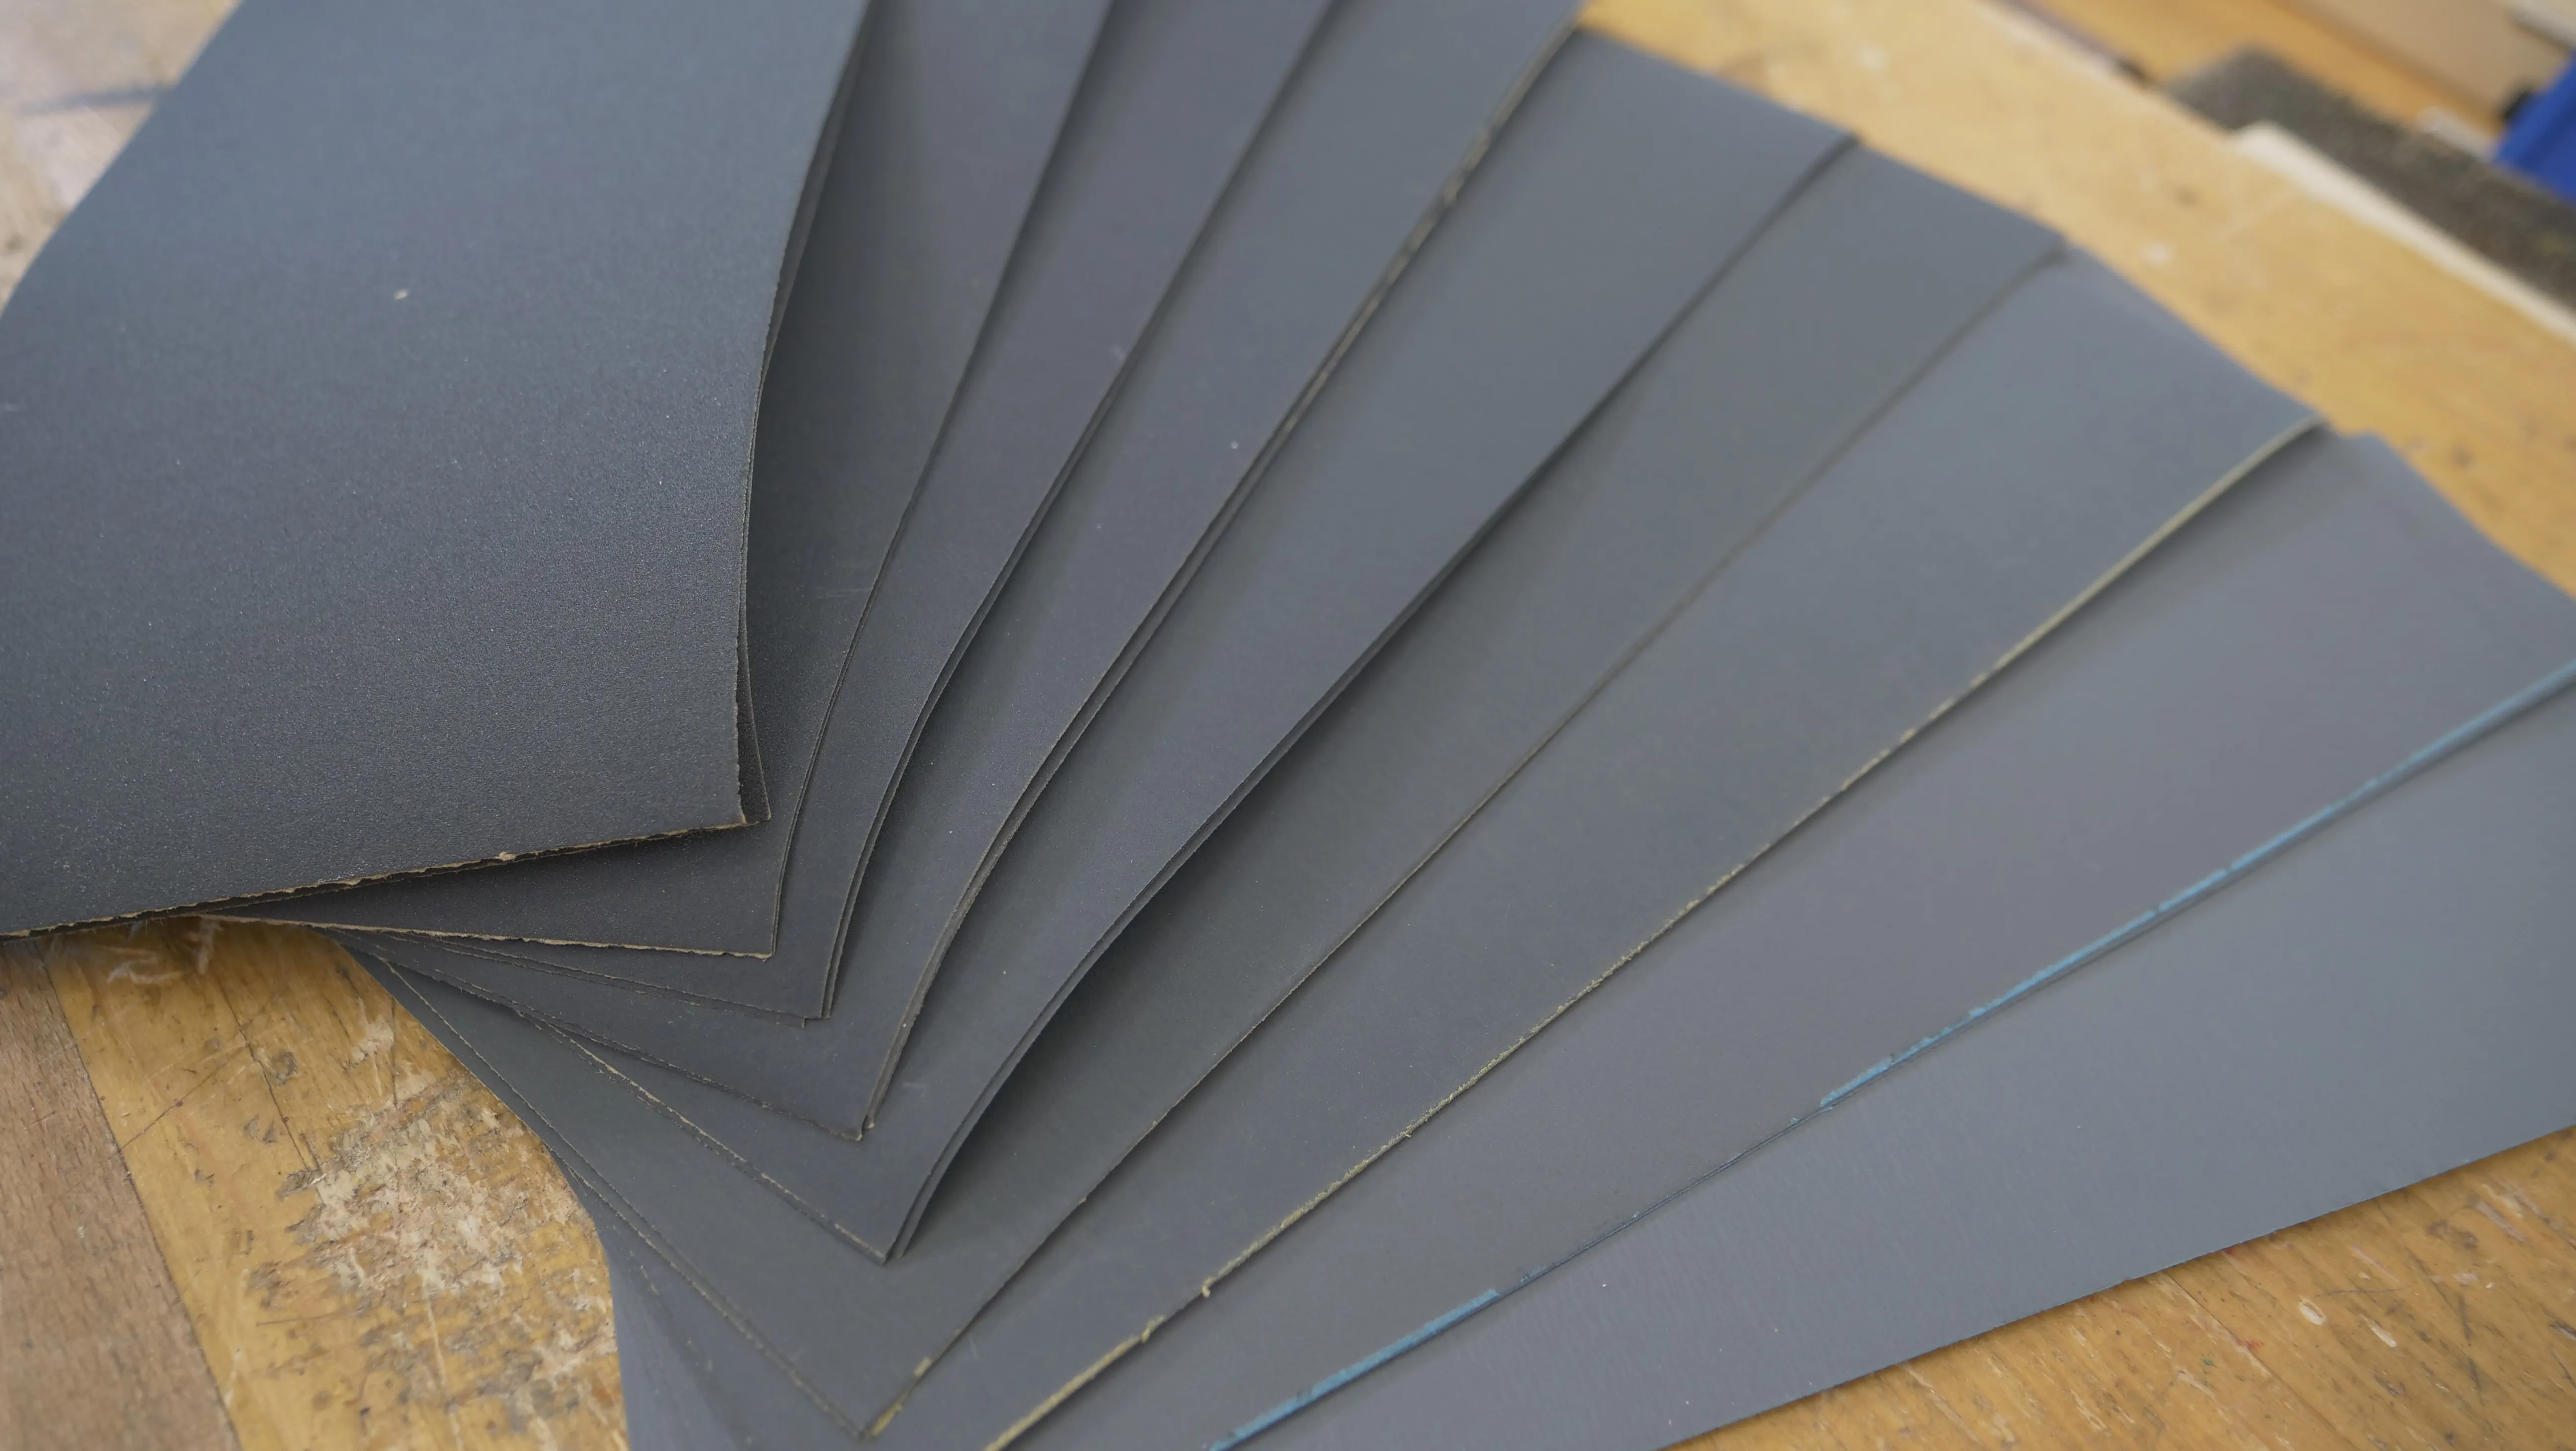
Abrasive Paper
For use on metal, Paul uses Wet n Dry paper (also called silicon carbide paper) which can be used both wet and dry. The advantage of using this wet is that the abrasive surface doesn’t clog up with metal particles. When this happens on dry abrasive paper, the surface becomes all one level so no abrading takes place. Wet n Dry paper is coloured black which can transfer onto the material you are abrading. This is why we do not use it on wood. Paul suggests keeping a stock between 250-1500 grit. This should cover most tasks and projects.
For wood, Paul uses 120 and 240 grit sandpaper. The 120 grit can also be used for rough flattening of metal. As finish often raises the grain, after the first application has dried Paul would usually go over this with 240 grit sandpaper to remove any surface nibbing.
If you get a roll of abrasive paper, you can determine how long you want the piece to suit different projects. It is often cheaper to buy it this way and best for storage.
Shellac
Shellac is a natural substance which provides a light, fast, easy to apply non-penetrative finish. It dries quickly, which allows you to apply multiple coats over a short period of time. It is used as a protective finish which is also aesthetically pleasing.
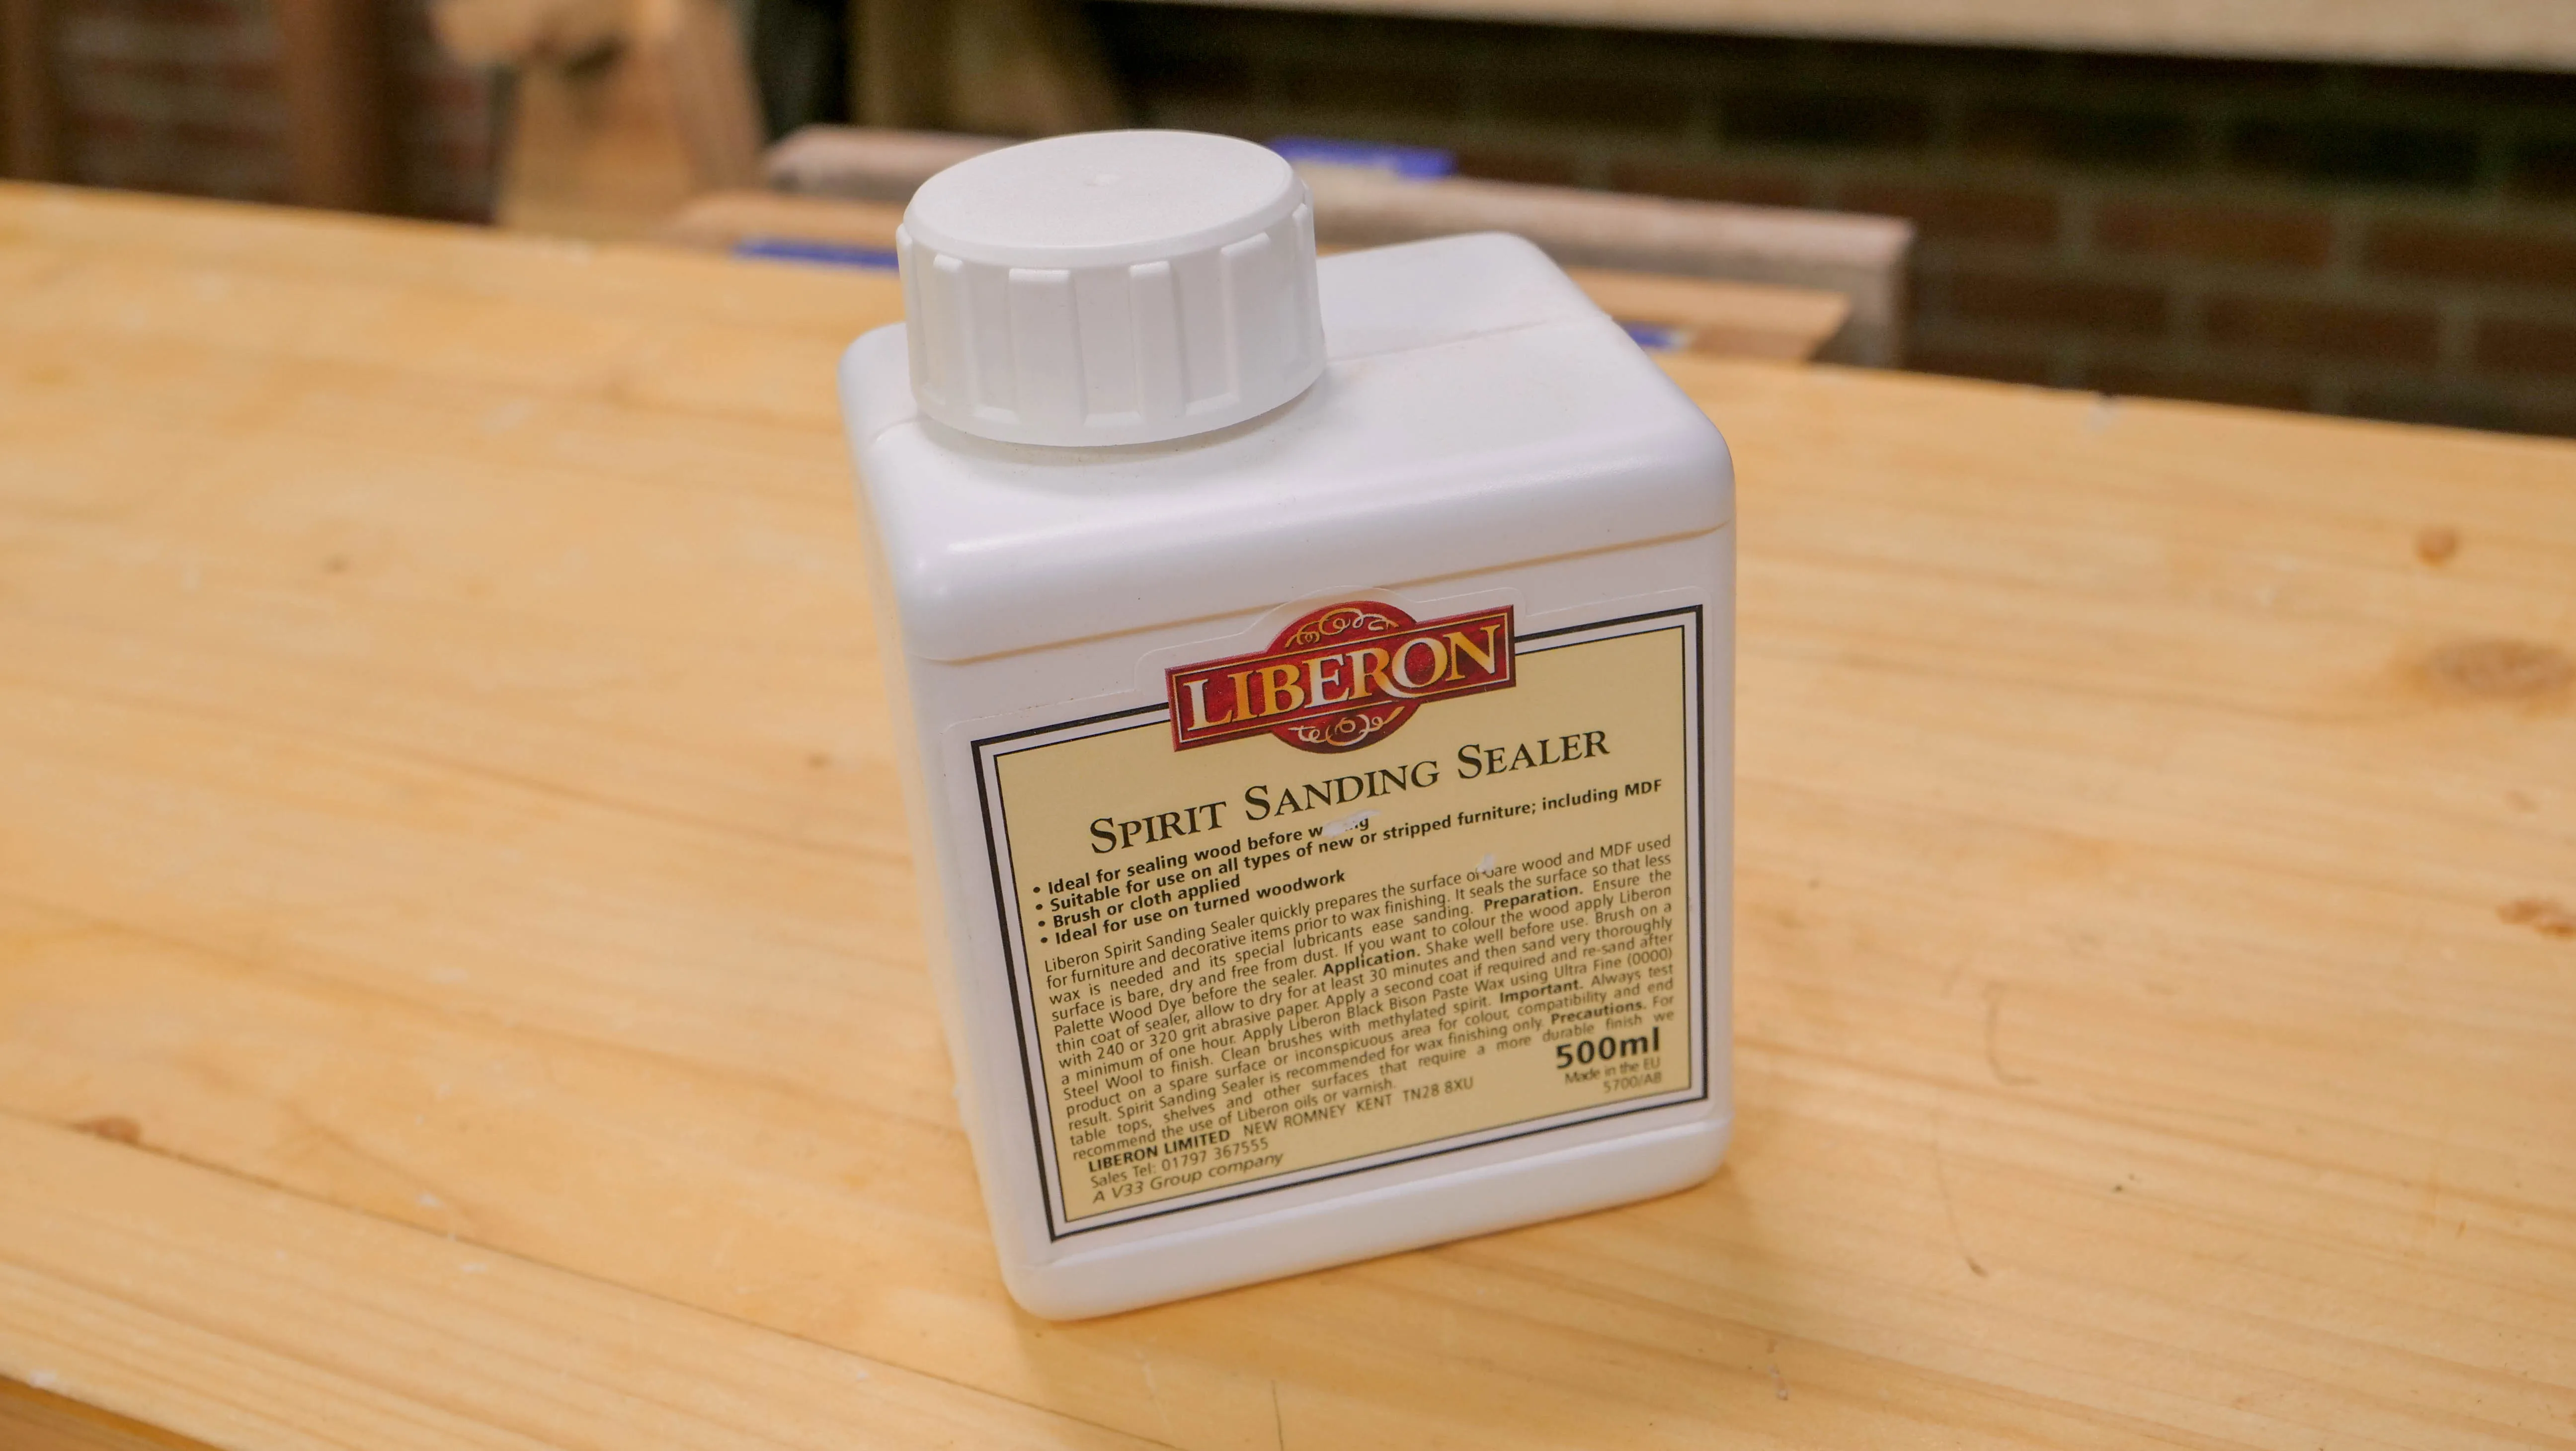
It can be bought pre mixed or as solids in flake form. The flakes come as non uniform flakes or beads and must be mixed with denatured alcohol. Paul uses a ready mixed Liberon Spirit Sanding Sealer, which is a convenient and easy option. Shellac is amber to reddy brown in its natural state, but can be bought as bleached shellac both as flakes or premixed. You can add dye if you want to mix your own particular colour to colour your wood.
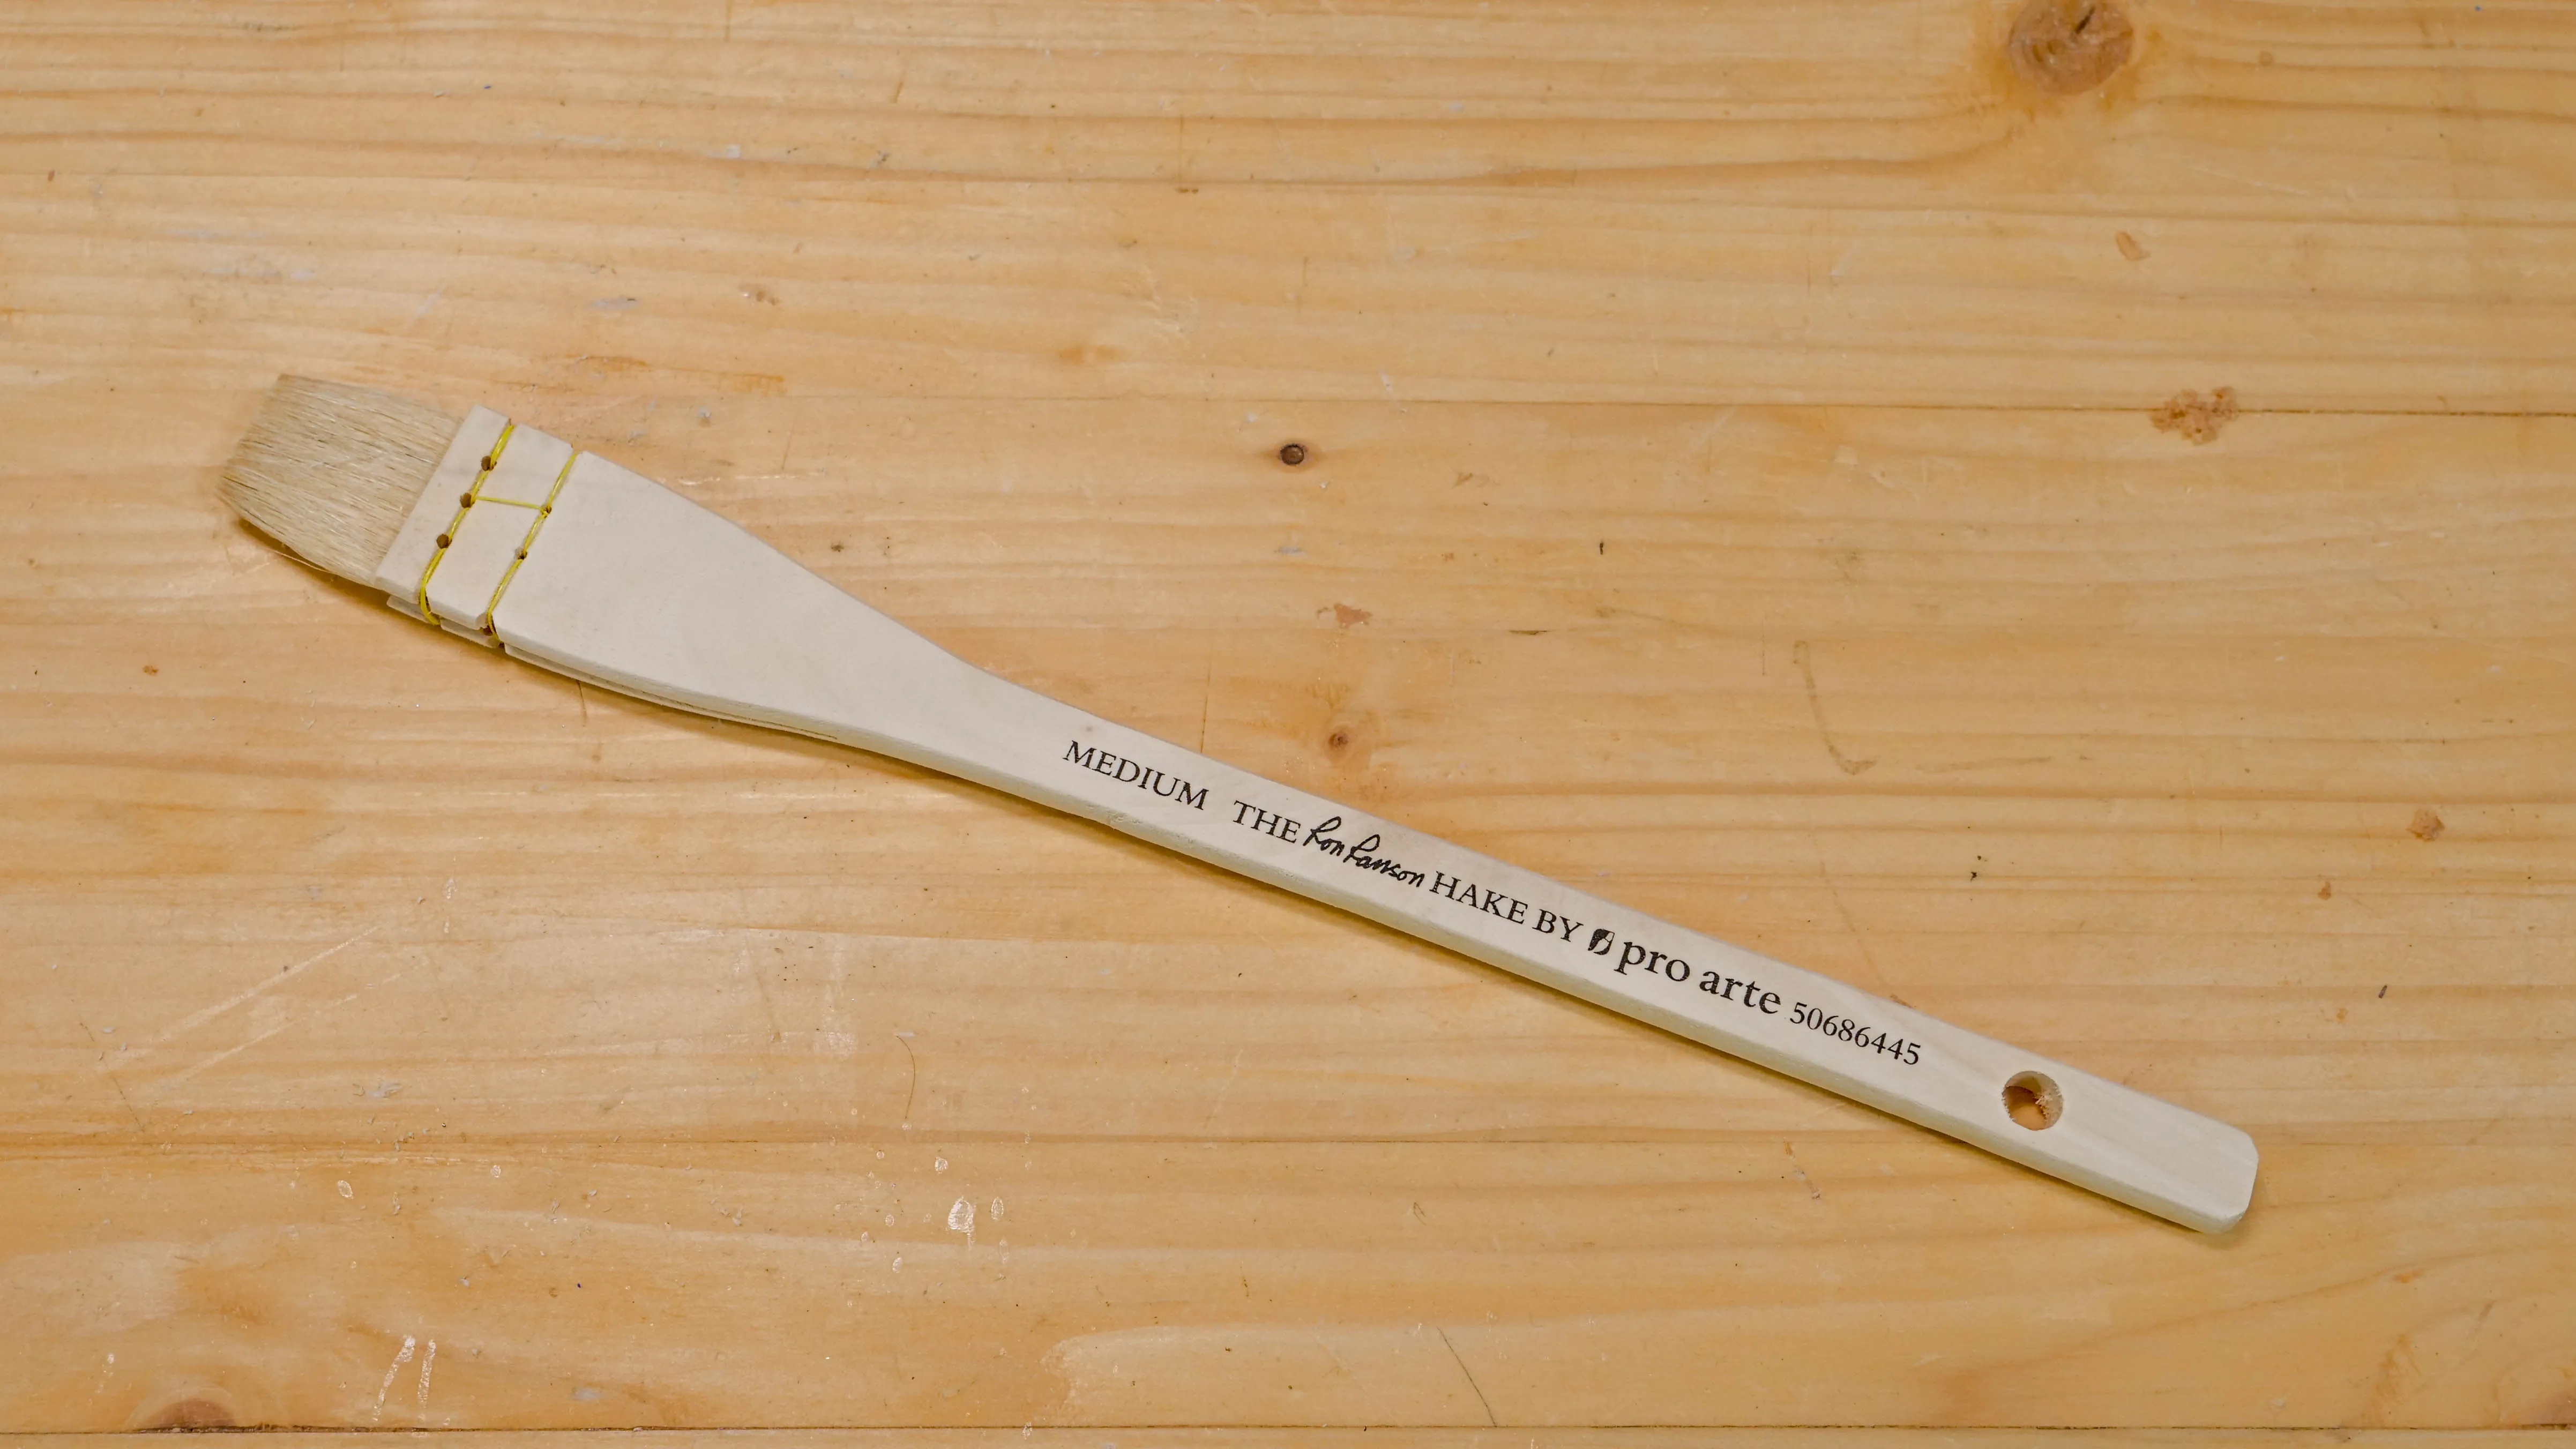
To apply shellac to smaller areas, use a 1” hake brush (goats hair bristles) or a cotton pad. Paul uses the Ron Ranson hake brush. We purchased this 1 1/4” around 2018 which cost £8.96* with £3.95 shipping. In our latest price check* the price was £9.40
For anything with wide, long, flat surfaces over 2-3” wide, Paul uses Corona Suave Superfine Ox-ear Blend Paint Brush 2”. 🇬🇧 We purchased this brush from decoratingdirect.co.uk in October 2021 for £38.56 with £4.45 shipping. In our latest price check* the 2” brush did not seemed to be available.

Ensure you don’t load your brush or rag with too much product. When applying it to the wood, make sure you are using long, continuous strokes in the same orientation. Keep turning the brush over to get an even coverage. Start by applying it to the end grain and corners first, because it soaks into the wood more readily on end grain. Don’t worry about any drips for the first coat, as these can easily be spread out using the brush. It is important to coat the whole of your project, even seldom seen areas such as the underside of tabletops, as shellac reduces the entry of moisture into the wood fibres.
You will rarely need to apply more than 4 coats to any project. The first application will generally raise the wood grain fibres, depending on the wood you are using. Sand down this layer carefully by using worn 240 grit abrasive paper. Ensure you are sanding with the grain, so you don’t see the scratch marks. If you sand against or across the grain you will be able to see them. You can either use shellac as your final finish or go over it with furniture wax if you want to smooth out any texture. Once you have applied your final layer of finish, buff it out with dry fine steel wool (#0000). This will remove minor surface nibbing. You can then dip the steel wool into furniture wax and apply this as the top coat.
Note: Make sure to wash your brush in denatured alcohol after use.
🇬🇧 We purchased this from Amazon at a cost of £13.34* with free delivery in May 2018. In our latest price check* the price was £26.99.
🇺🇸 If you are ordering from the US, we recommend this one from Amazon. Please note Paul has not purchased this, however it seems to fit his recommended criteria.
Glue
Glue not only can be used to mate surfaces together during assembly, it can also fill any minor discrepancies that you may have in your wood/ joint.
When gluing up your project, you can either use clamps, the vise, or even the traditional method of rub-jointing to assemble and hold your project in position. Rub-jointing is when you apply glue to two surfaces and then, instead of fastening the boards in a vise, you simply rub them together. This removes all unwanted excess glue and air which should make the joint stronger. Removing the excess reduces the risk of the assembly ‘floating’ out of alignment when the clamps are used to apply further pressure.
Paul recommends leaving a glued up project overnight to give it enough time to set. By working on it too early, you risk moving the joints.
Different types of glue:
PVA is strong and has a long shelf life. It also dries clear, which is an advantage on your projects. Paul recommends No Nonsense PVA. However, most wood PVAs are the same. Animal hide glue has an amber colour to it, which can show up clearly if you are using a light wood. If you have used too much glue and there is a build up around the joint, use a damp rag to remove the excess. If there is a minor amount of glue around the joint, leave to harden. Then, when it is dry, use a chisel, plane or scraper to remove it. You can also use abrasive paper for this too.
Glue freeze (also known as joint freeze) is when your joints freeze up mid assembly and you cannot get the joint to fully close together, nor can you separate the component pieces. This can happen near the end of the joint and will leave a gap between the shoulders. The combination between the application of water-based glue, which causes the surface fibres to swell, and a tight joint which warms up with the friction can result in glue freeze. To overcome this, you can use clamps and the vise, combined with strikes from the hammer. This should ease up the joint and allow you to take it apart. This is why Paul suggests a dry run first, to ensure all the parts fit before committing to a more permanent fixture.
*Prices checked March 2024
Further Reading
To read more on this we recommend the following from Paul’s blog:
Making and Using ShellacHow to Apply Shellac as a Practical Wood Finish
Rounding Up on ShellacShellac Video is on YouTube
Restoring a Shellac FinishFinishing with Shellac