Fitting The Handle
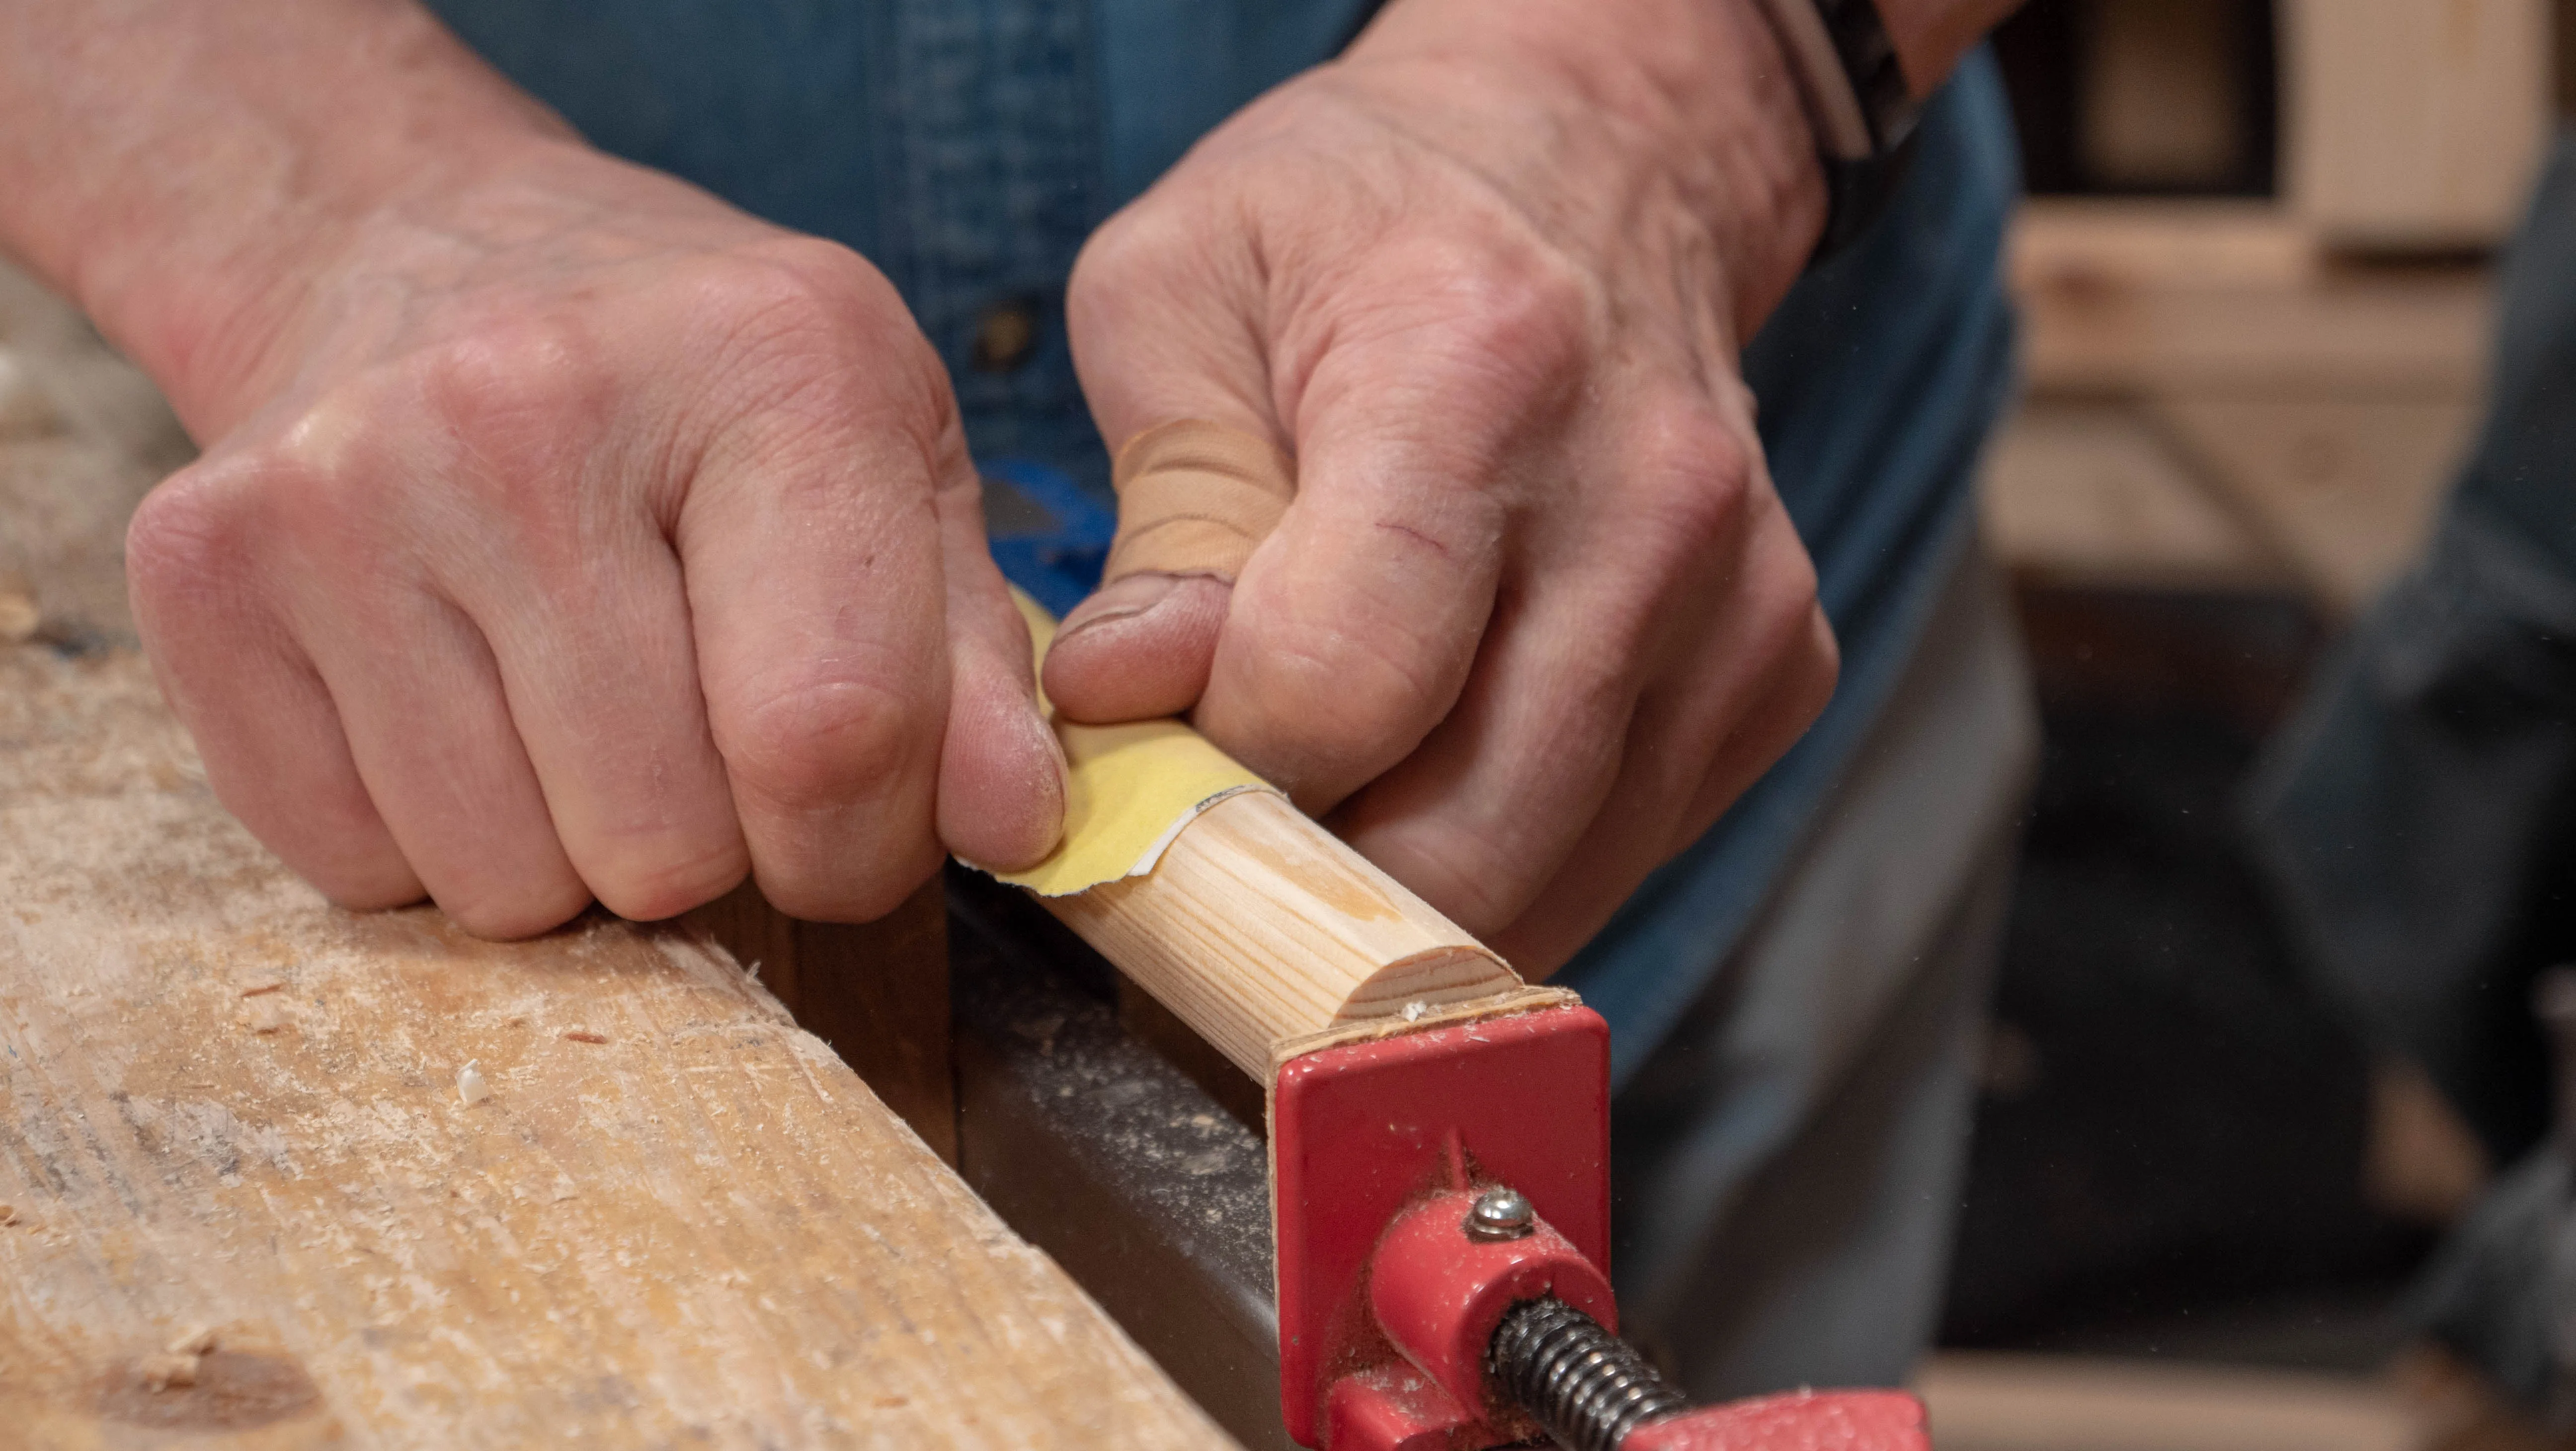
With your project assembled, apply some clamps to help seat the joints. Make sure your dowel (which could be a length of broom handle) is cut to length and then take off the hard edges at each end with a flat file before trying it in the hole.
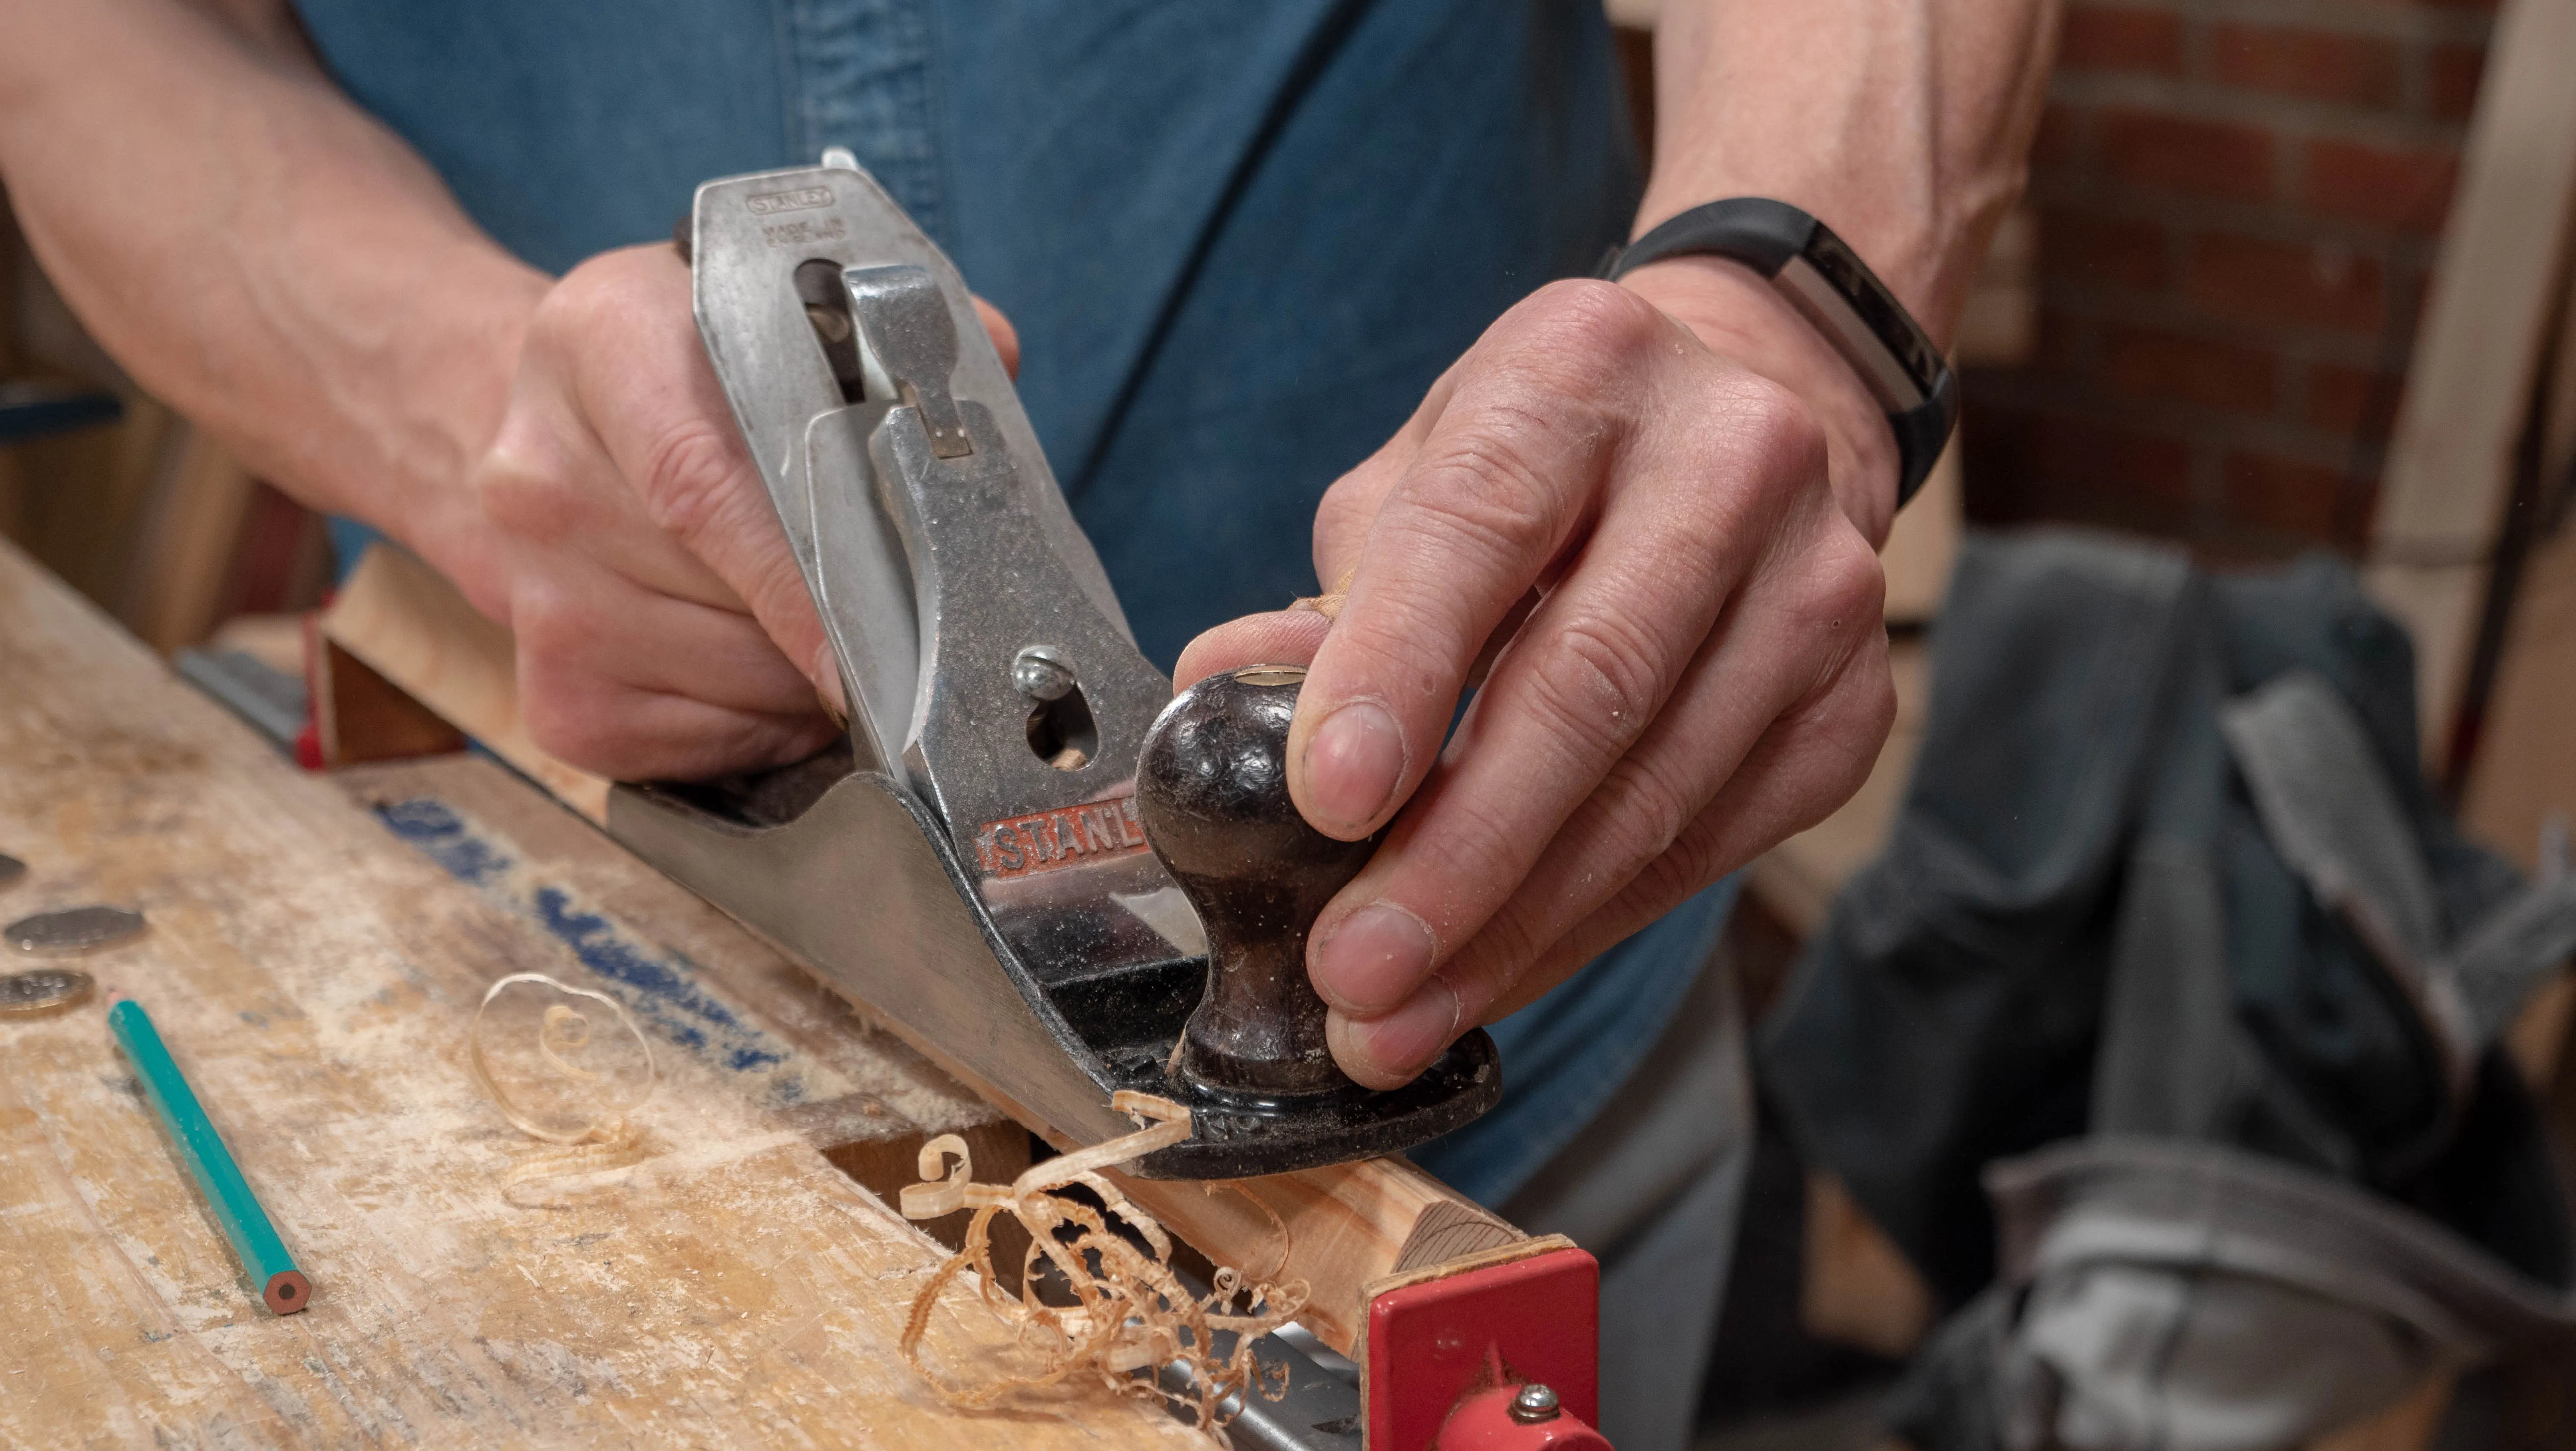
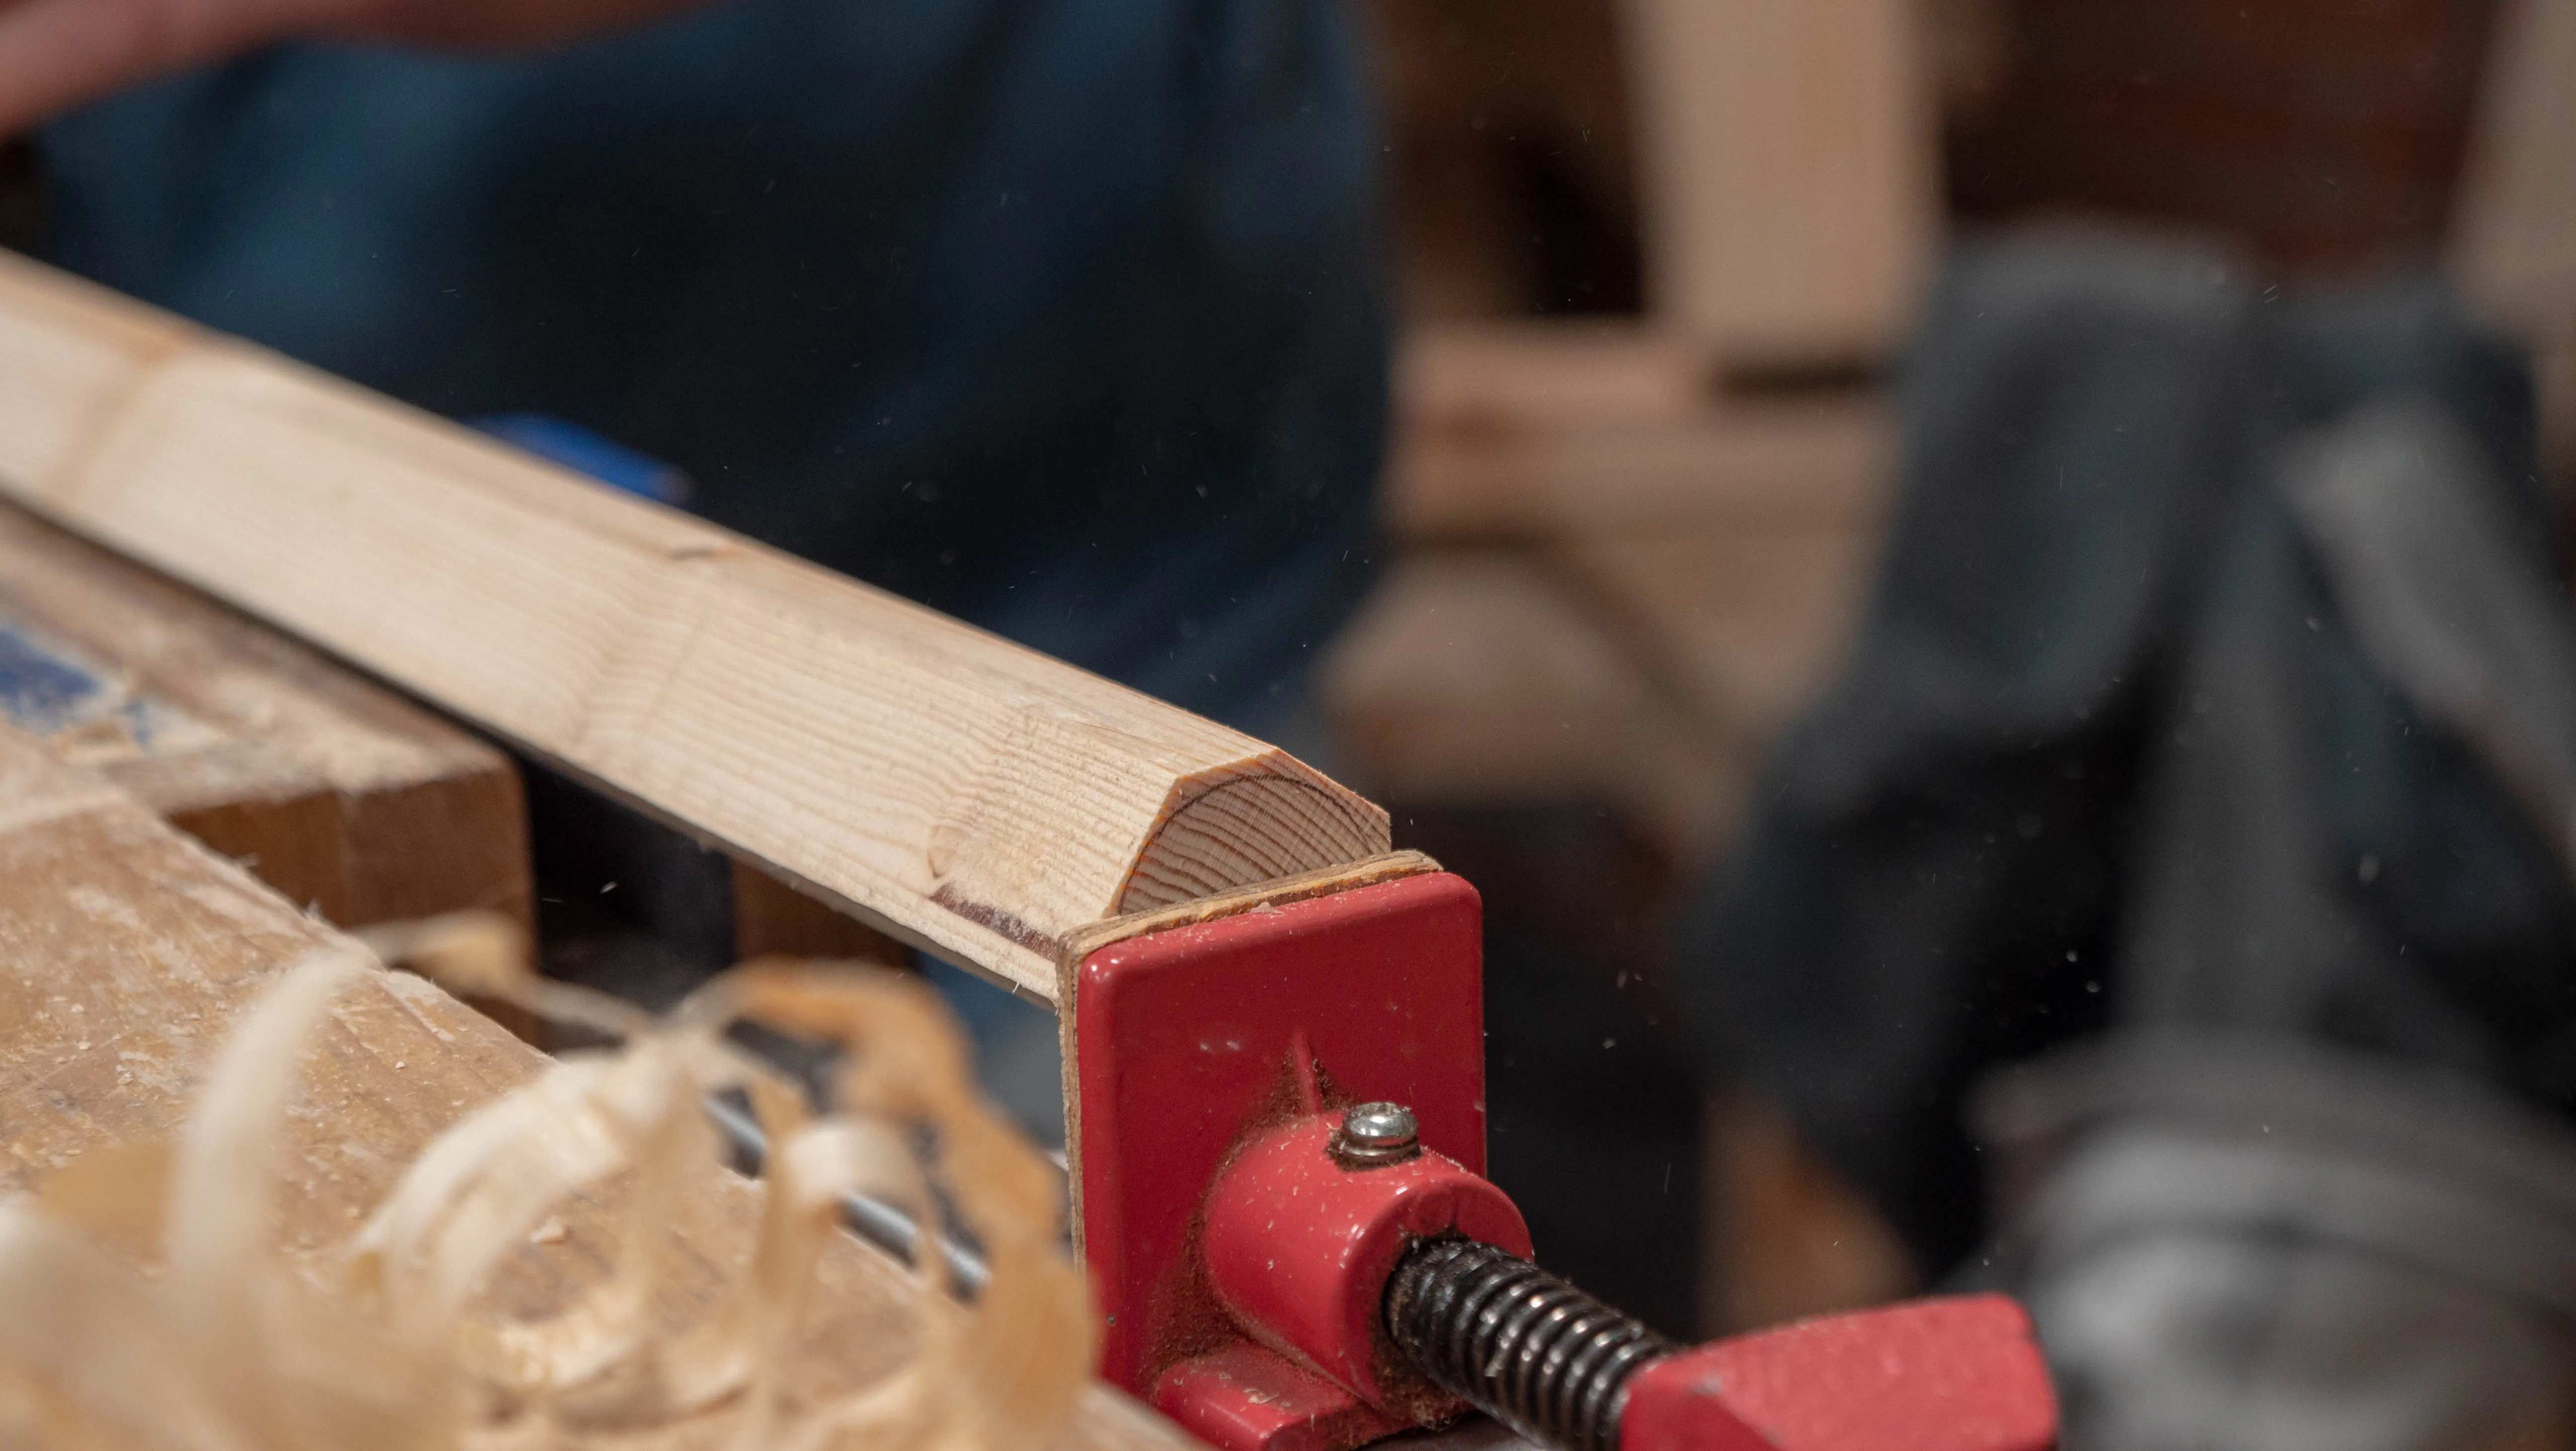
If you do not have a round rod, you can make your own quite simply from 1” (25mm) square stock. For a detailed guide on how to make one, click here.
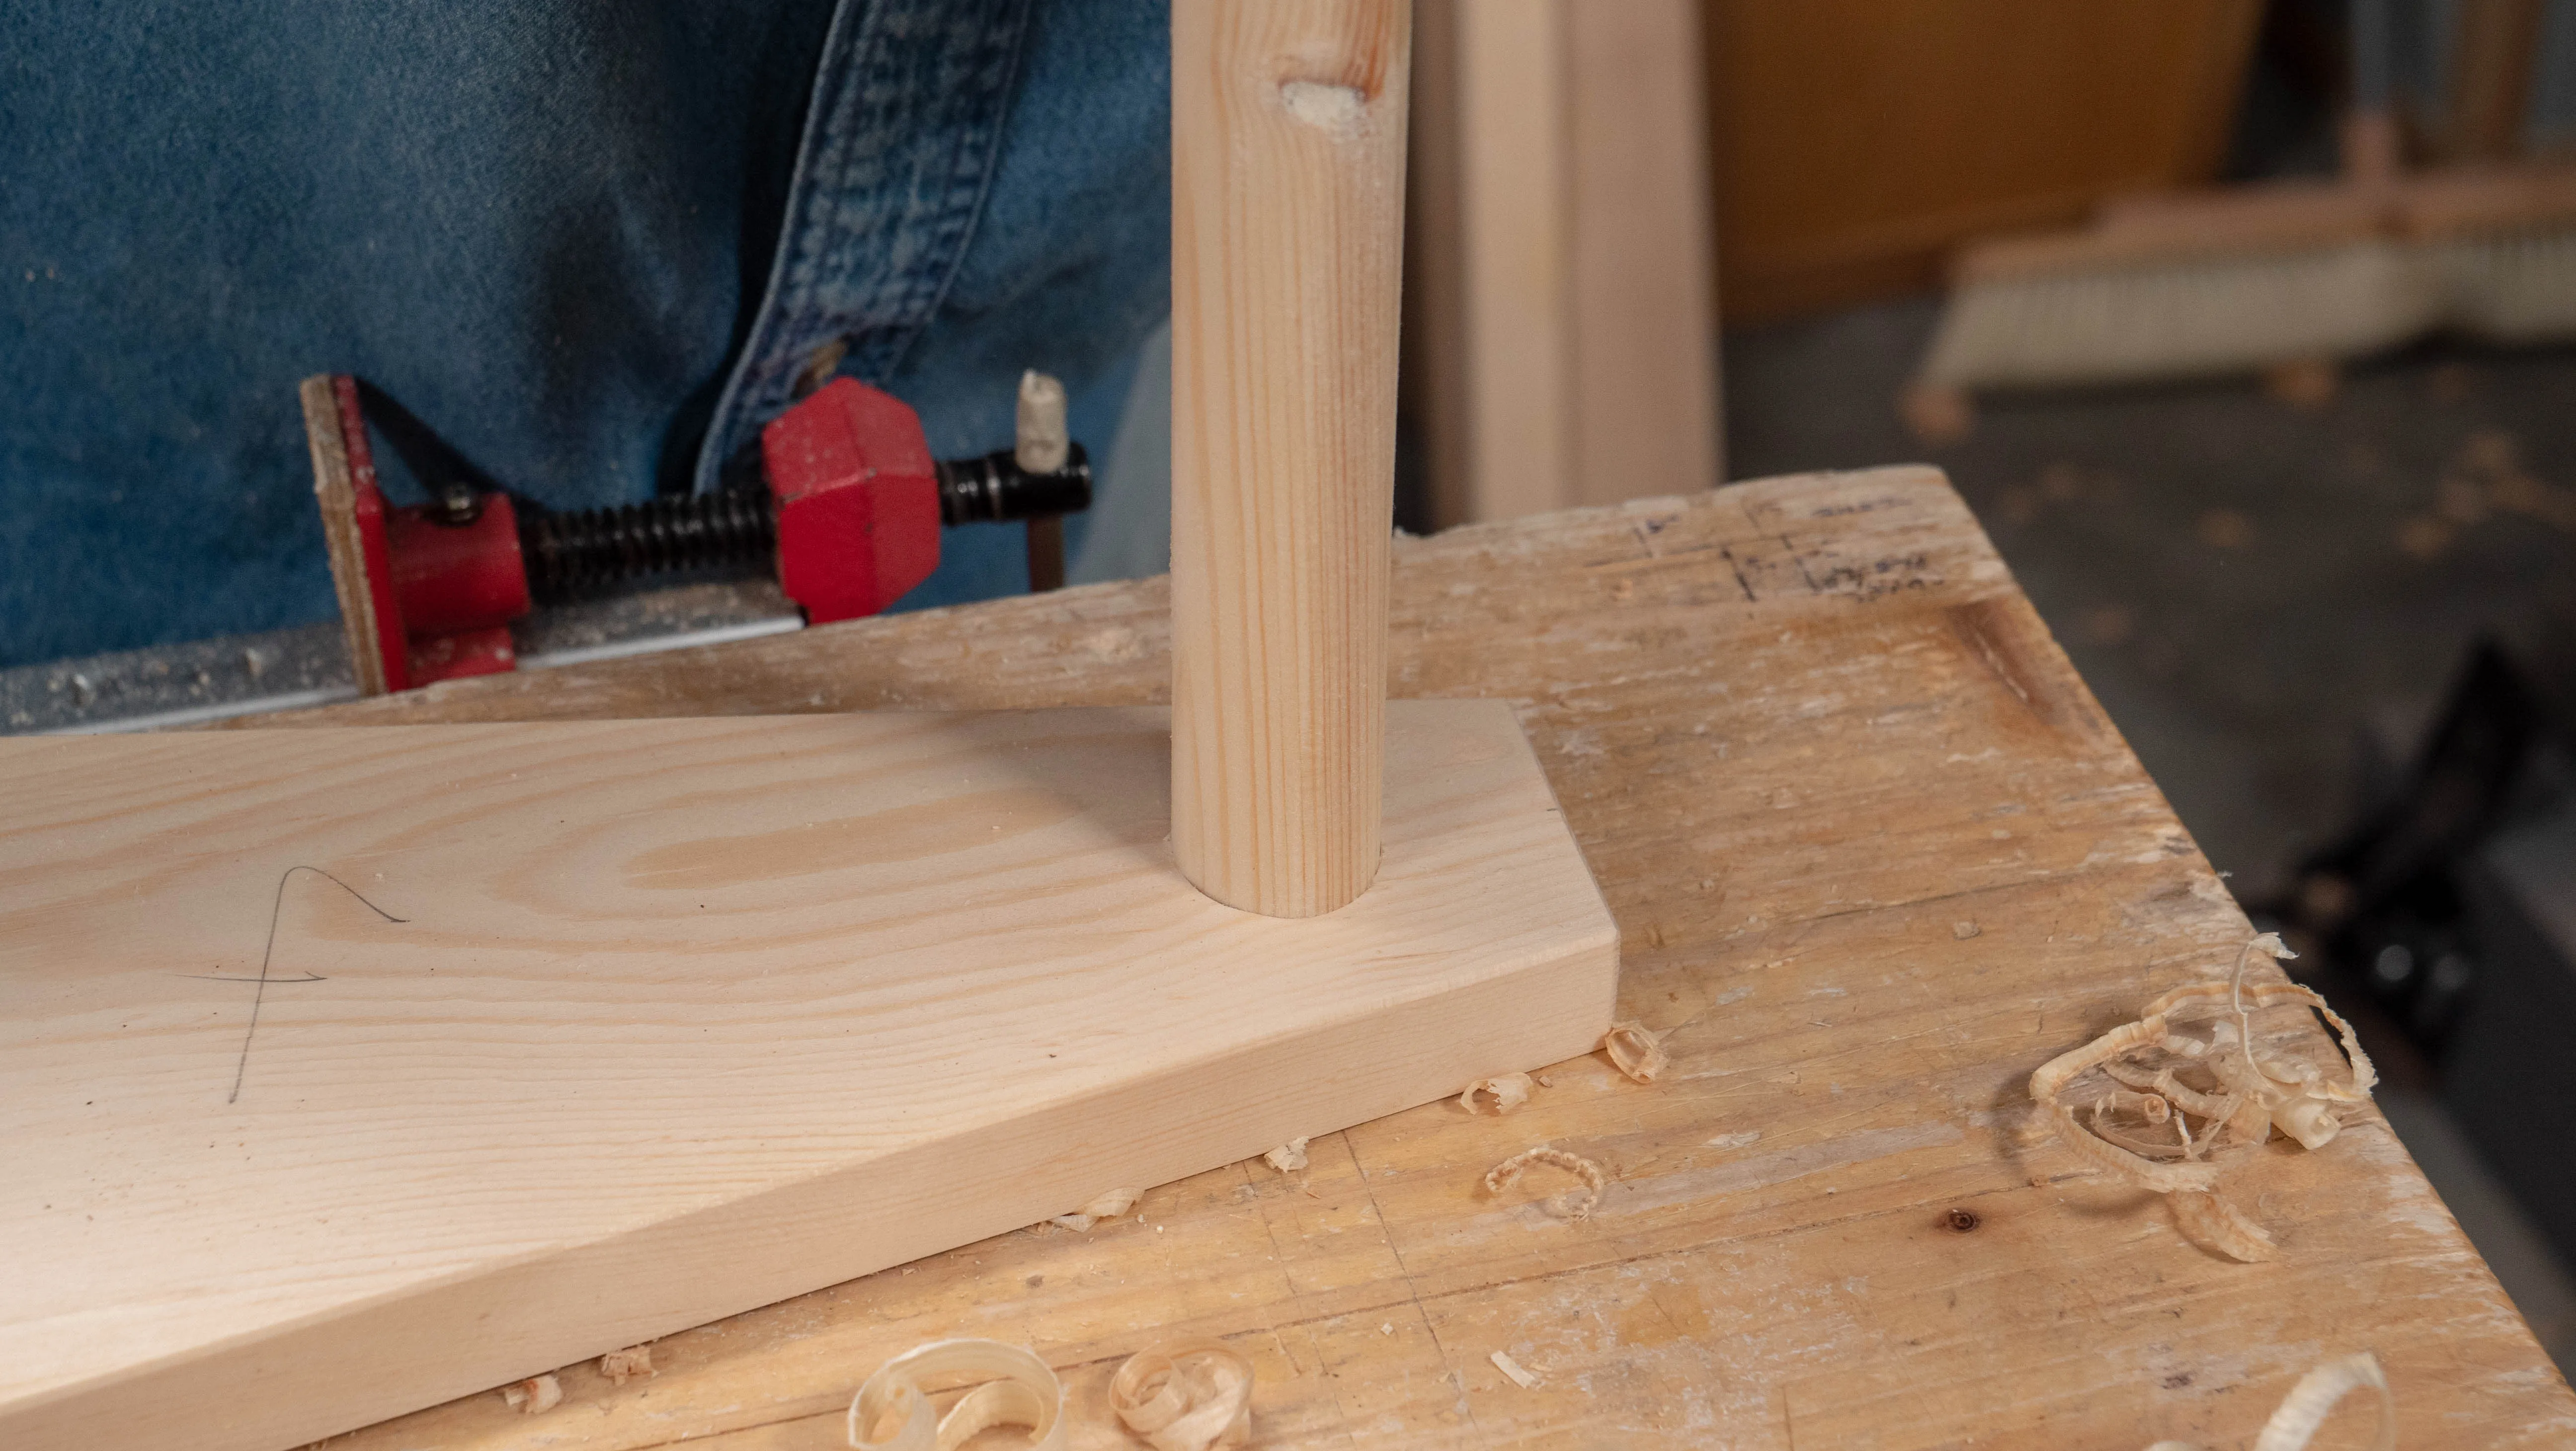
Put the rod into position in the tote and check that it protrudes by the same amount on either end. Make a small mark on the top of the rod right where it meets the inside faces of the end pieces. This will determine where you drill your holes.
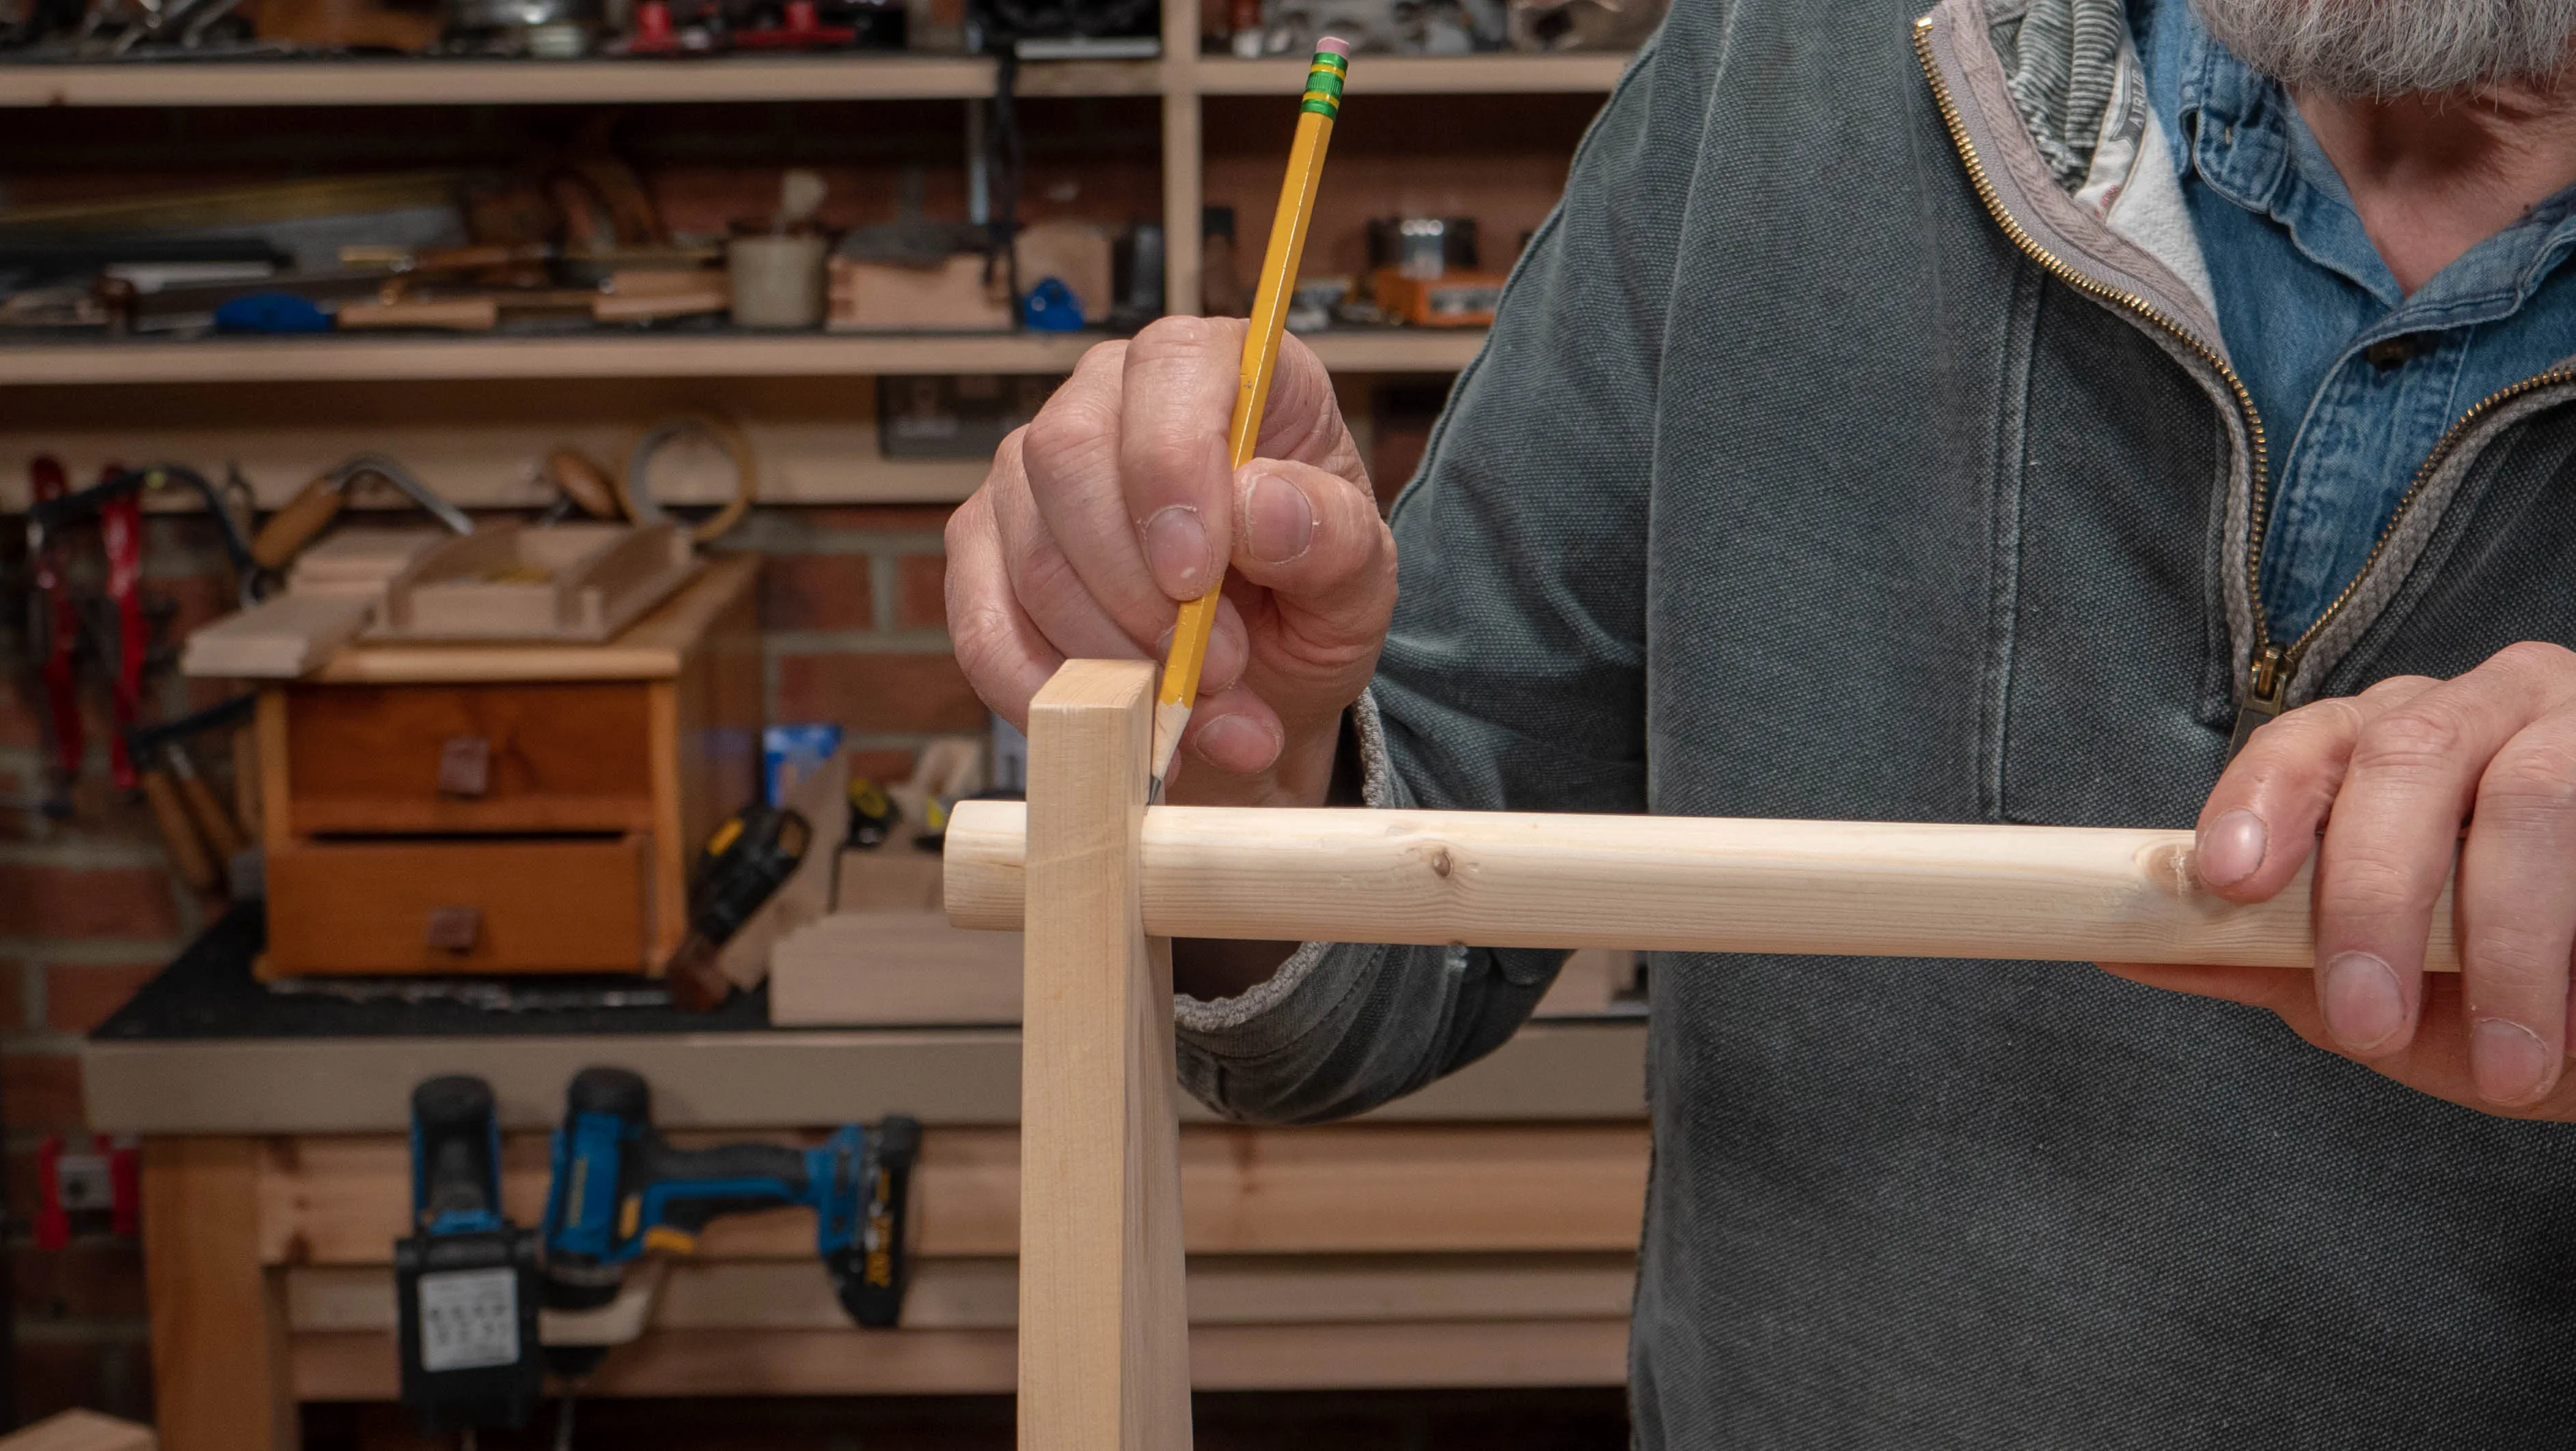
Next, check that both your marks on either end of the dowel line up. Secure the dowel in the vise and drill the 1/4” (6mm) holes. Give the drill some time to cut instead of applying too much pressure, as this would result in it bursting out the other side and creating nasty tearout.

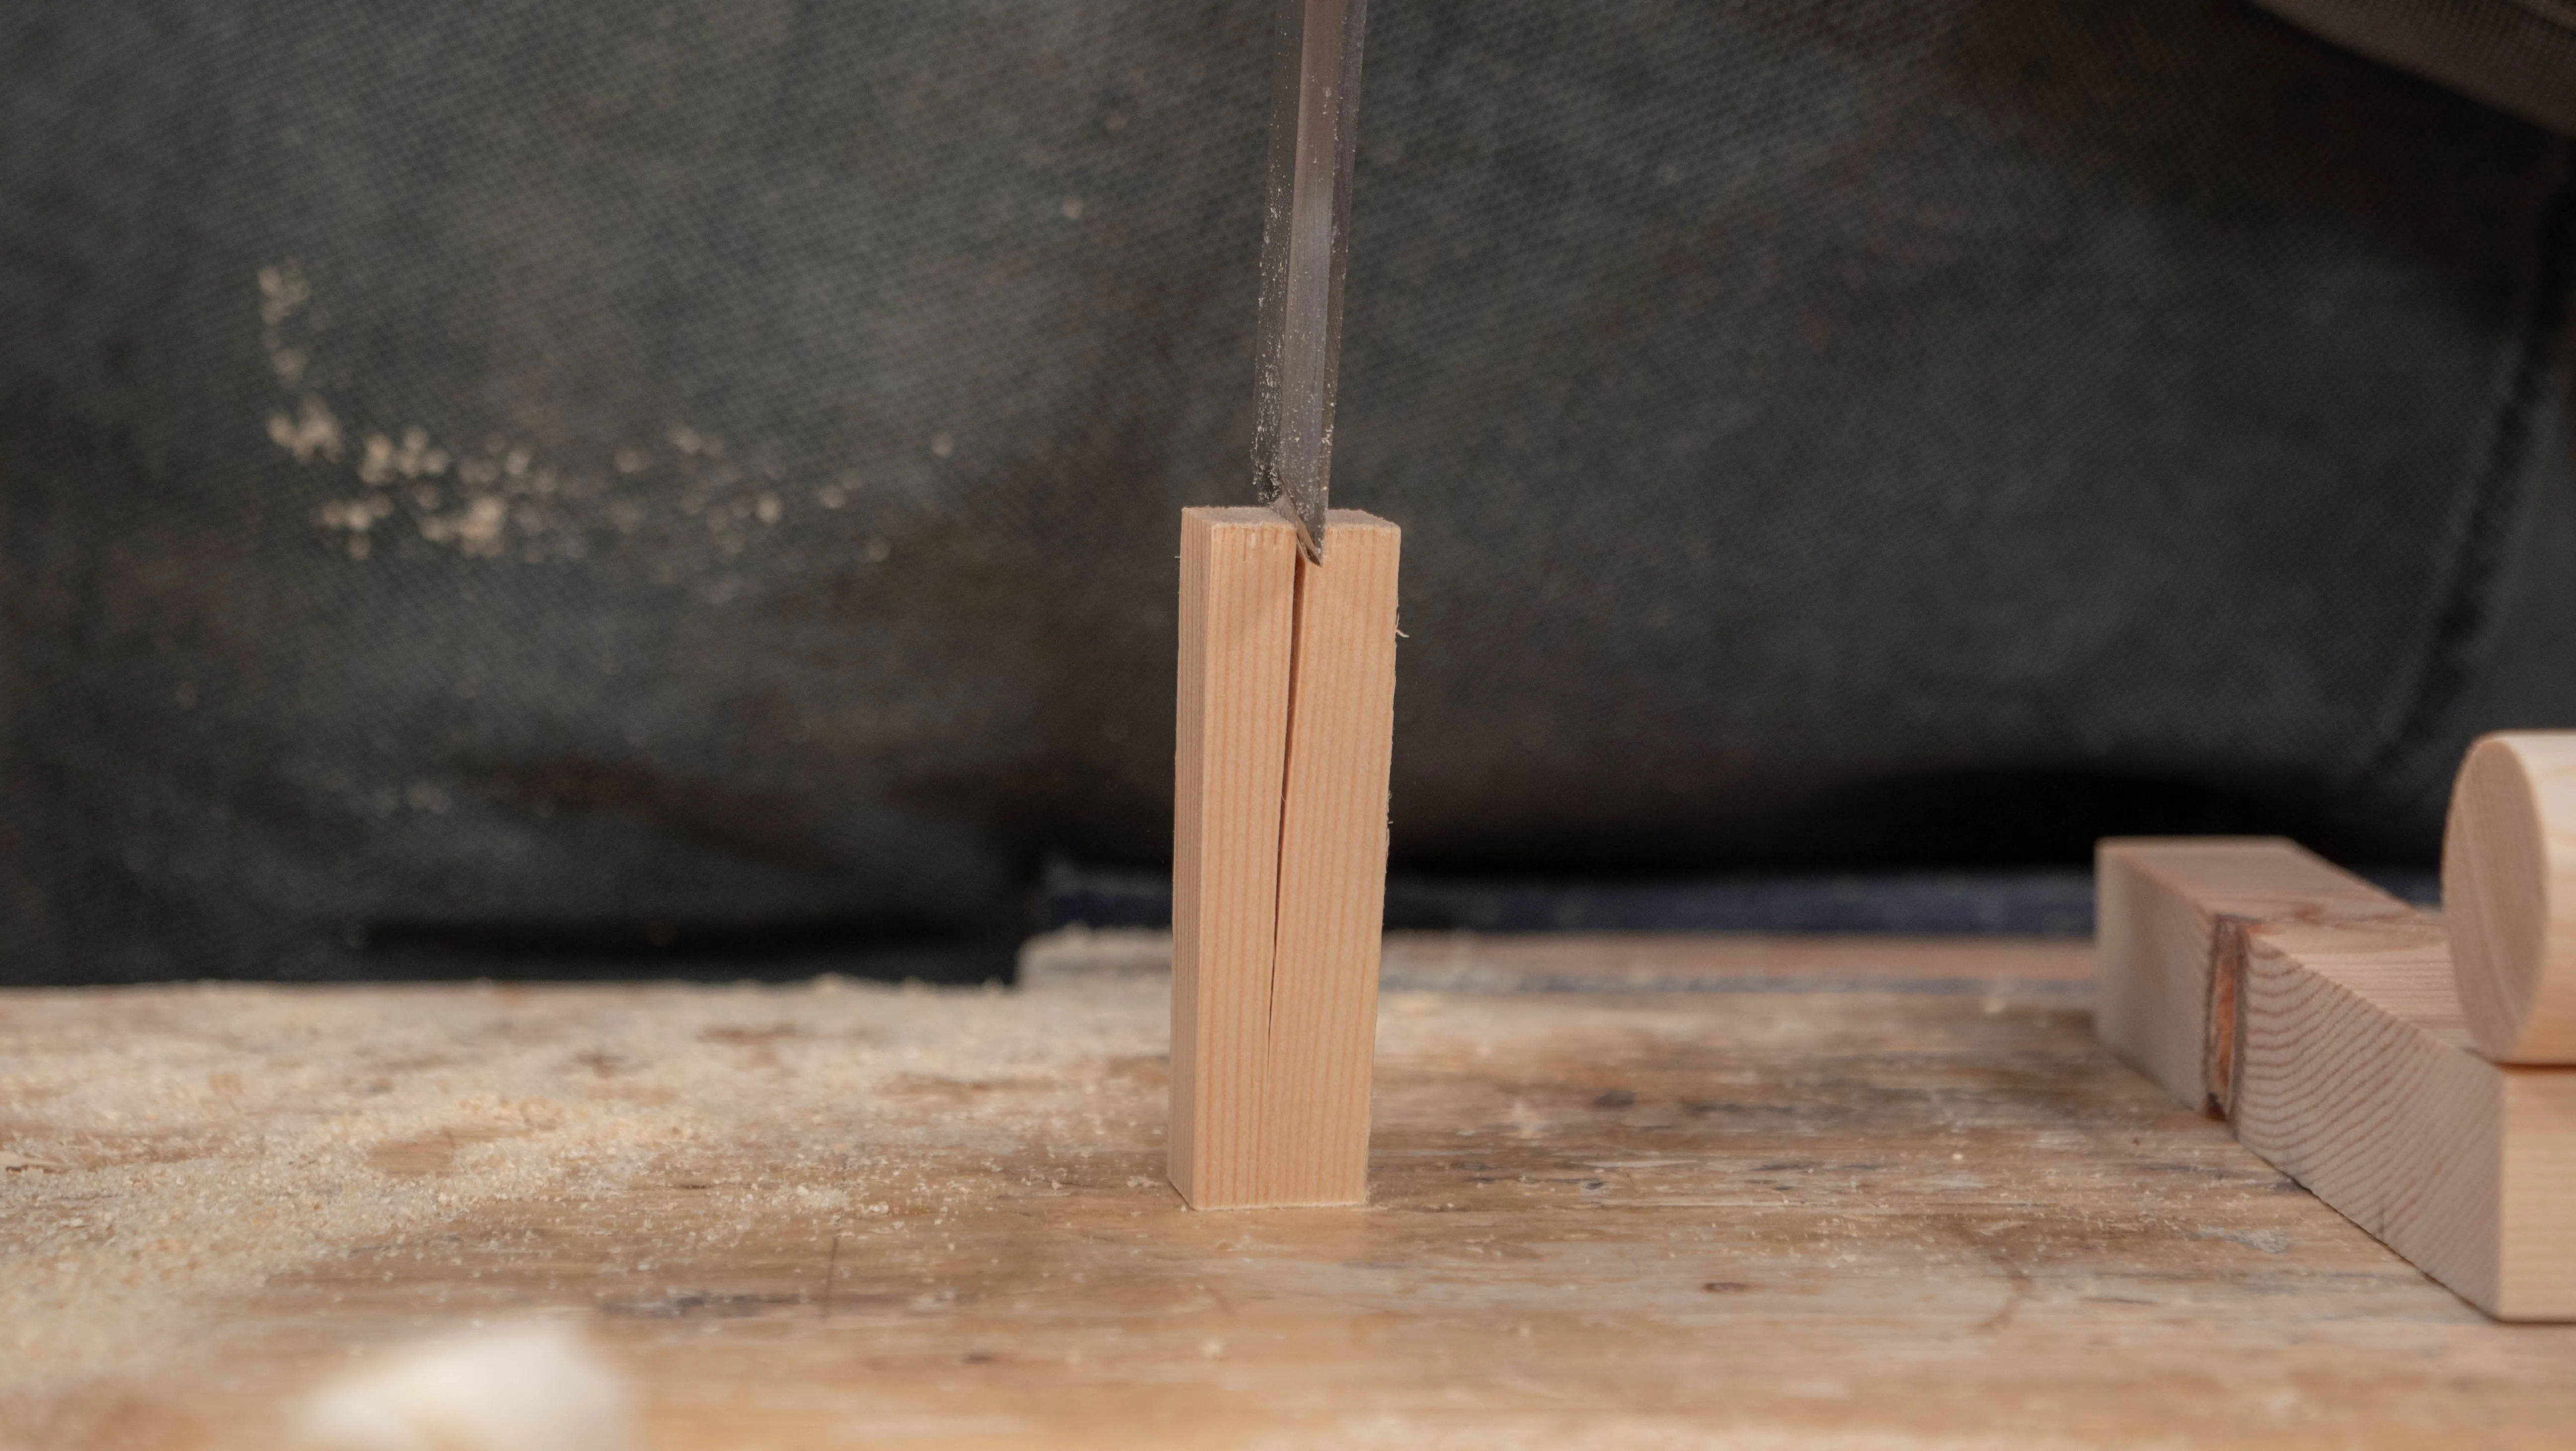
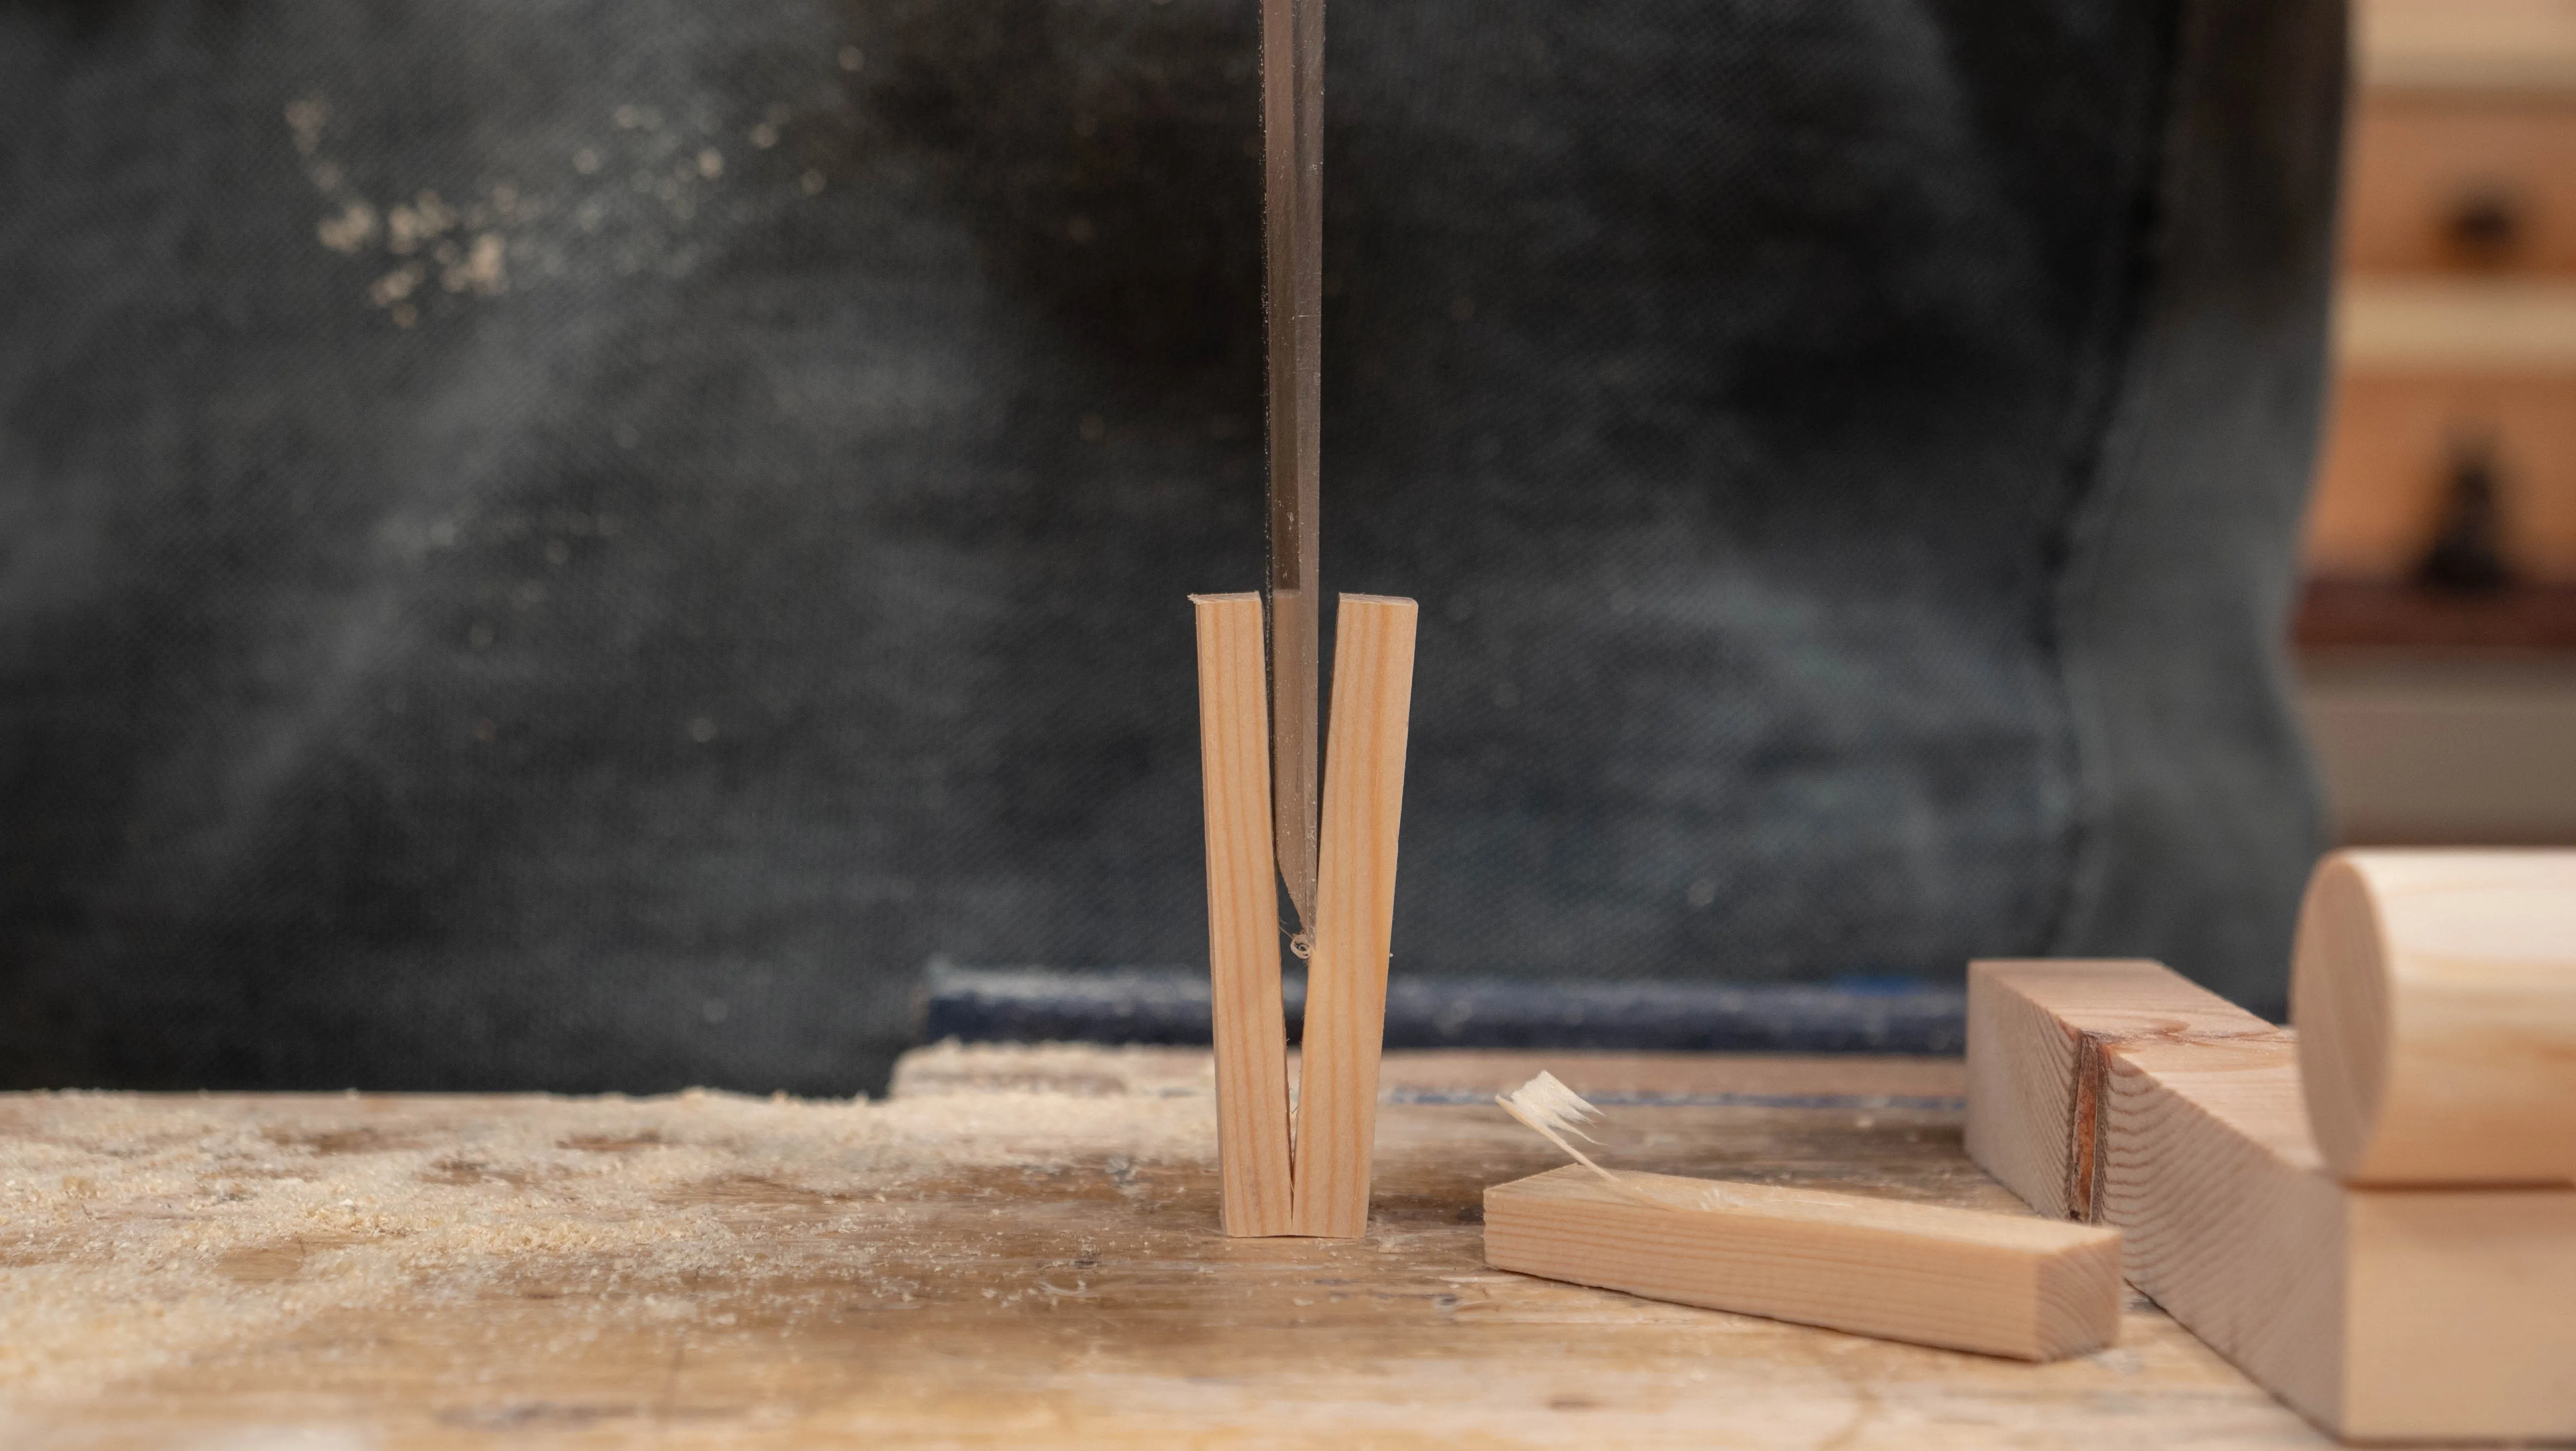
Split some scrap wood to make 2 pegs to hold the handle in place. Make sure you get them quite close to the diameter of the hole to begin with so that you don’t have to take off too much.
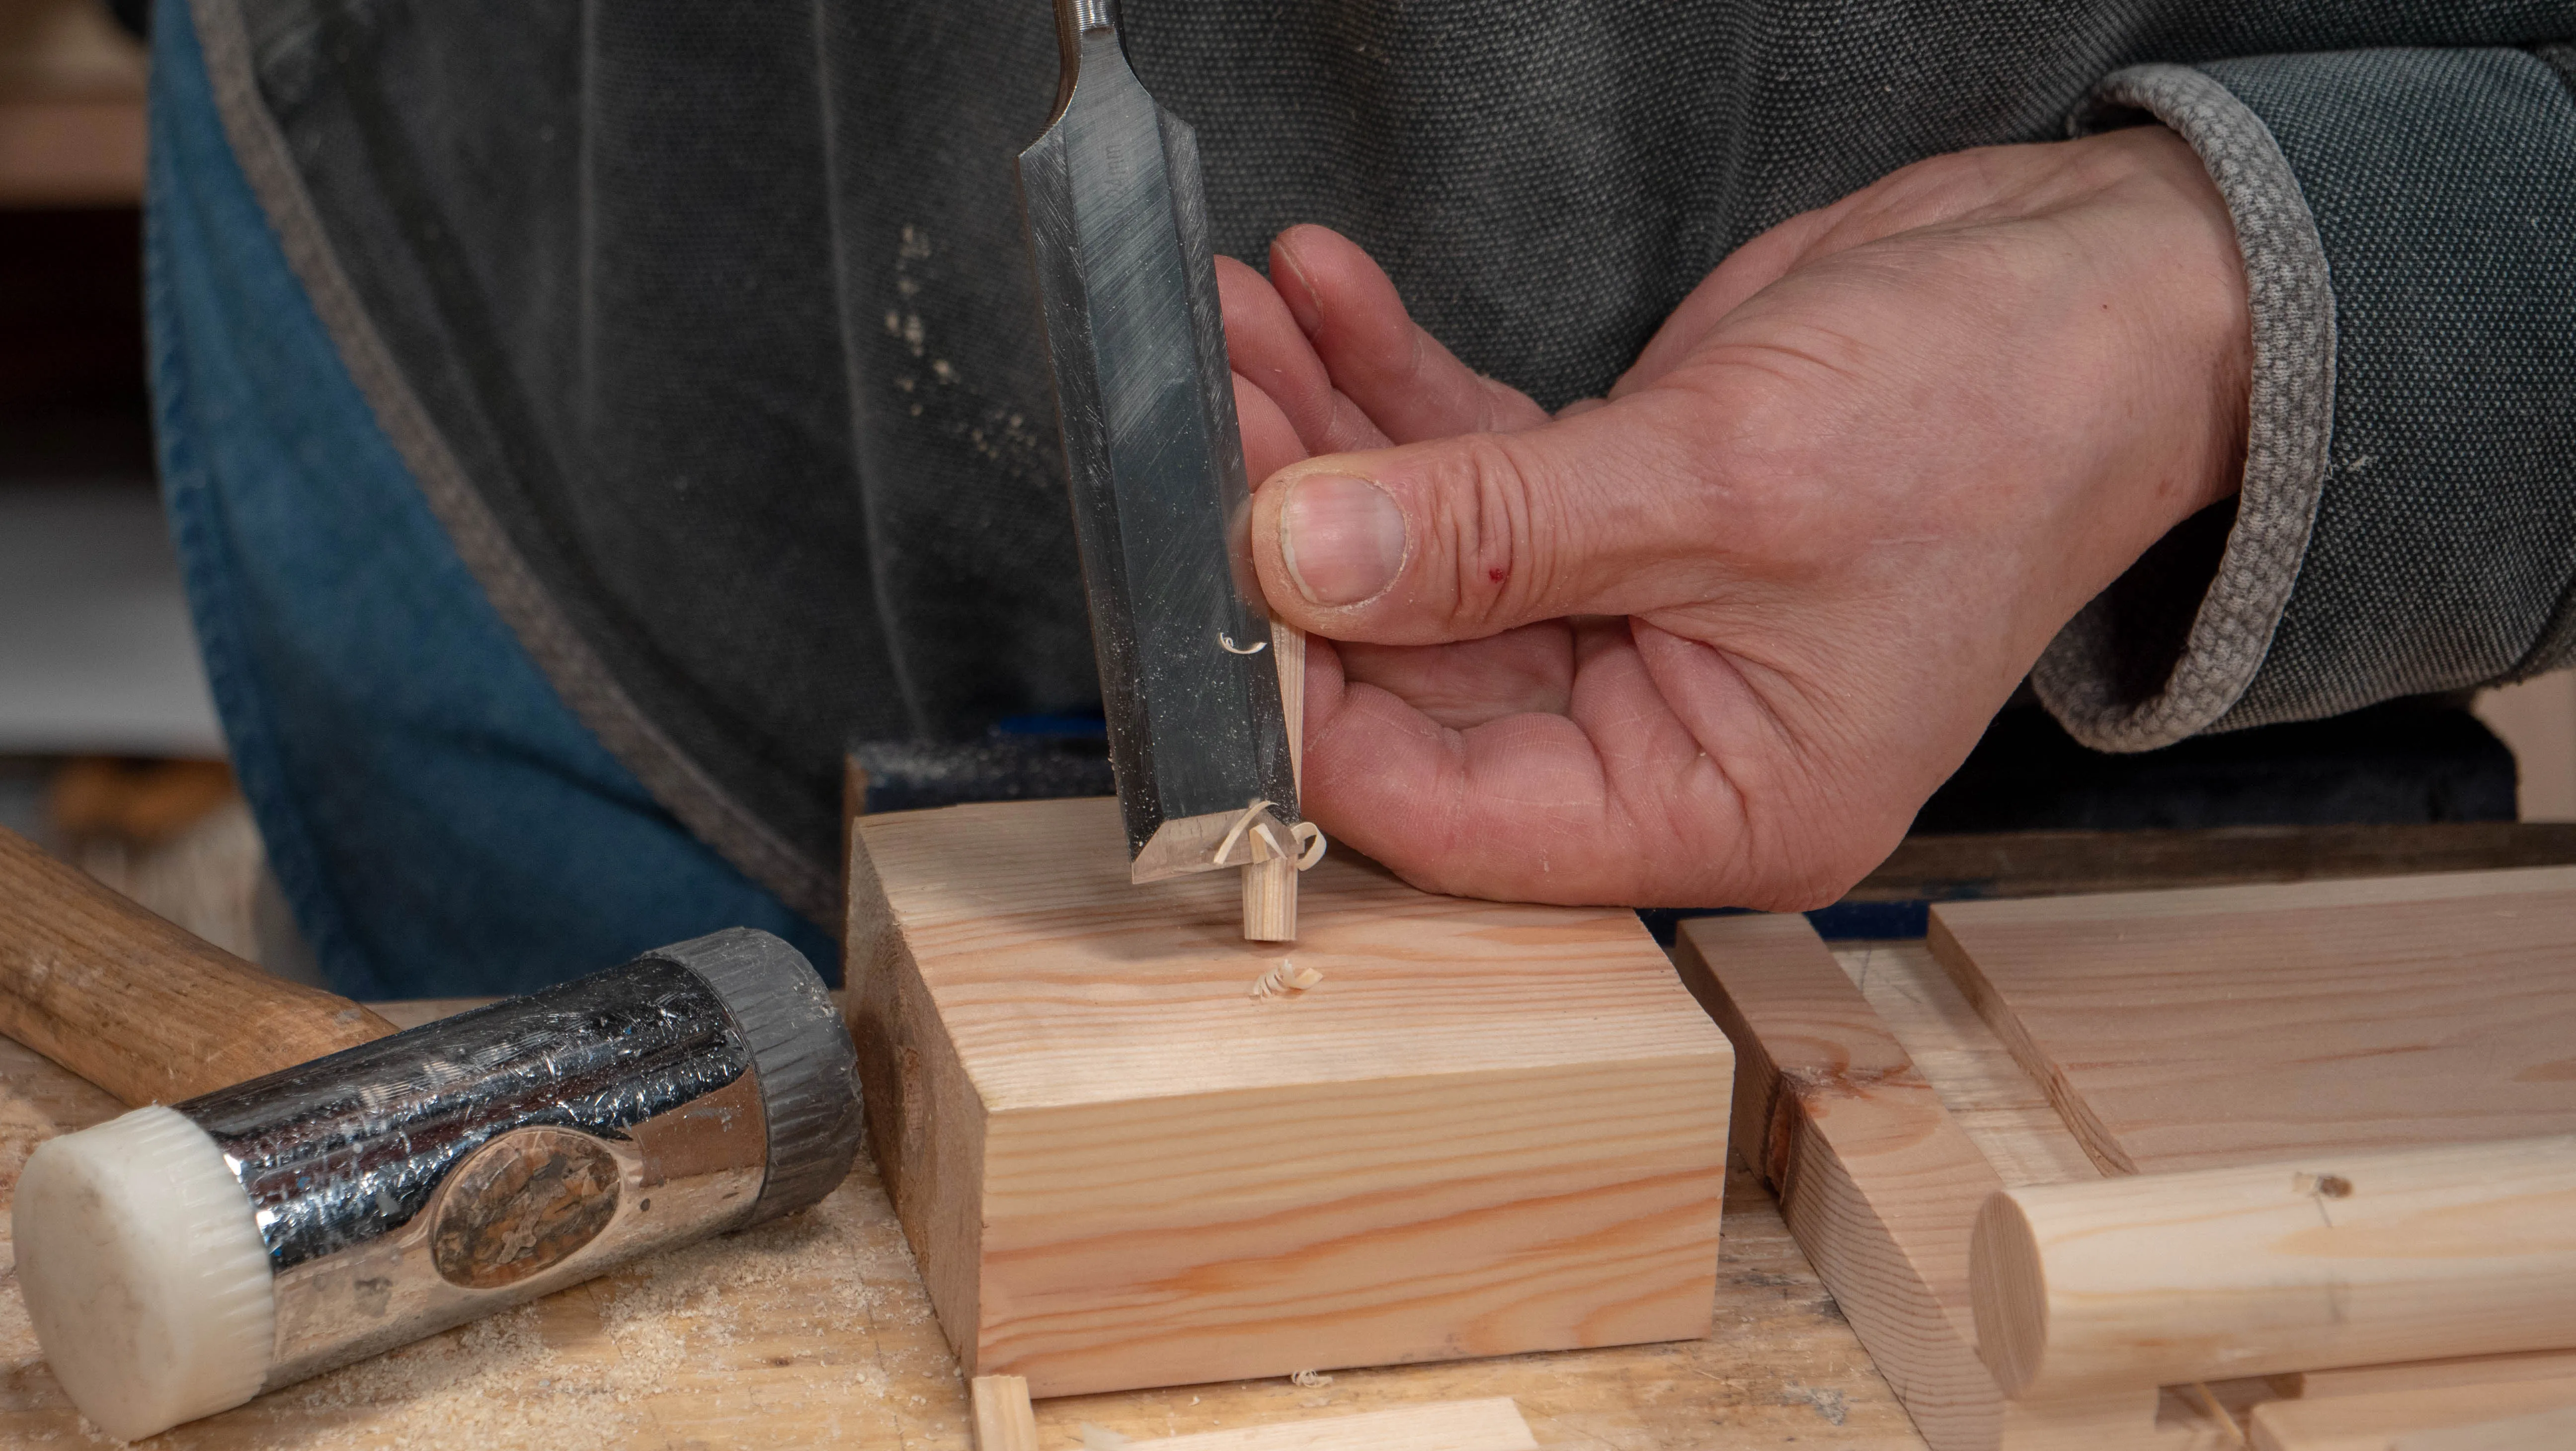
Use a scrap piece of wood to protect your bench when paring the peg. Begin by taking the four corners off with a wide chisel and form a taper so that the end will start in the hole. By applying some pressure and twisting the peg in the hole, you will compress the fibres and create bruising (shiny marks) which will be very clearly seen when you take the peg out of the hole. This will serve as a reference to work to as you shape the rest of the peg. Remember, any part that did not get bruised is smaller than the hole already, so don’t take any more from those areas.
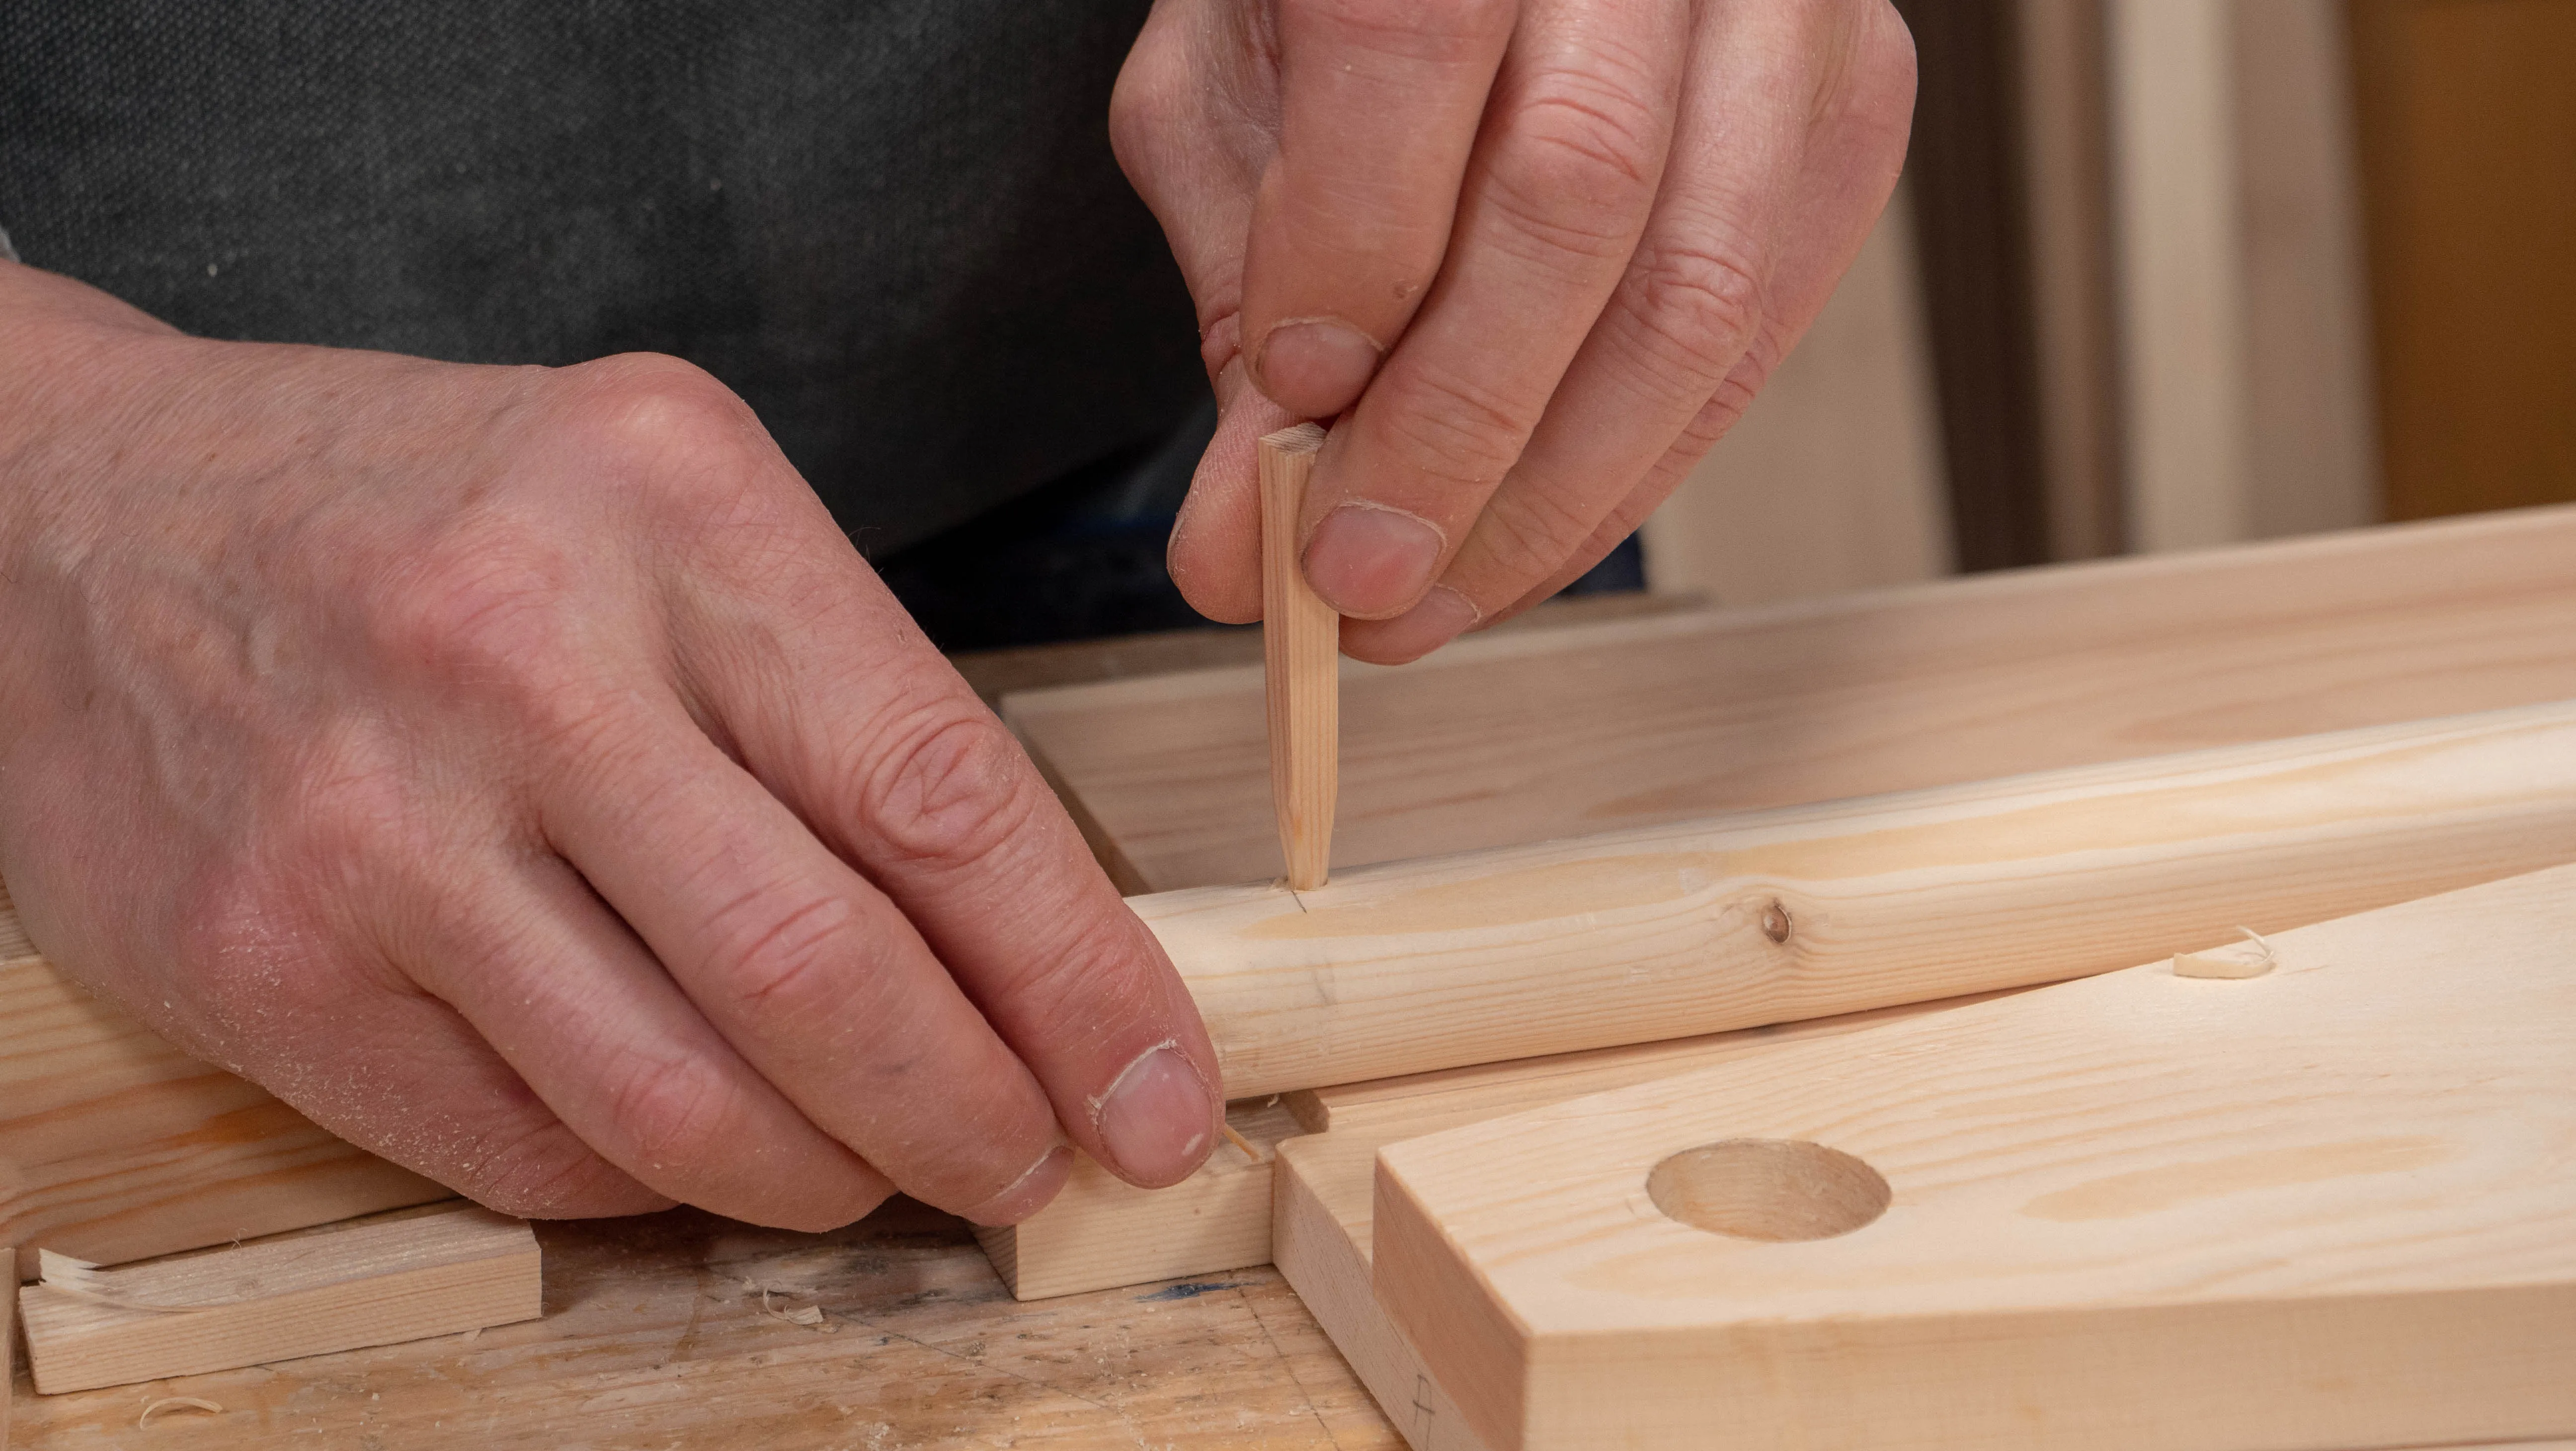
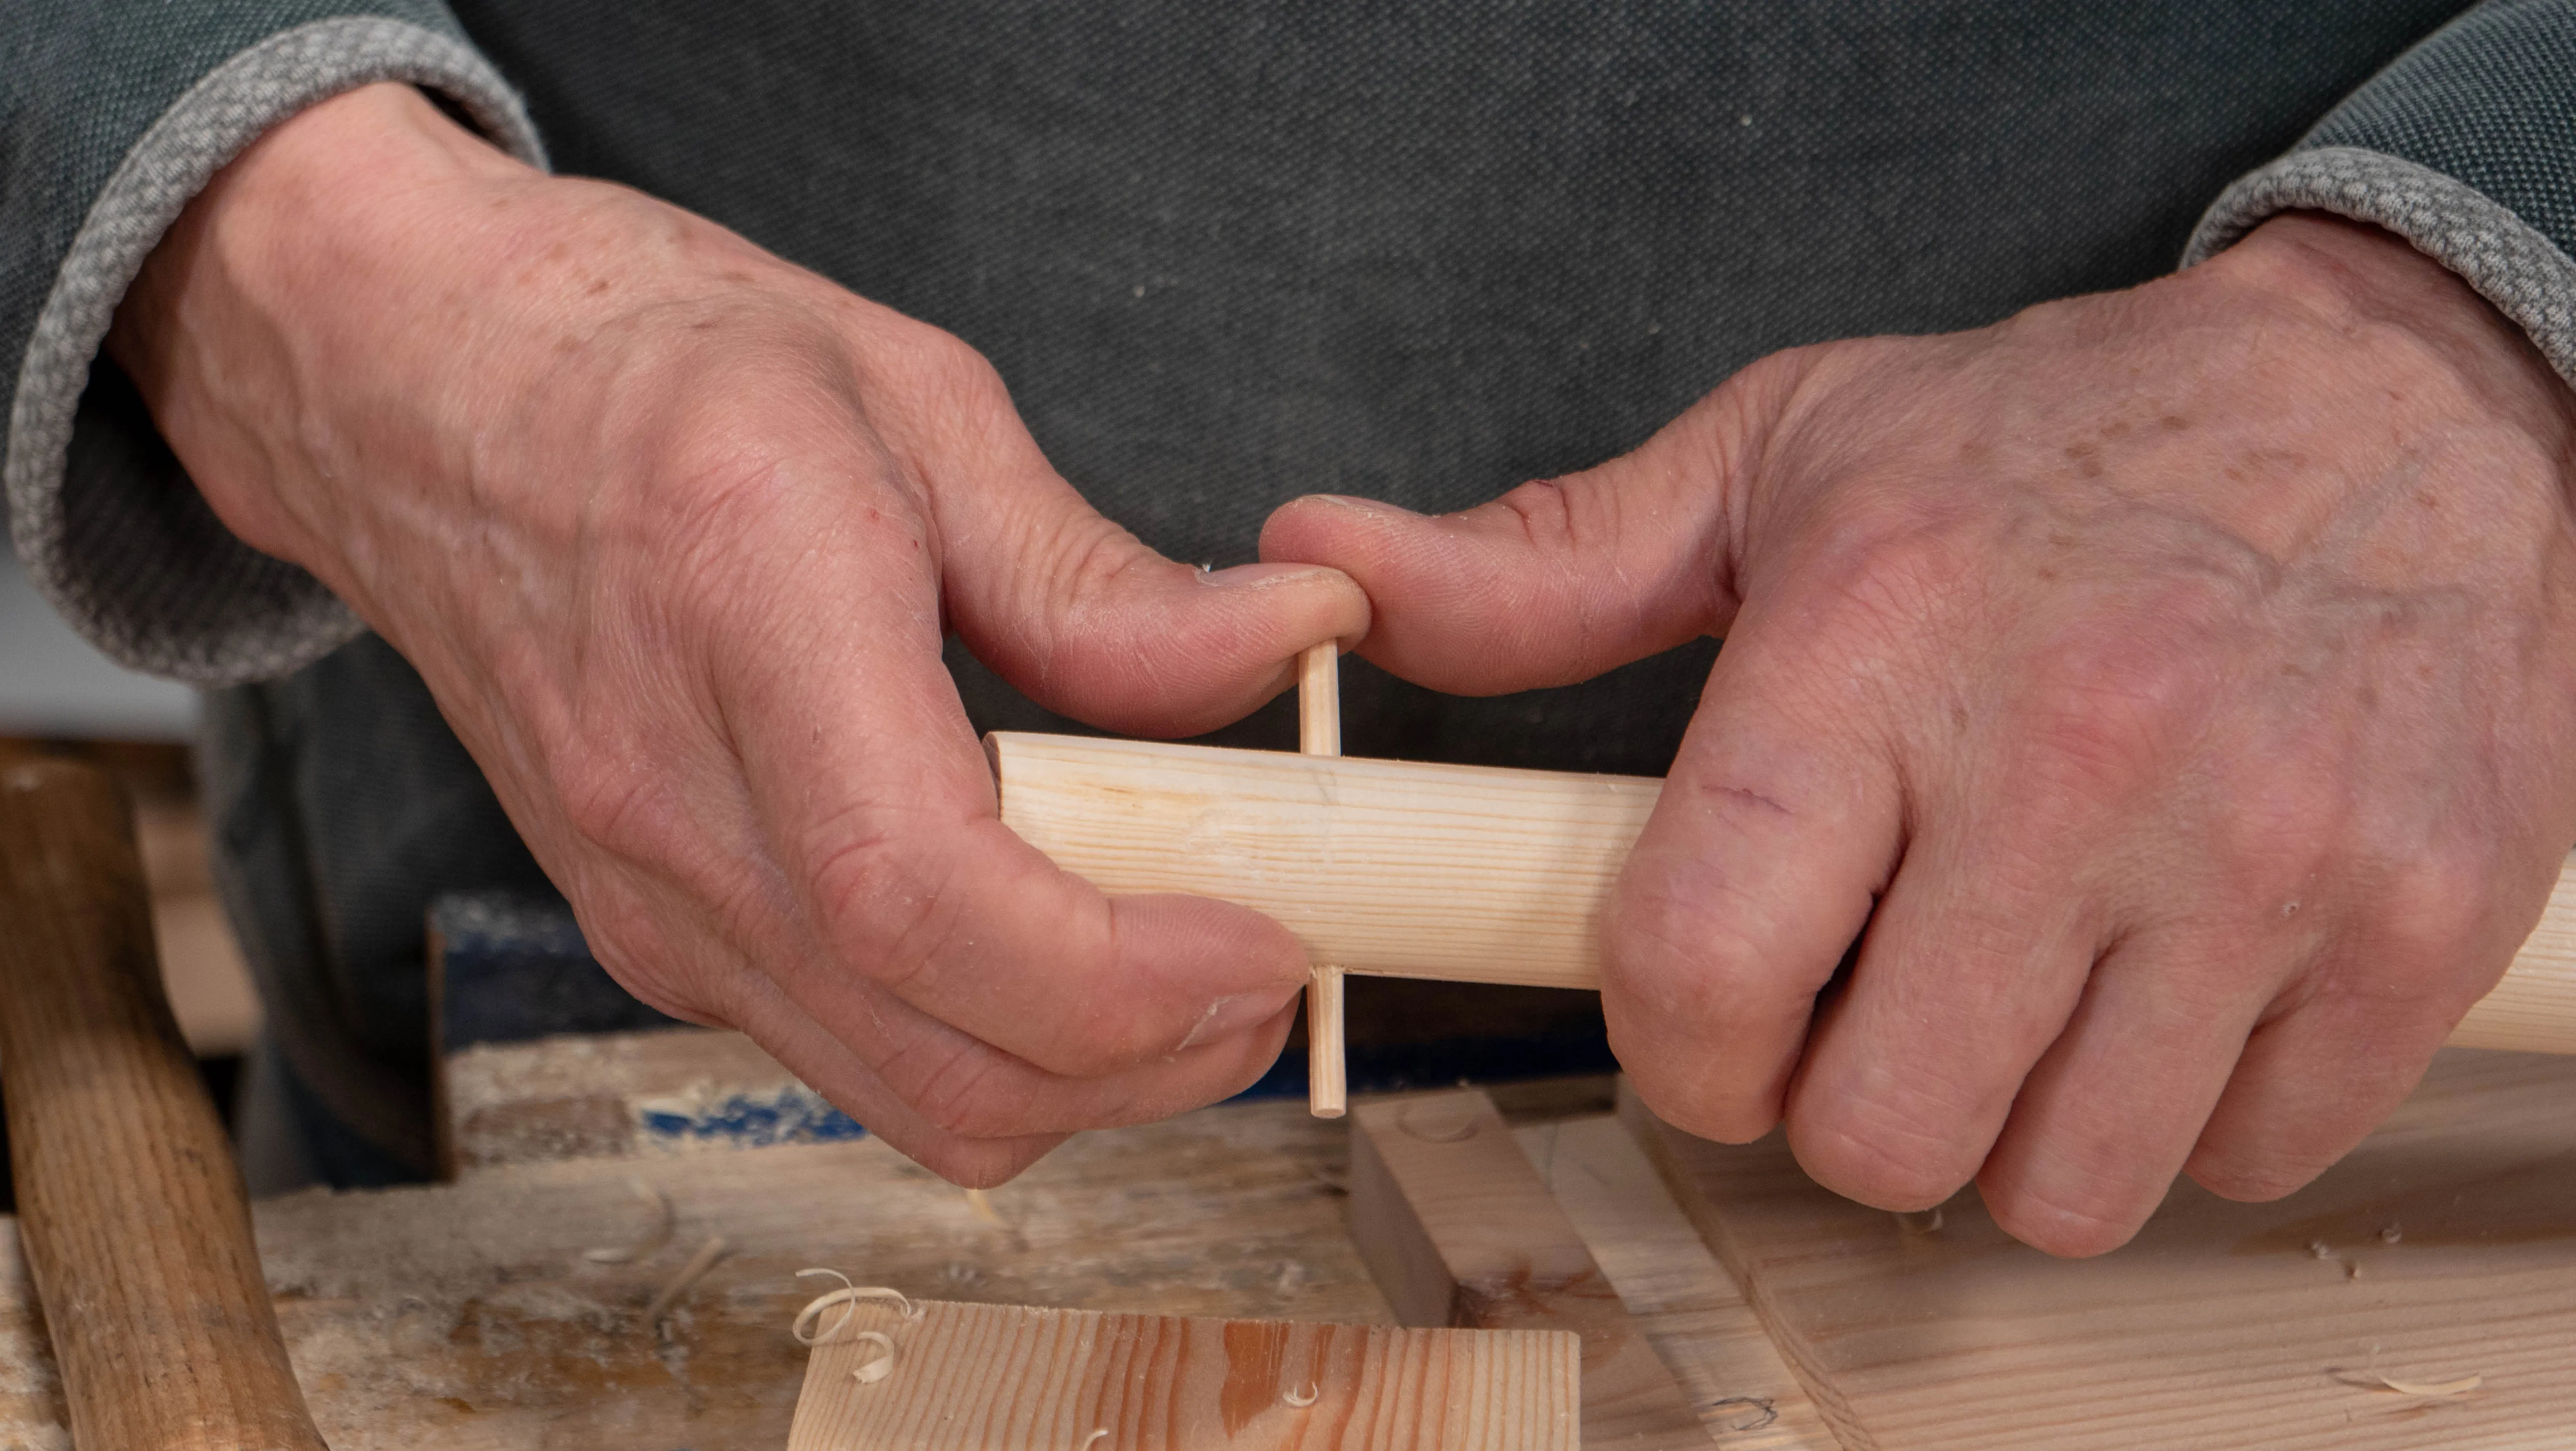
Keep taking off material using a chisel until you have a tight fit.
Sign in to track your progress