Fitting The Base
You must now accurately size the base for a good fit. This includes cross-cutting to length and rip-cutting to width. Start with the length, so that it will fit well between the housings on the end pieces, without being so long that it would push the ends apart, which would stop the side pieces coming together.
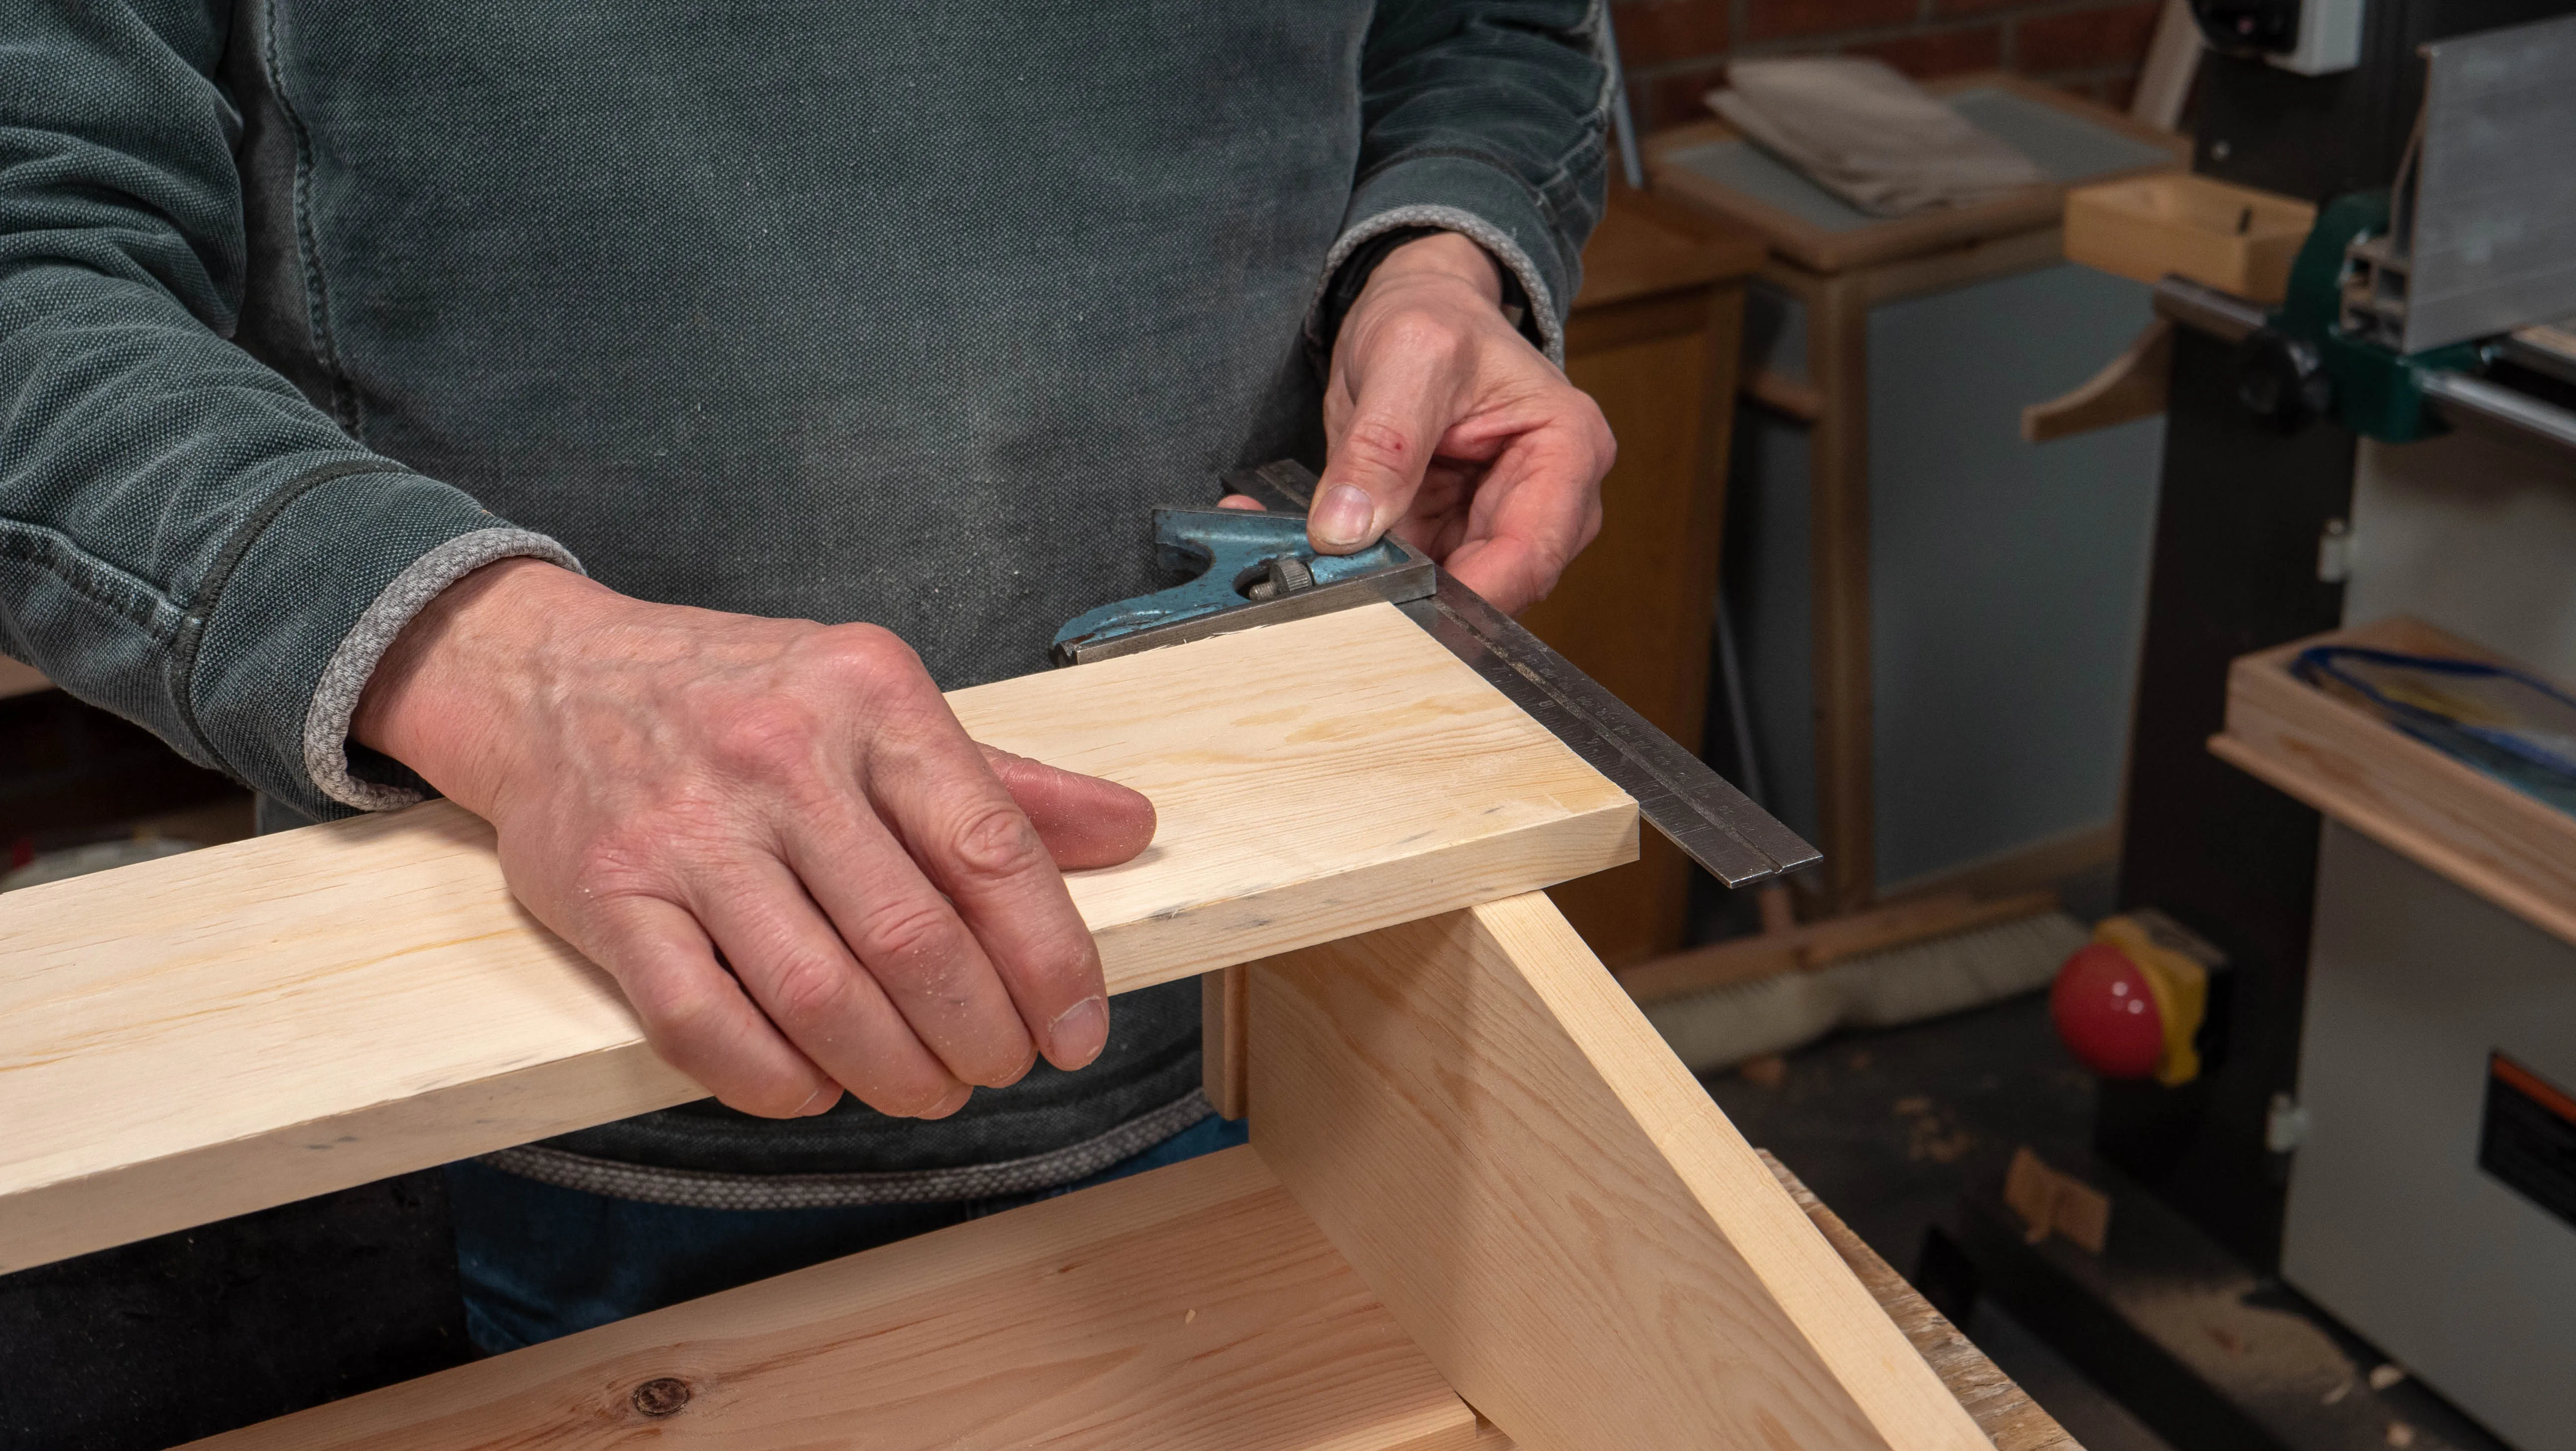
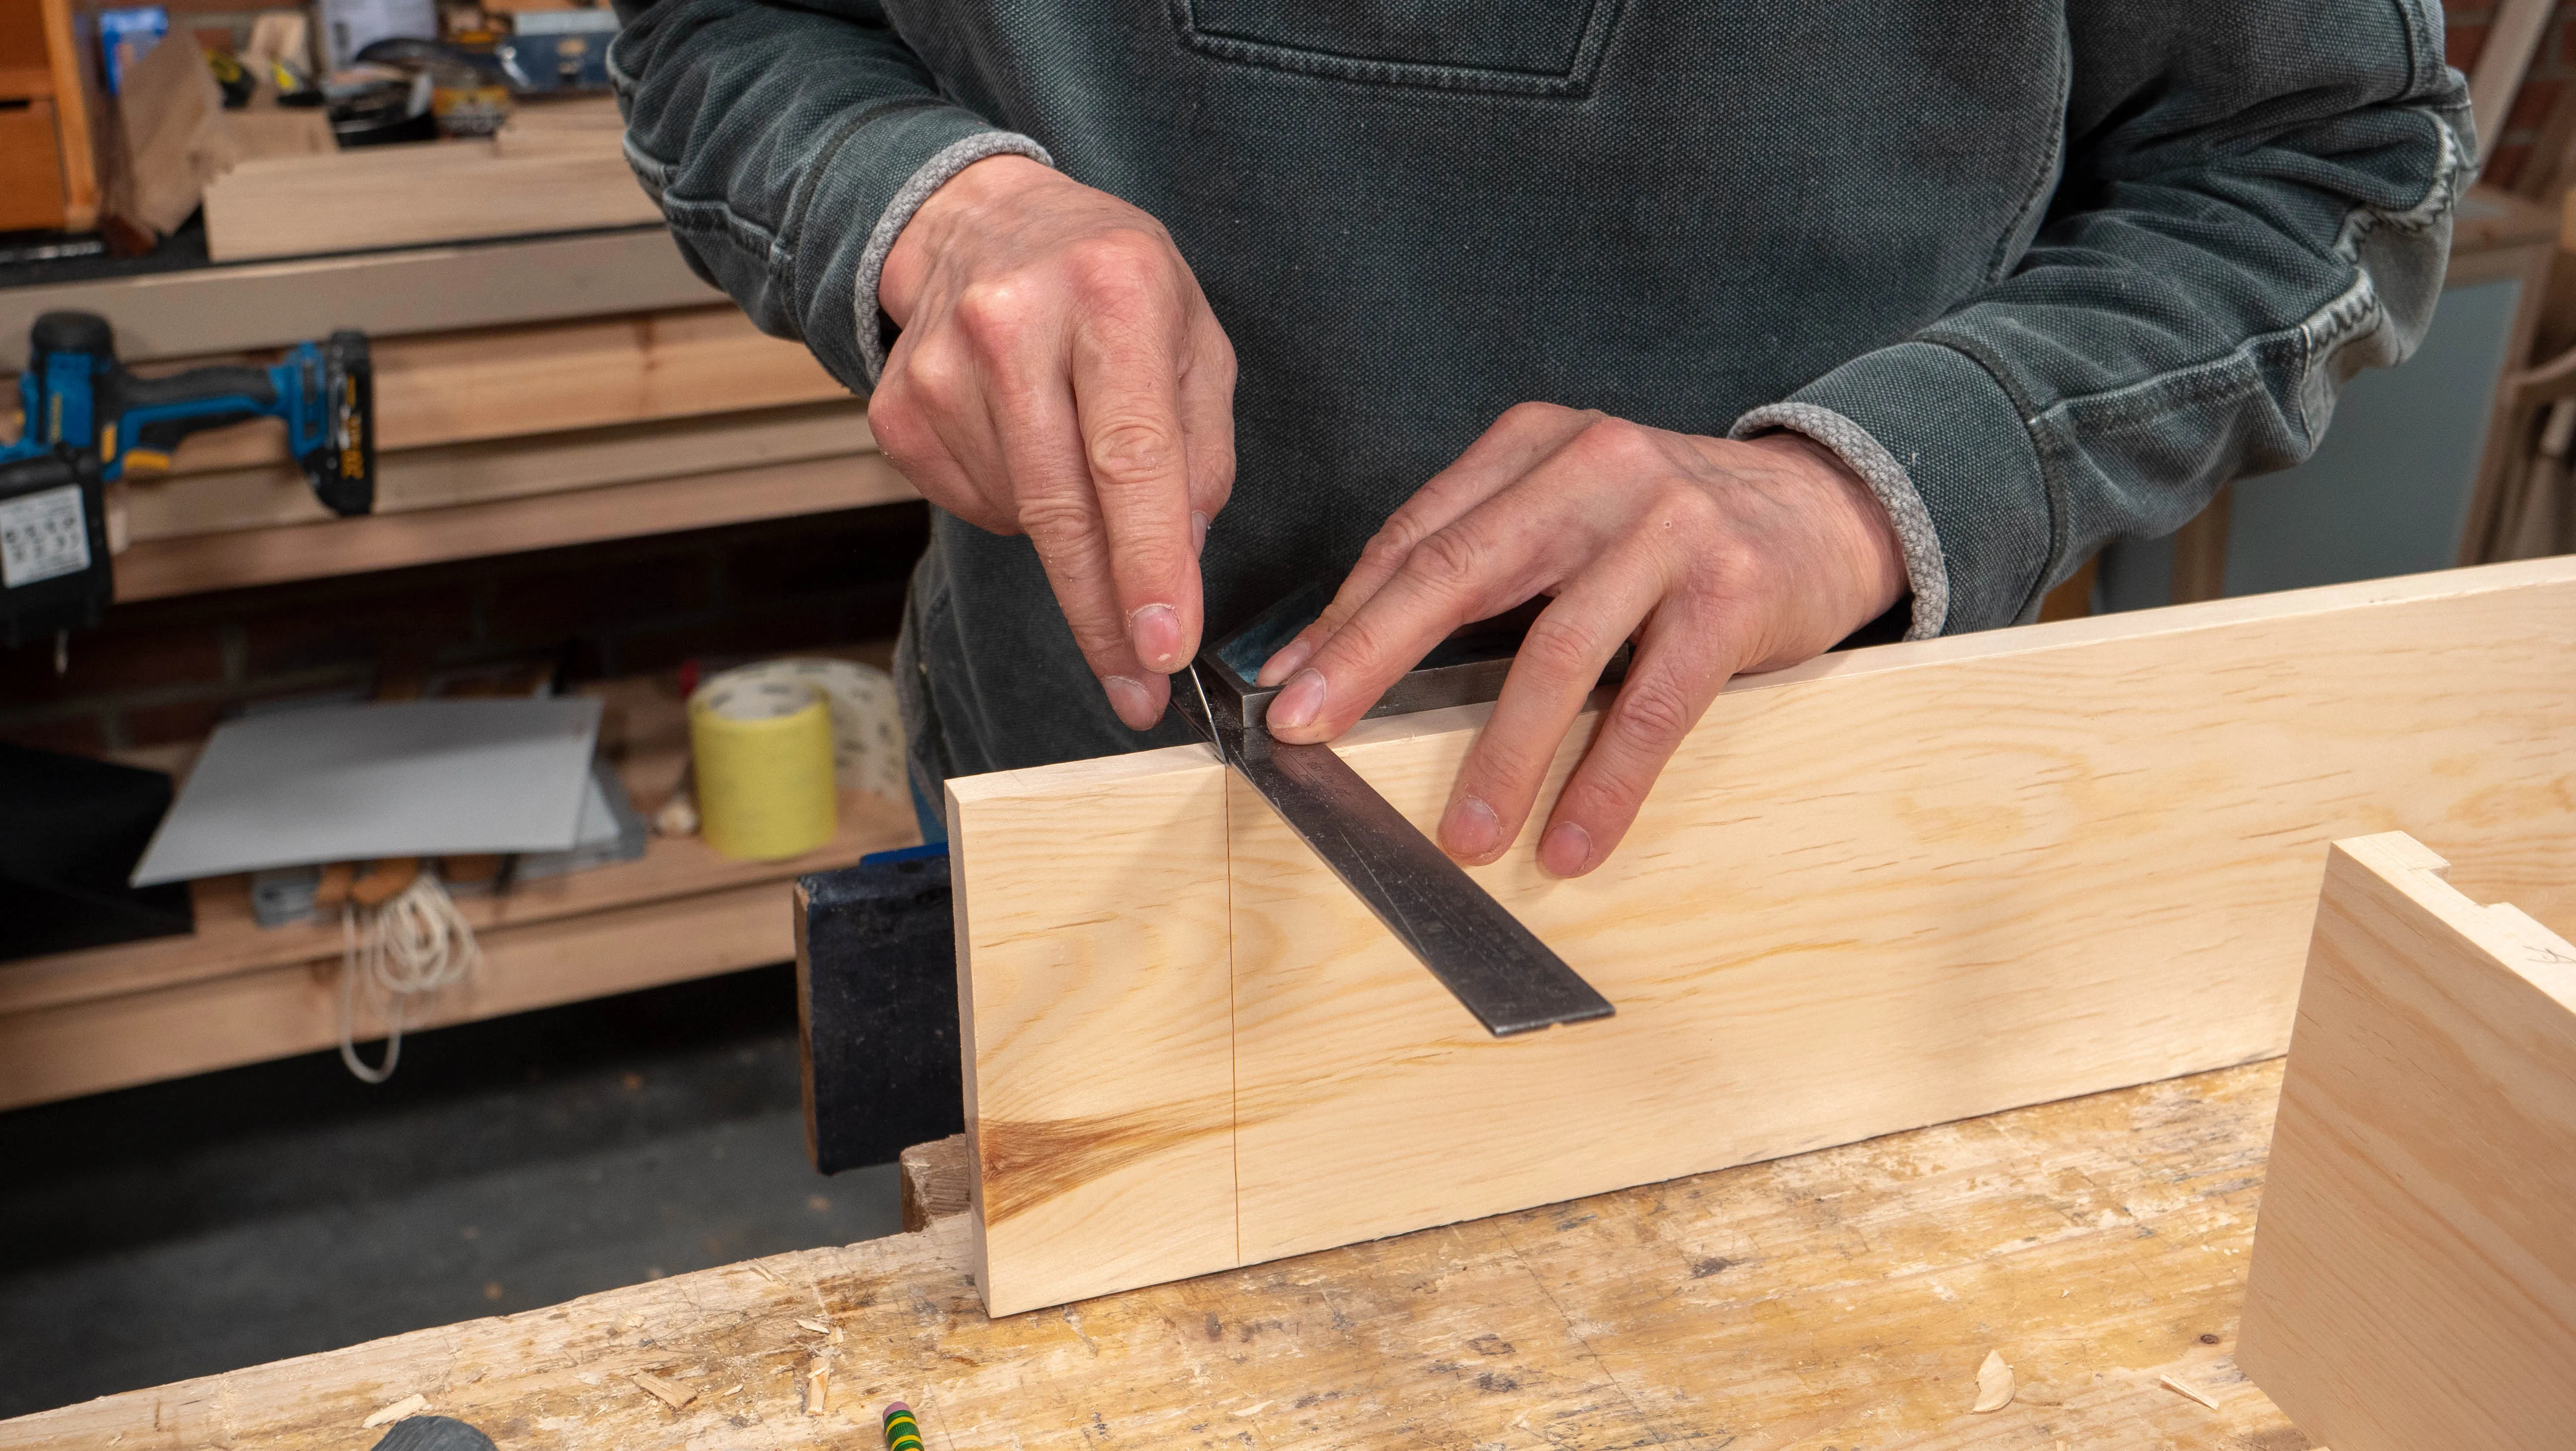
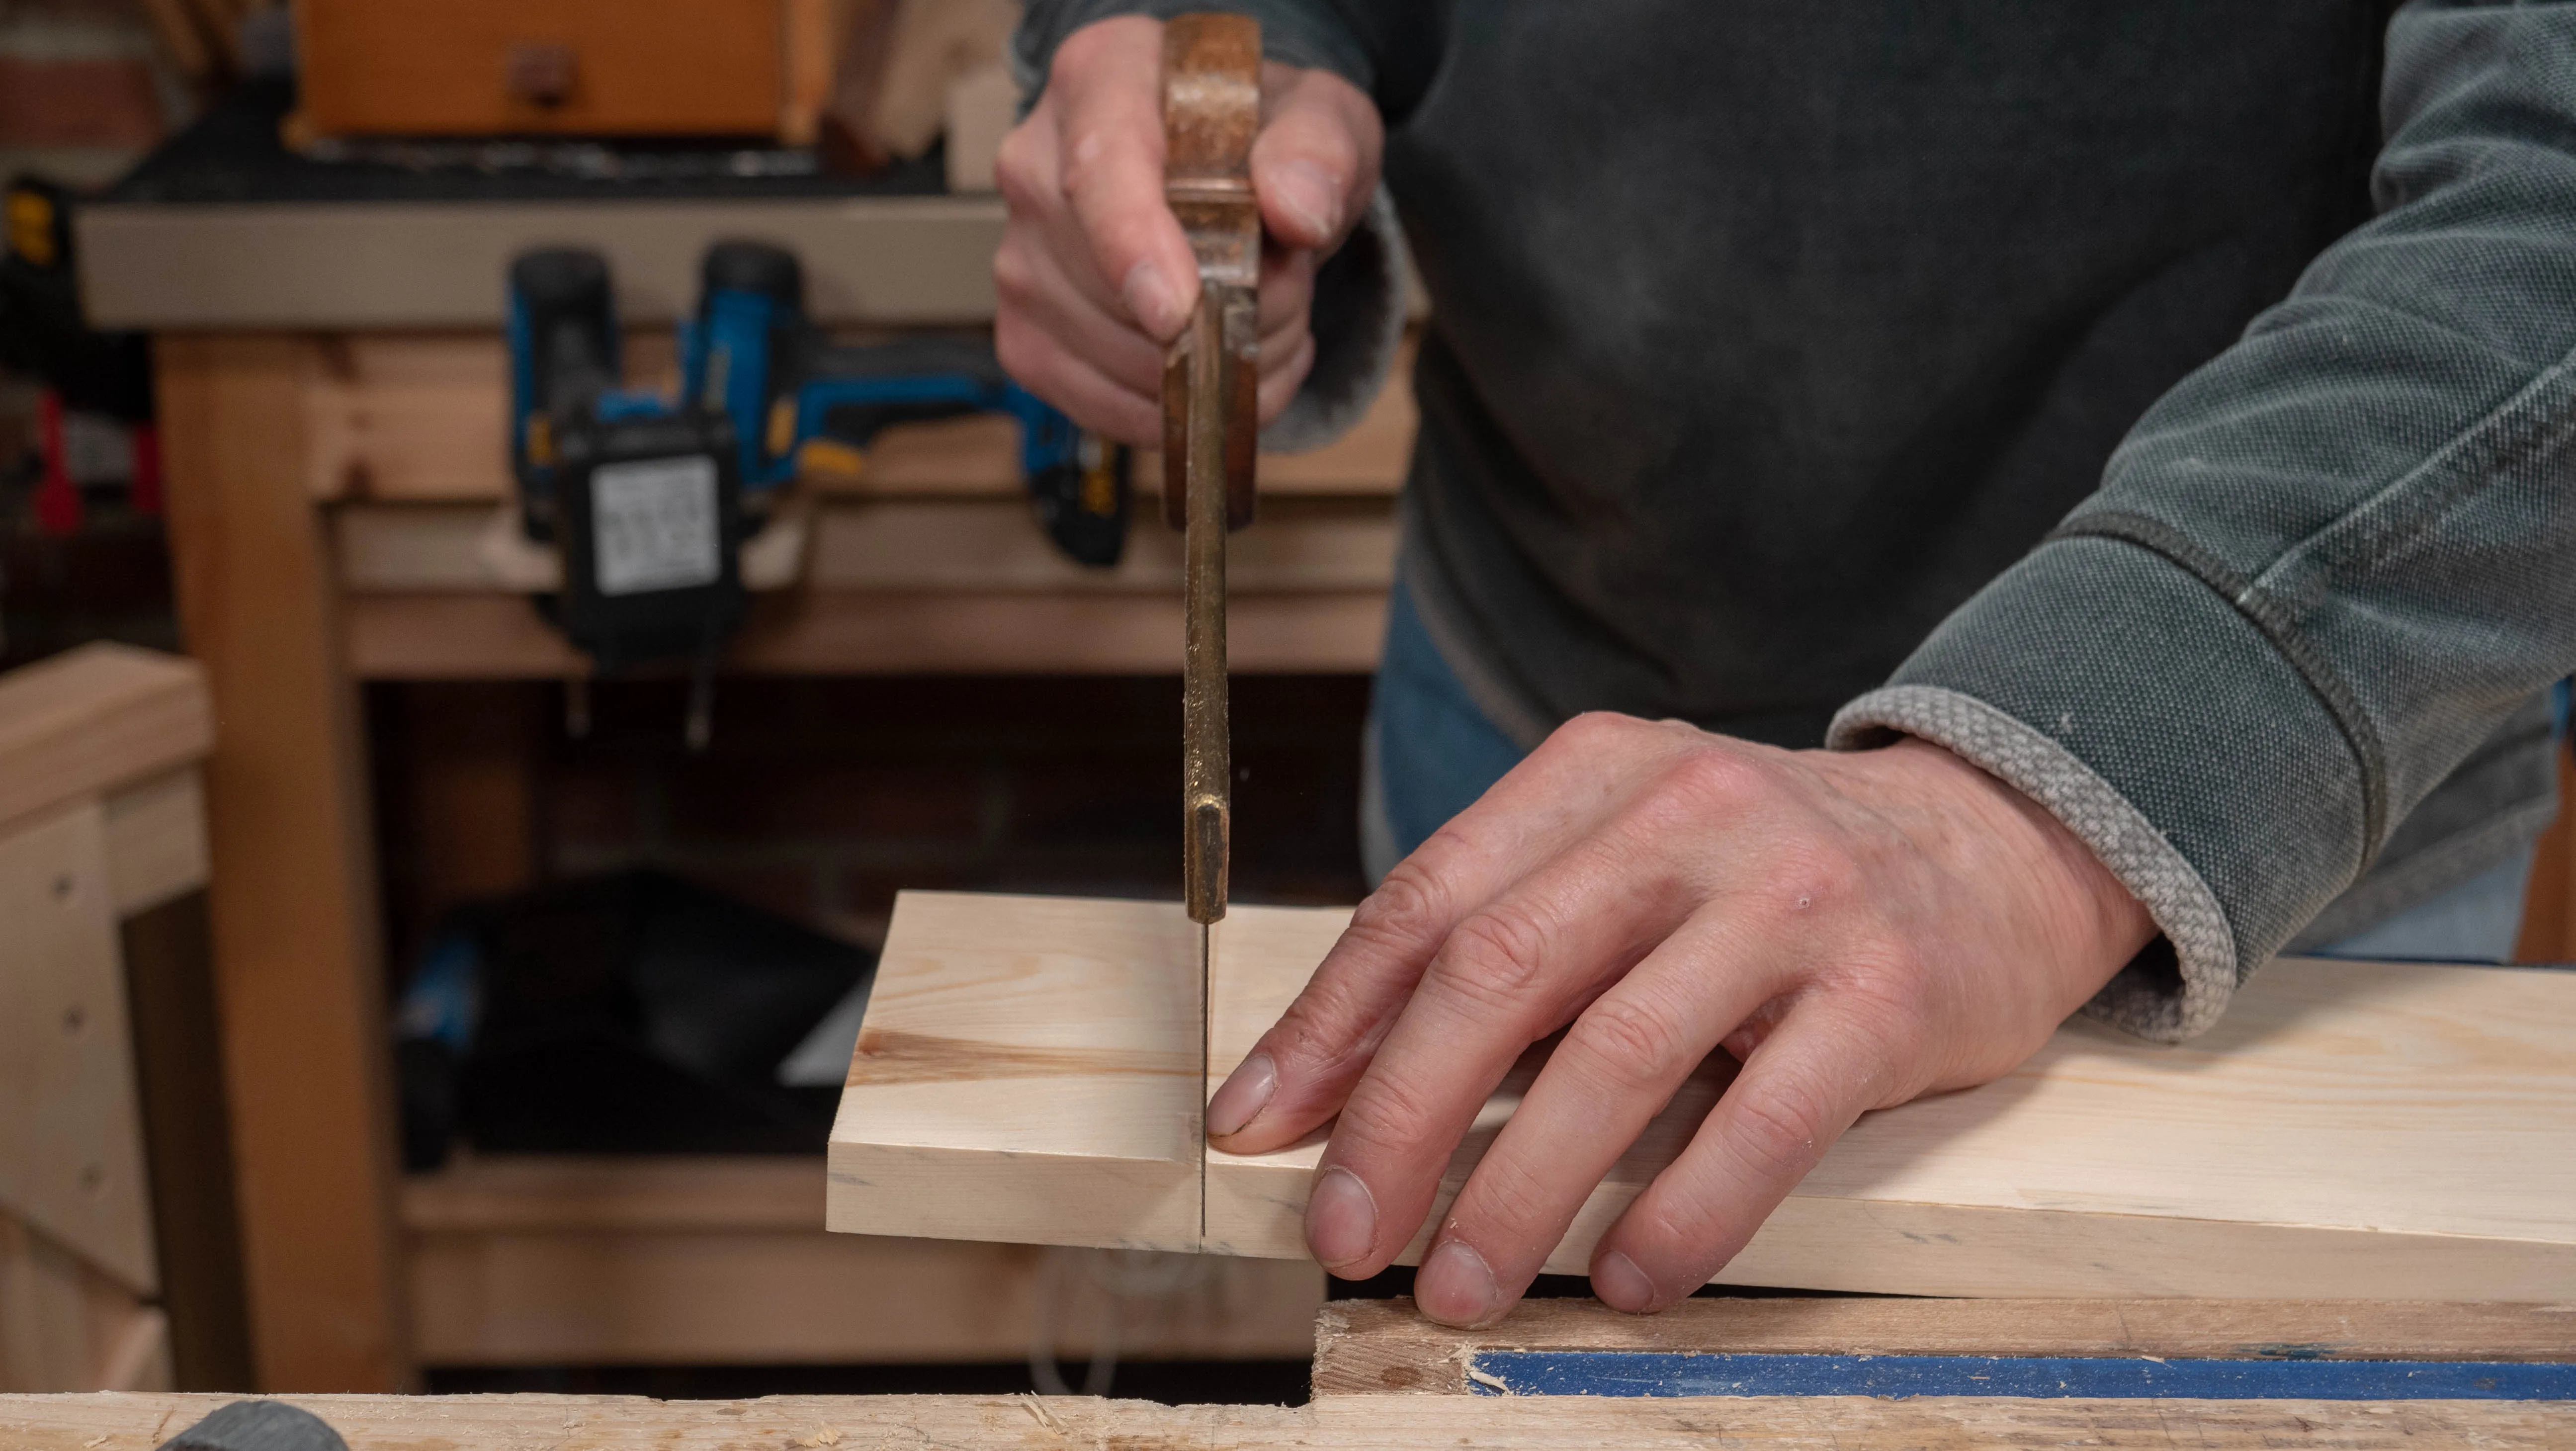
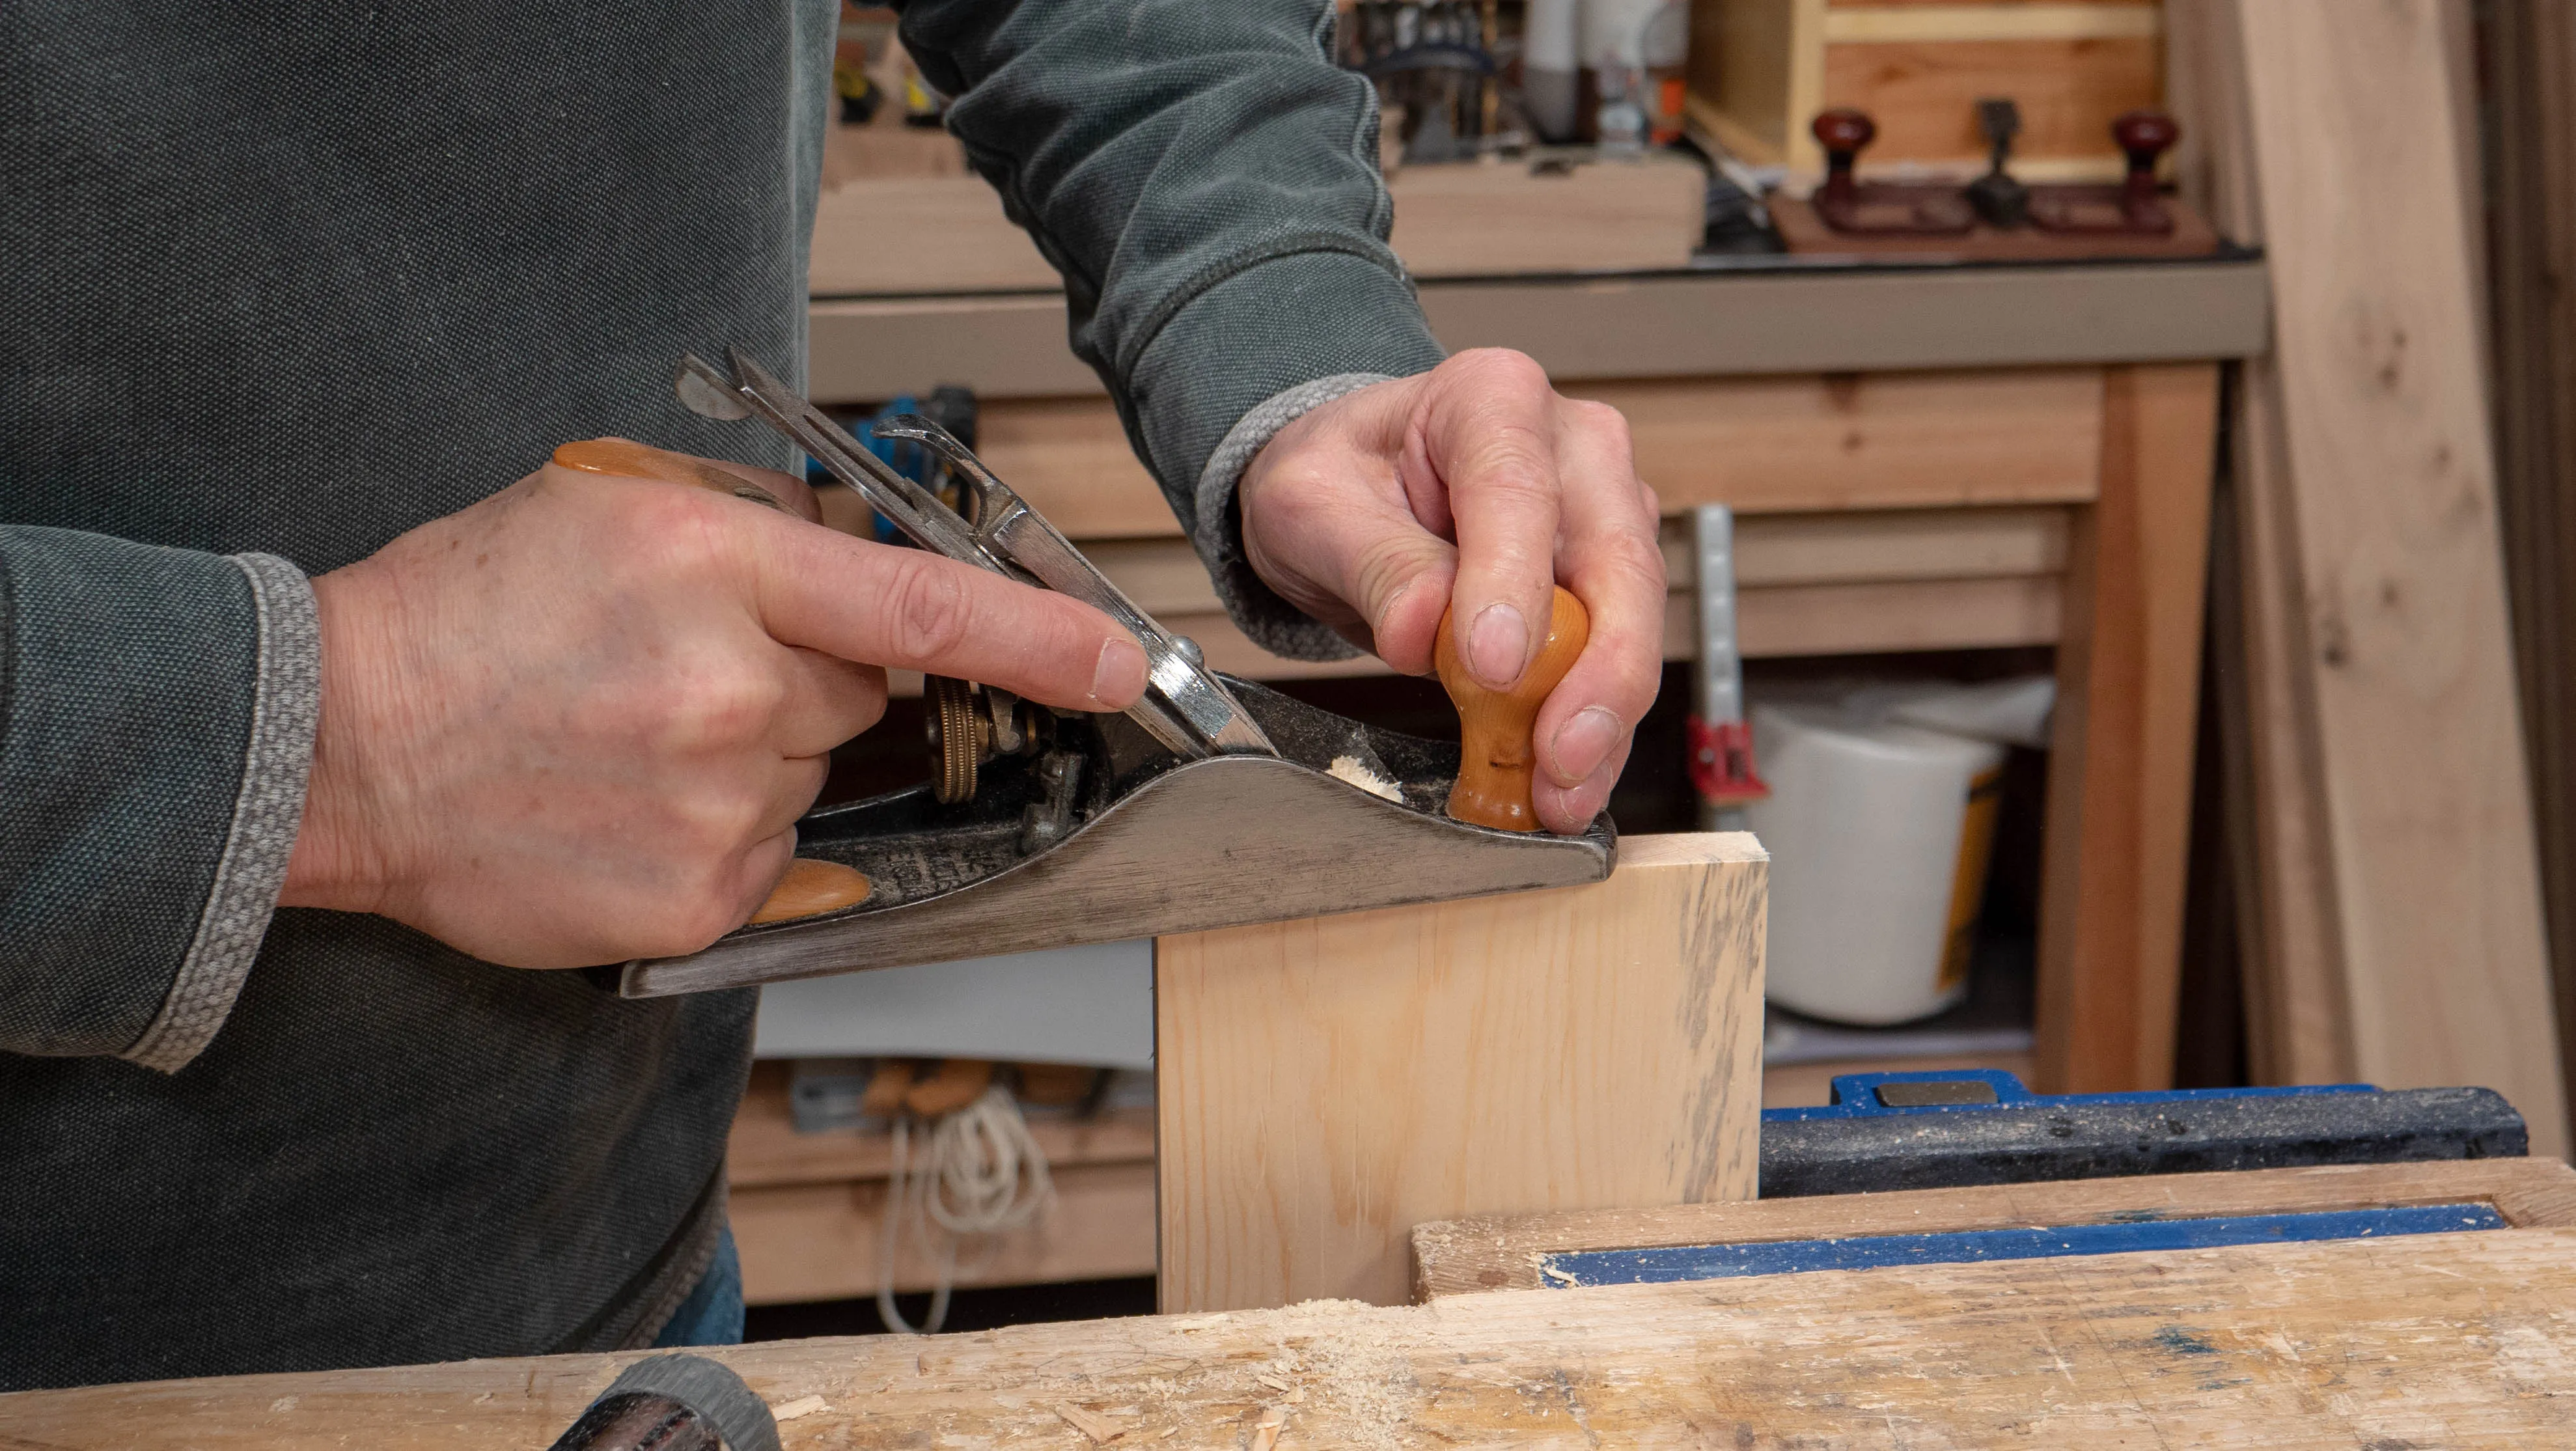
First, check that at least one edge and end of the base piece are square. Assemble the two end pieces with one of the side pieces, but push the side piece up to just above the top of the recesses, so you can bring in your base piece and take your distance directly from the bottom of the recesses. Coming from beneath, insert the checked end of the base minimally inside of the first recess so that it’s just holding, and then make a small pencil mark inside the opposite recess. You can now square a knifewall around all four sides and cross-cut to length, first creating a step down for your saw. Use a hand plane to clean up the end if you cut a little away from the knifewall.
Note: To avoid the risk of the base being too long, when you come to square a knifewall all around, do so on the other (wrong) side of the pencil line so that it will be just 1/16” (1.5mm) or so shorter.
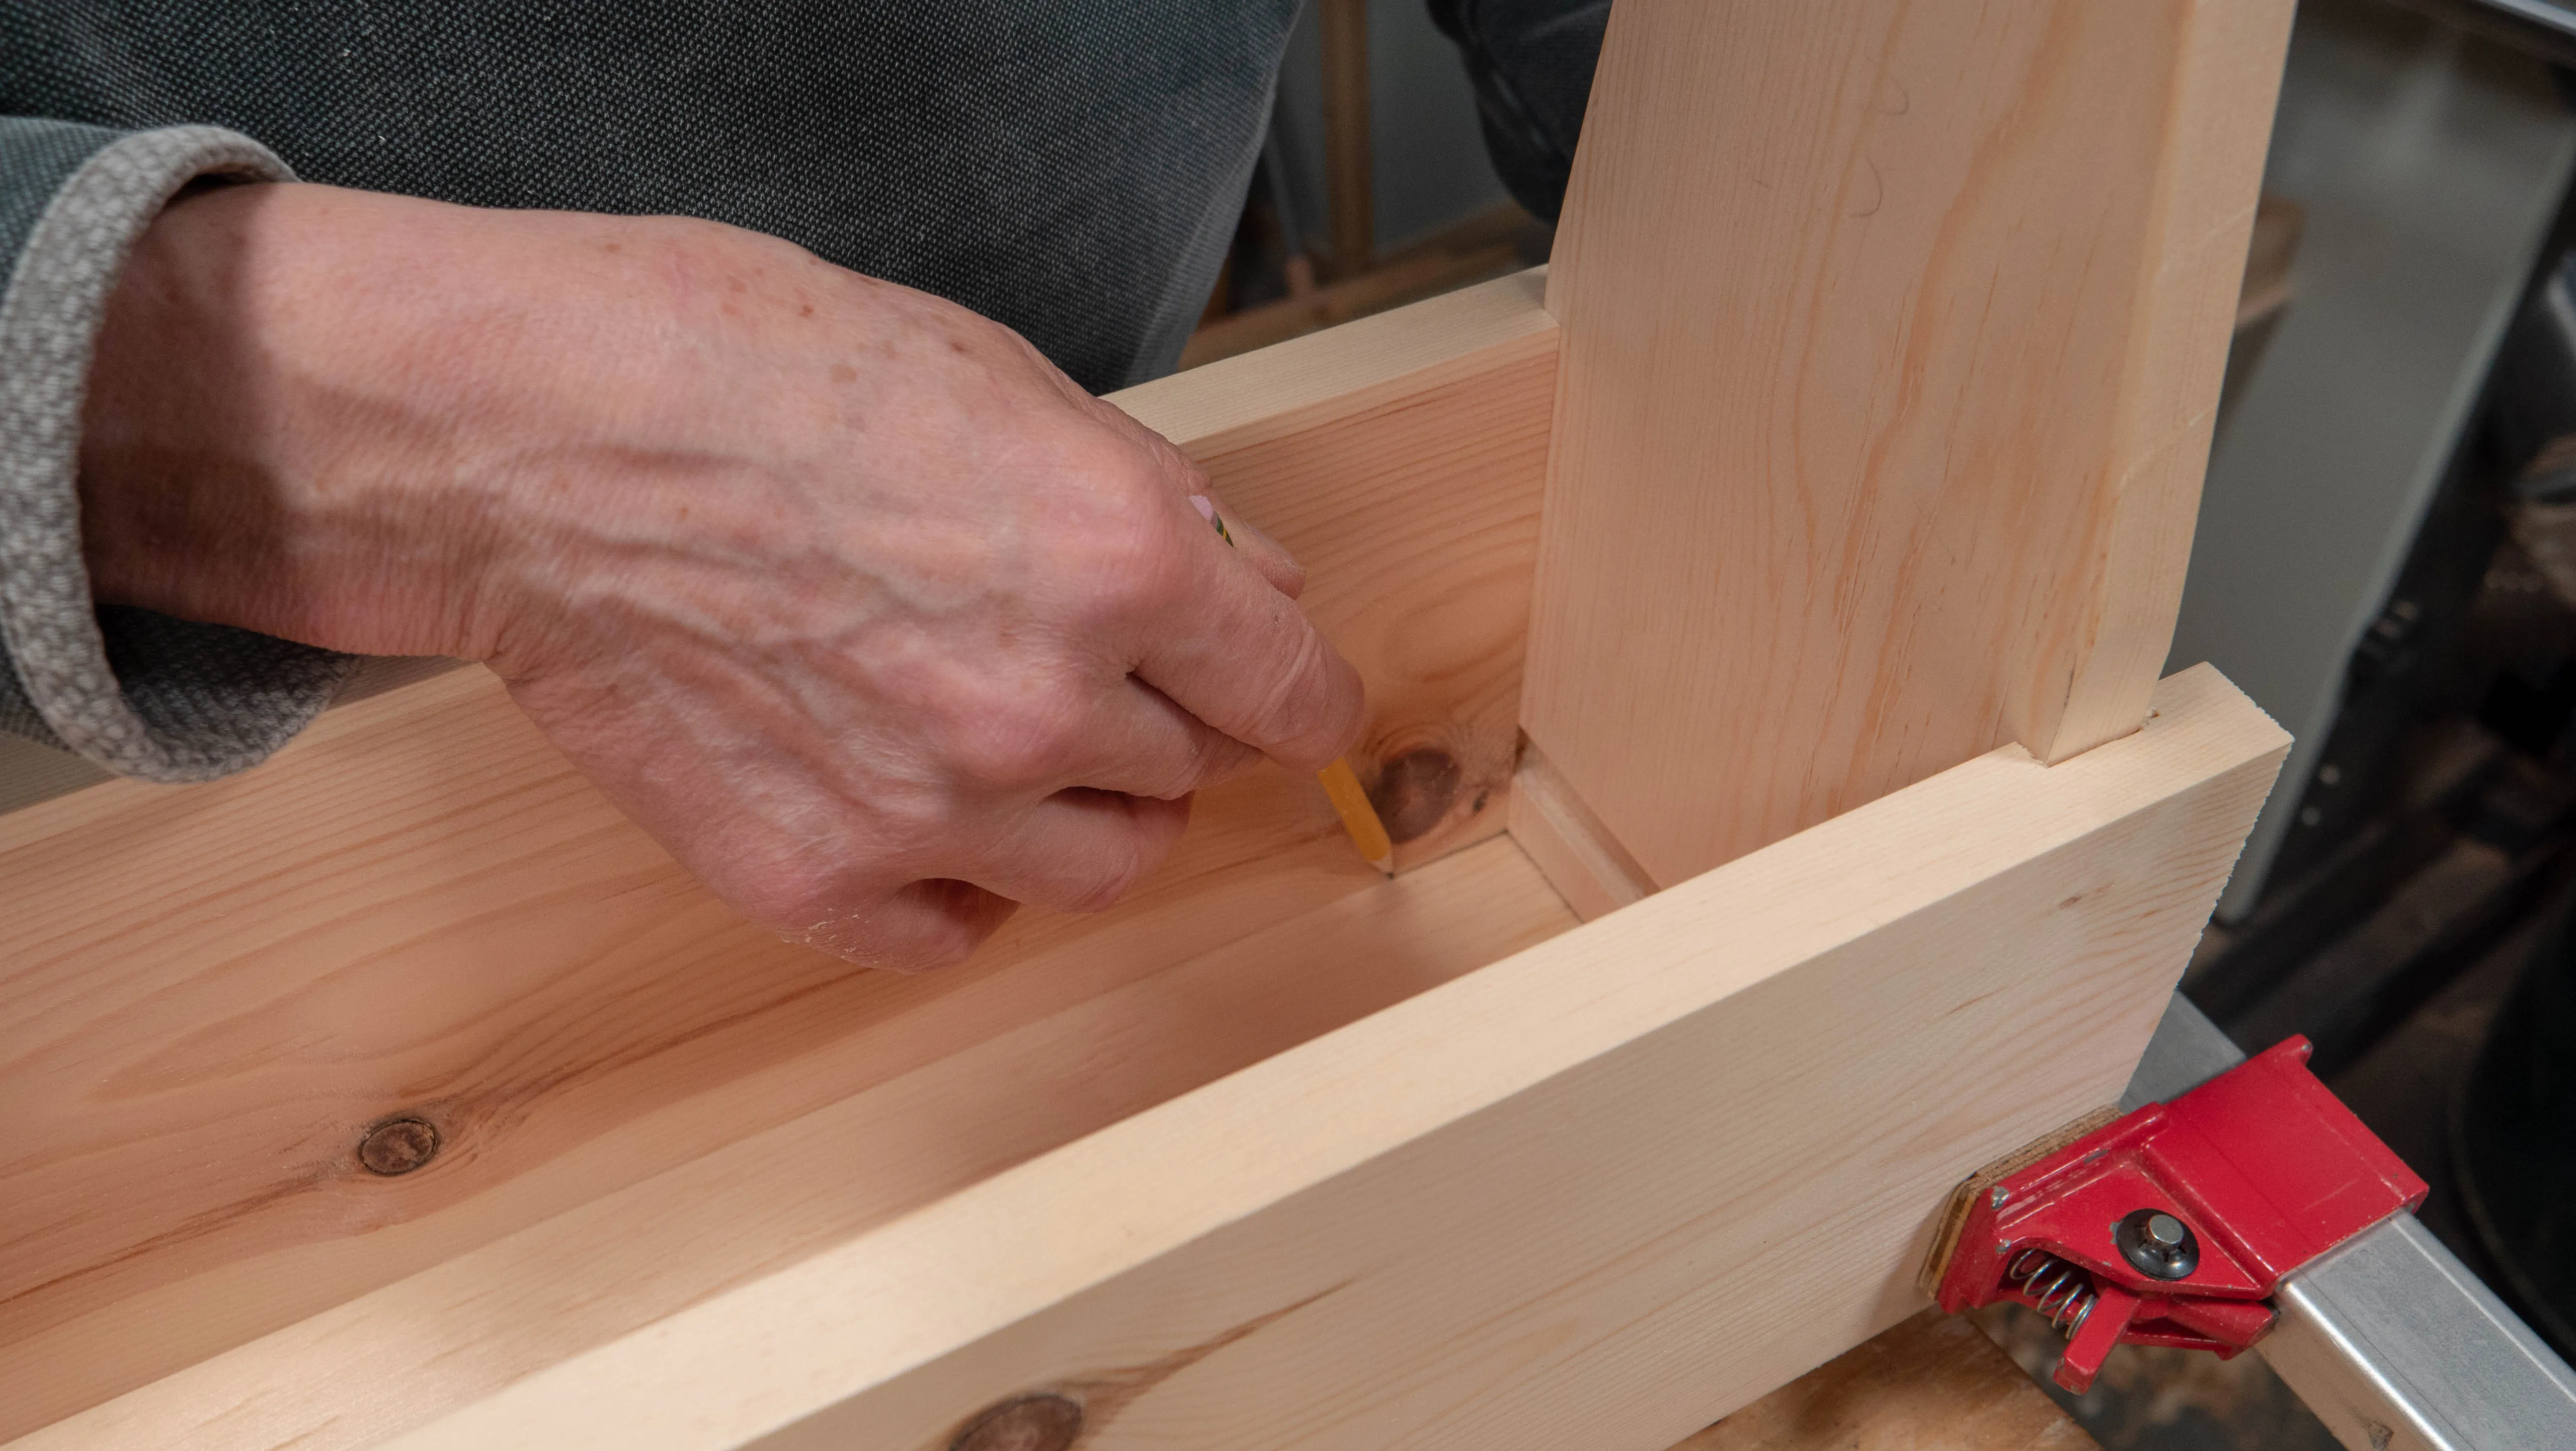
To mark the width of the base, assemble the sides and the end pieces on their own and apply a clamp on either end to make sure the joints are fully seated. (Position the clamps so that they’re on the outside, since you will need access to the underside.)
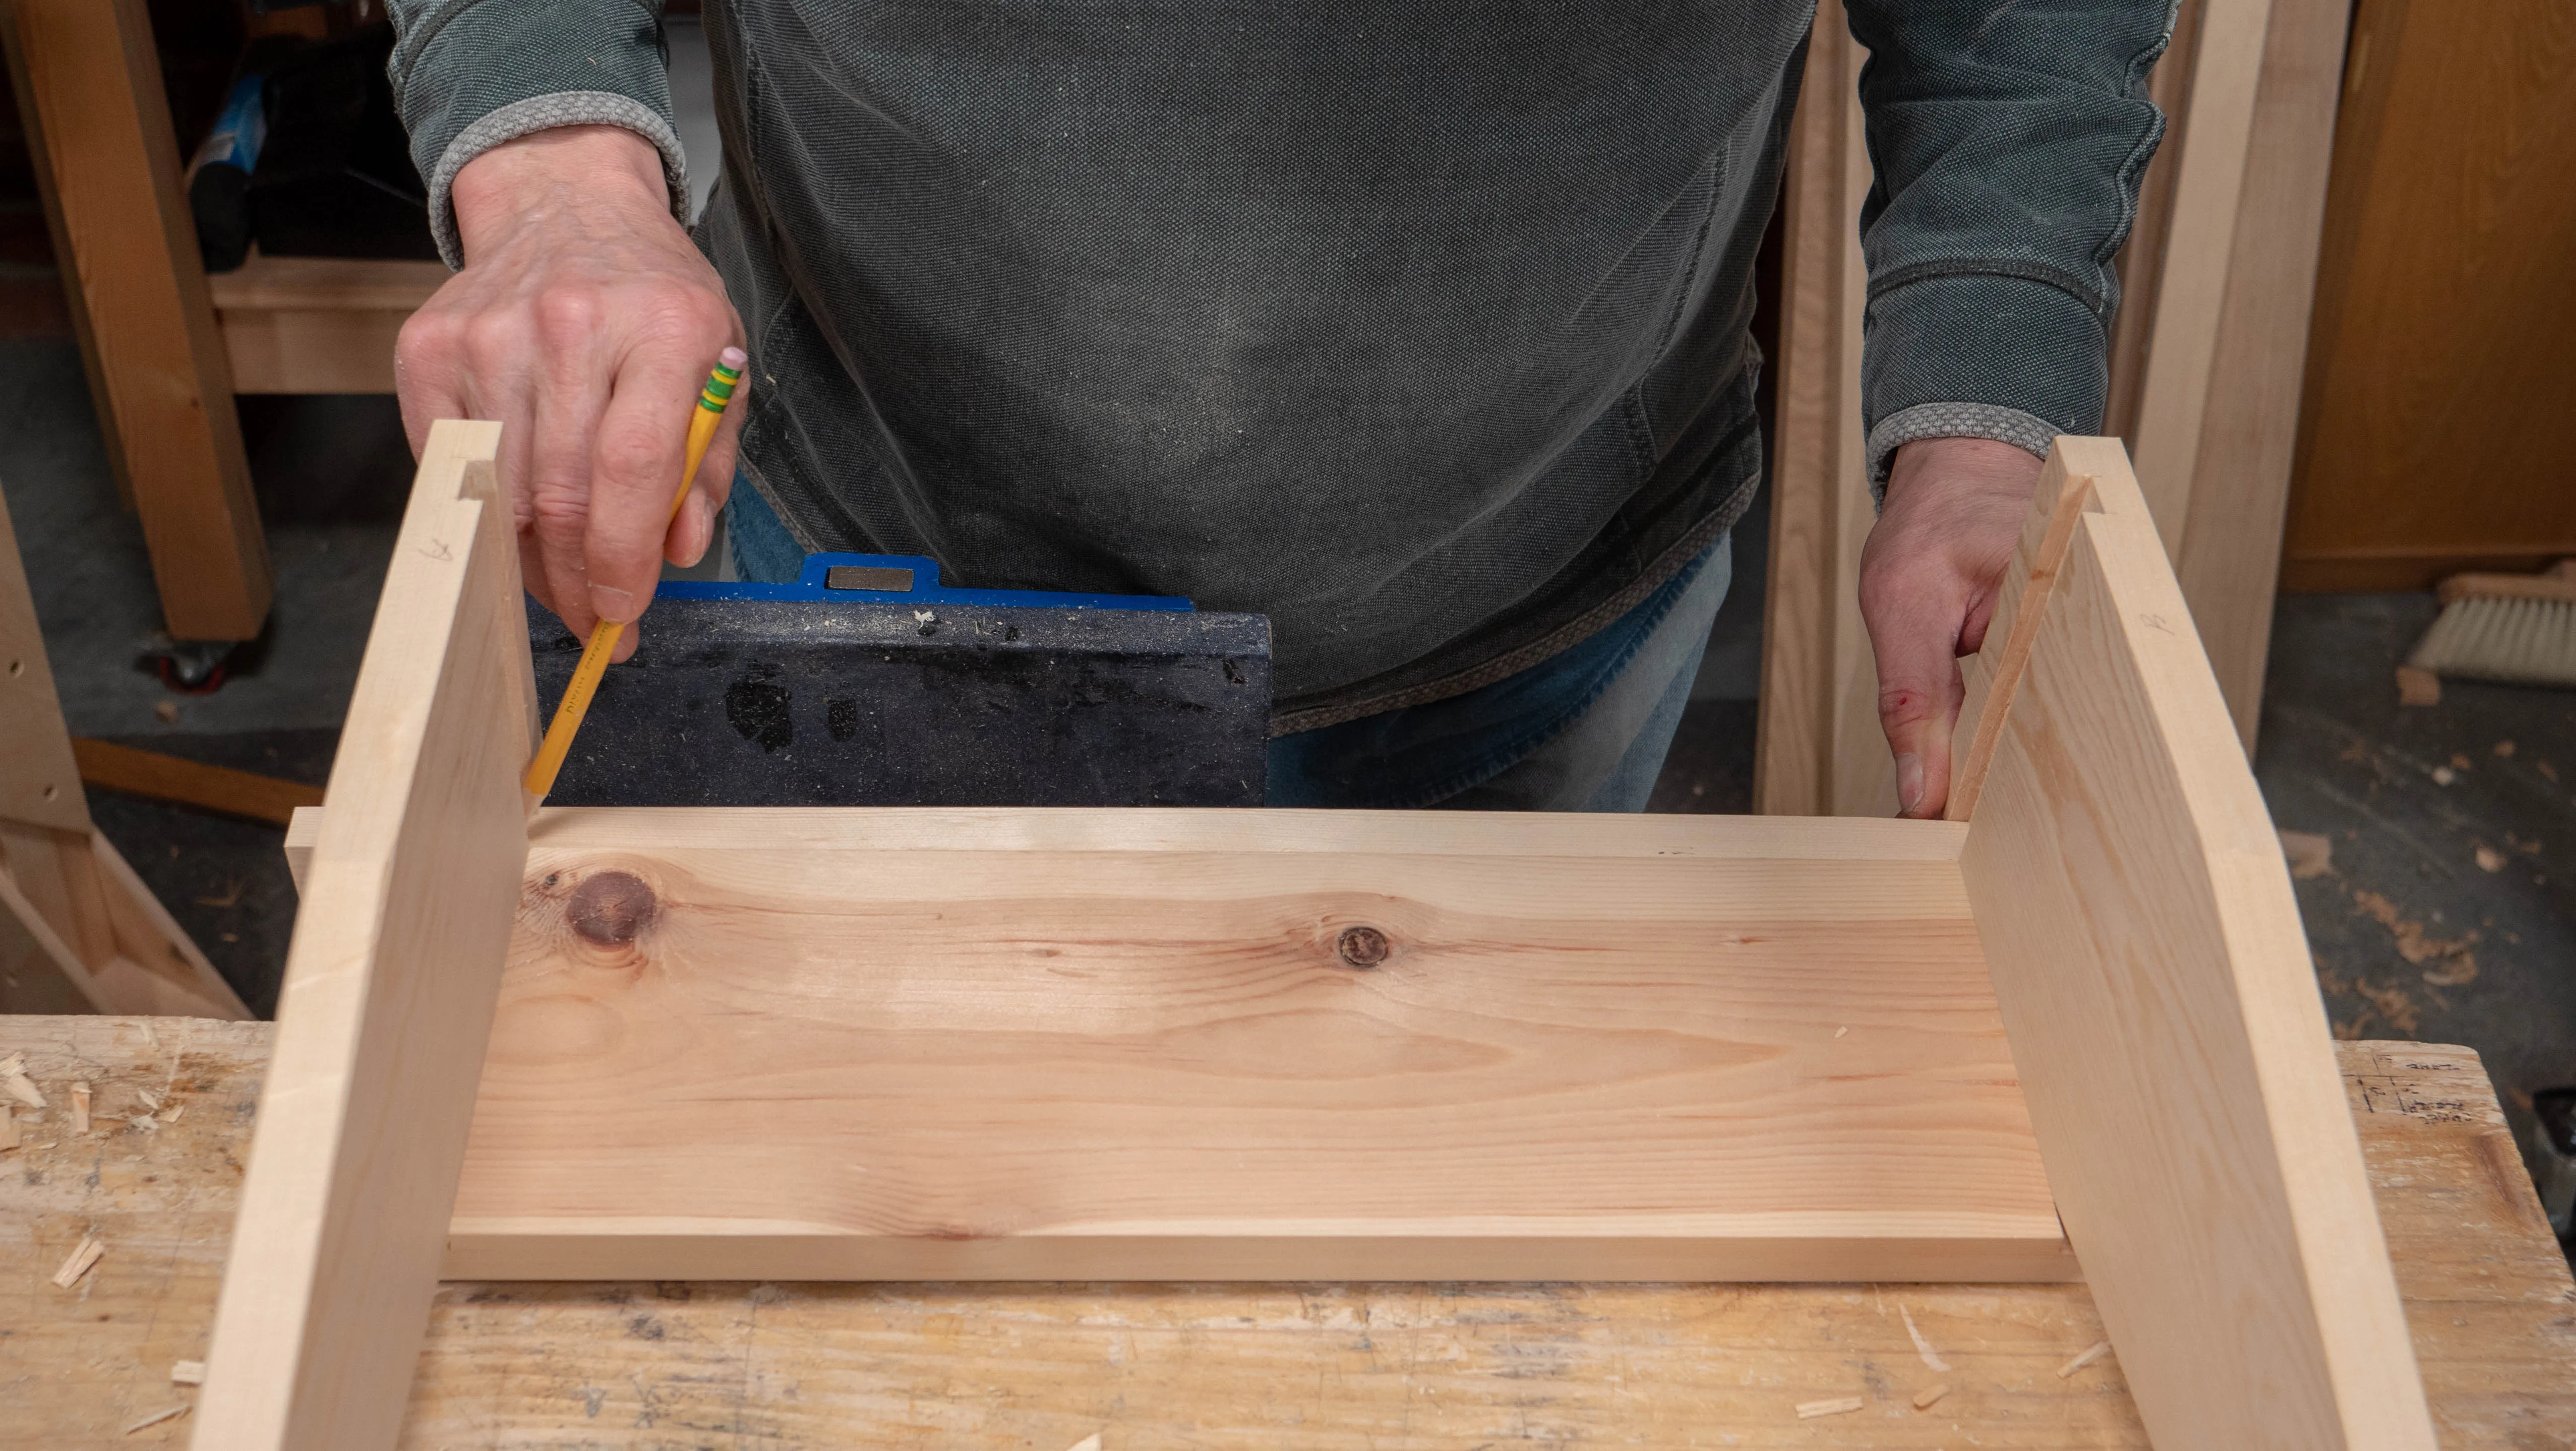
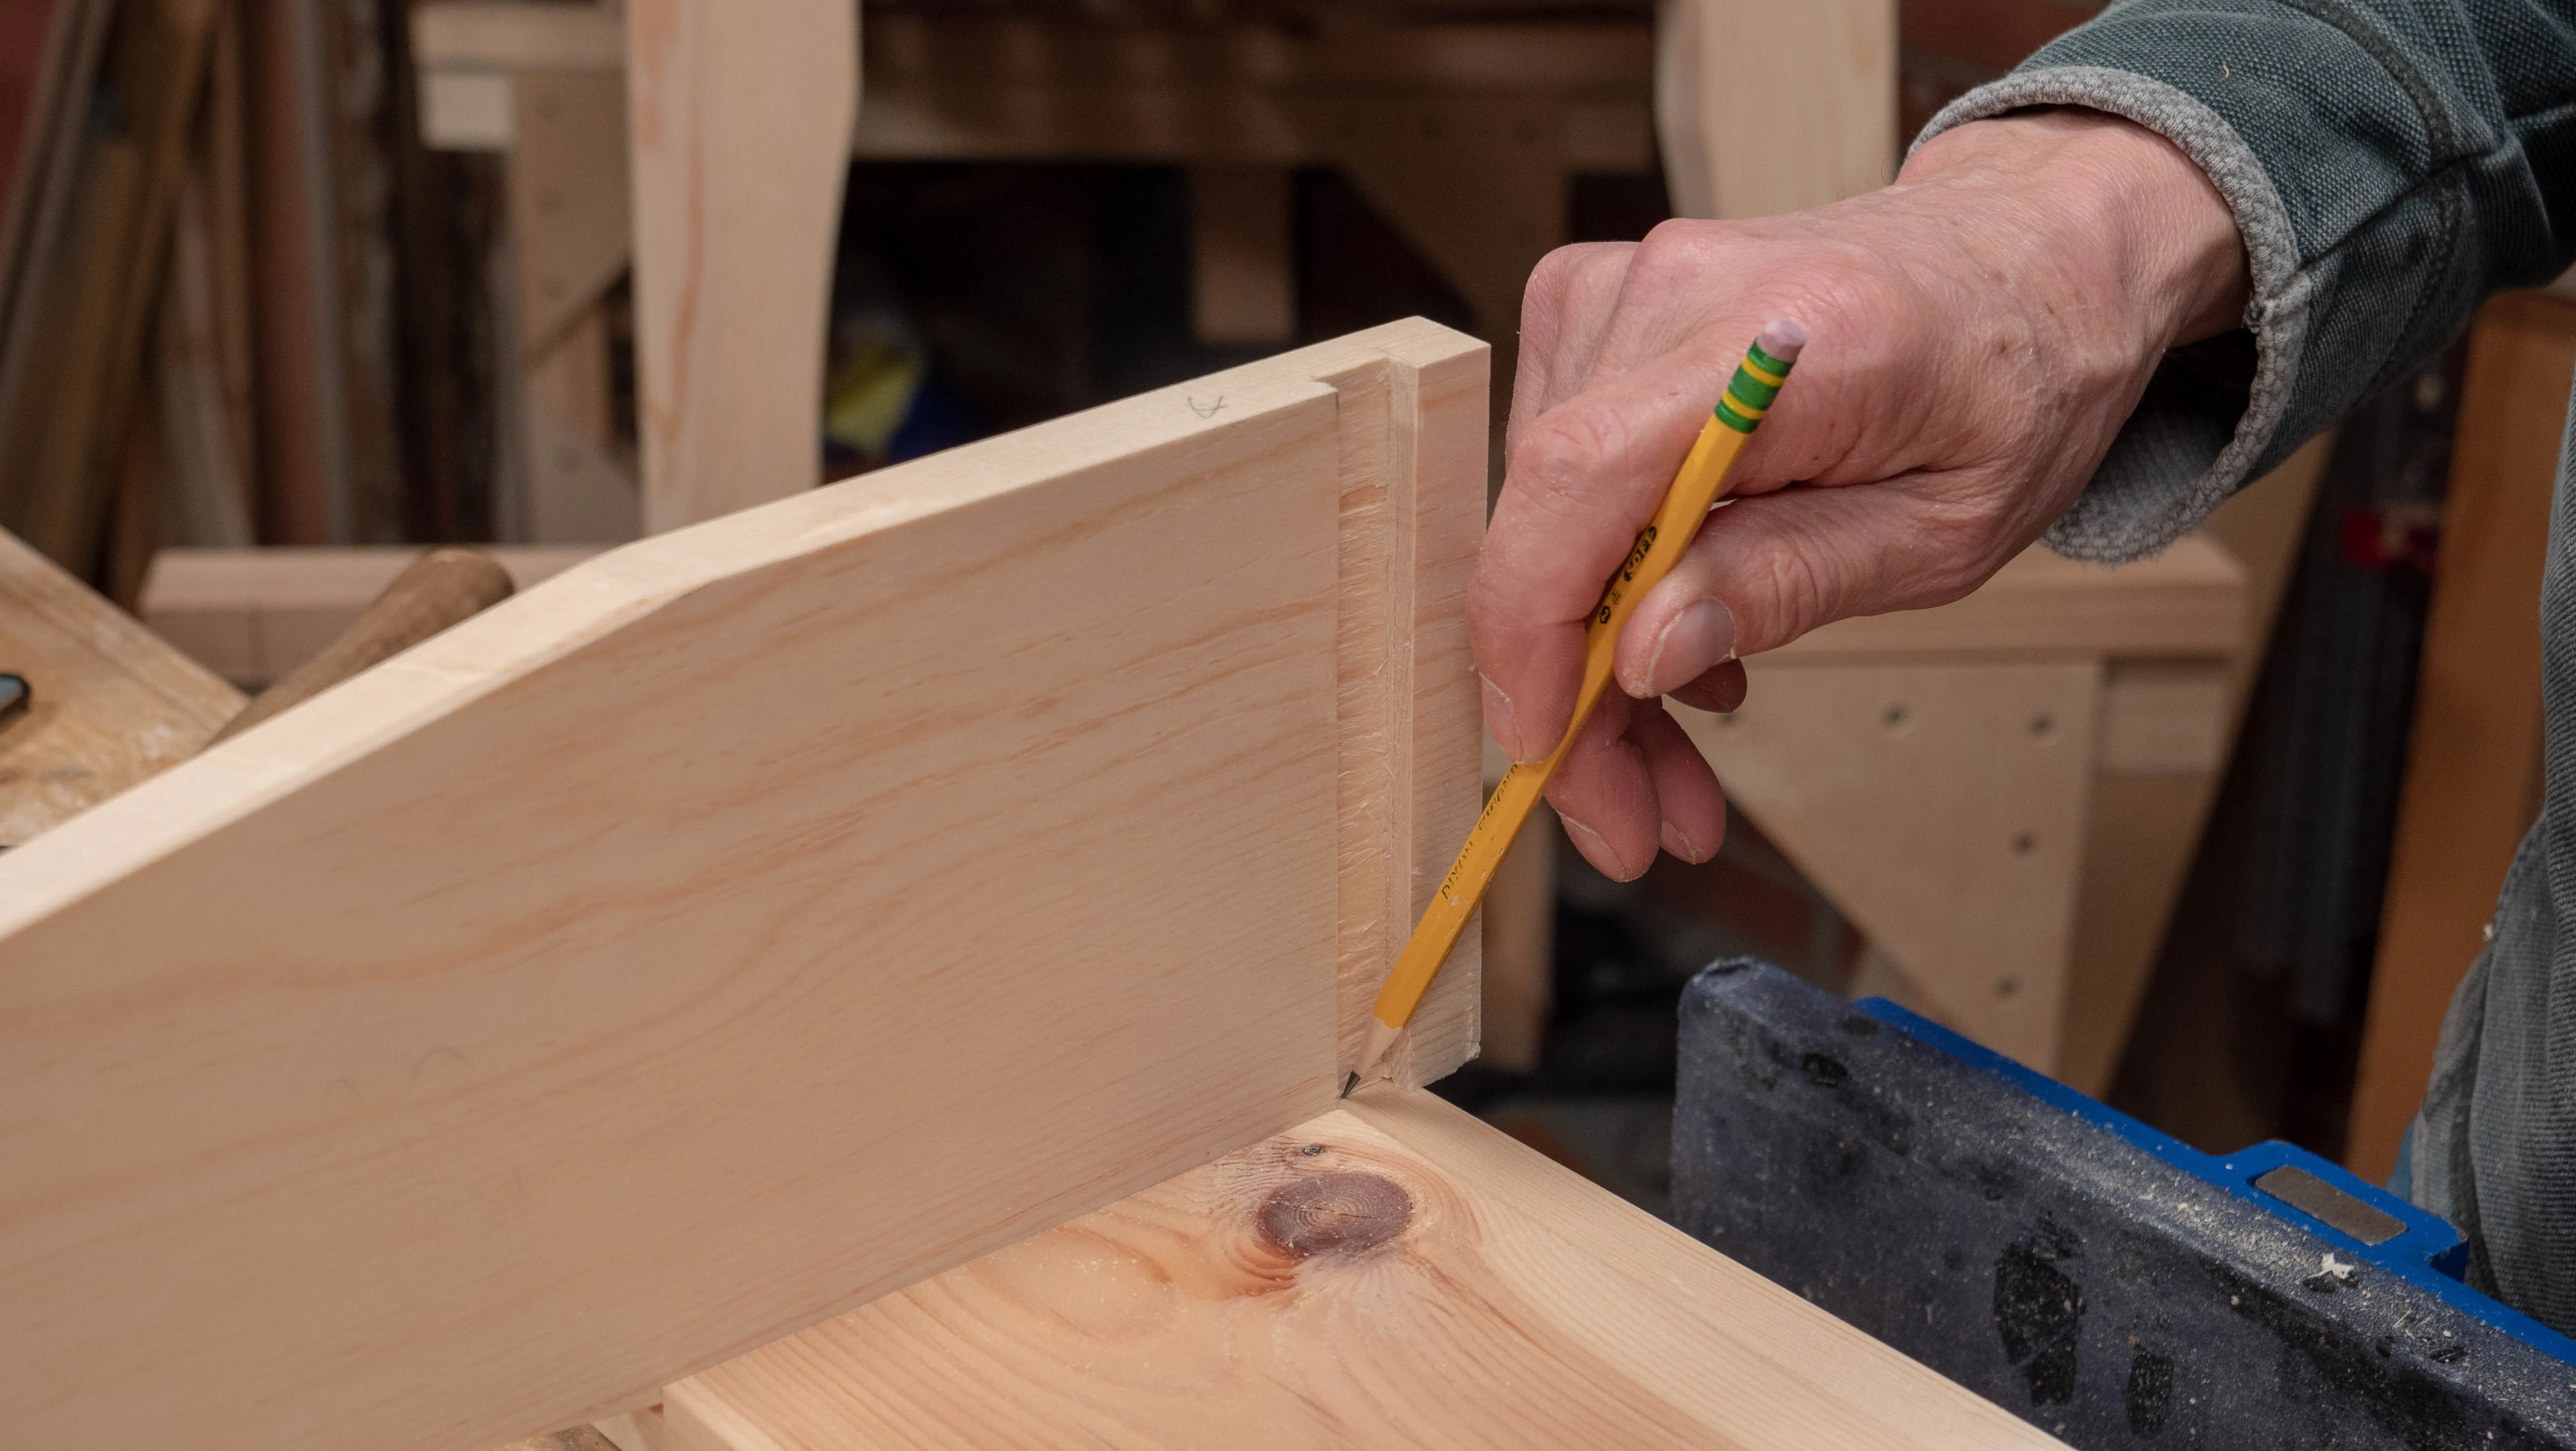
Next, lay the base piece flat on the benchtop and place the assembled structure on top. Carefully move the structure so that one of the sides (and end) of the base piece is registering against an internal corner of the tool tote. Keeping it firmly in place and well registered against the side piece, use a pencil to mark from the inside the width to cut off.
Note that the further this unsupported corner ‘drops’, the further up the opposite corner will lift, and the less accurate you will be when marking the width. This is why you should keep the structure as flat as you can so that the long sides are barely catching.
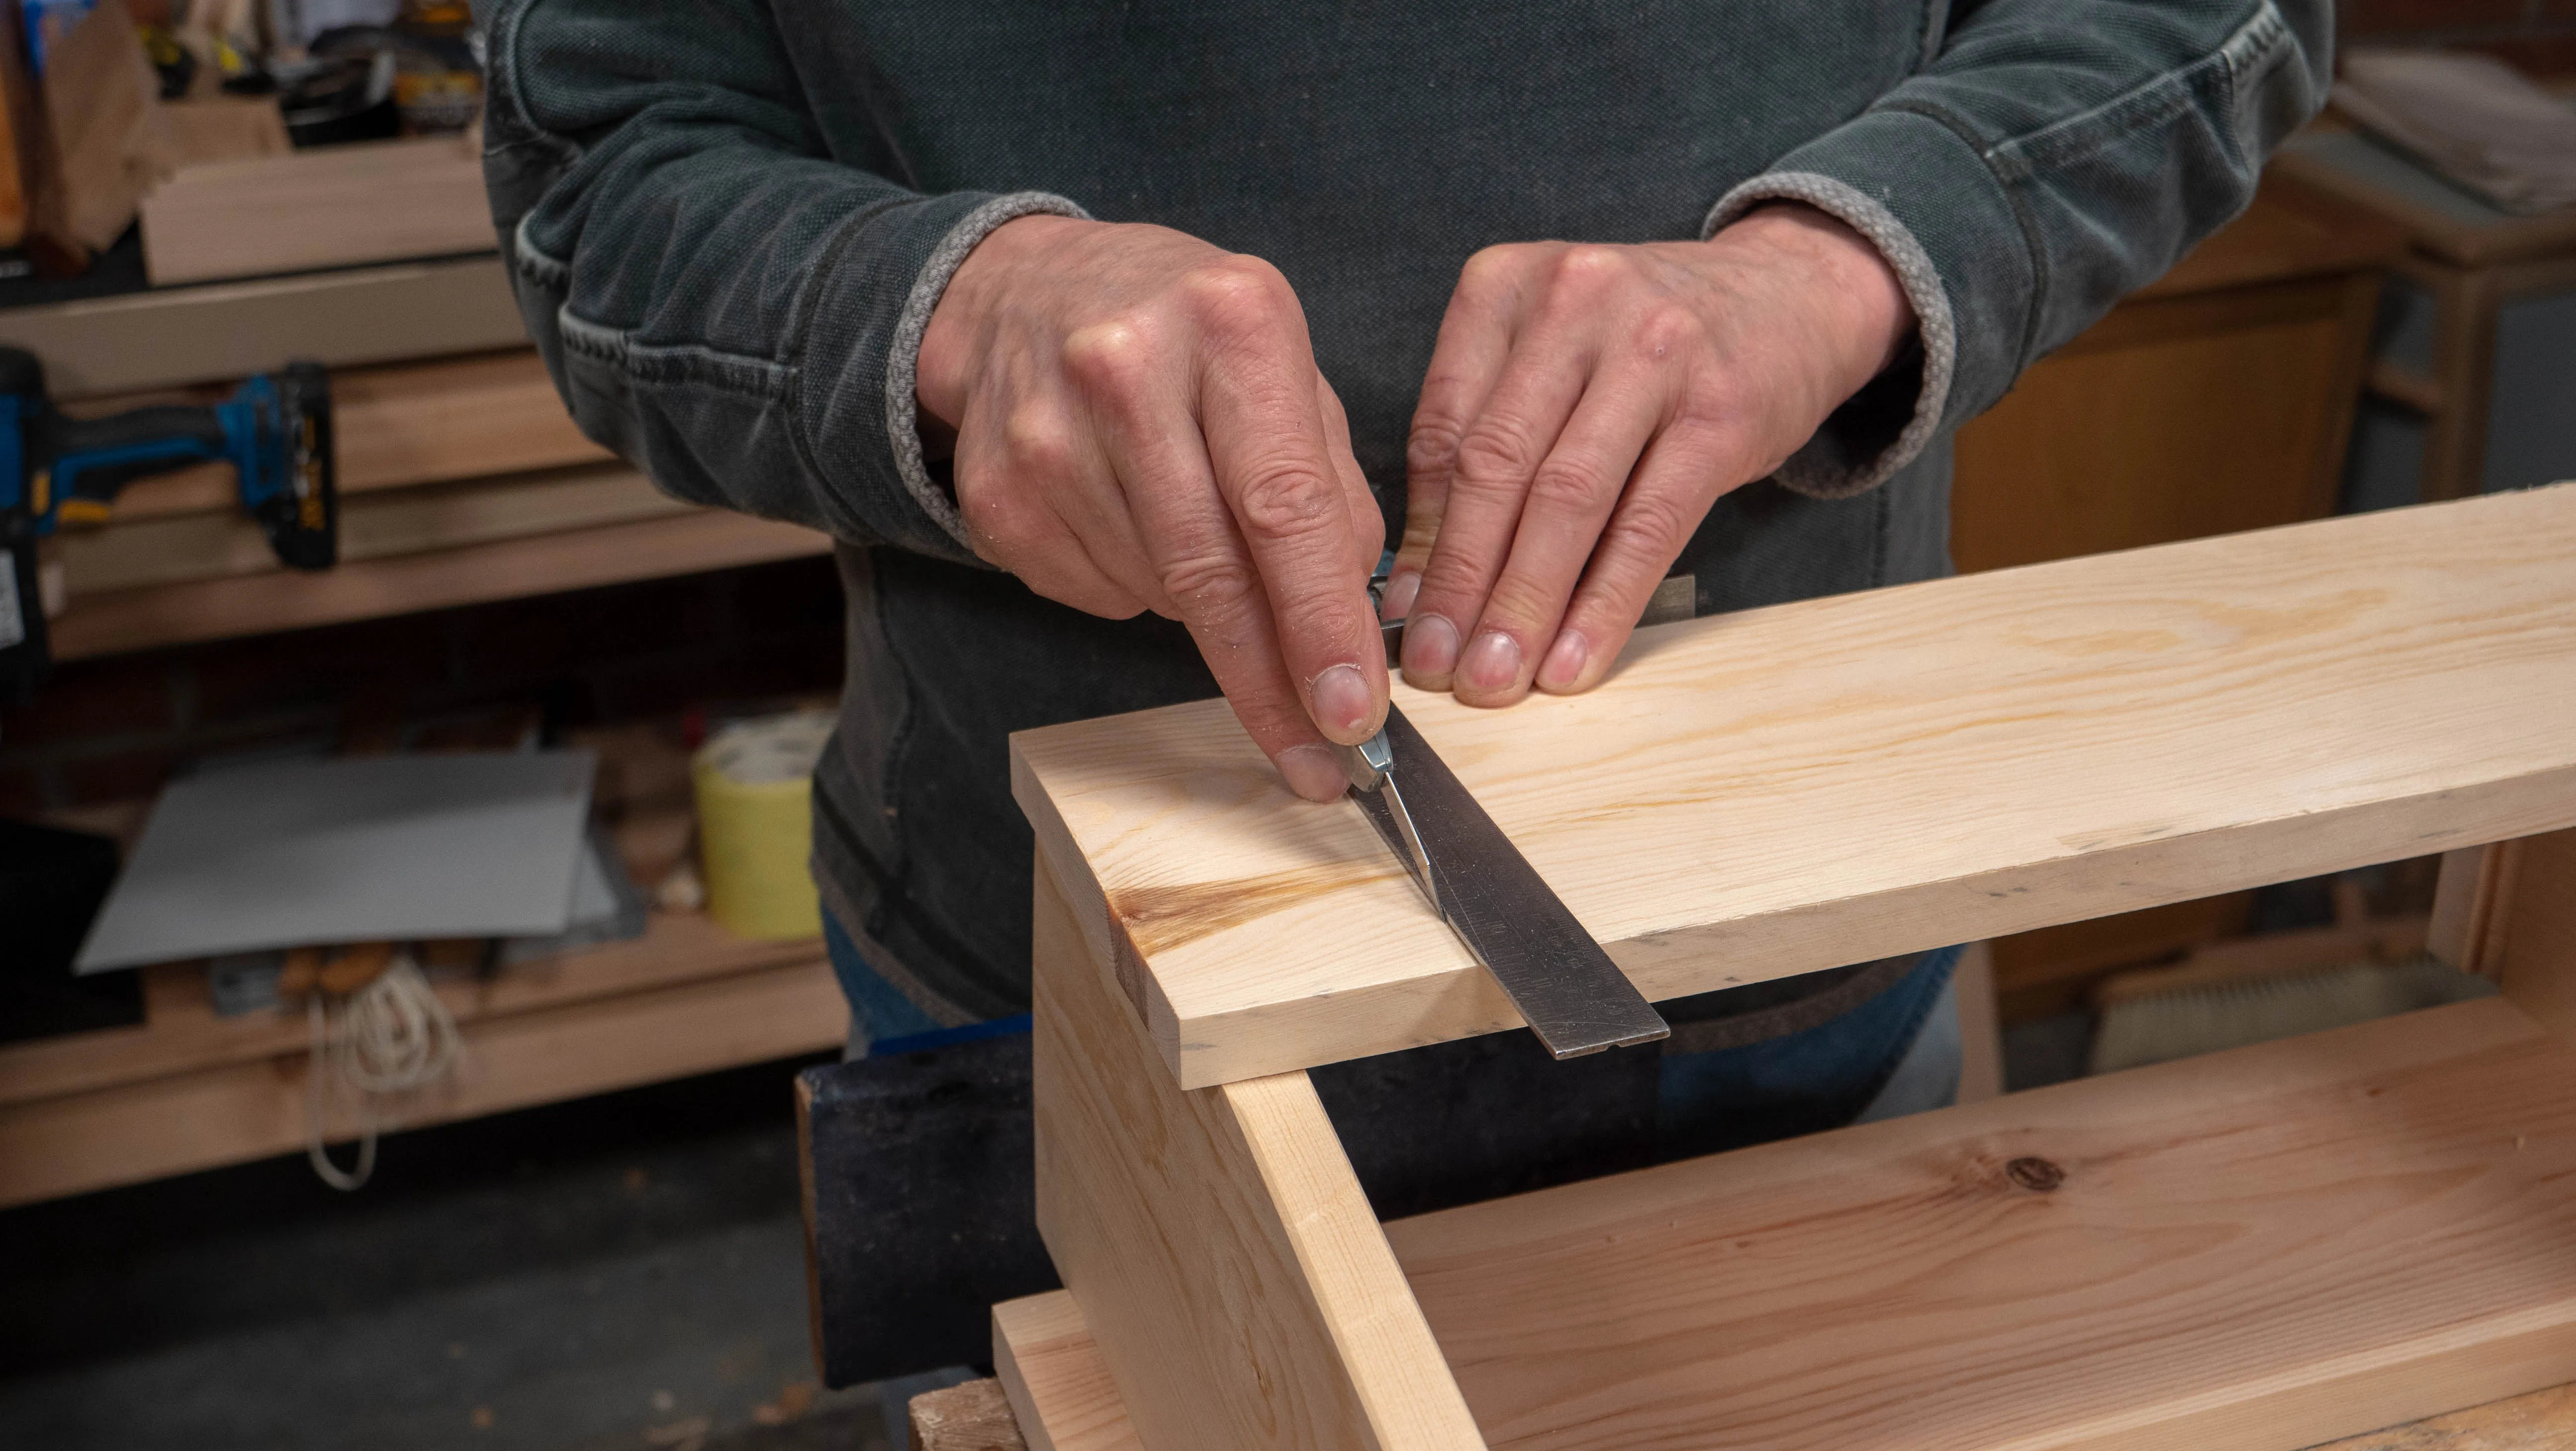
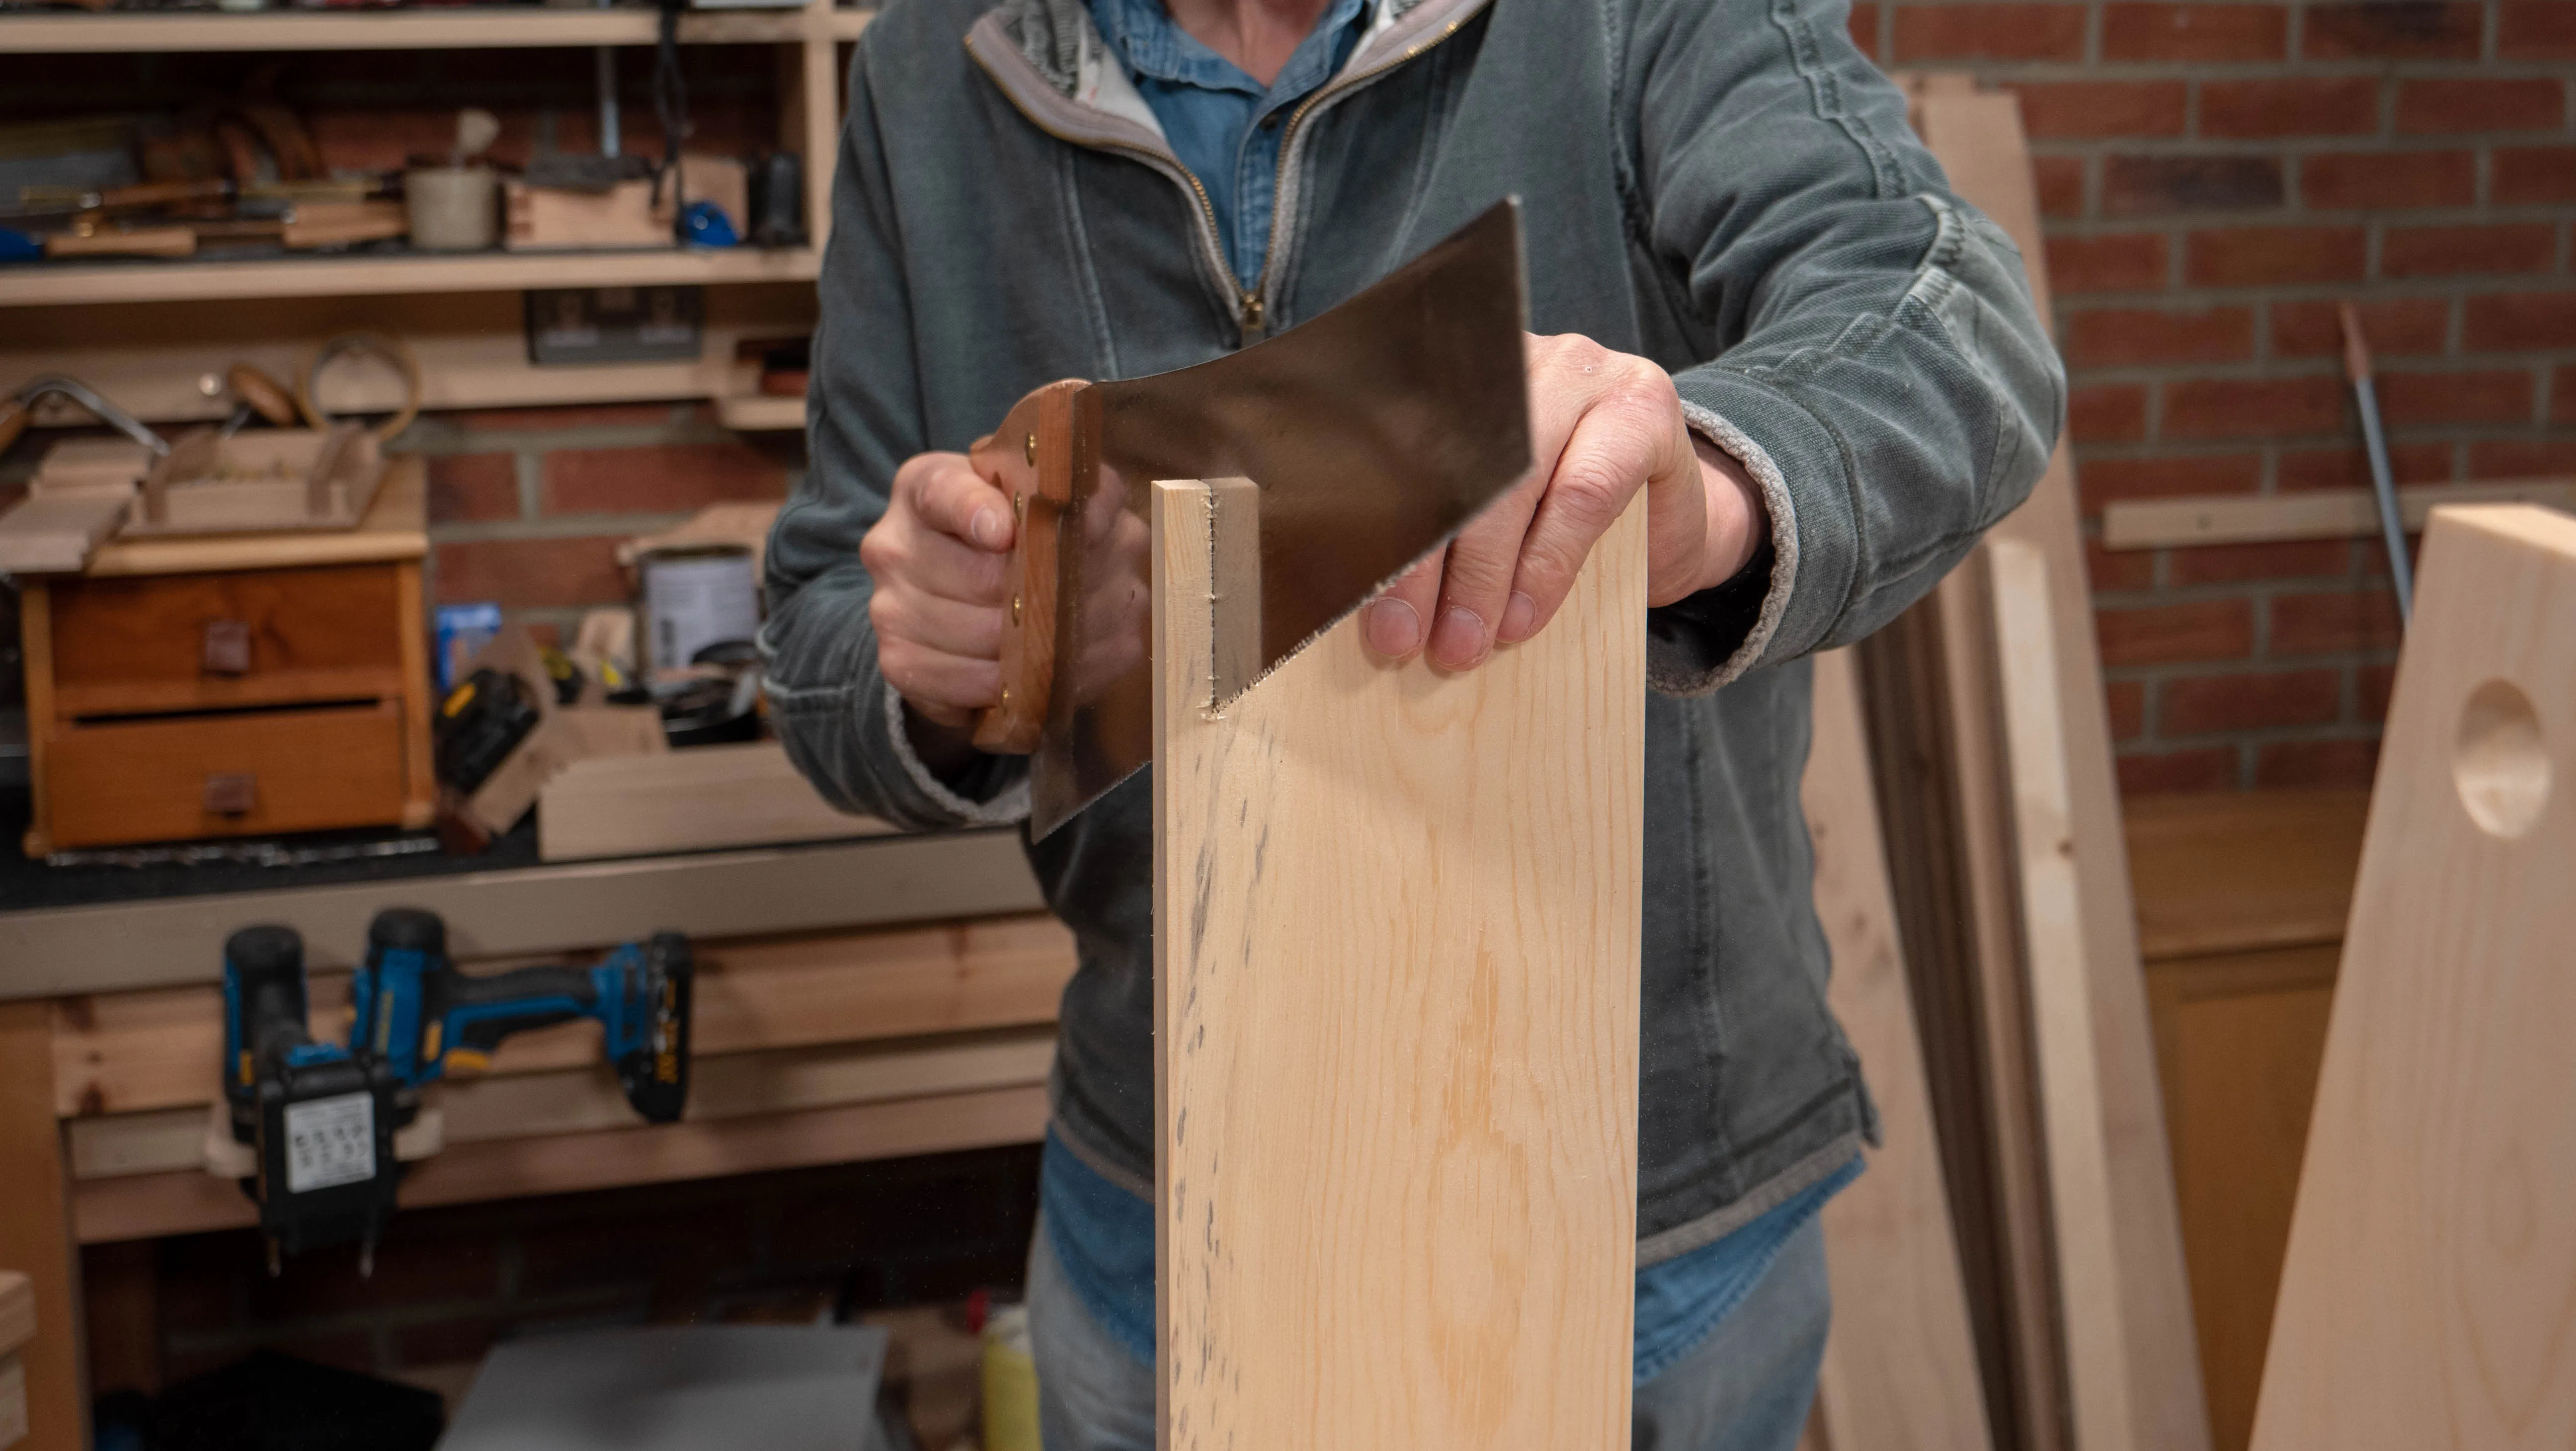
Use a handsaw to rip the board to width. Finally, clean up the edge with a sharp plane, but don’t go past the pencil line; what you want is a good meeting edge since ultimately it will be edge-glued to the side pieces.
You can now assemble the tote with the base to check that everything aligns and you will be able to glue up with no issues.
Sign in to track your progress