Shaping The Ends
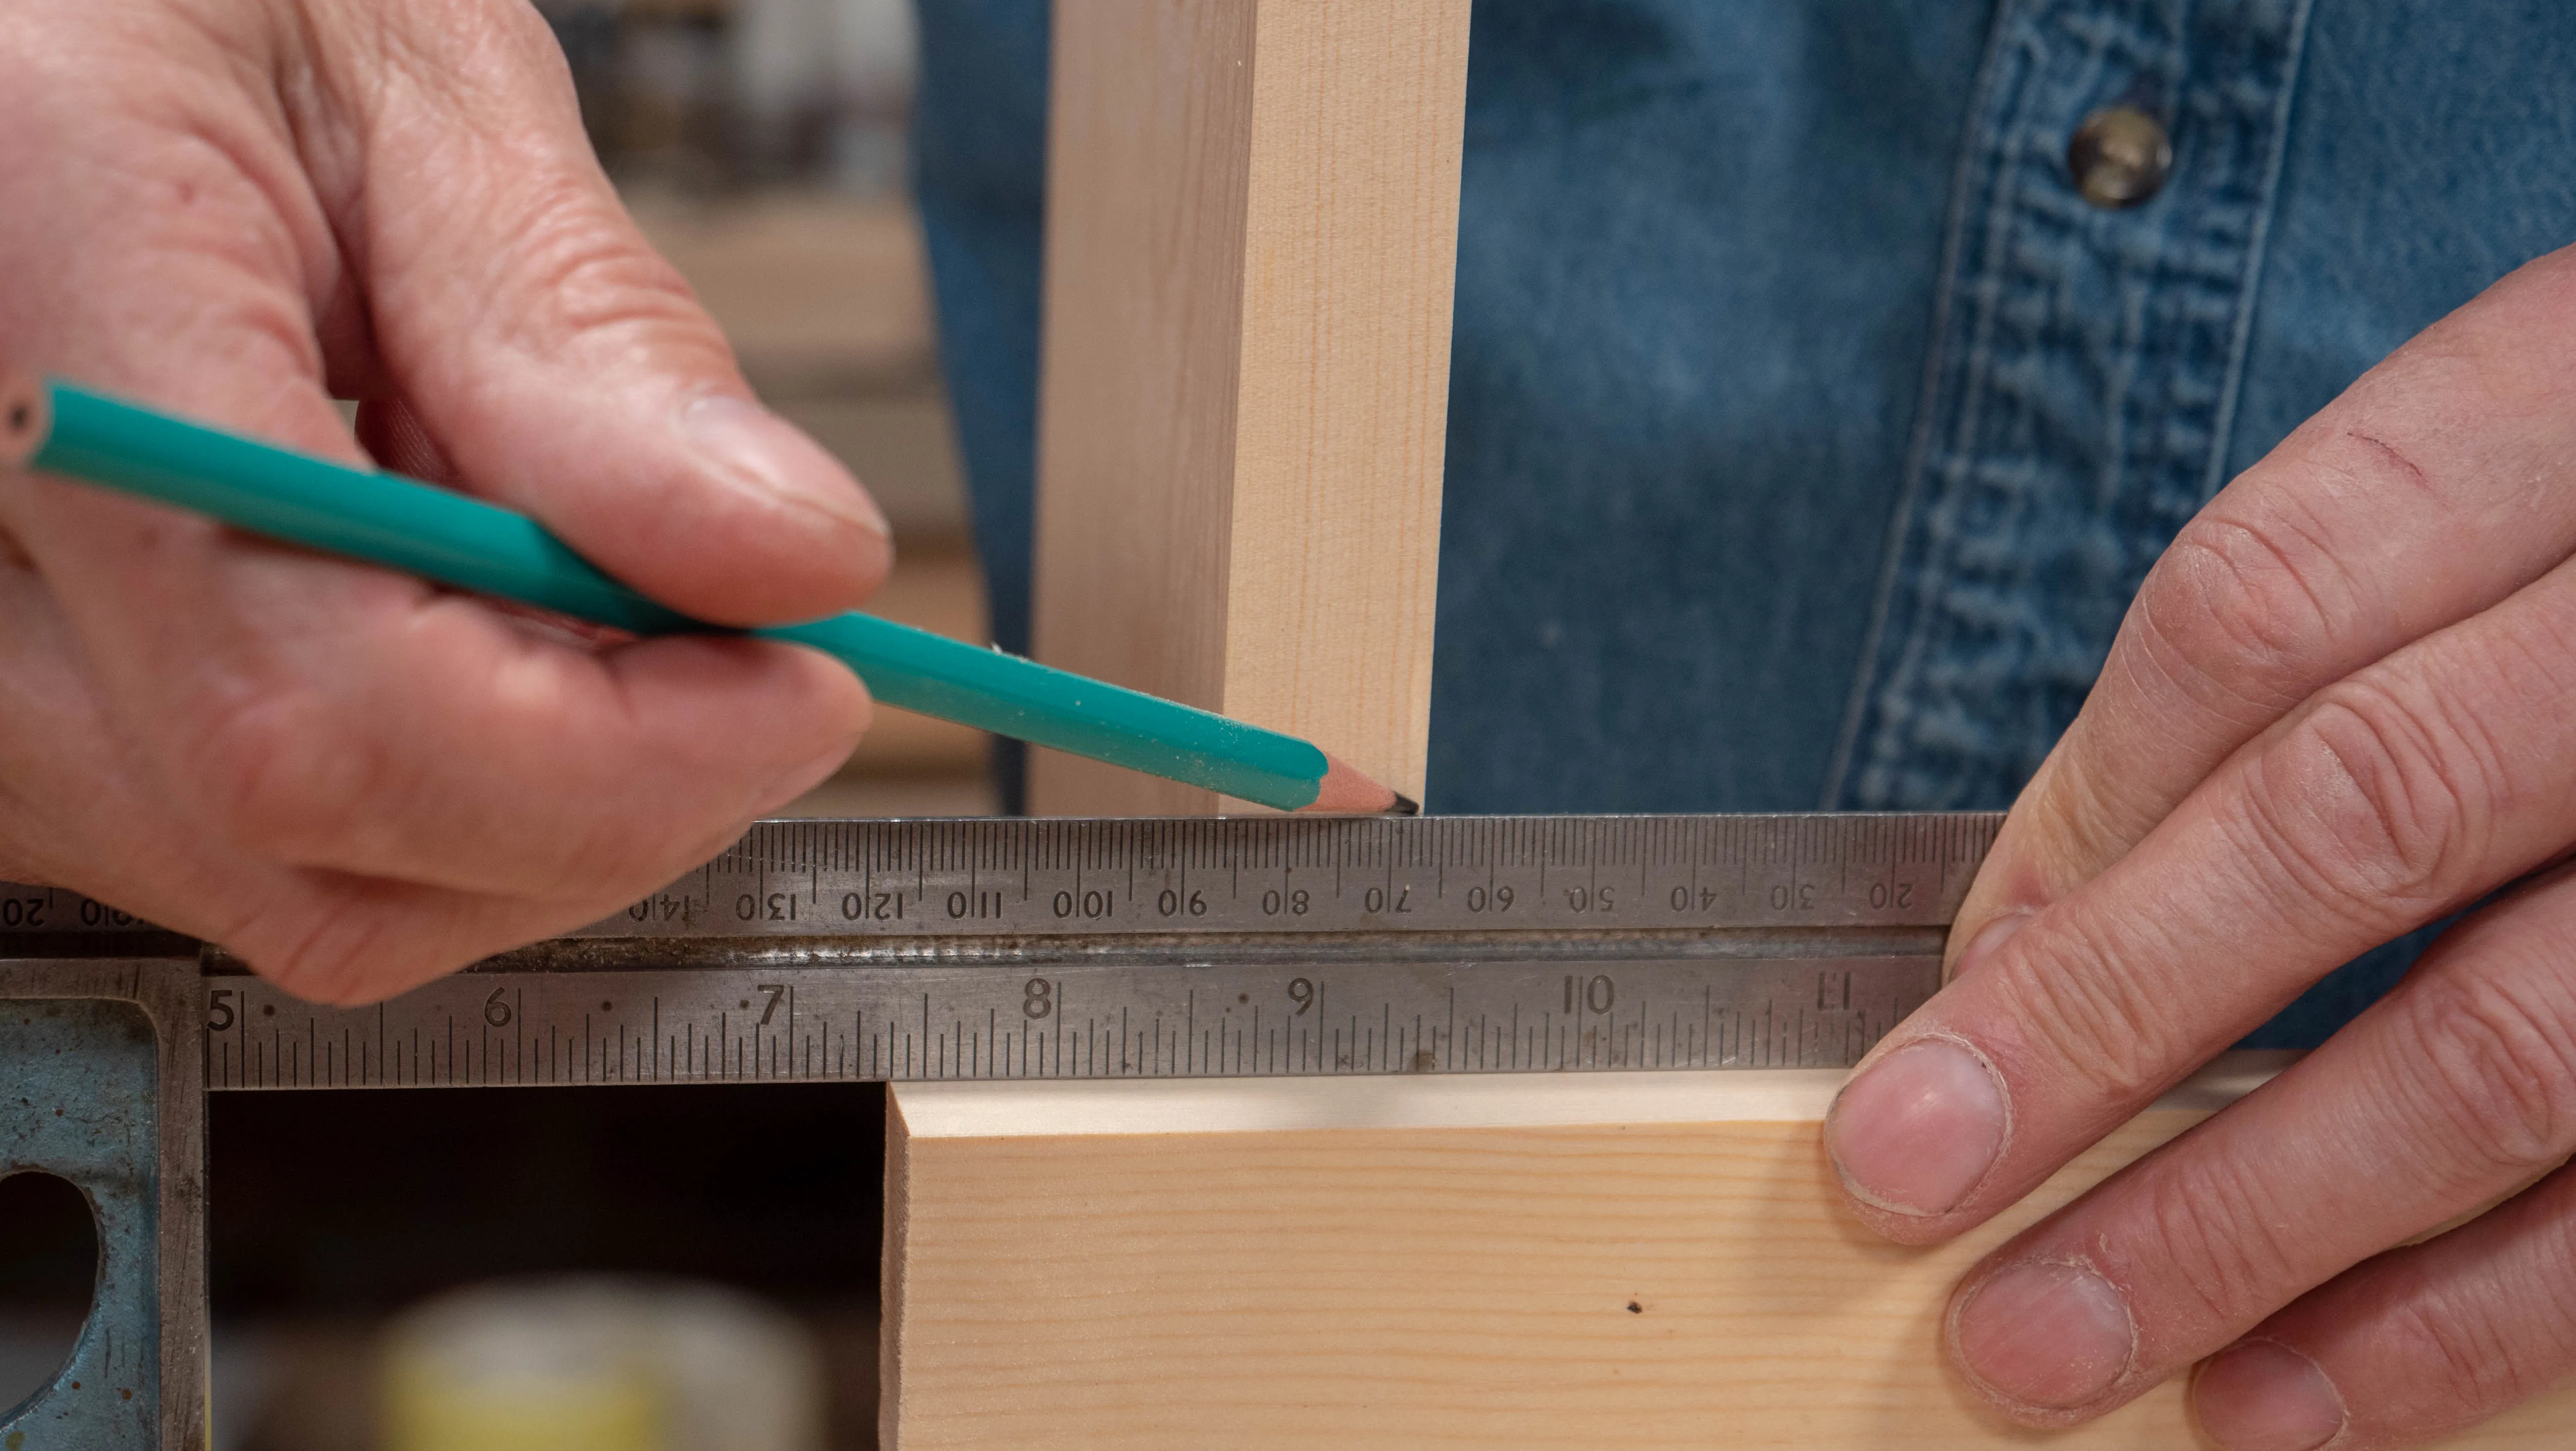
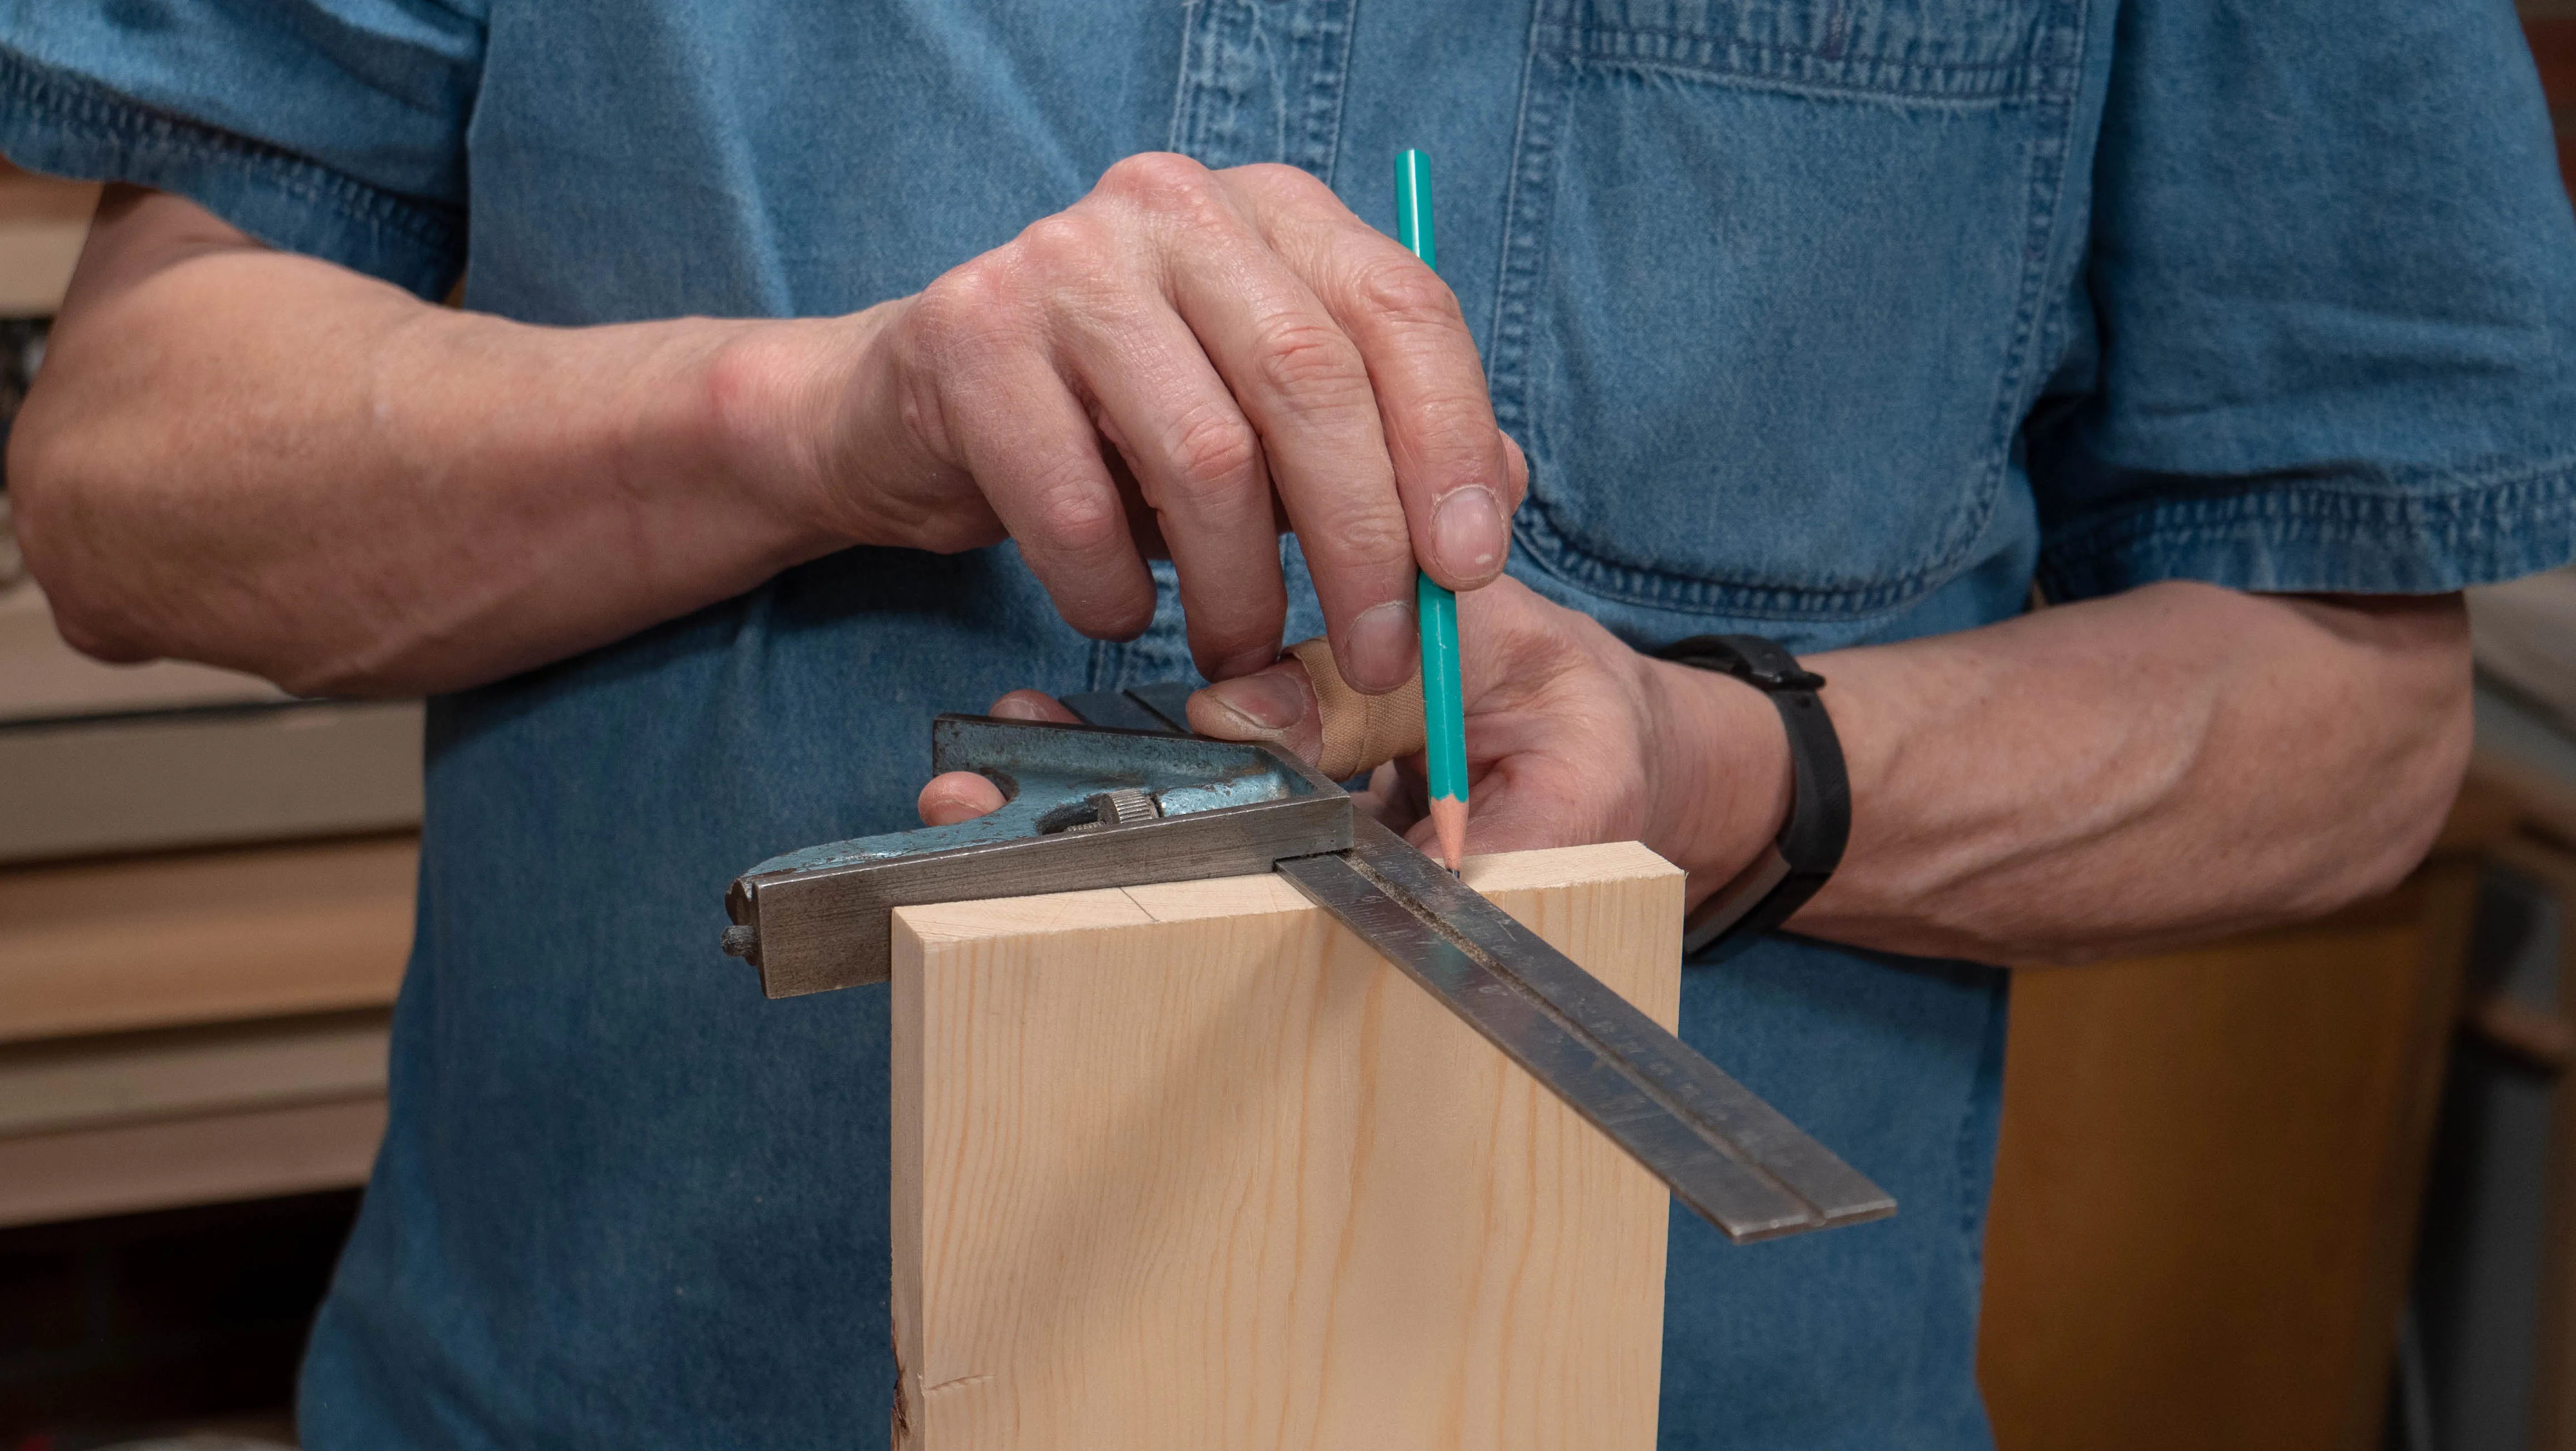
While all the parts are assembled, mark 1” (25mm) up the end pieces from the intersection with the side panel, as this is where it will begin to taper from. You can use the width of a steel rule the beam of a square for this, as they are usually 1” wide.
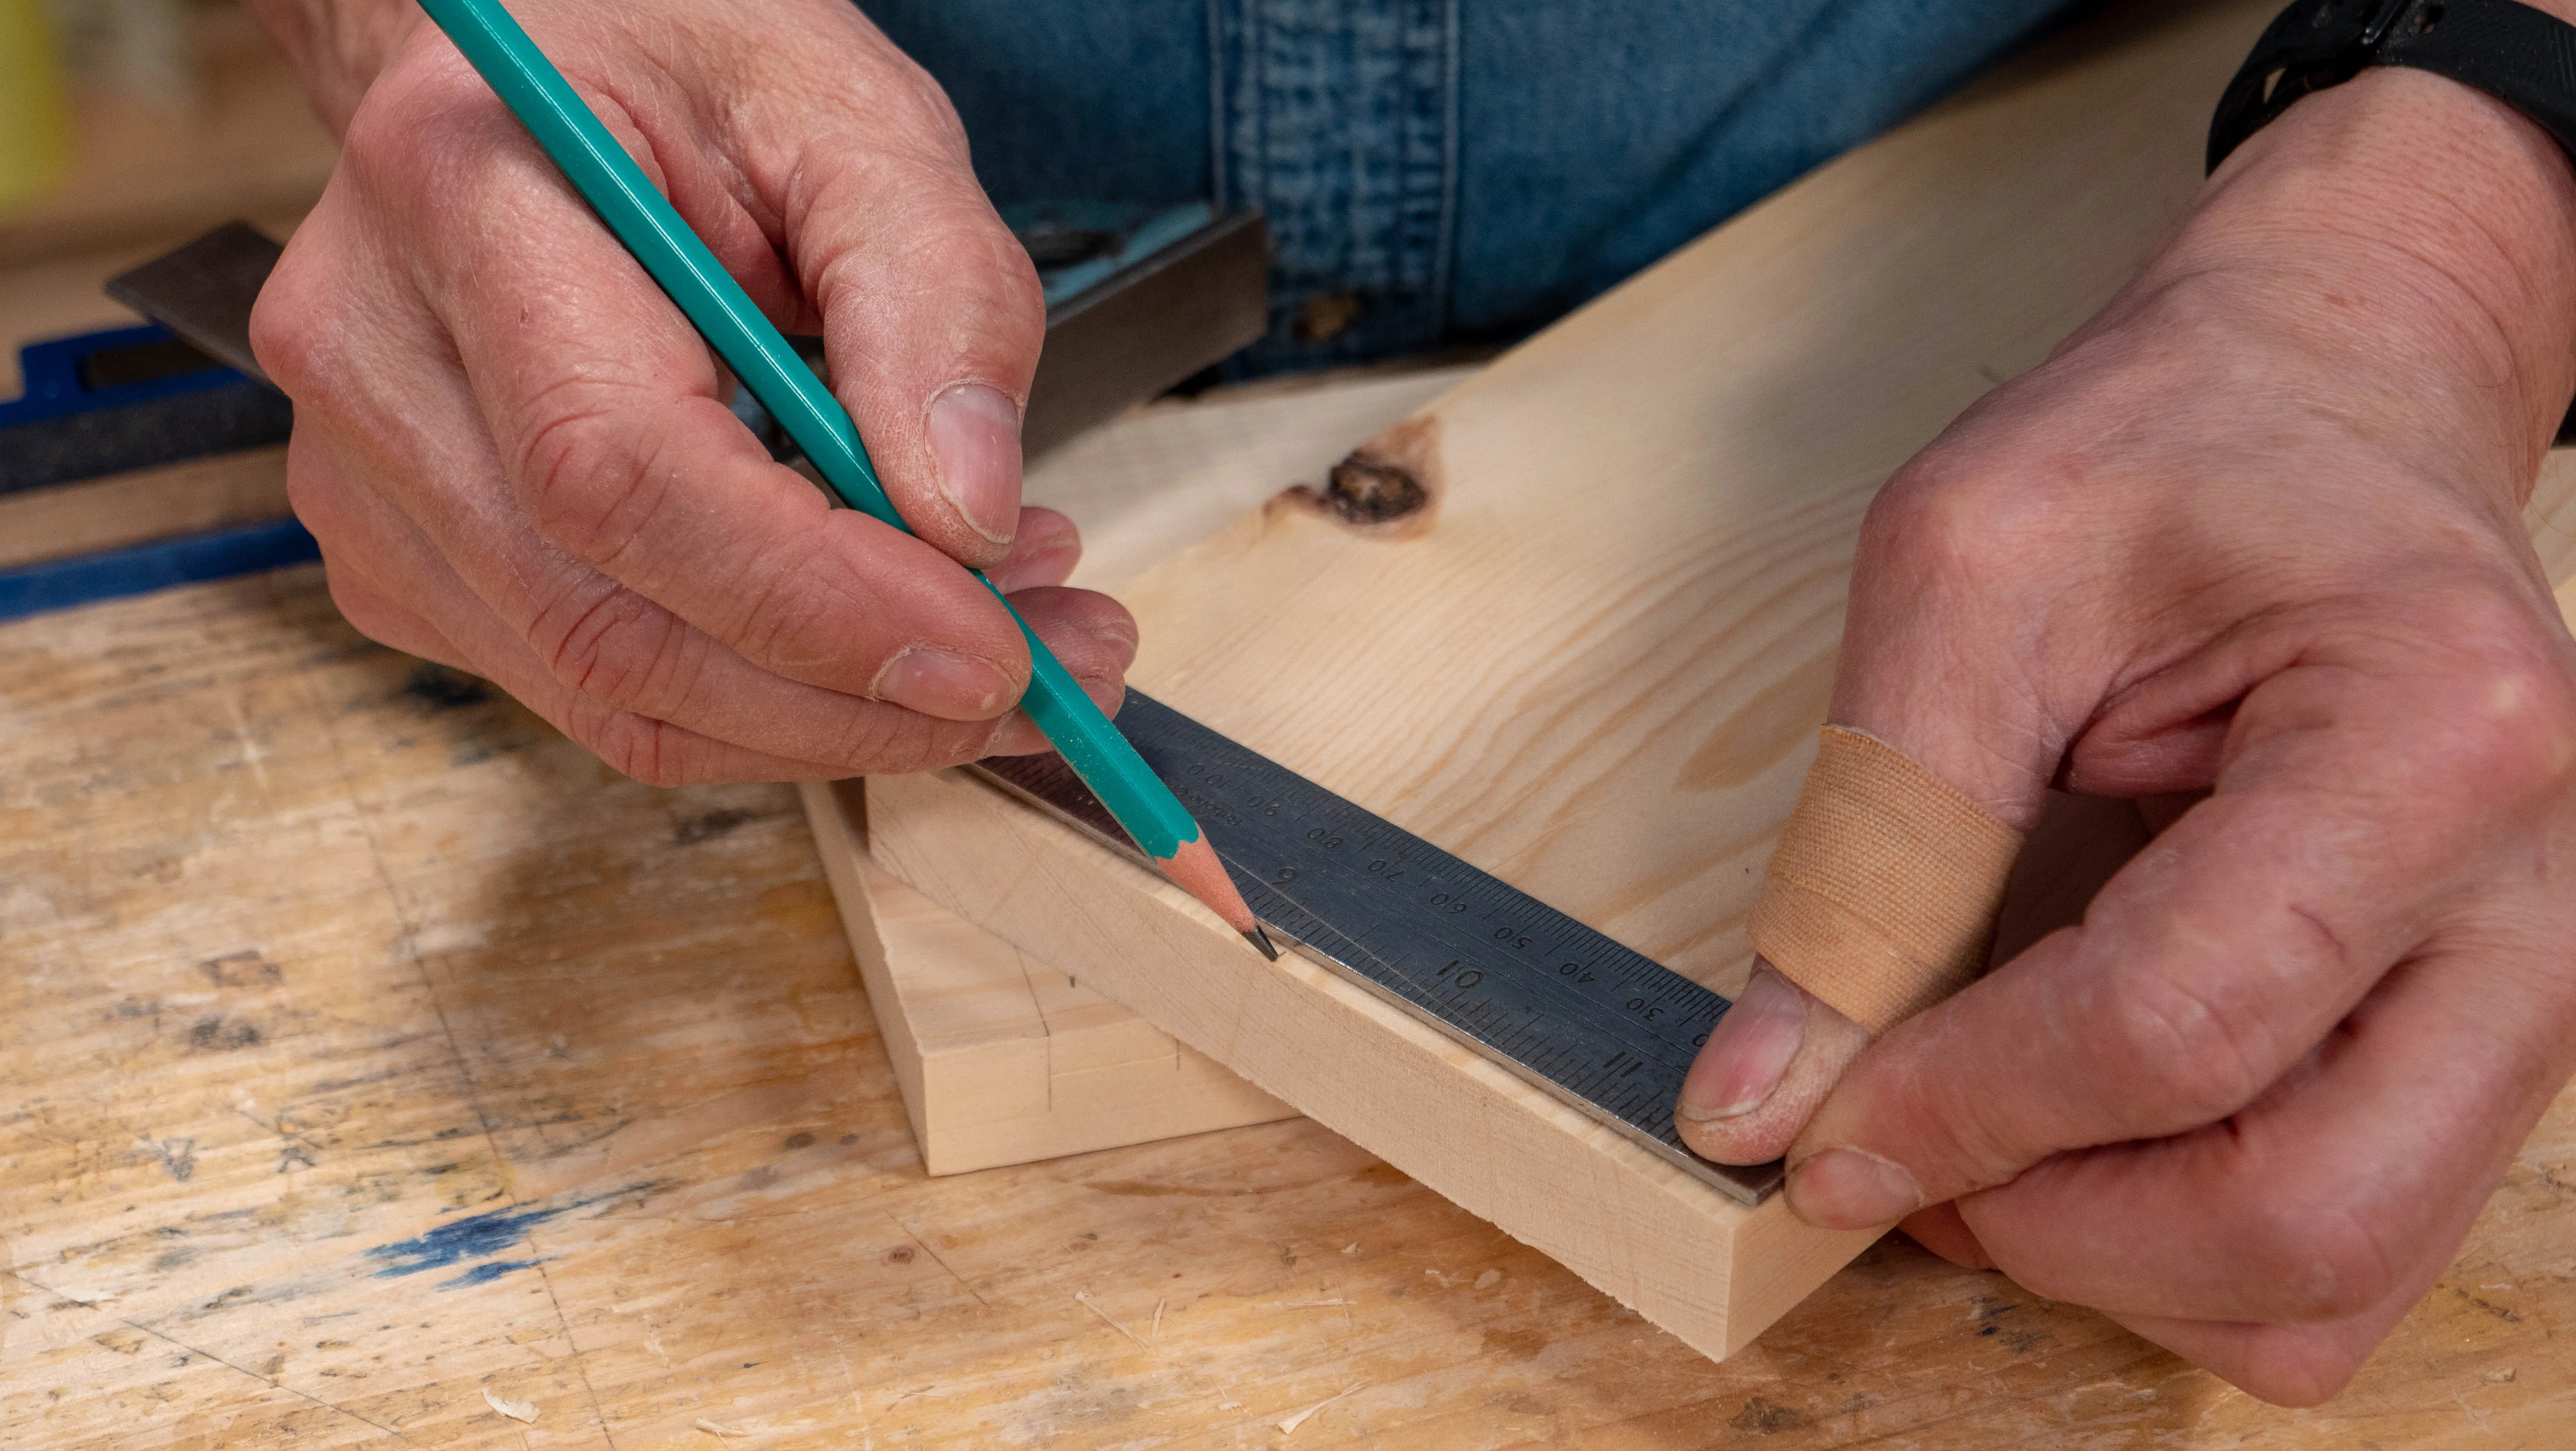
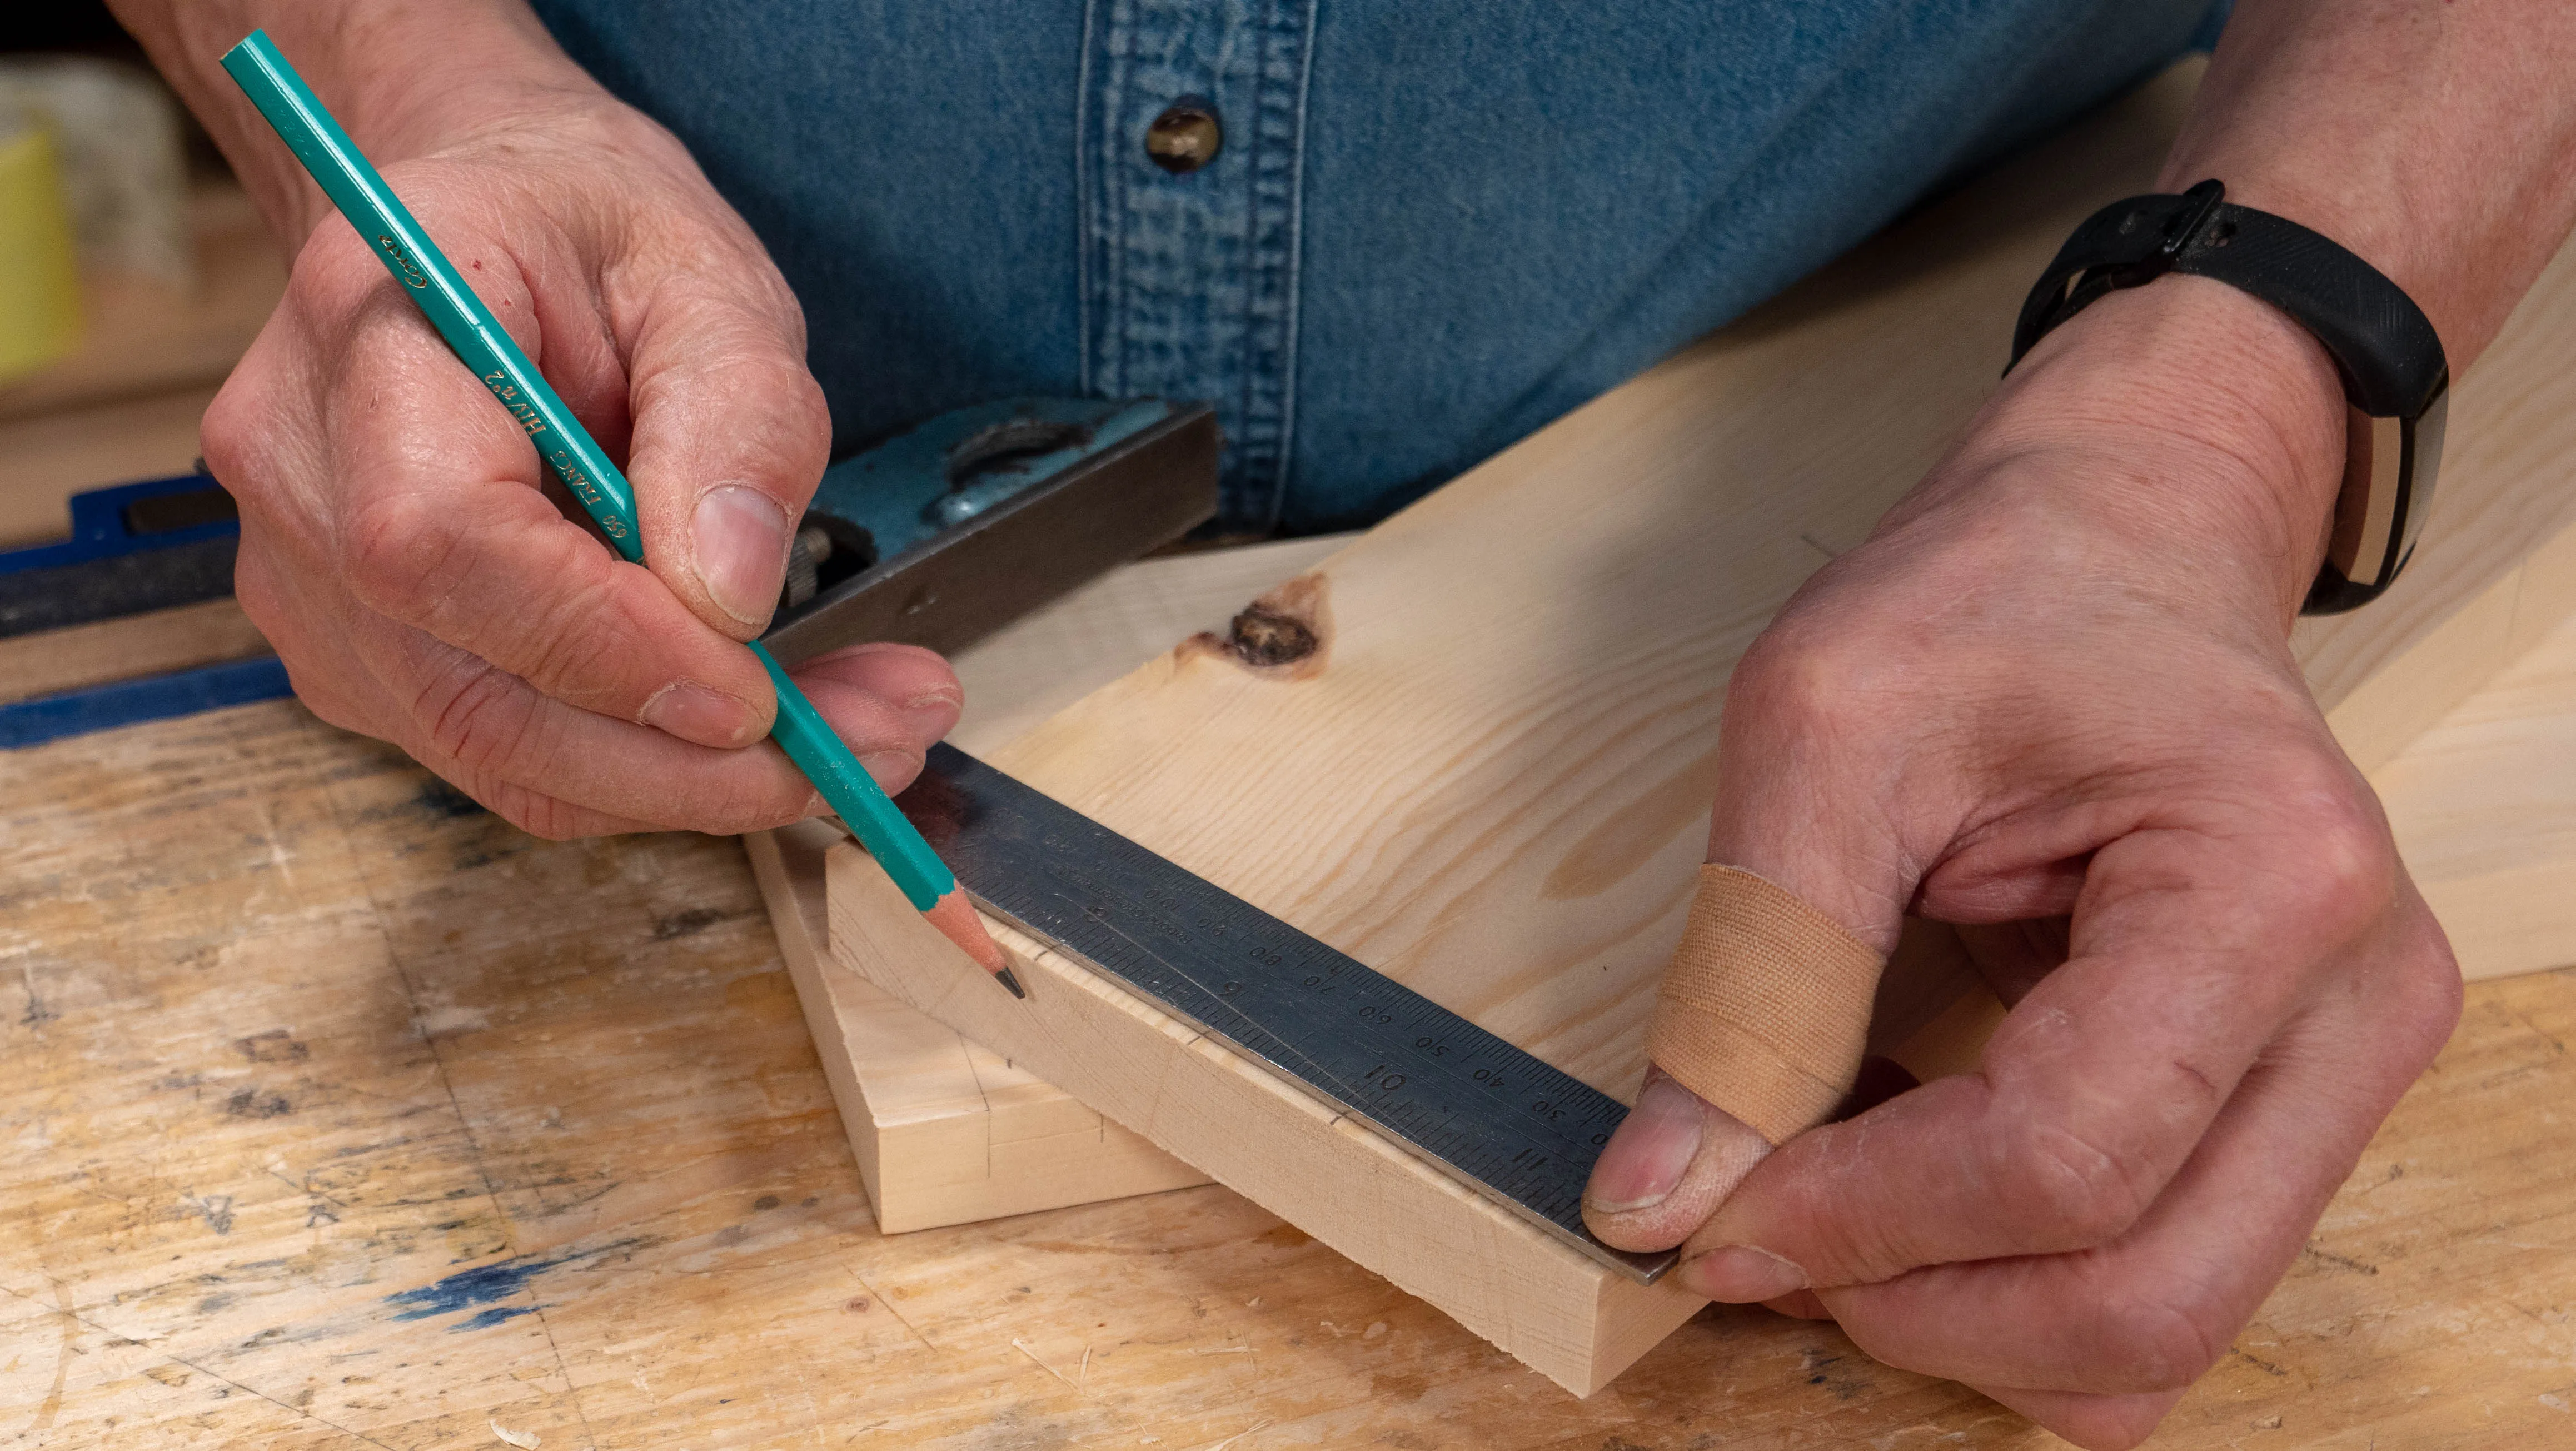
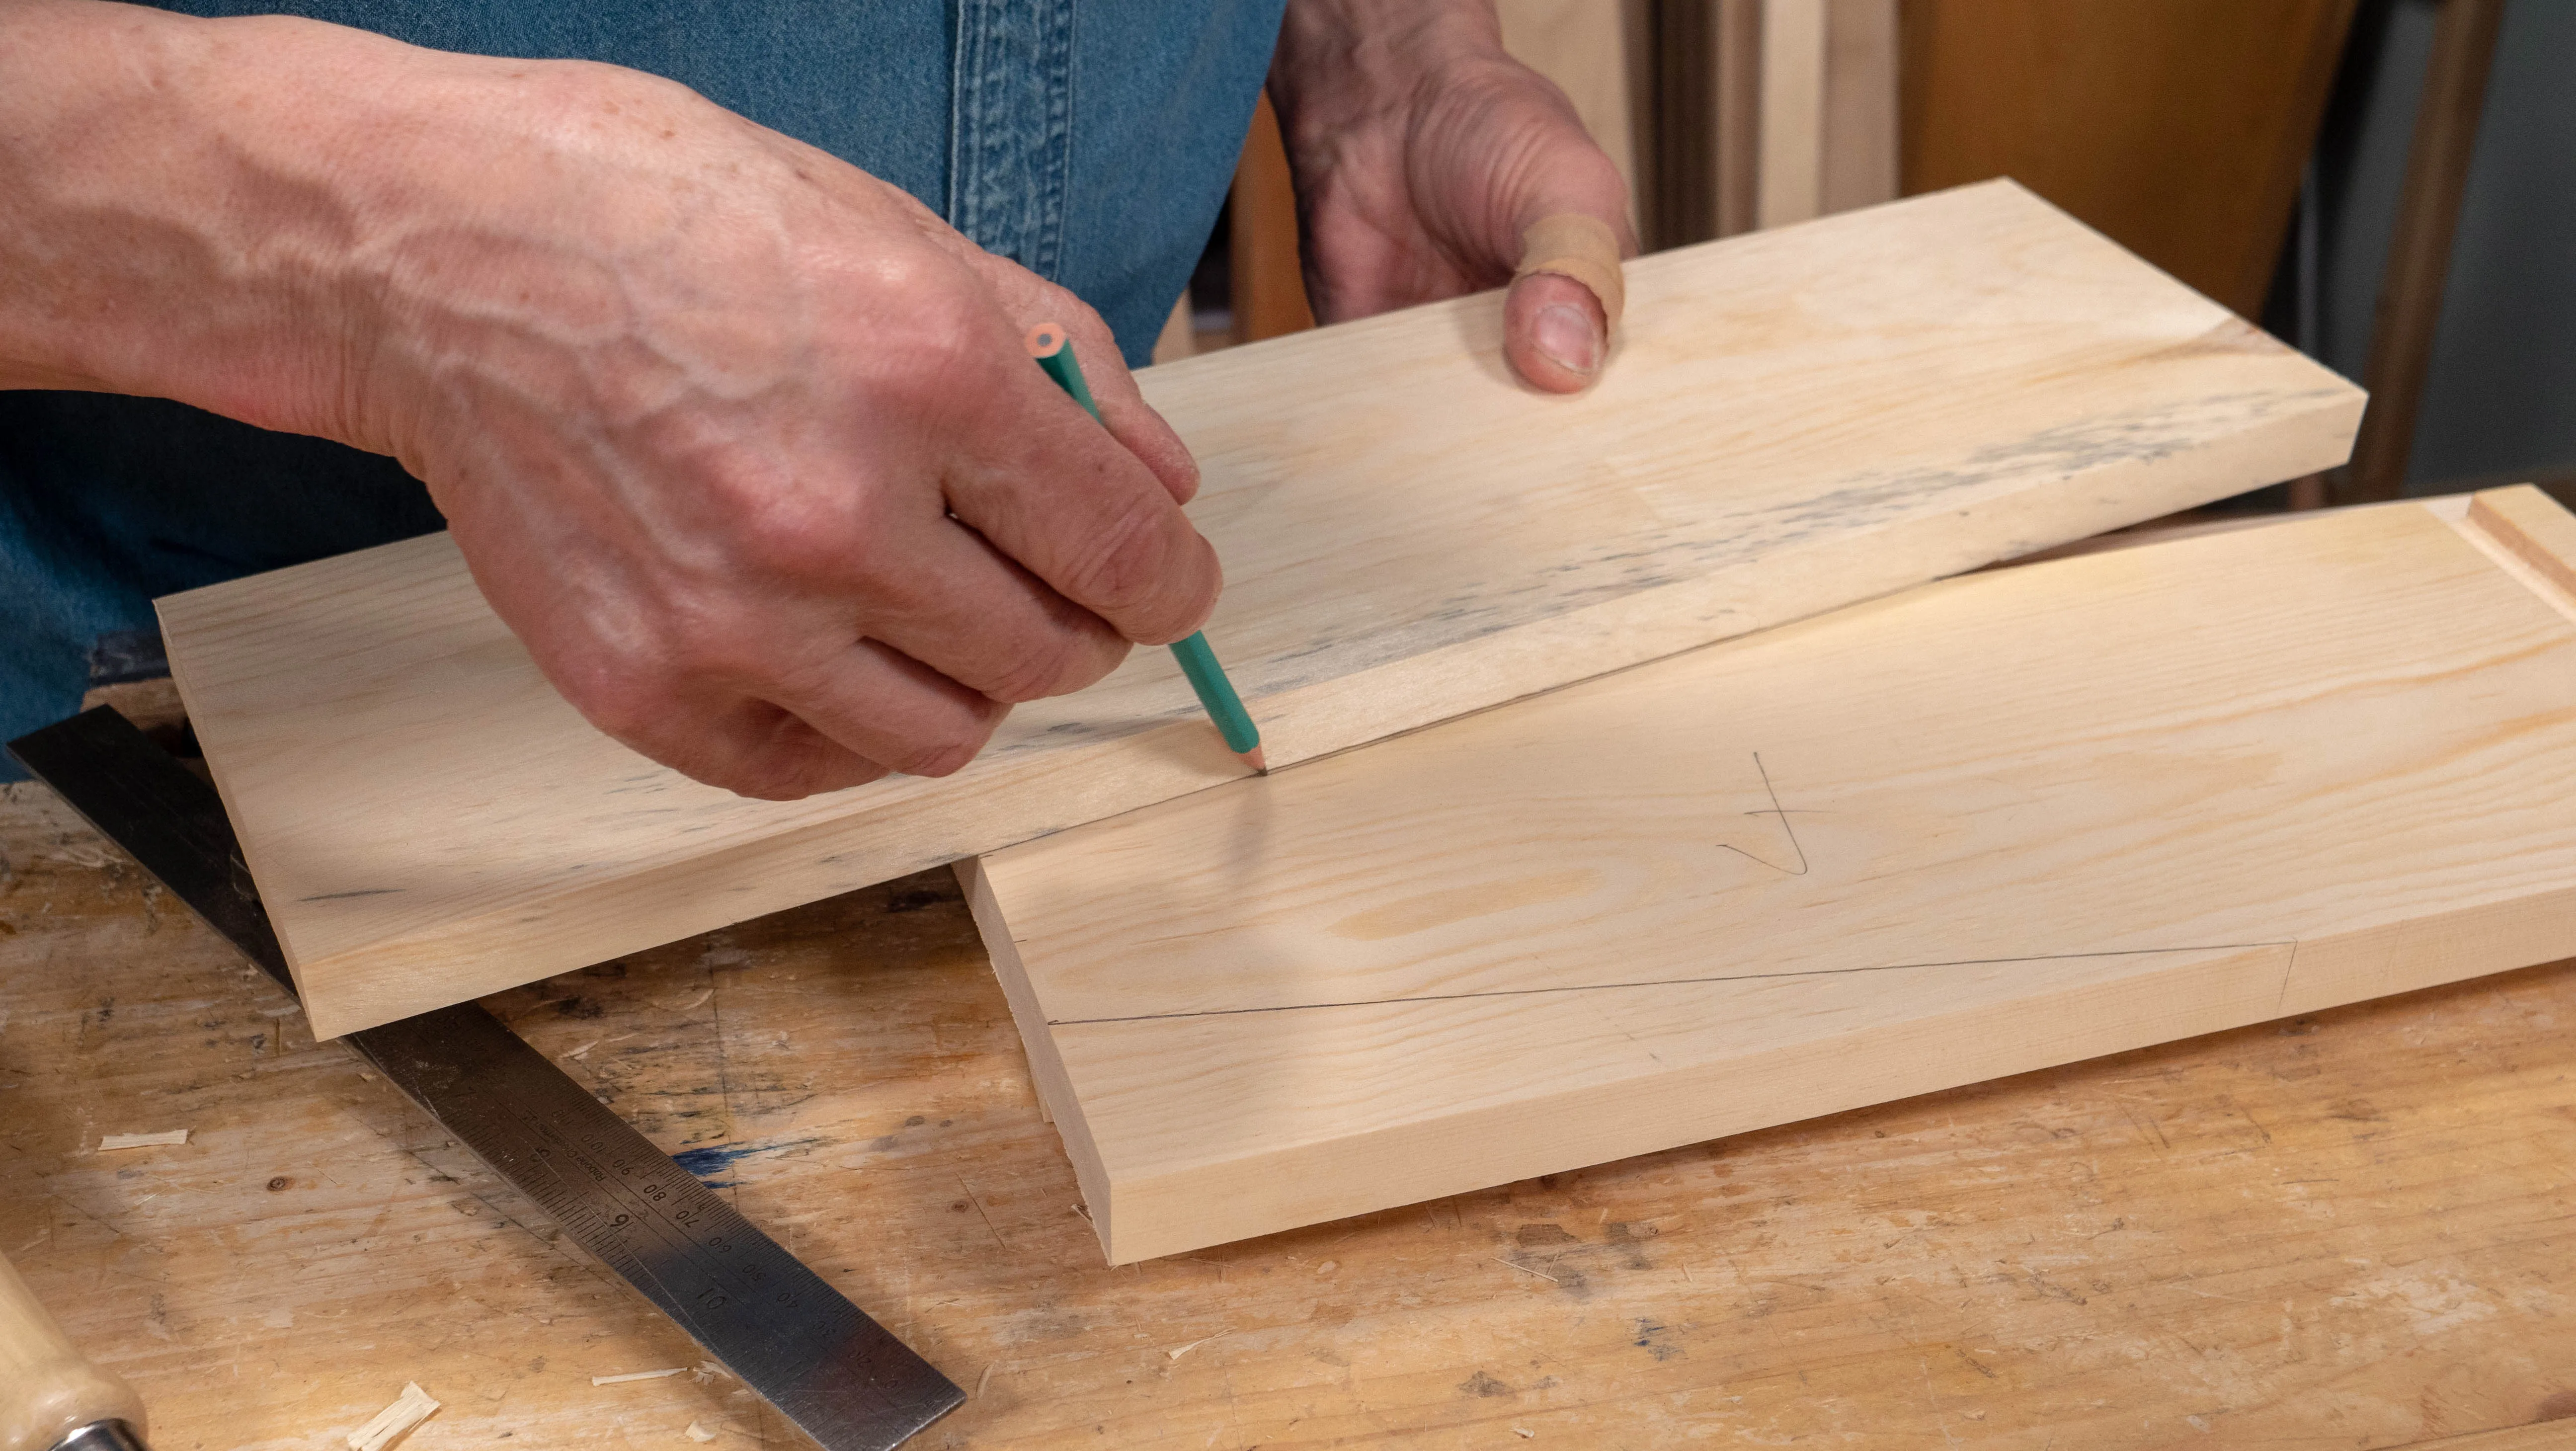
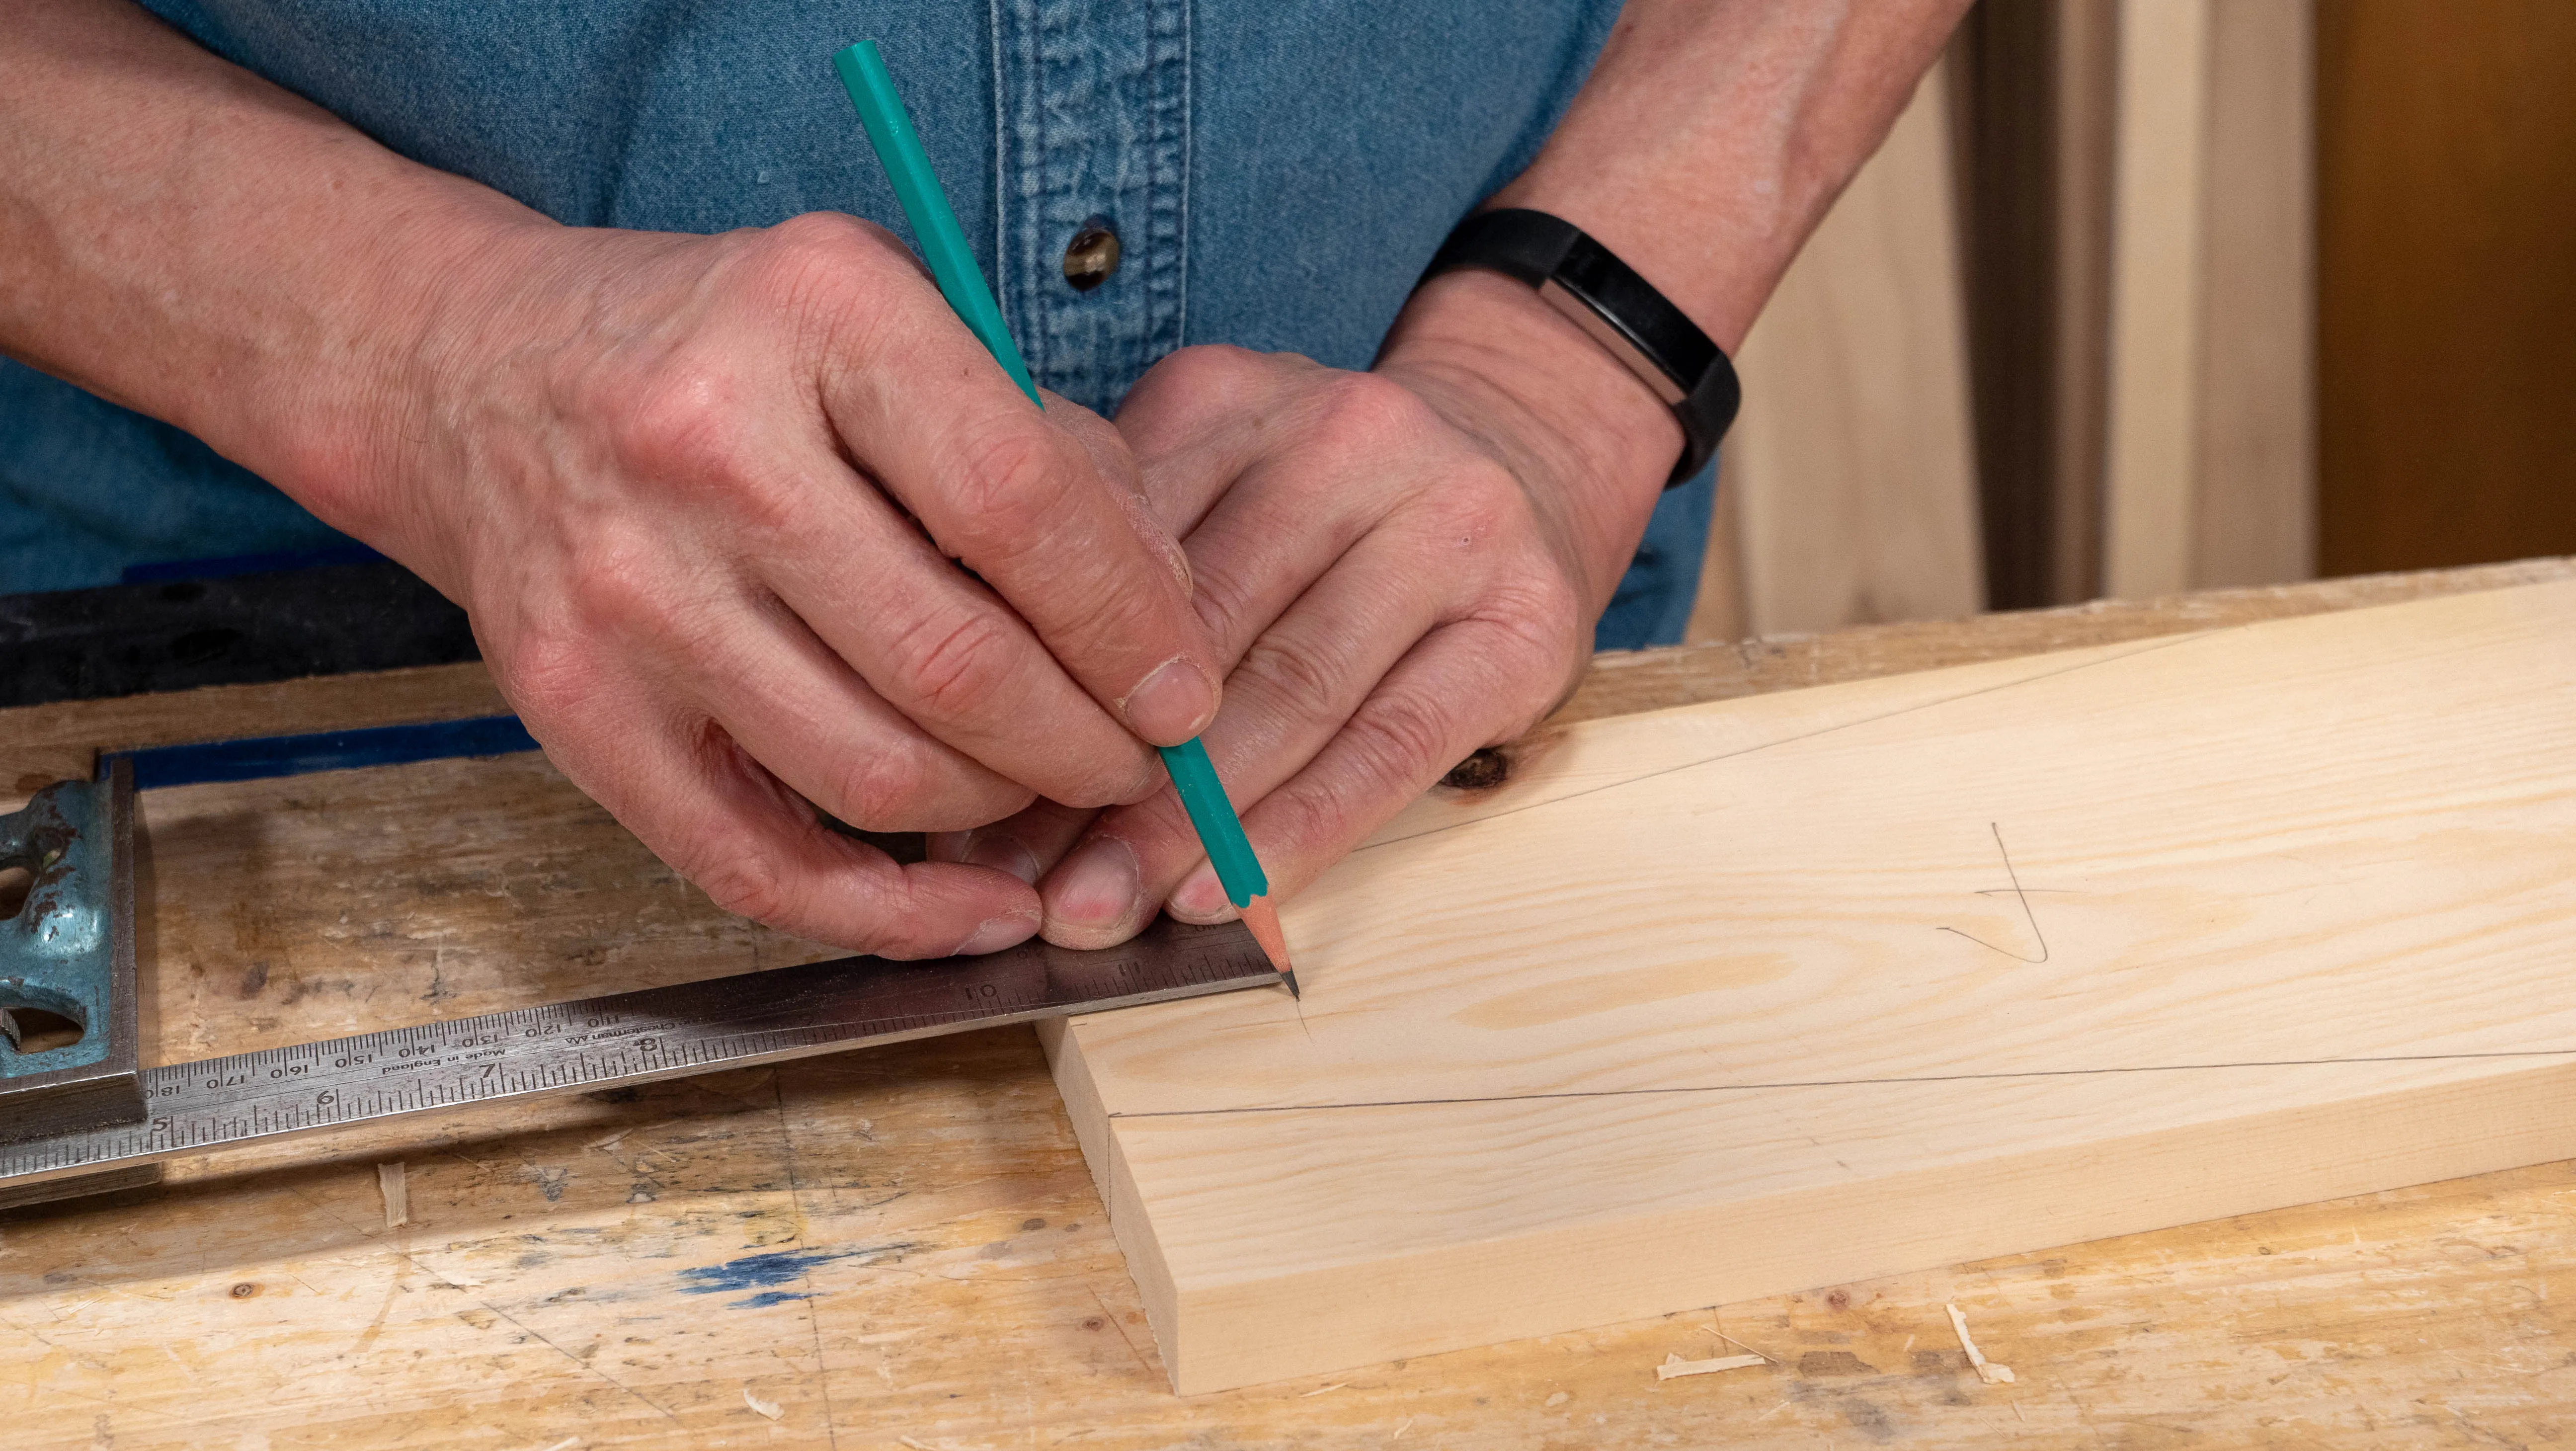
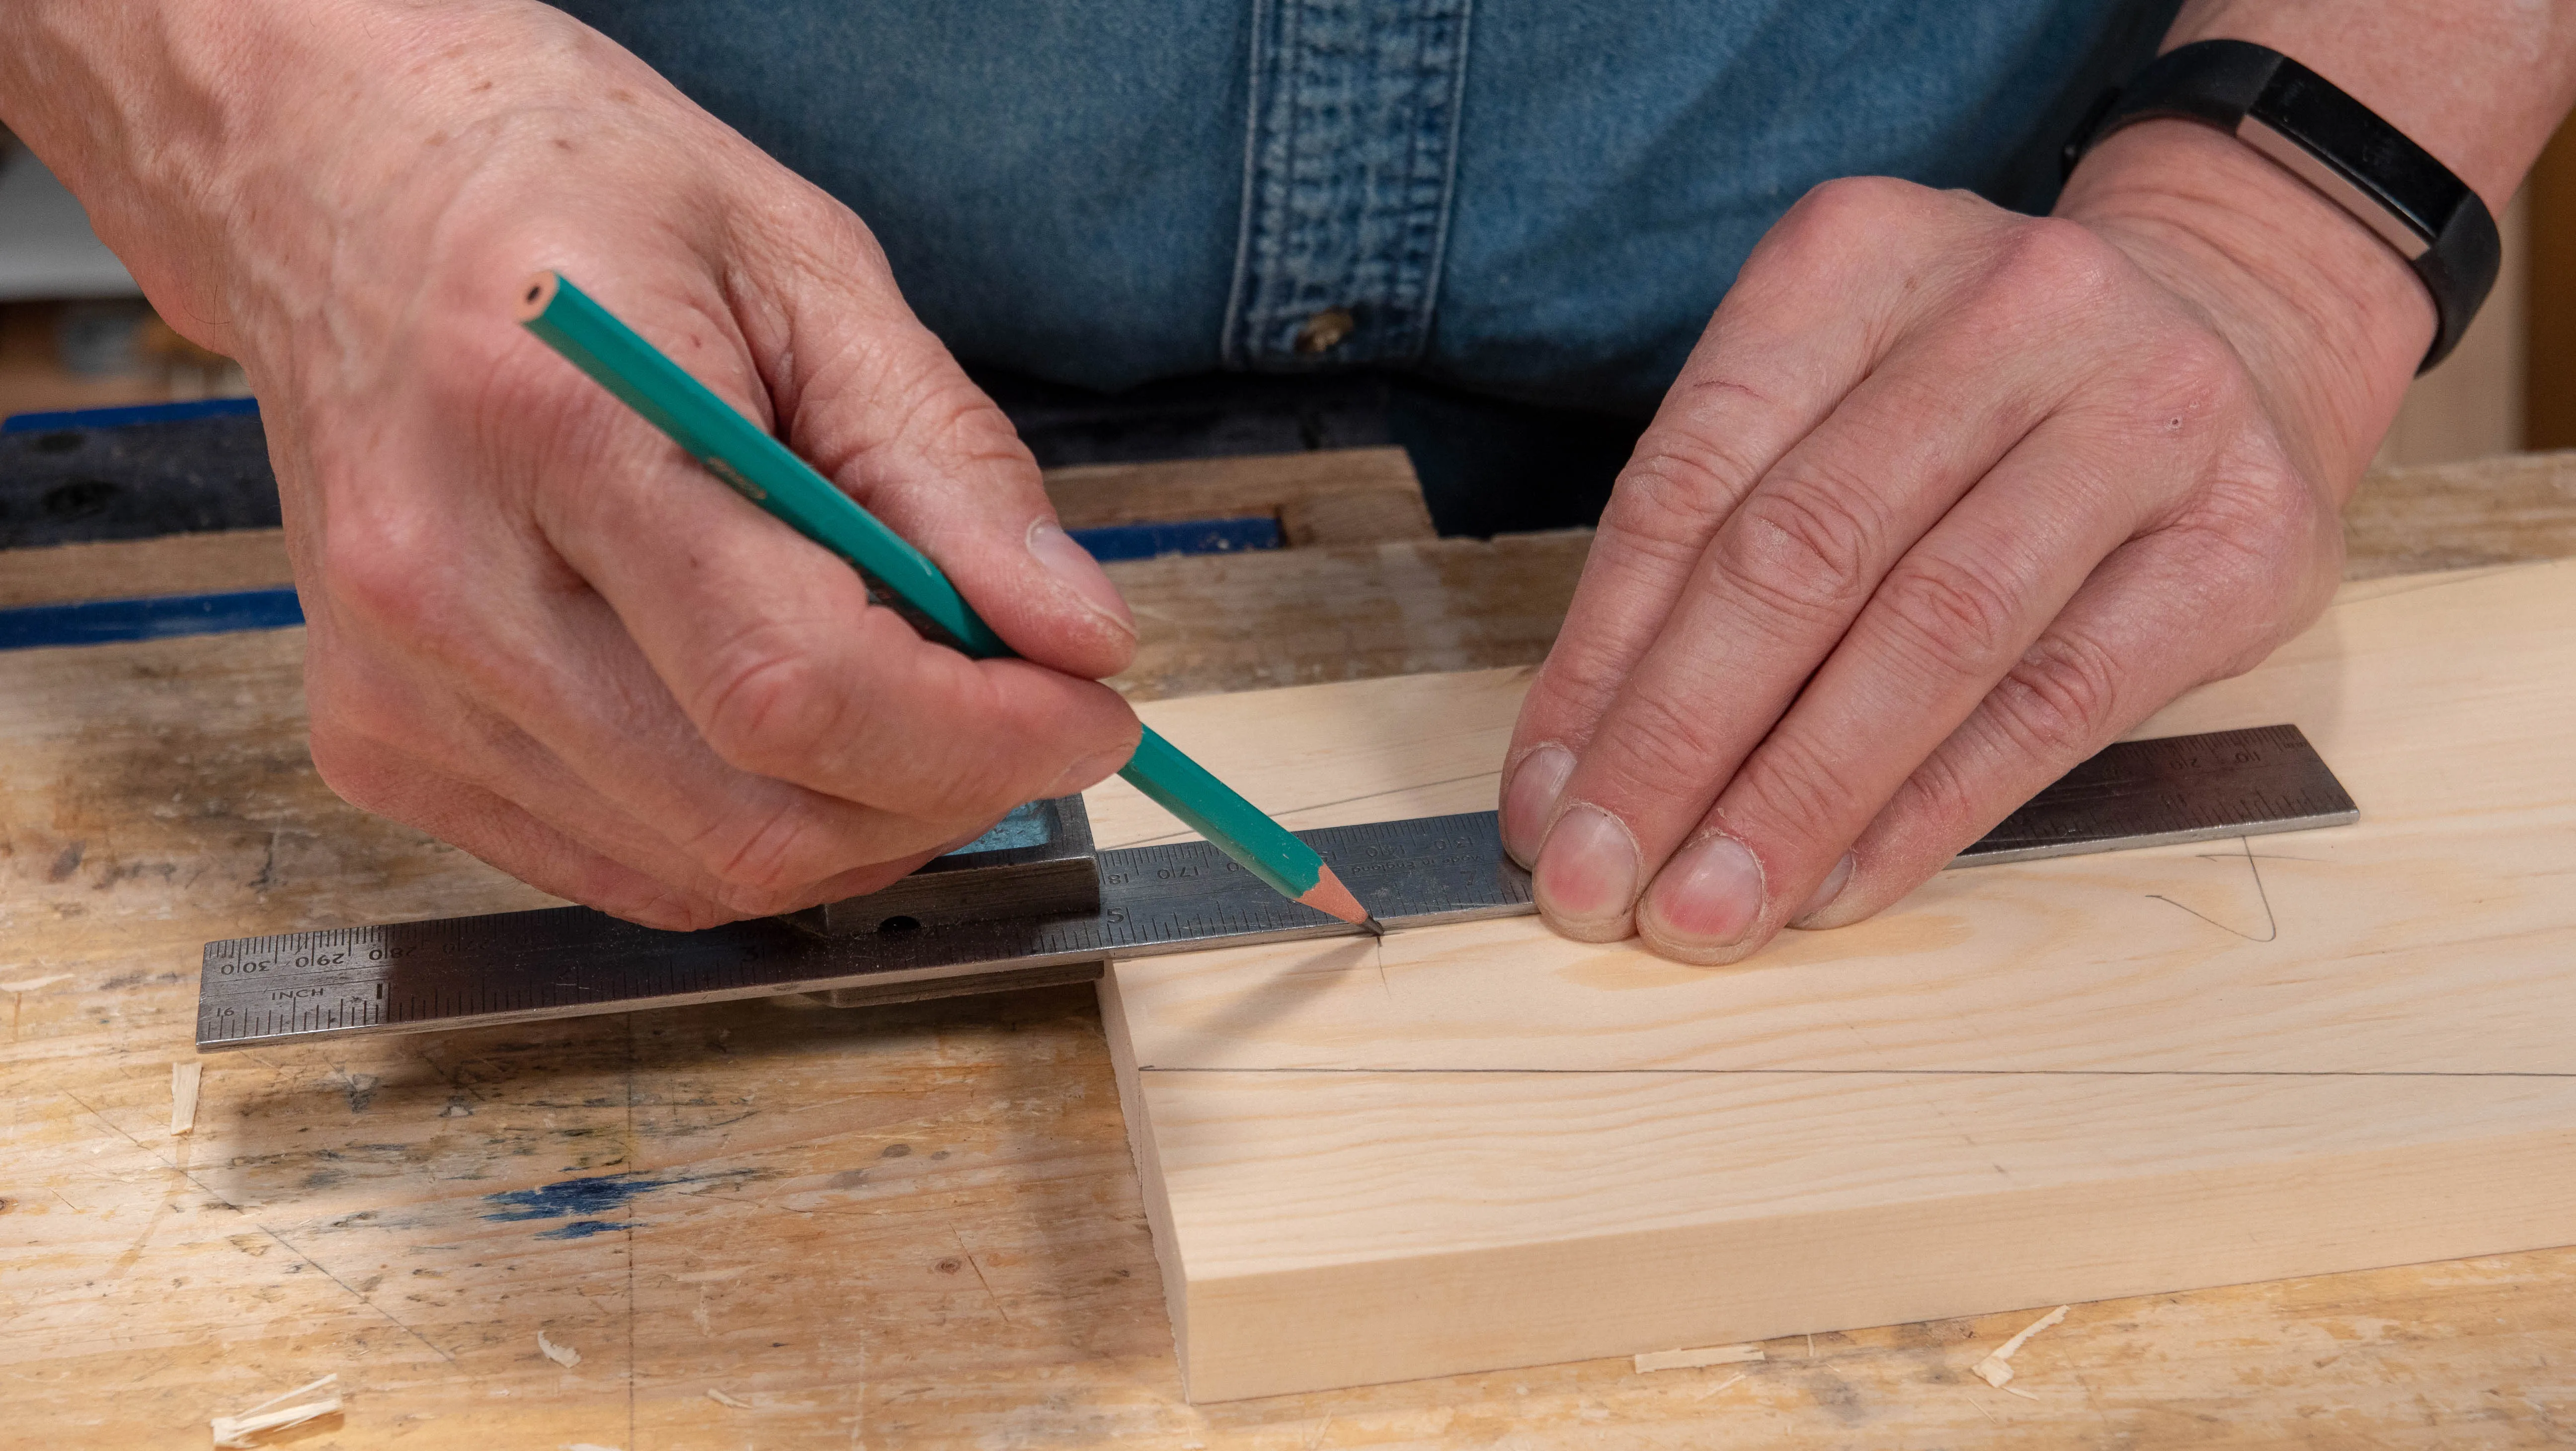
On the top ends, find the half-way point across the width and mark 1” (25mm) to either side. You can now use a straightedge to join each of these points to its corresponding mark further down along the outside edge, creating a precise line to cut to. Repeat for the other three corners.
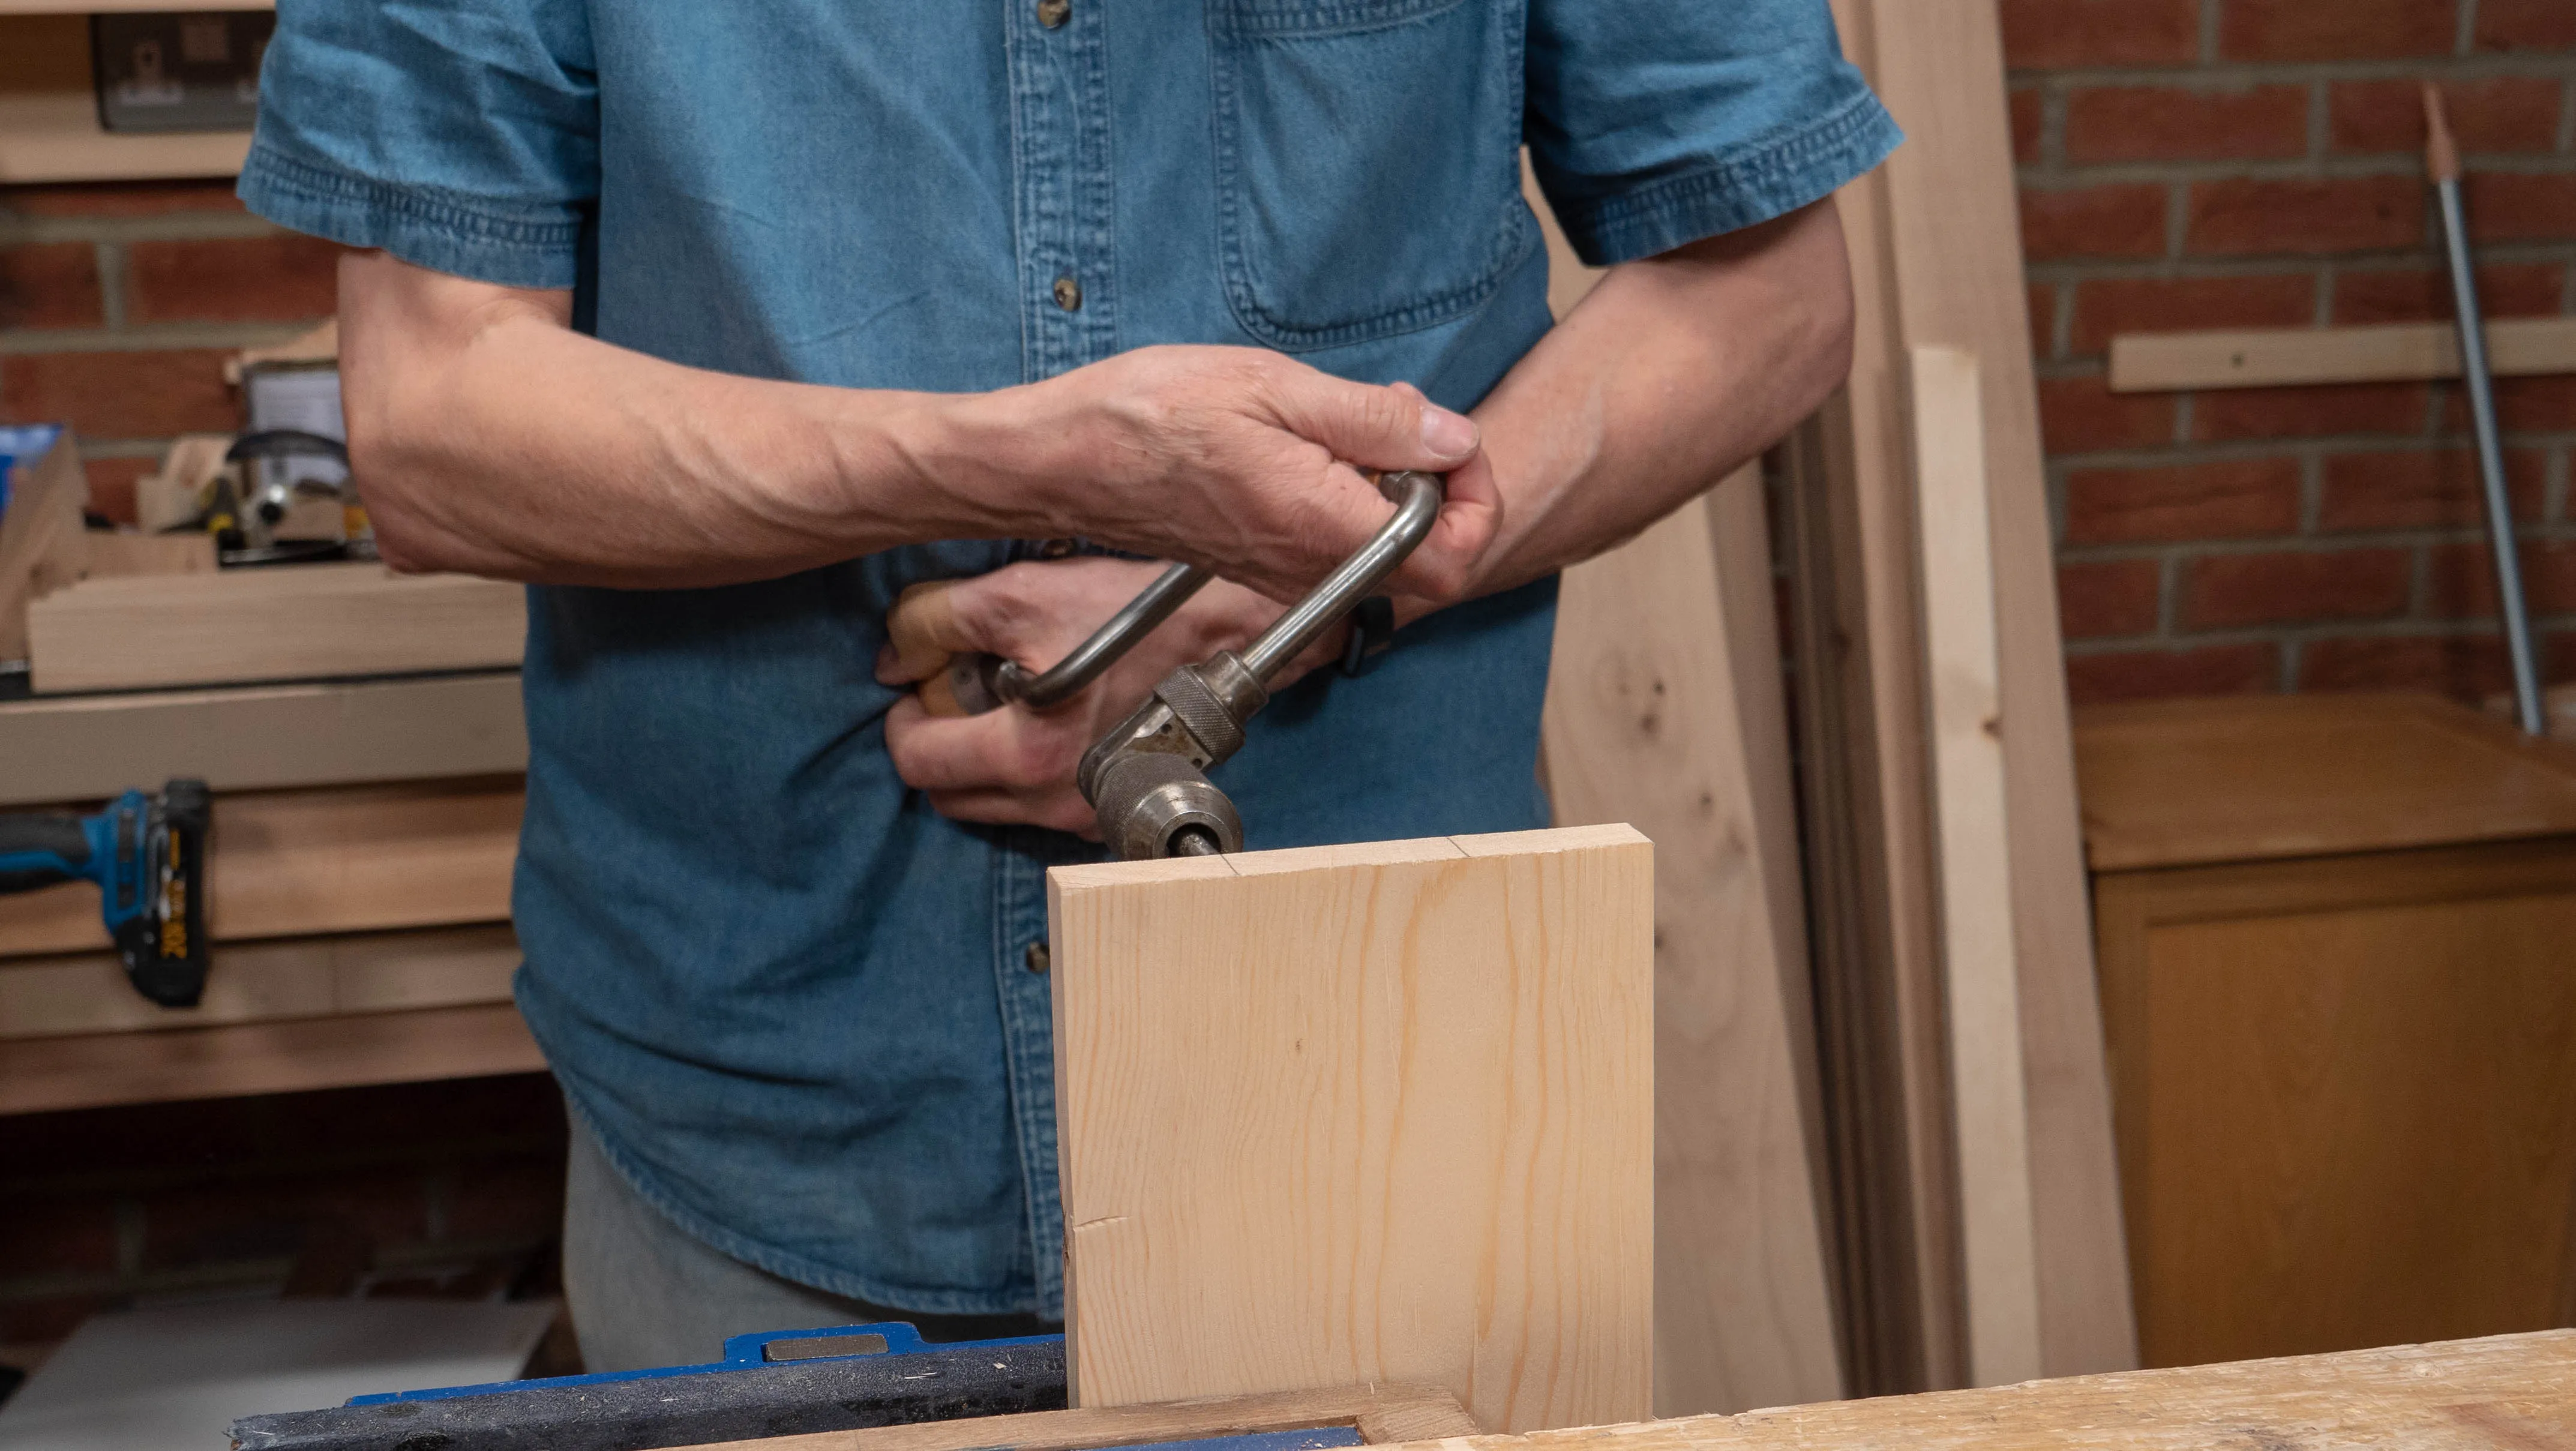
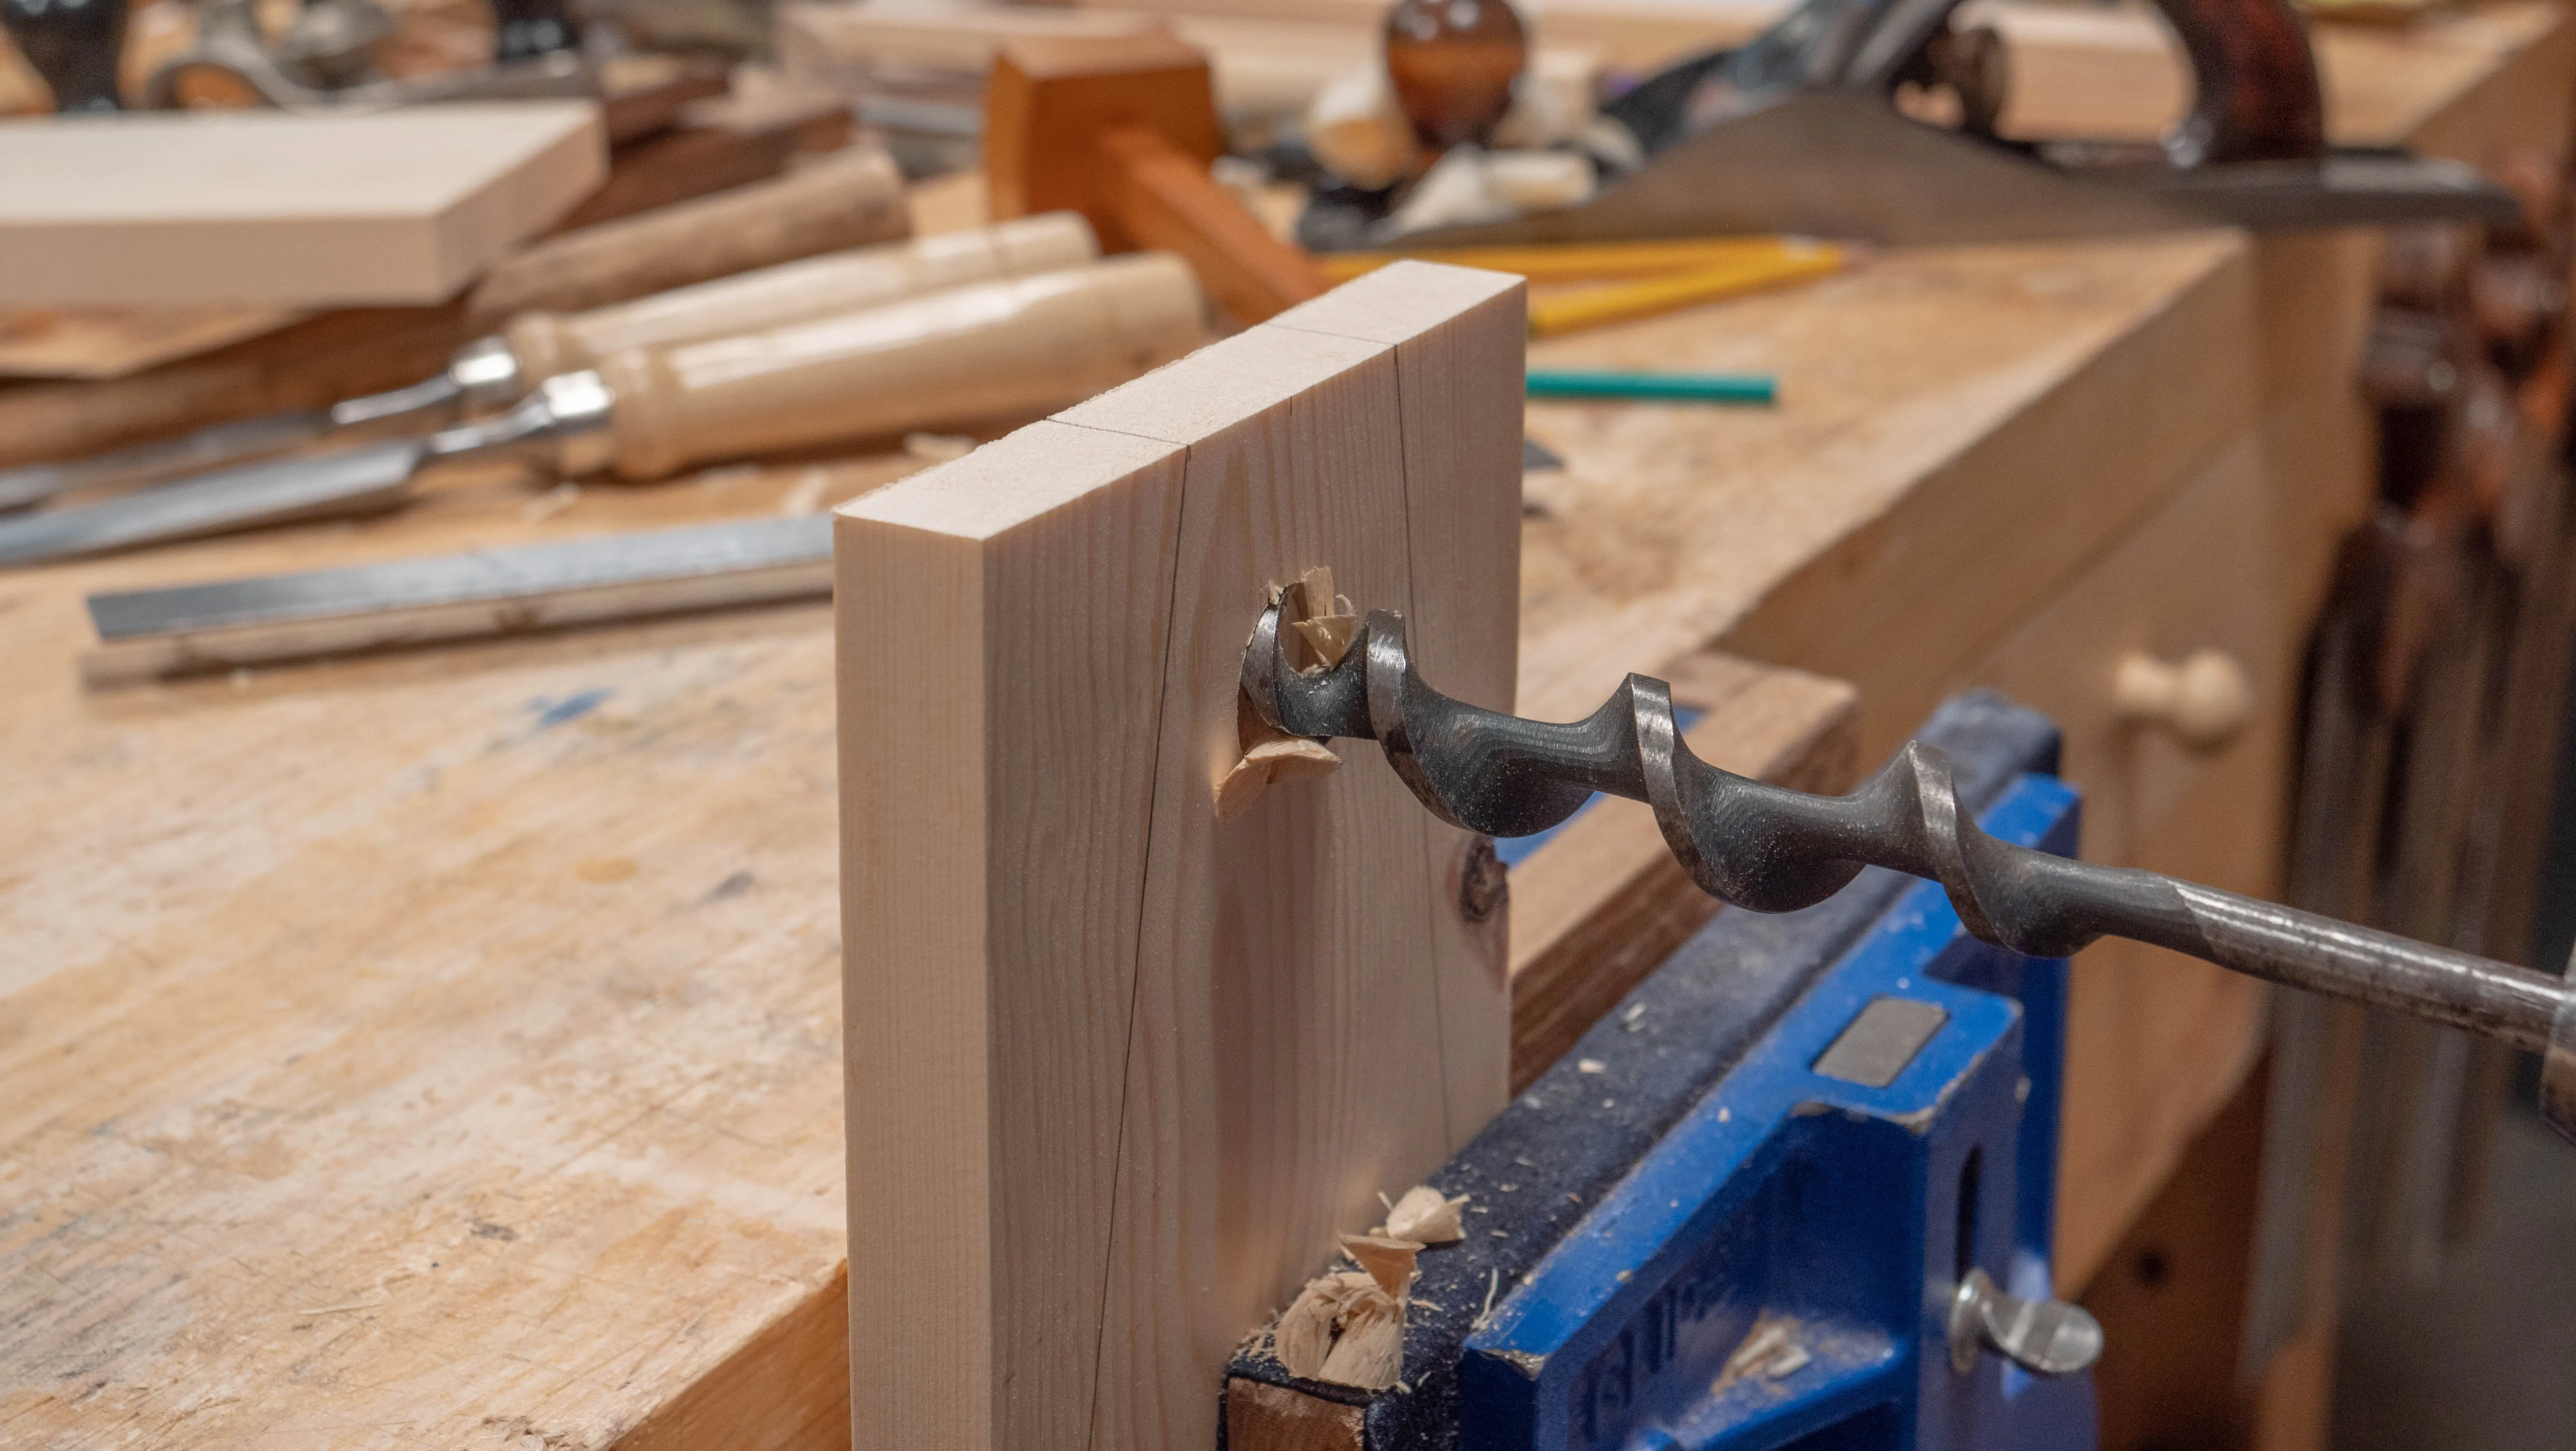
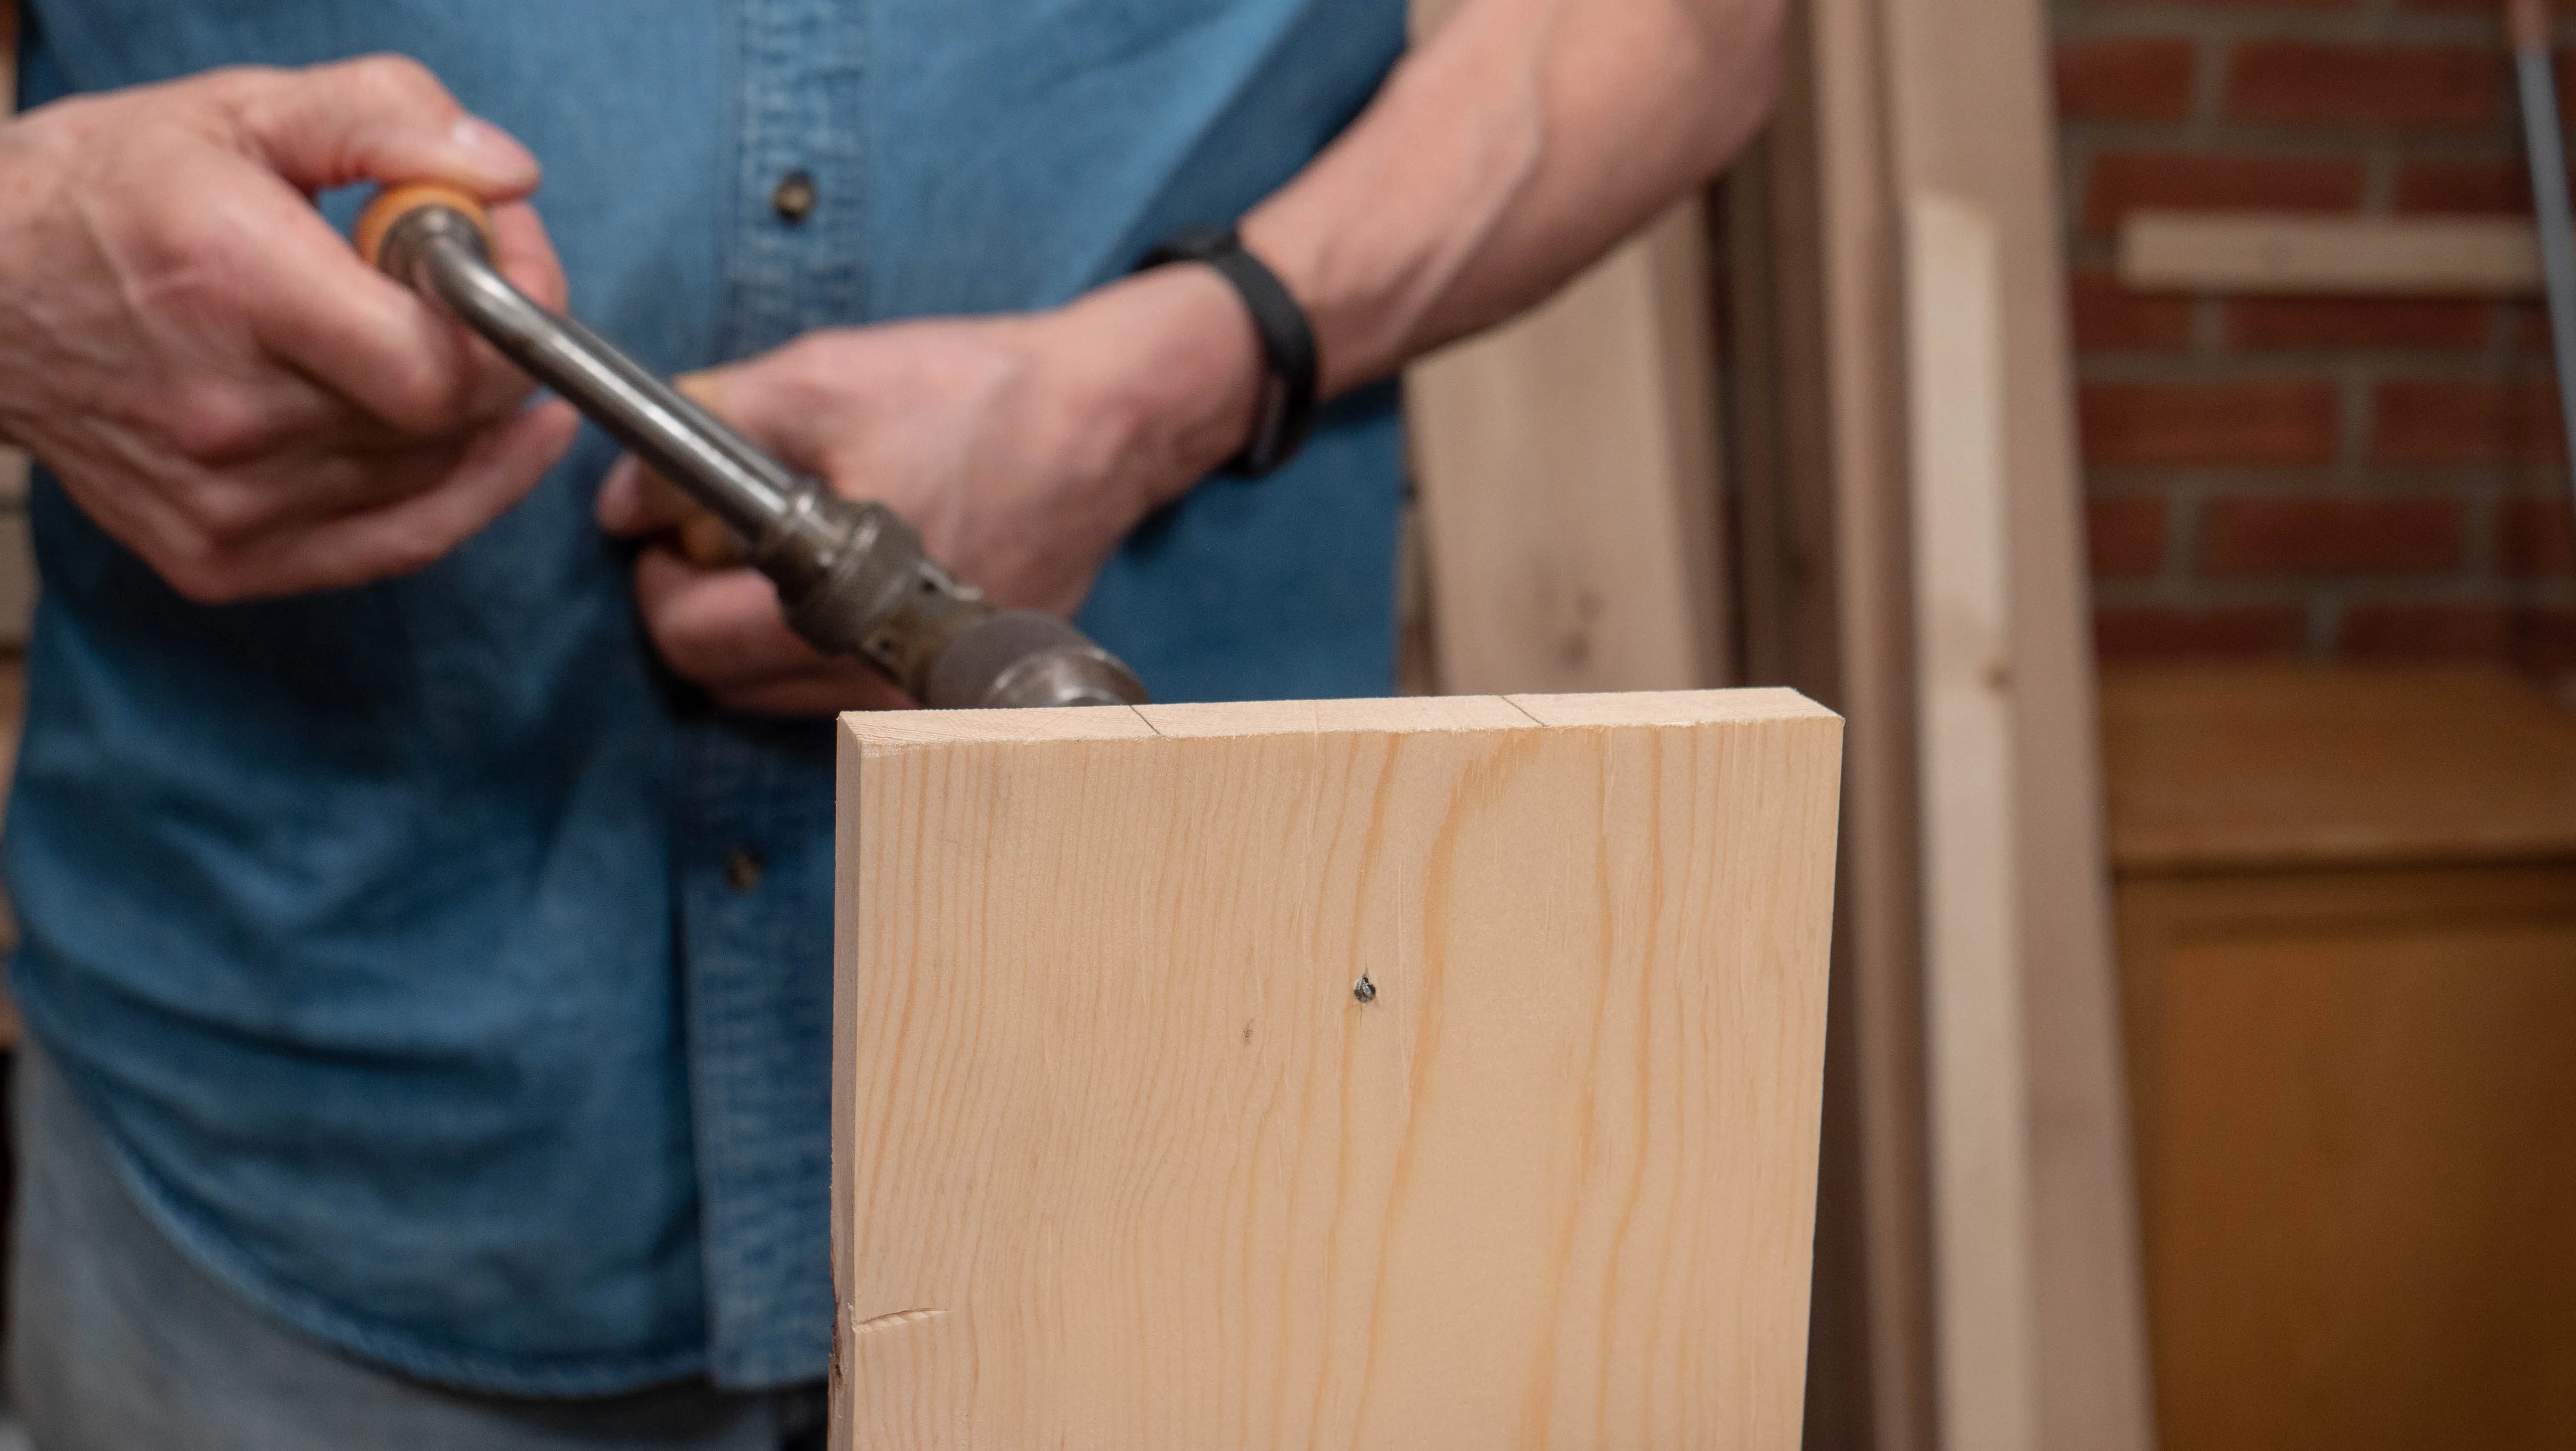
Next, measure 1 ½ ” (38mm) down from the midpoint at the top of the end piece and mark this point as the location for the bore hole. You will need a brace and bit for this. With your side piece clamped up securely in the vise, bore in from one side, making sure to keep the pad of the brace in a fixed position. Stop boring once the tip of the snail pokes through to the other side. Turn the piece around and bore from the other side. This is necessary to create a well defined ridge; otherwise you would break through and create very ugly looking tear out. Unless, of course, you clamped a scrap piece of wood onto the back to support the fibres, allowing you to bore all the way through from one side. Even so, it is always preferable to work from both sides if possible.

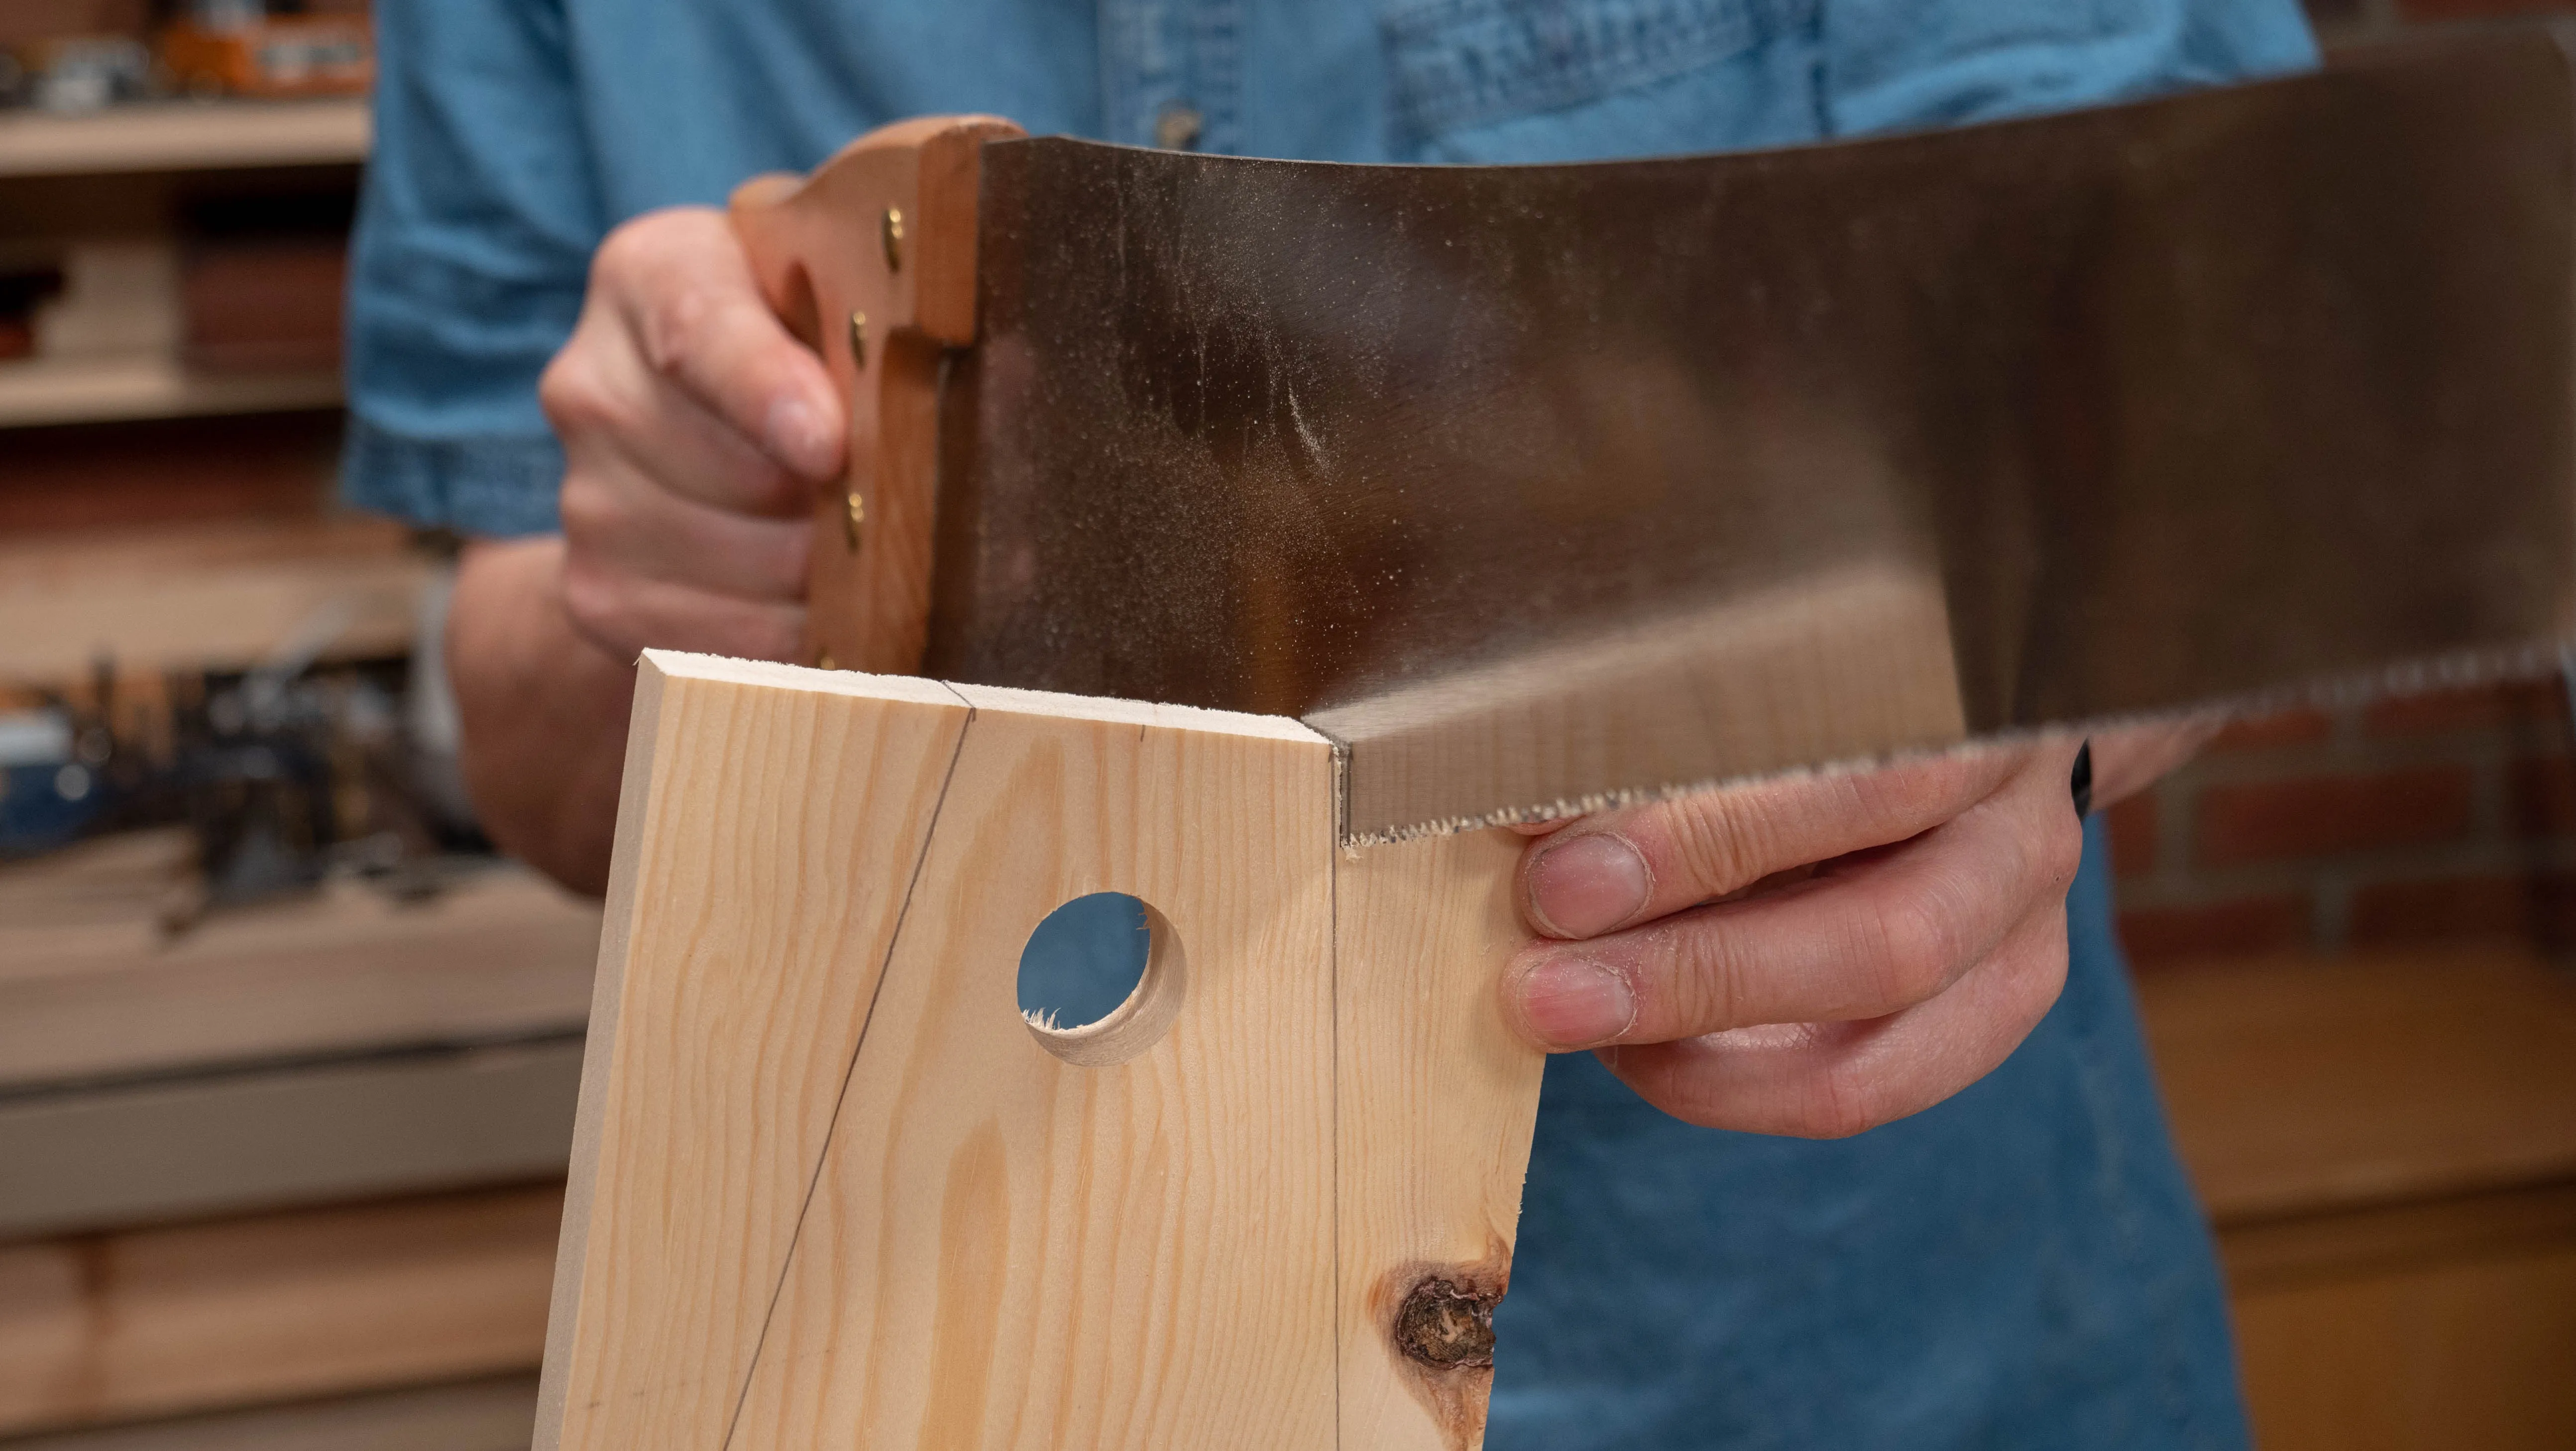
To cut the four corners off, position your wood in the vise so the pencil line is upright. This will make it easier to align the saw. Use a rip-cut panel saw to cut one corner at a time, always remembering to cut on the waste side of the line. Do not cut into the line as that is your only reference to work to.
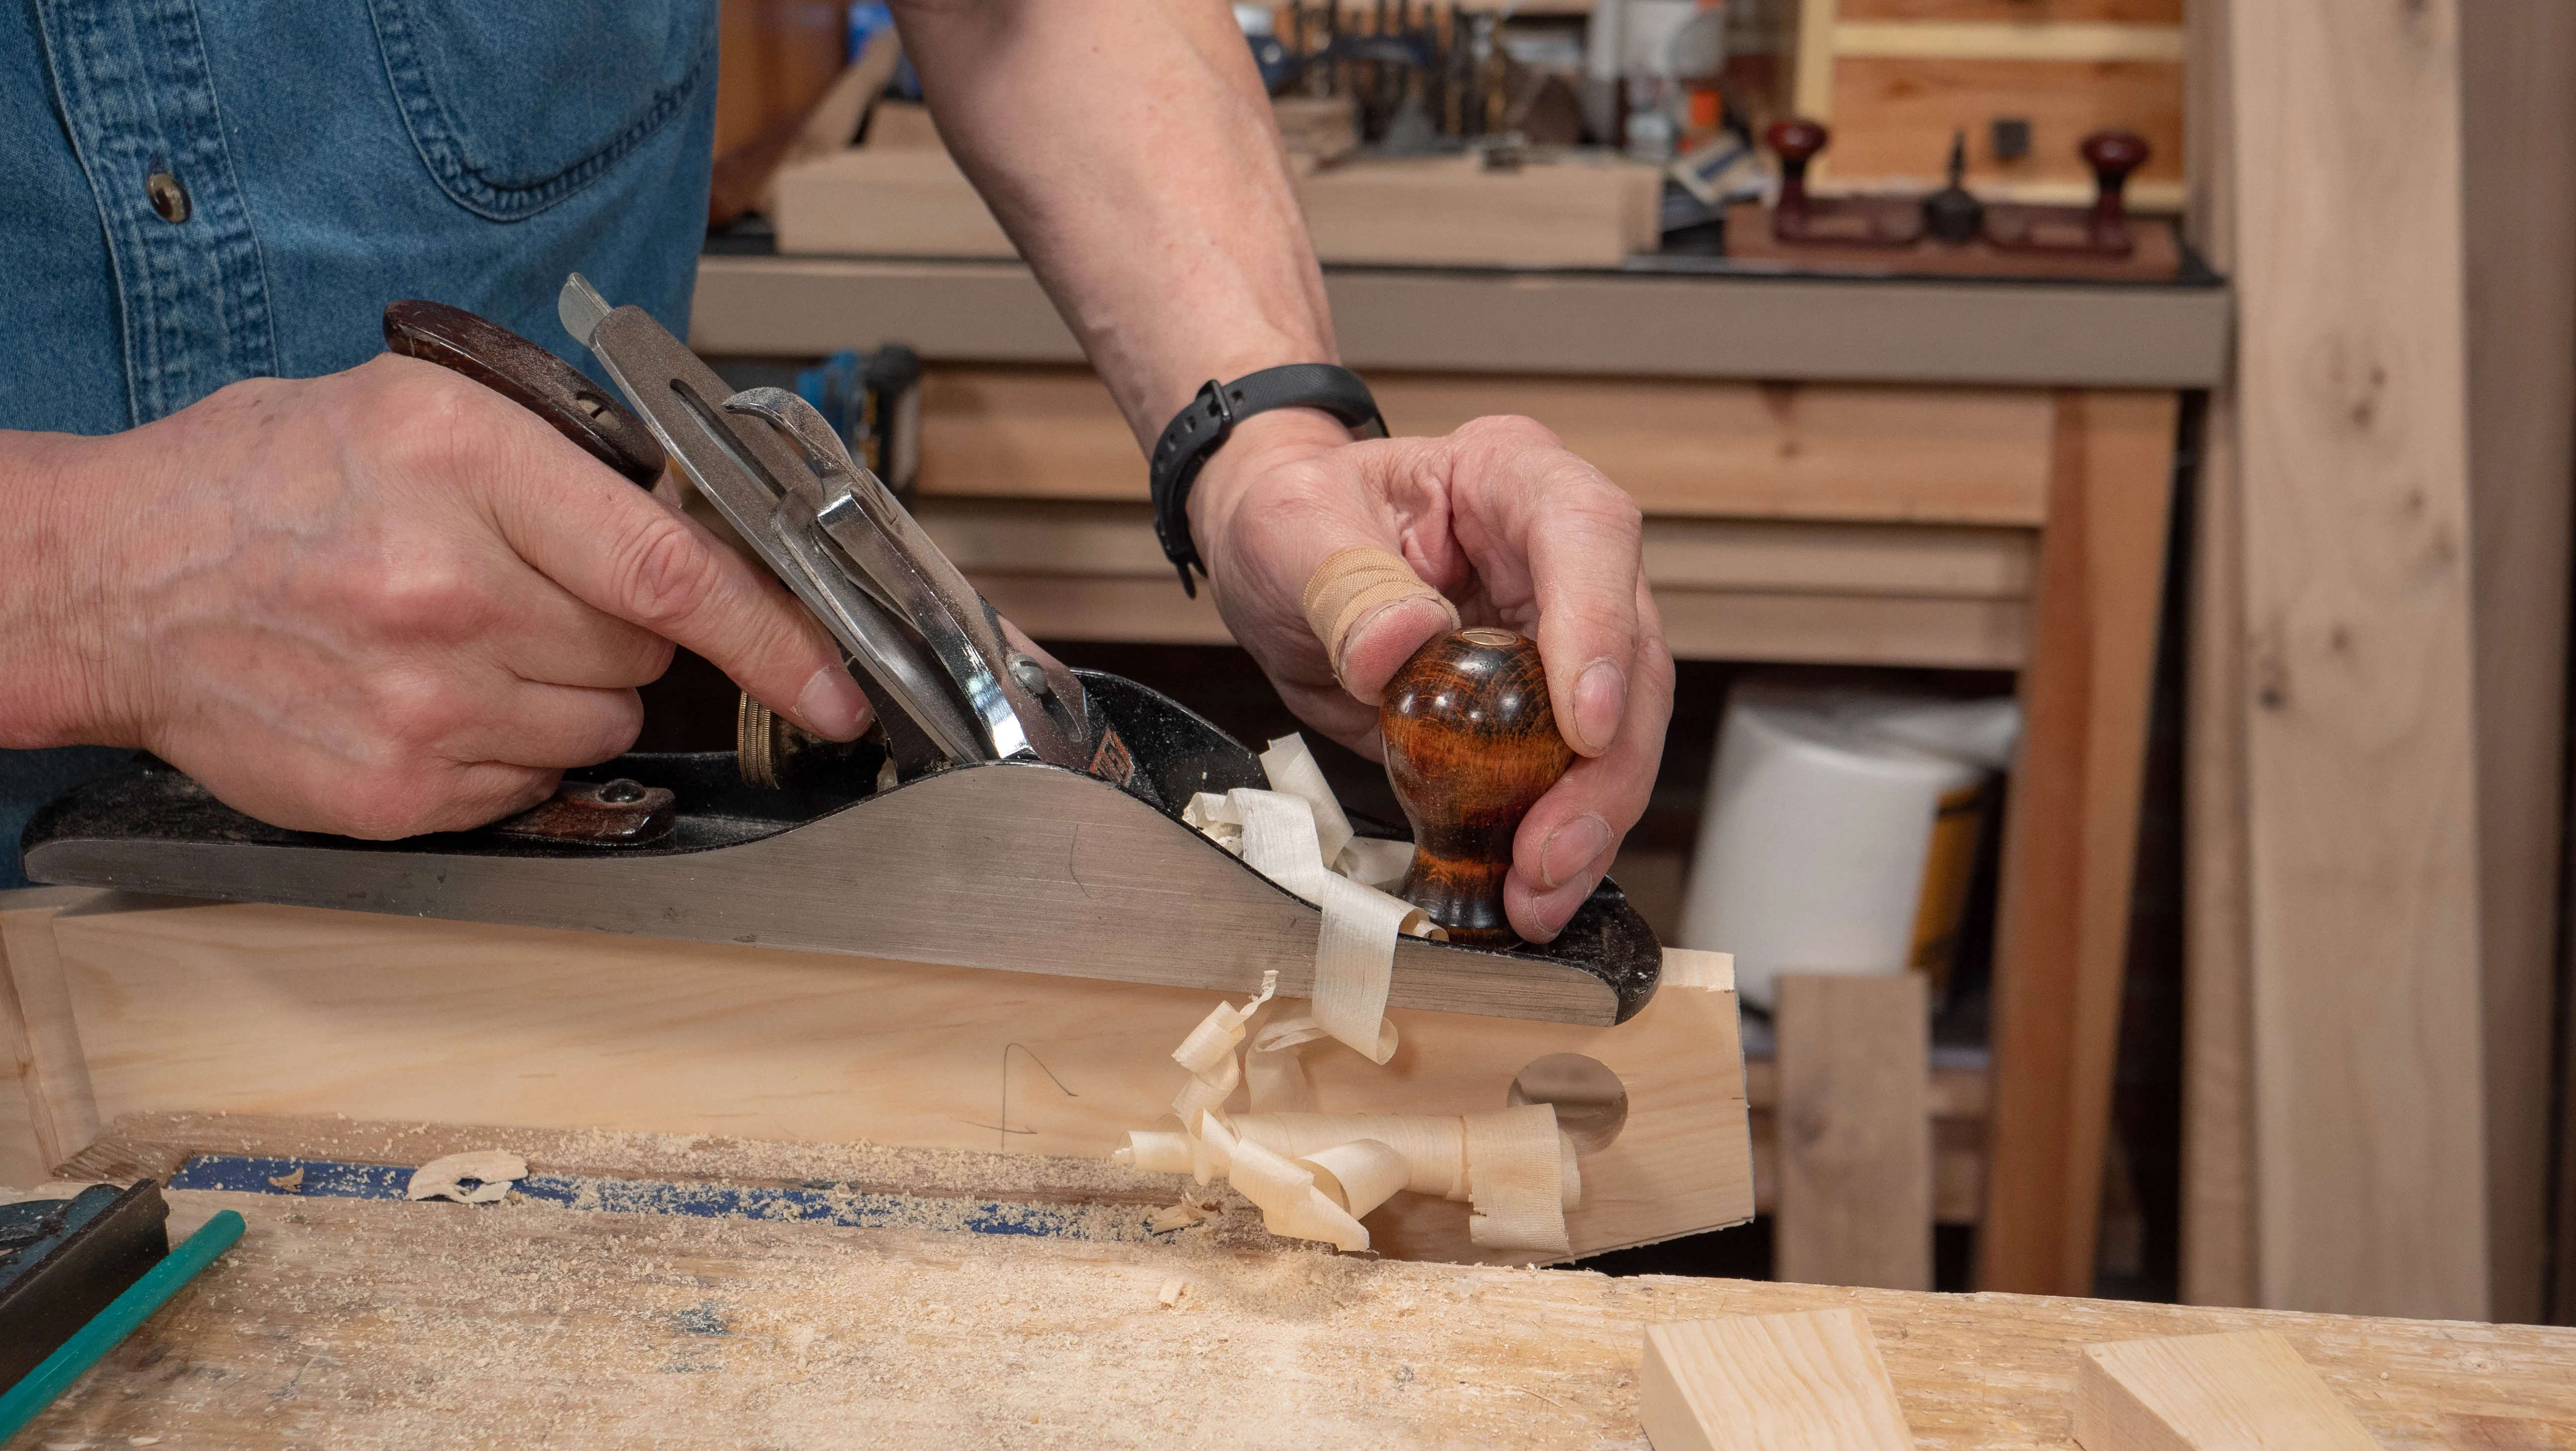
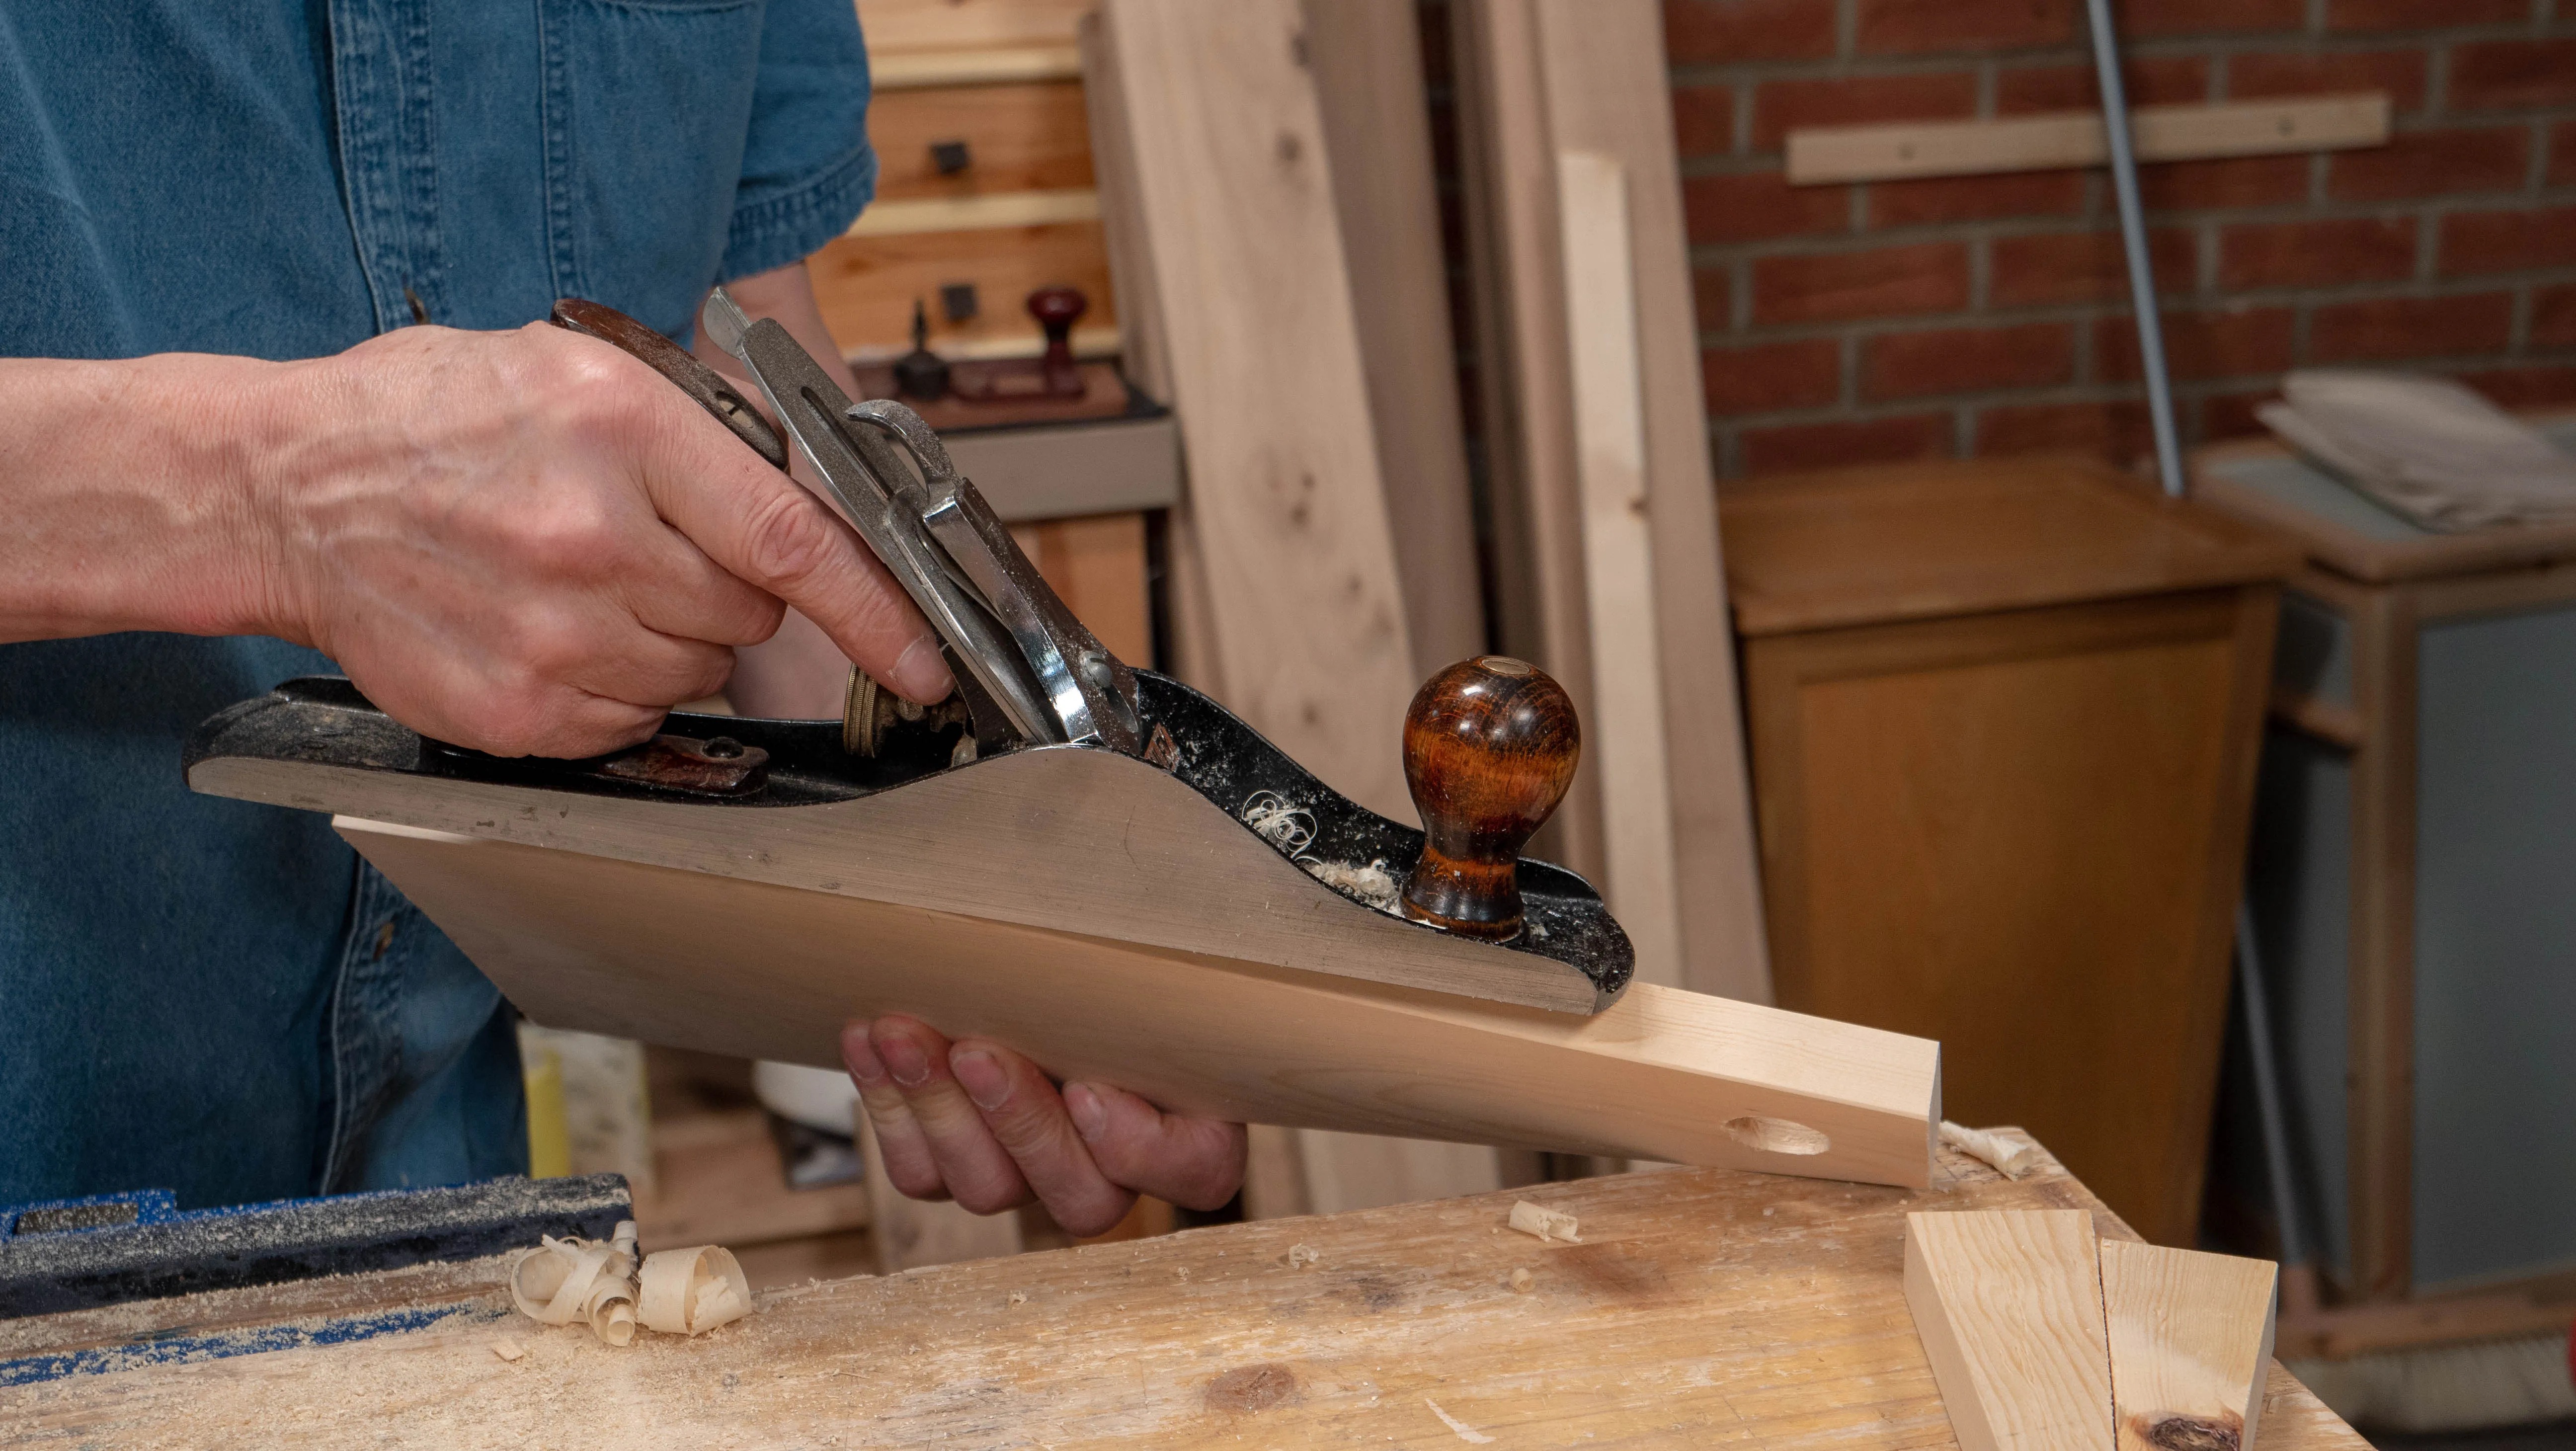
With the waste cut off, clean up the edges with a sharp plane and then break the corners with a pass or two (depending on the set of your plane). Counting the number of plane strokes is a good way to ensure a consistent appearance throughout a given project.
Sign in to track your progress