Stepped Housing Dado – Cutting A Notch
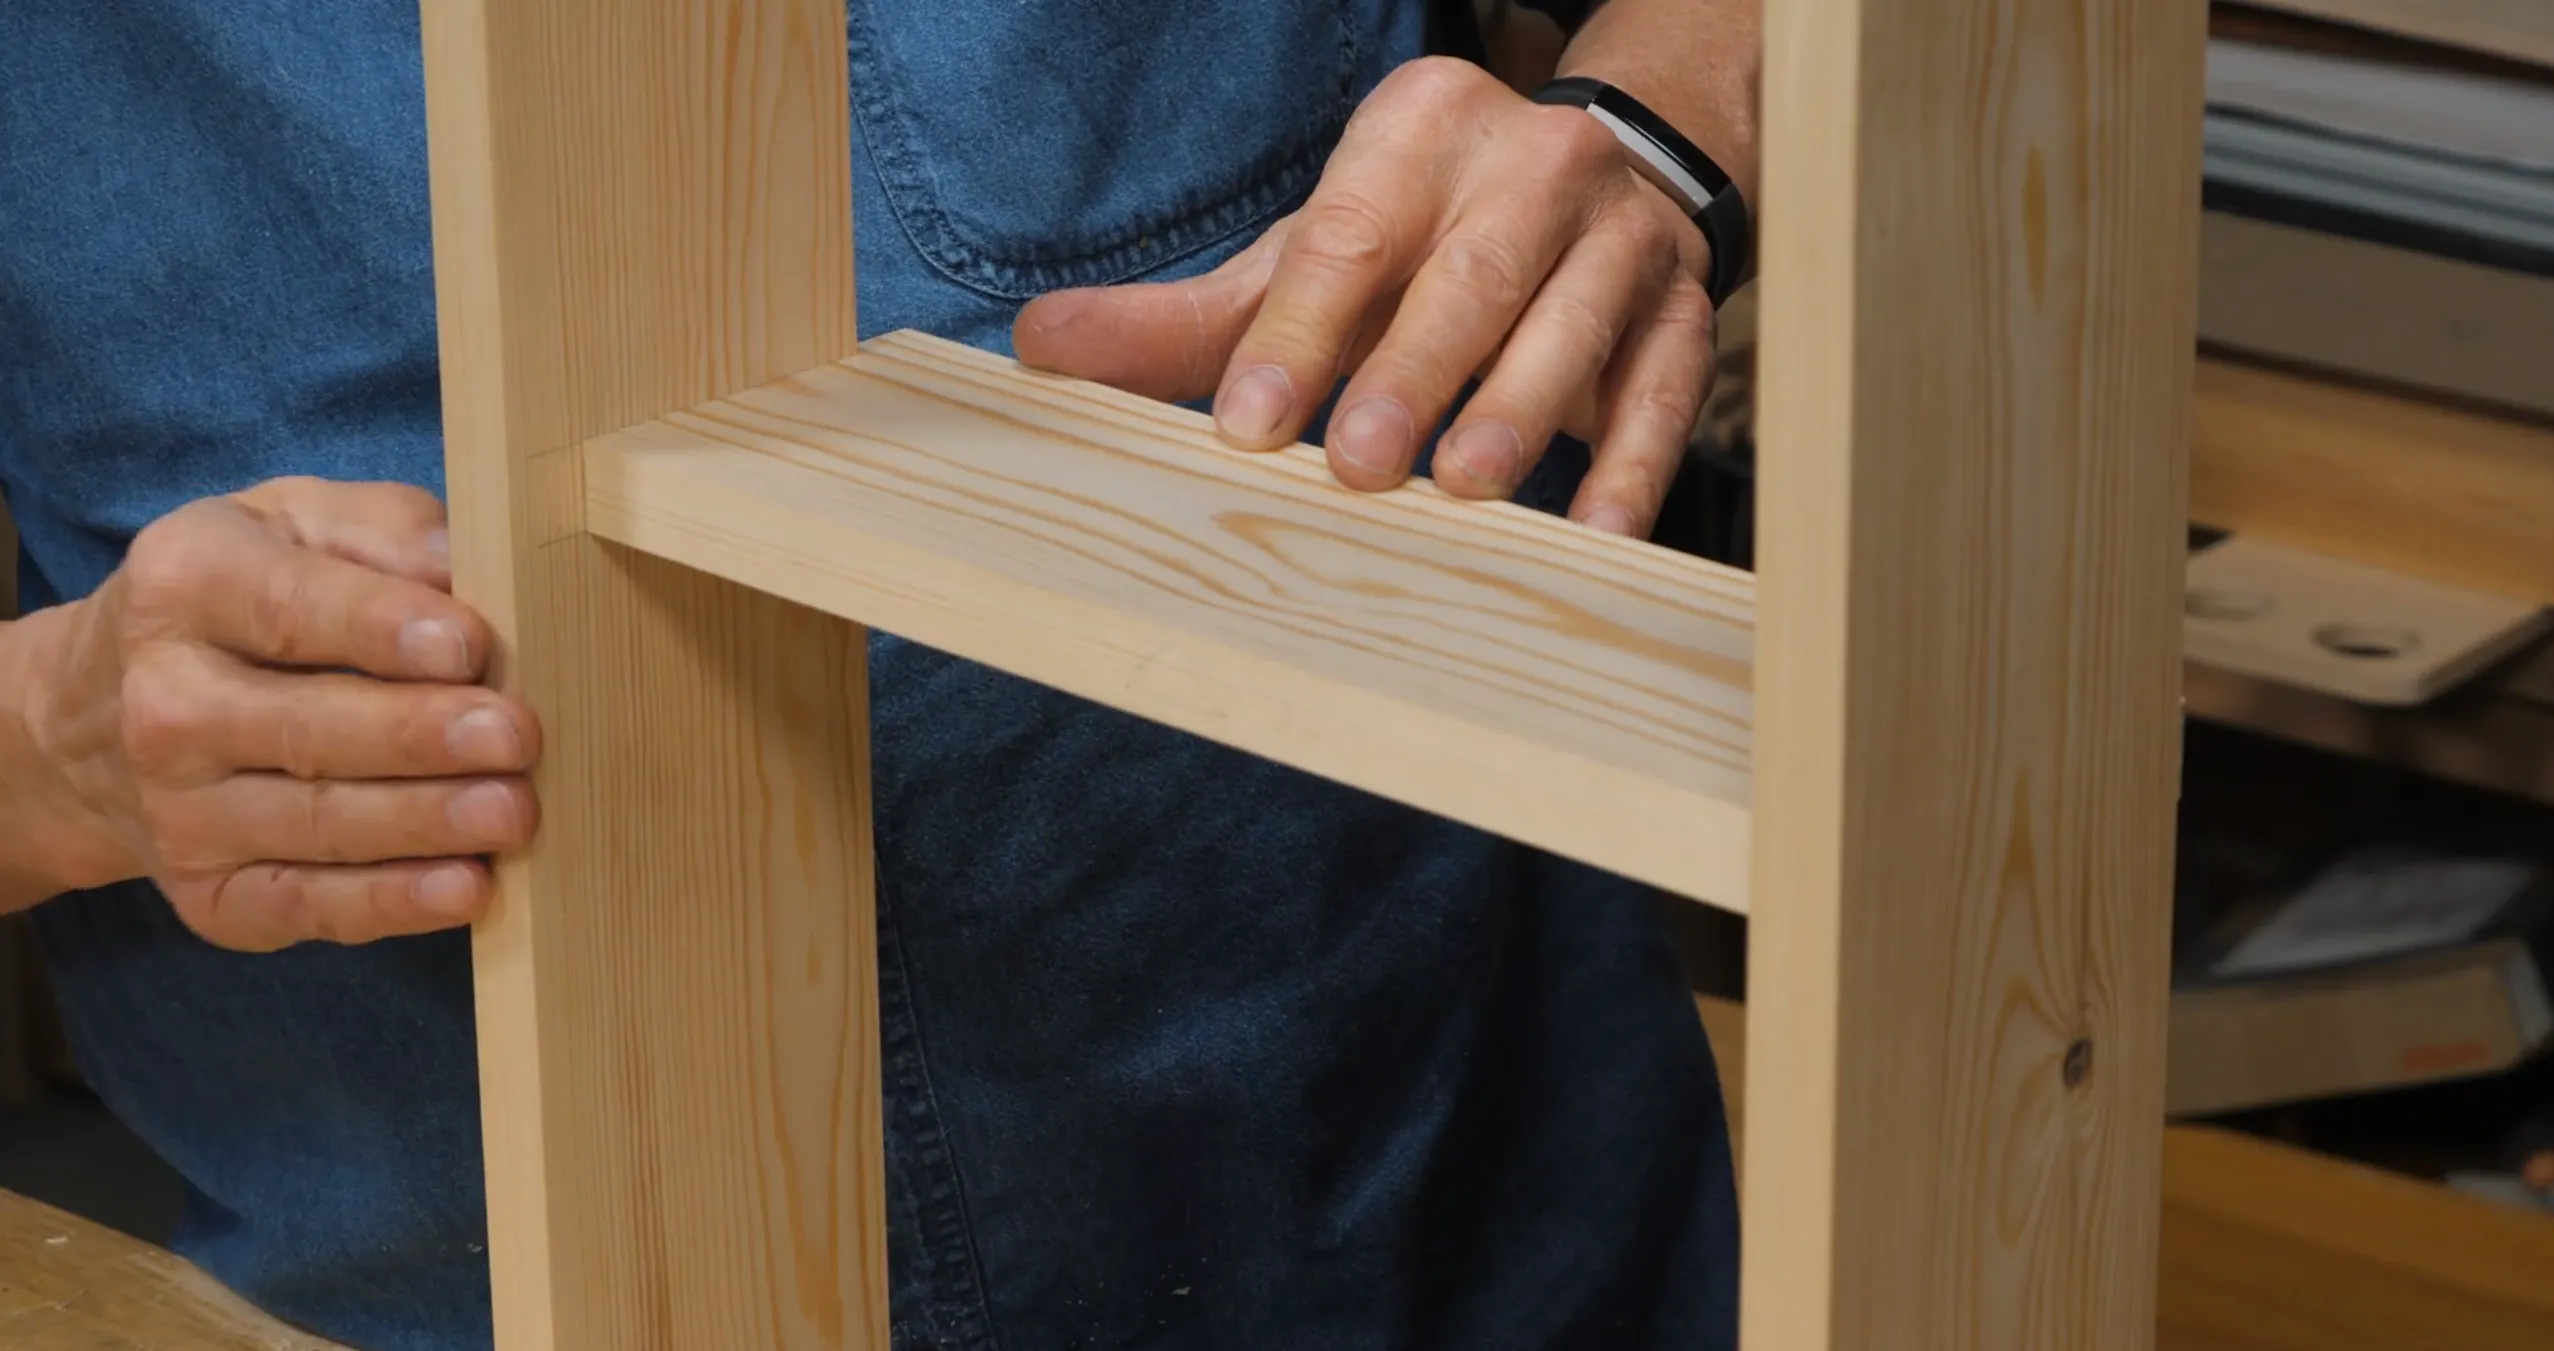
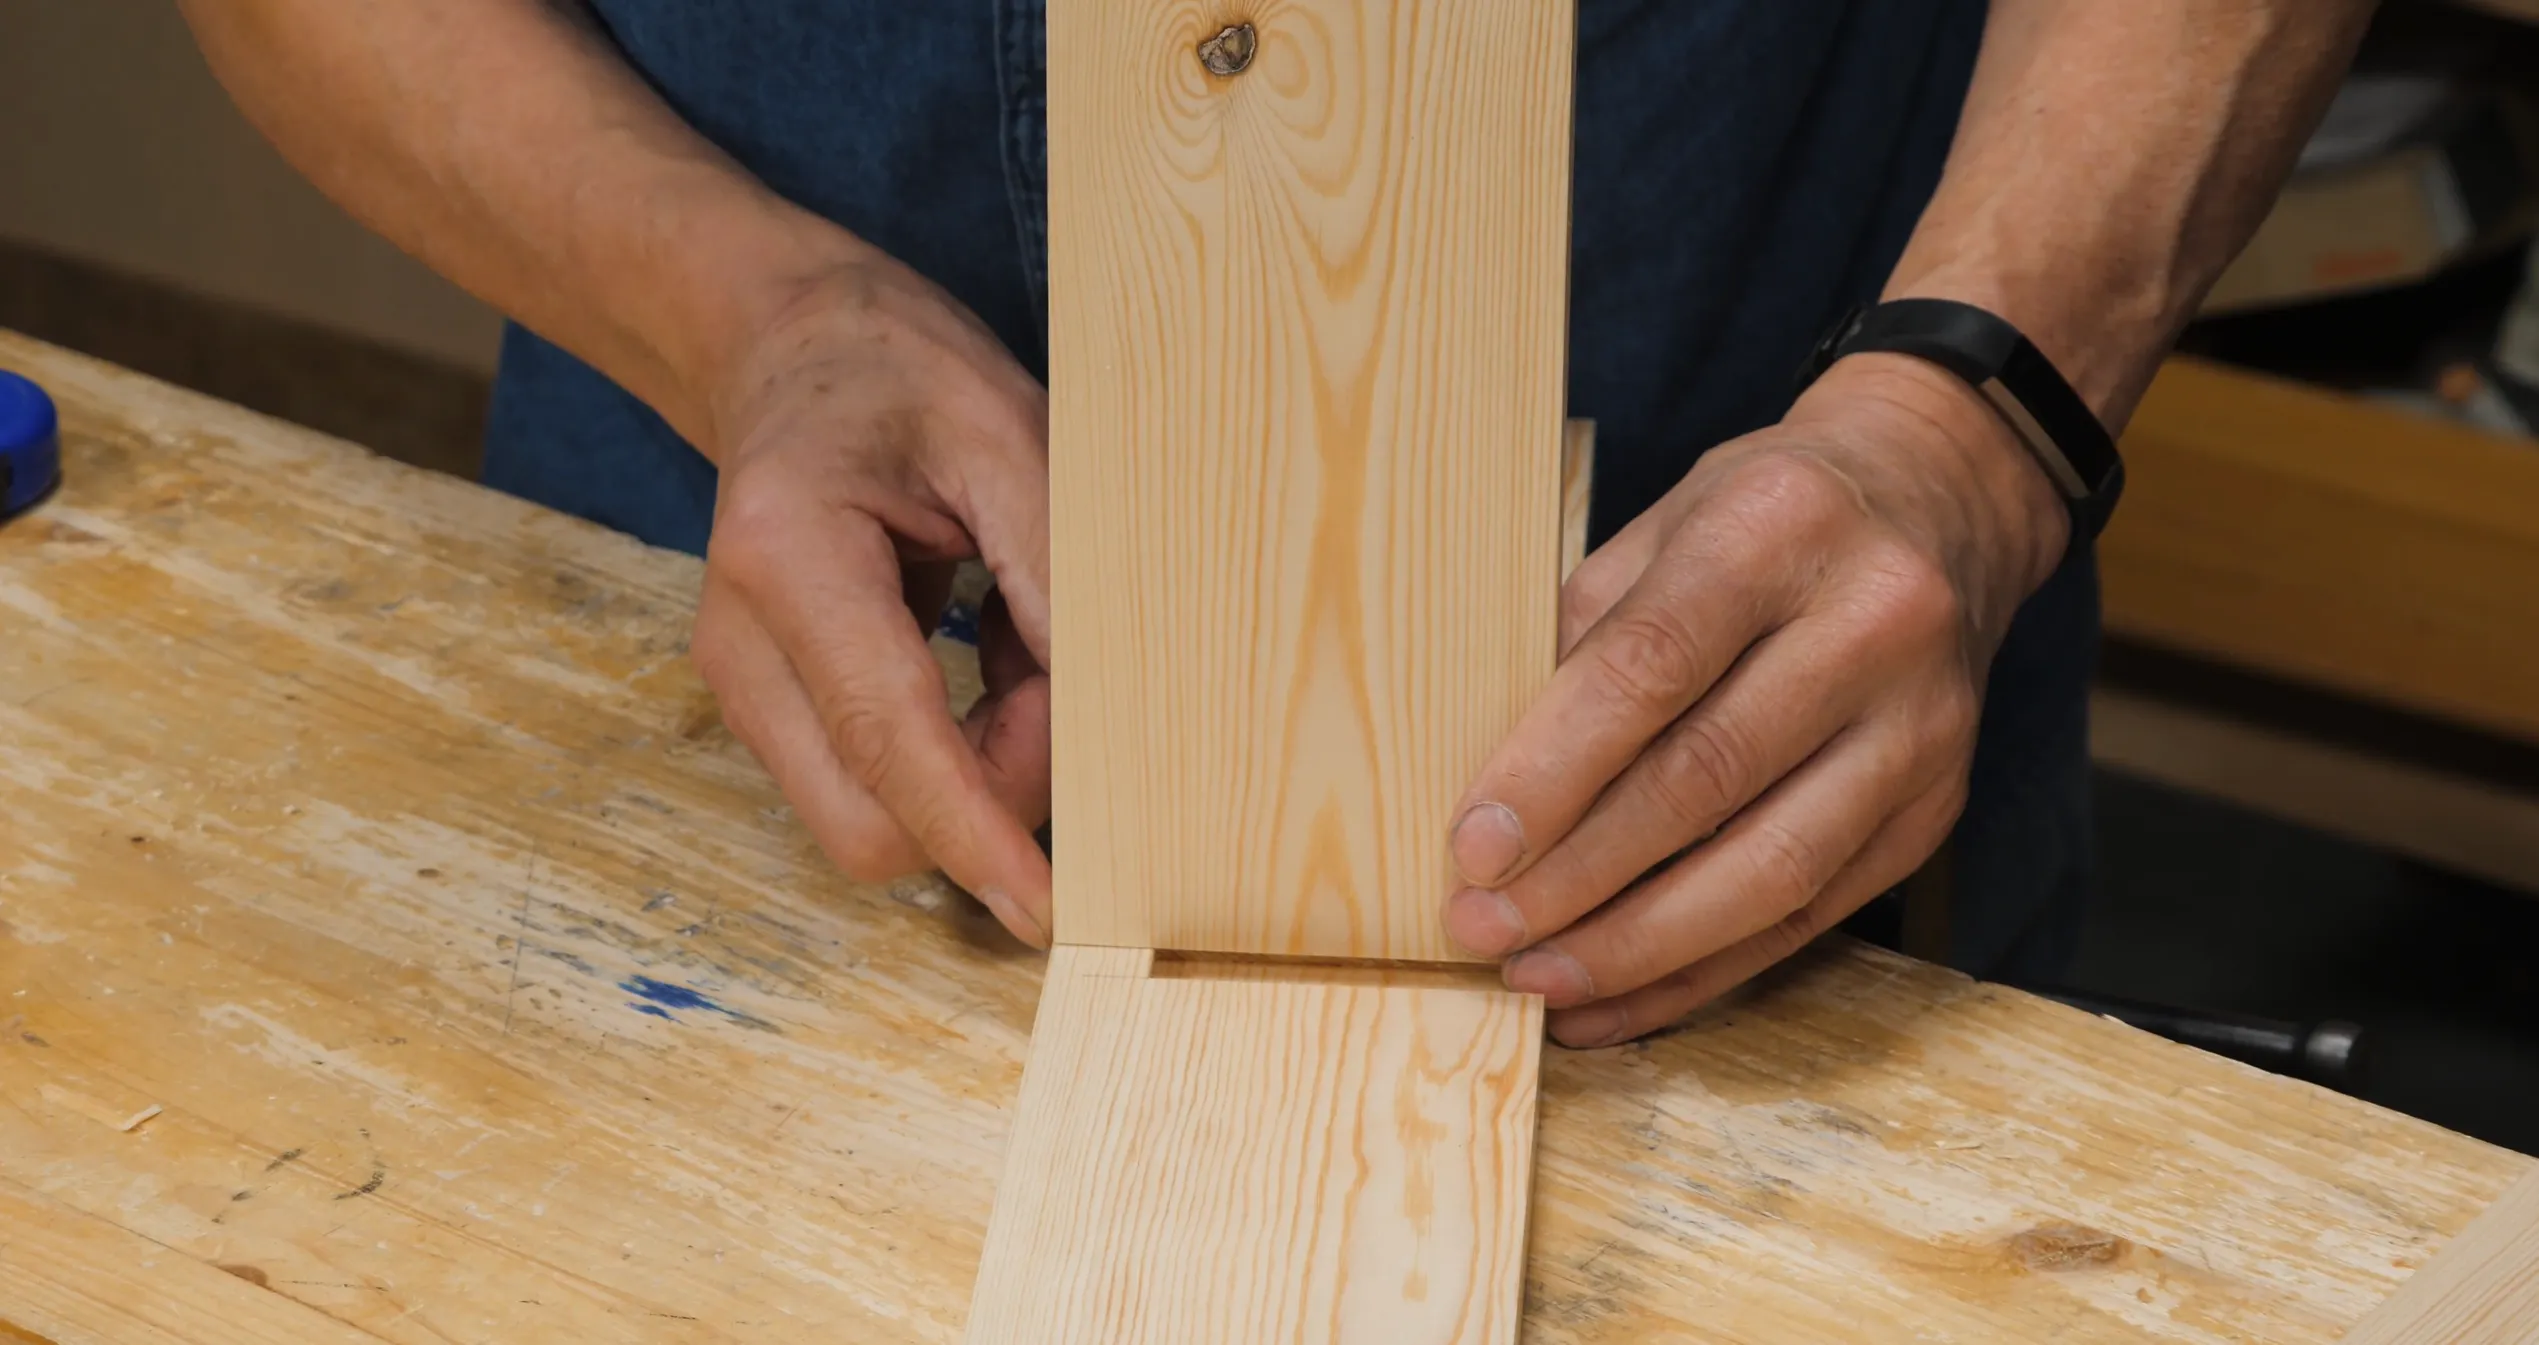
Many times, both parts to be joined will be the same width. In such cases, the only way to achieve a flush front is to stop the recess a short distance from the front and cut a corresponding notch on the housed (or shelf) piece. For the wall shelf below, the recess stops 3/4” (19mm) from the front and is cut as described in the previous lessons.
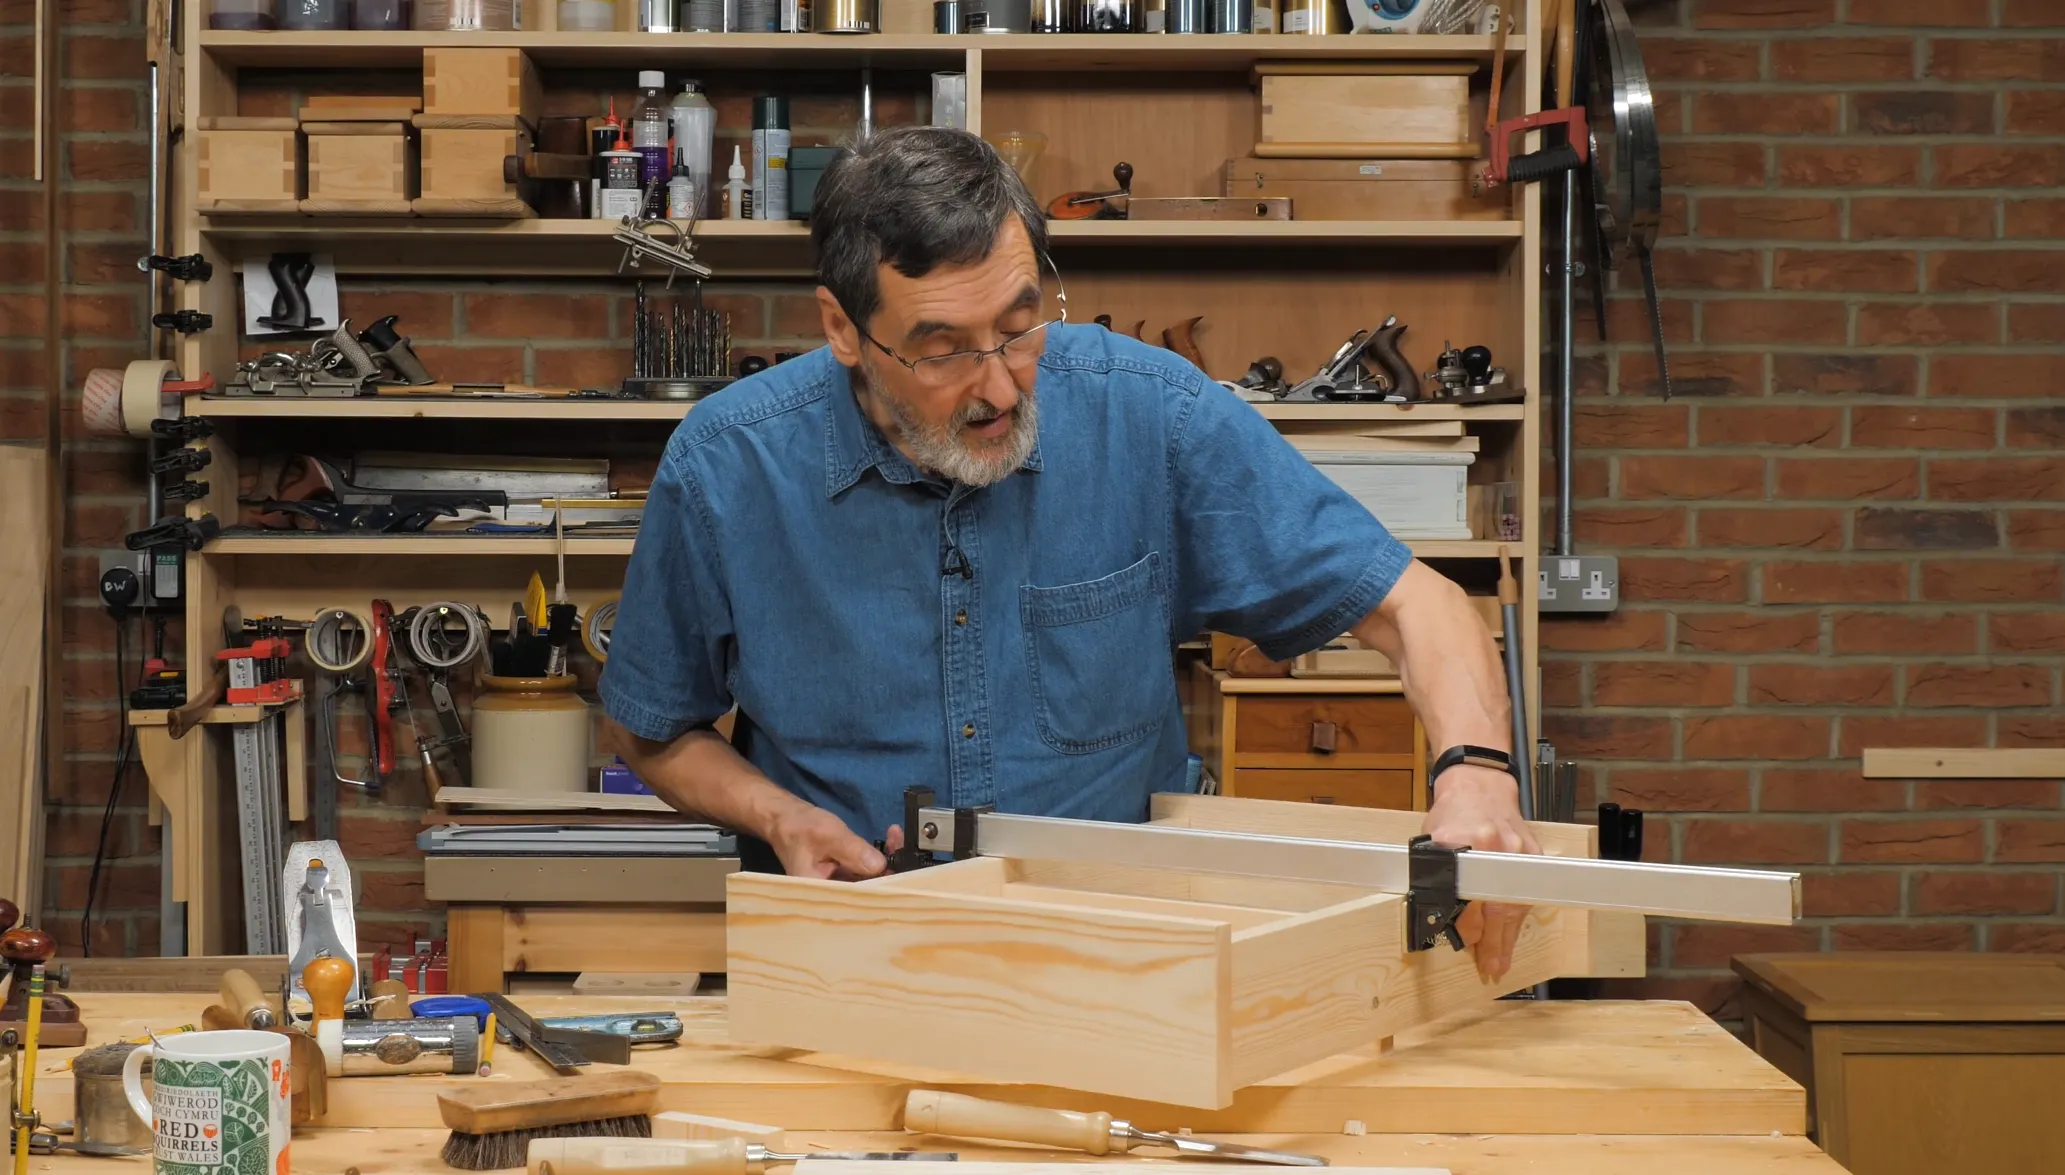
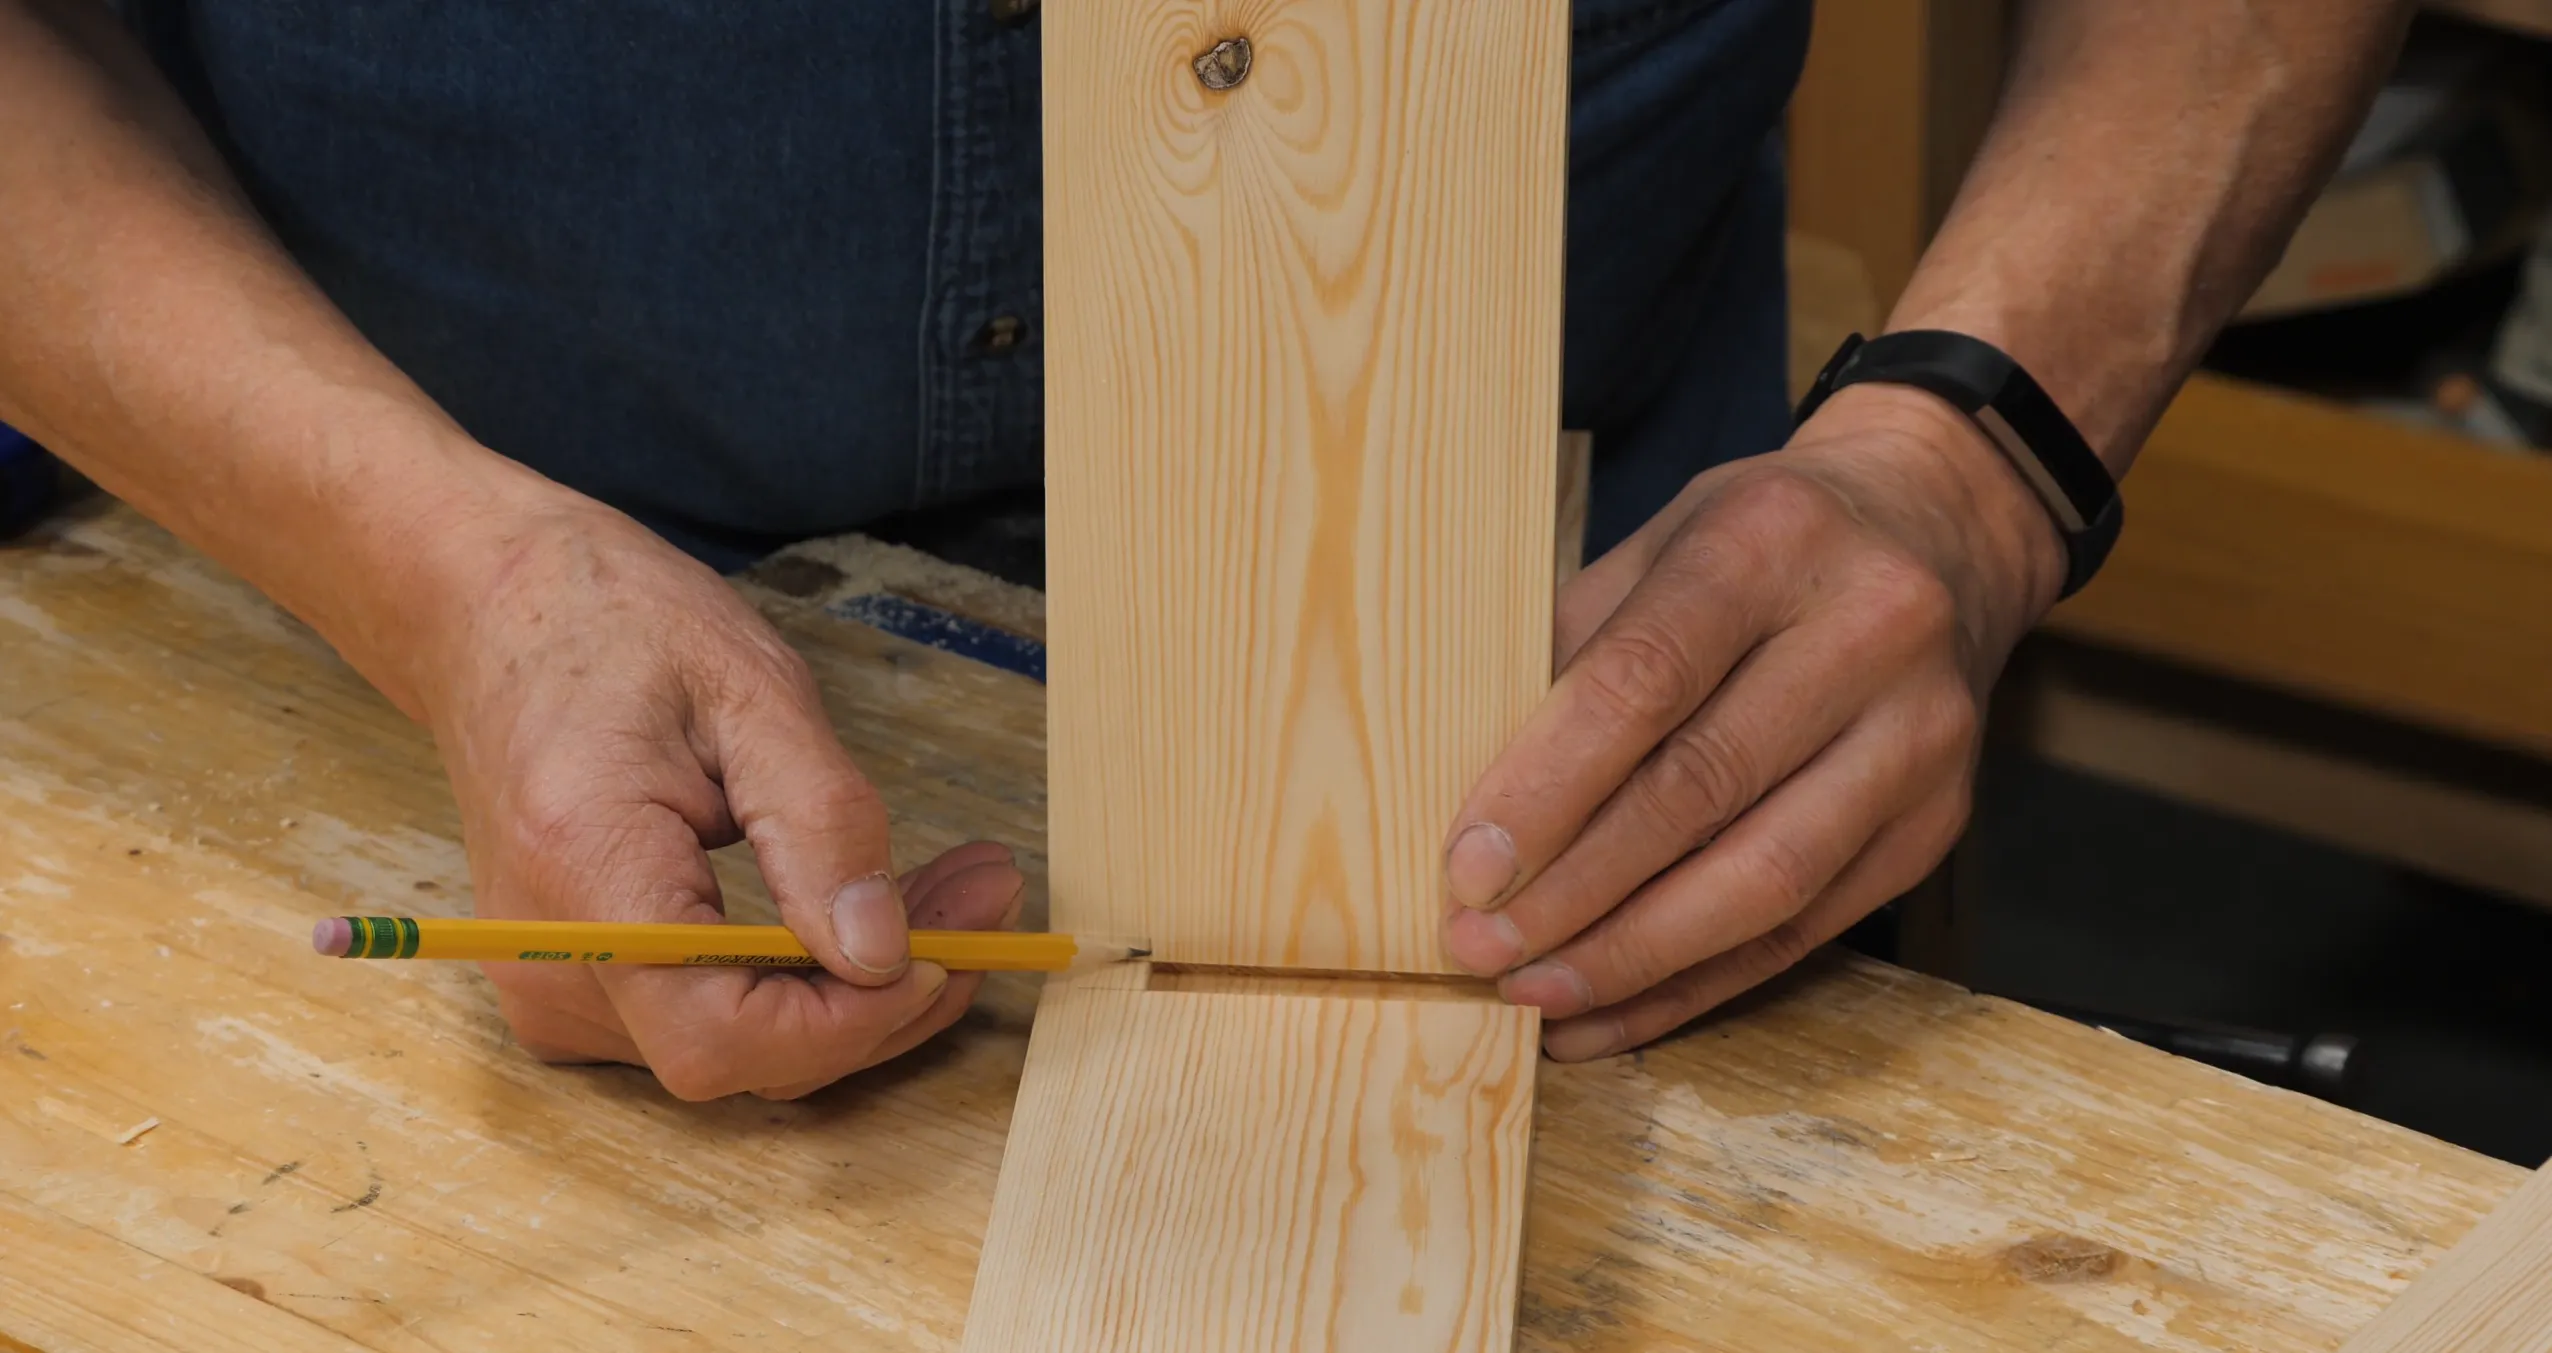
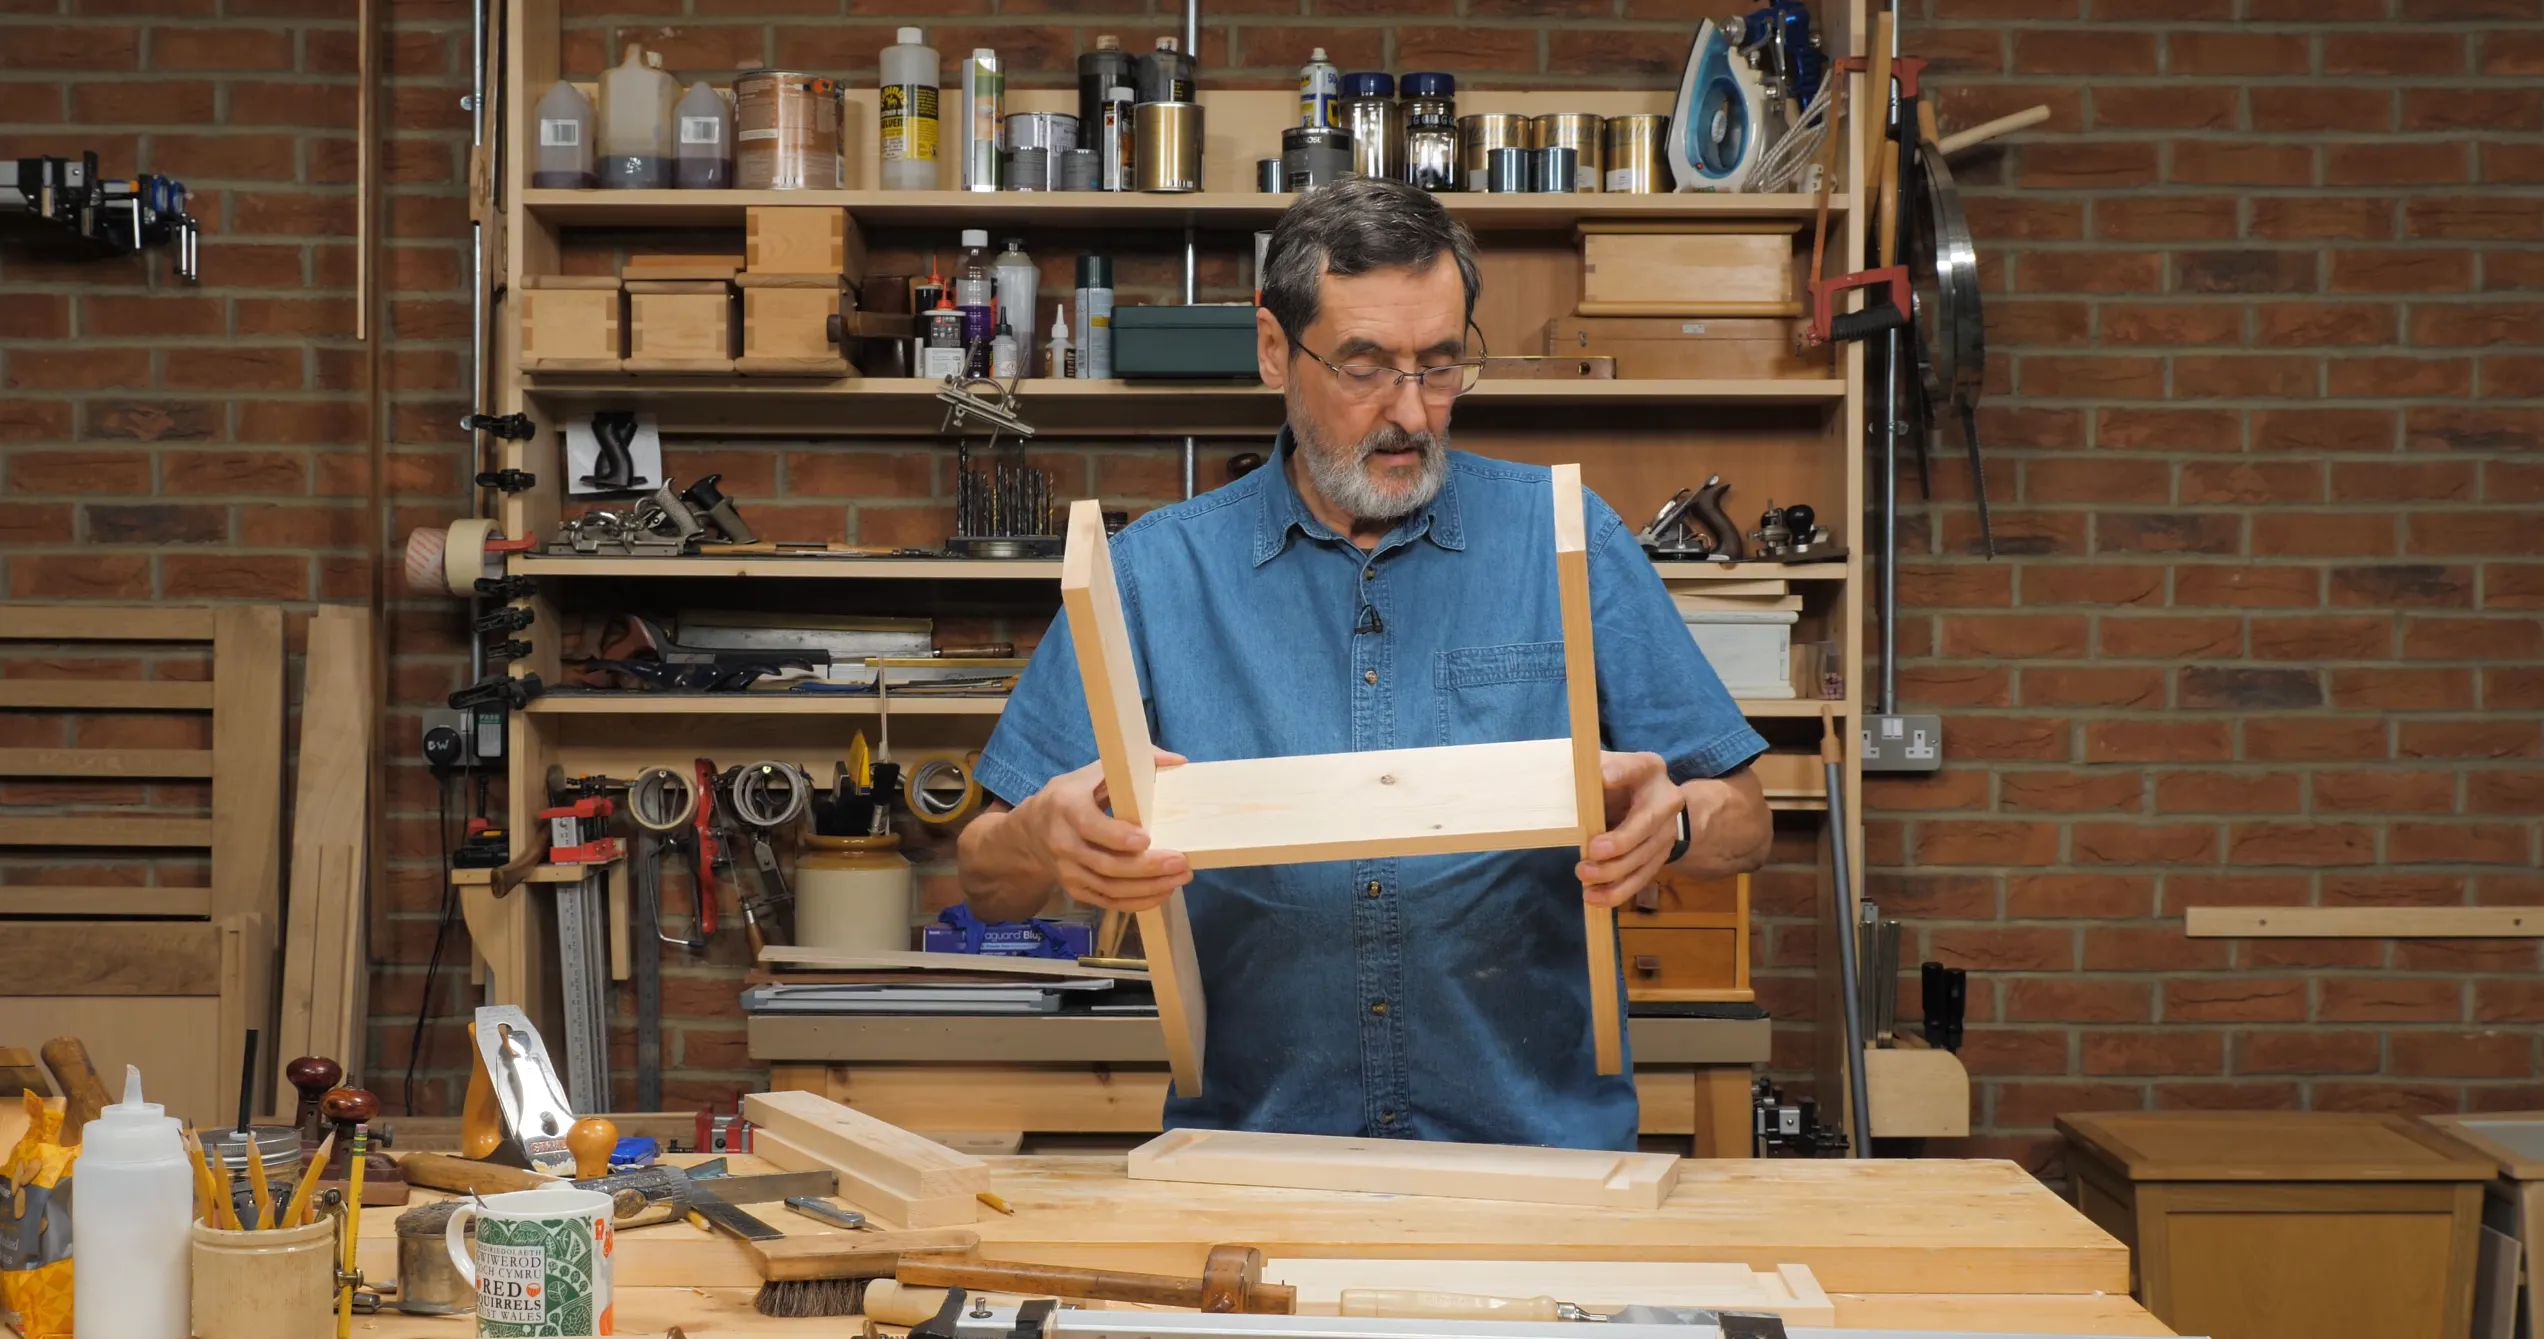
First, assemble your joint and clamp up tight to ensure it bottoms out in the recess. Then make a small knife nick to mark the exact depth the notch must be.
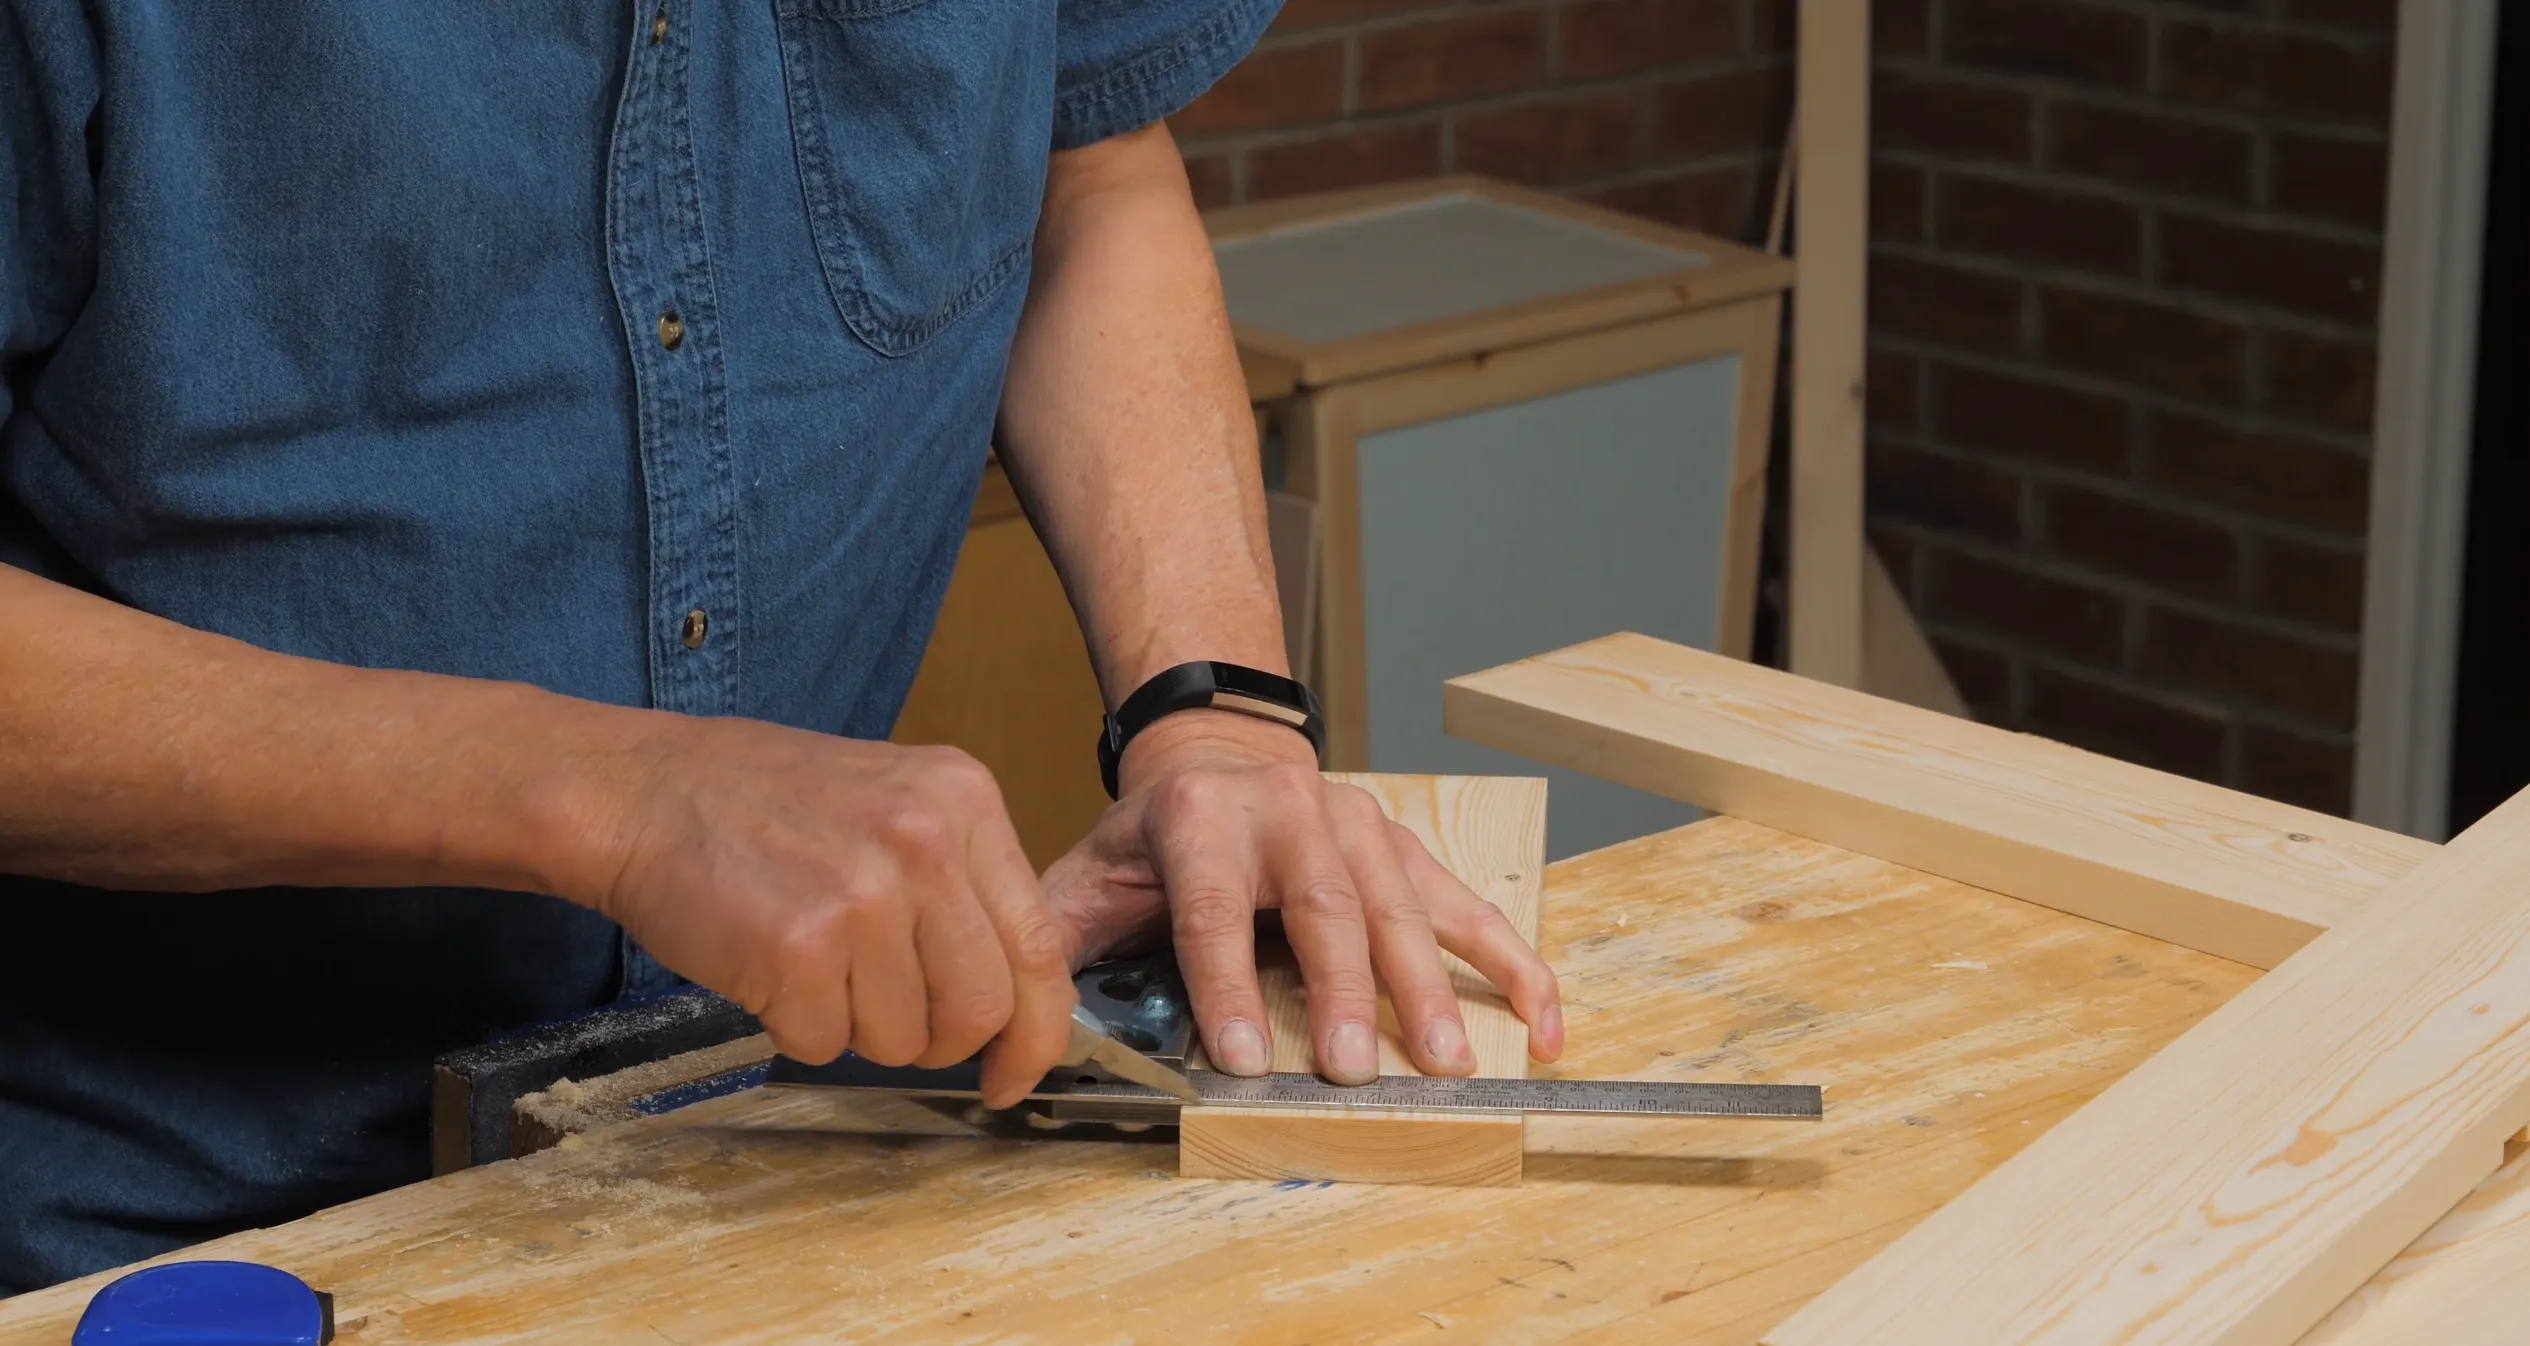
Take the joint apart and create a knifewall taking the exact reference from the knife nick you just made. Transfer this knifewall onto both faces.
Note: It will not matter if you make the adjacent knifewalls longer than the notch will be; they will not be seen as they are on the internal corners.

To mark the depth, simply place the shelf piece over the housing, flushing the front with your fingertips and mark where the recess ends. Alternatively, set a marking gauge to the stopped end of the housing recess and use that same setting to mark the back of the notch.
Note: It’s important that you don’t make the notch too long because the shelf piece can come past the front of the side piece rather than stopping perfectly flush.

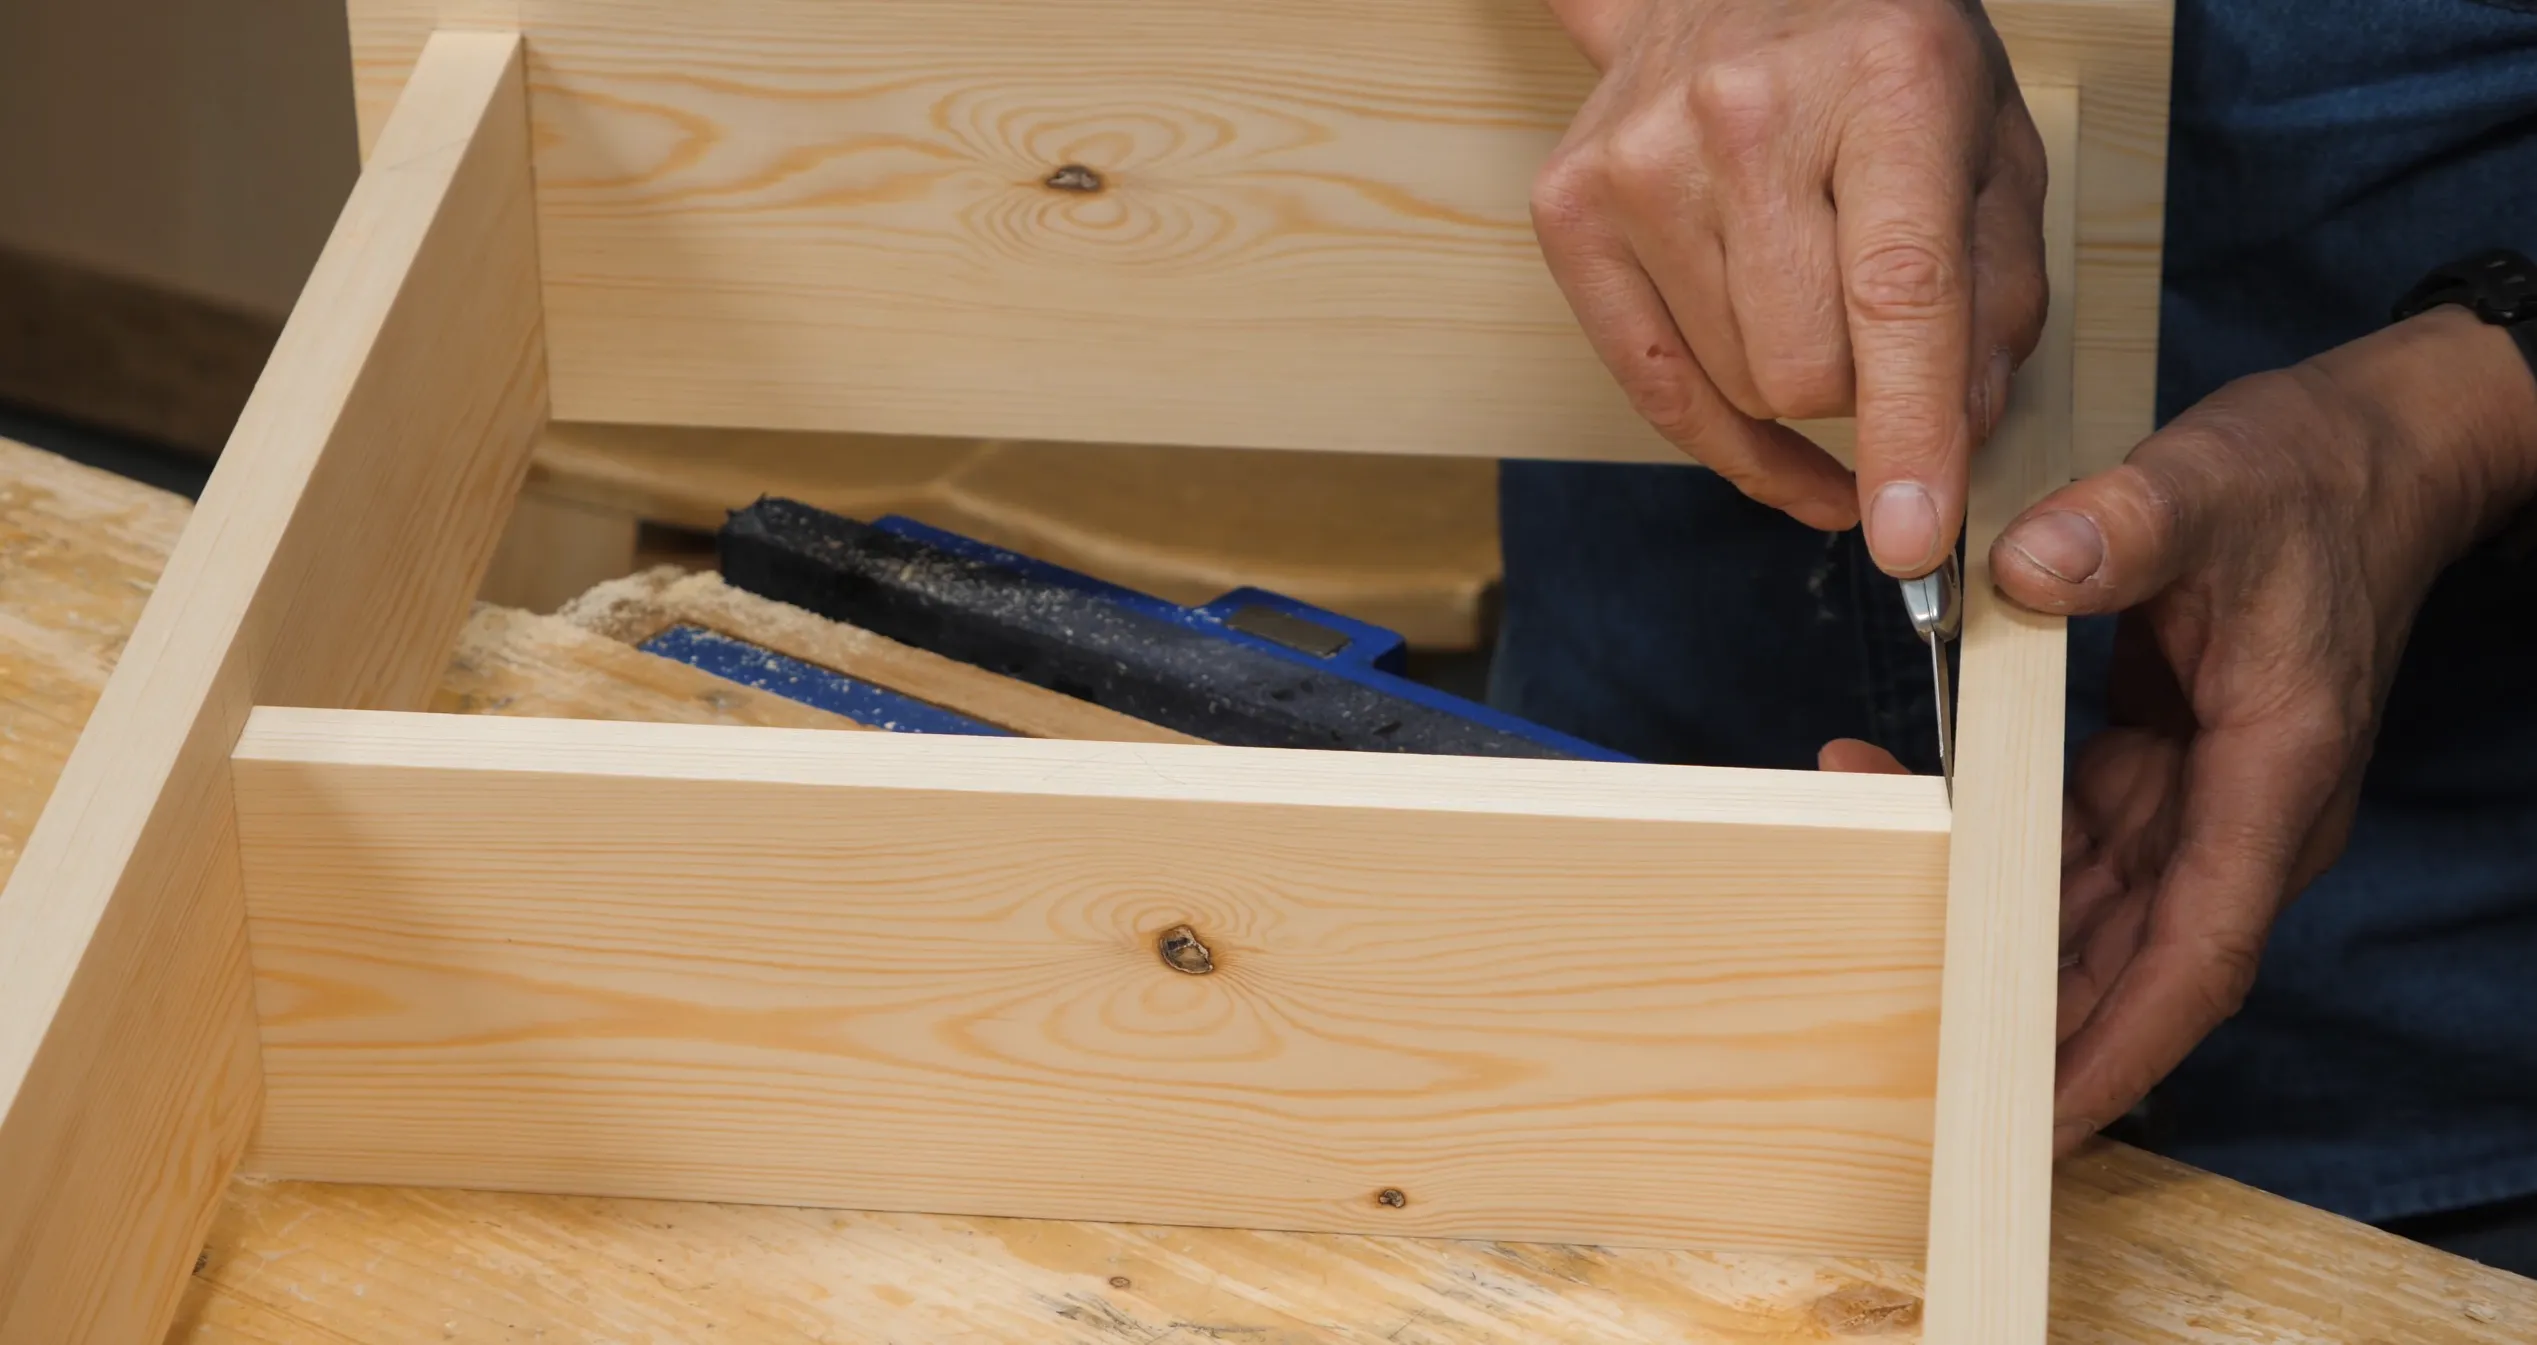
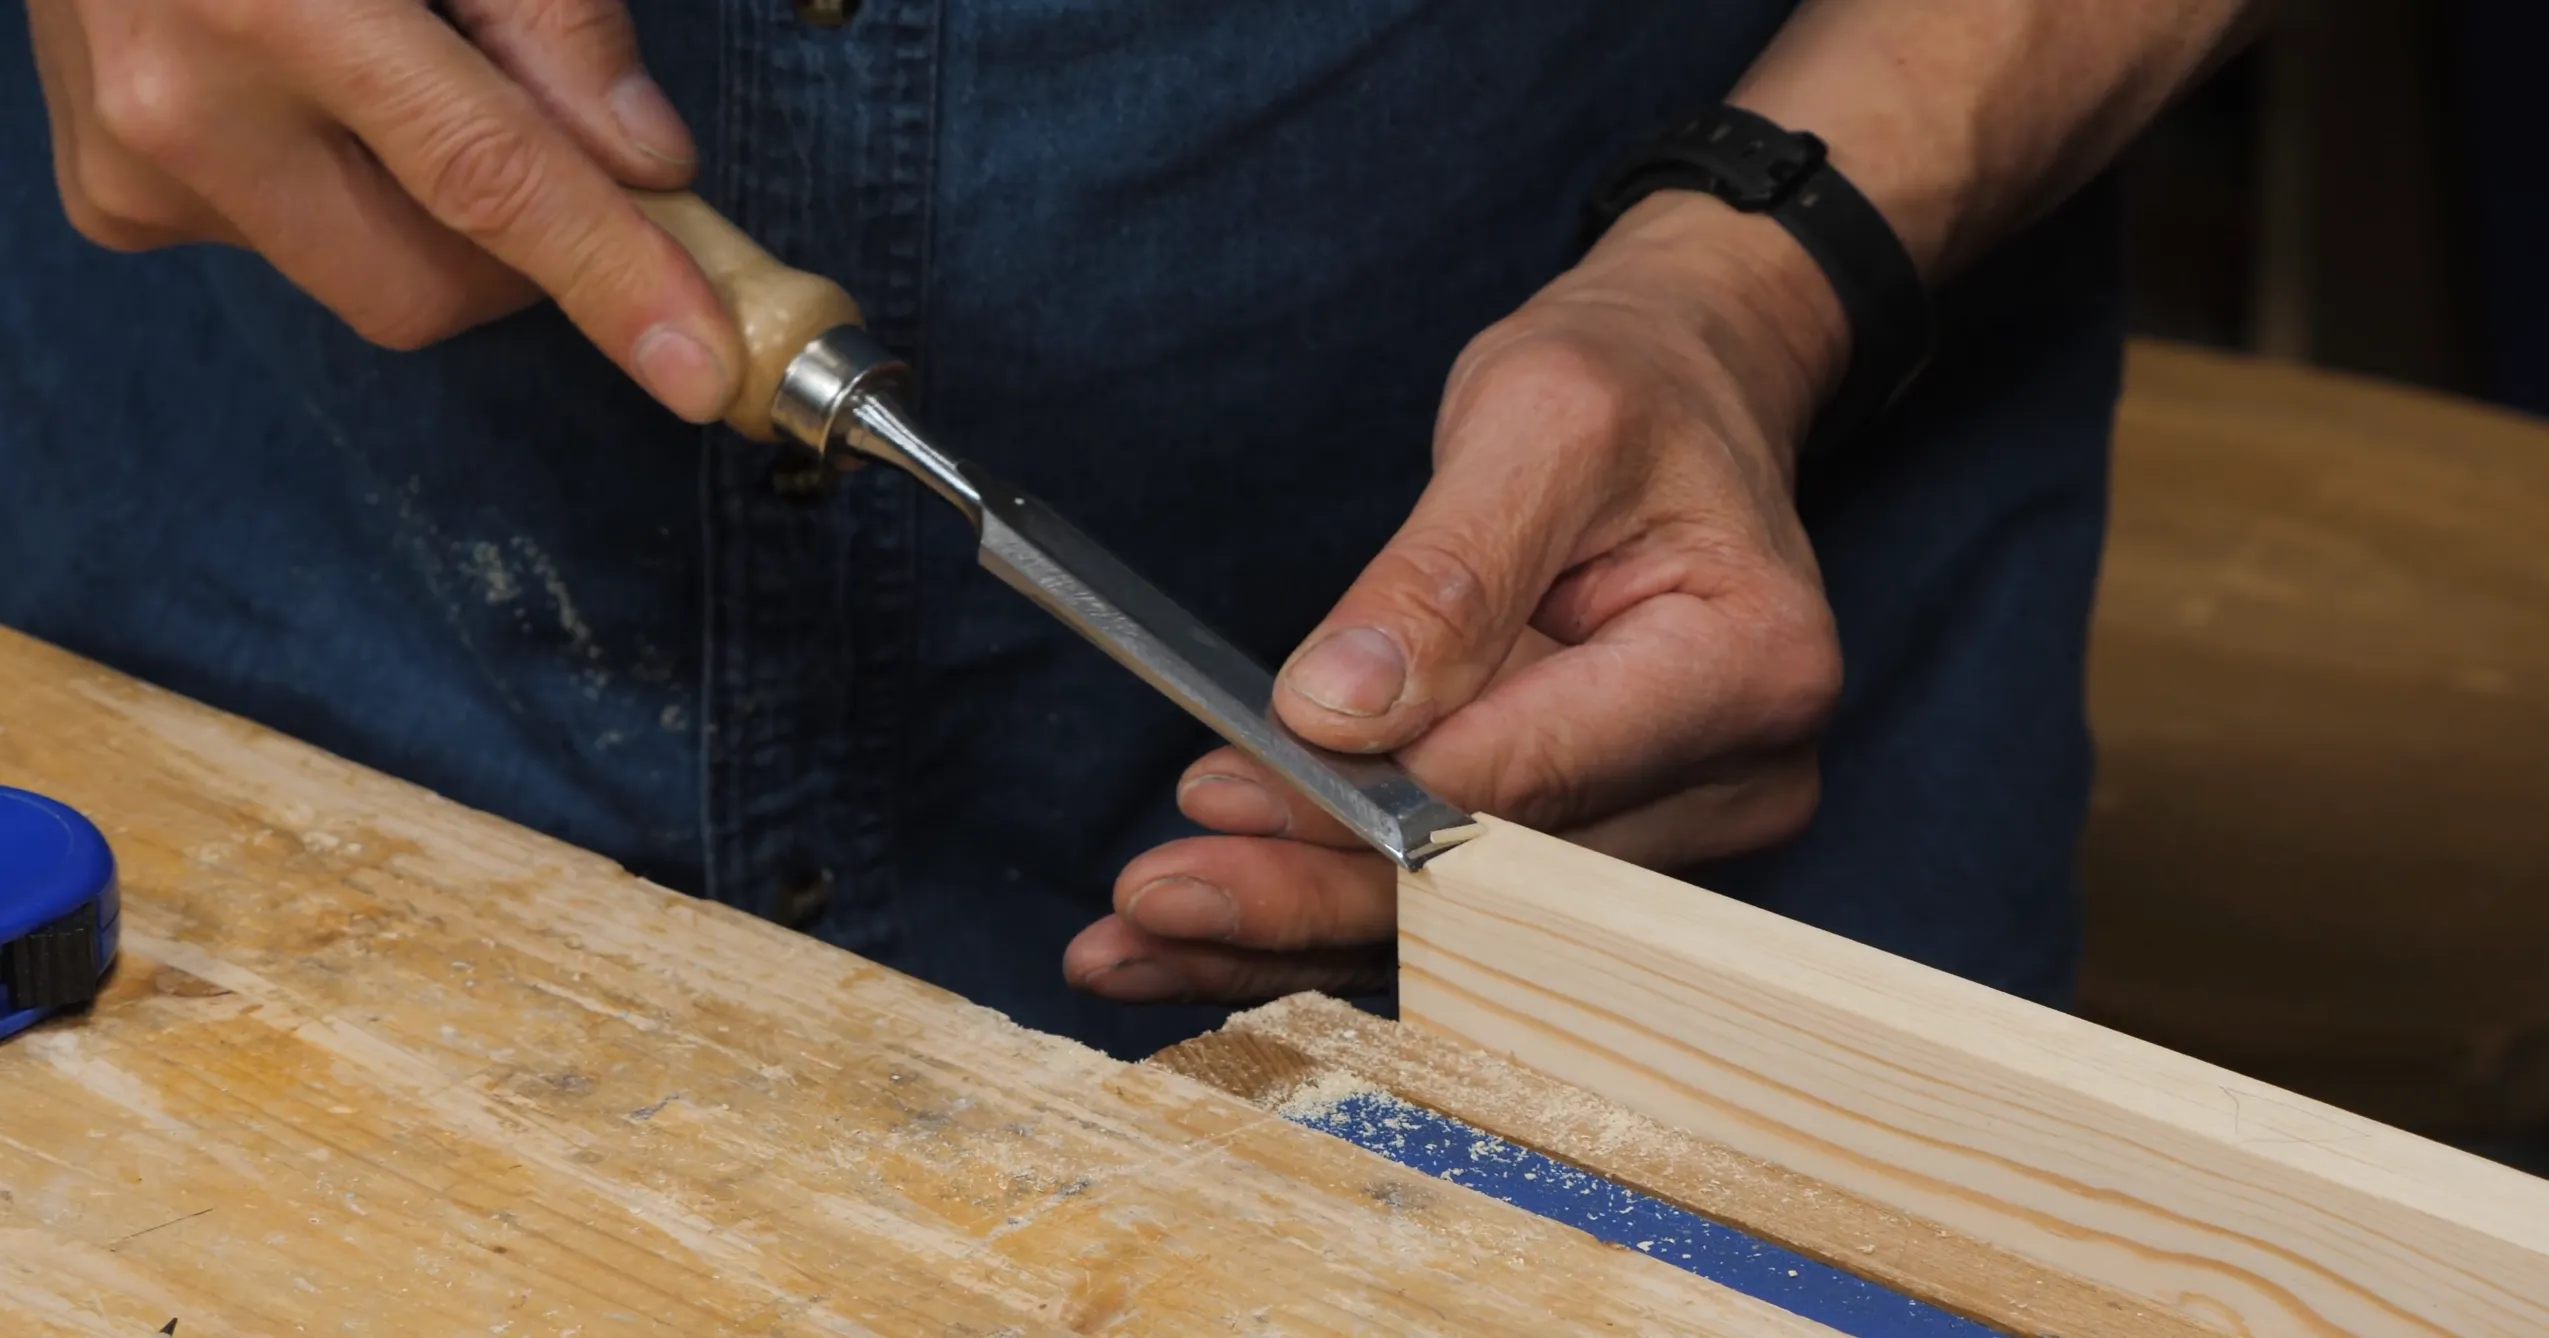
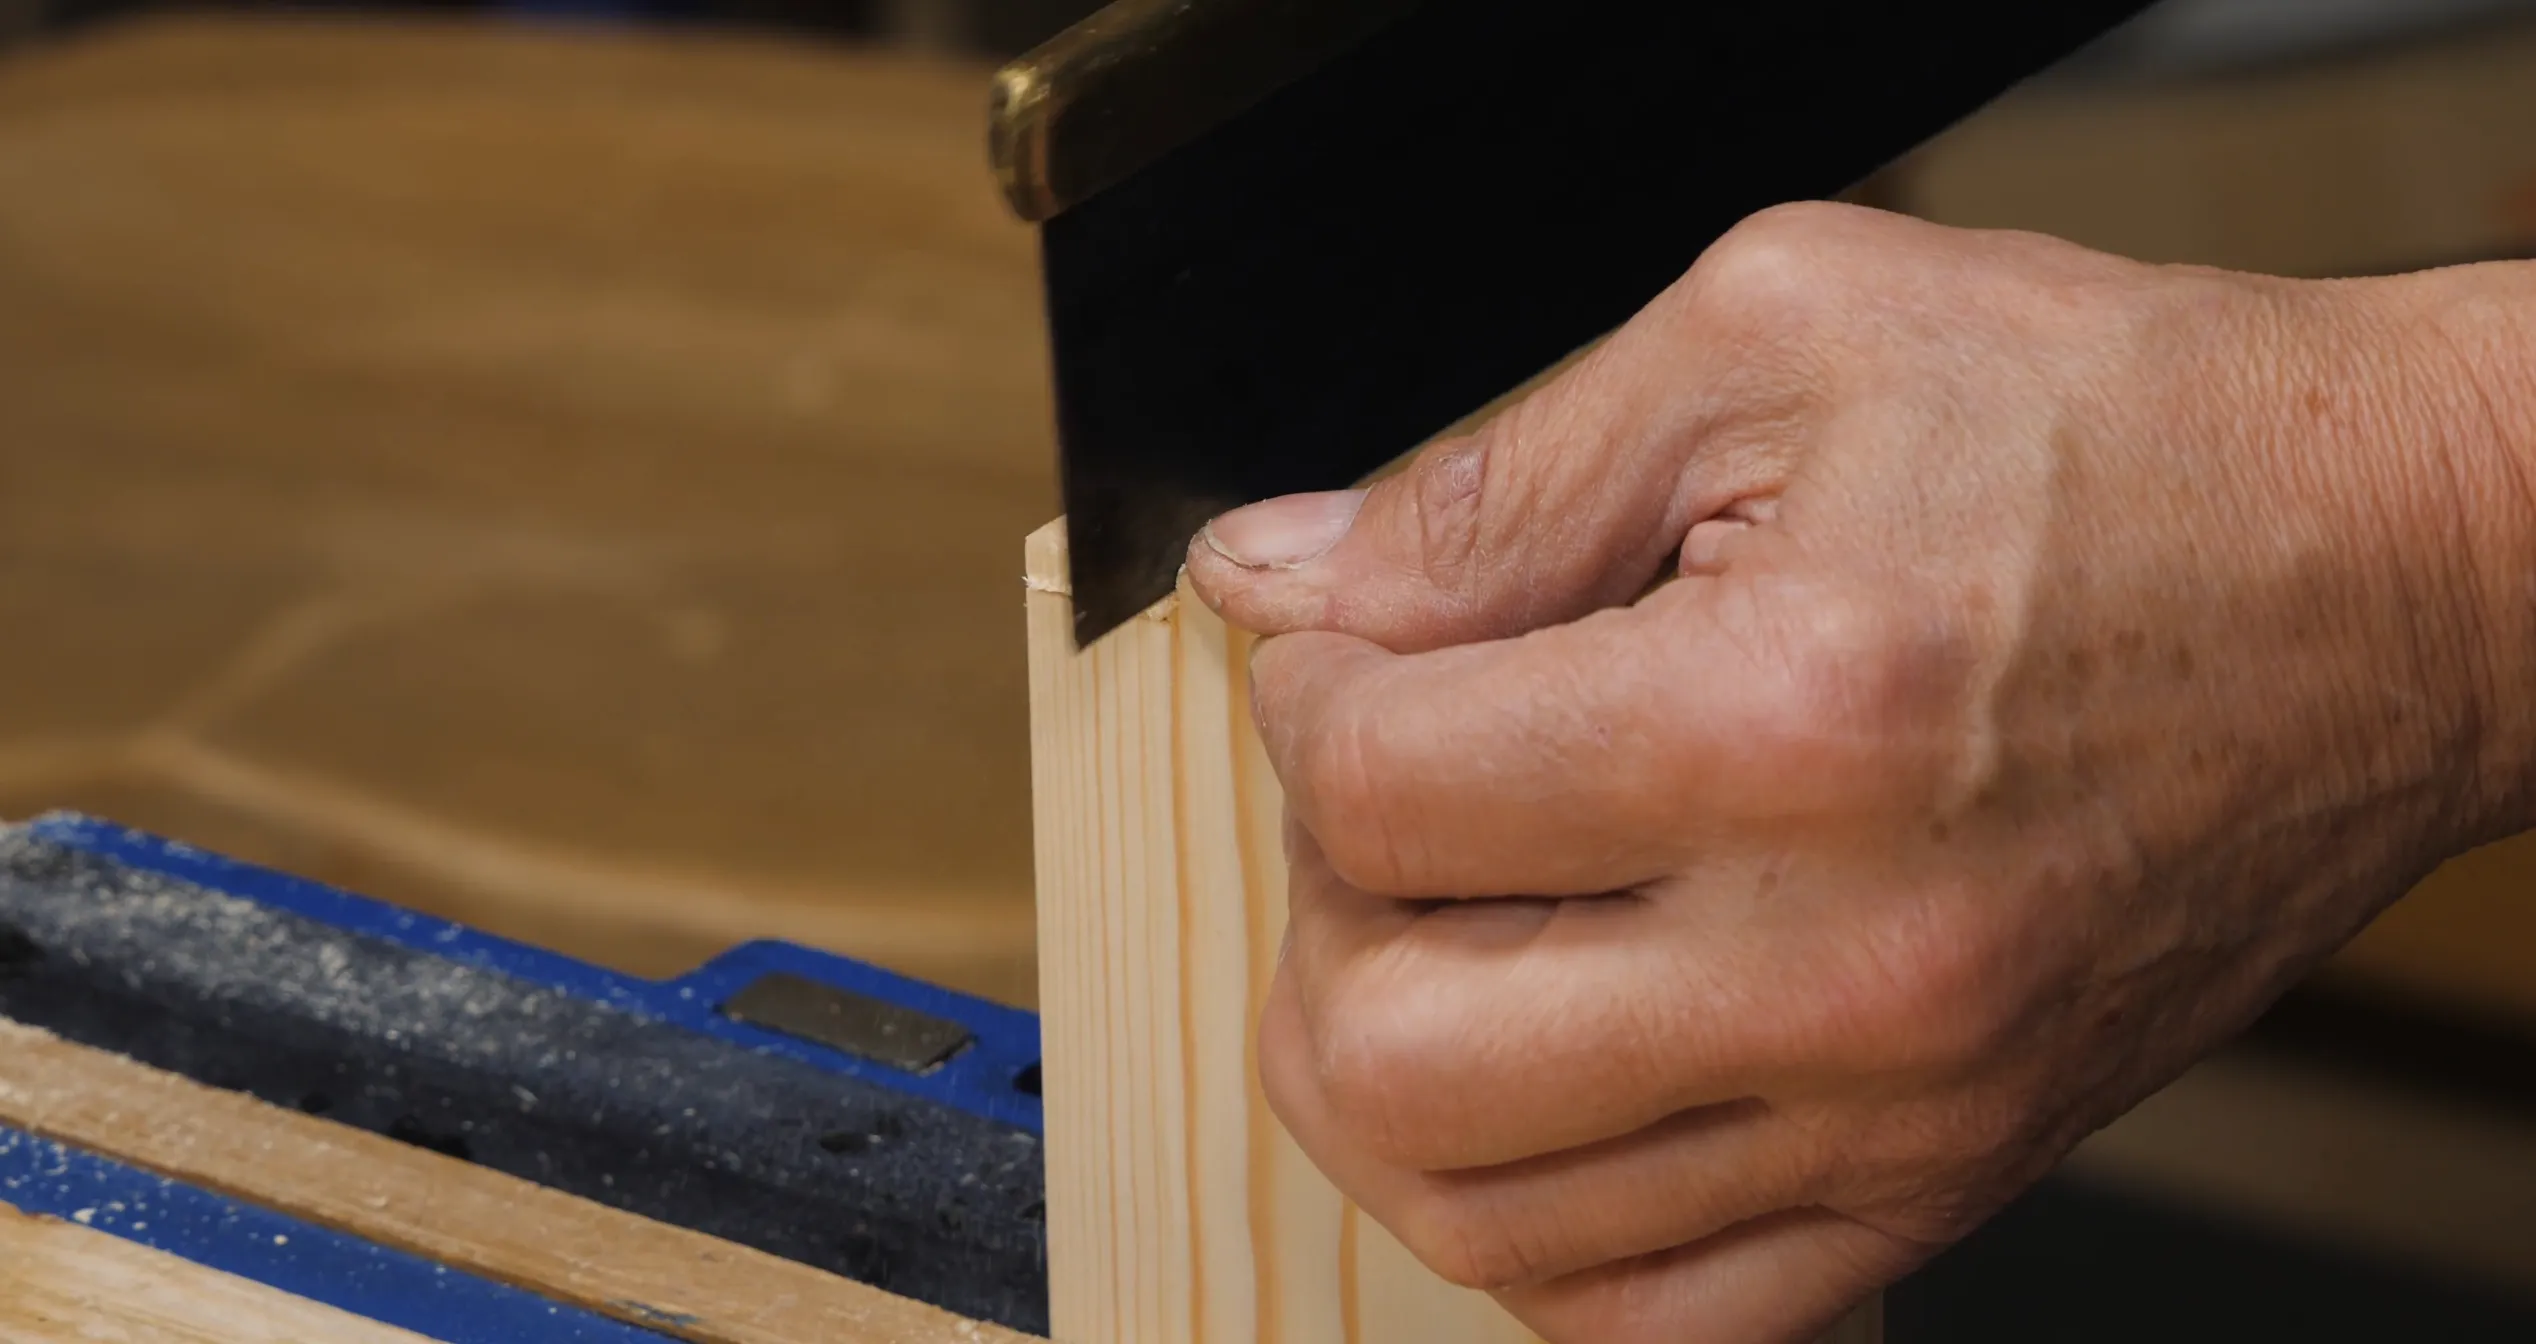
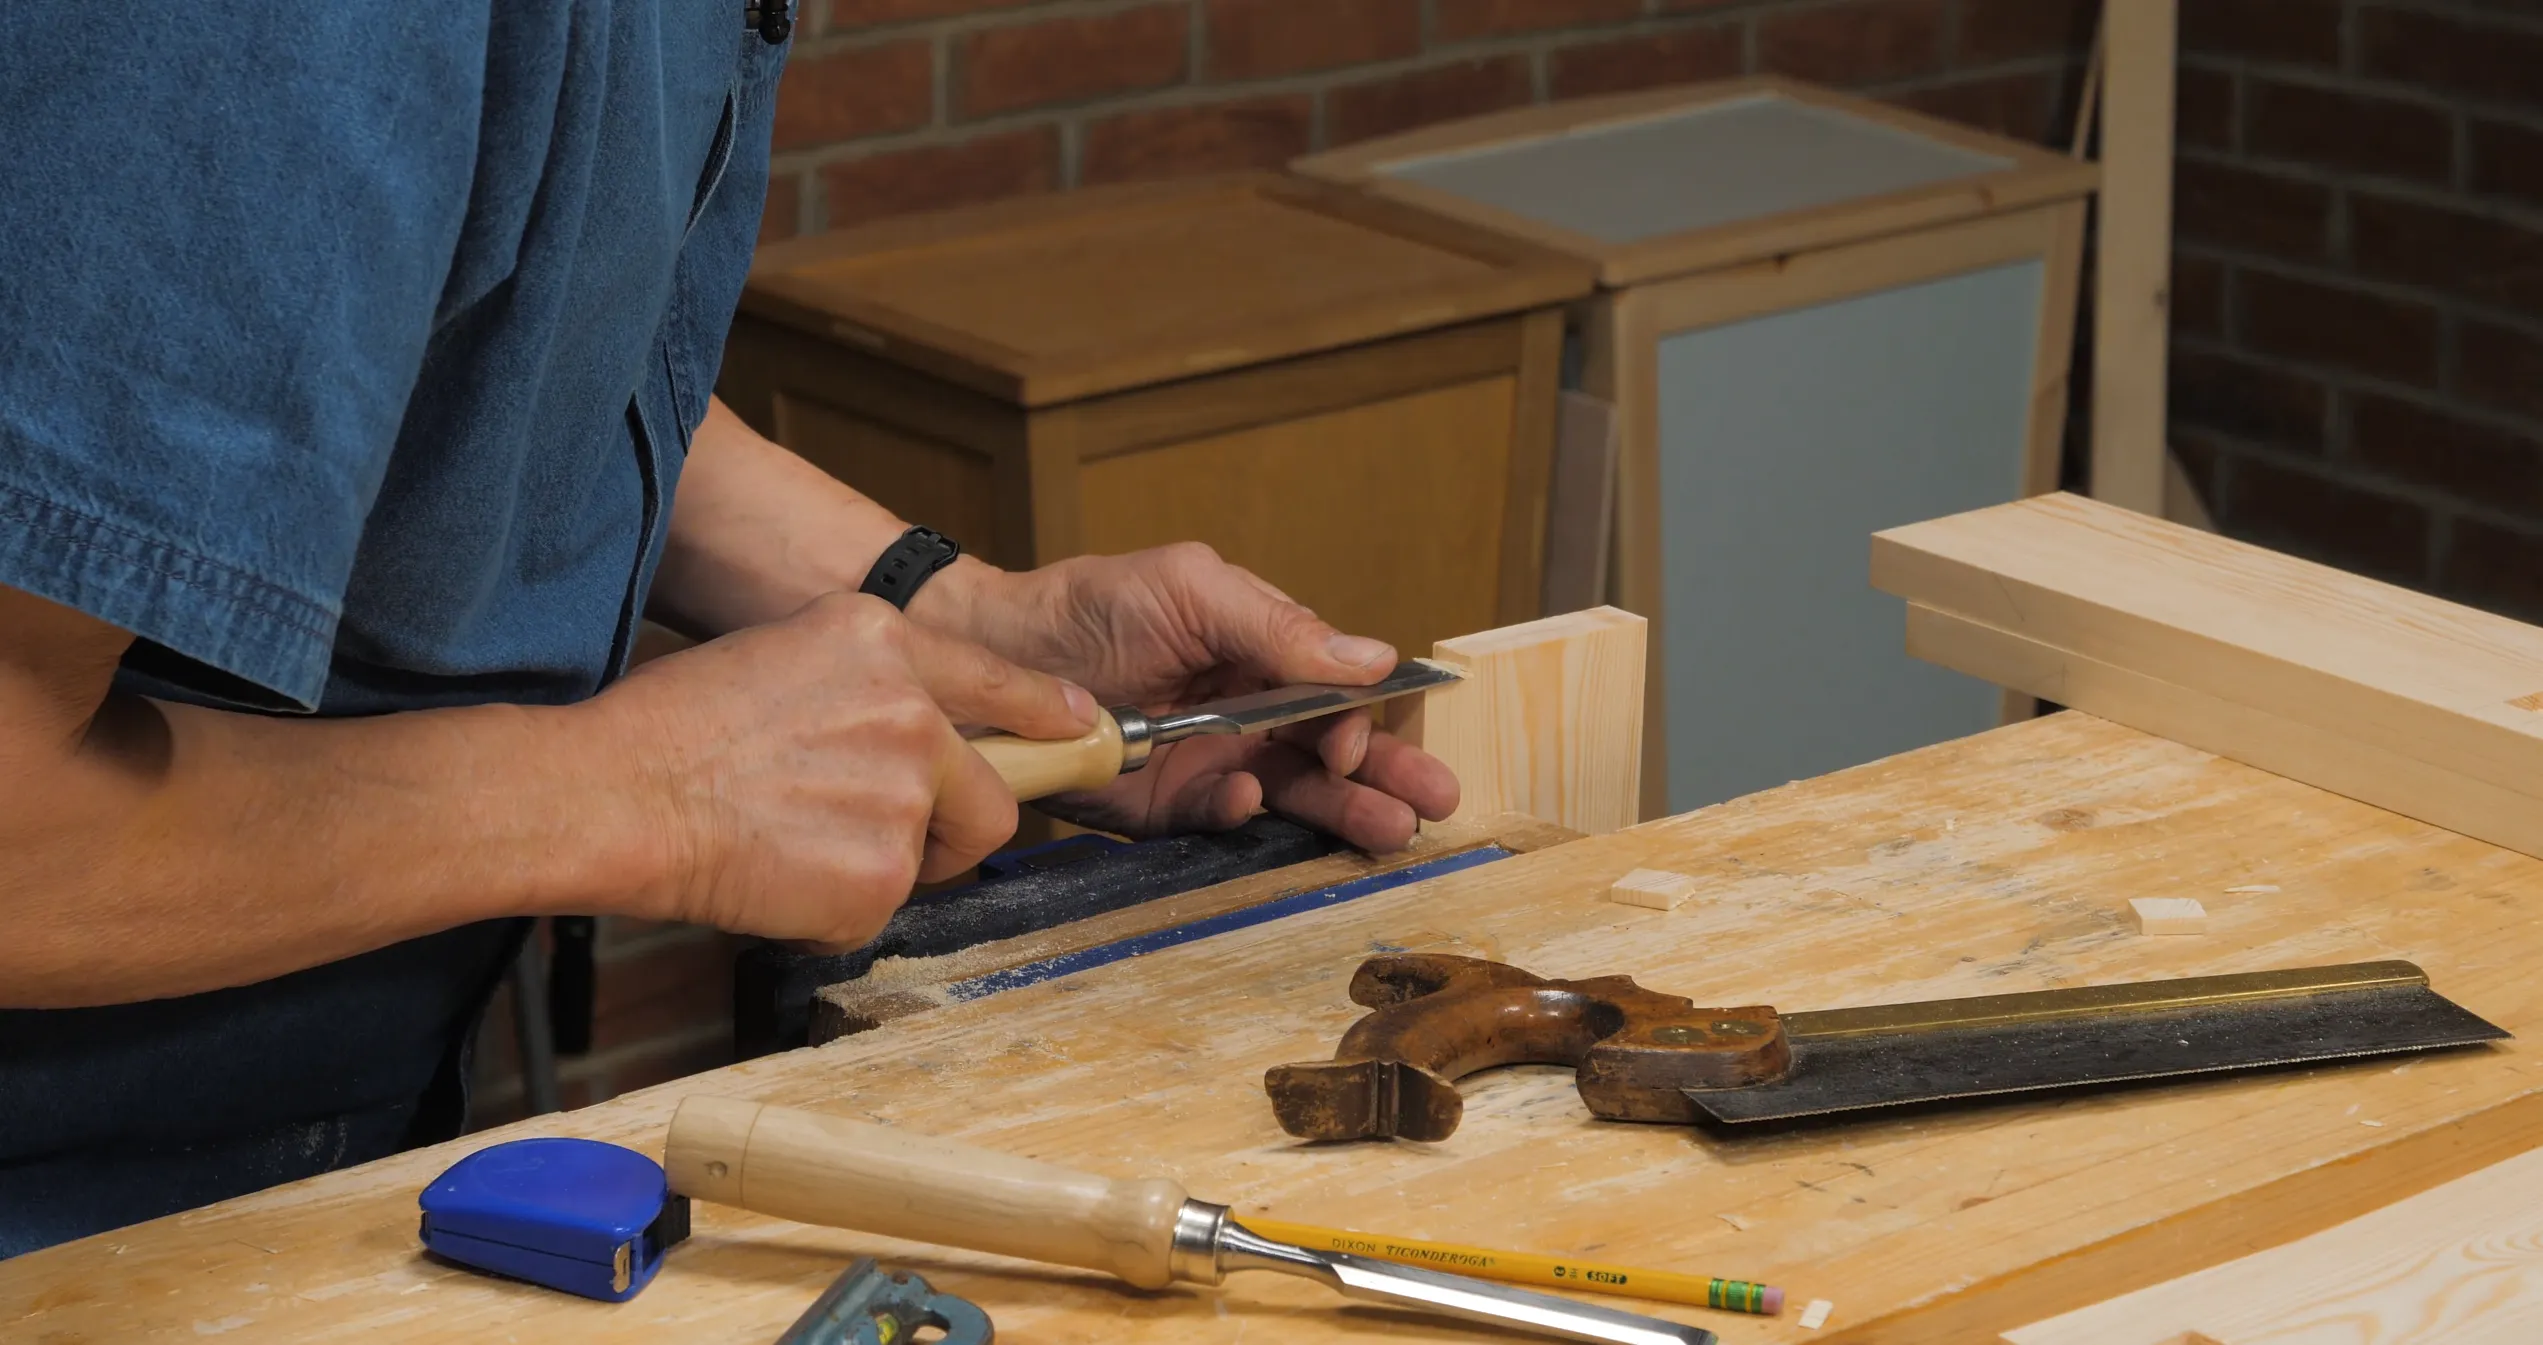
You can now make a relief with a wide chisel and cut the notch with a small tenon saw. Take great care to stay on the waste side of the knifewall at all times. Undercutting will result in a careless looking gap showing very visibly.
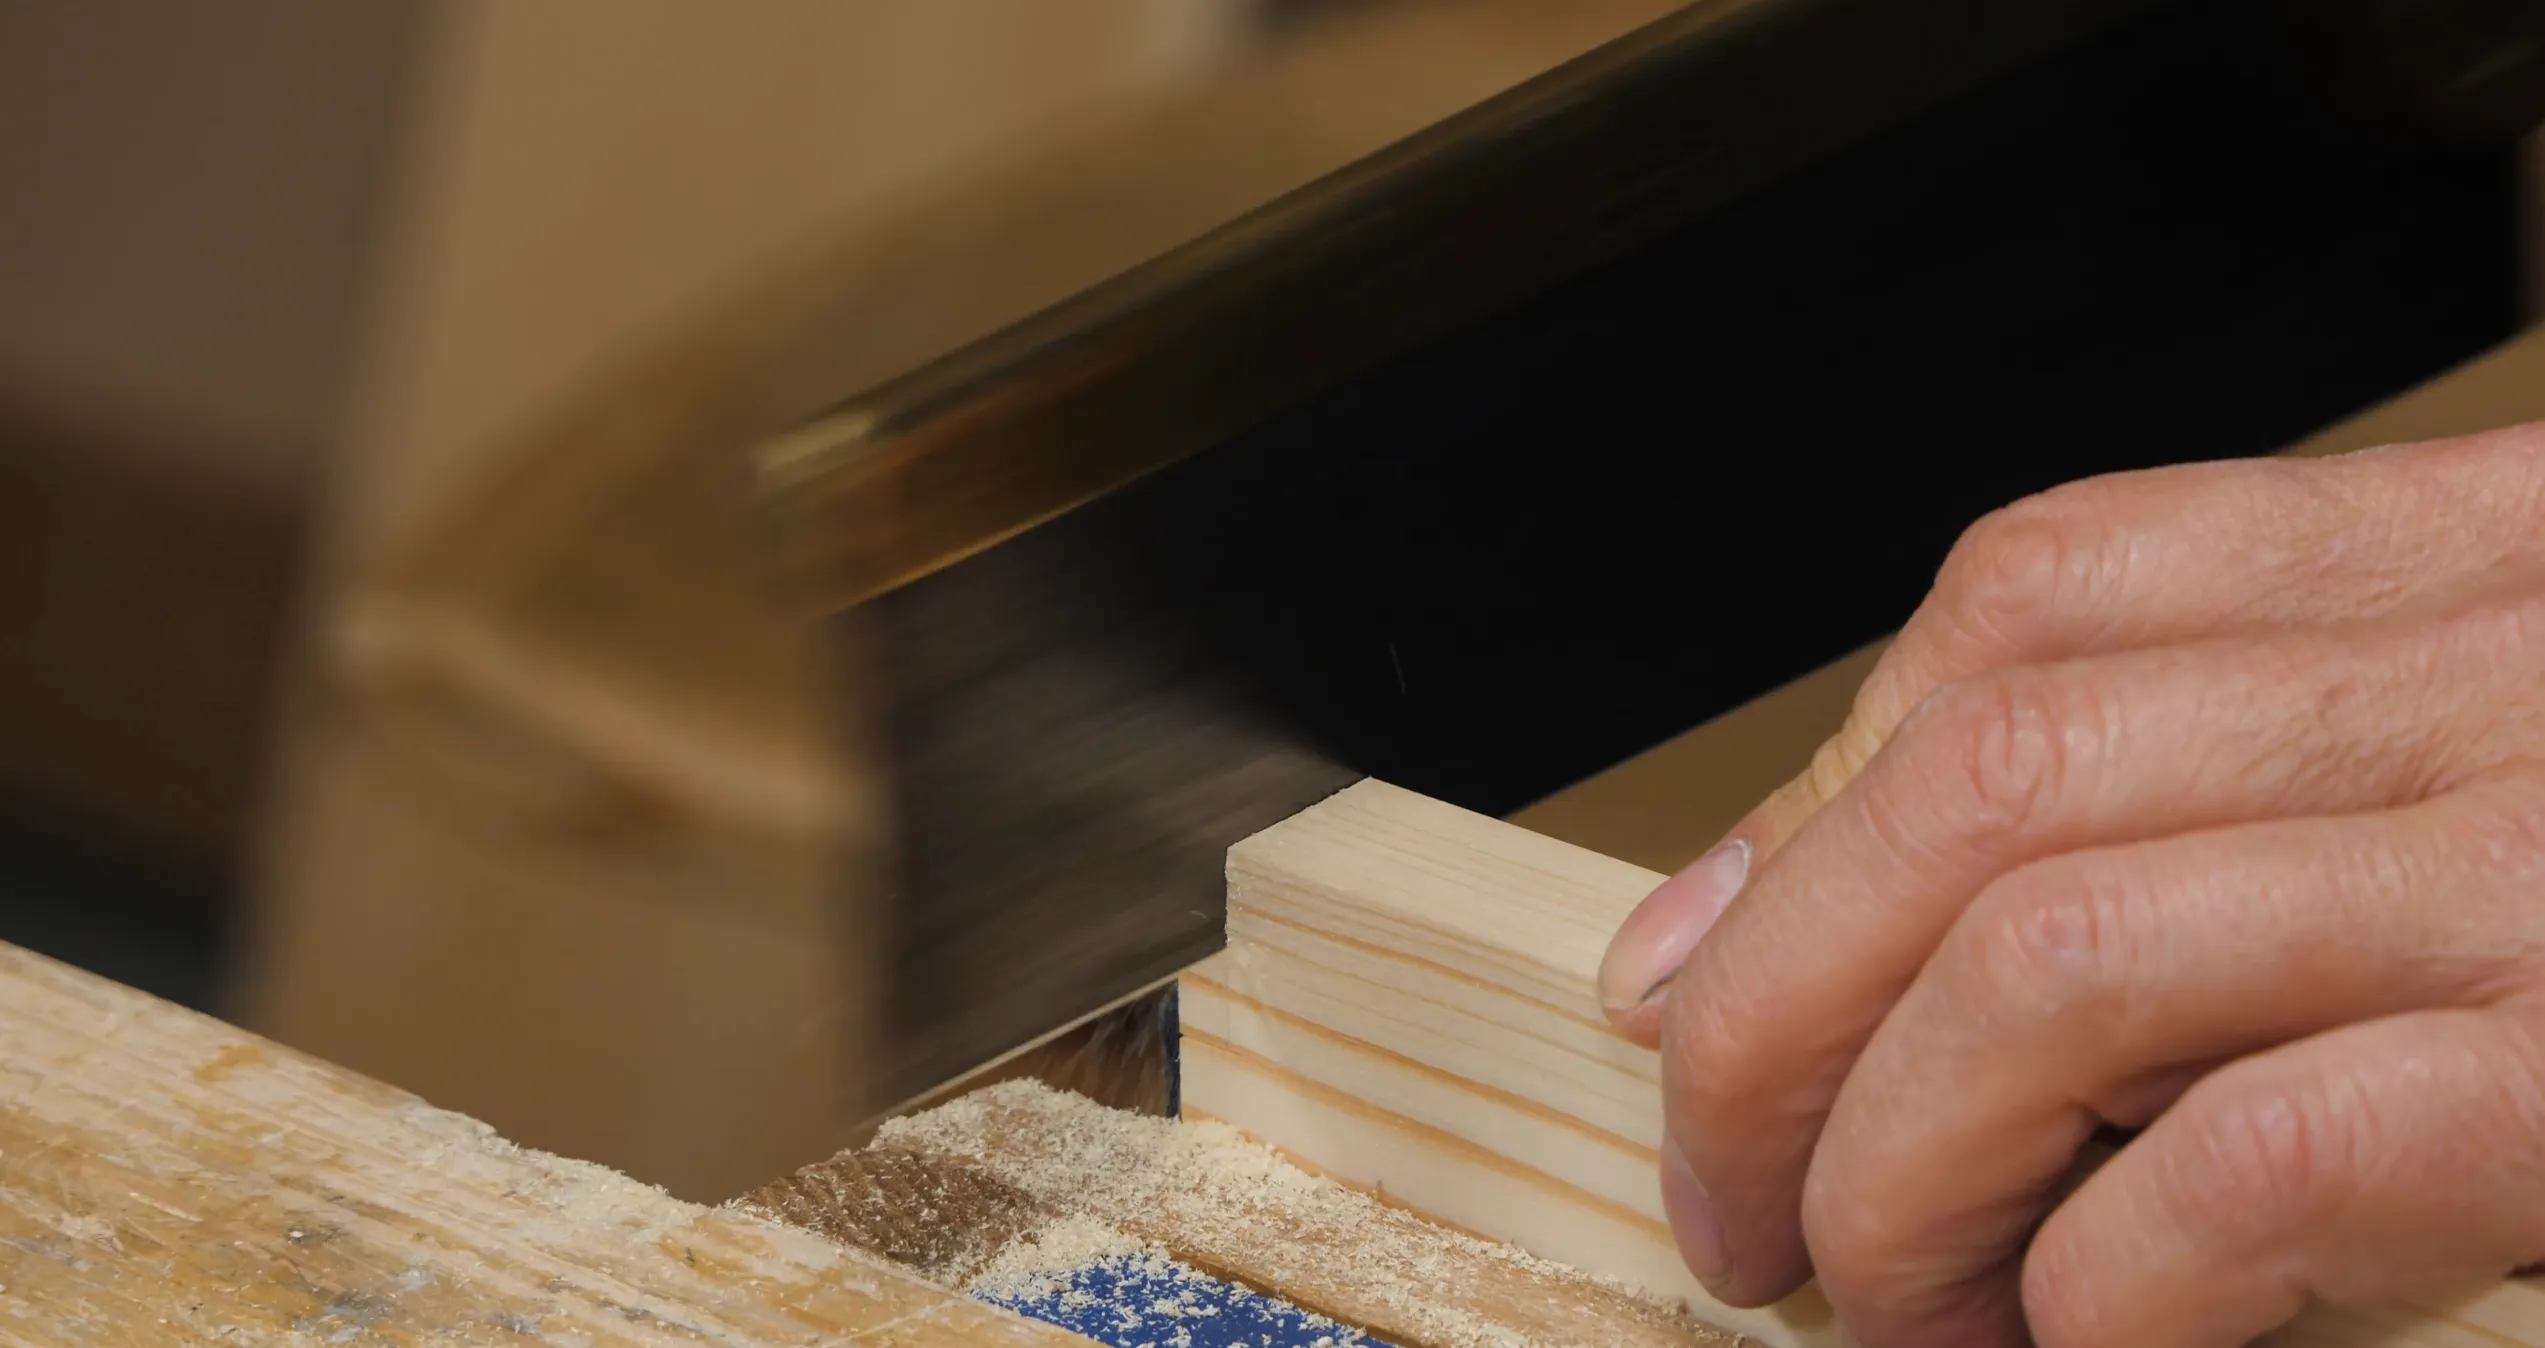
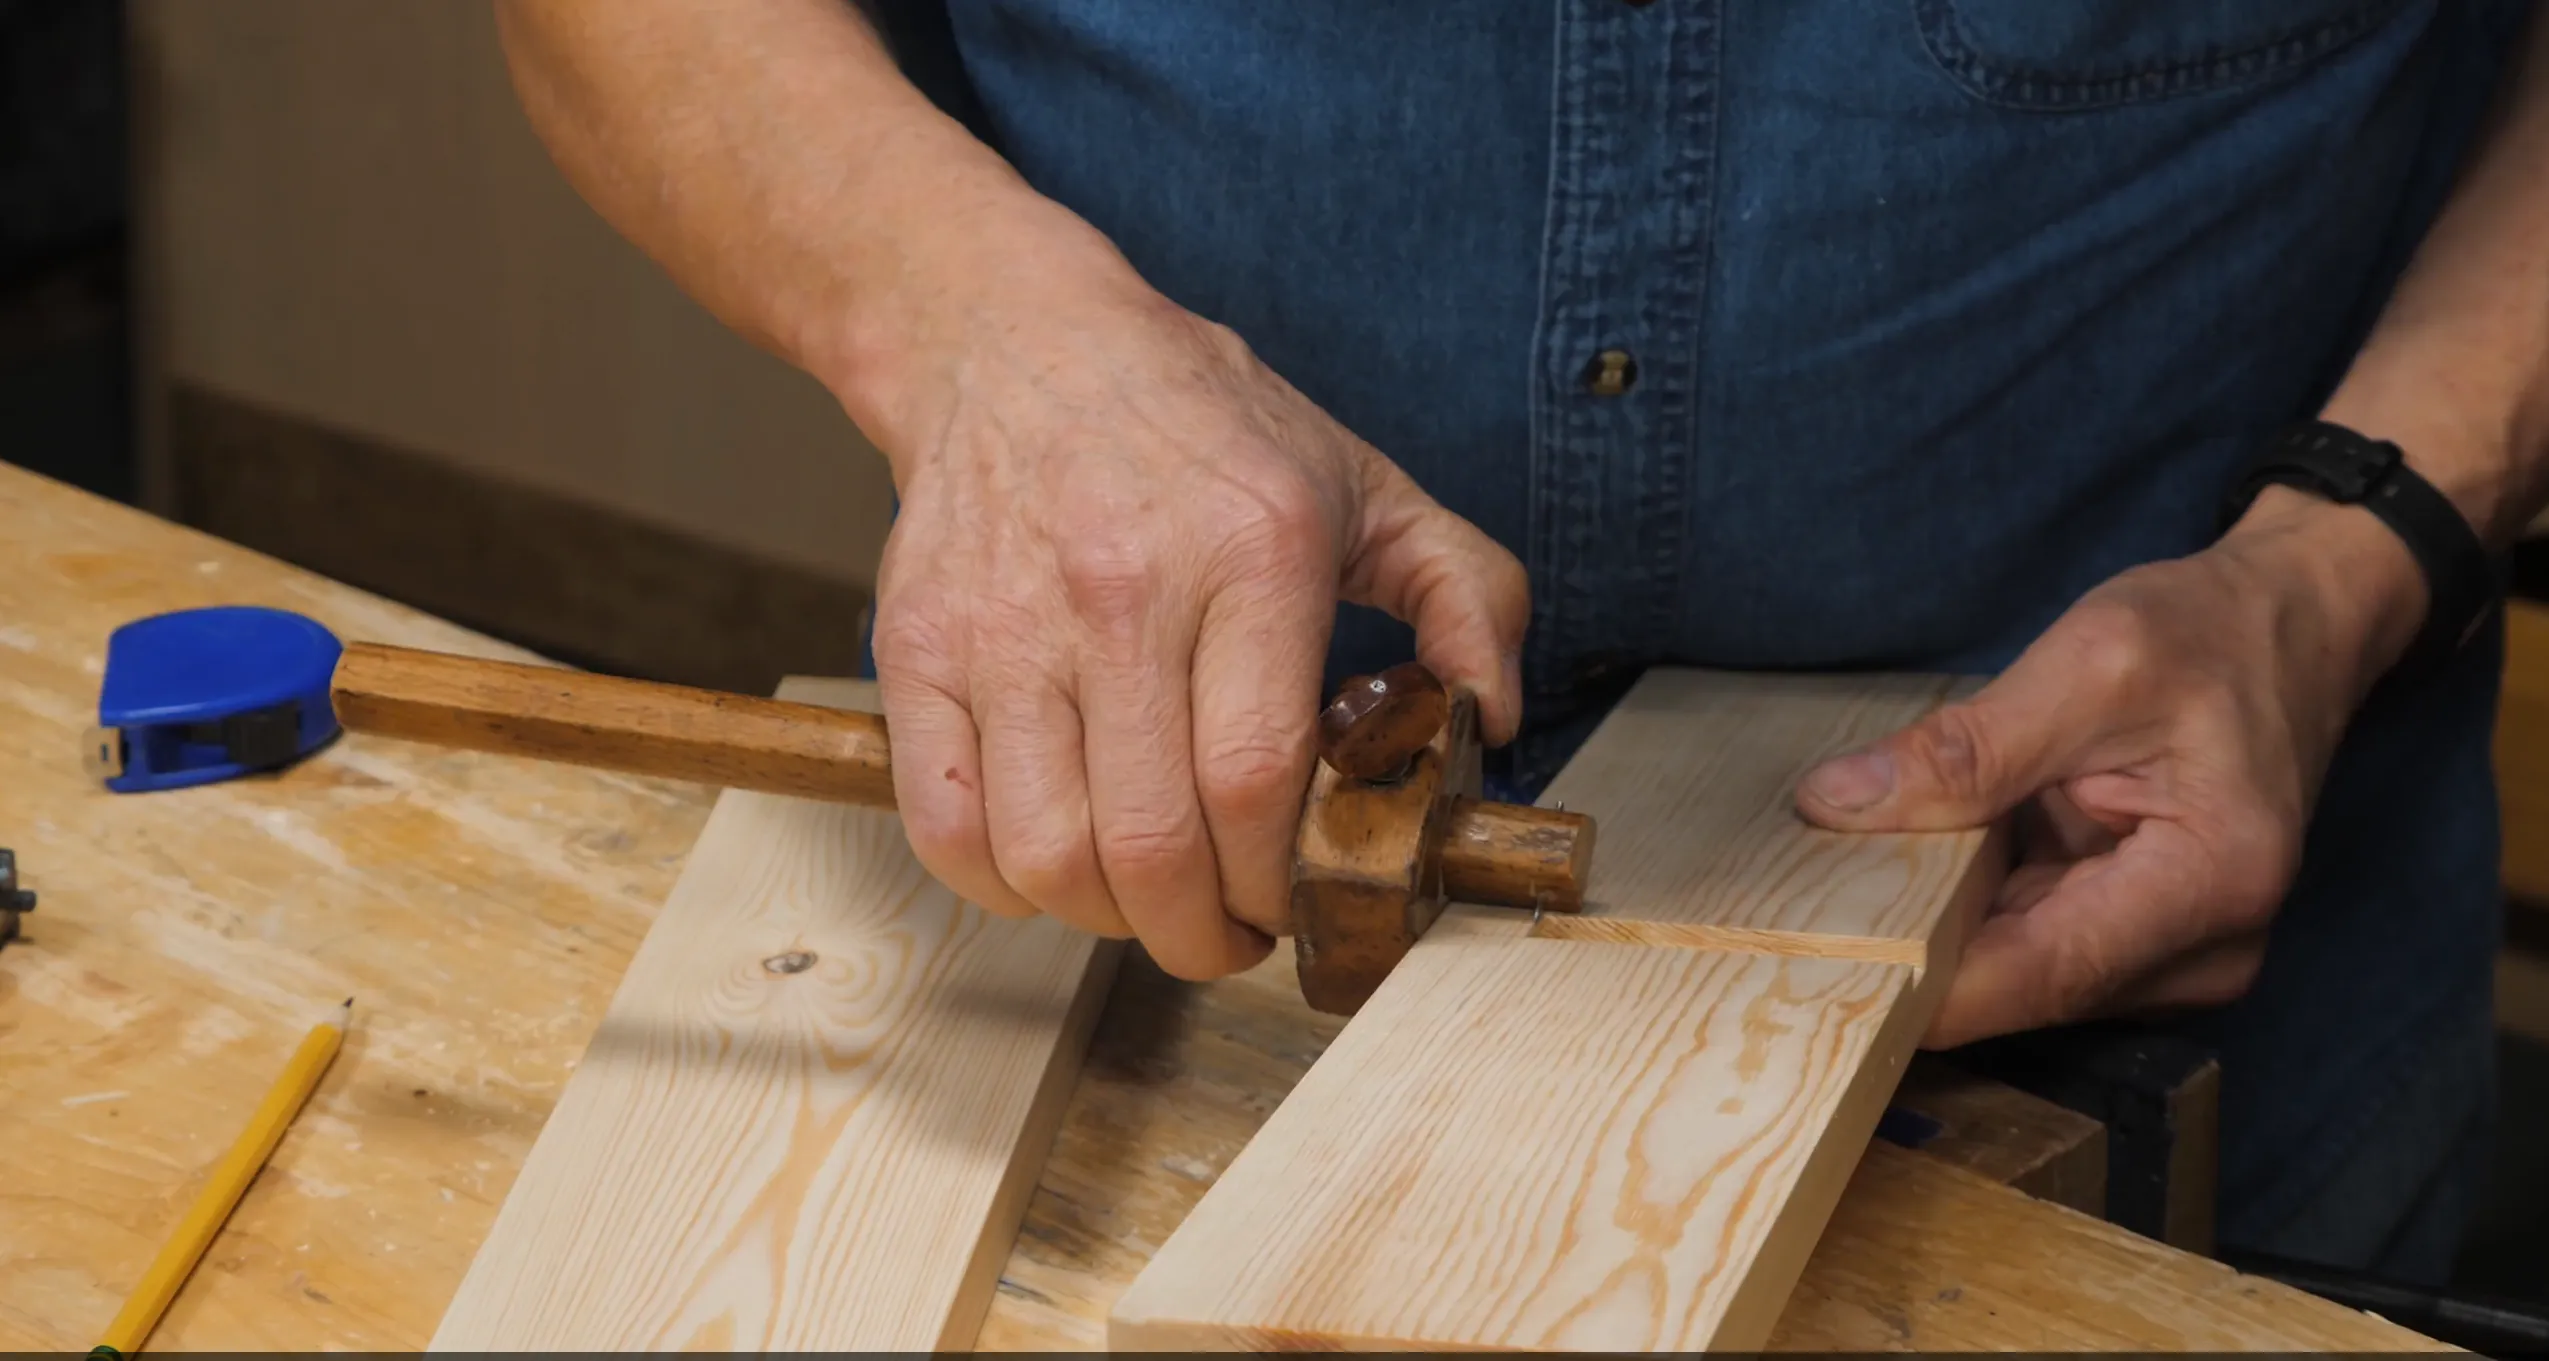
For the cut along the grain, you can either use a saw or, when it’s such a short length, as in this small shelf, simply split with a 1” (25mm) chisel. Then clean up the shoulder with a sharp chisel, again working carefully to the line to avoid undercutting.

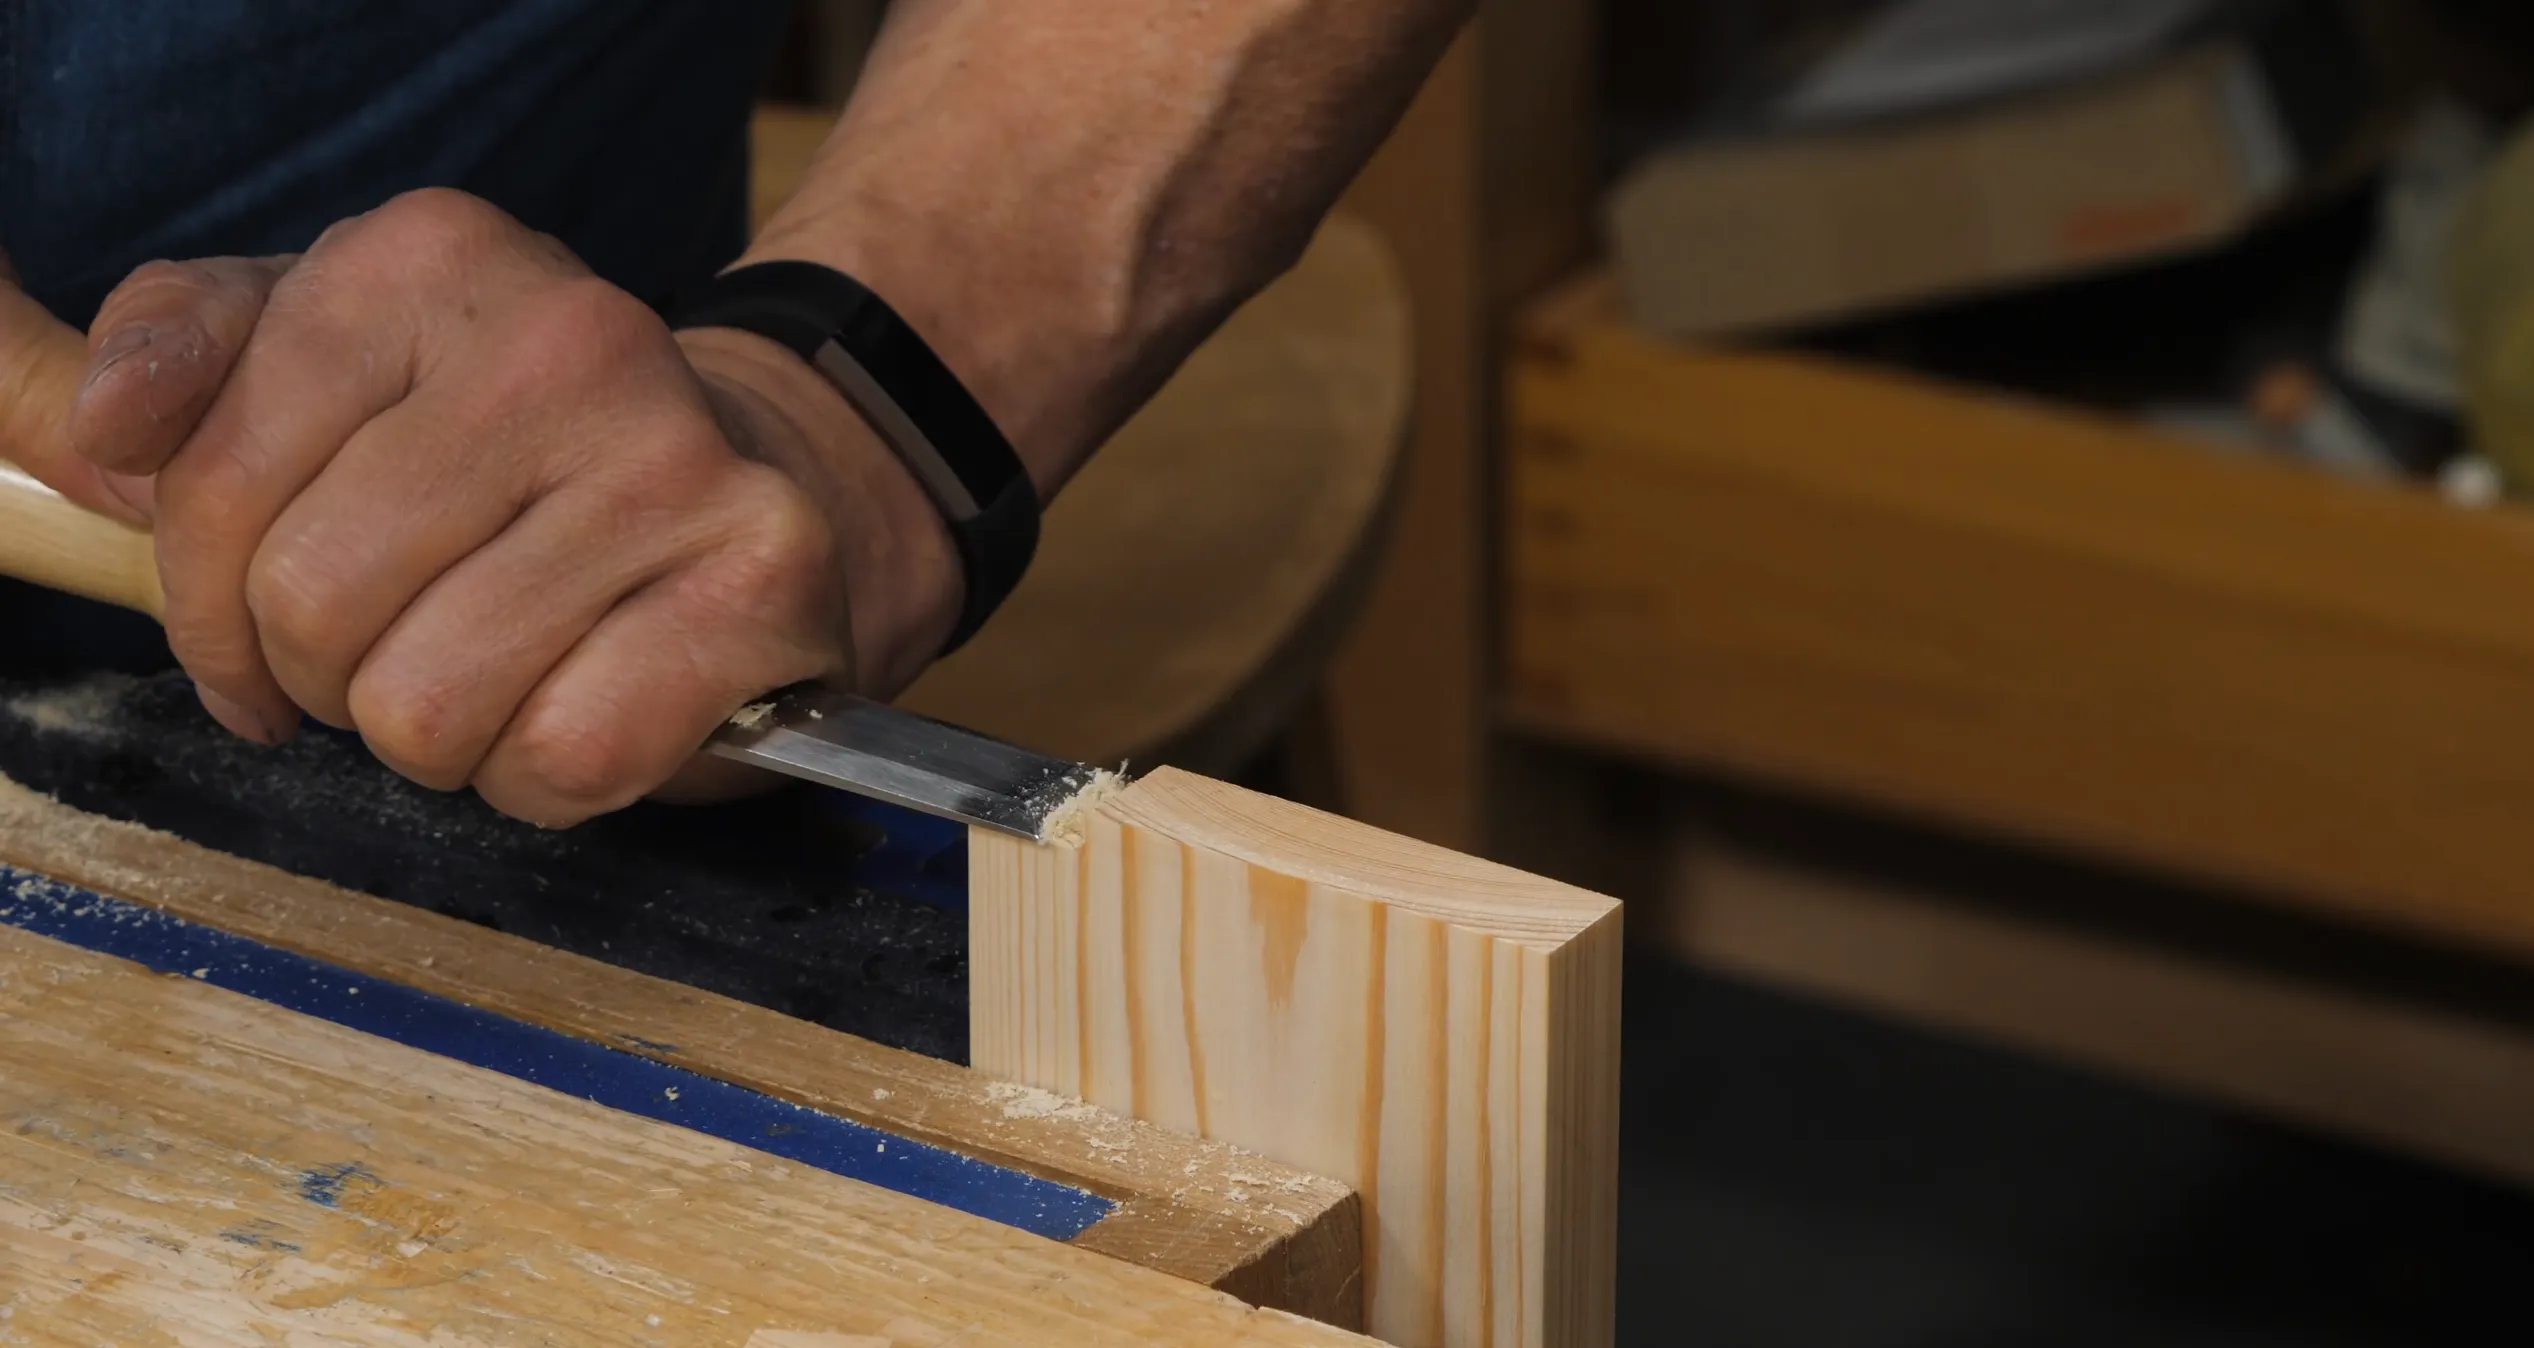
 Your stepped housing dado should be snug and tight with no gaps showing
Sign in to track your progress