Laying Out The Mortise
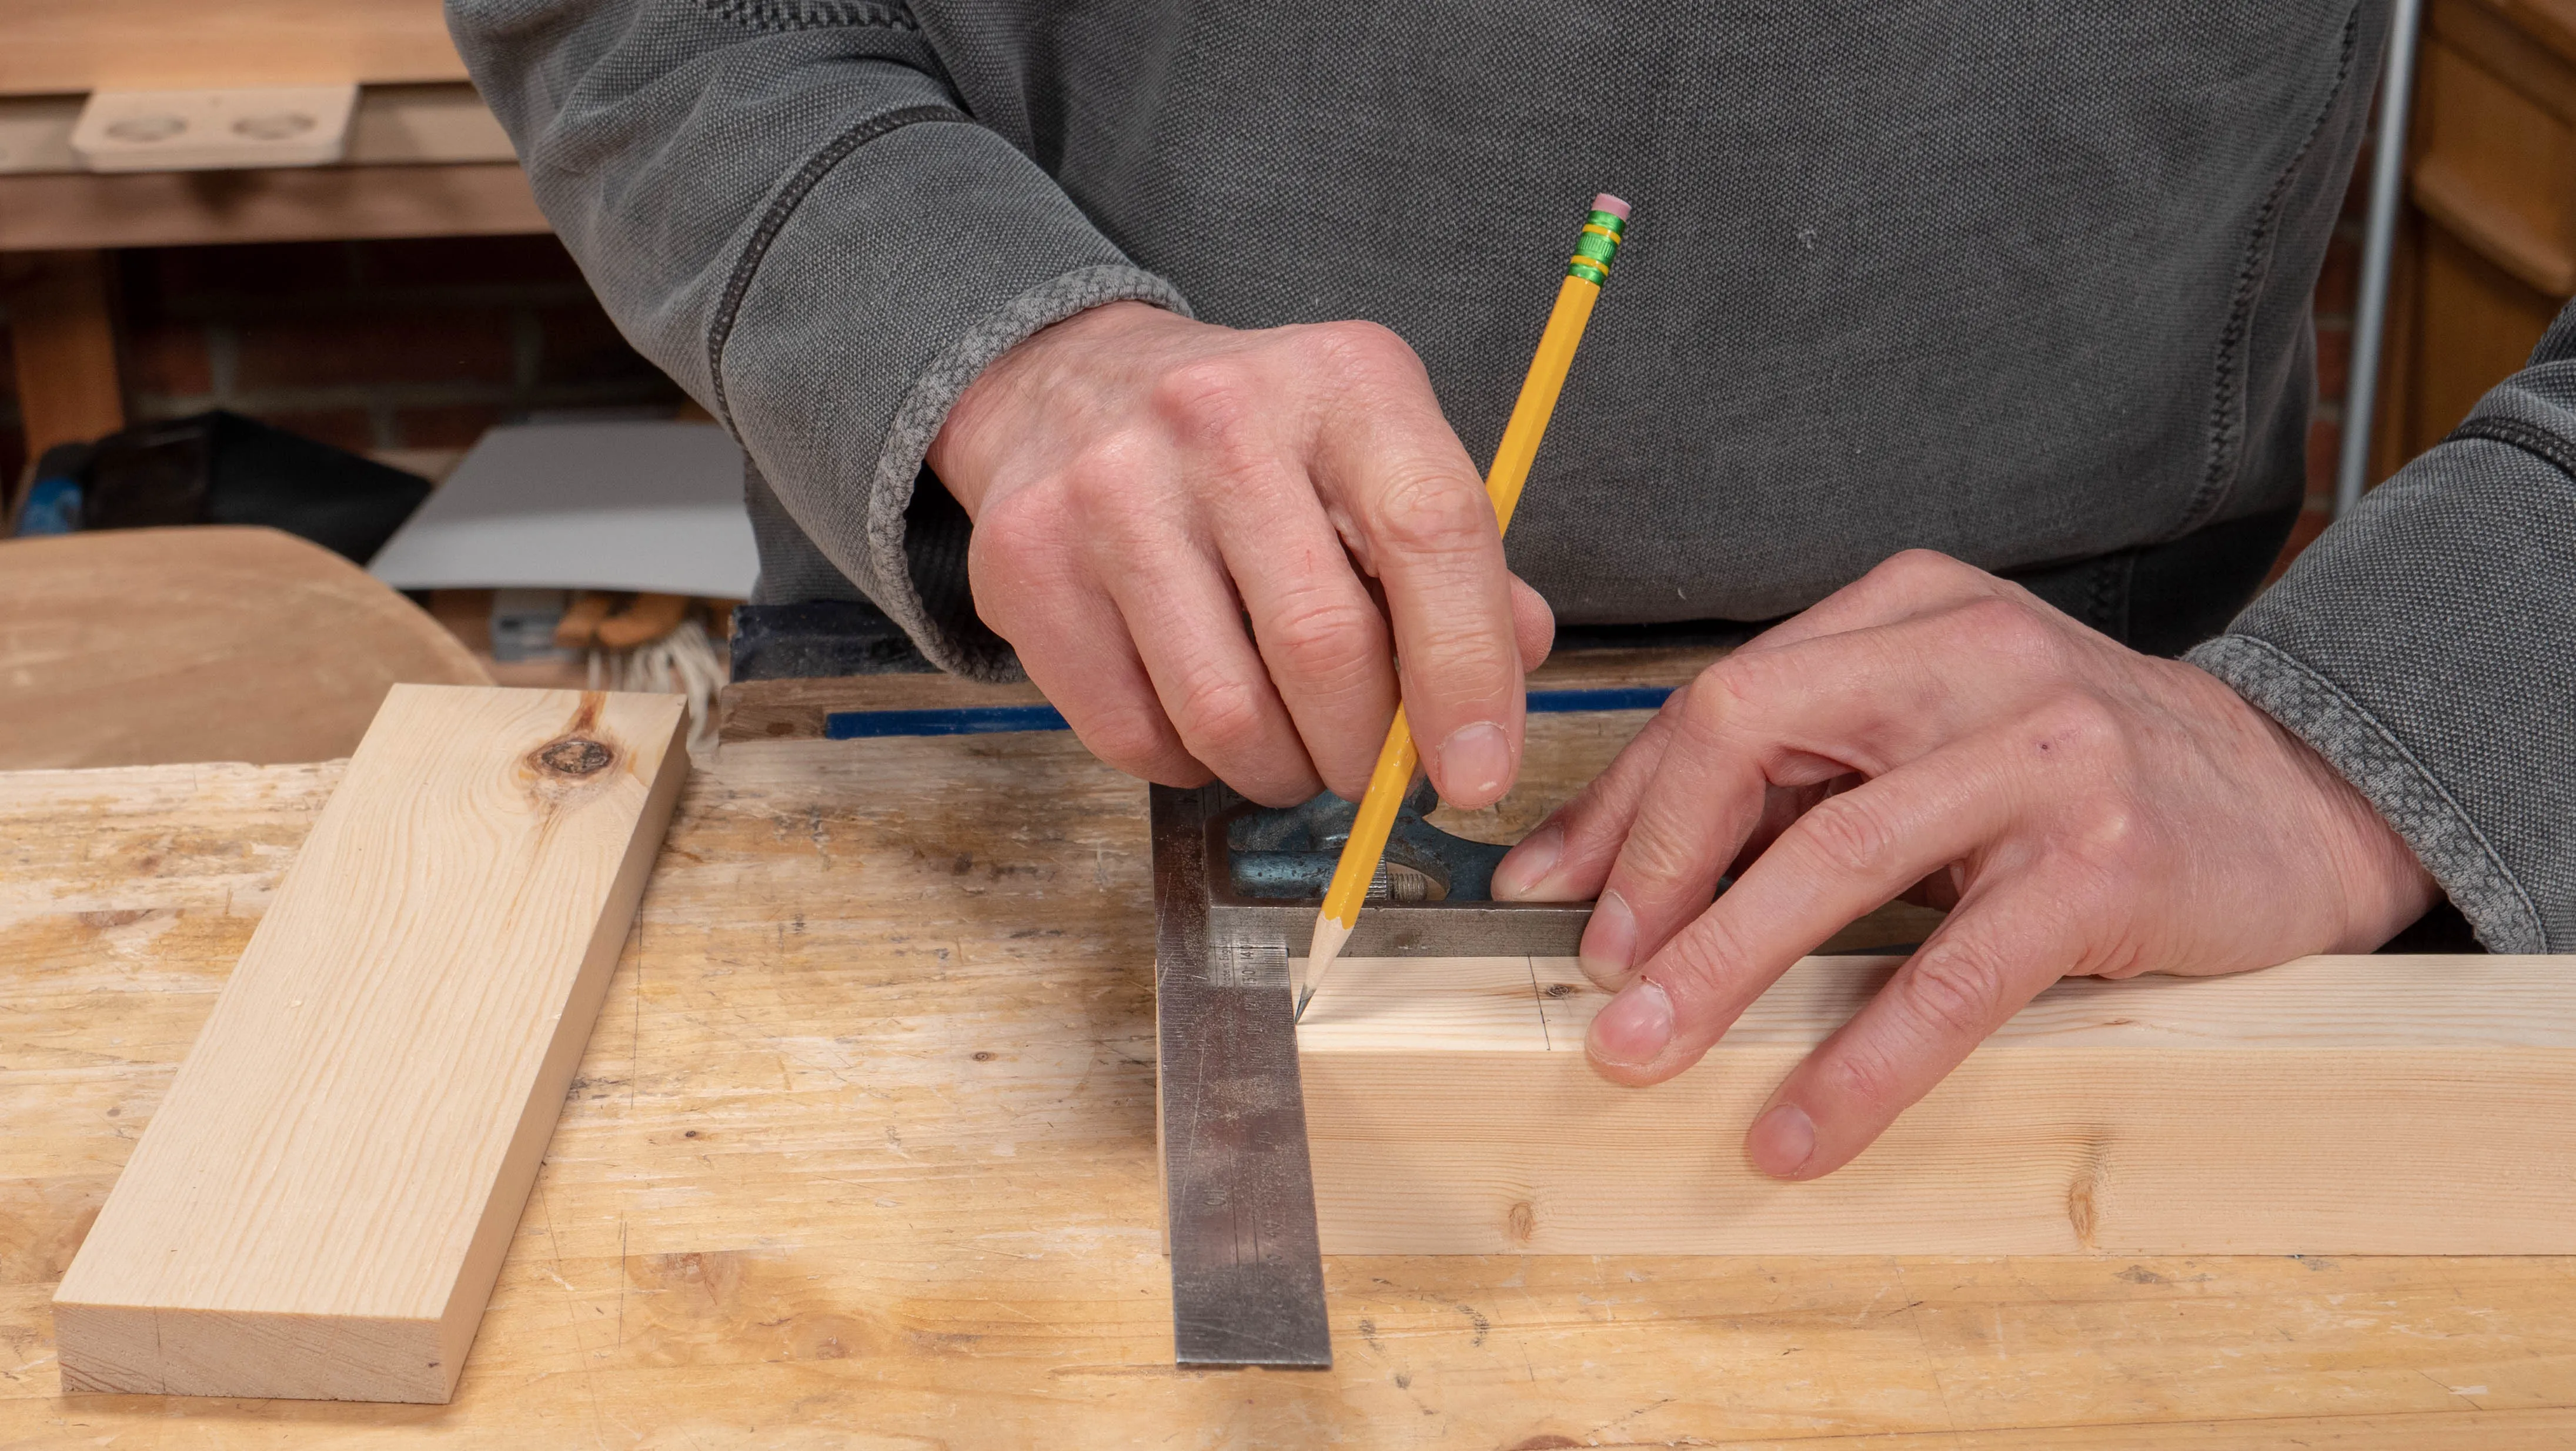
Begin by deciding on the arrangement of the parts. To lay out your mortise hole, pick the edge where you want your mortise to go and use the width of your tenon piece to mark the bottom of the mortise hole by flushing the top with your fingers and making a pencil line on the other side. Square this line across.
Note: The mortise starts in-line with the bottom of the tenon piece because there is no shoulder beneath.

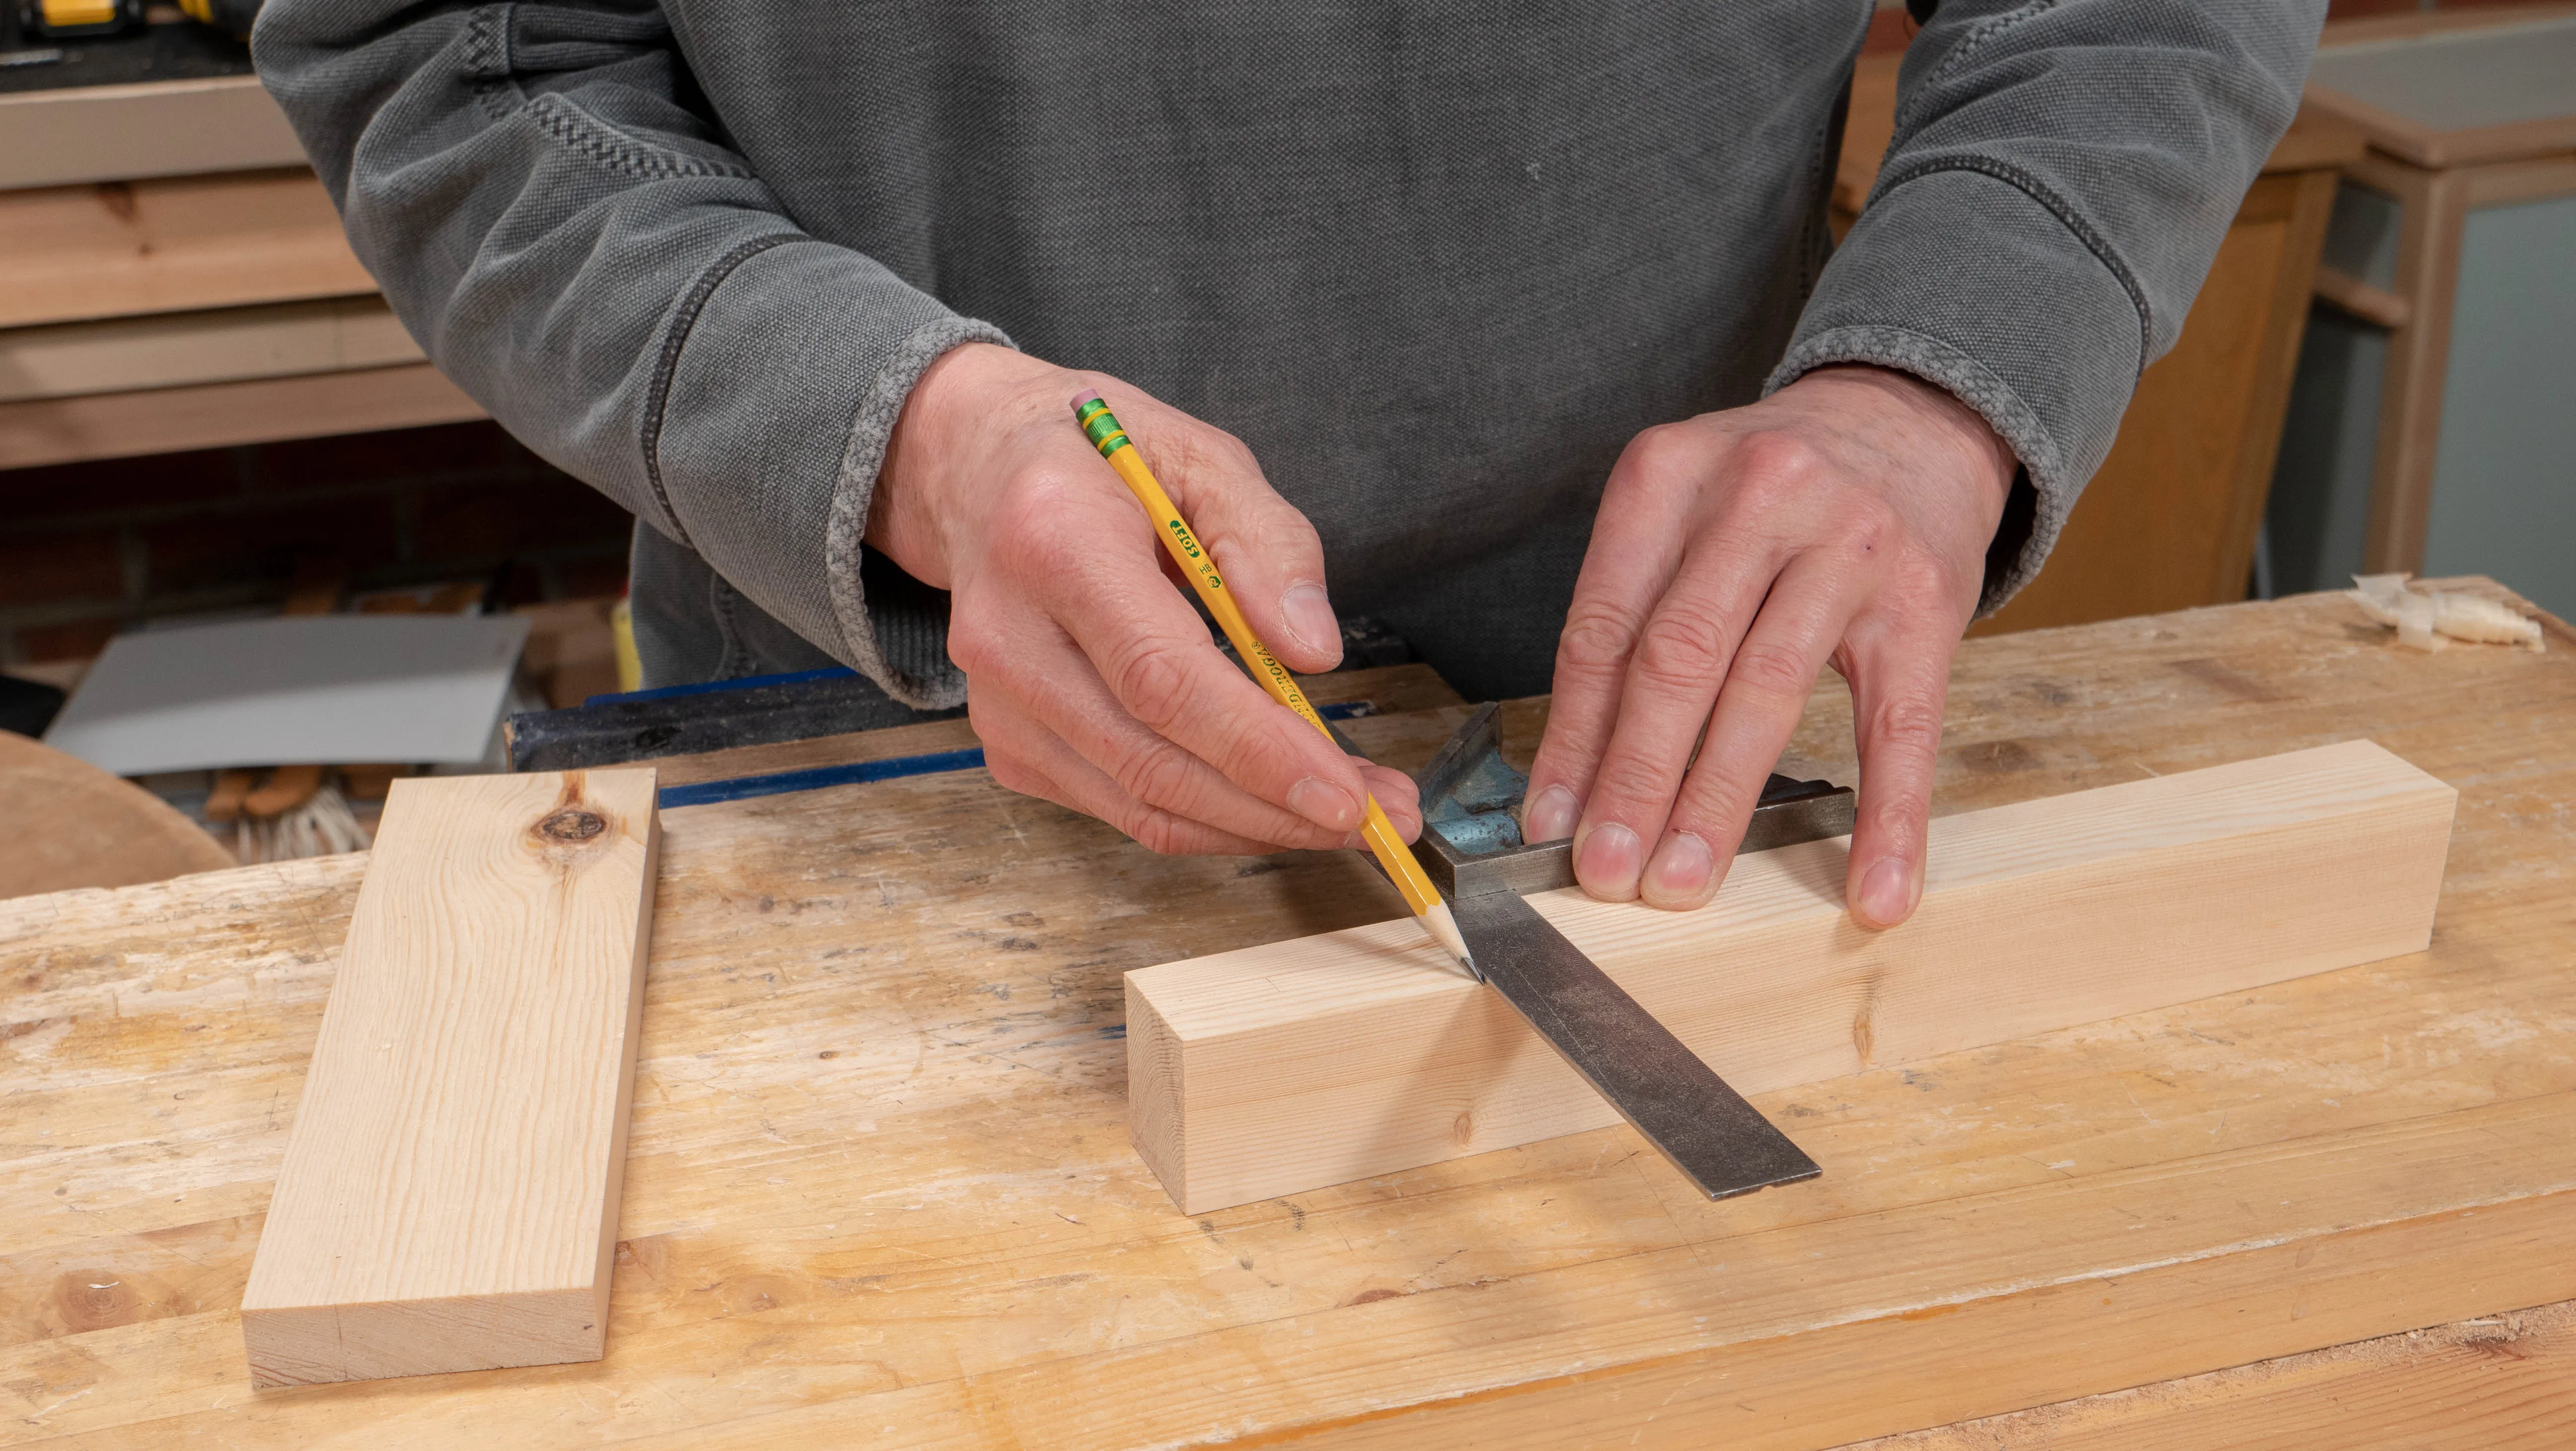
Decide the distance you want your haunch to be from the top edge and square the line across with a pencil. In this instance, Paul is going for 1” (25mm). This is the width of the beam of the square, and is quite standard for haunches.
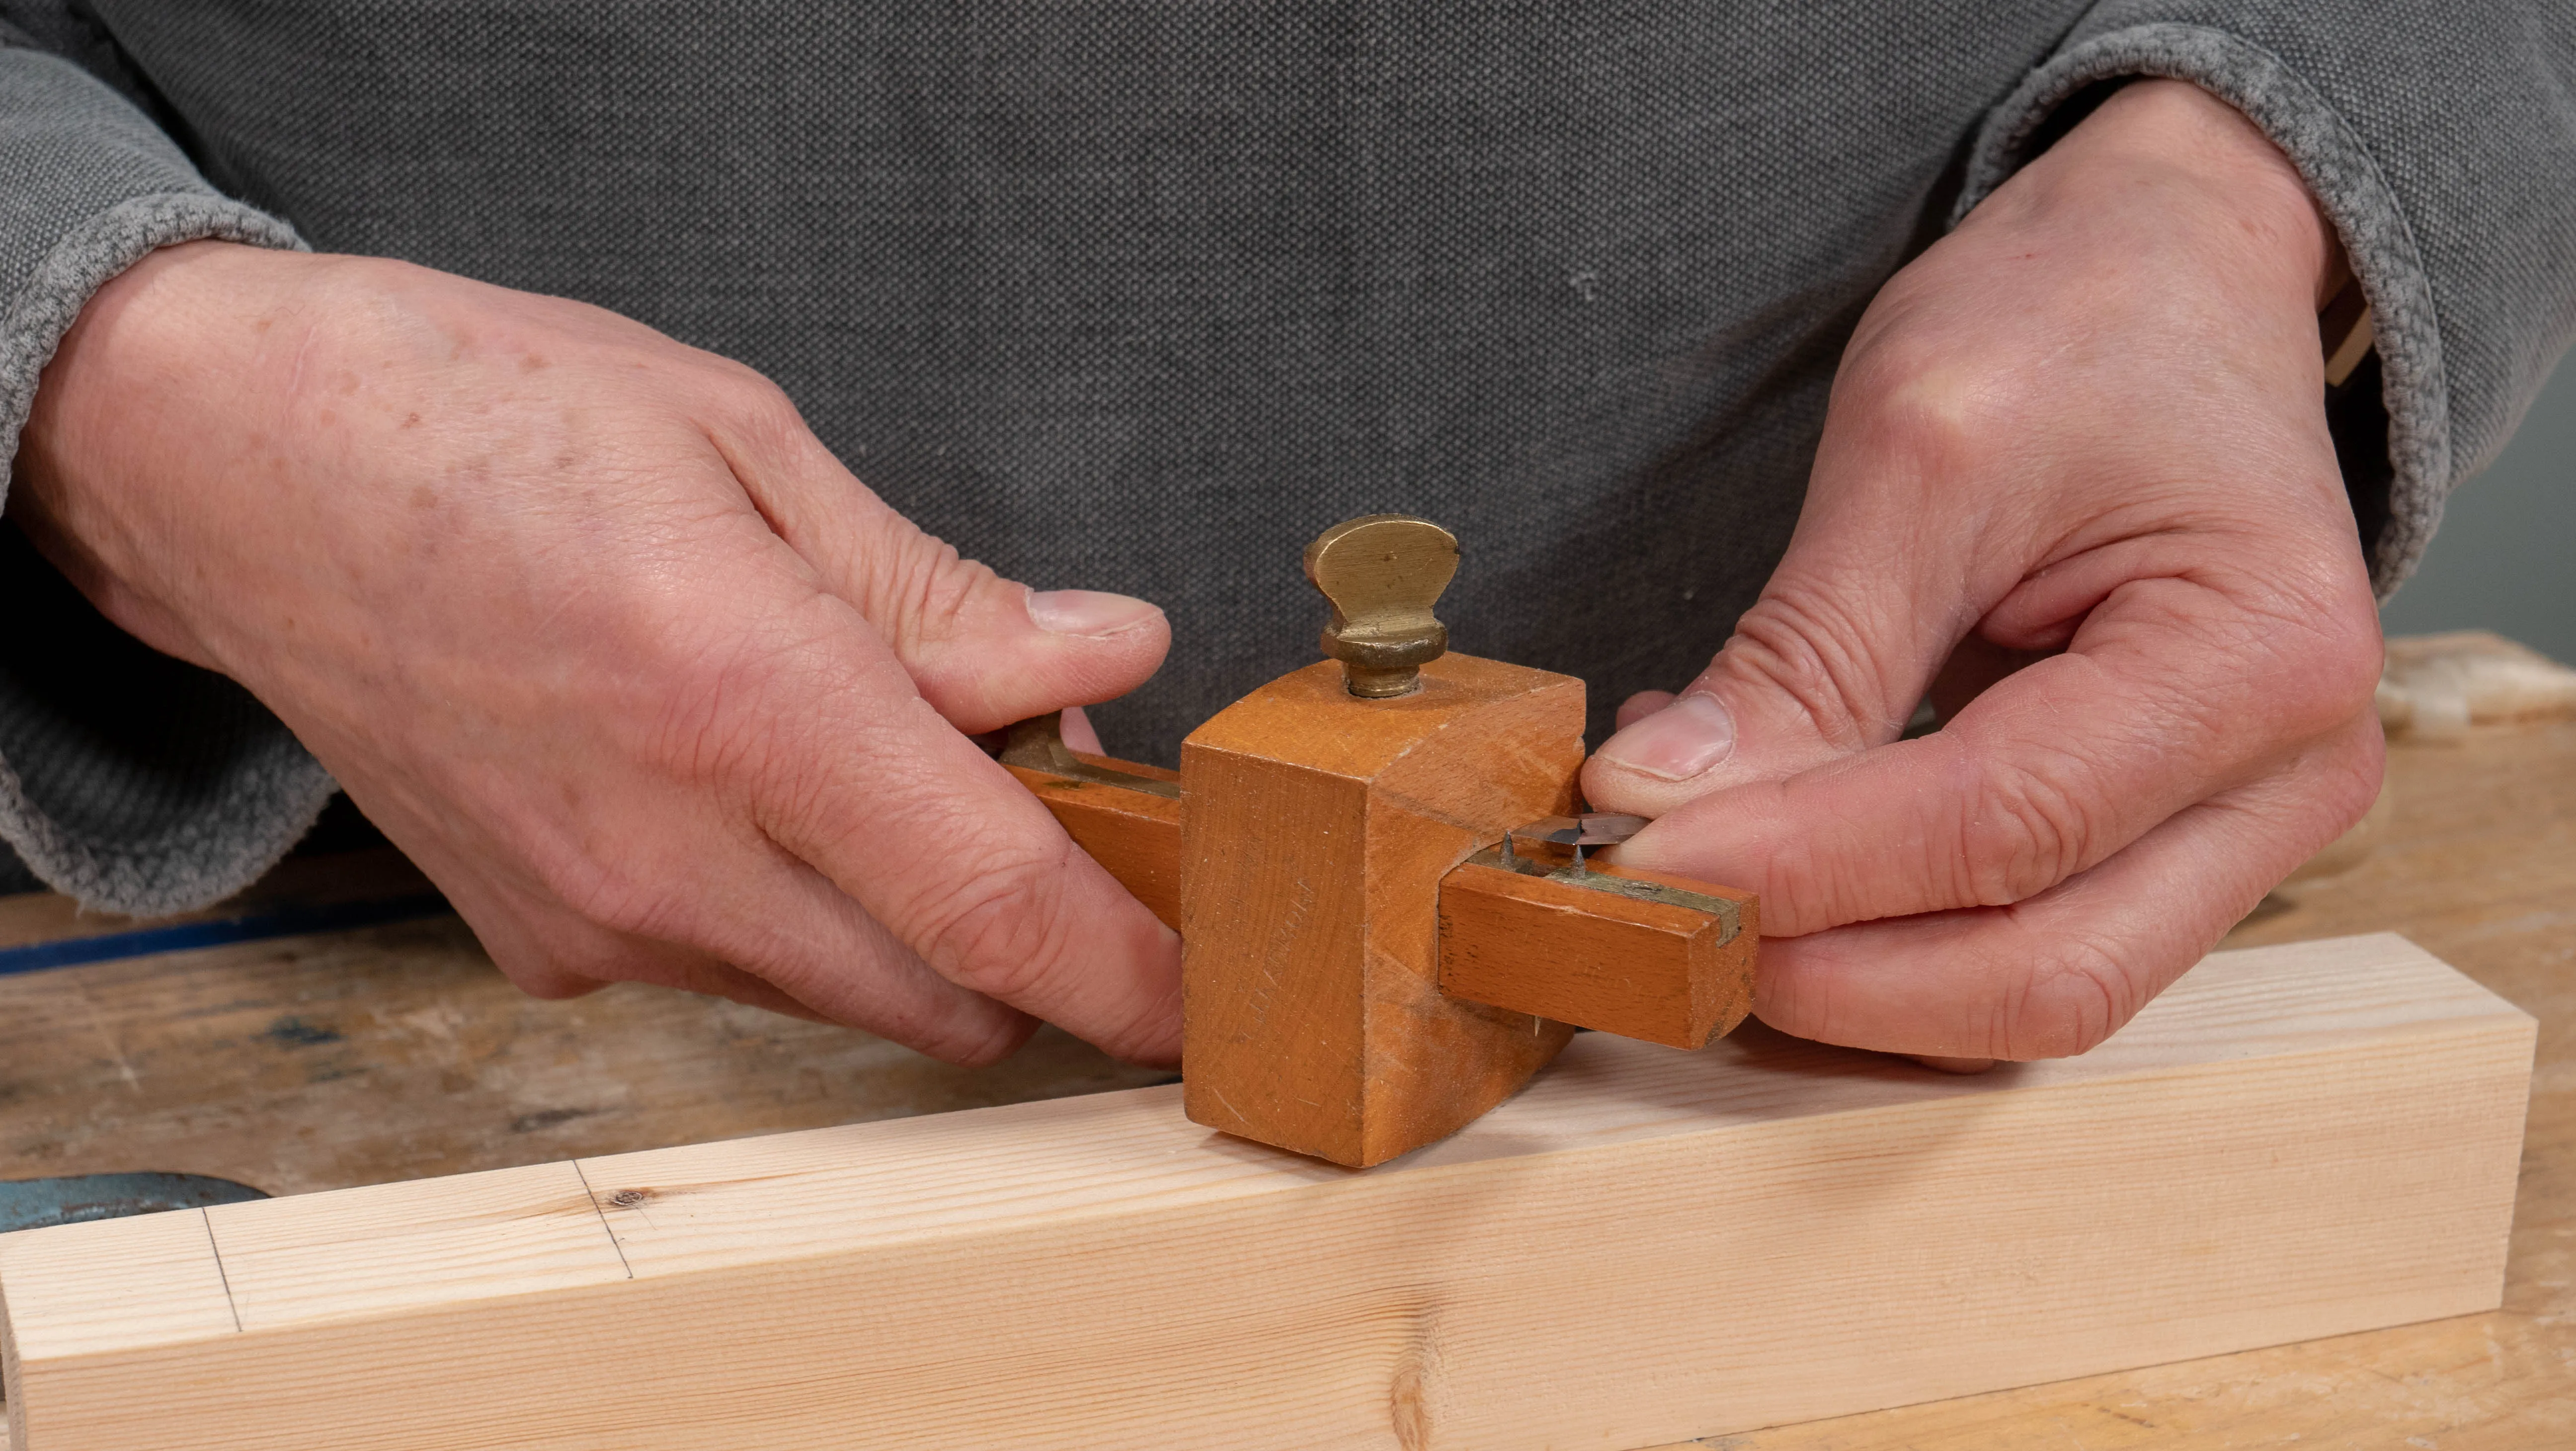
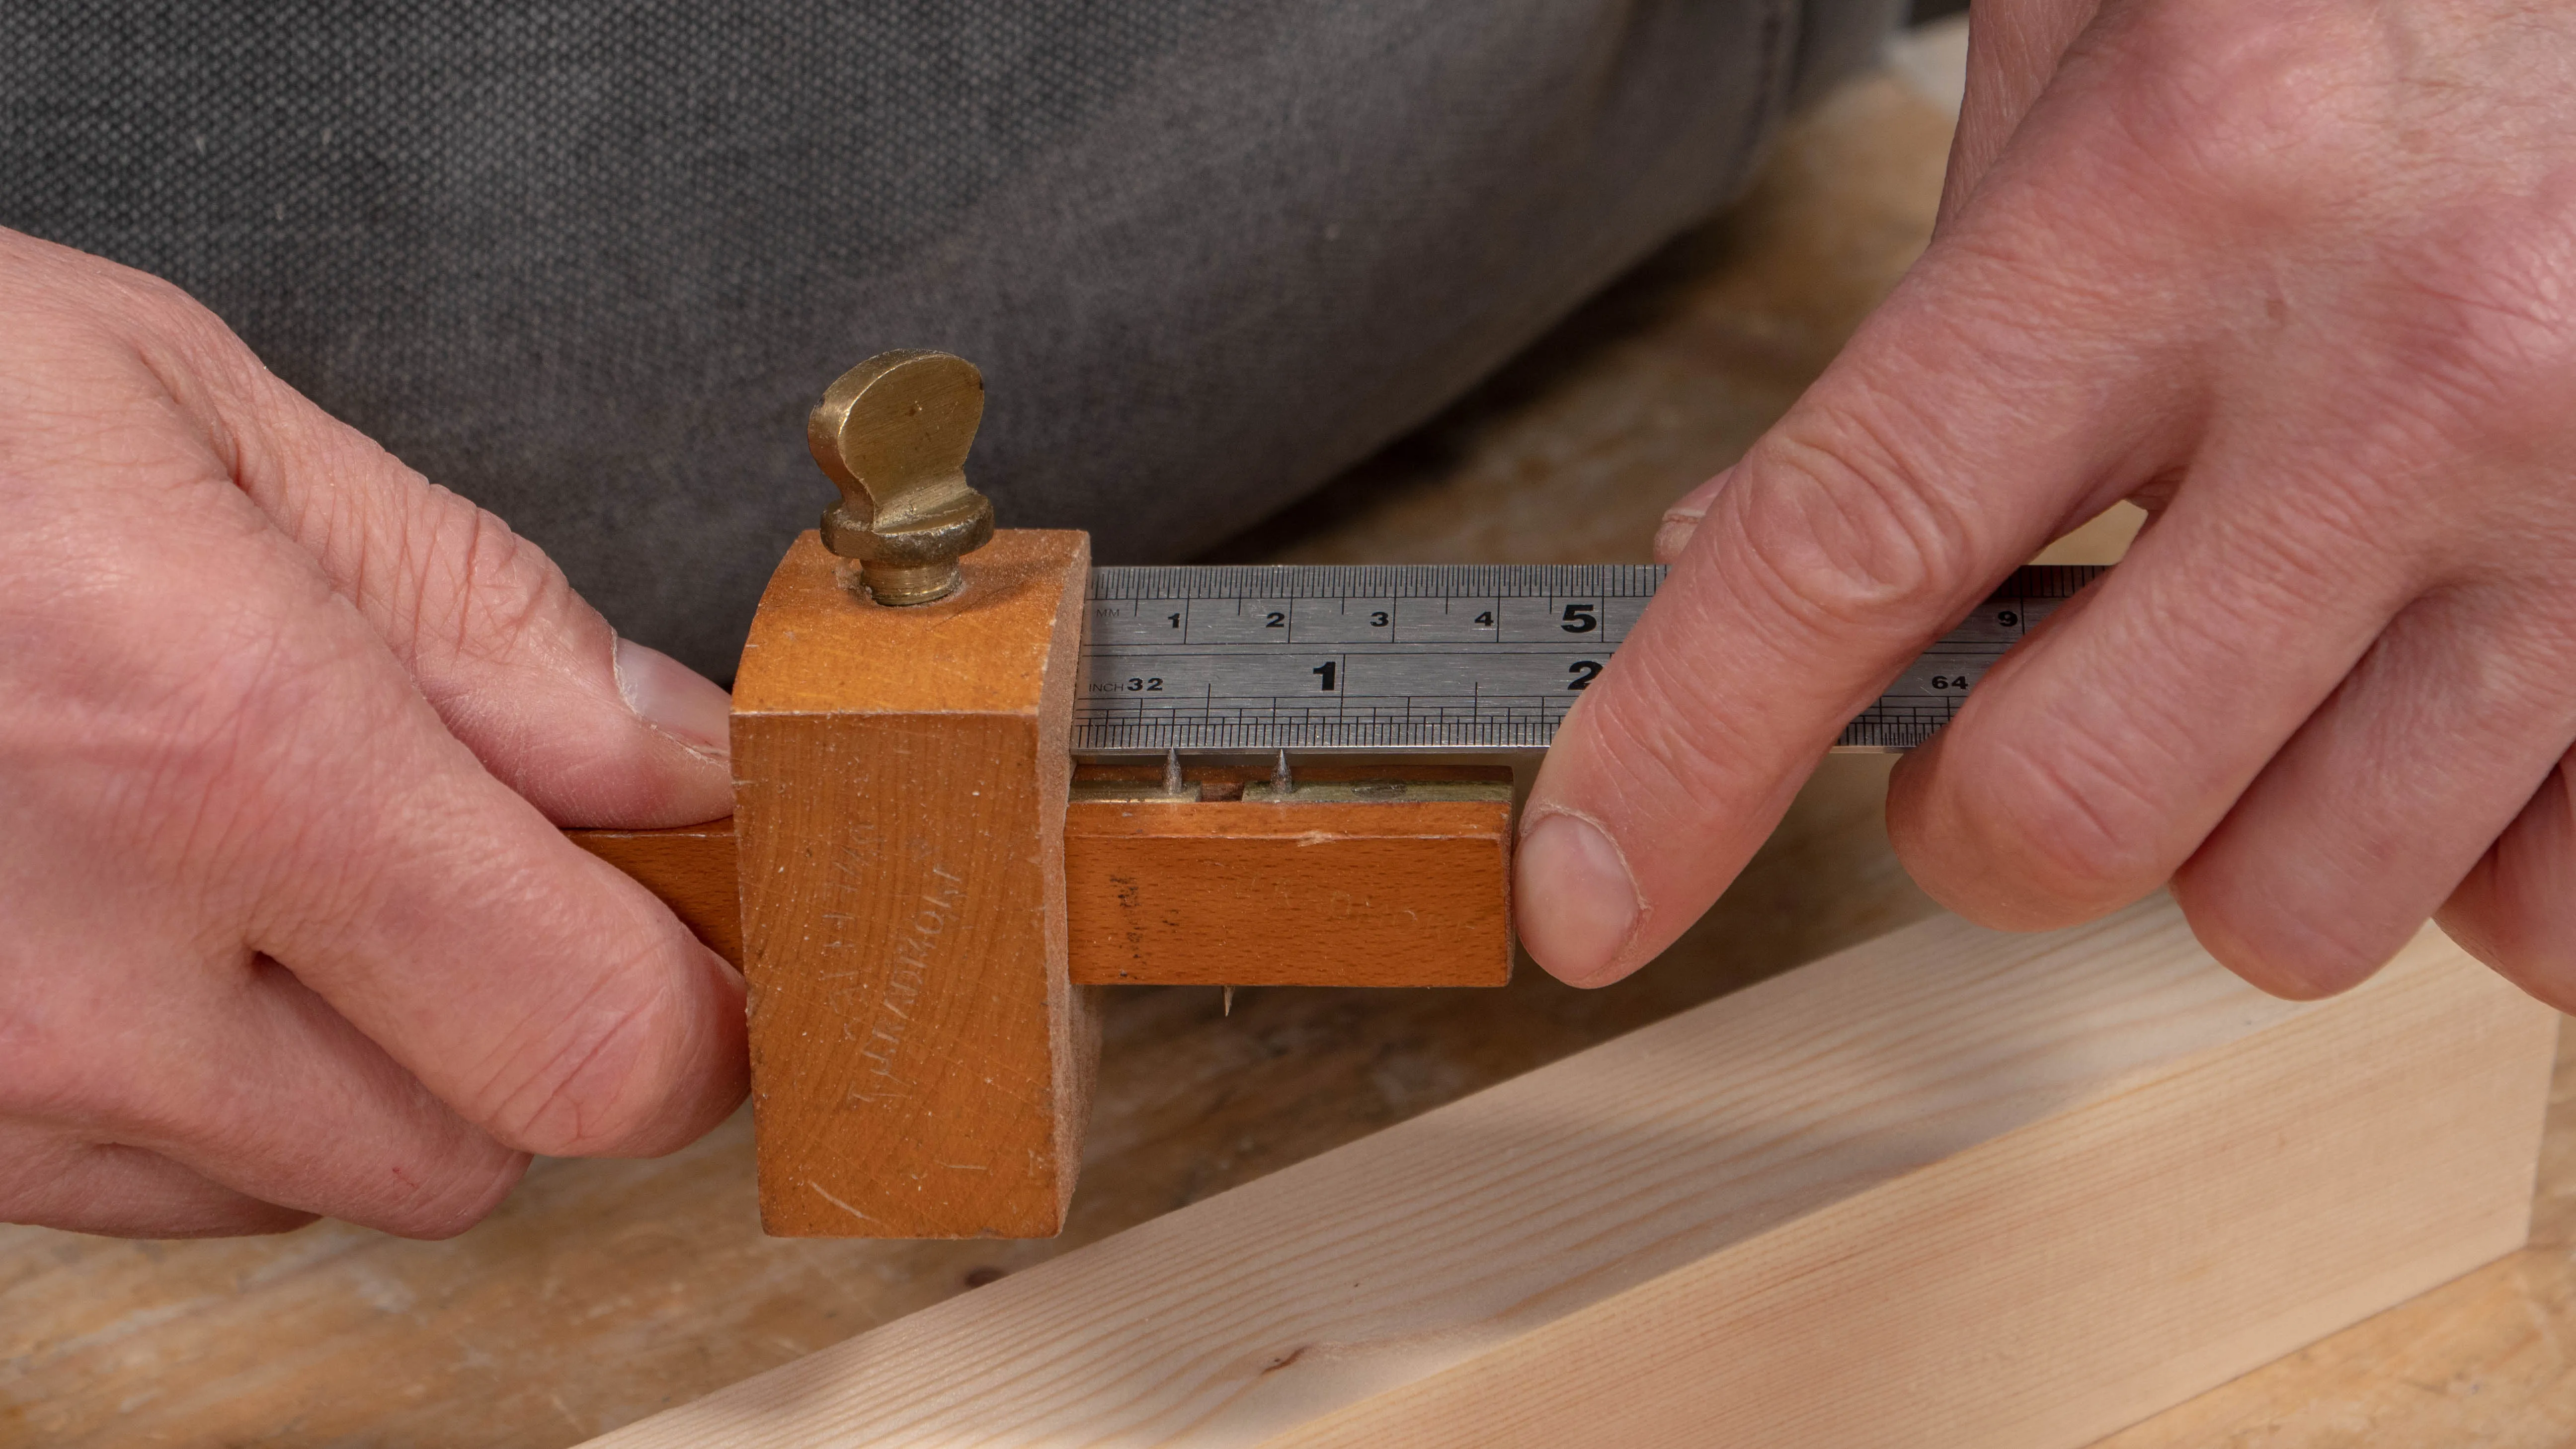
You must now mark the width of the mortise hole with a mortise (or combination) gauge. Here, Paul is going for a ⅜” (10mm) mortise, which is a common size for mortise and tenons. Set the pins to the width of the chisel. Then set the distance from the nearest pin to the stock of the gauge the same at ⅜ ” (10mm). Depending on the application, you may want the mortise to be centered in the mortise piece, as done in the common mortise and tenon course.
Be careful that the pins do not accidentally move, and with the lock nut tightened, run the gauge along the length of the mortise piece to the pencil line lowest down.

Sign in to track your progress