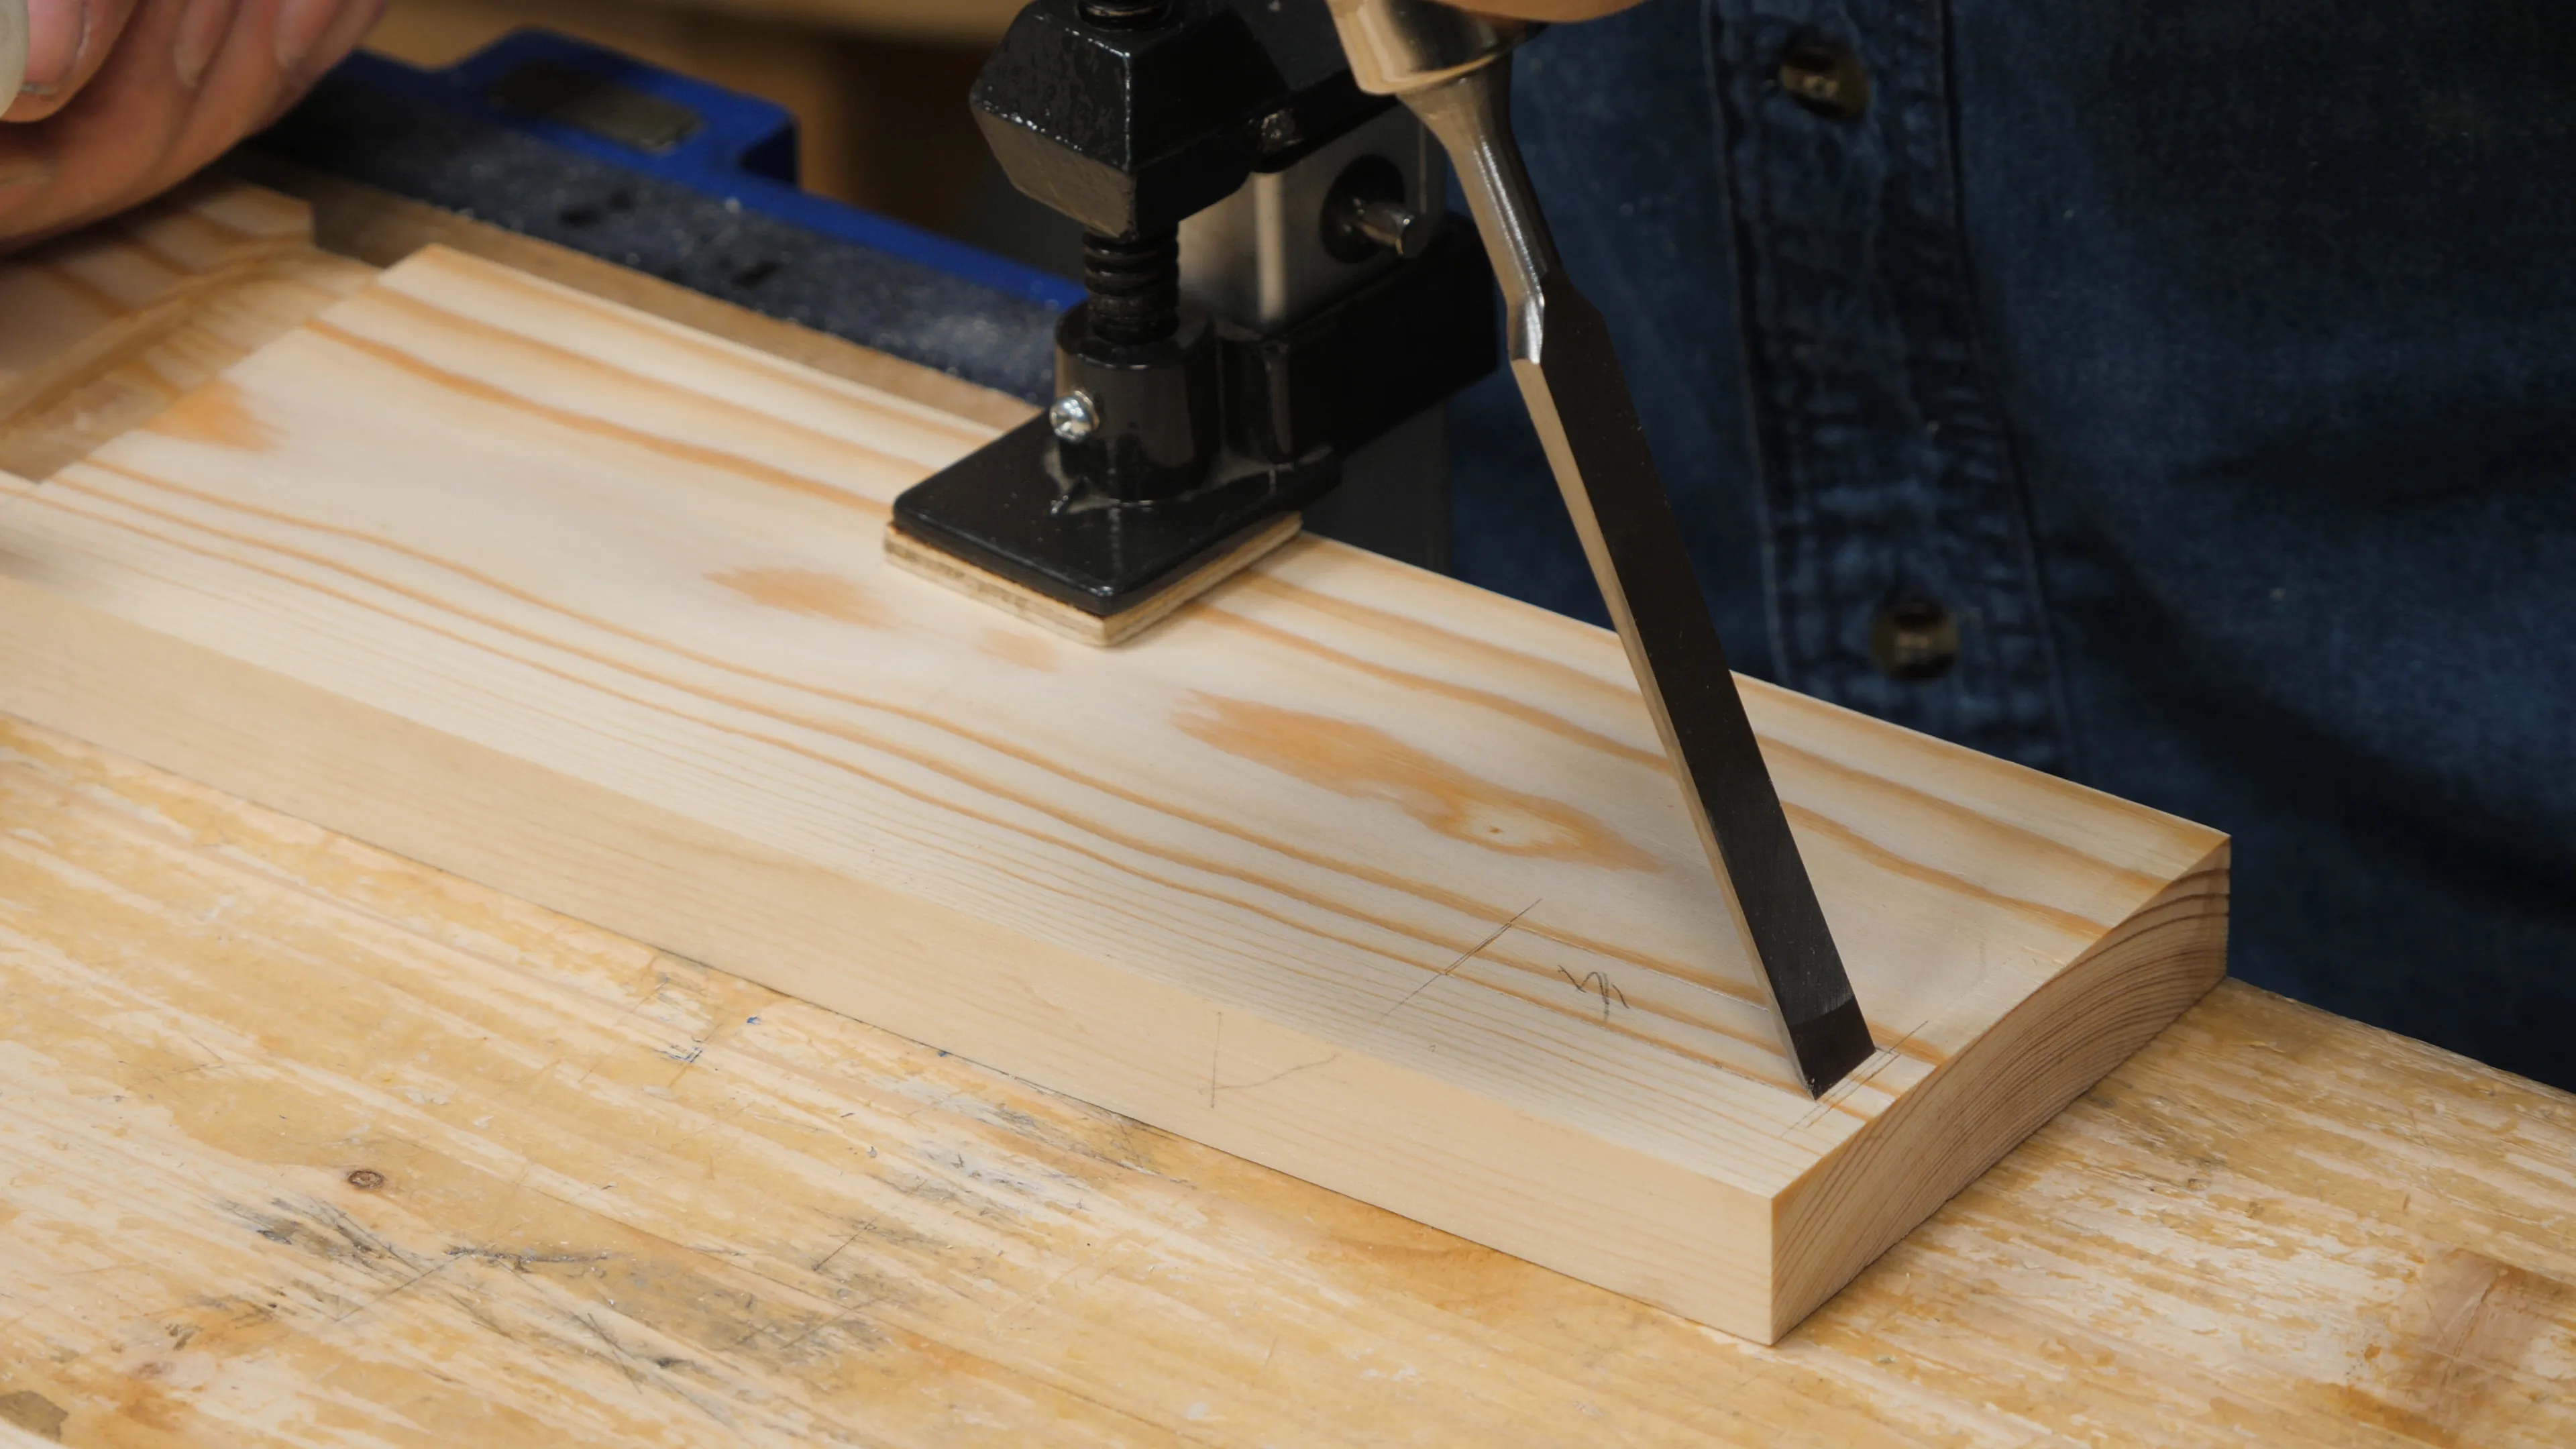
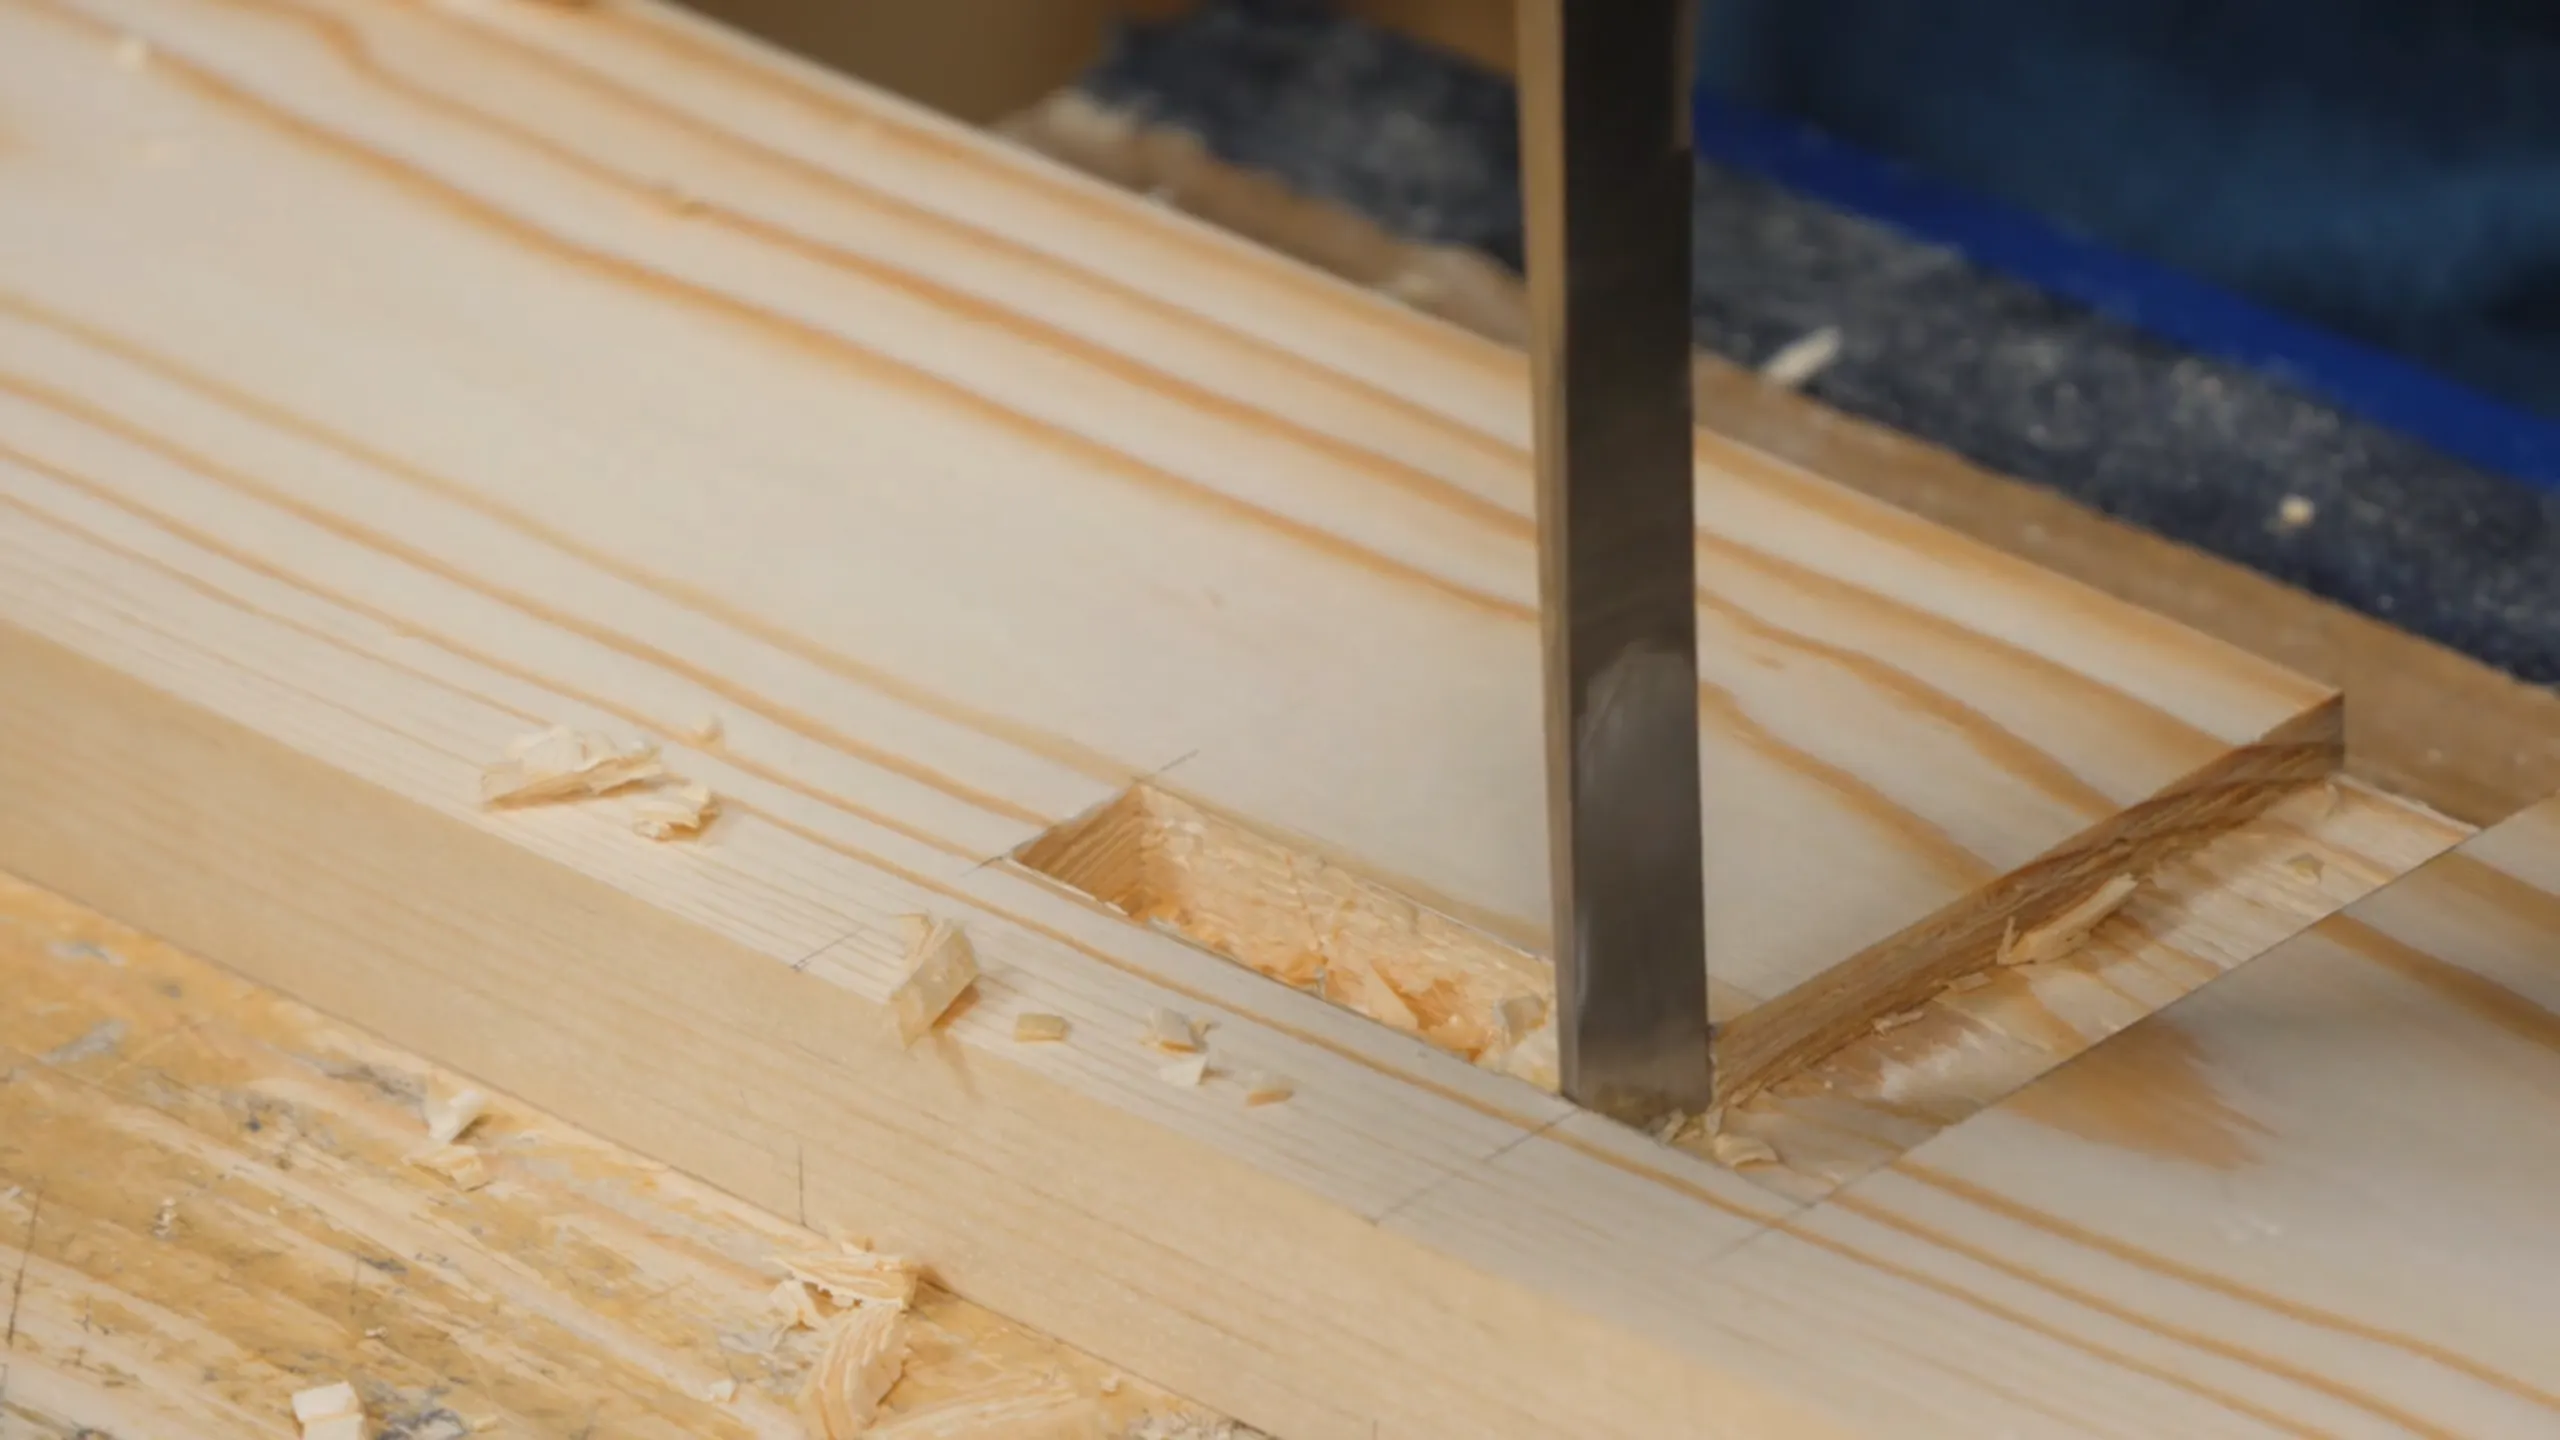
Chopping The Mortise Holes
You must now chop the four mortises (two blind and two through), following the techniques described in our Mortise and Tenon guide. Neither of these are very deep since even the through mortises are only the thickness of your stock.
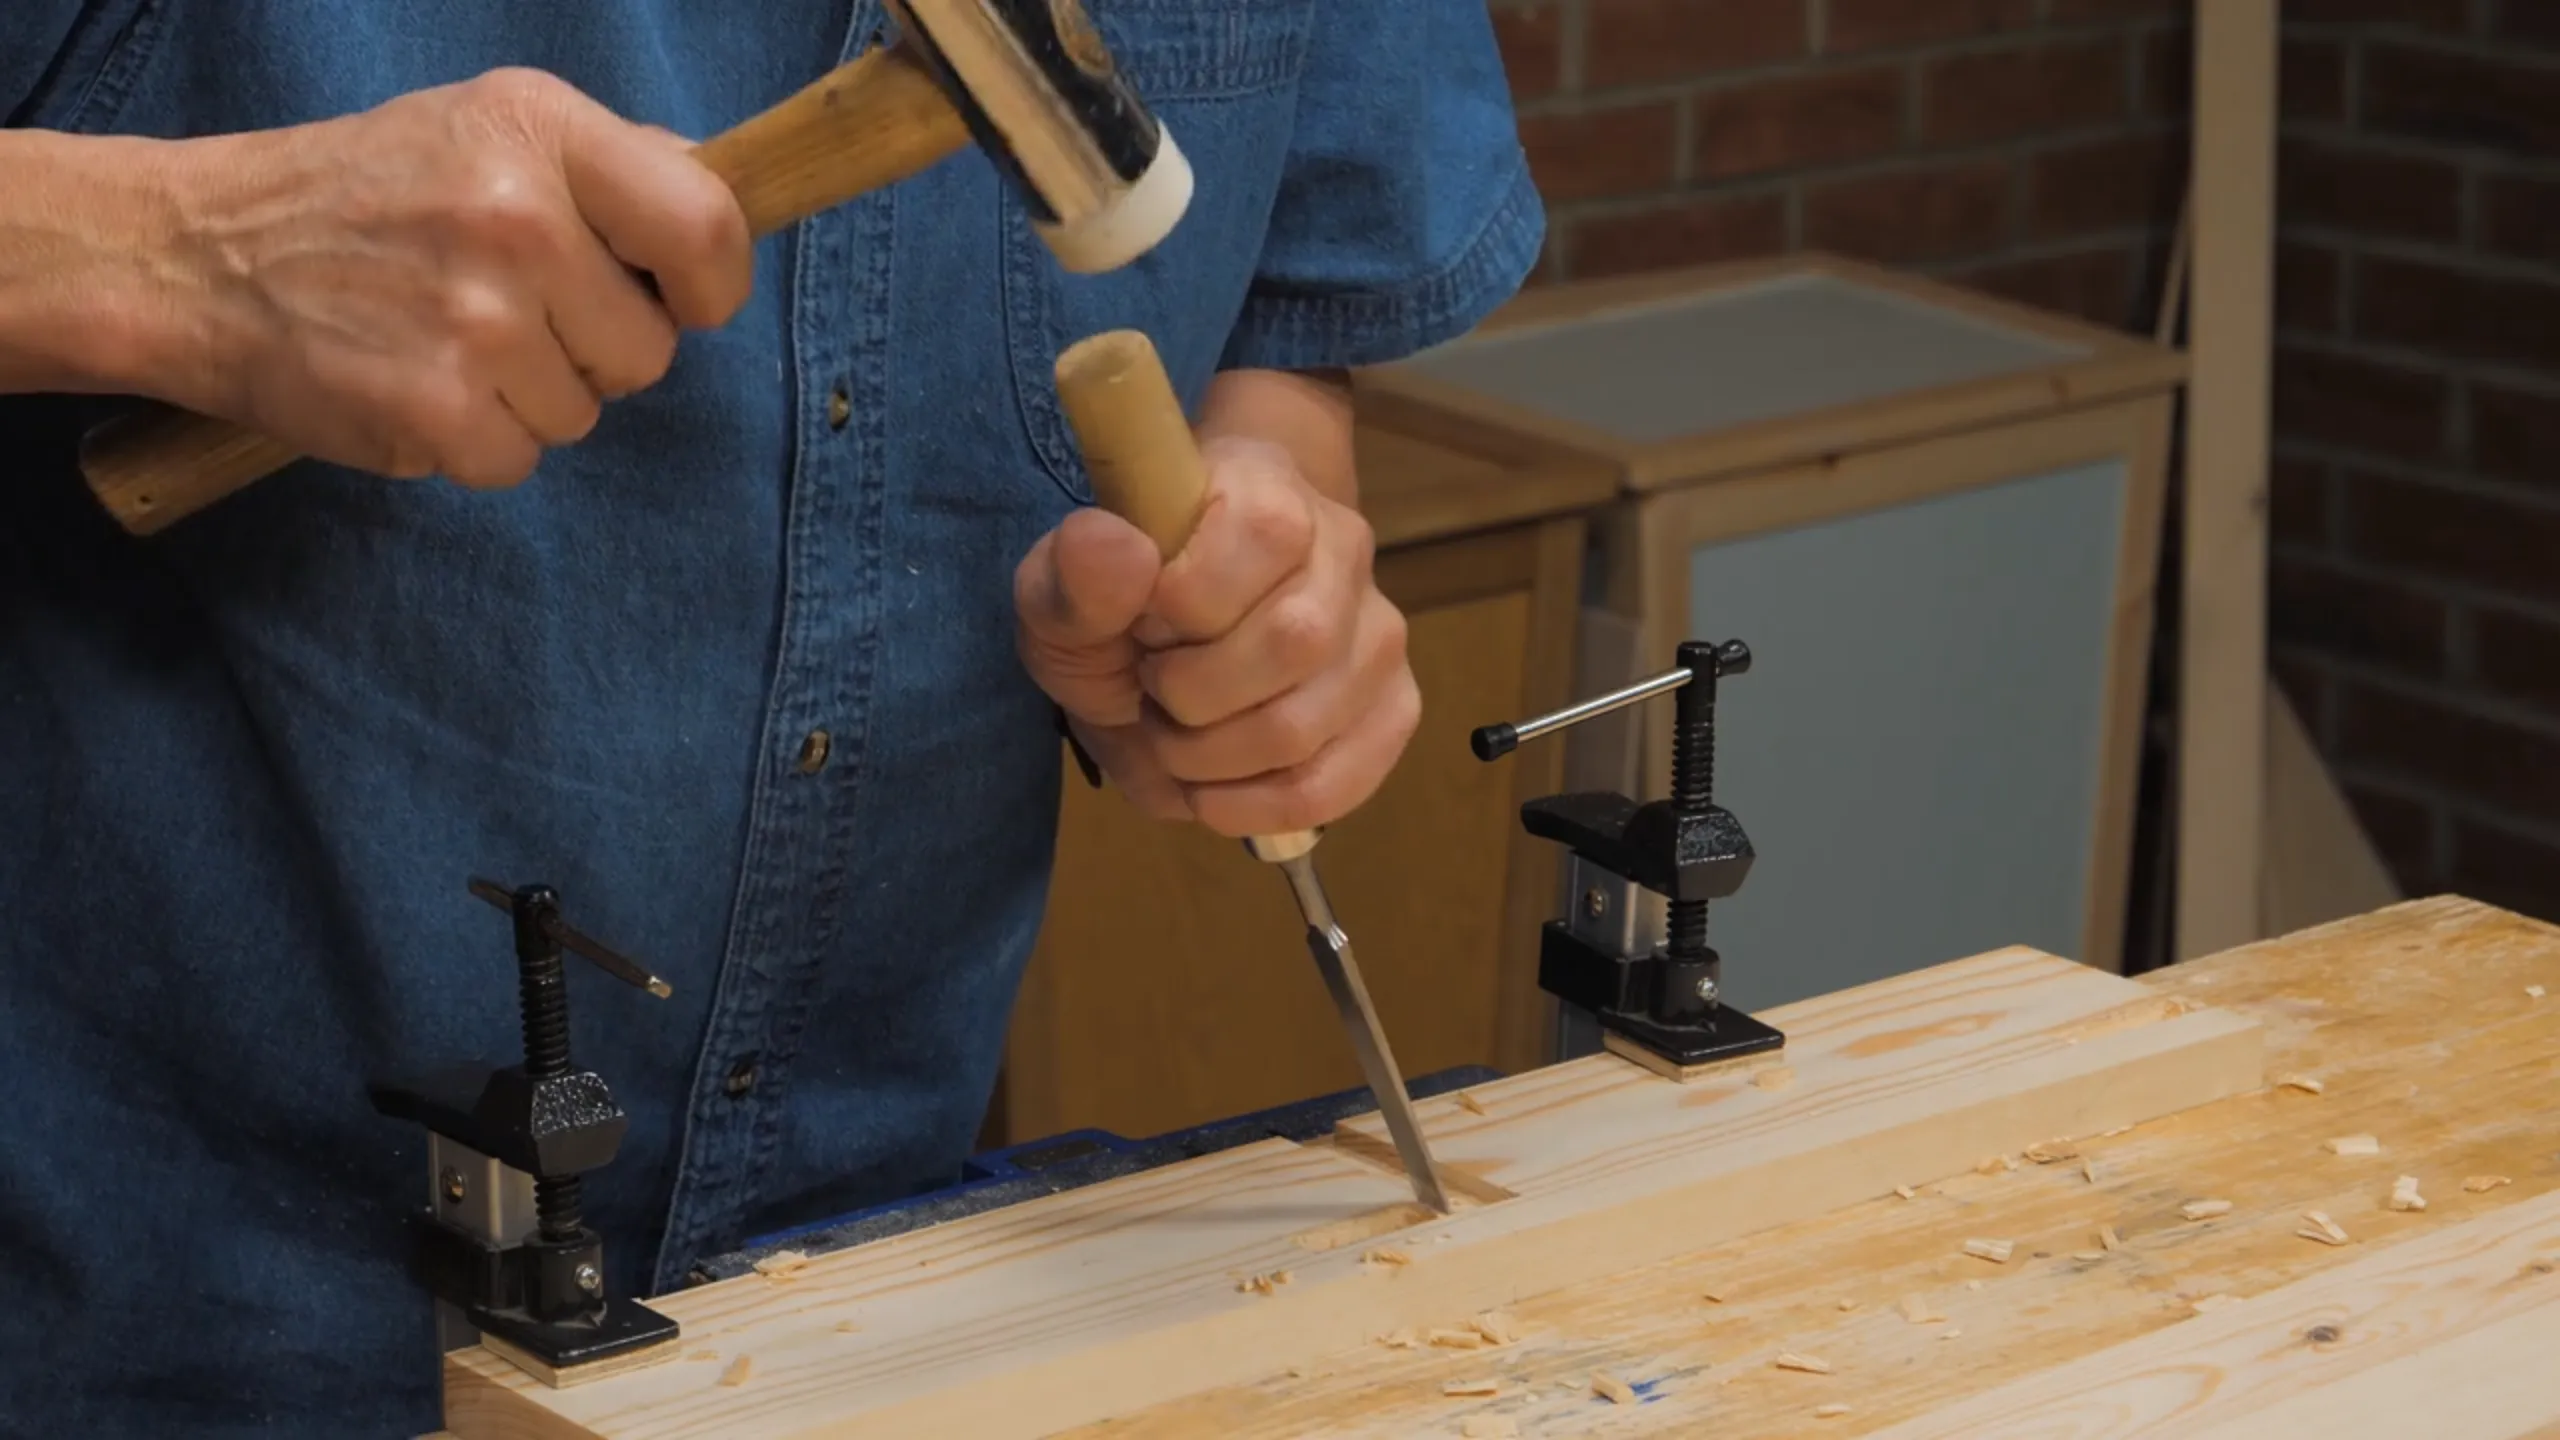
Make sure the sides of your shelf lay flat on the benchtop with no debris underneath as you chop, since they would dig into the surface. You may want to apply a couple of clamps to your workpiece to stop it from sliding as you chop/remove the waste.
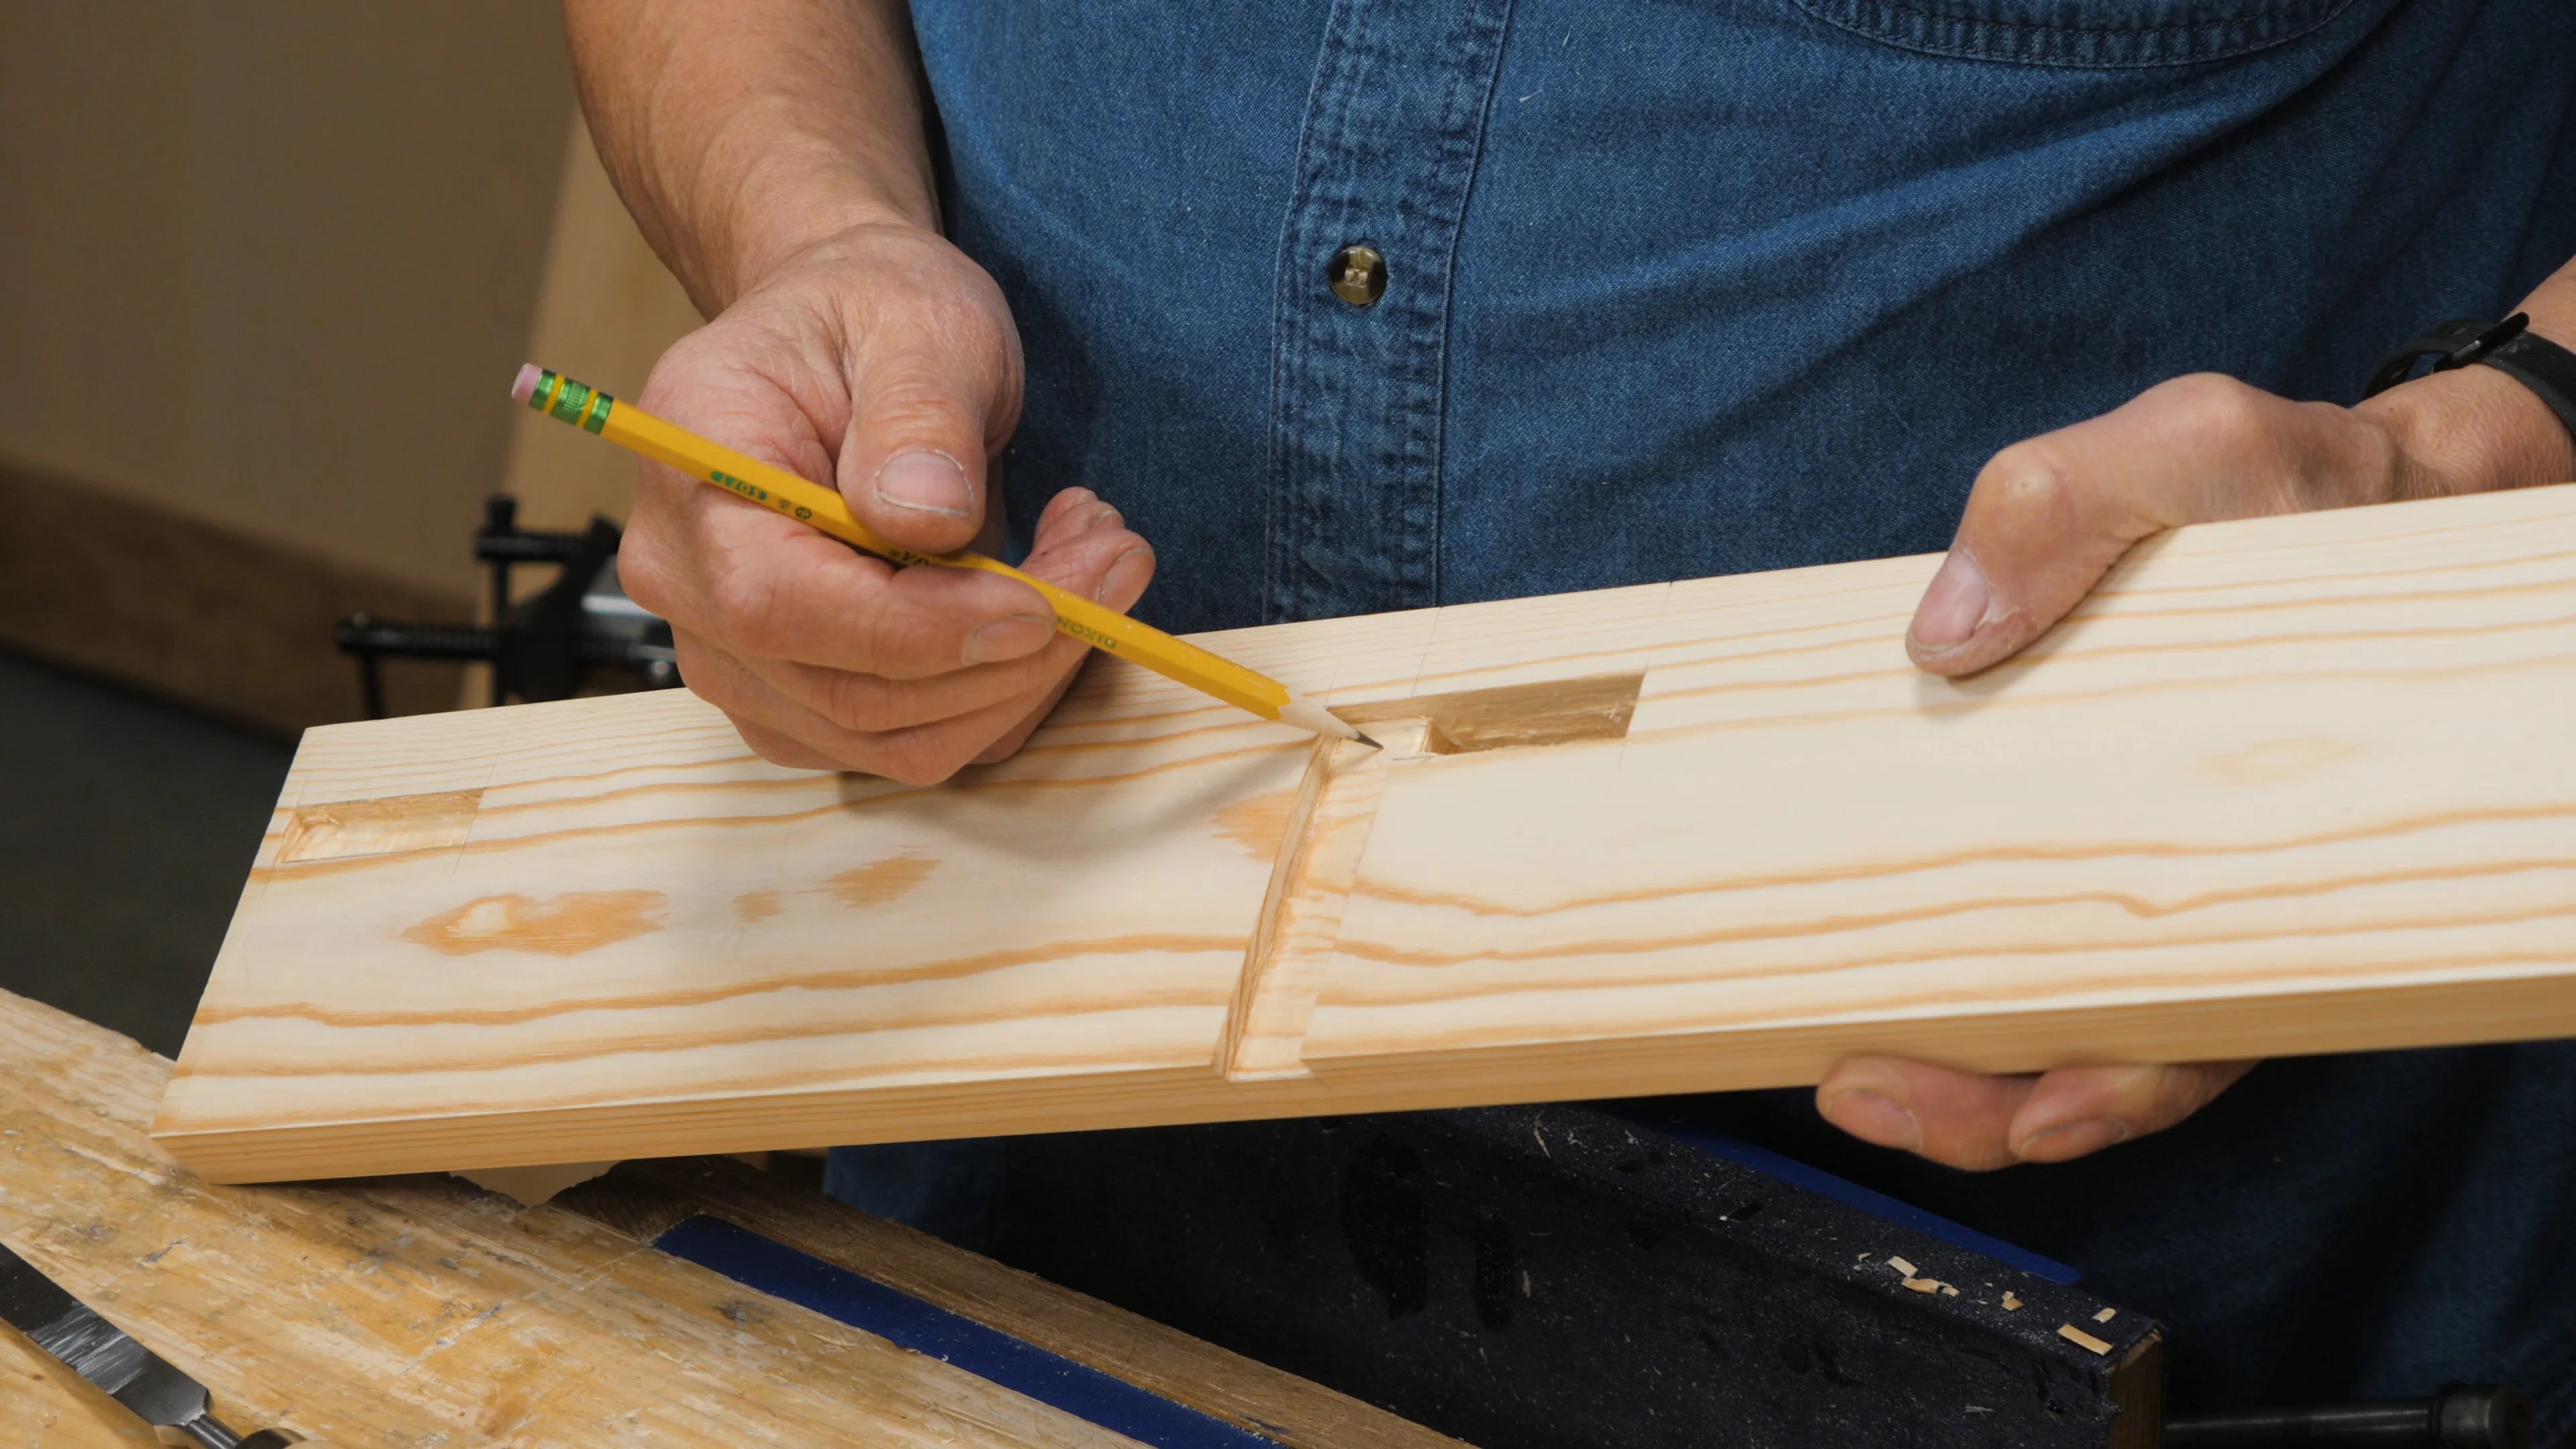
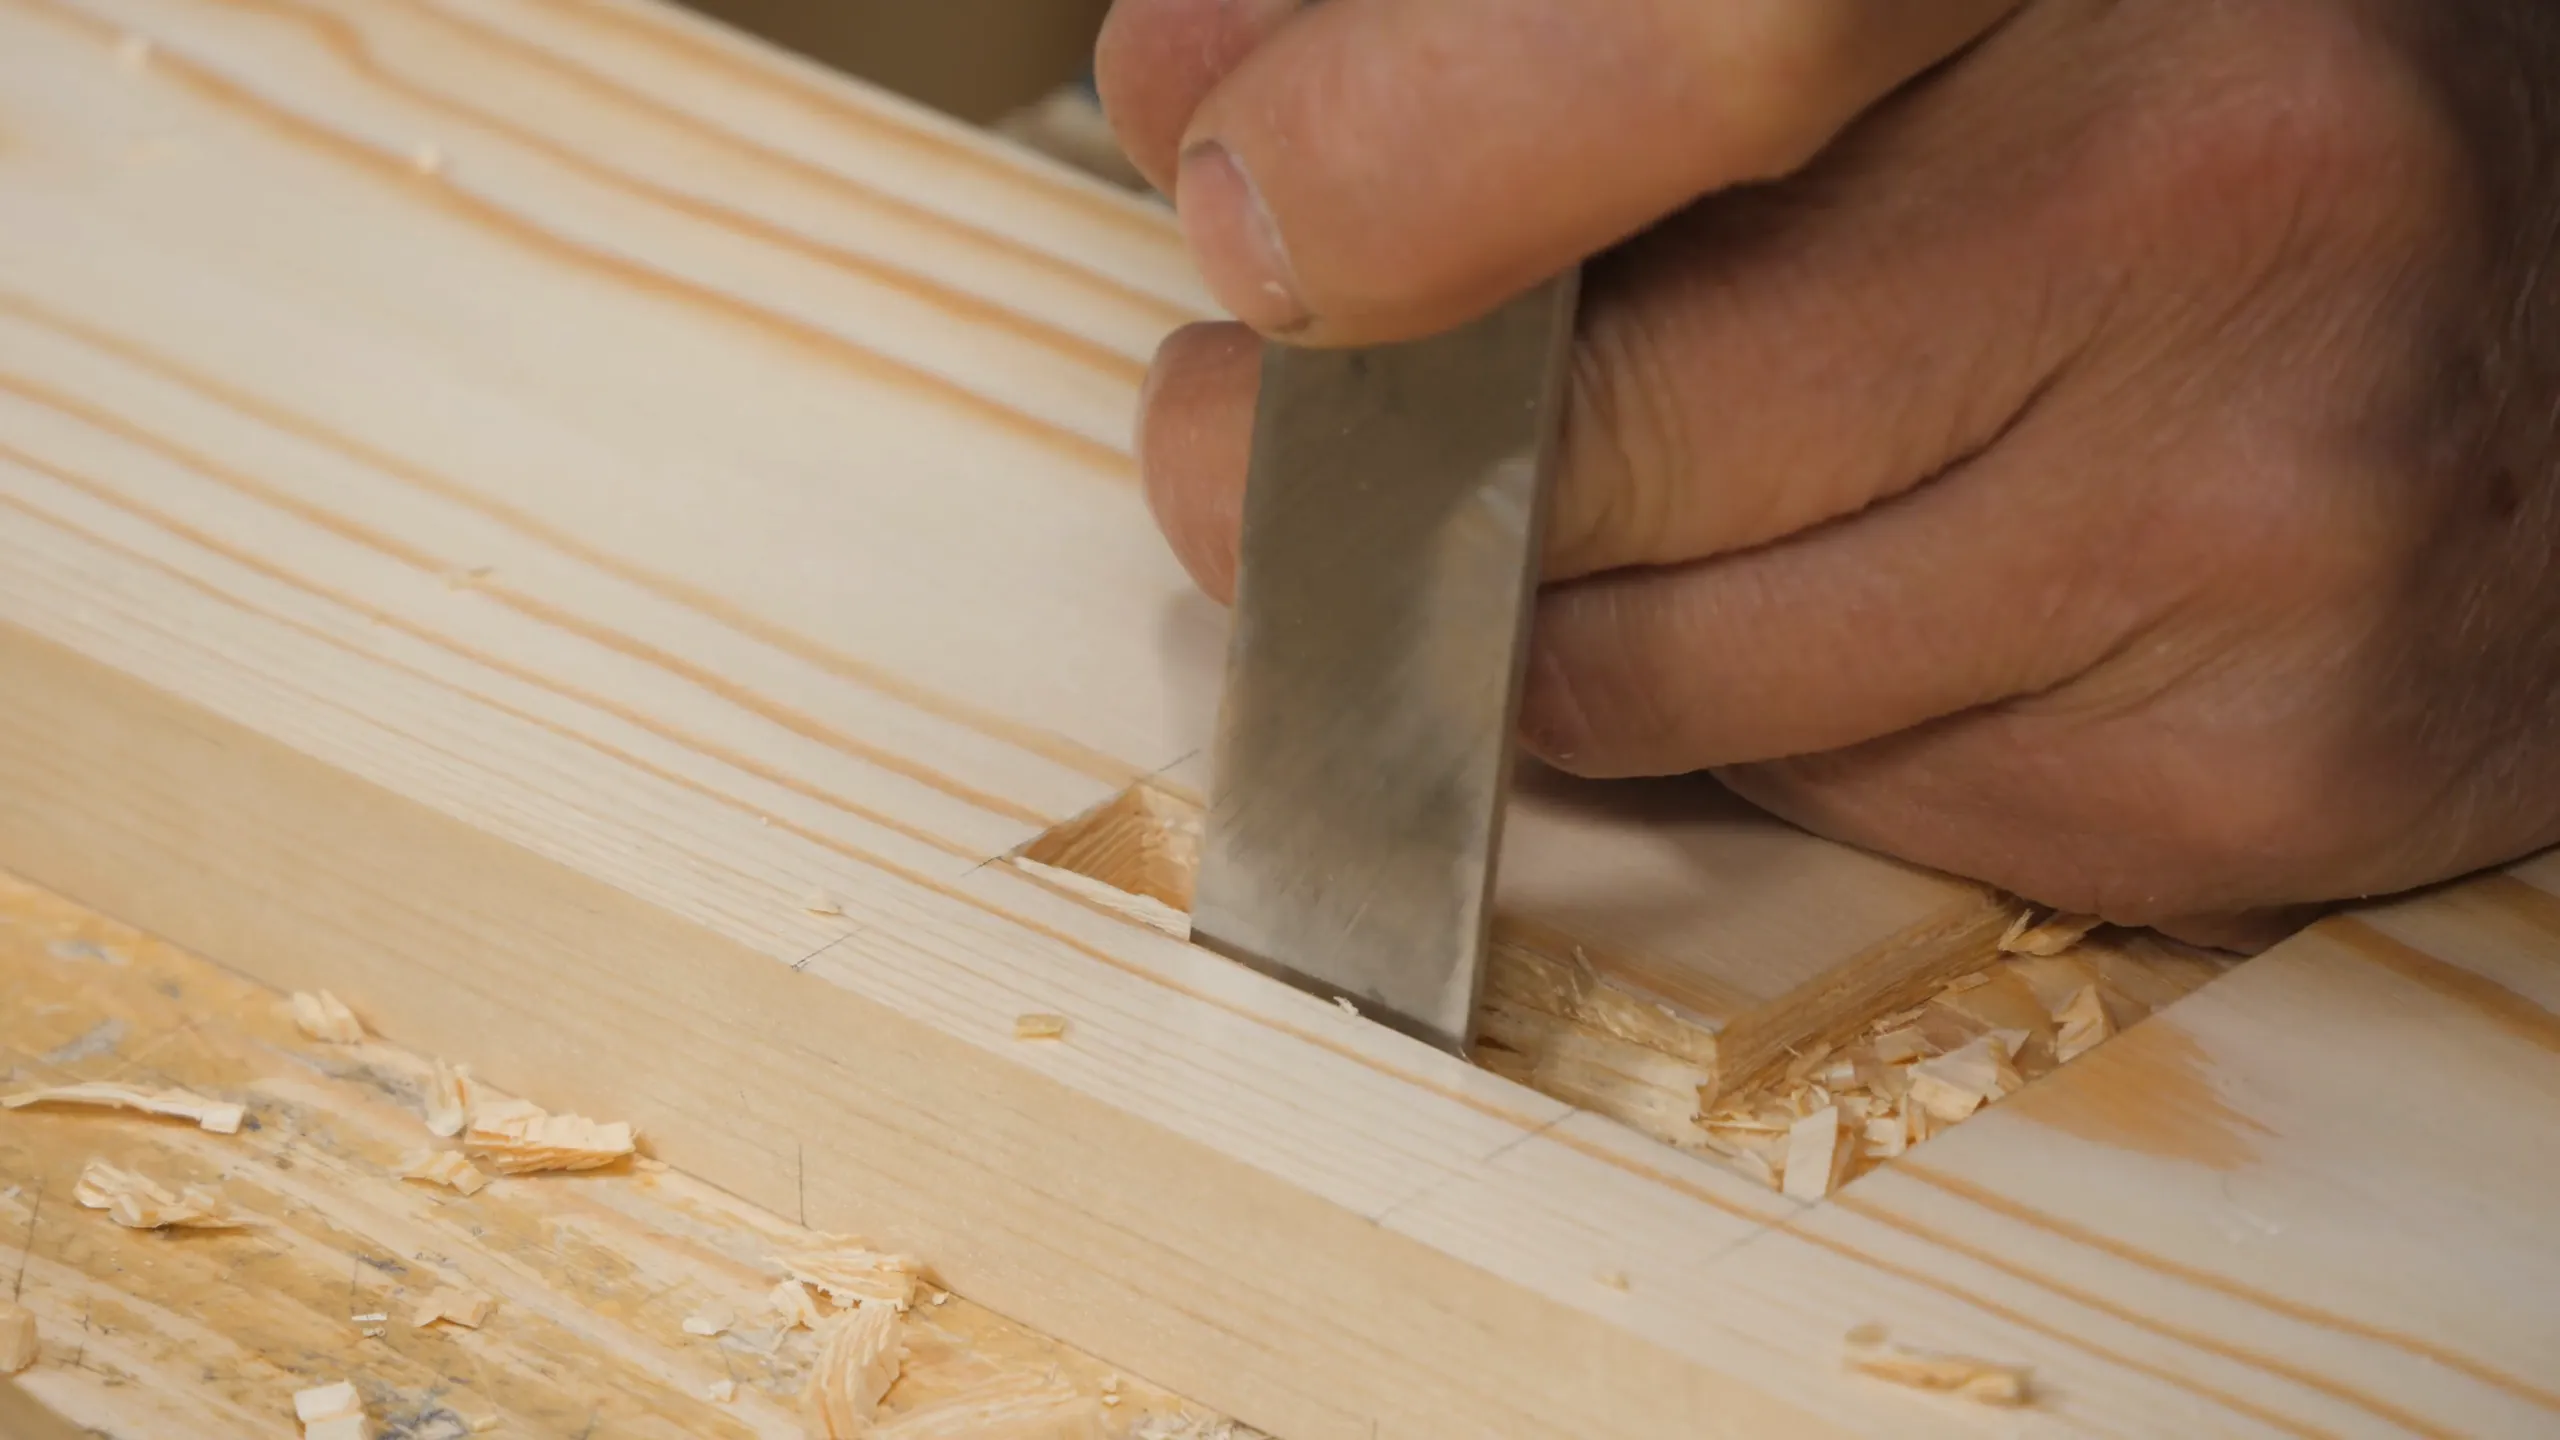
When cutting your mortises, though the actual chopping patterns may vary, the main element to watch for is keeping your chisel inline with the hole (not tilting to the sides). This is crucial because the joint relies enormously on the walls of the mortise and the face of the tenons making good contact (which creates a good bond with the glue). You should also try to achieve a relatively tight fit on the width of the tenon (the length of the mortise hole), but this is not where the main strength of the joint lies.
As for the patterns for chopping the mortise, remember that the bevel of the chisel should always face the direction you’re moving in, except when you come to the very extremes of the hole. Here, you must use the flat side of the chisel against the knifewall as that would help you to chop perfectly vertically without bruising the wall. This is critical on a barefaced tenon, since there are no shoulders above and below the tenon to conceal any gaps or damaged rims.
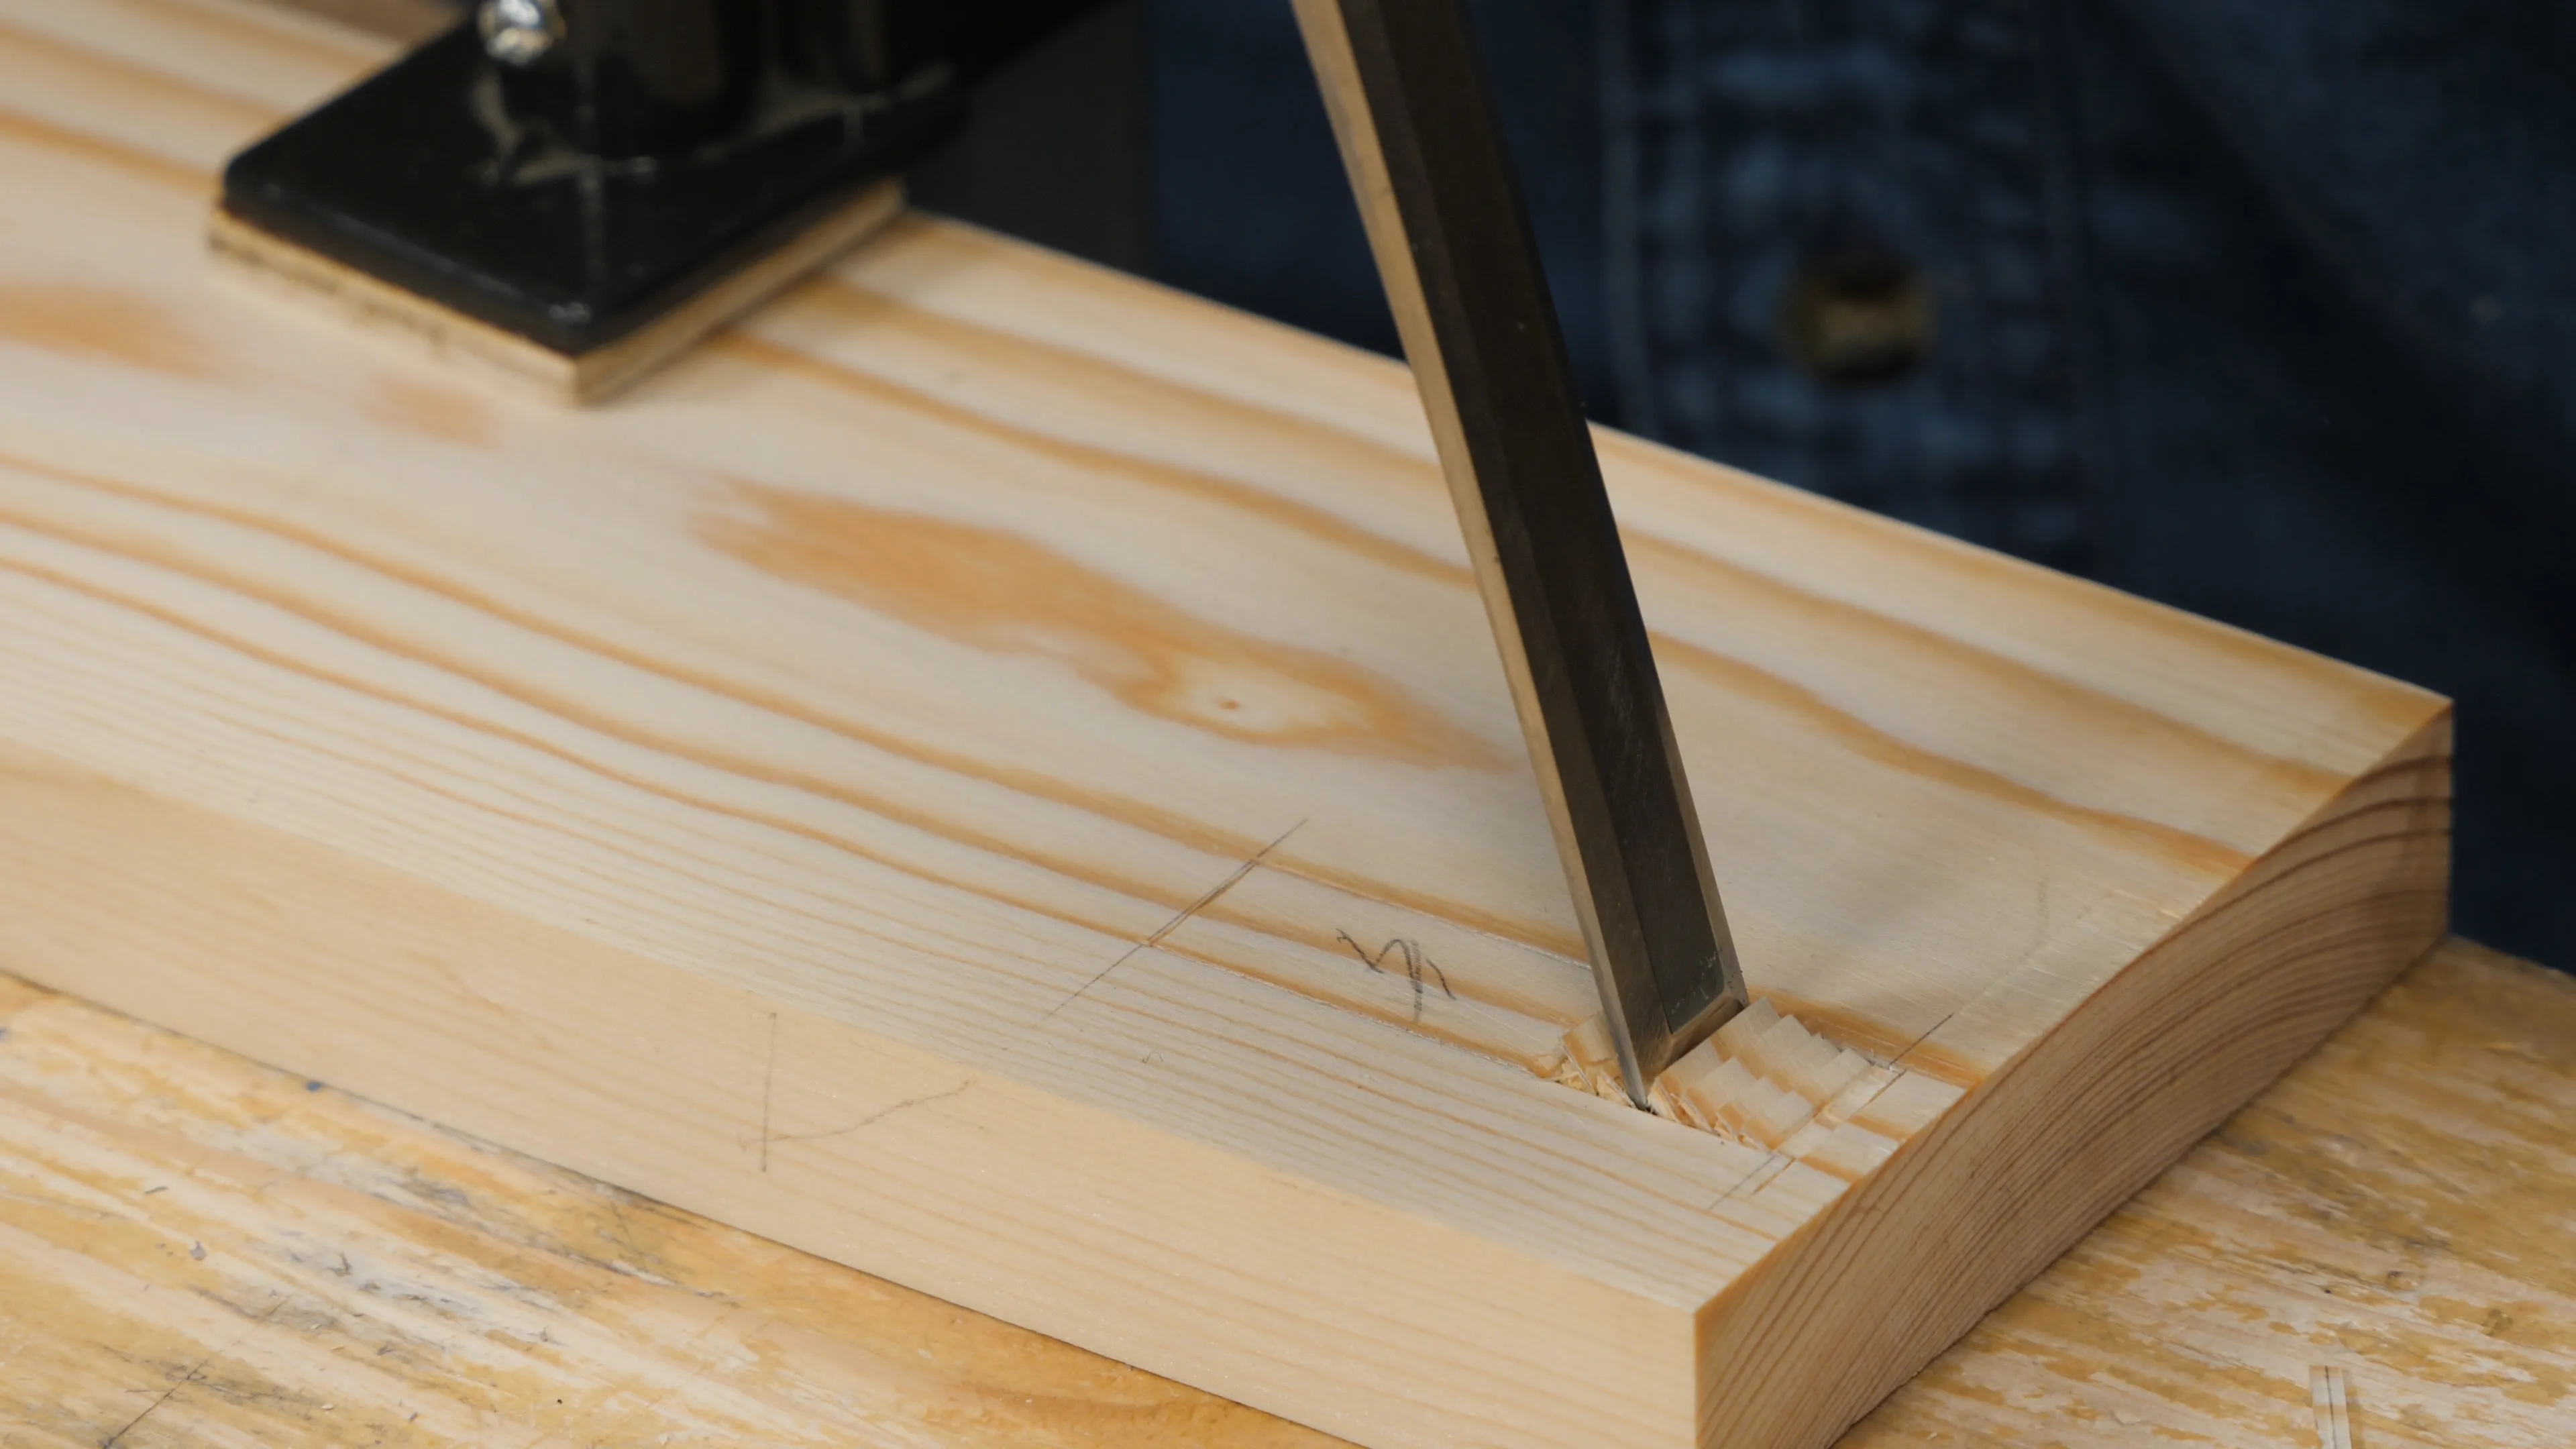

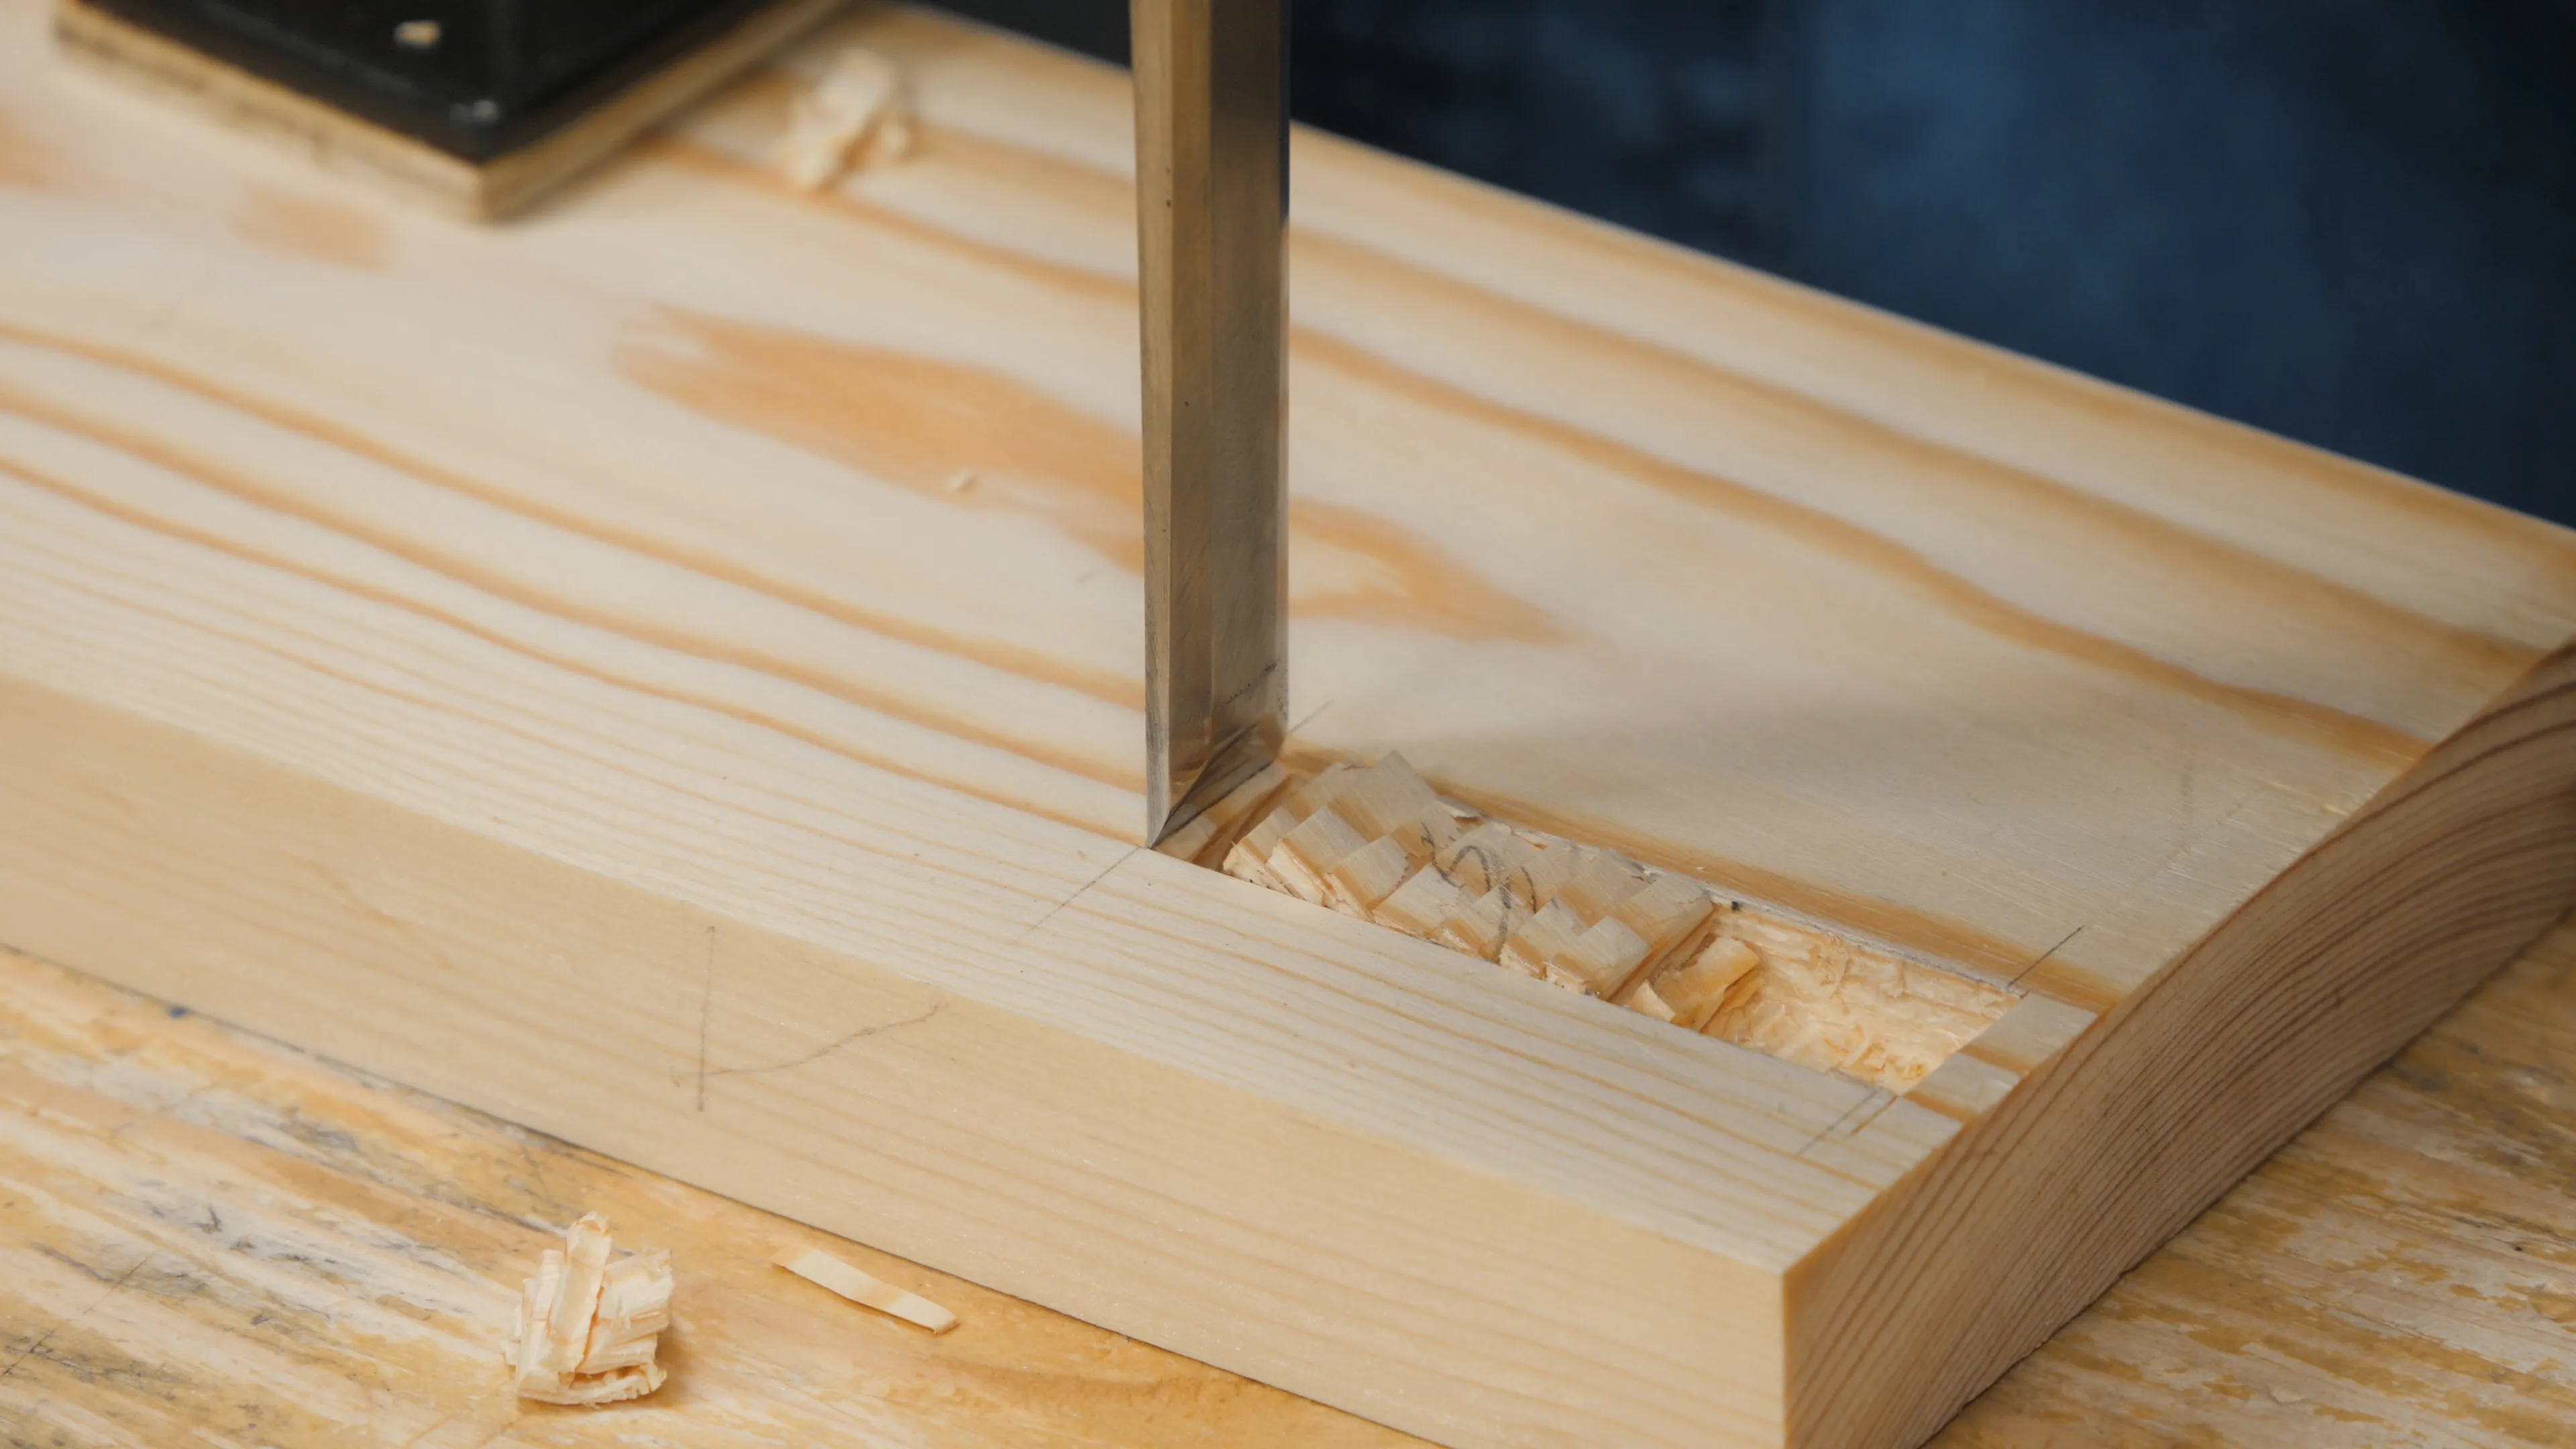
On the through mortises, when chopping from the outside face, watch out that you don’t burst through carelessly as this can result in breaking out the edges of the mortise. Therefore, listen to the changing sound of the chisel chops as you get closer to the middle and apply less force with the chisel hammer.

Sign in to track your progress