Laying Out The Mortises
You must now lay out the mortises for the cross rails. This includes markings parallel to the front edges which will be the width of the mortise holes, and exact start and stop marks across the grain to ensure a good fit with no visible gaps. The top rail will have blind mortises, which means they will be chopped from one side. The bottom rail, however, has through mortises which protrude to either side to give an appealing design feature. This means that the mortise holes must be perfectly square from both sides, otherwise a gap is bound to show.
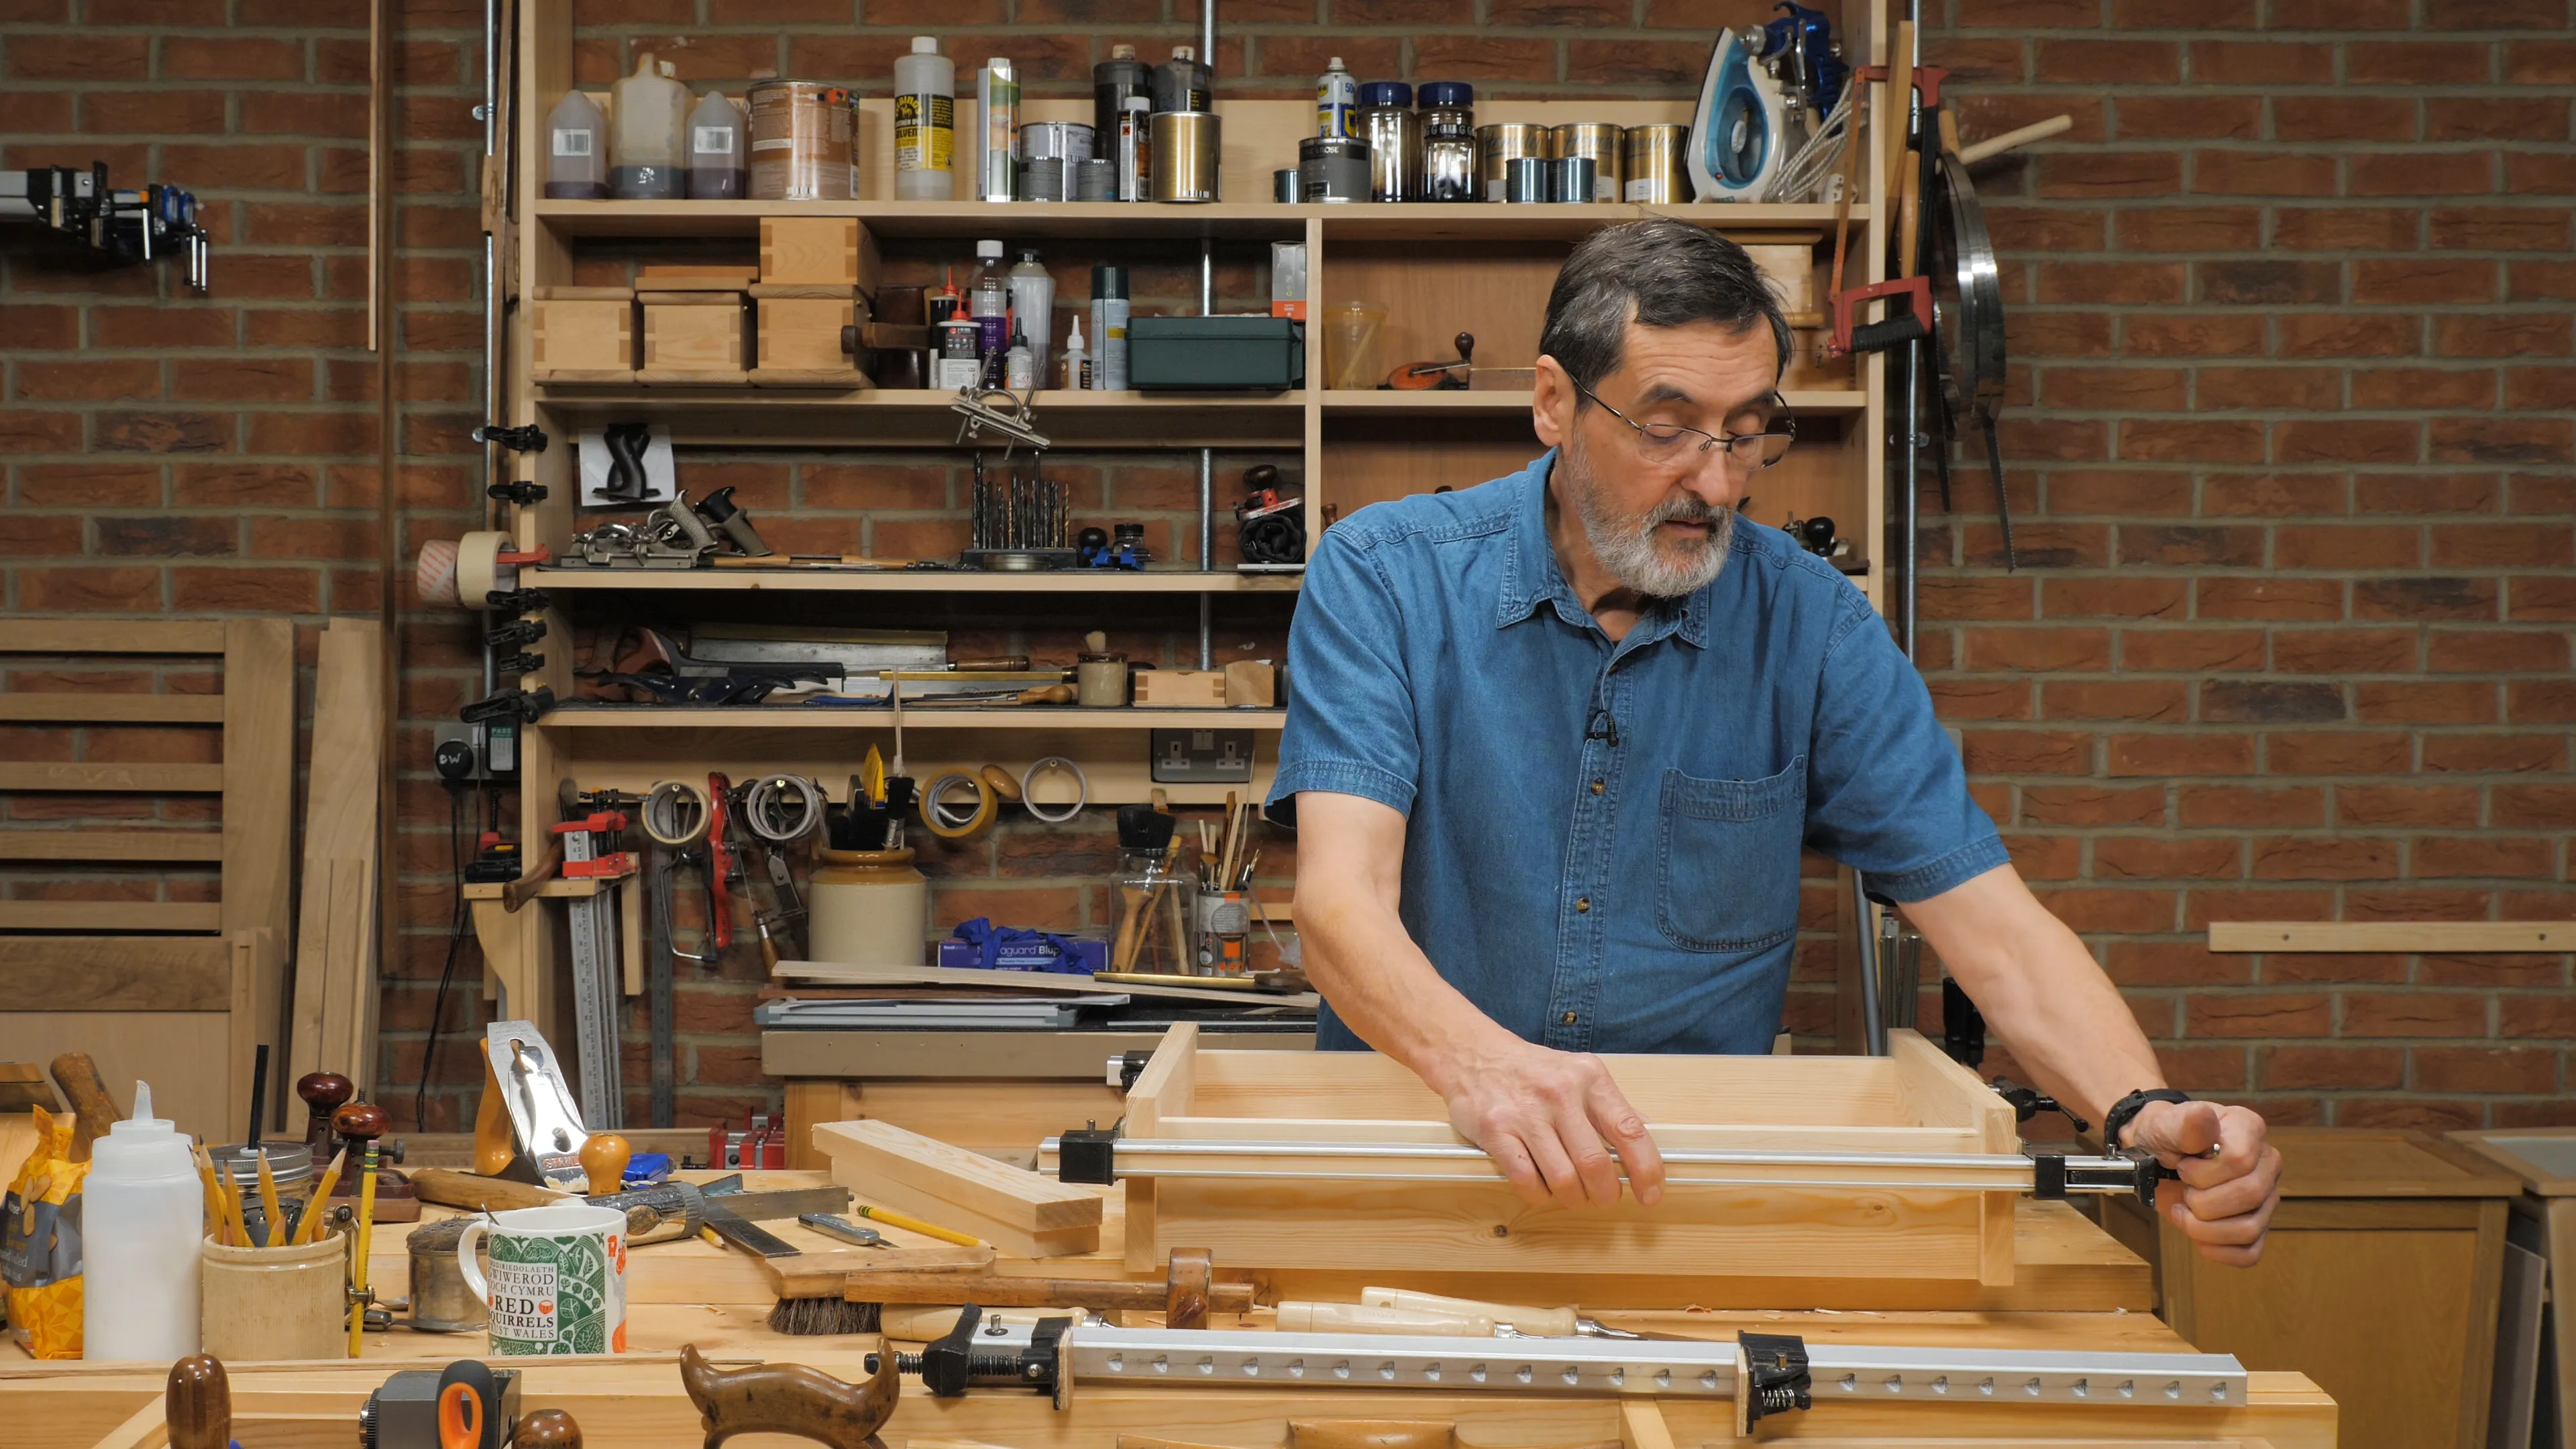
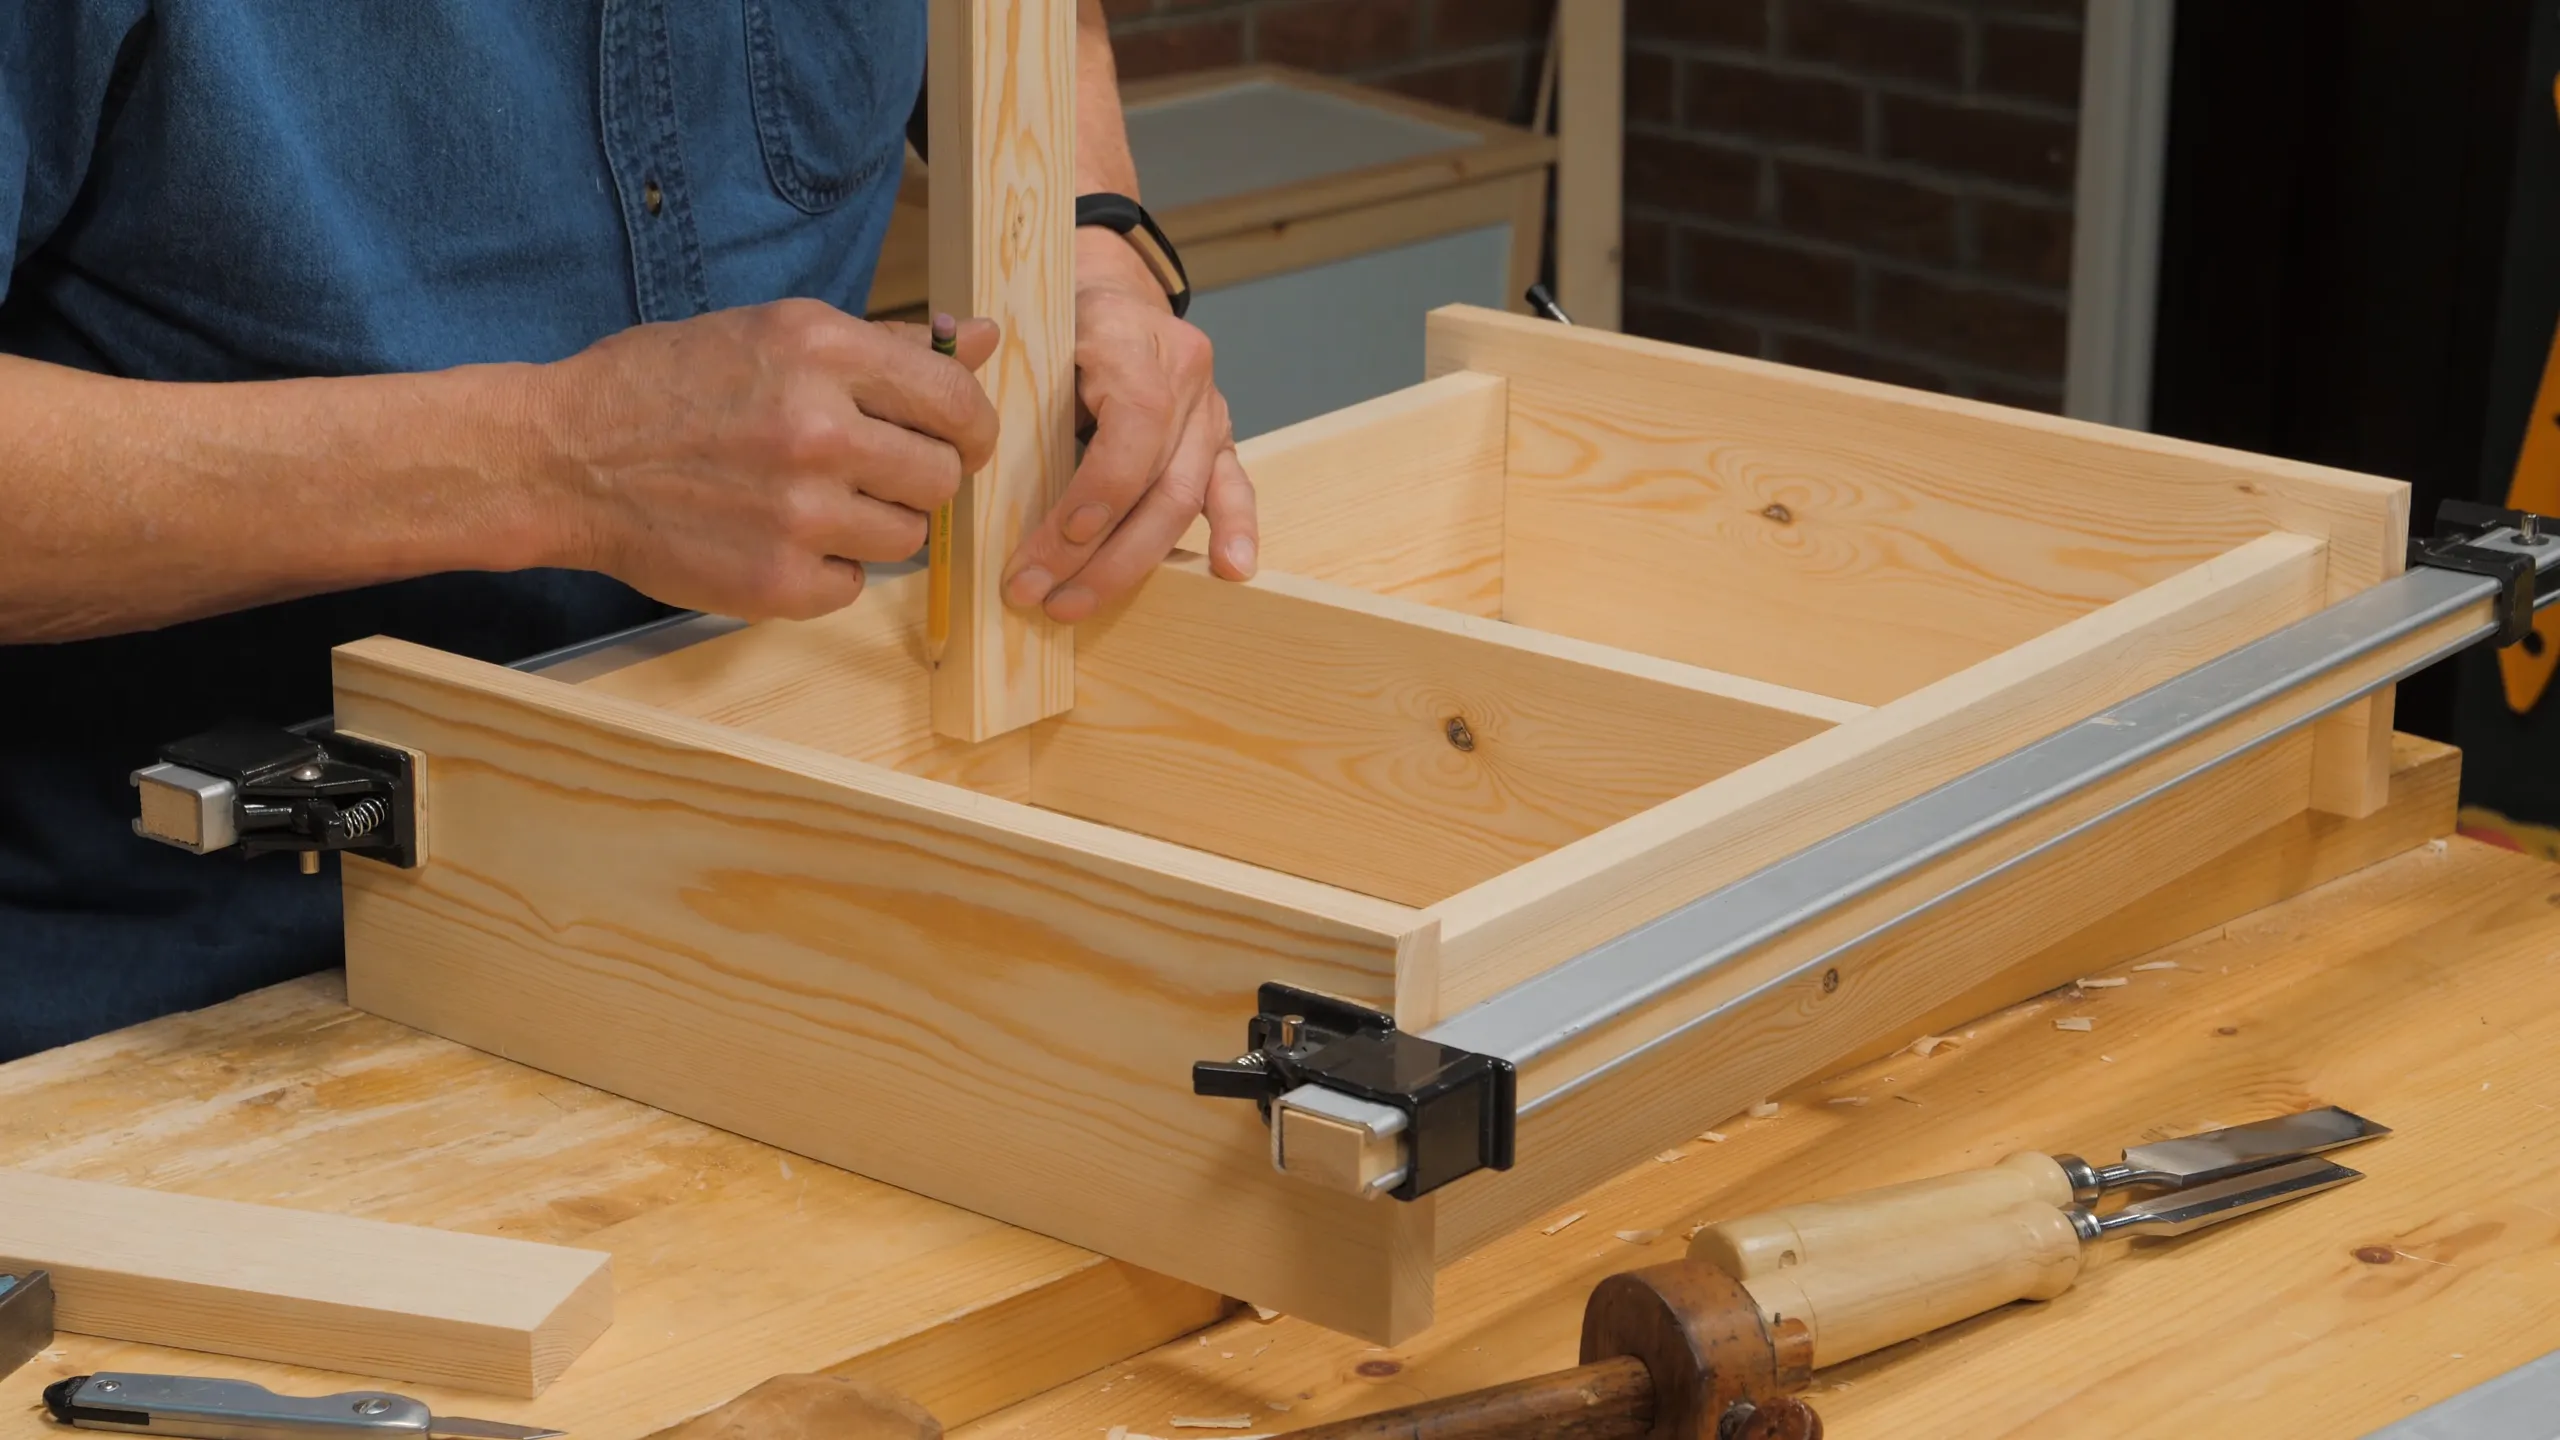
Start by dry assembling the frame and applying clamps to either side. When you put the first one on, be sure not to tighten it too much as this can cause the other side to spring apart. Instead, ensure (approximately) equal pressure on both sides so that all joints will seat properly.
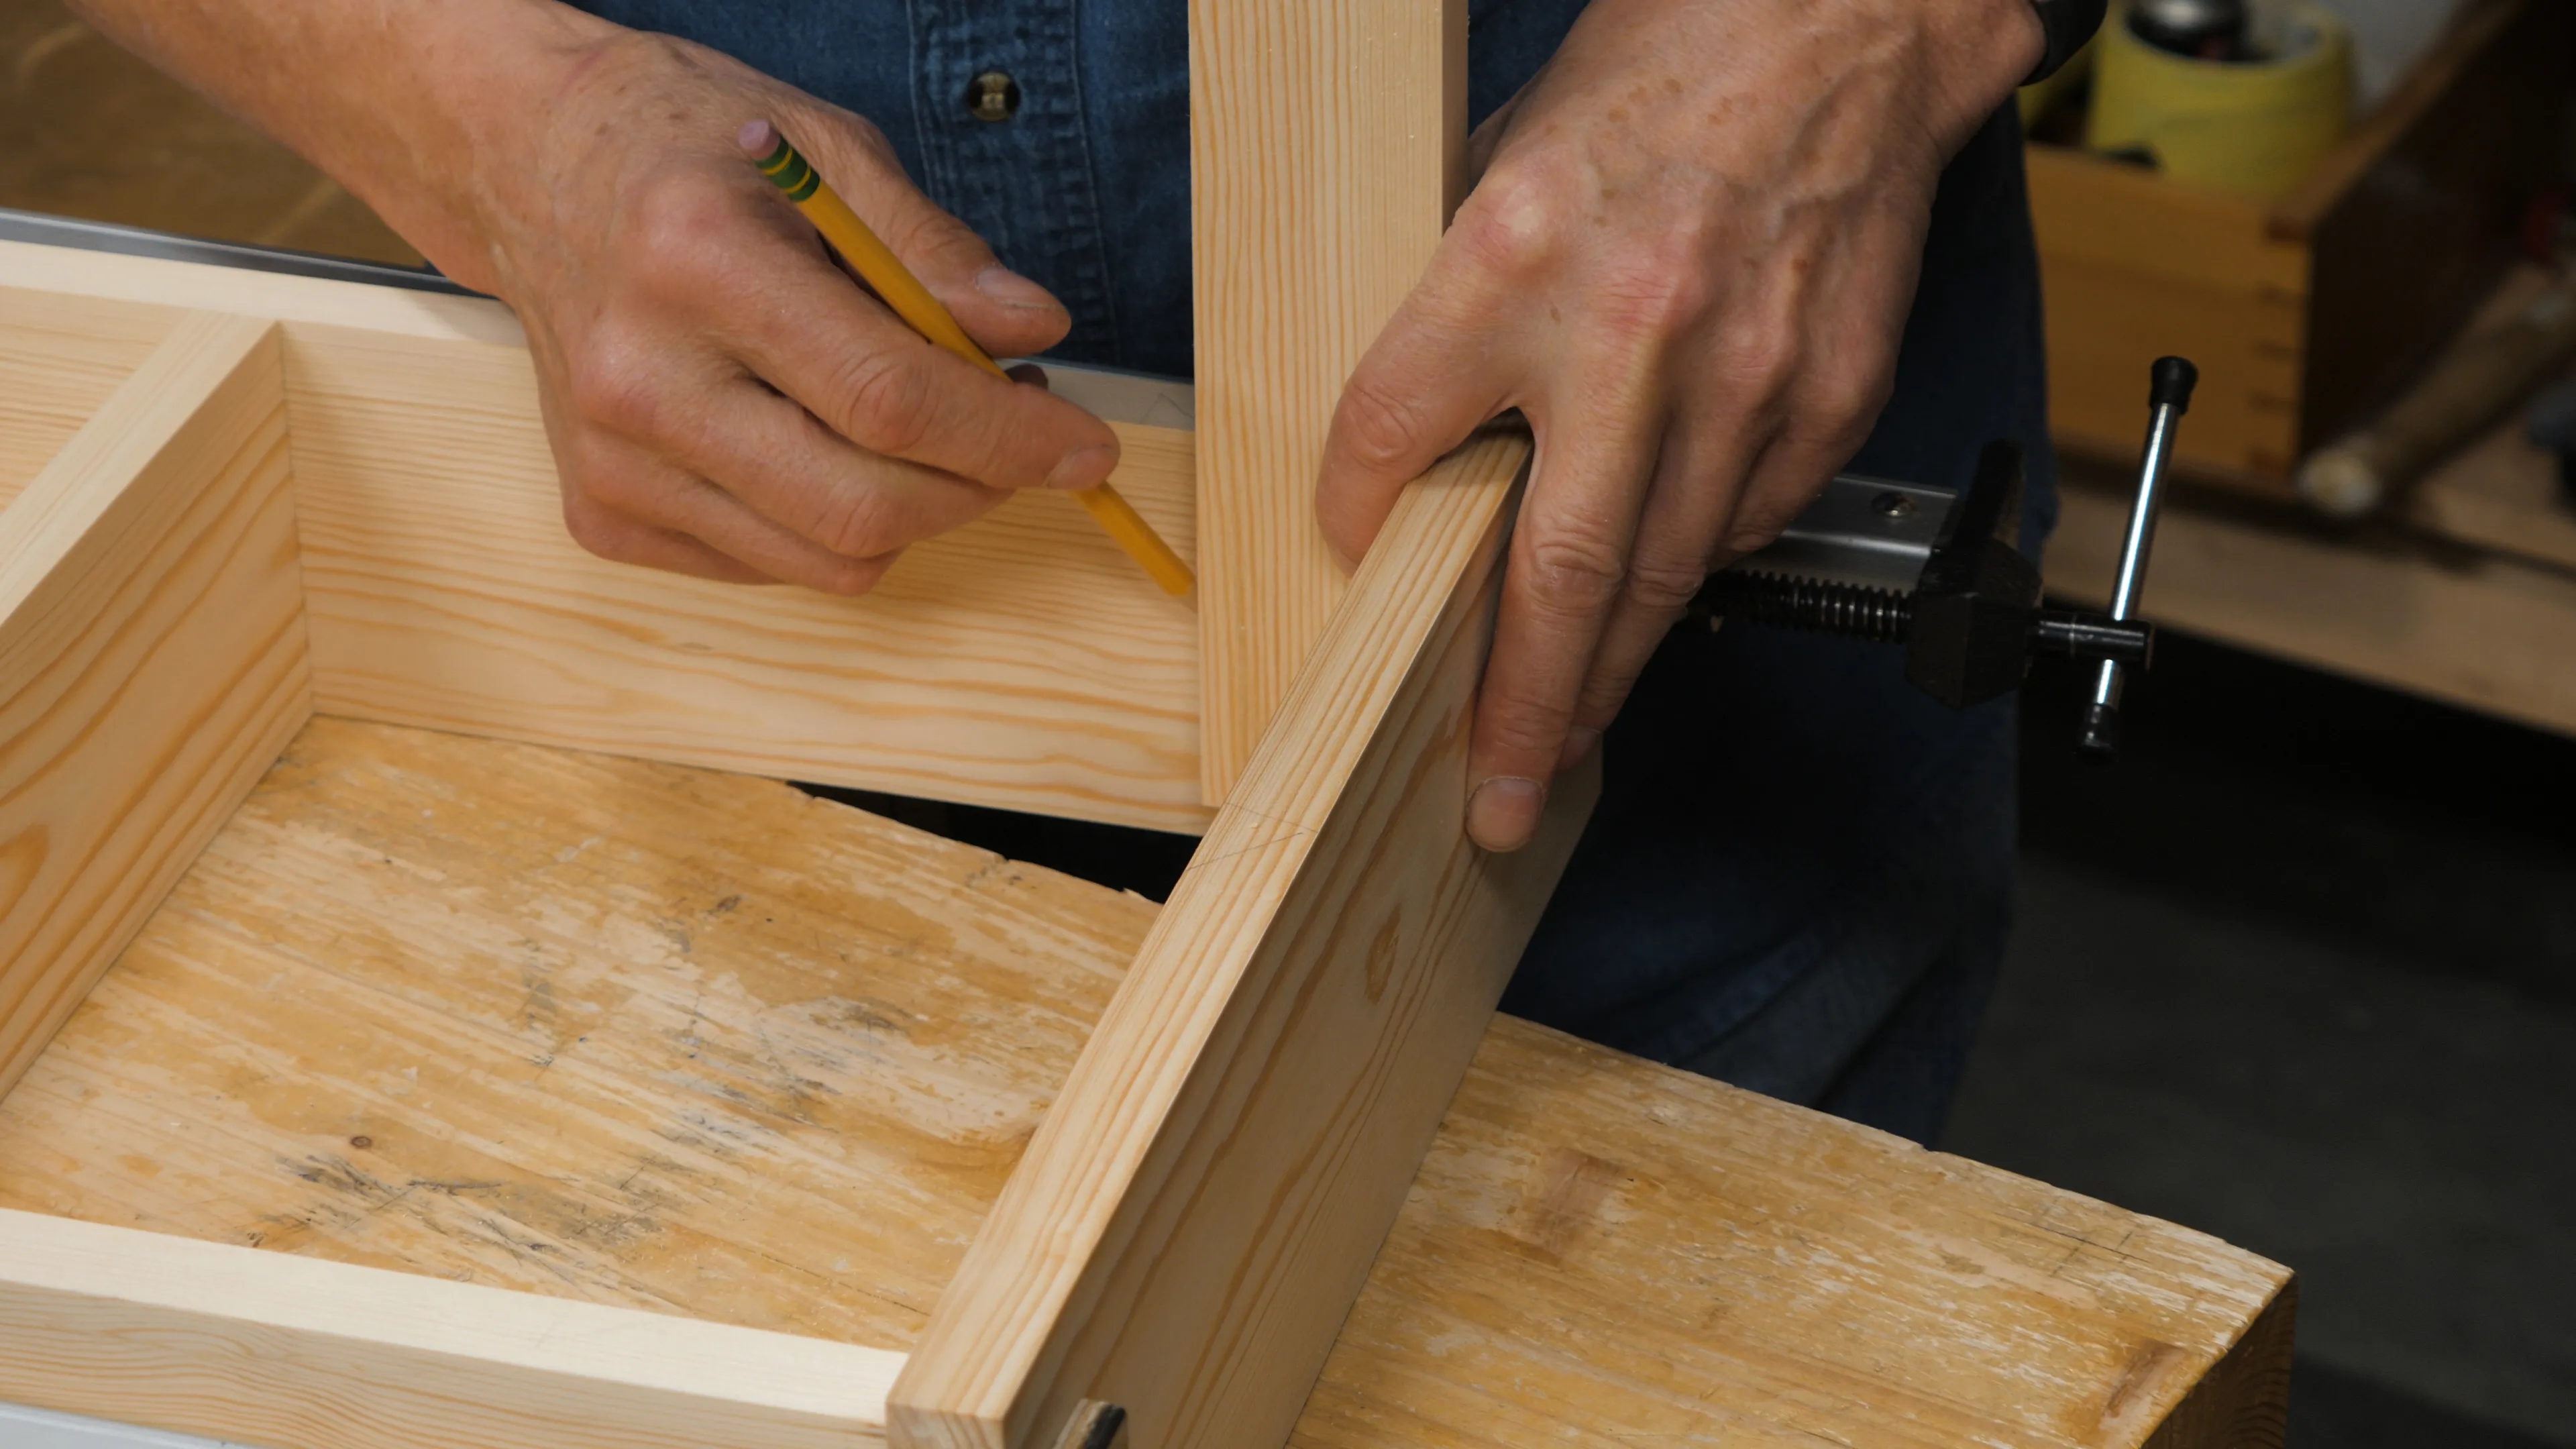
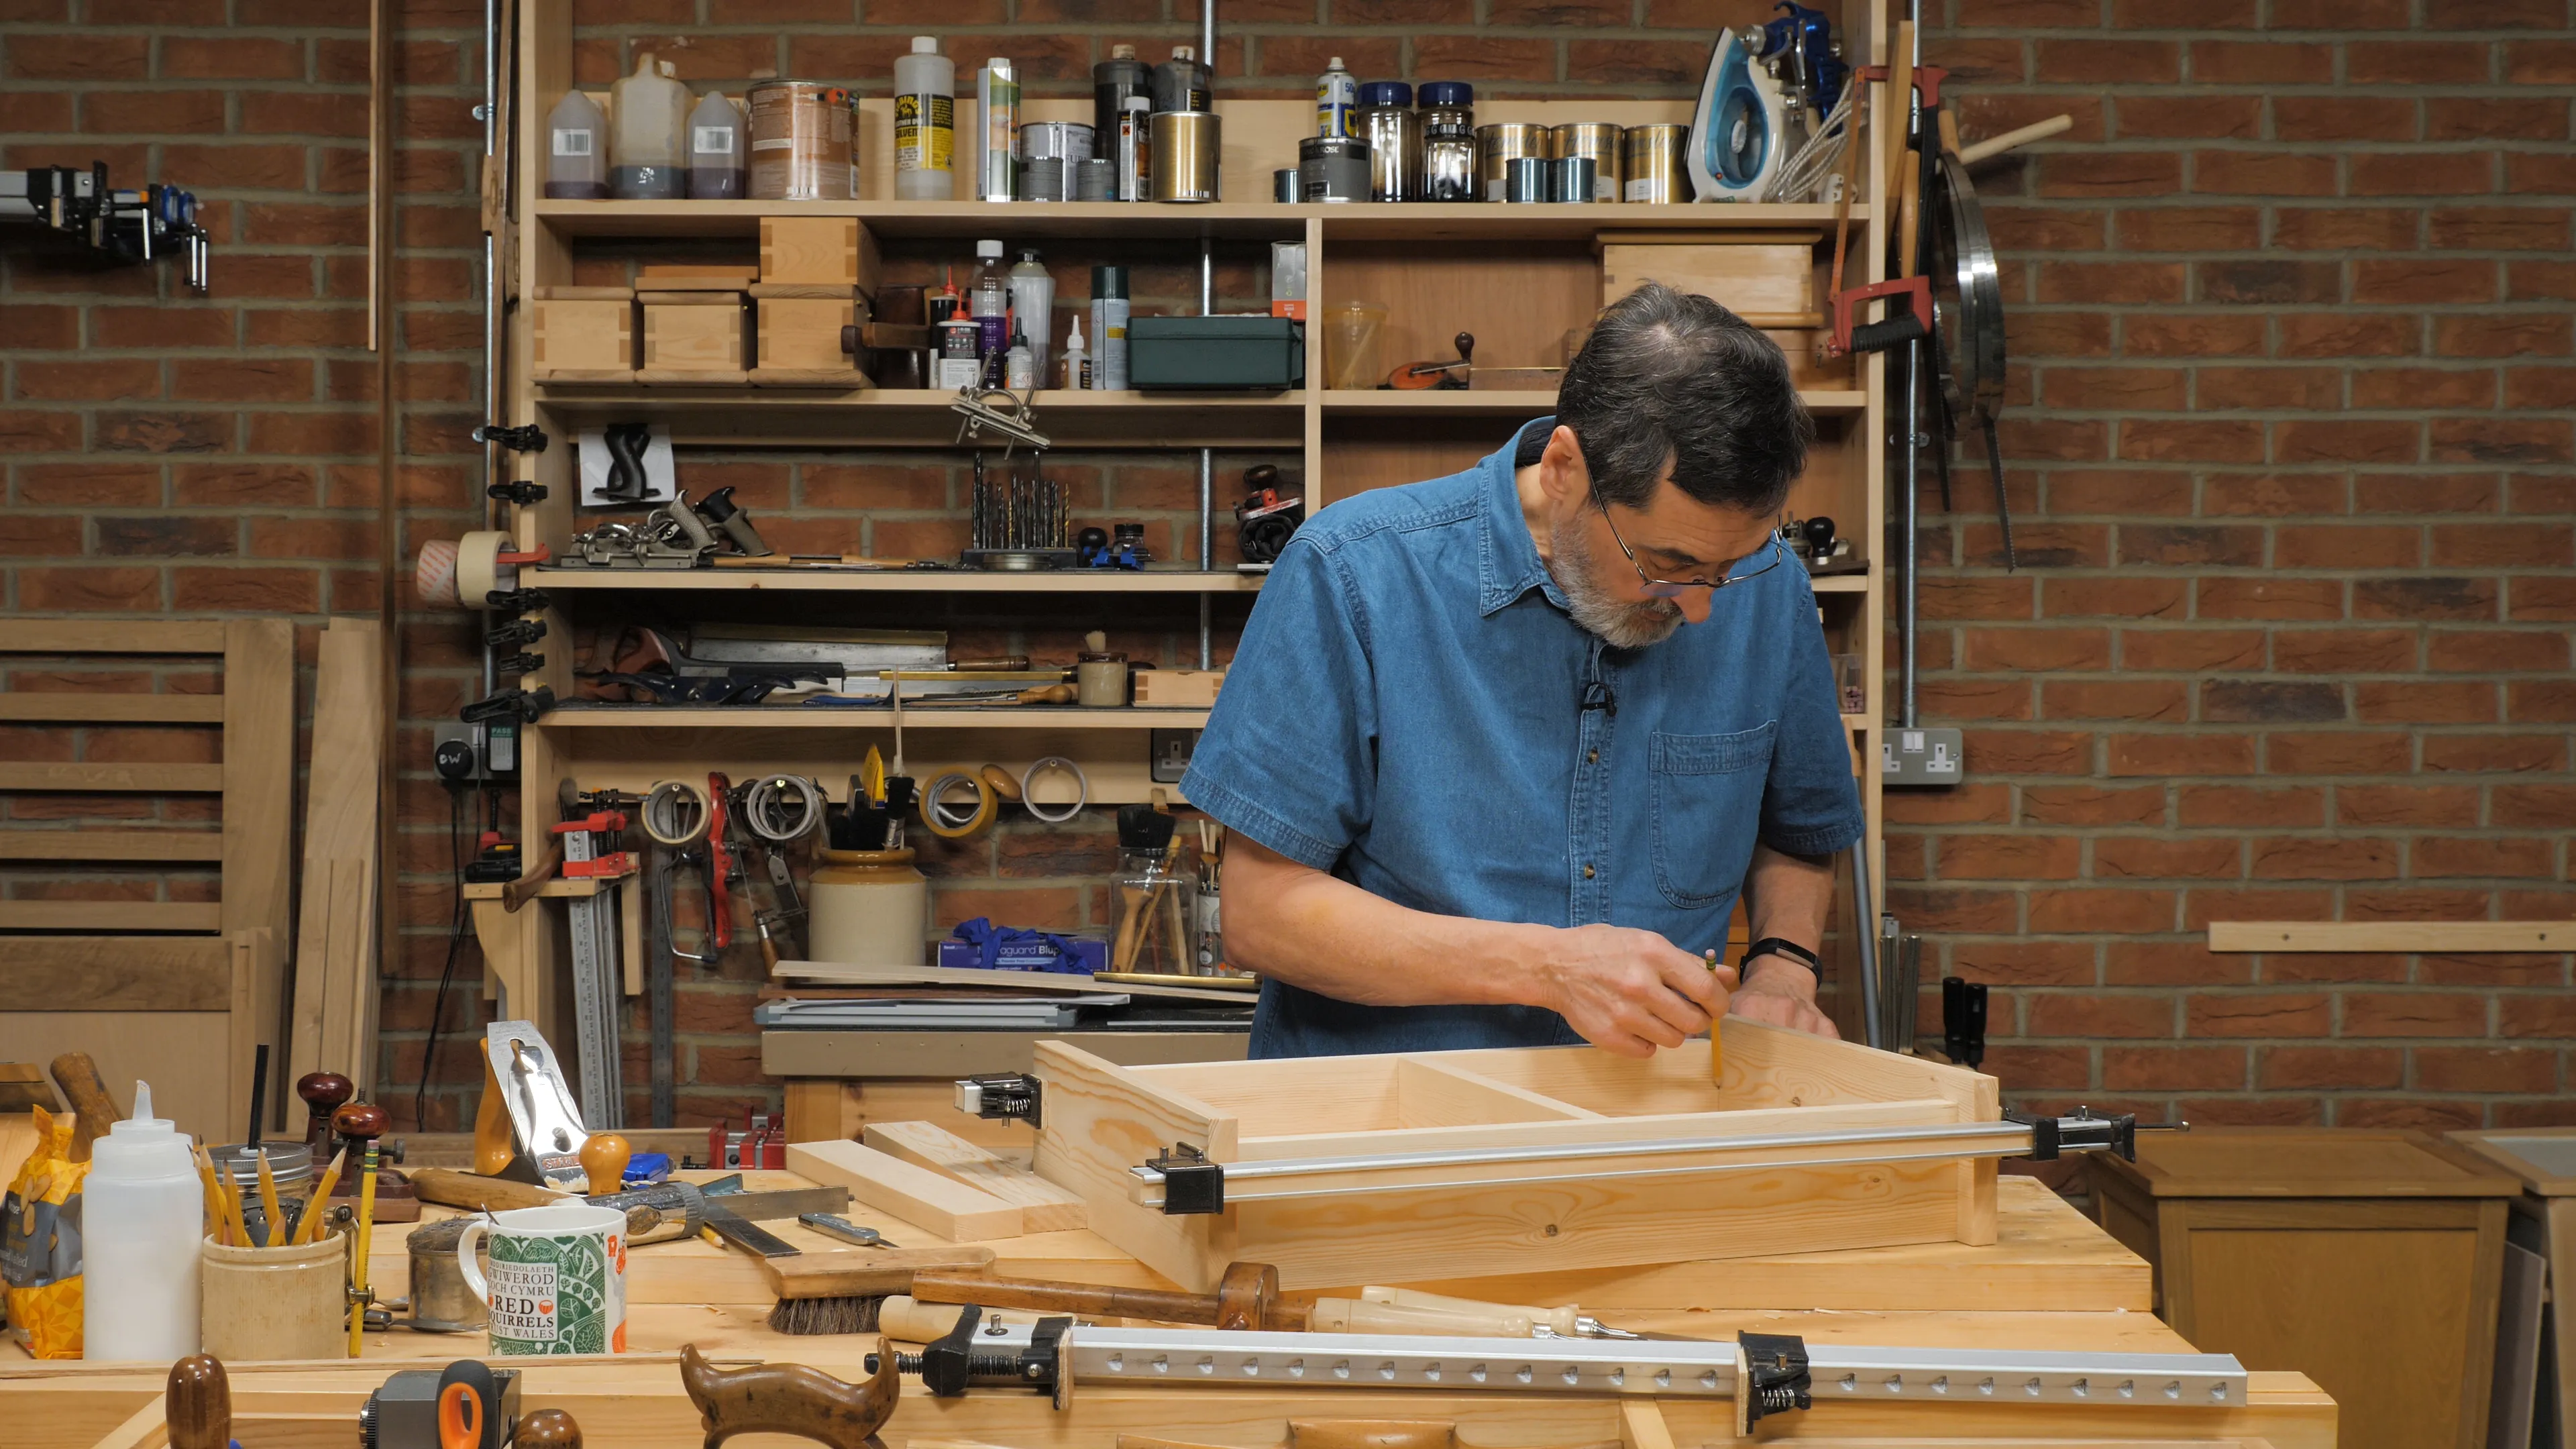
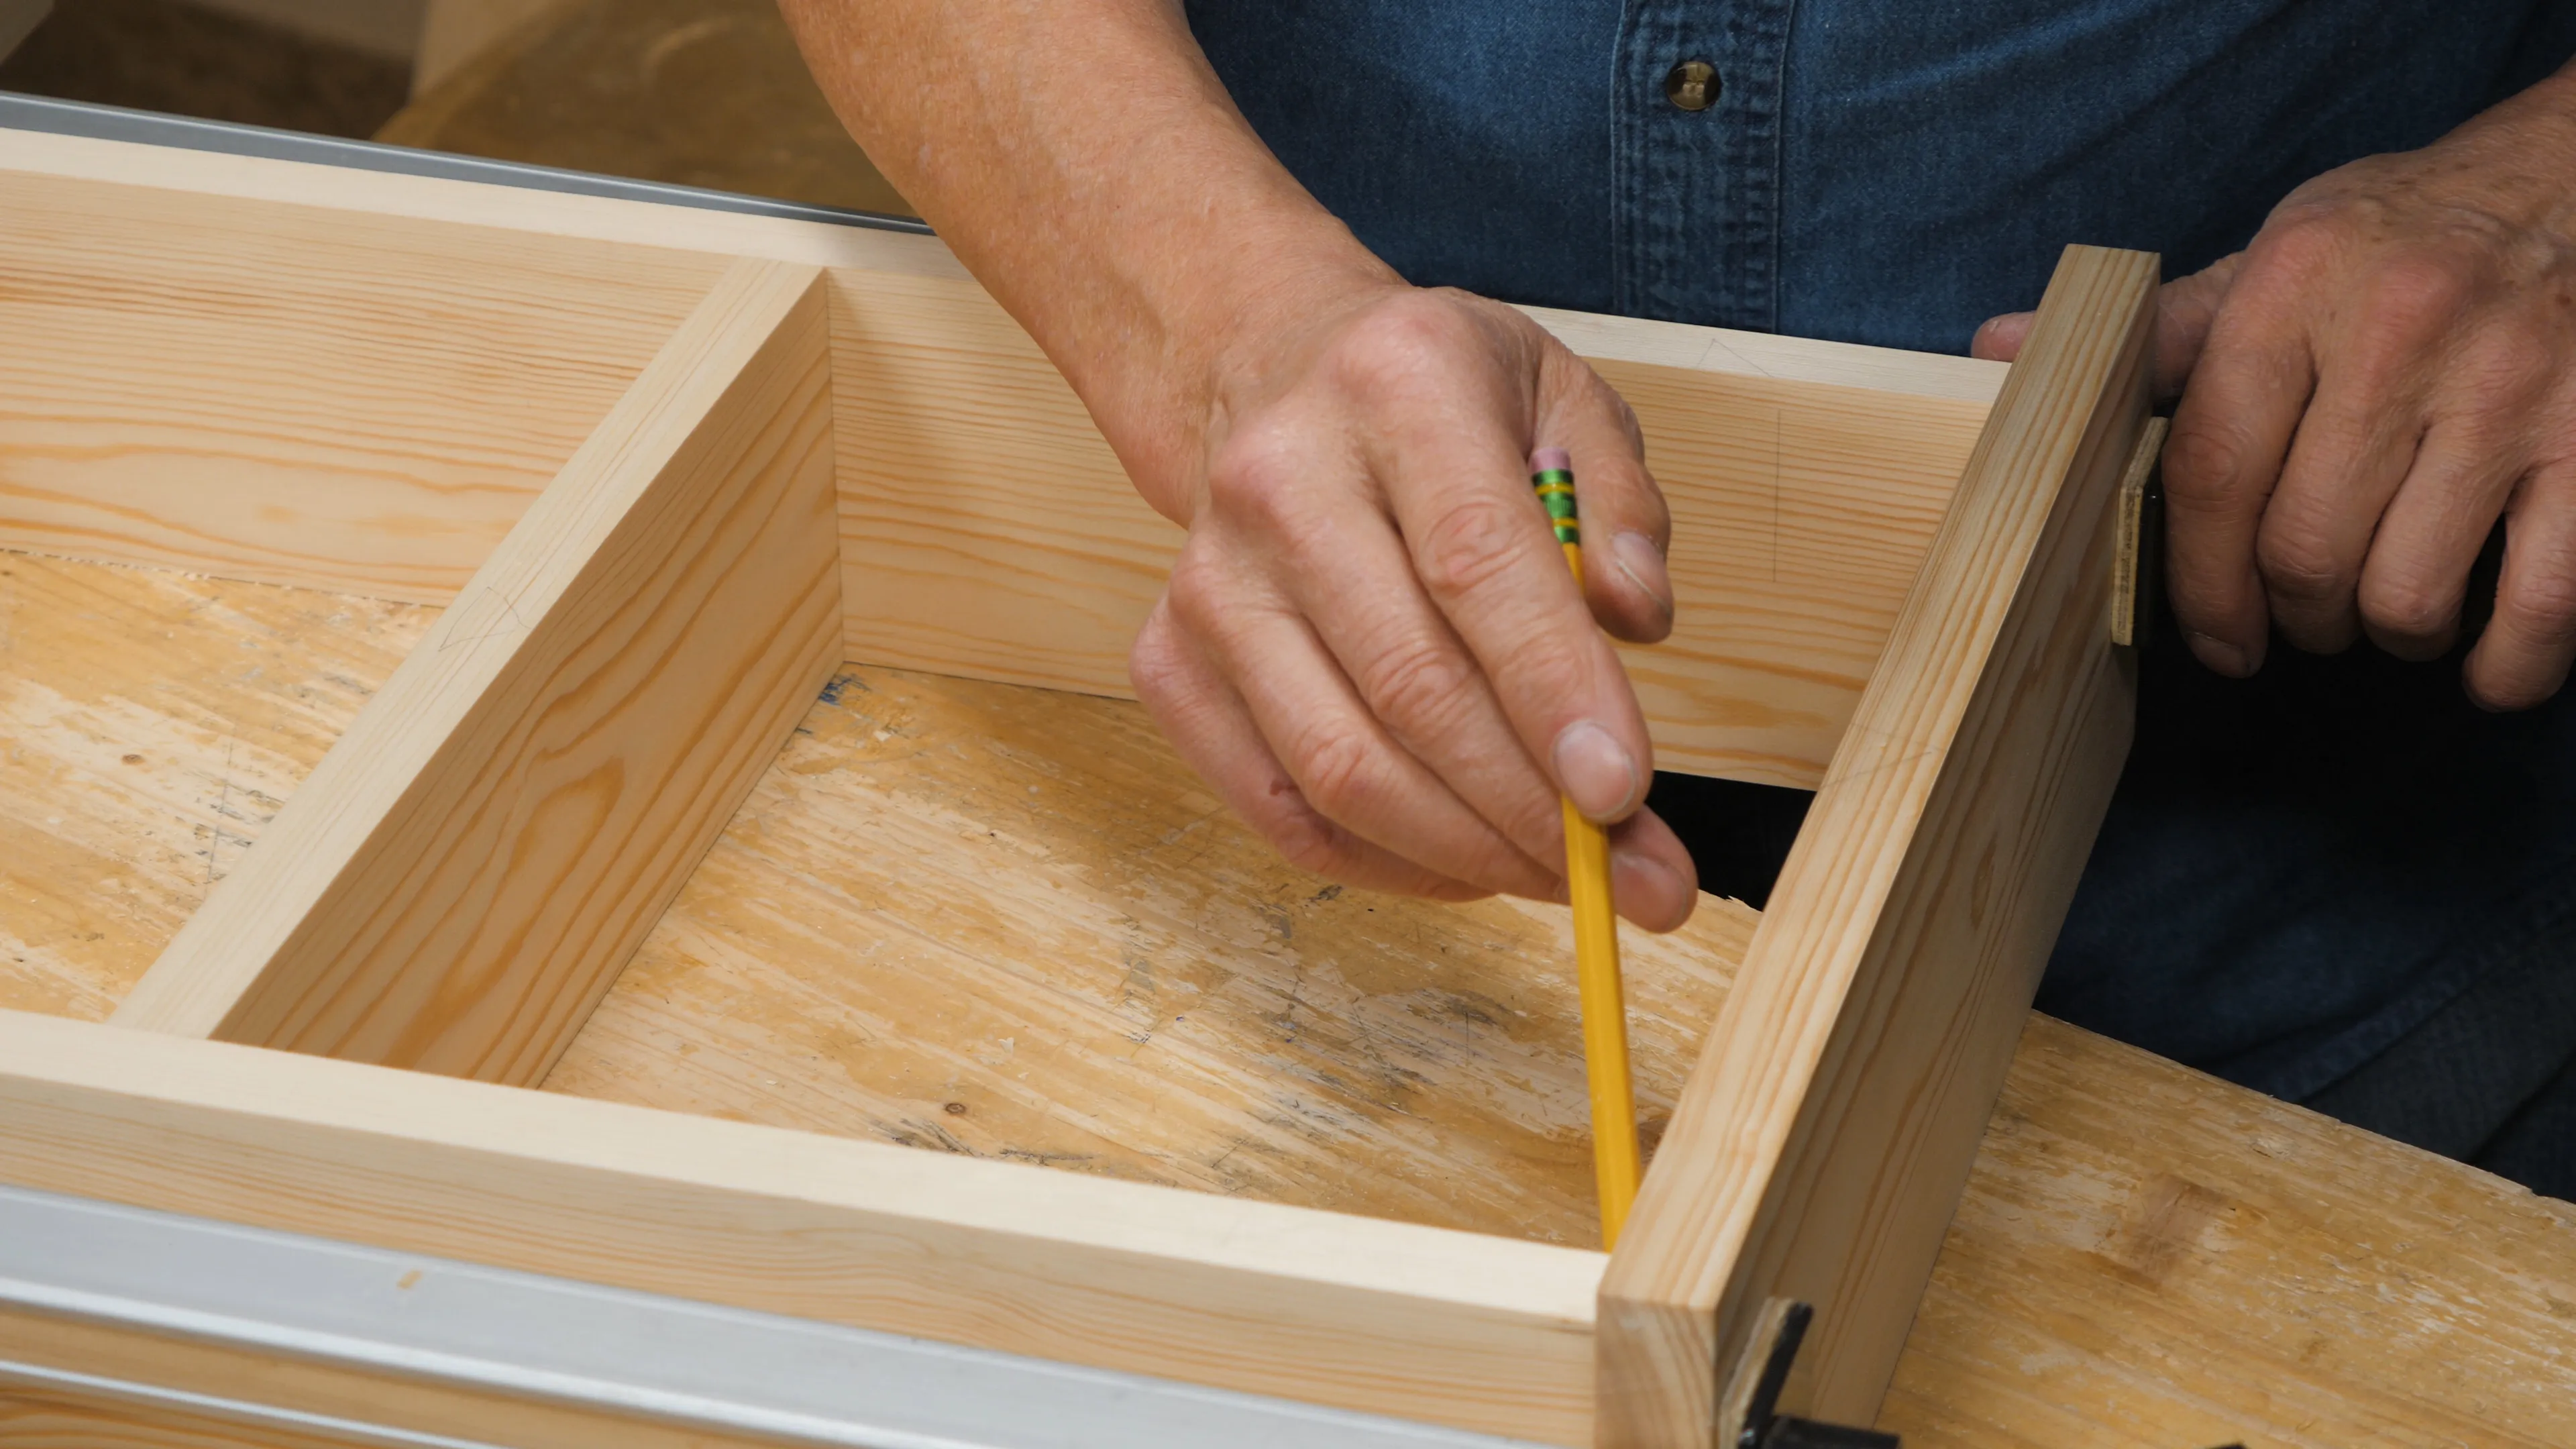
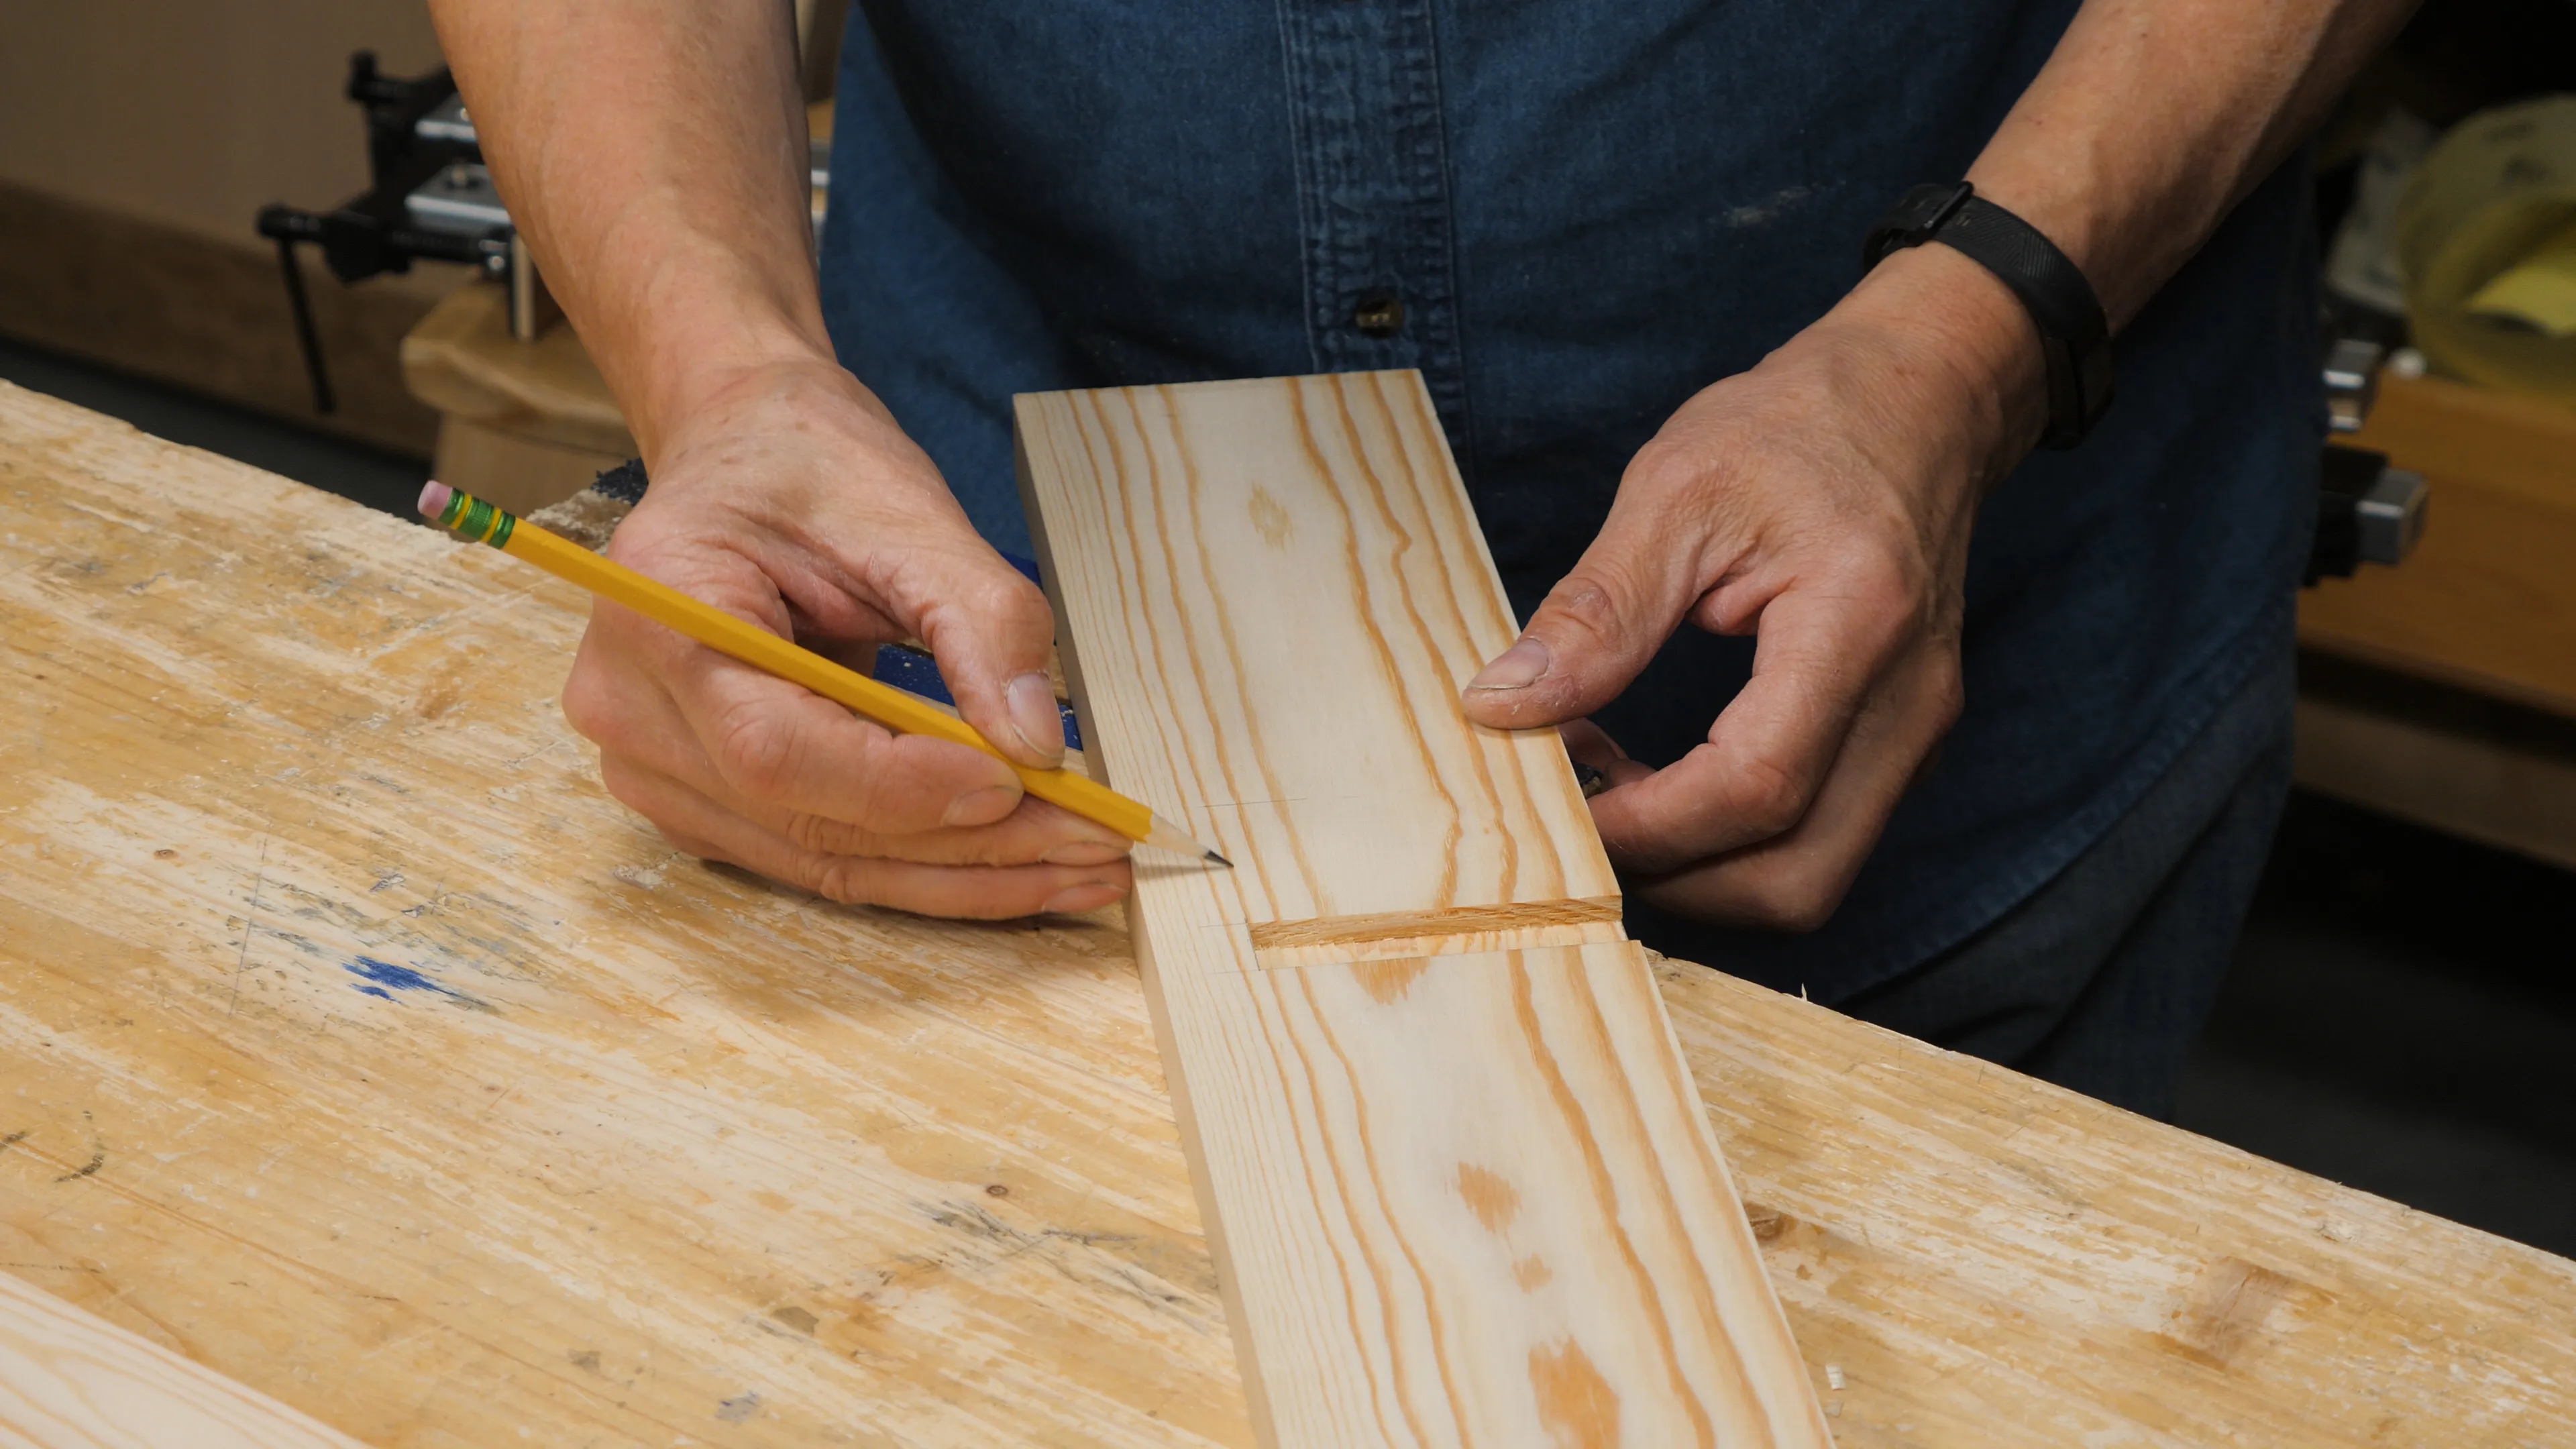
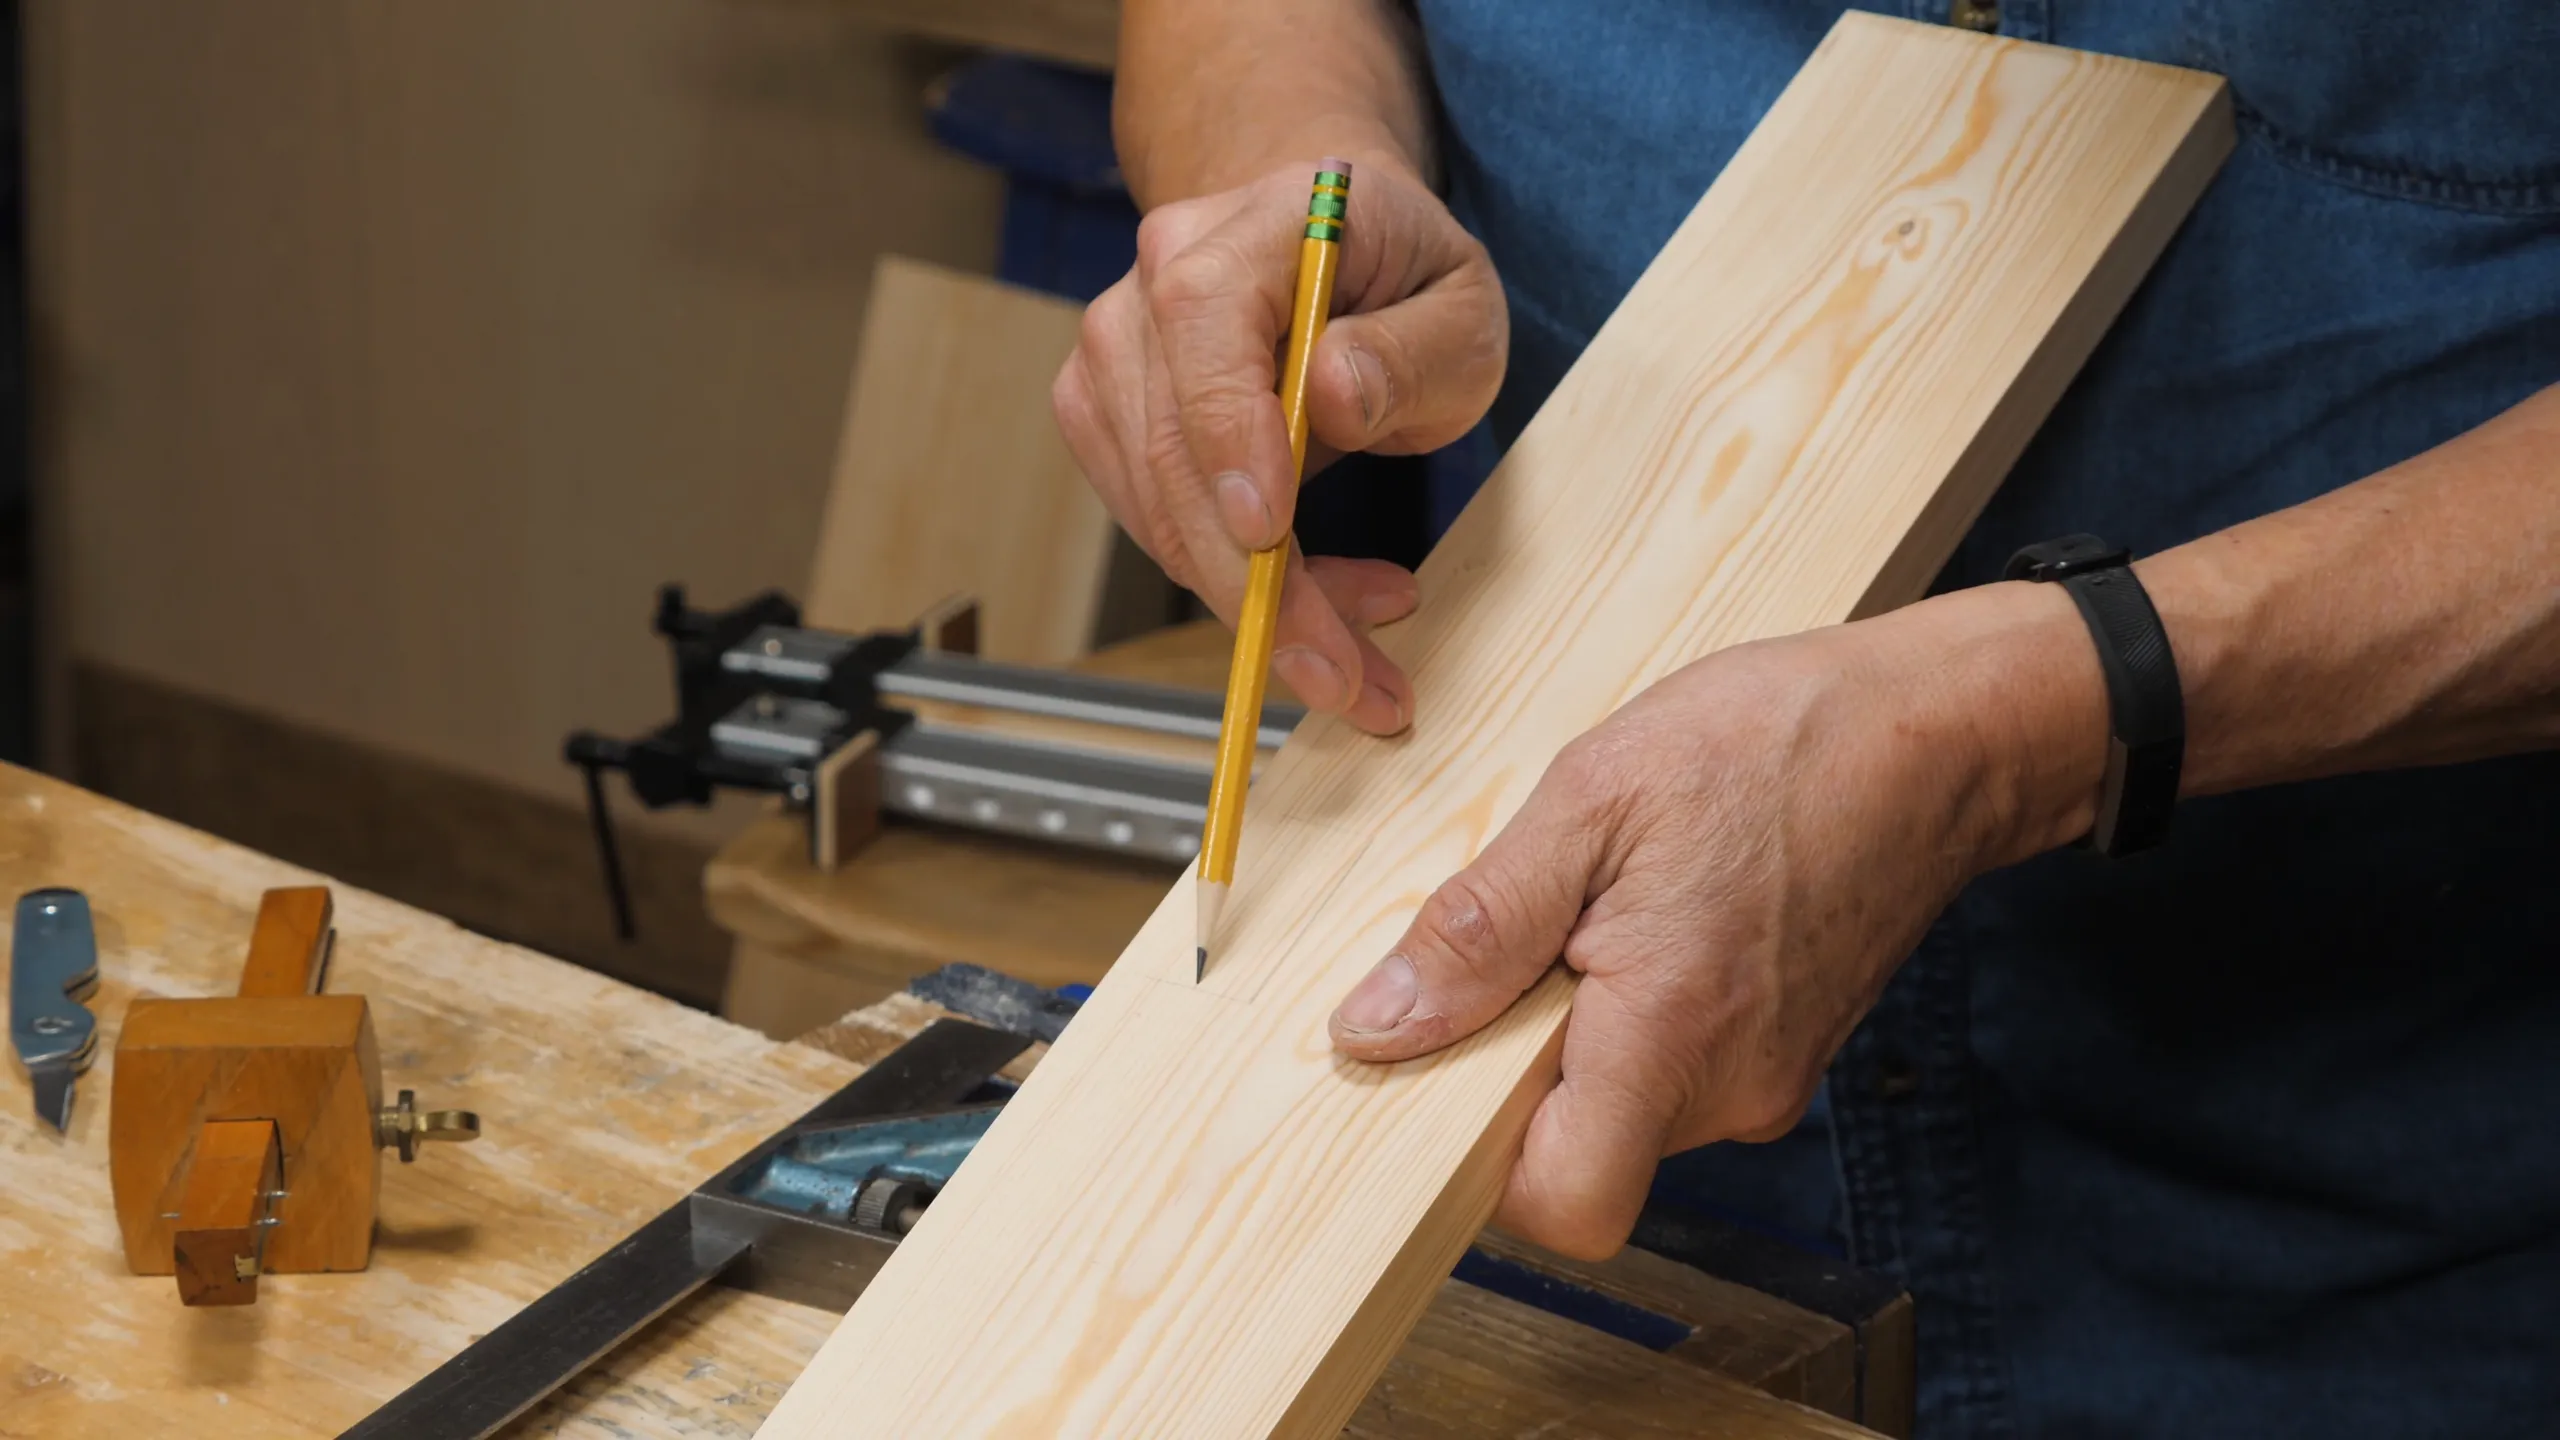
Next, use the corresponding rails to mark the lengths of the mortise holes. Butt up your rail against the top/middle piece and mark the other extreme with a pencil. The bottom mortise starts exactly on the lower wall of the housing dado, whereas the top mortise has no exact reference. Therefore, for the top mortise, also mark the internal corner (since there is a 1/4” housing dado) with a pencil, or even better, with a knife nick.
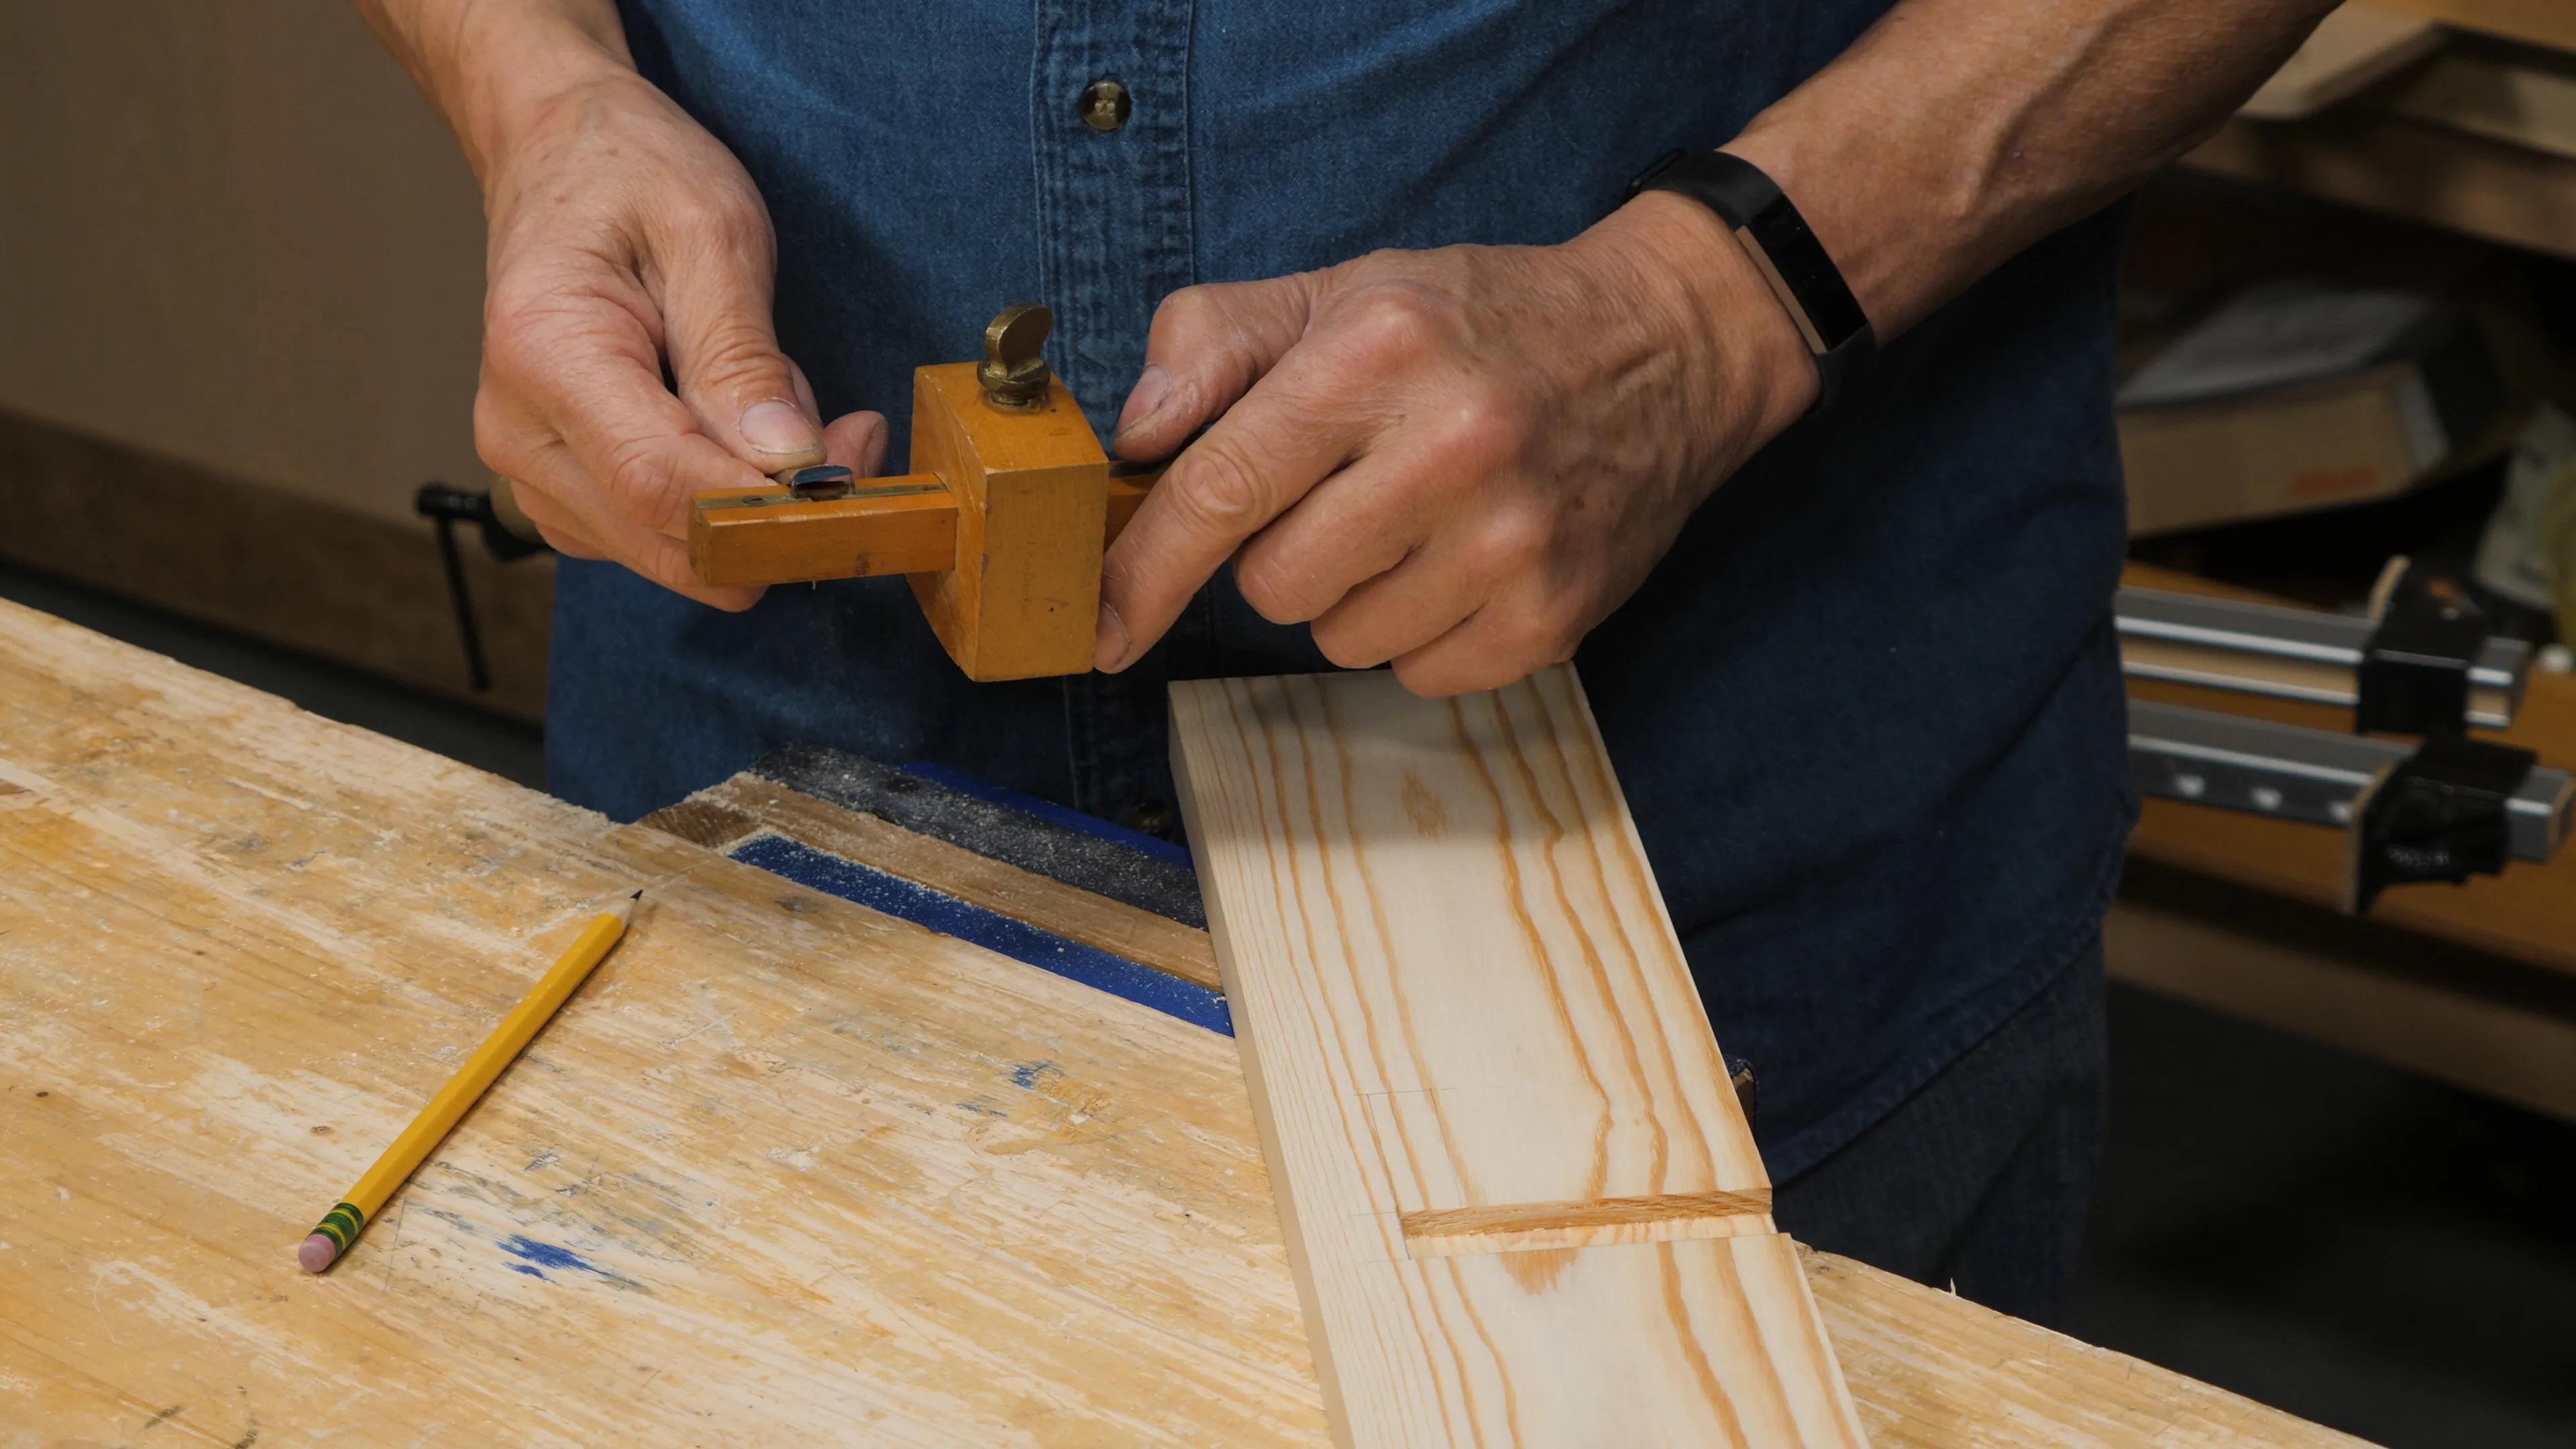
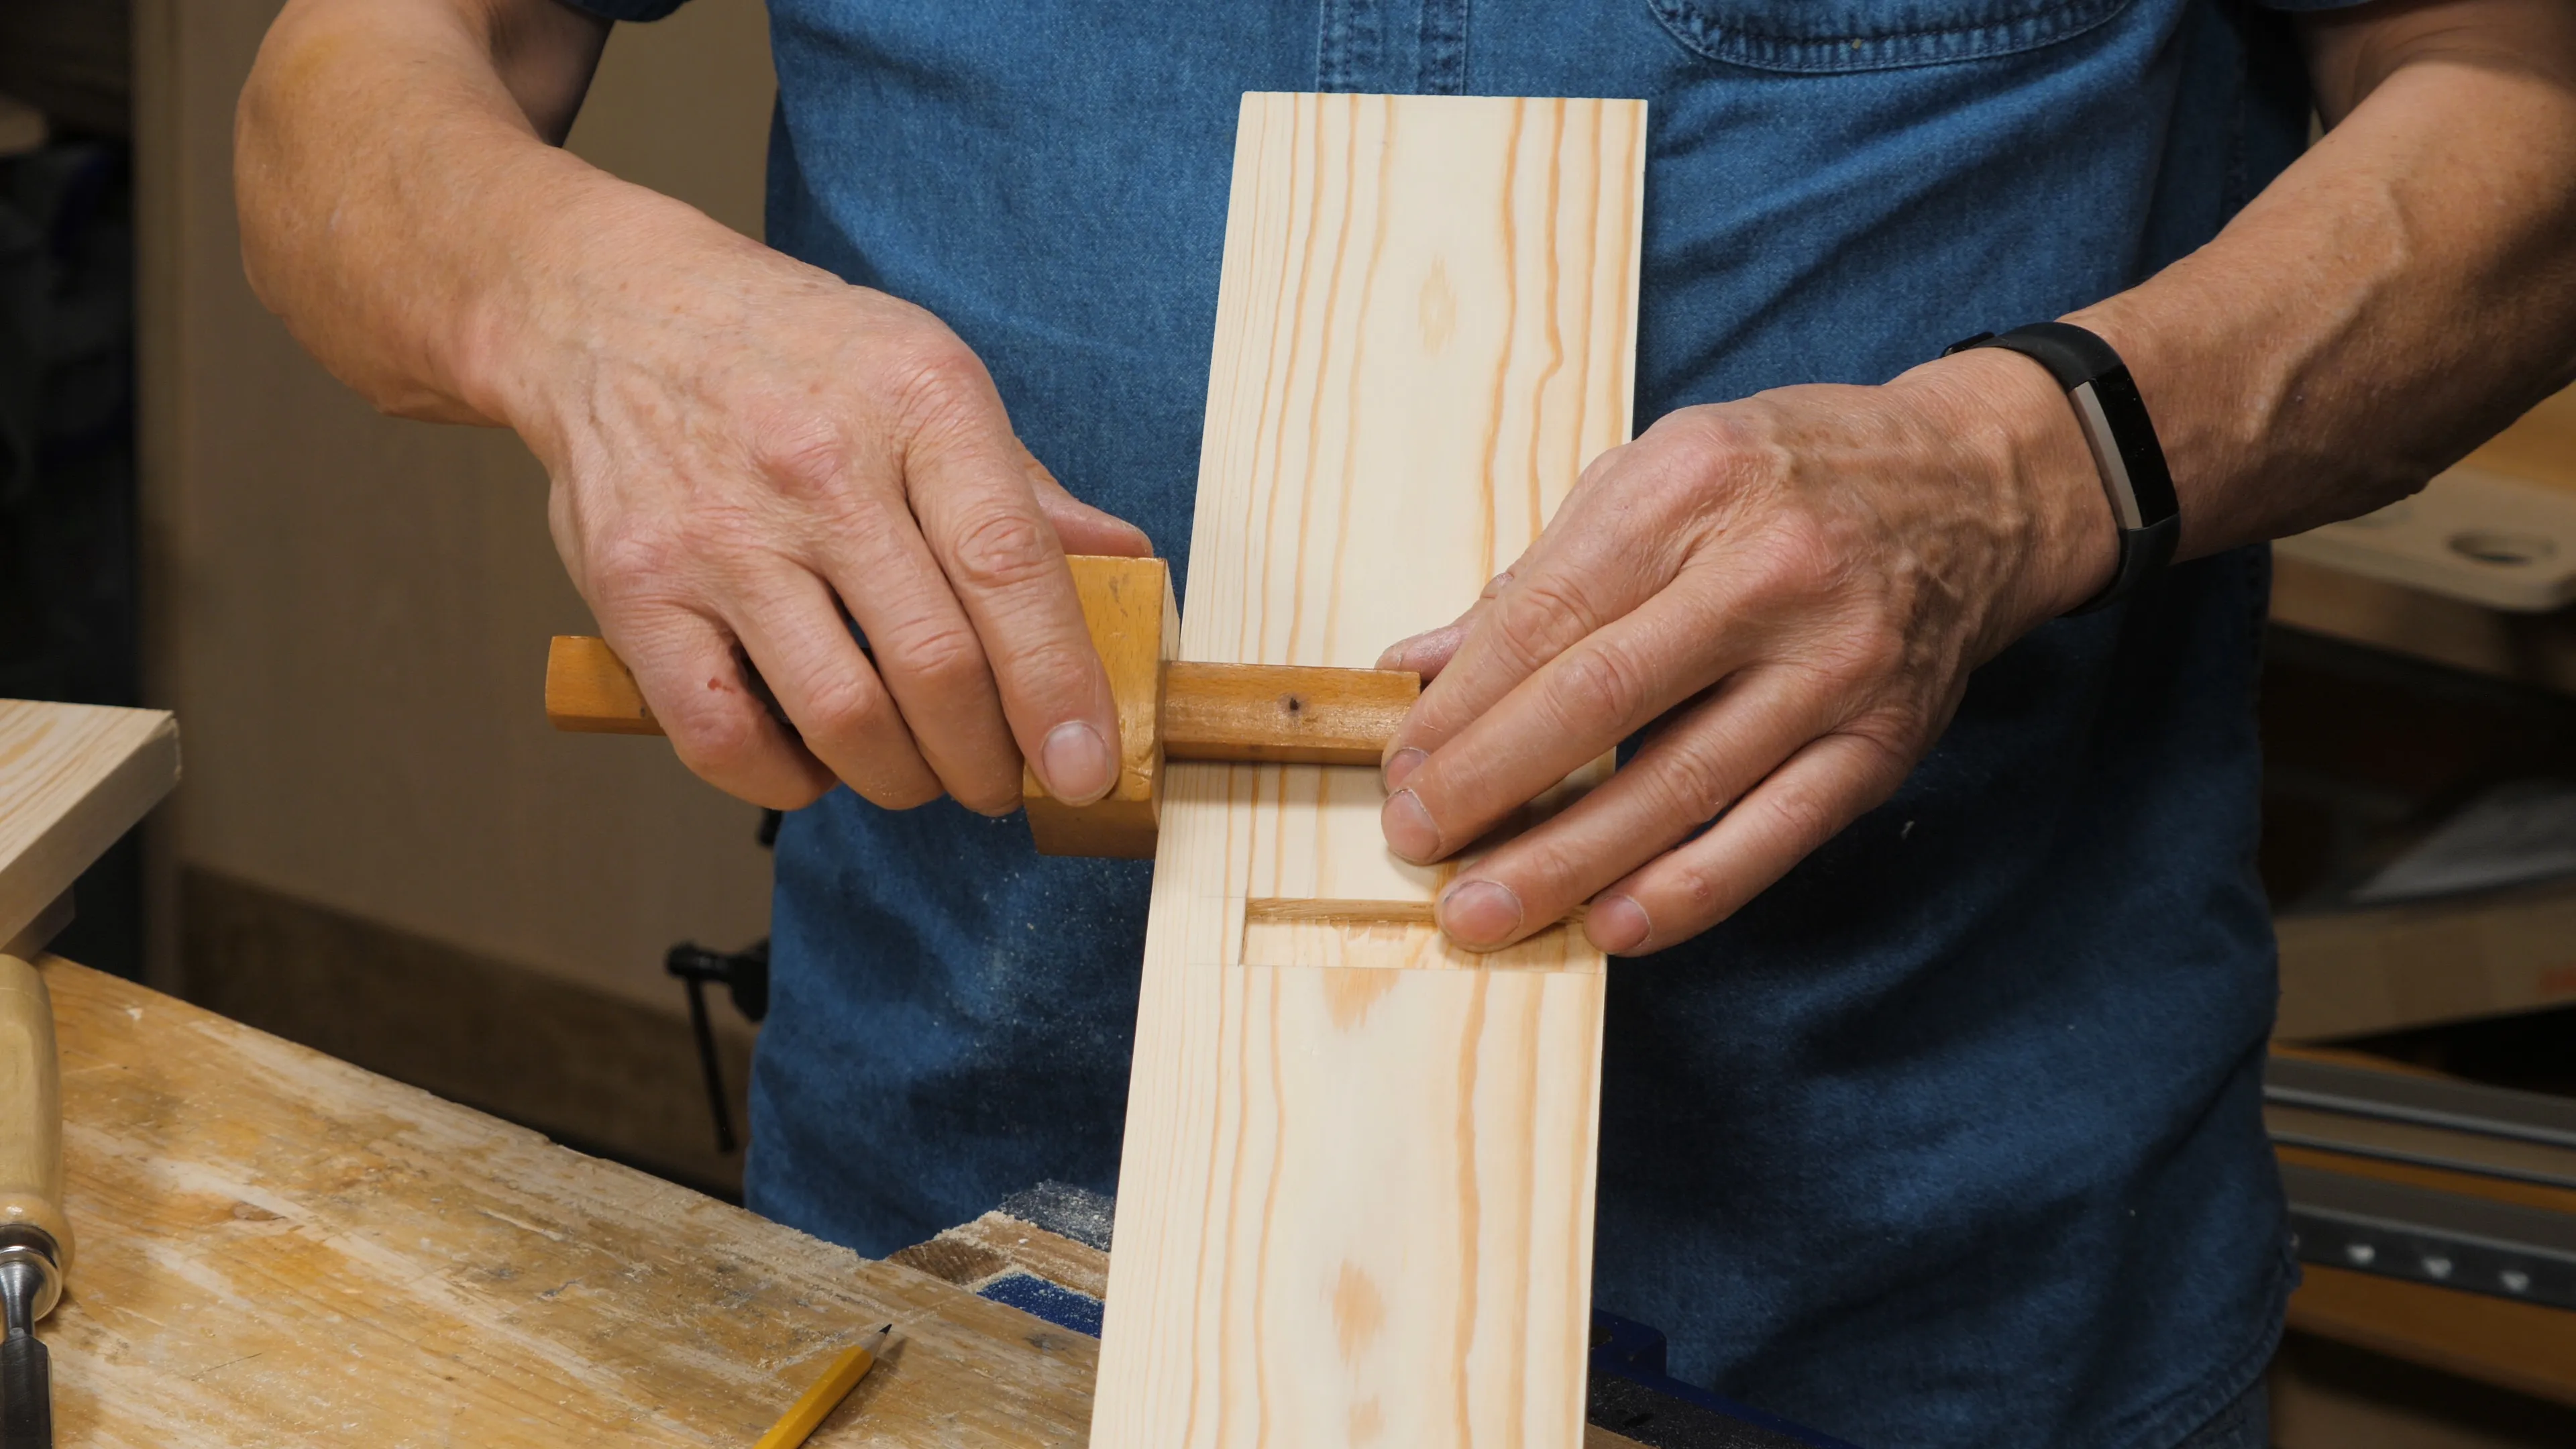
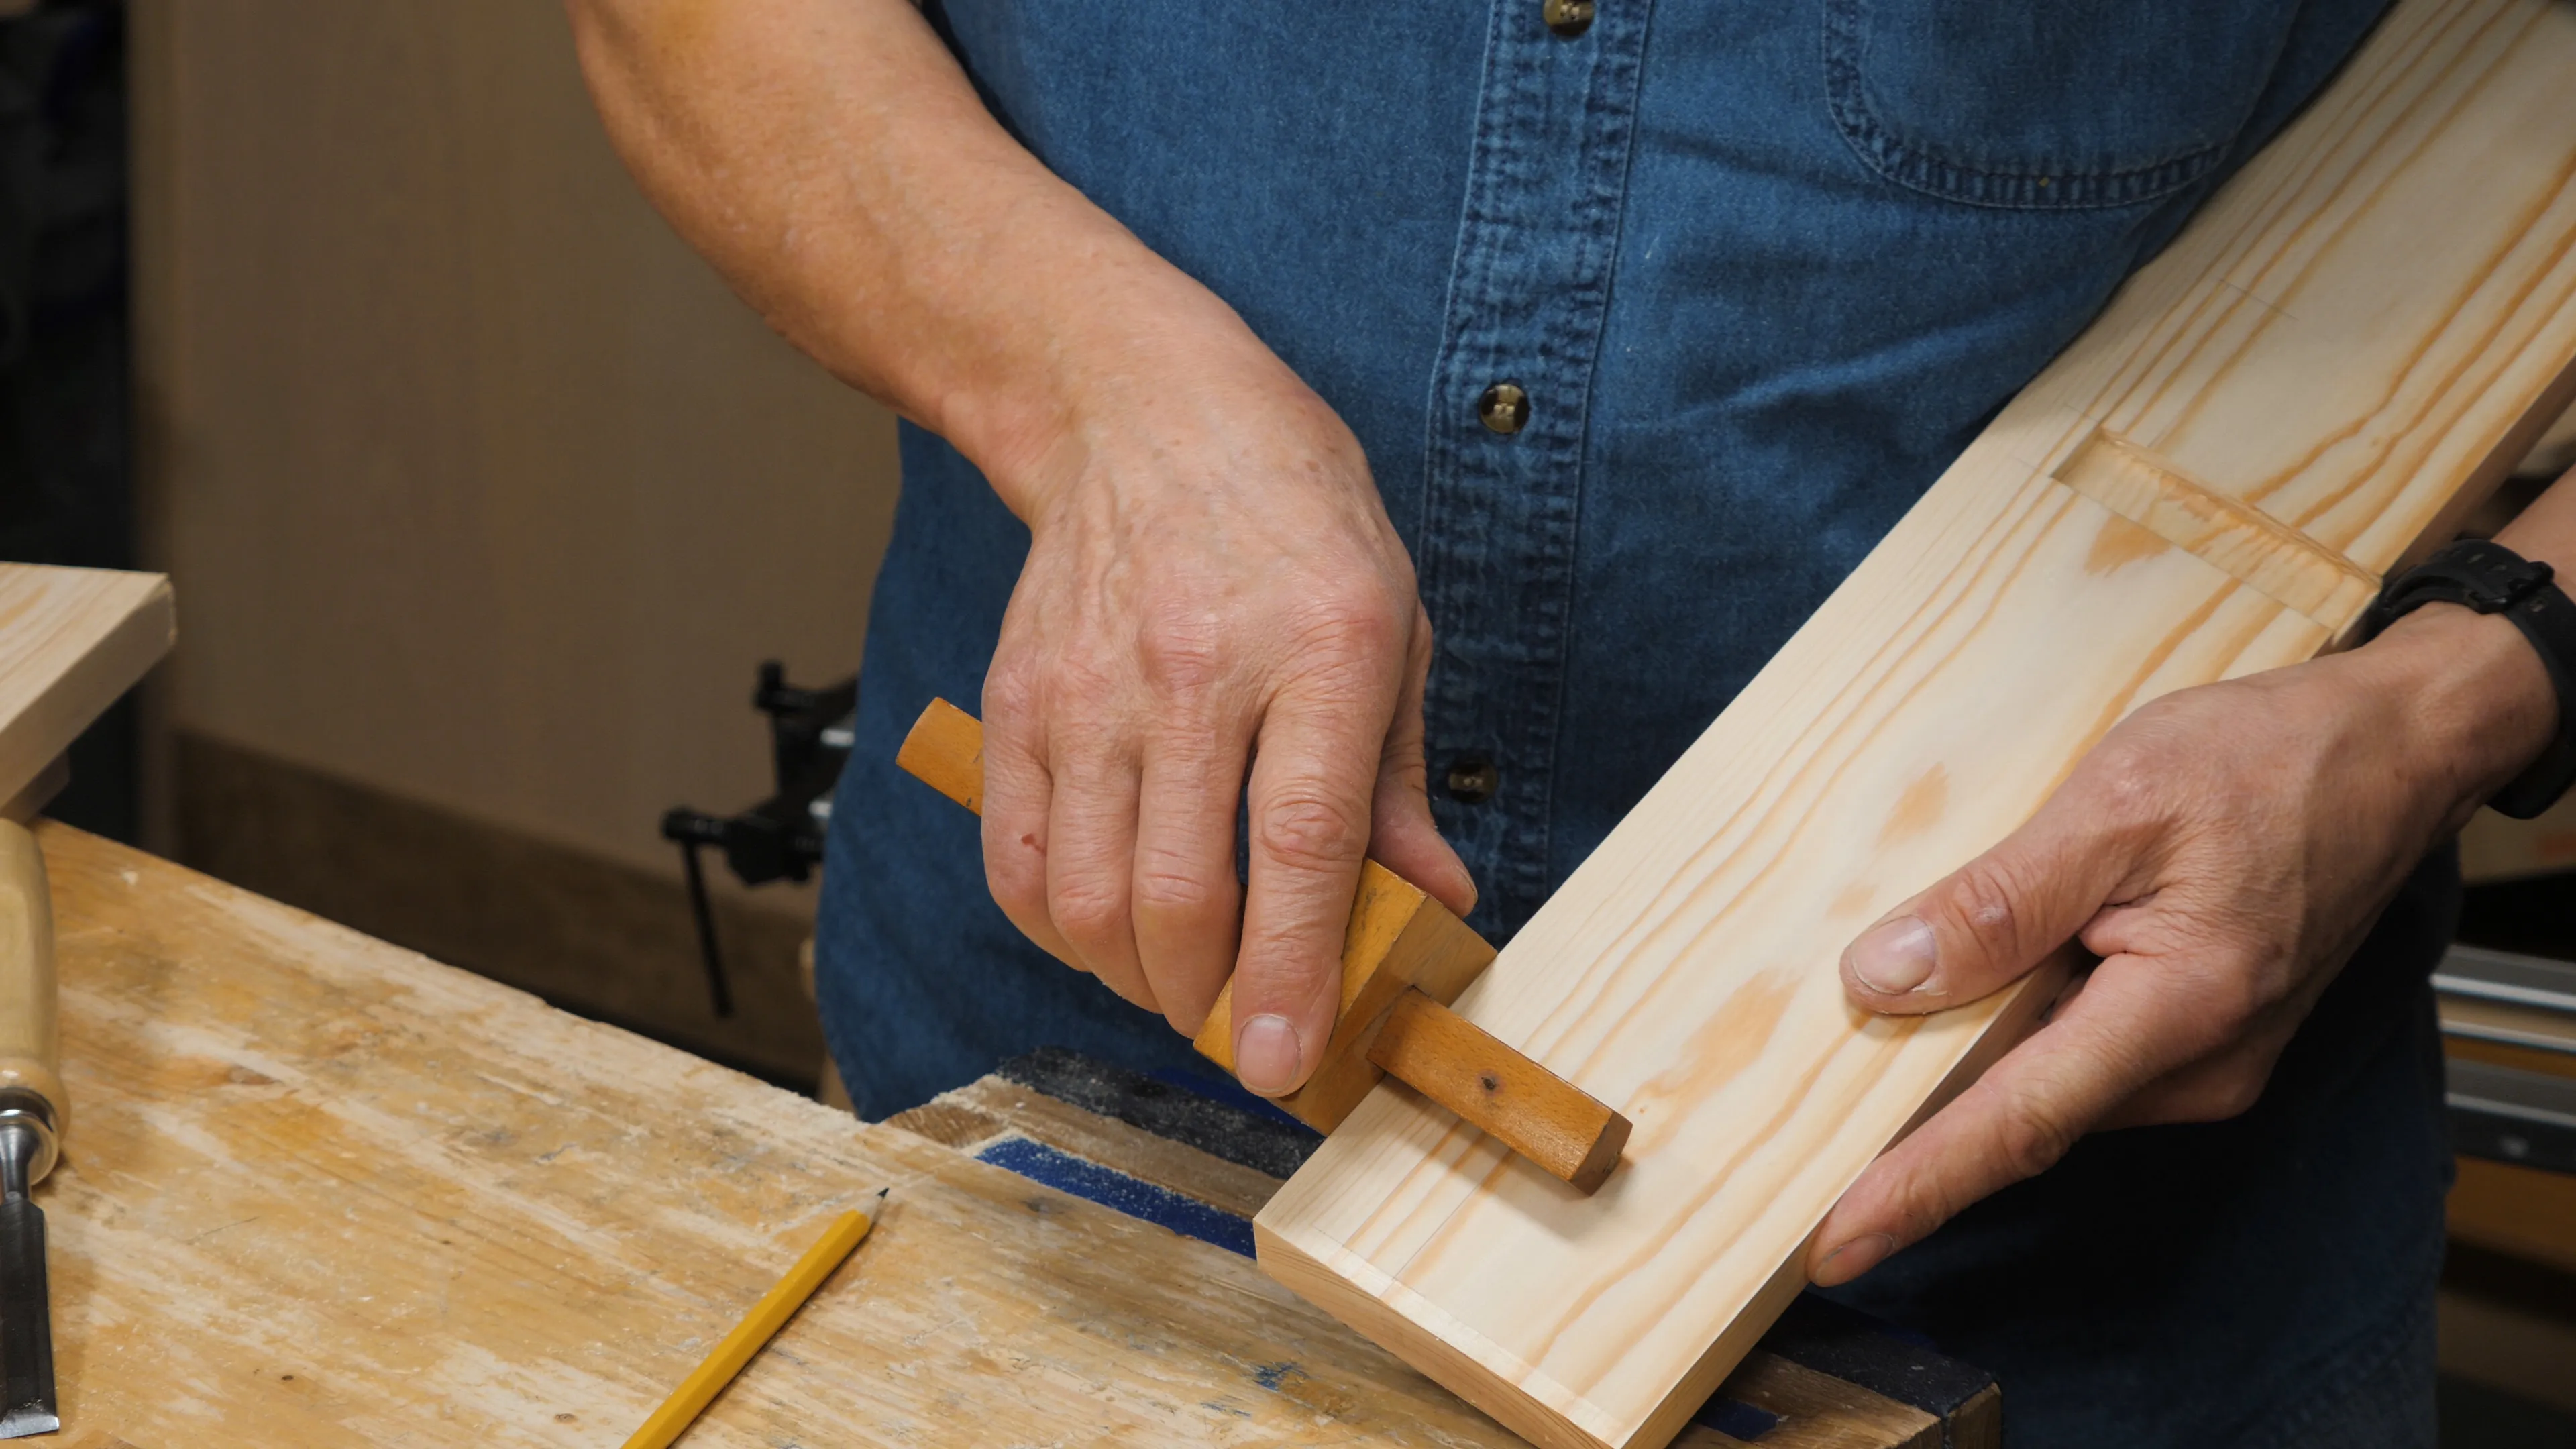
You can now use these pencil markings as references for your gauge lines. Take the frame apart, and make sure all markings are clear. Set a mortise/combination gauge to a ½“ (13mm) chisel. Then slide the stock so that the pin closest to it is aligned with the front of the recess. (The housing and the mortise will form an L on the inside face.) Once you have locked the nut tight, run the gauge between the pencil lines you just made for the top and bottom mortises.
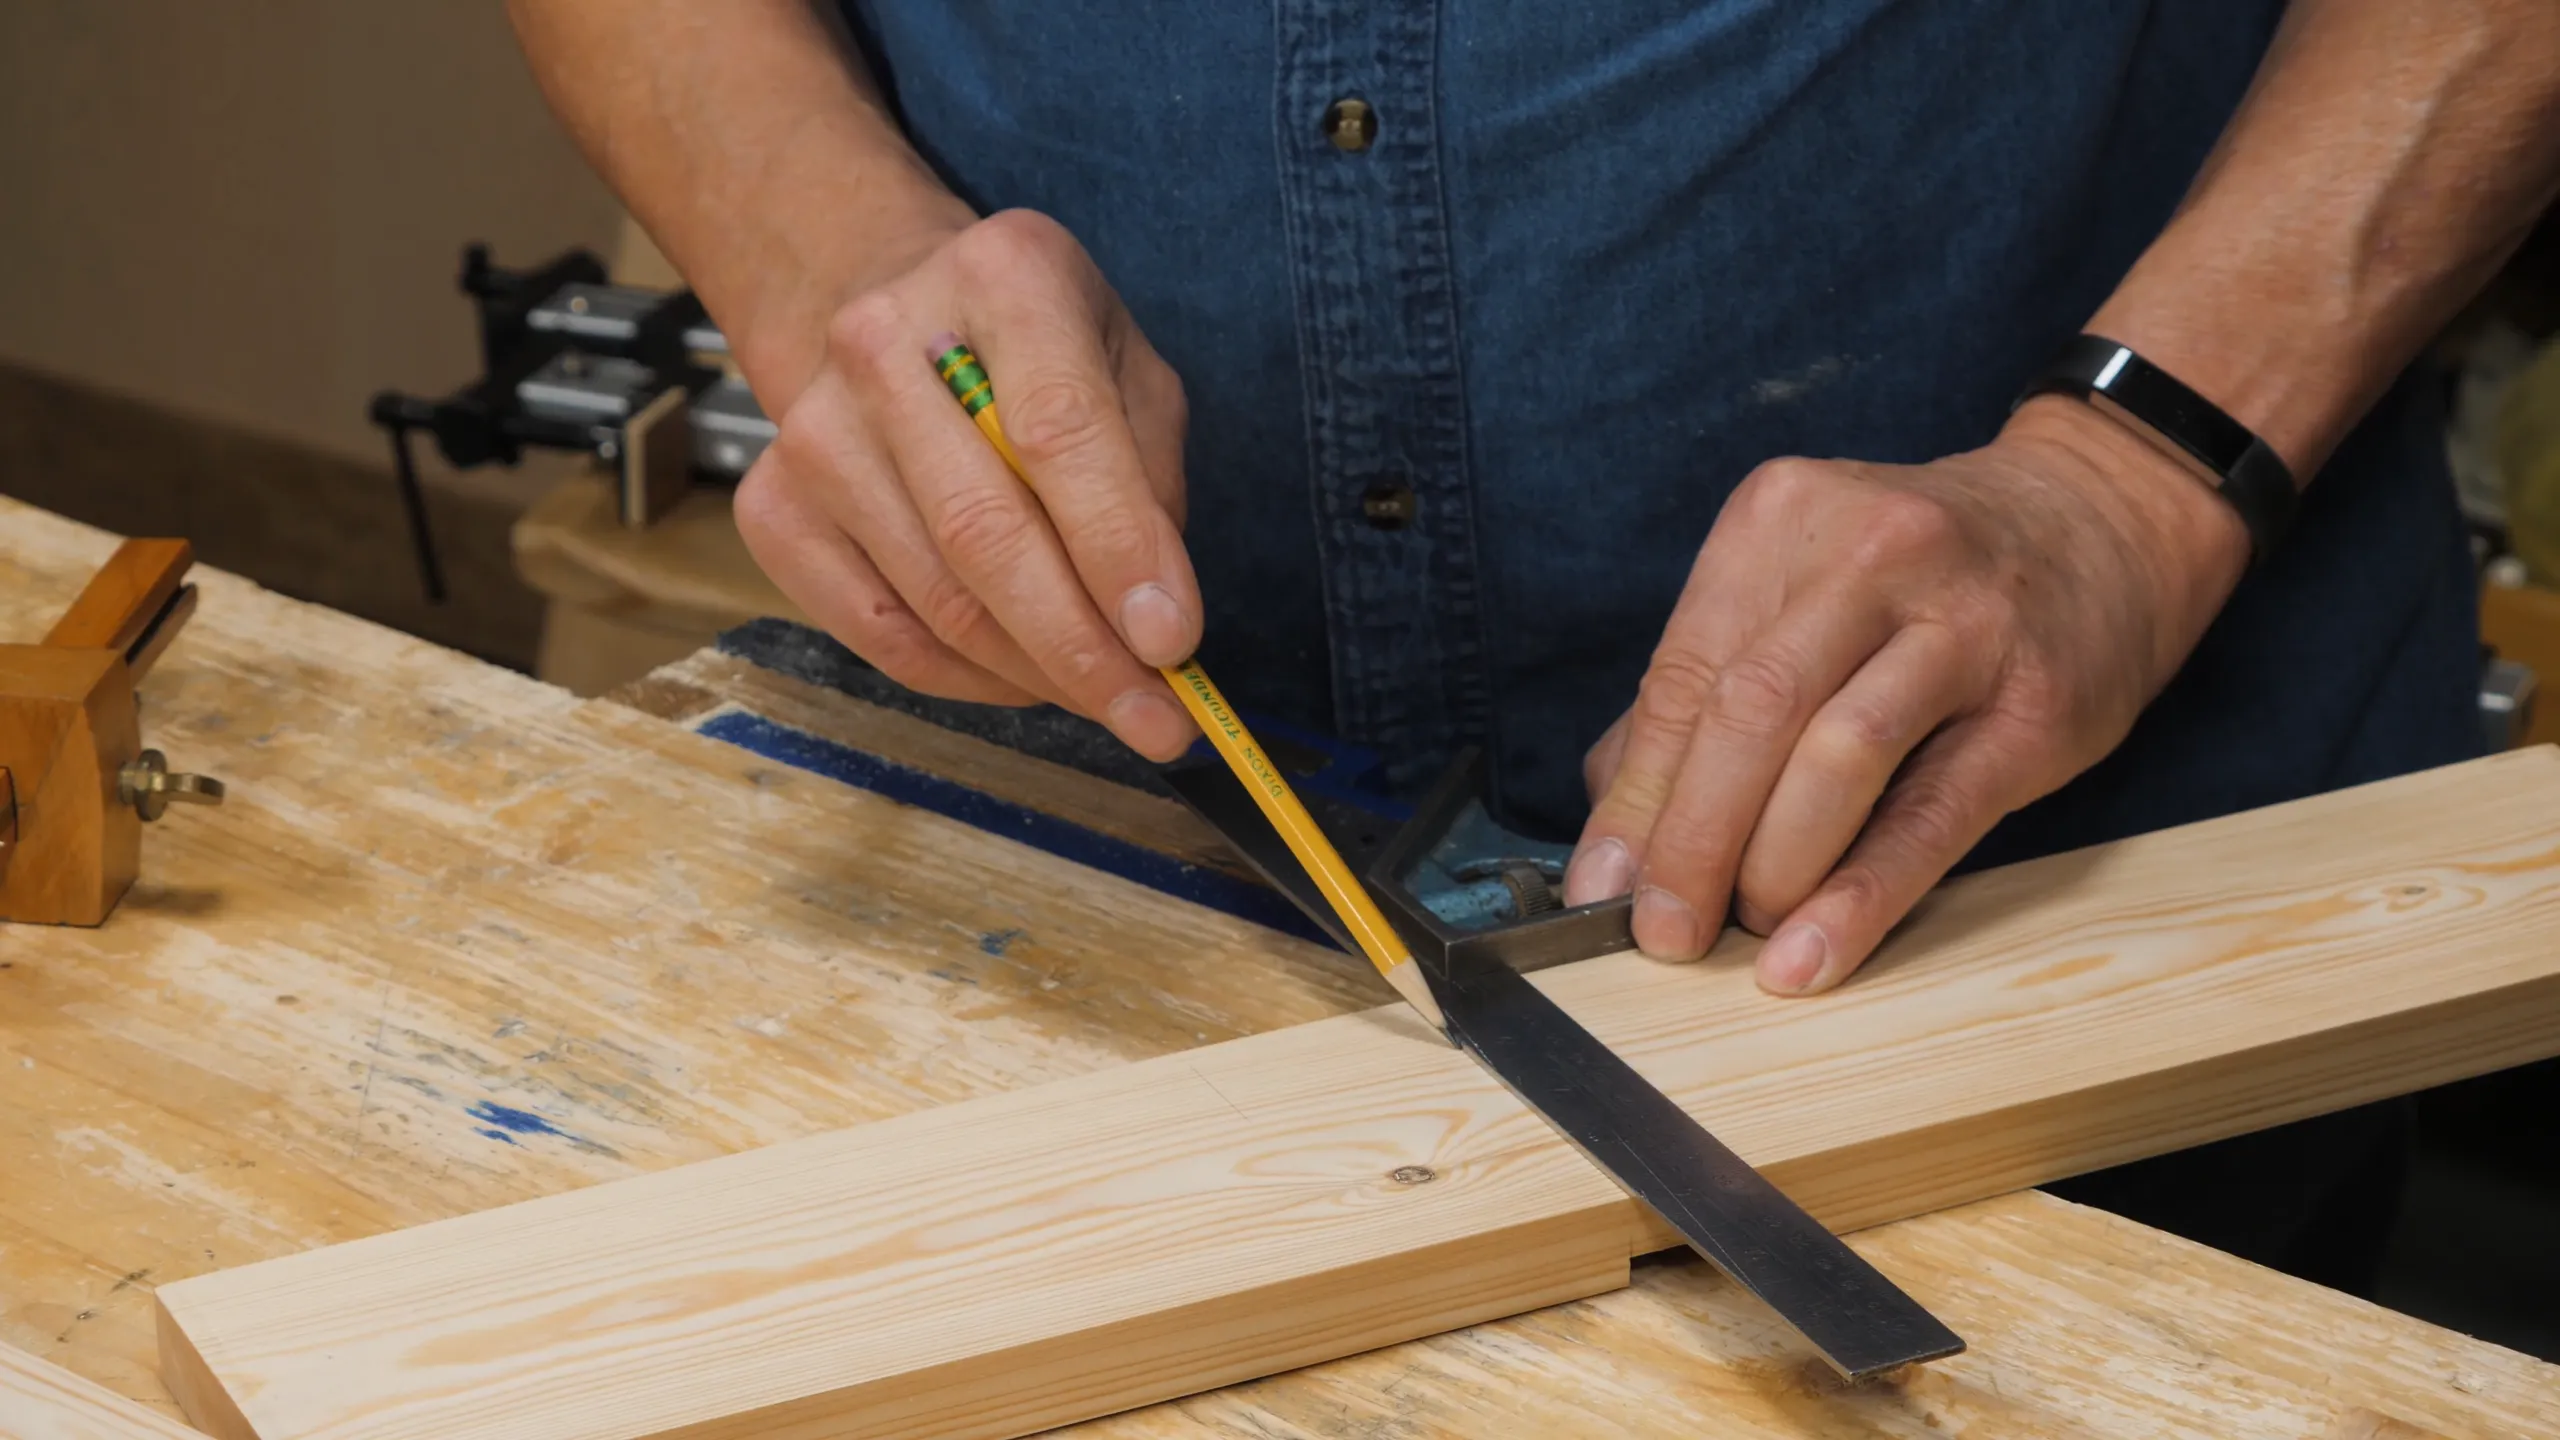
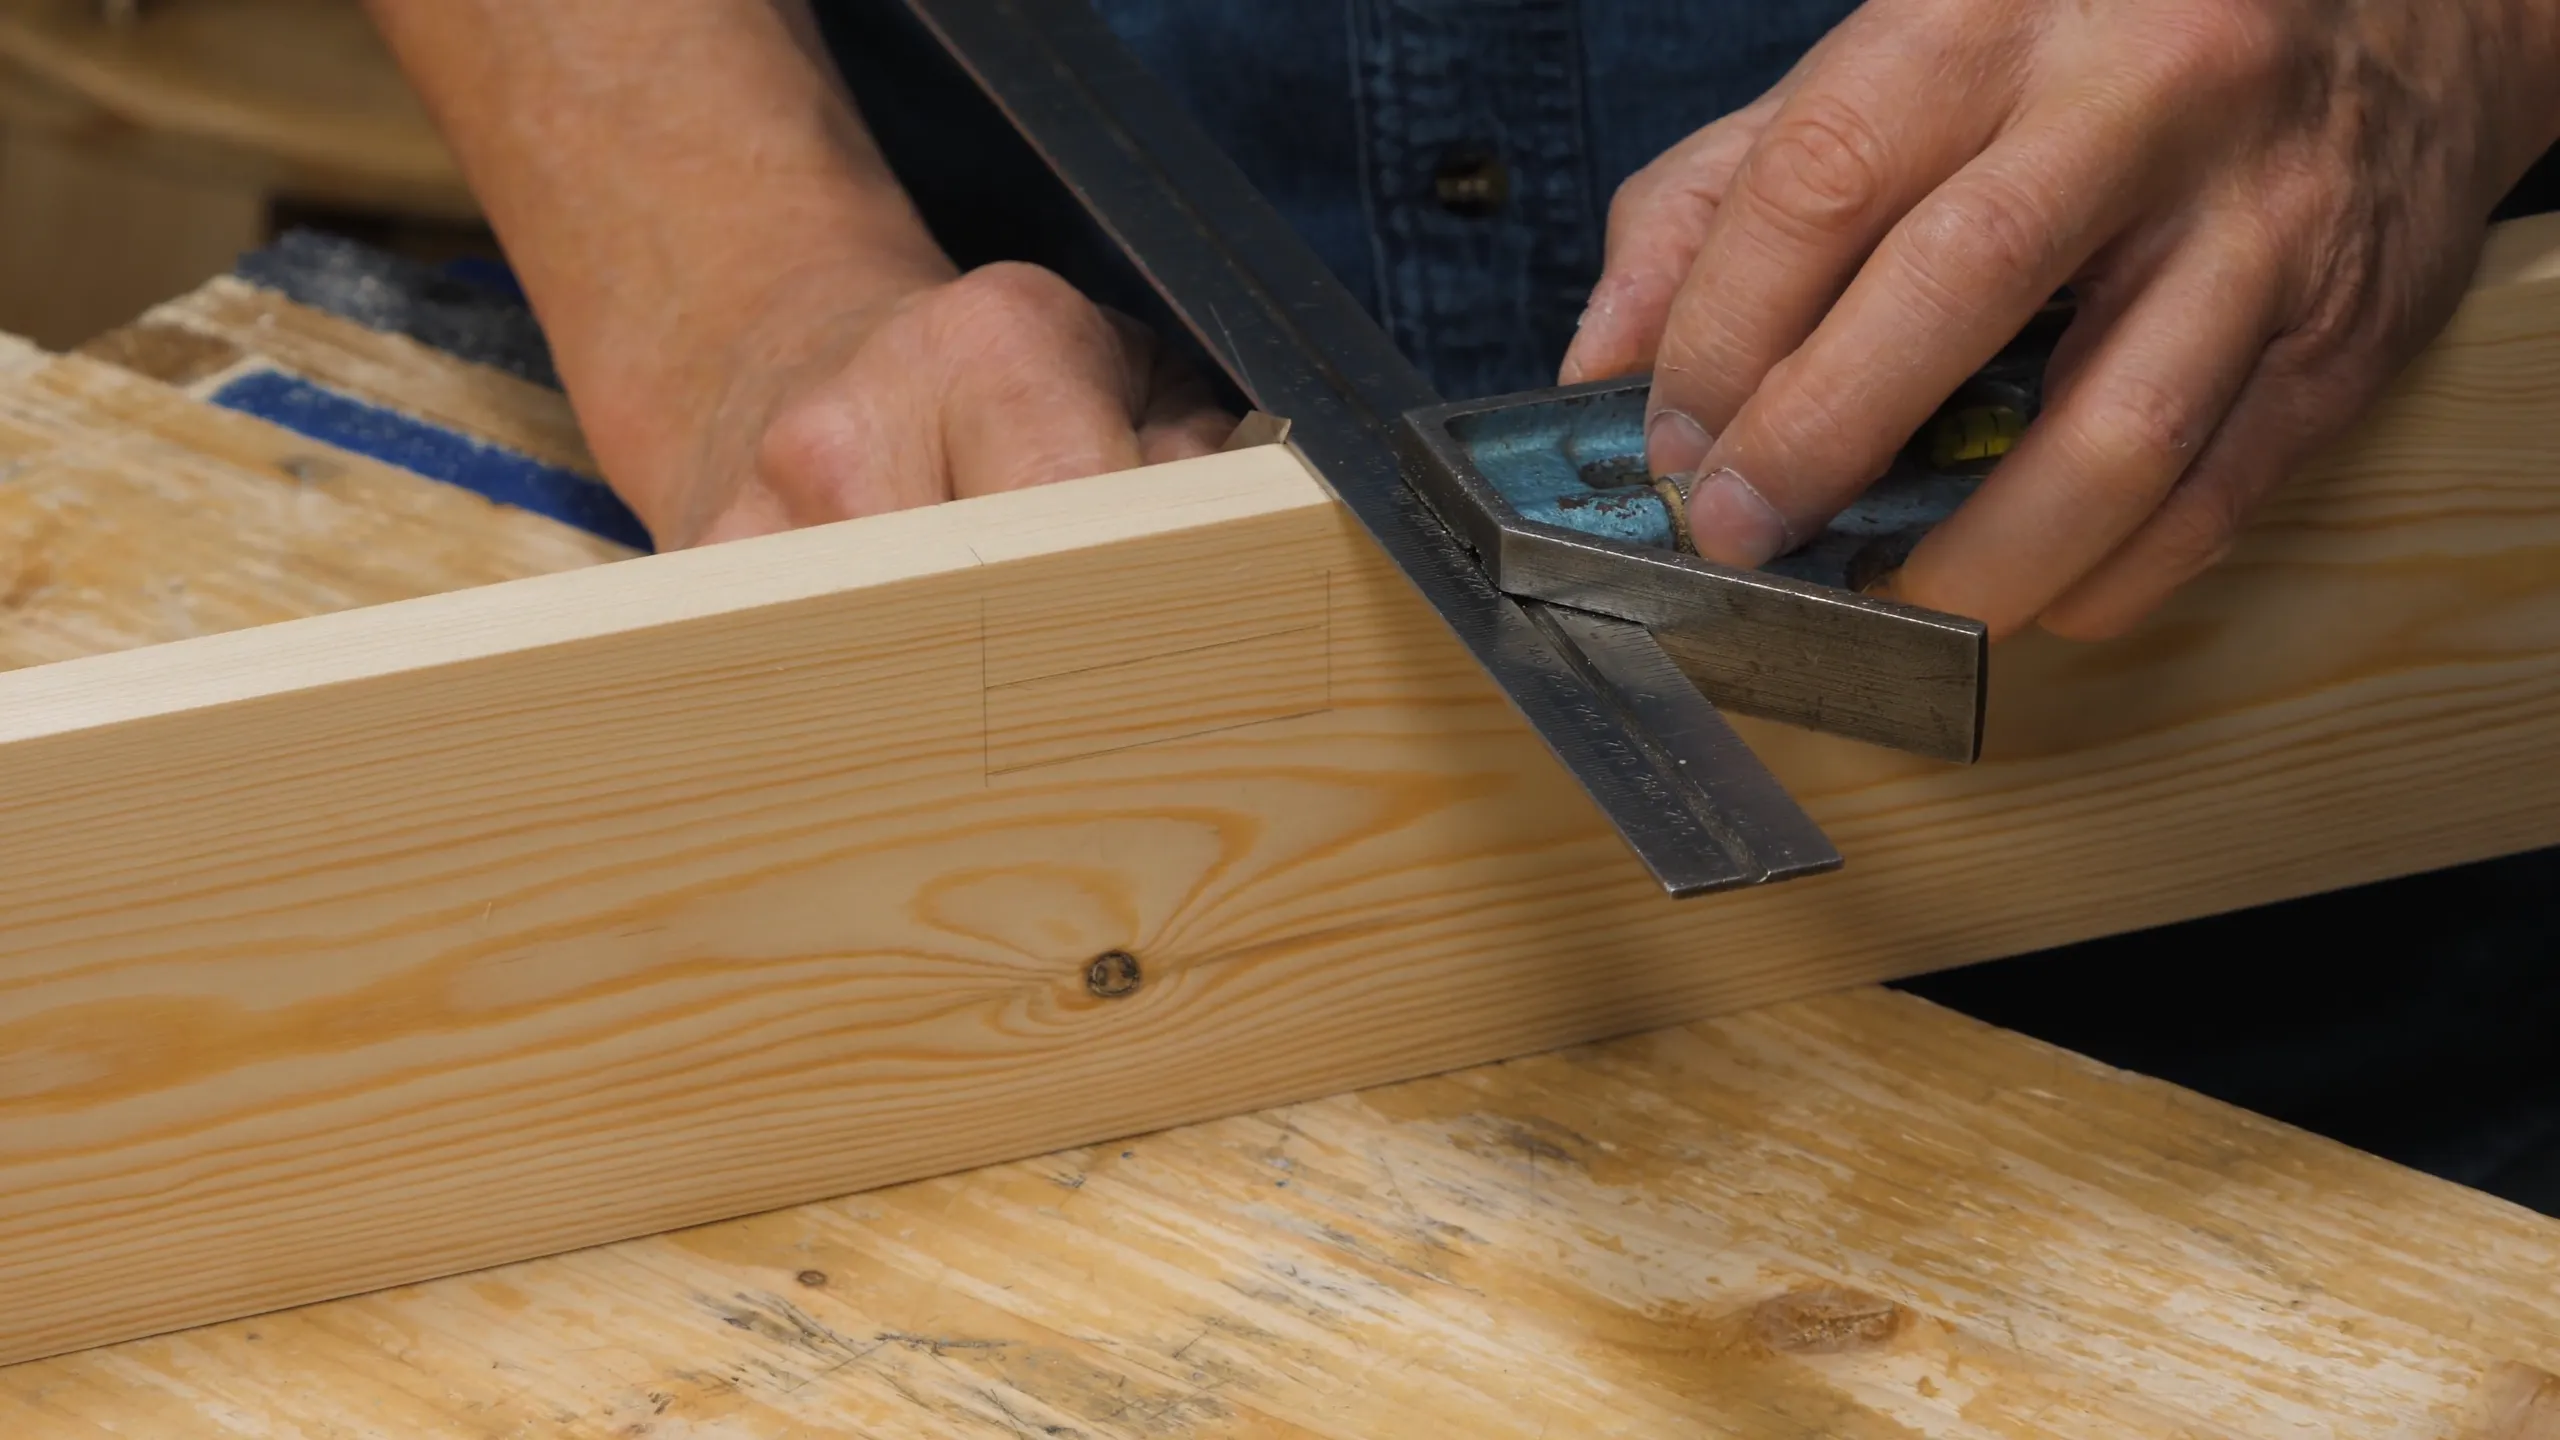
For the exact extremes of the mortises, you need definite knifewalls. Place the bottom rail flush with the lower wall of the housing dado, and holding perfectly still, mark the underside with a small knife nick. Now you can square a knifewall between both gauge lines.
To transfer to the other side, go back in with the pencil for a moment and square the references for the extremes of the mortise to the front edge, and then to the other side. Use these lines to run your gauge lines. You can now go back in on the inside face with the knife and, using the knife nick method on the corners, transfer the exact start and stop lines to the outside face.
The top mortises are laid out the same way but it’s simpler because you will only chop from the inside.
You are now ready to chop your mortise hole.


Sign in to track your progress