Shaping: Cutting The Arches
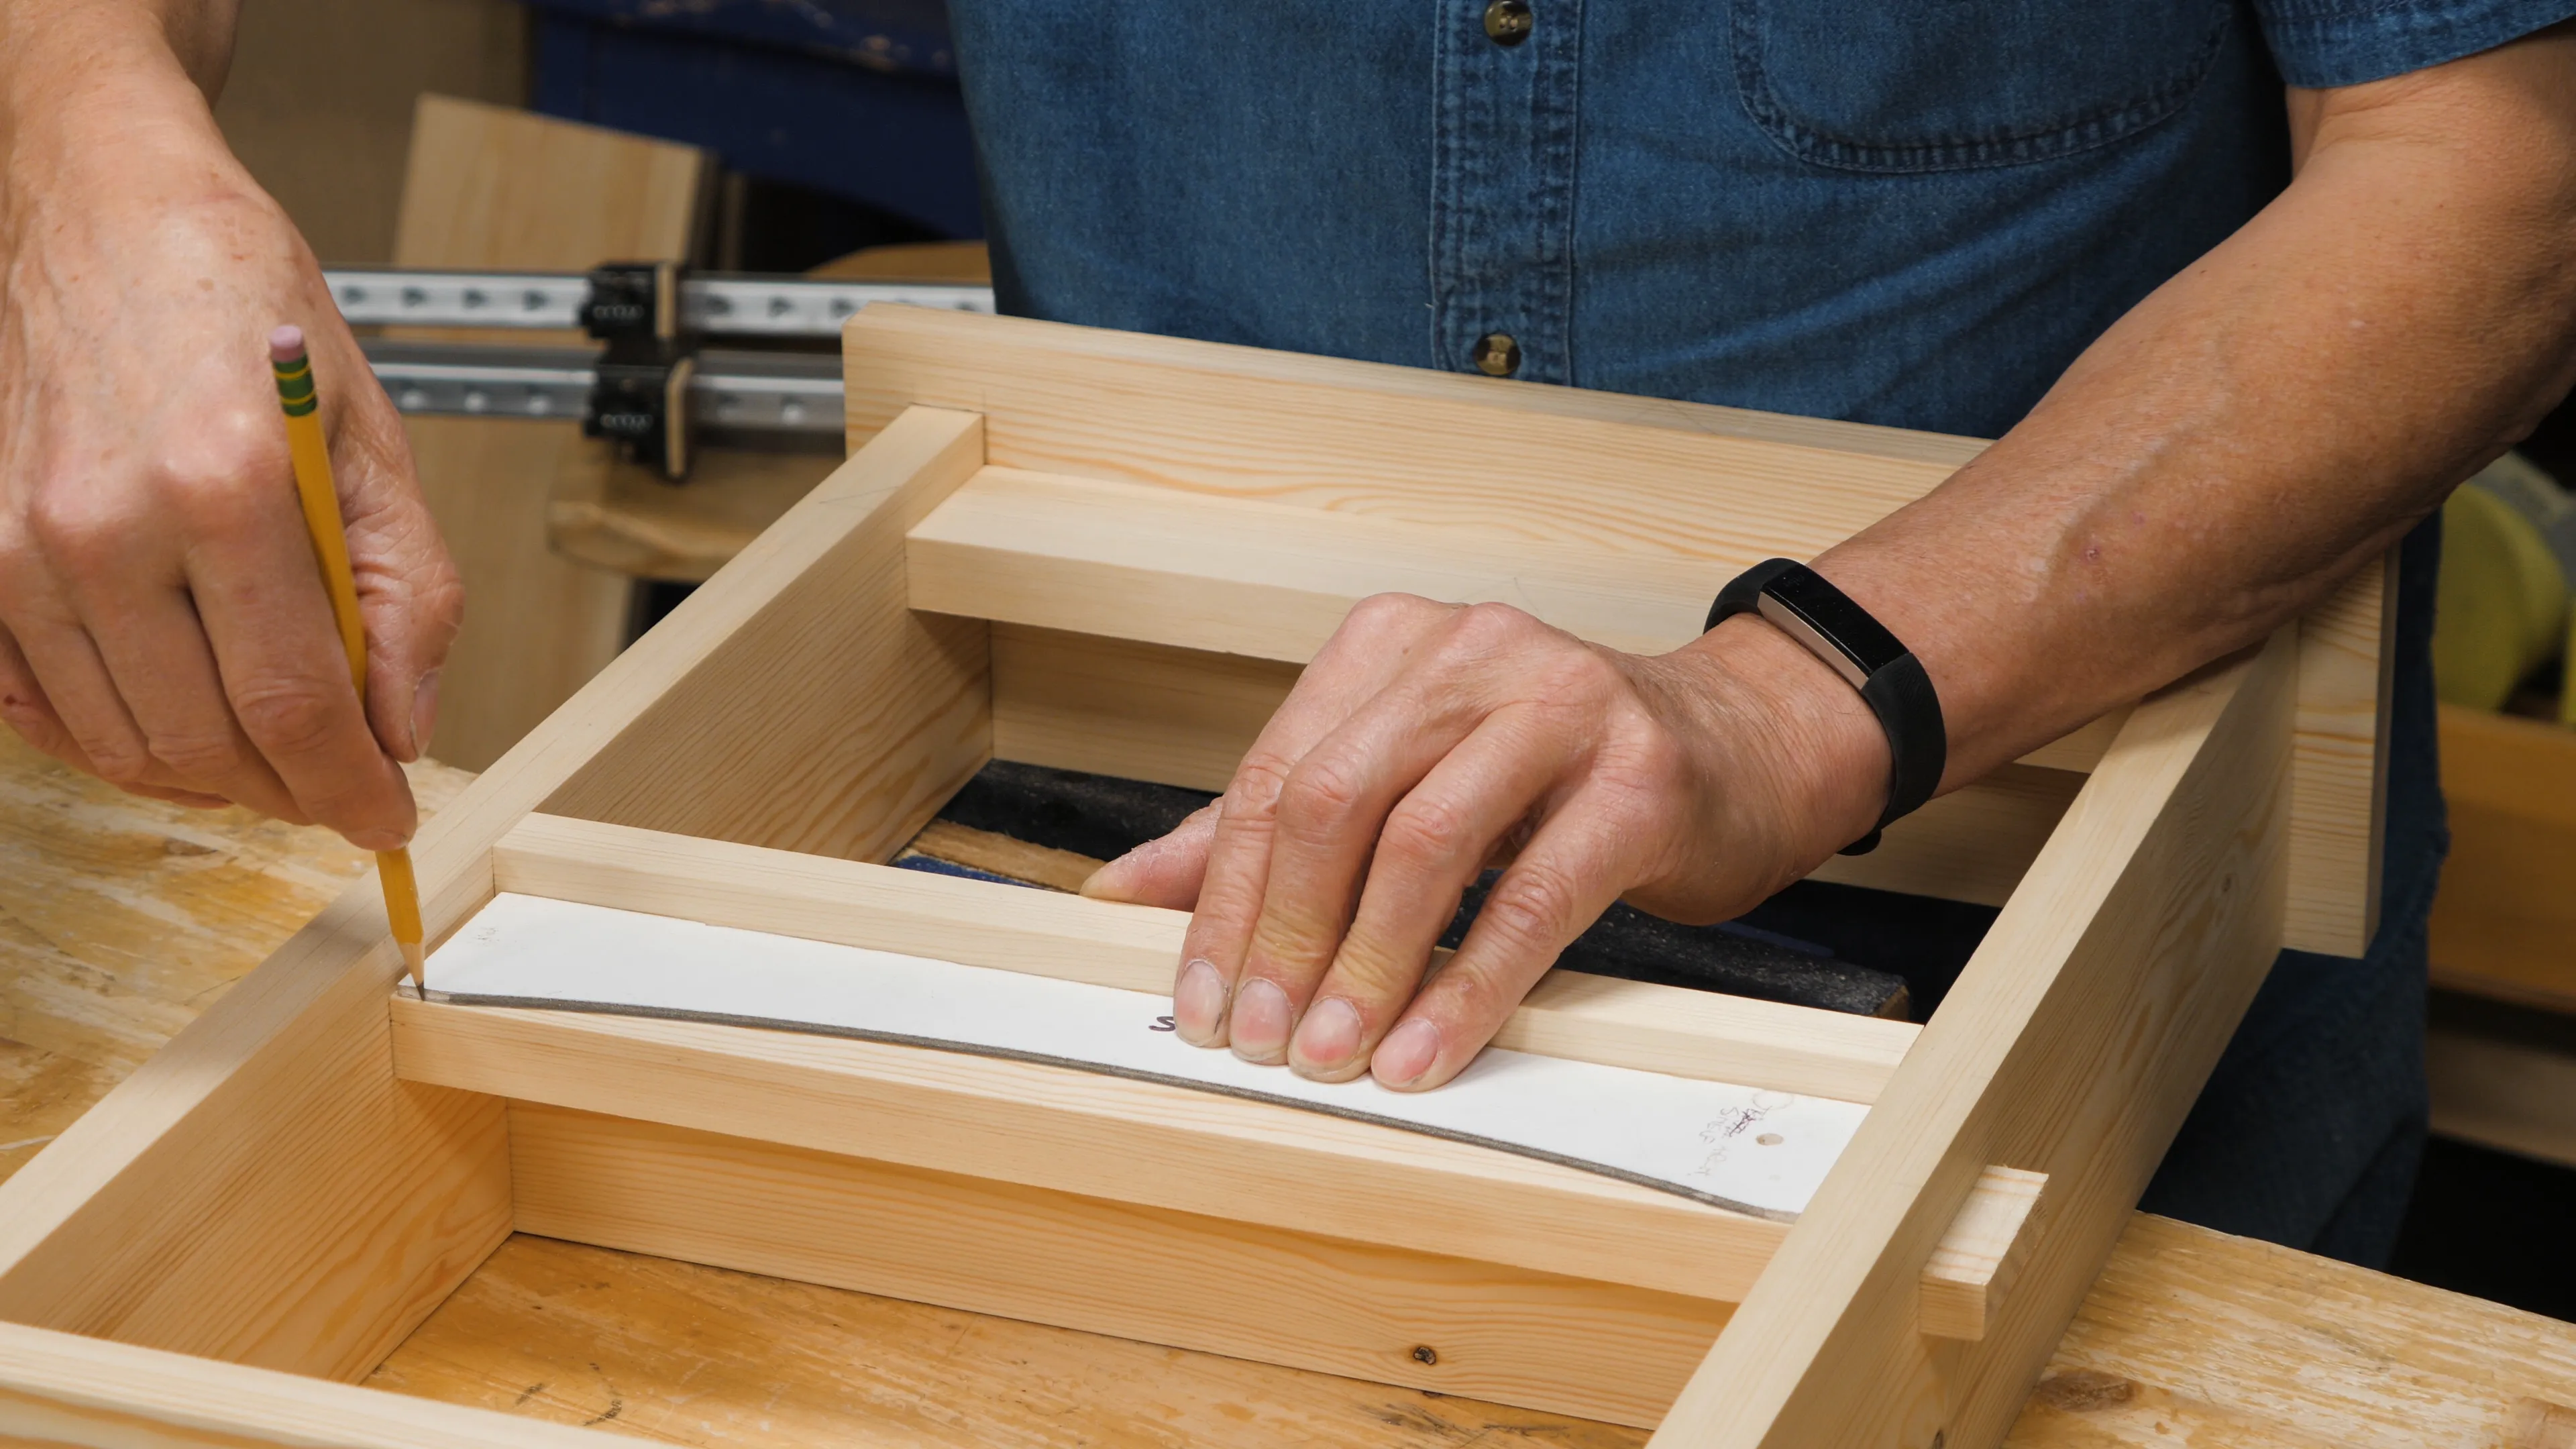
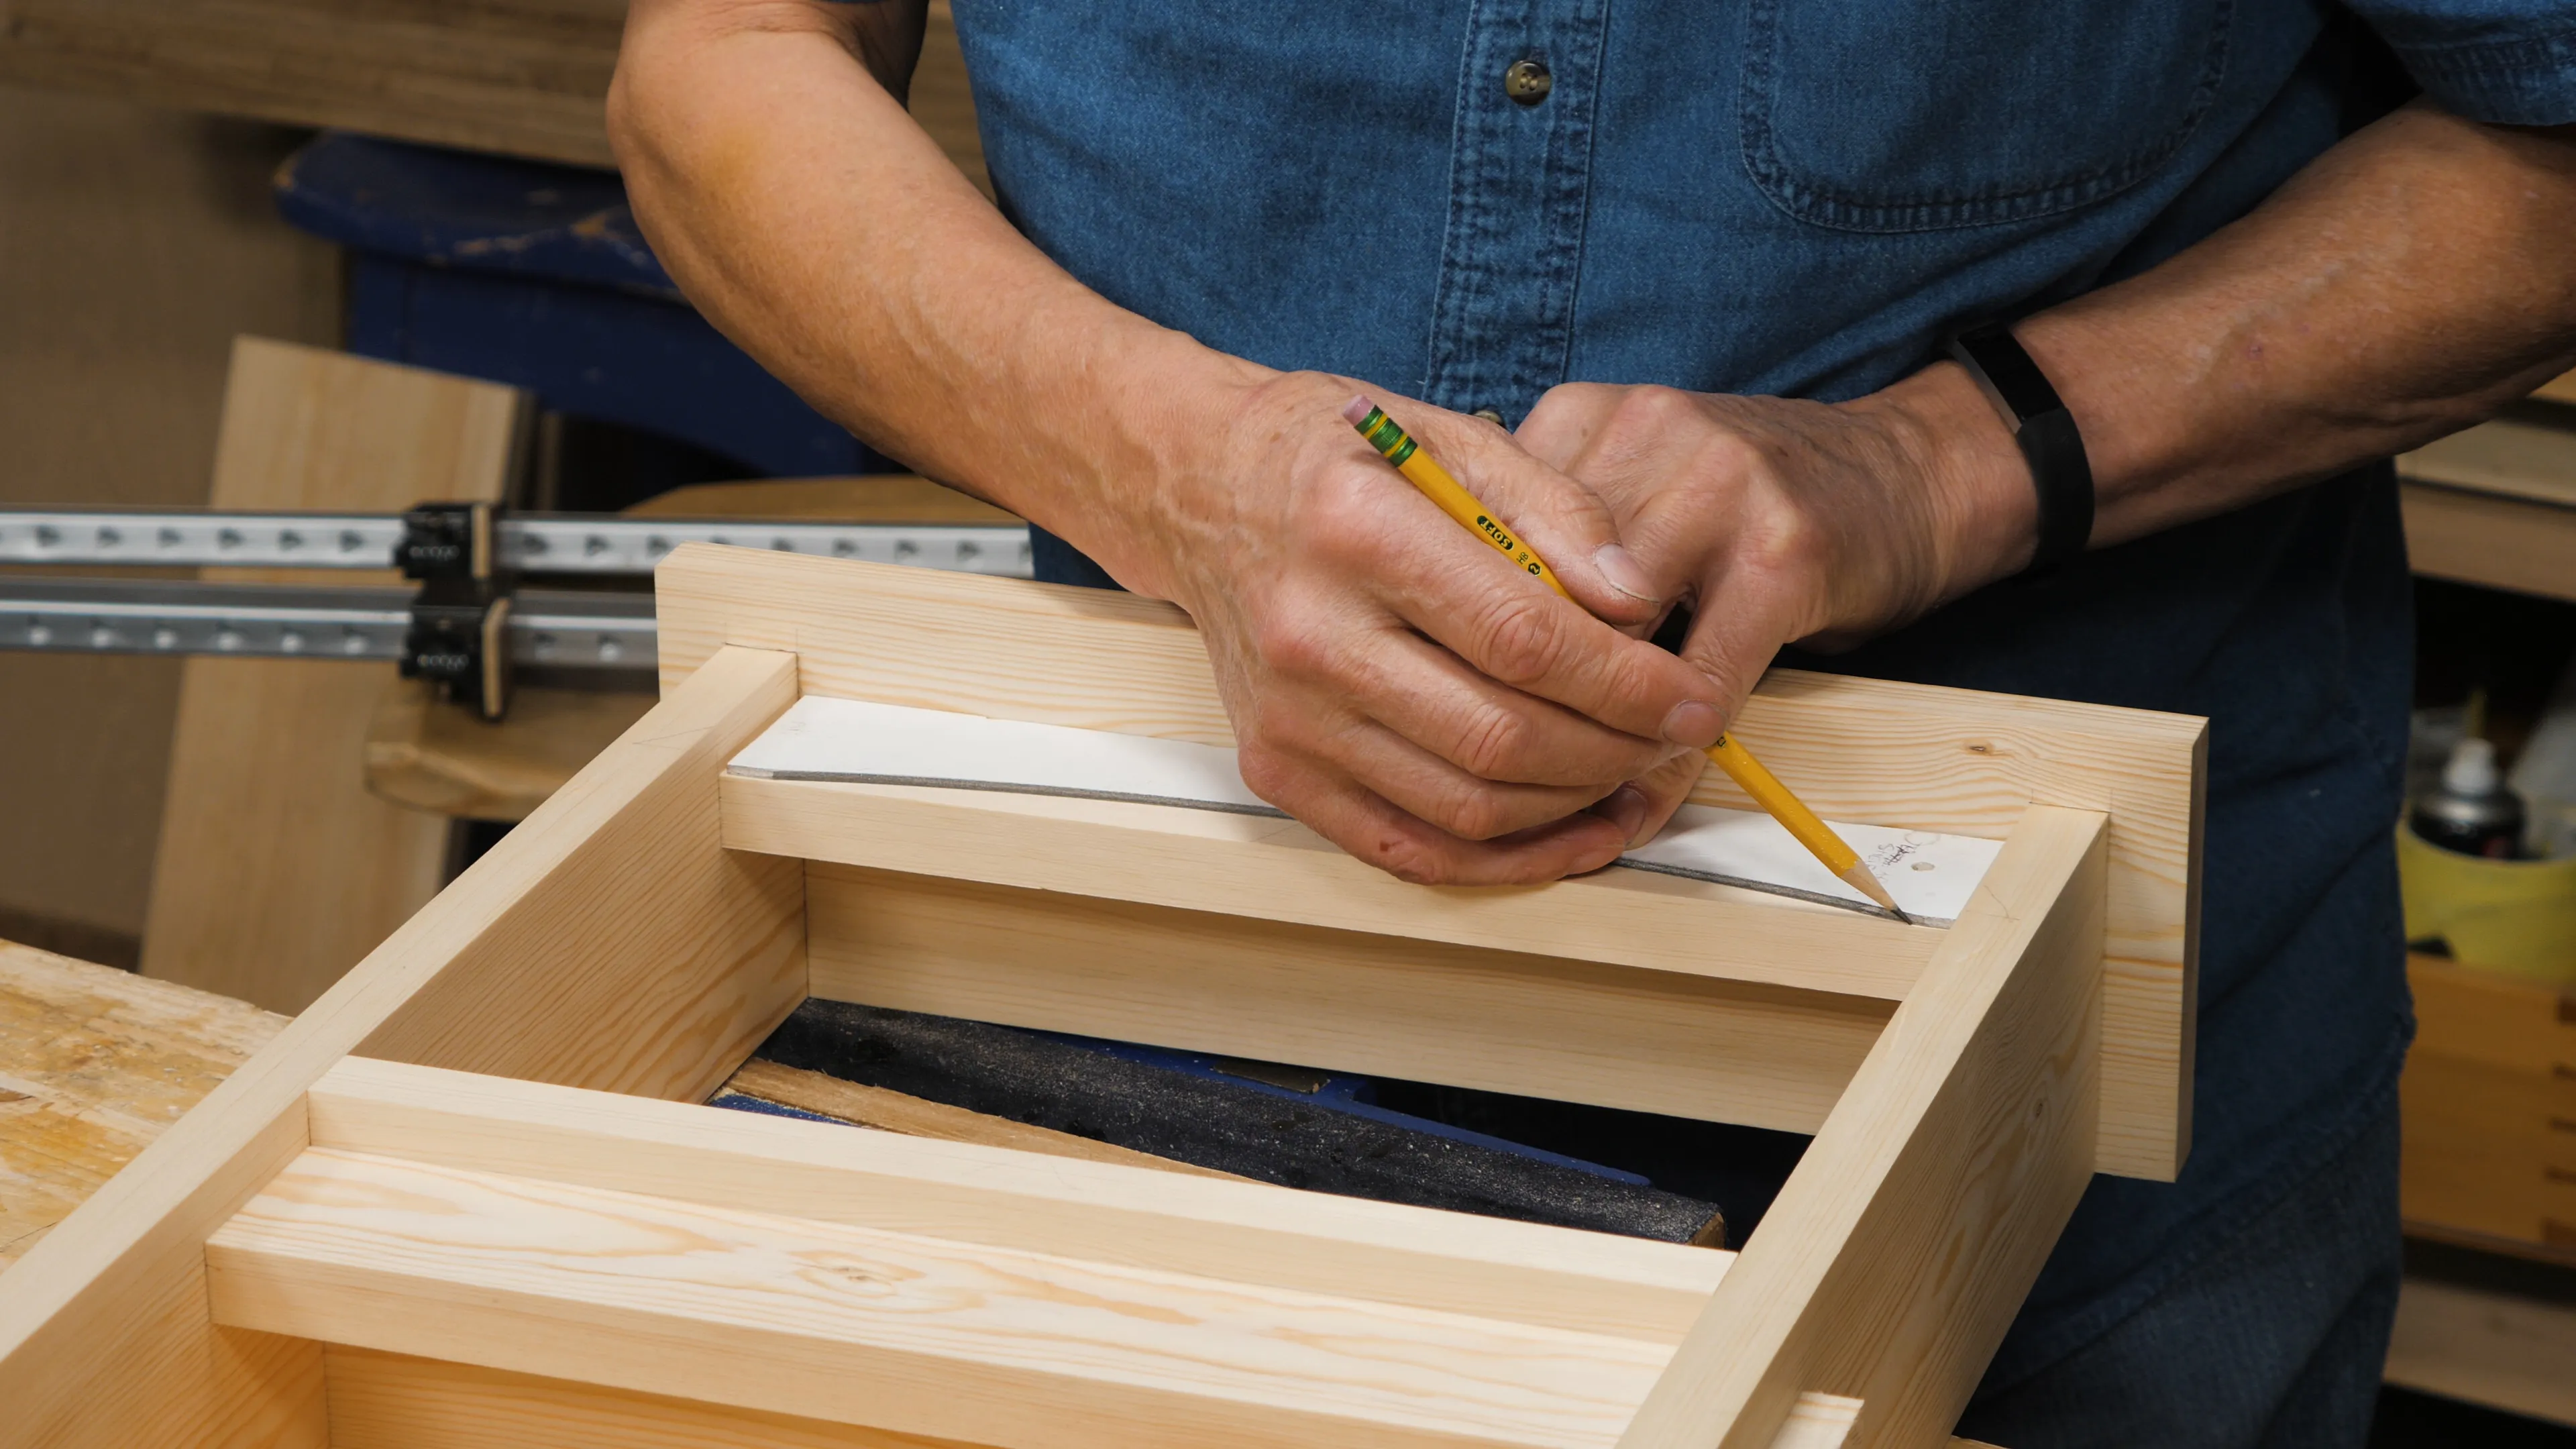
To avoid any mistakes, lay out the position for the arches on the rails while the shelf is still assembled. For that, print and cut out the PDF template (link below) to trace the shape on both the top and bottom rails.
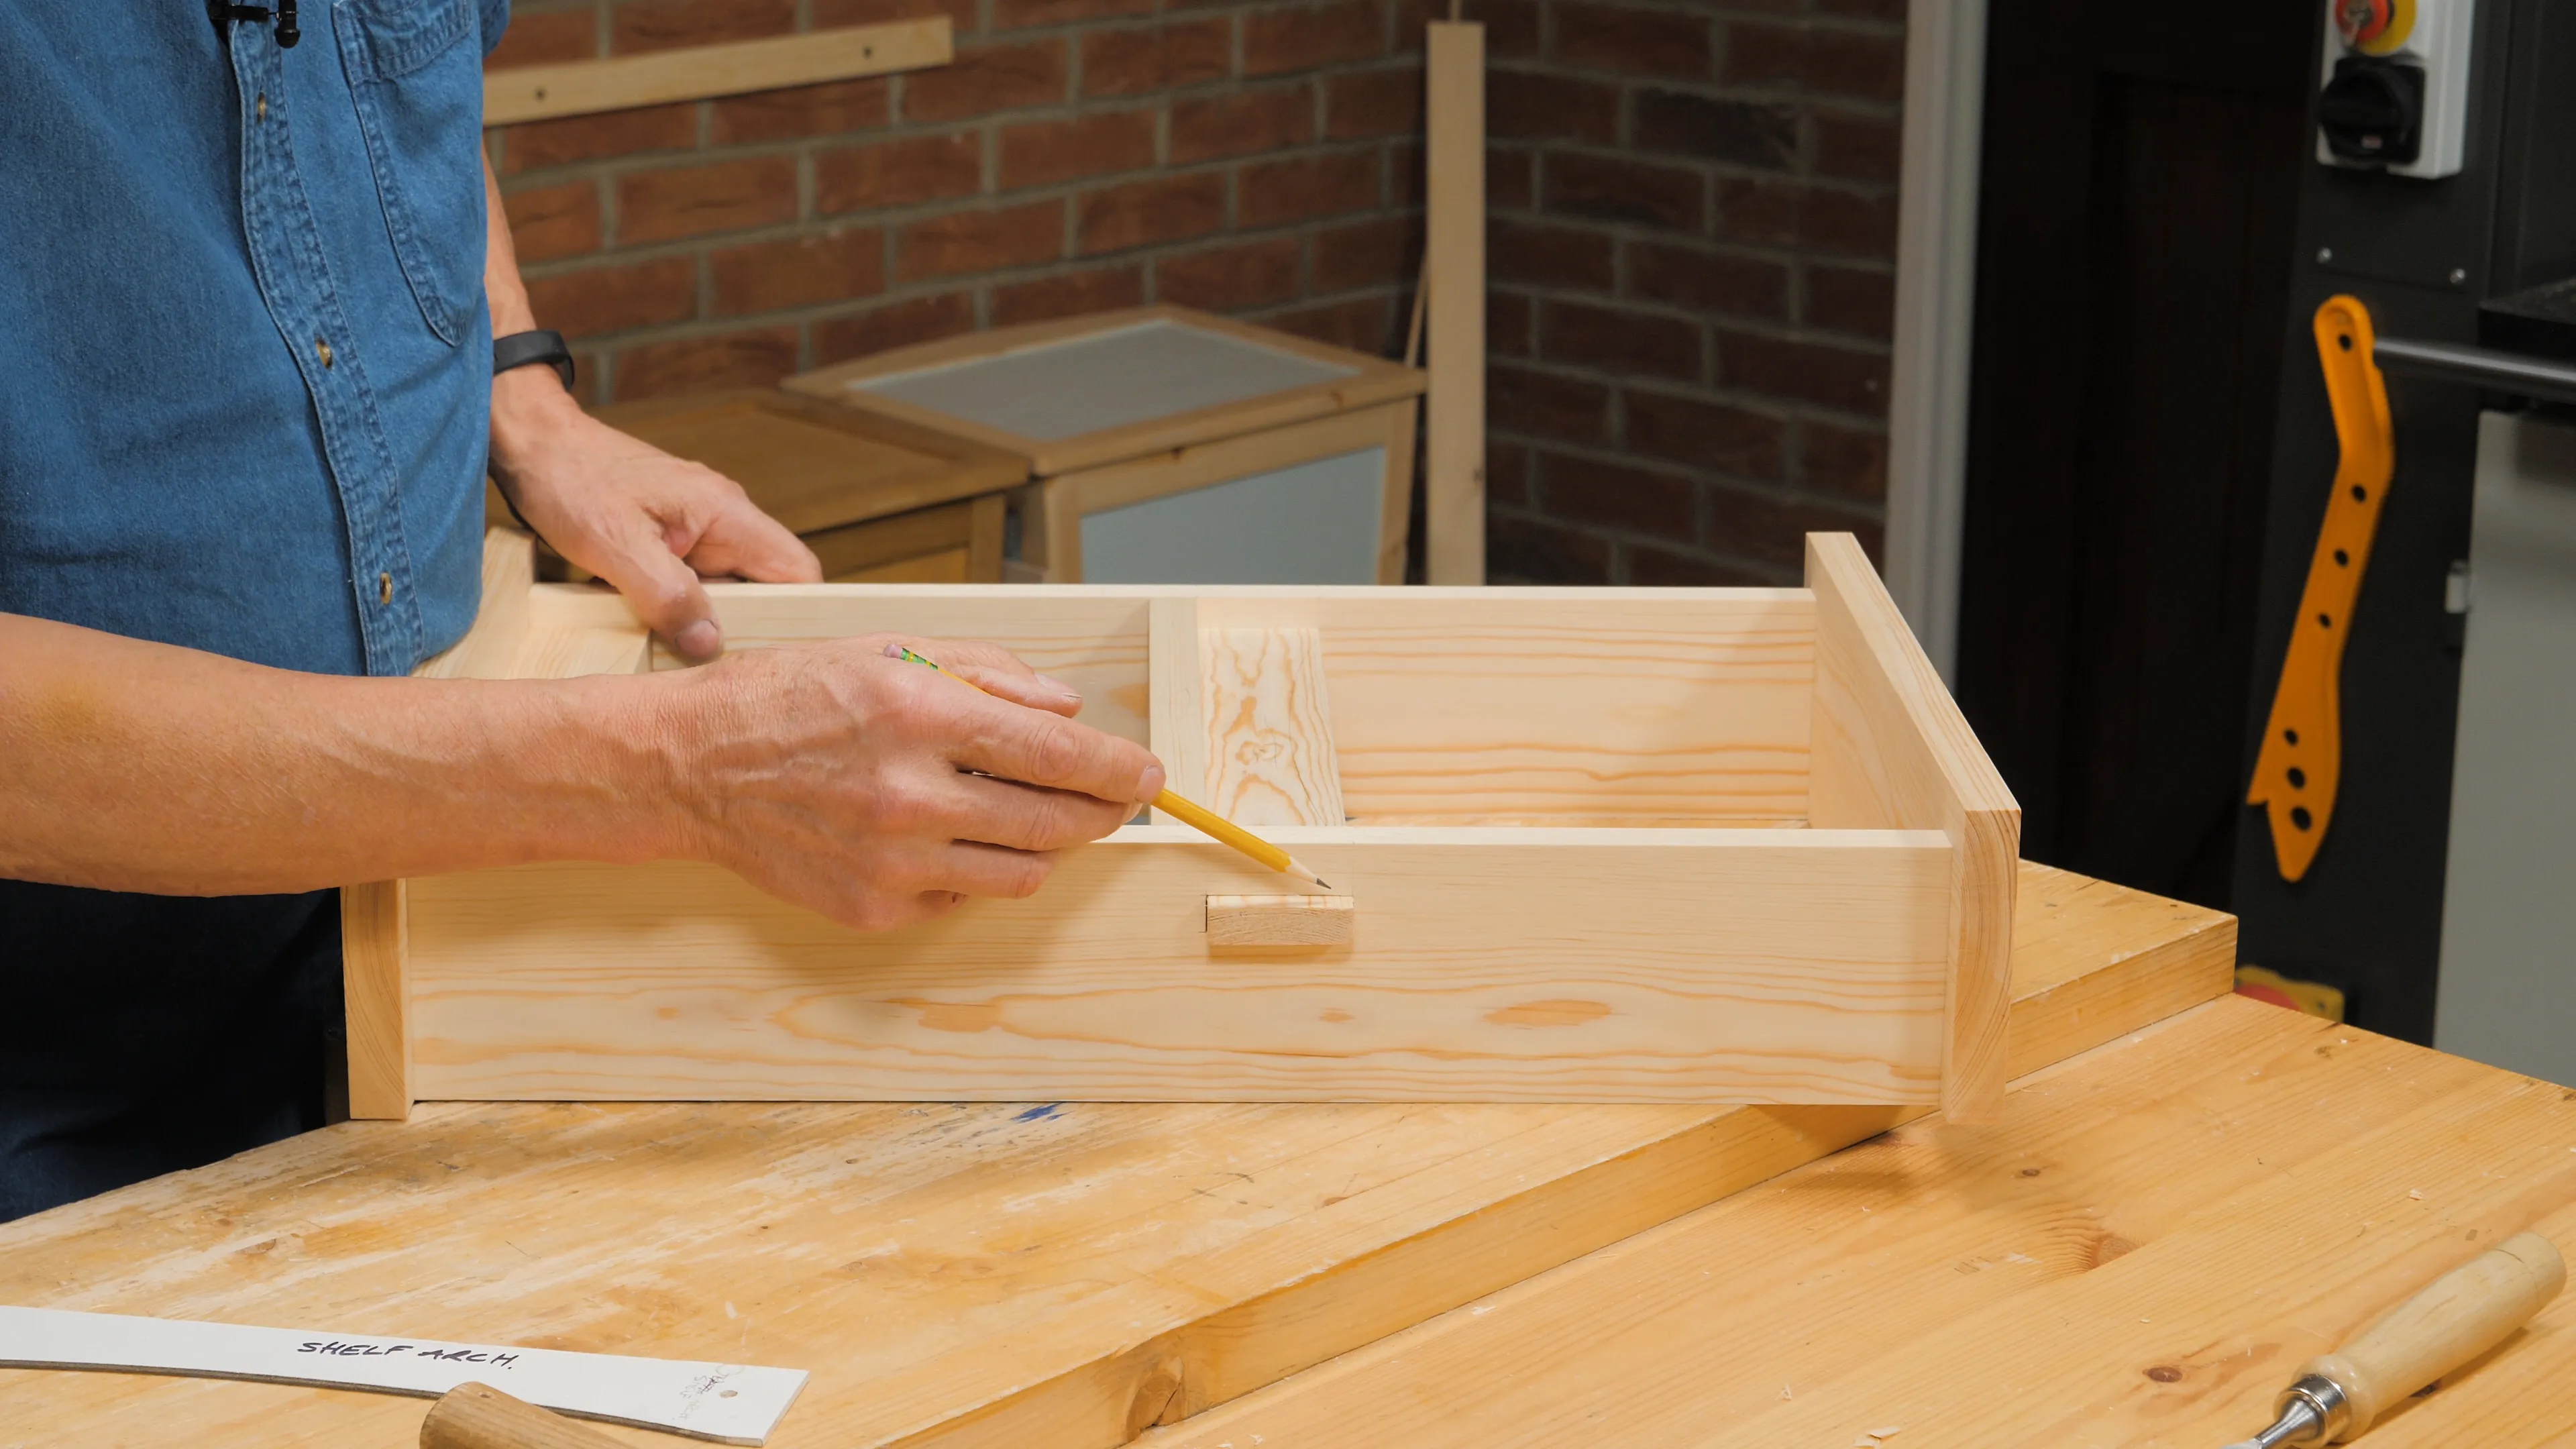
Also, you must mark the protrusion of the bottom tenons before taking the project apart so you have a clear line you must not go beyond when making your roundovers.
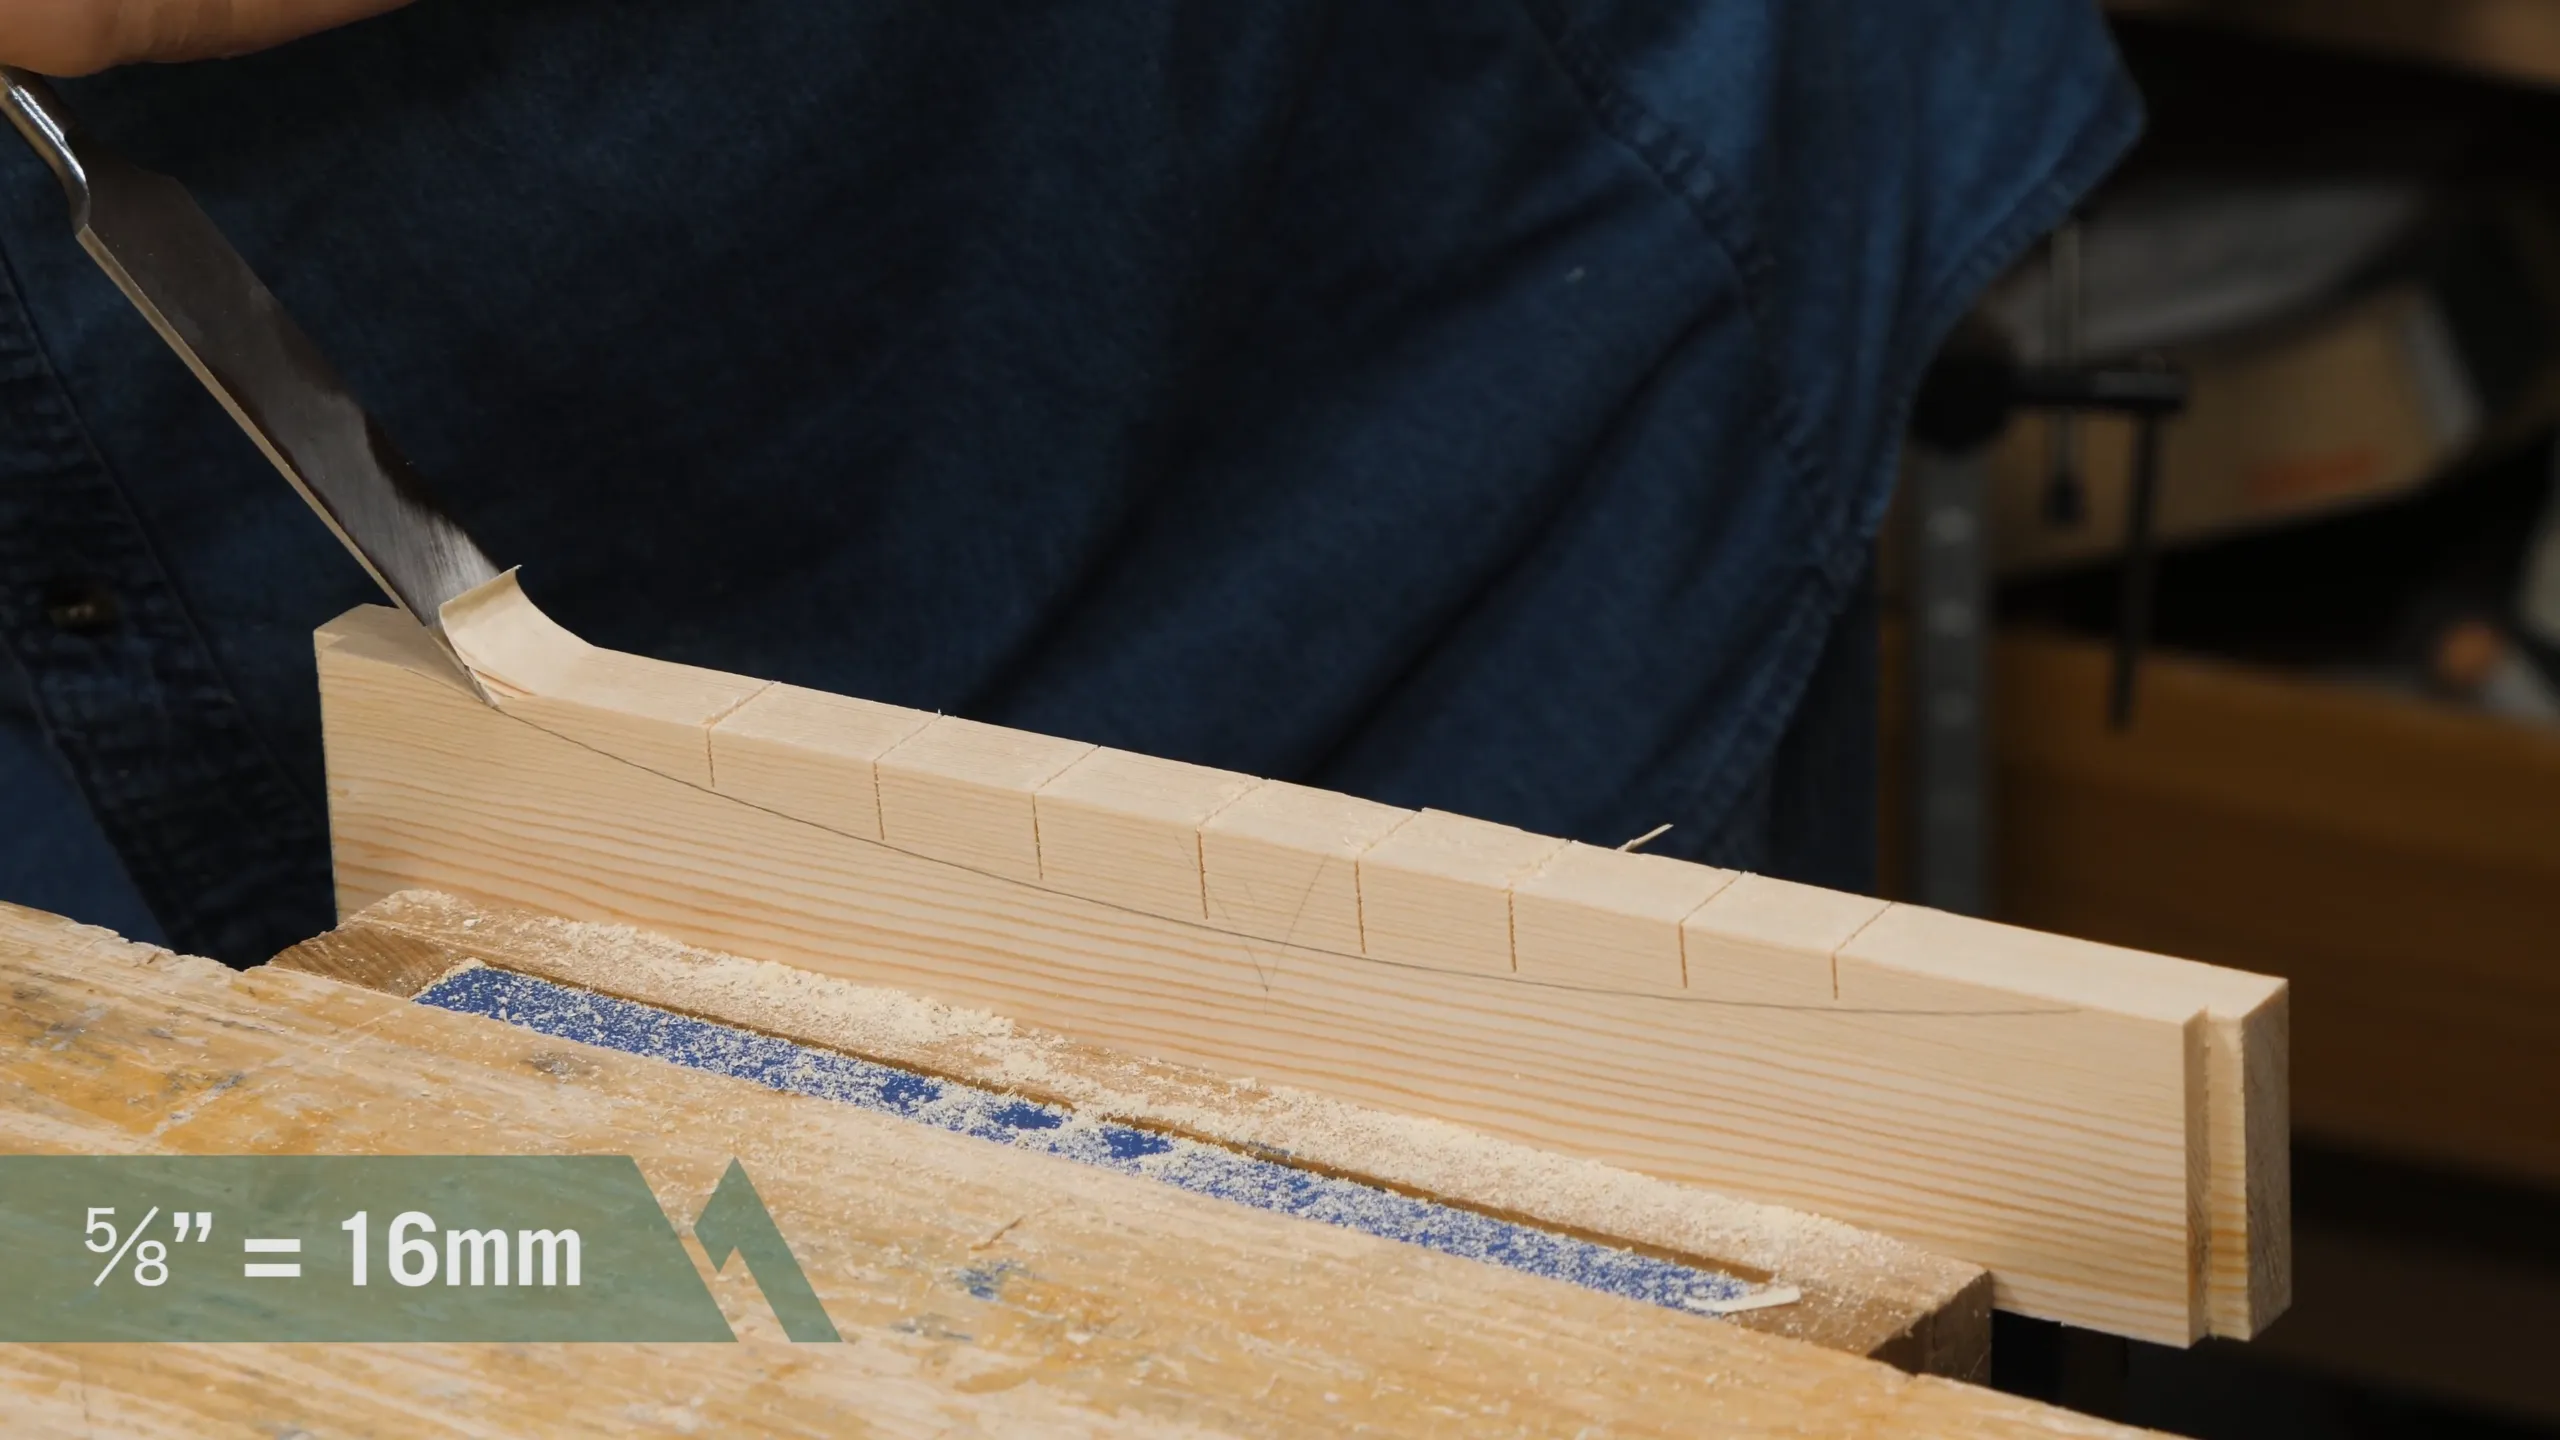
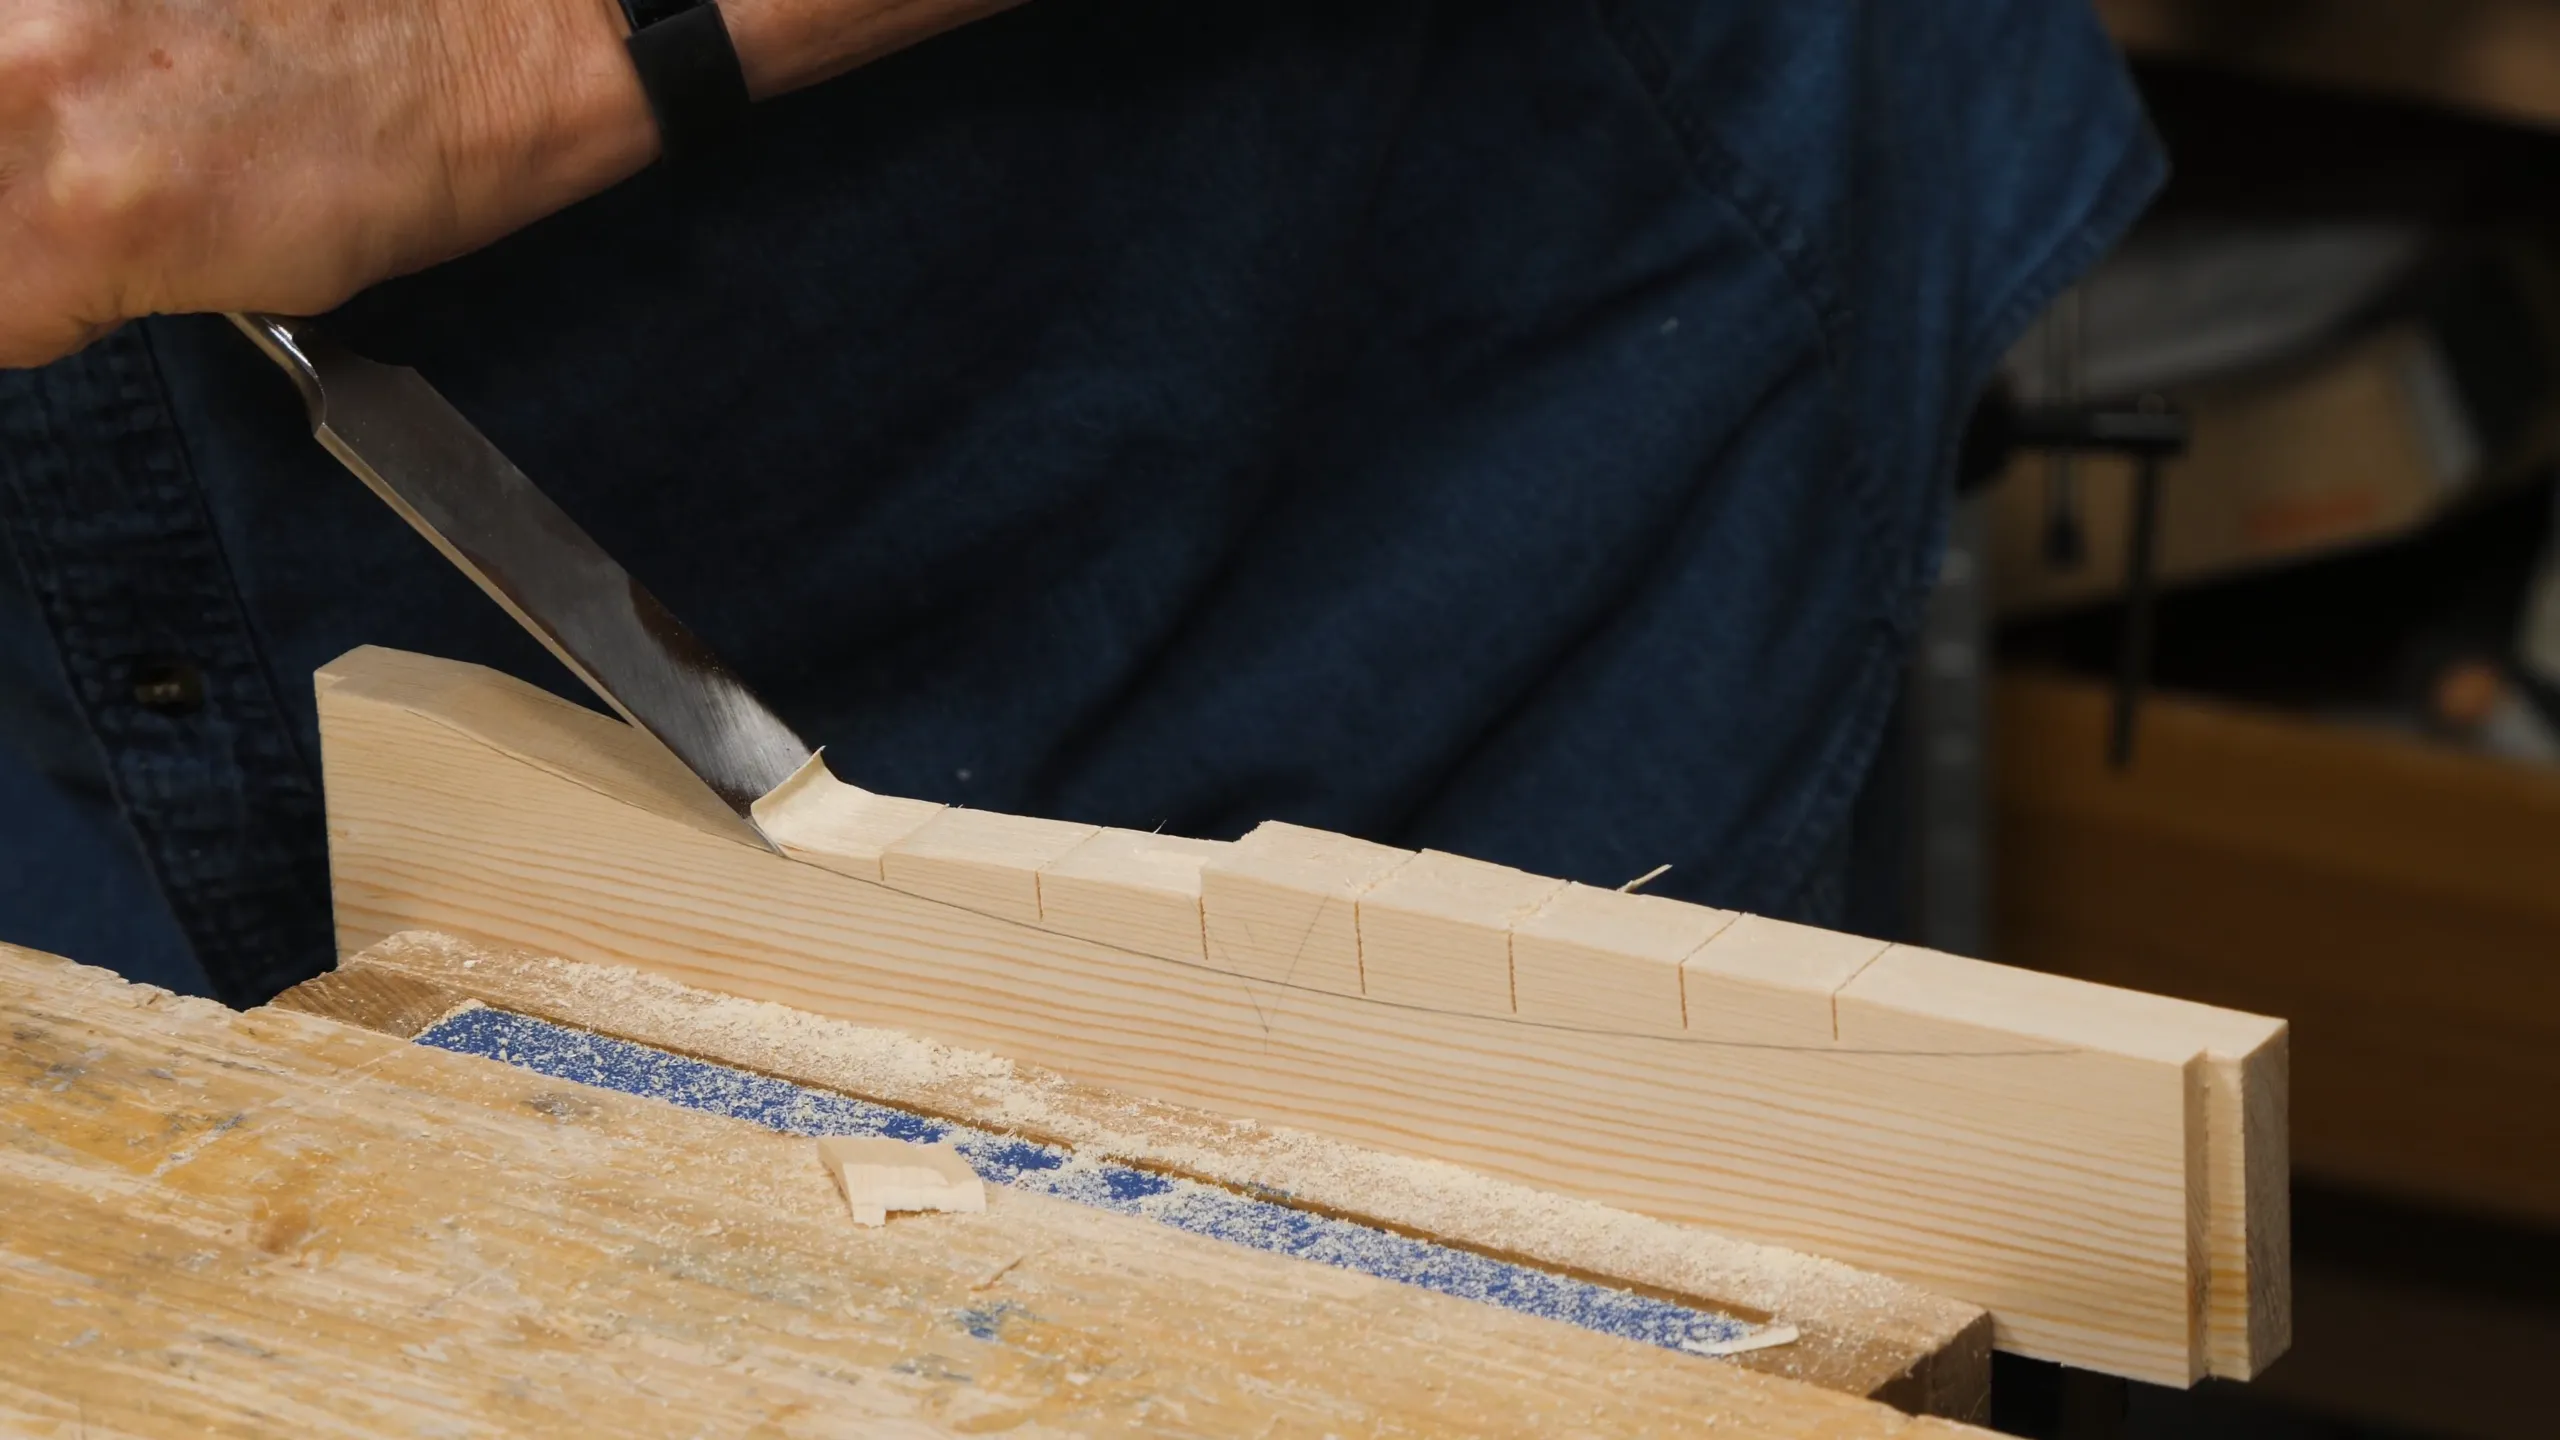
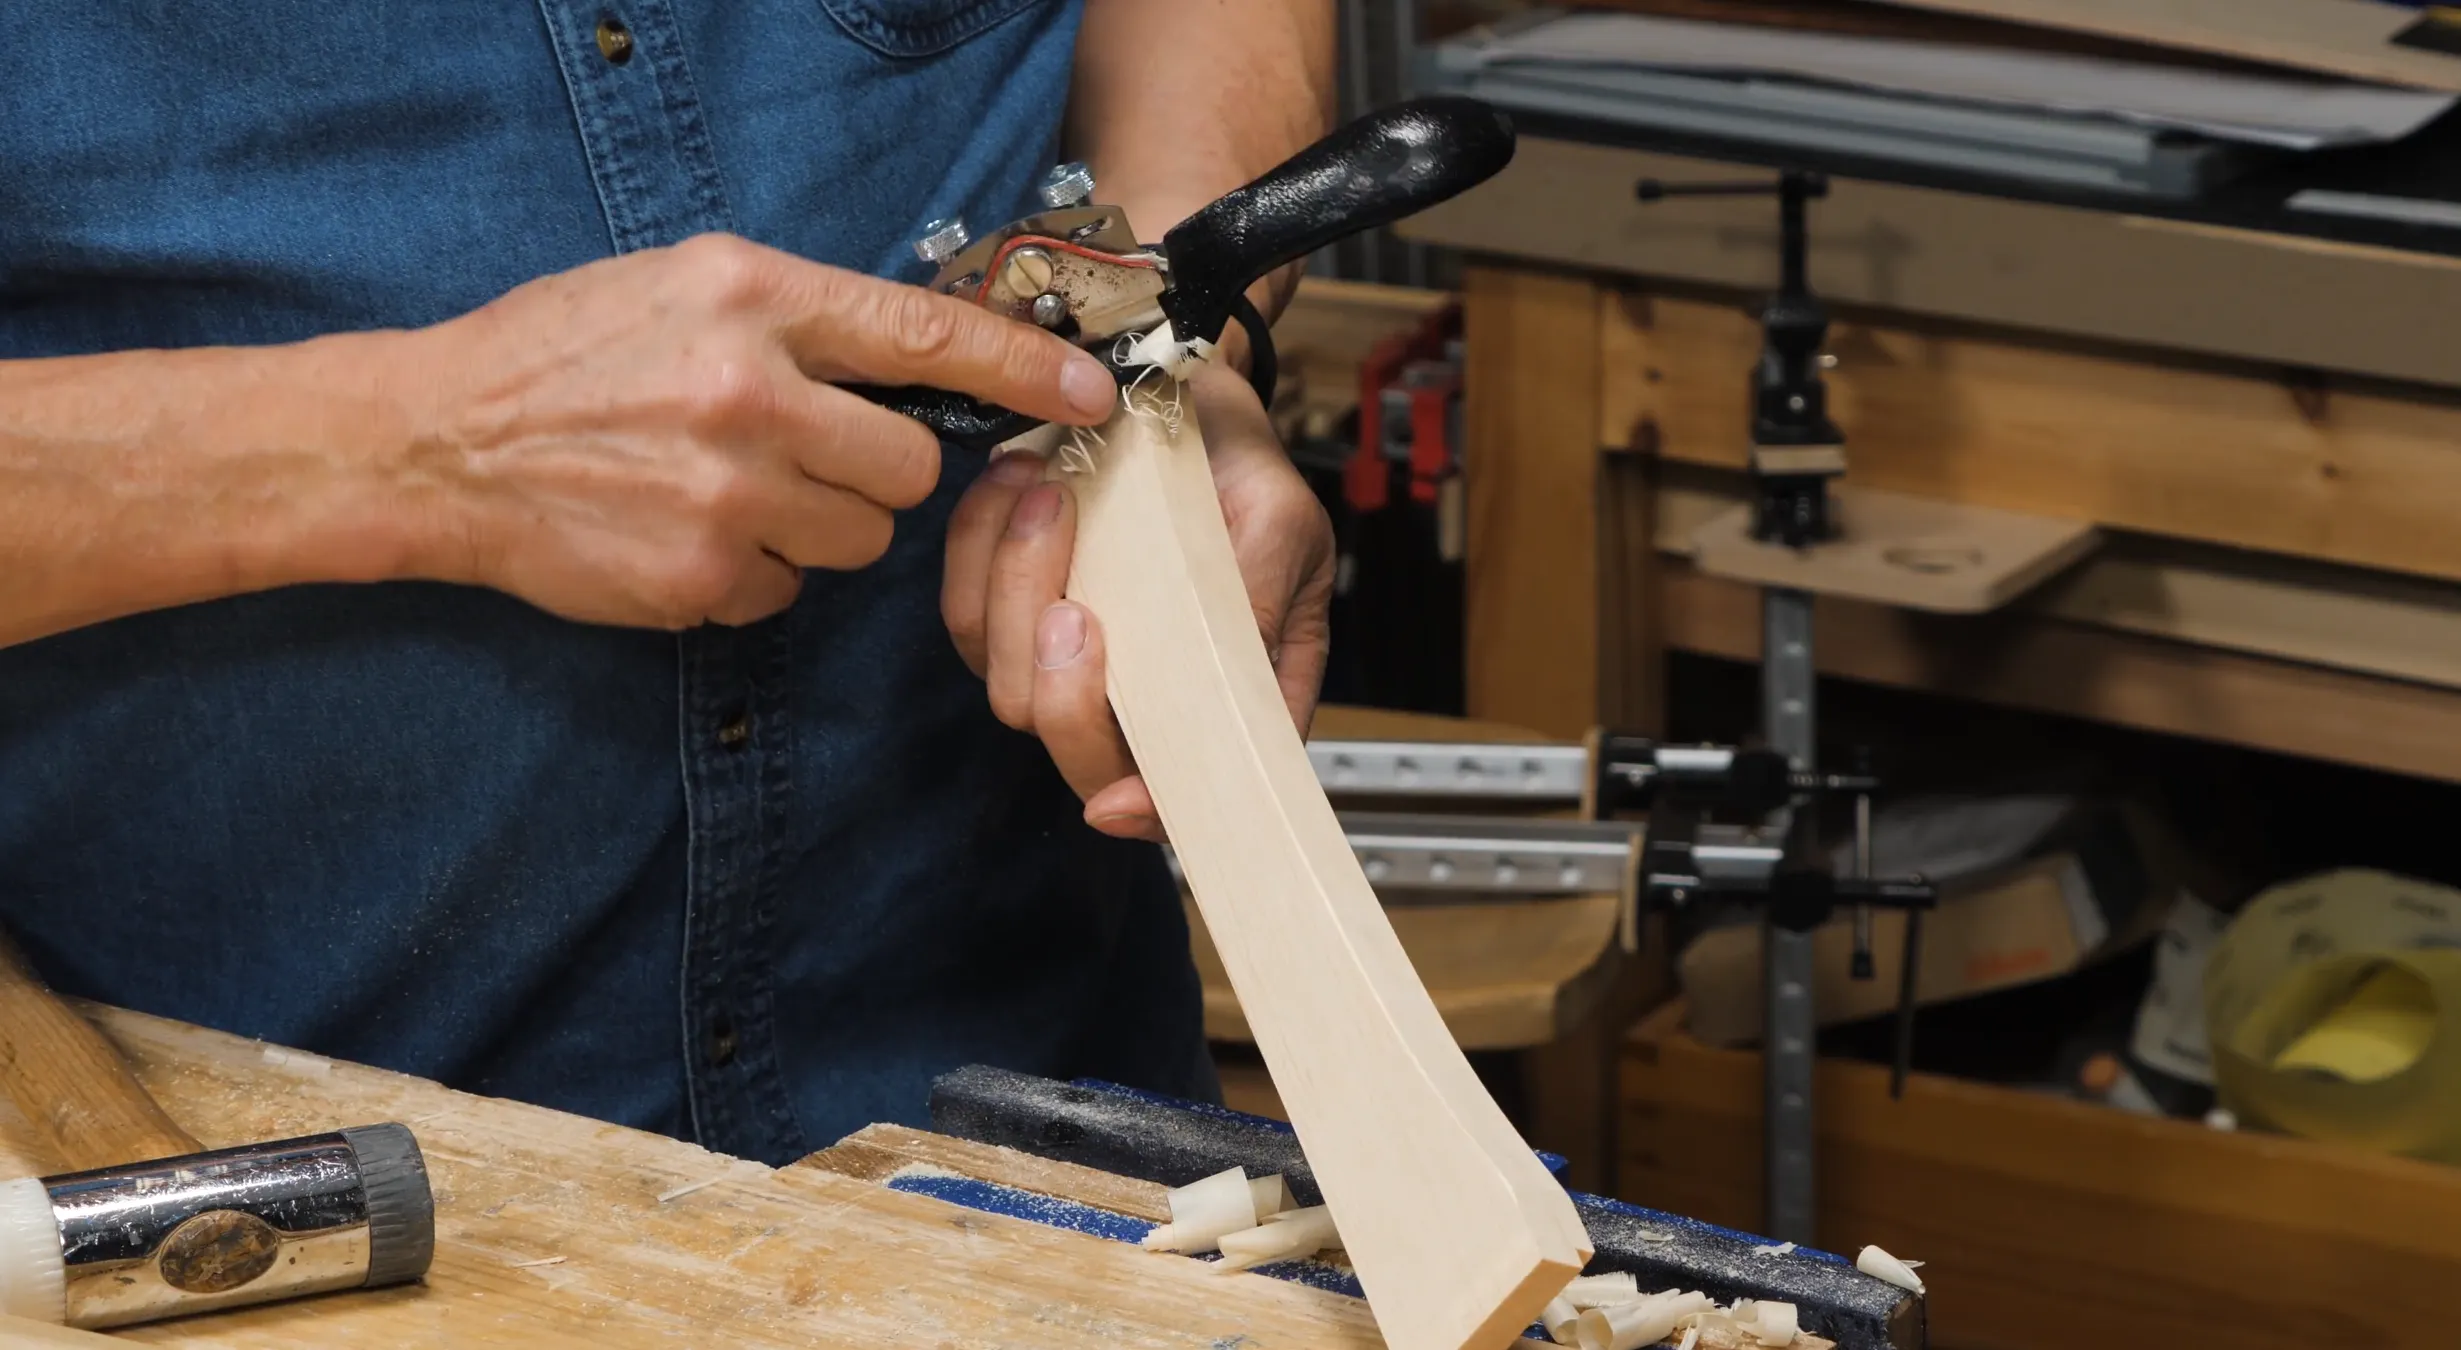
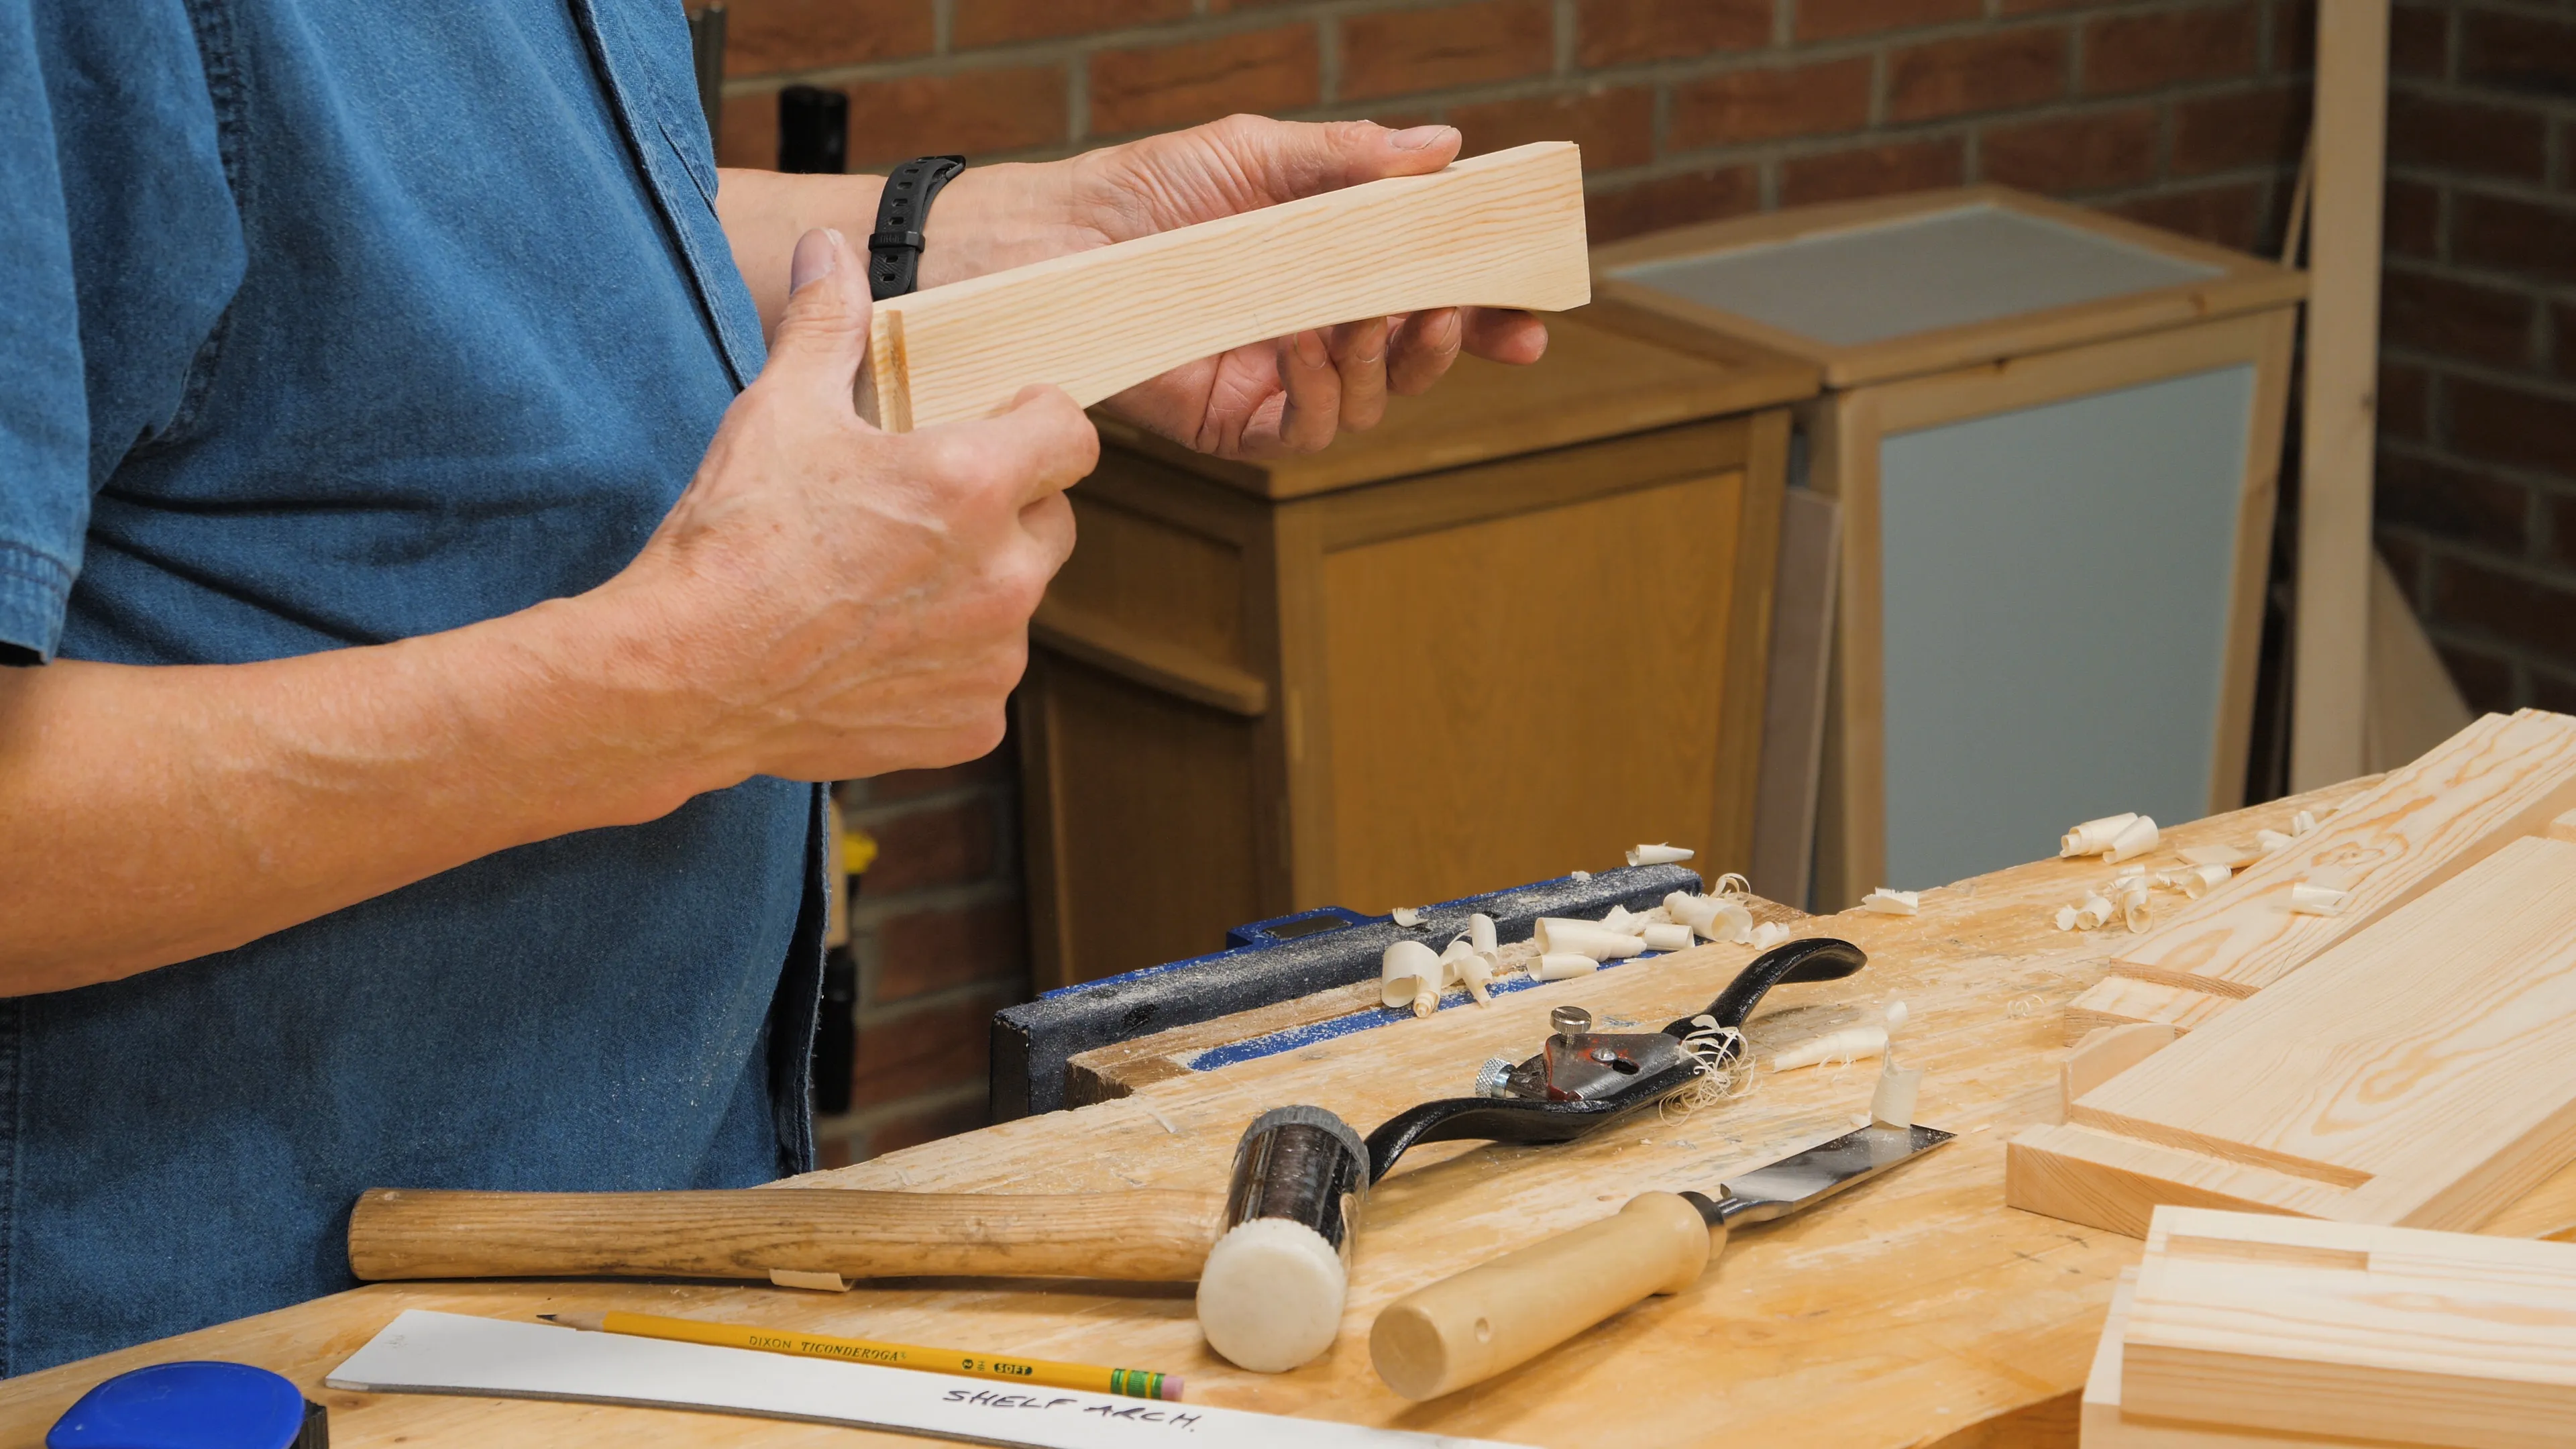
To cut the arches, use the stop cut method. Once you have made your stop cuts (about 1 1/4” or 32mm apart), work from either side with a wide chisel, bevel down, to take the bulk of the waste before further refining. Check the direction of the grain first, especially as you approach the centre, so you know when you must turn around and come from the other side. It’s important you don’t cut into the line, since then you would lose the uniform curve. Also, the closer you work to the line, the easier (and faster) it will be to clean up the surface with a spokeshave. Therefore, keep your eyes on the cutting edge of your chisel as you chop and alter the angle of the chisel (by raising or lowering the chisel handle) so that you’re cutting quite close to – yet just above – the line.
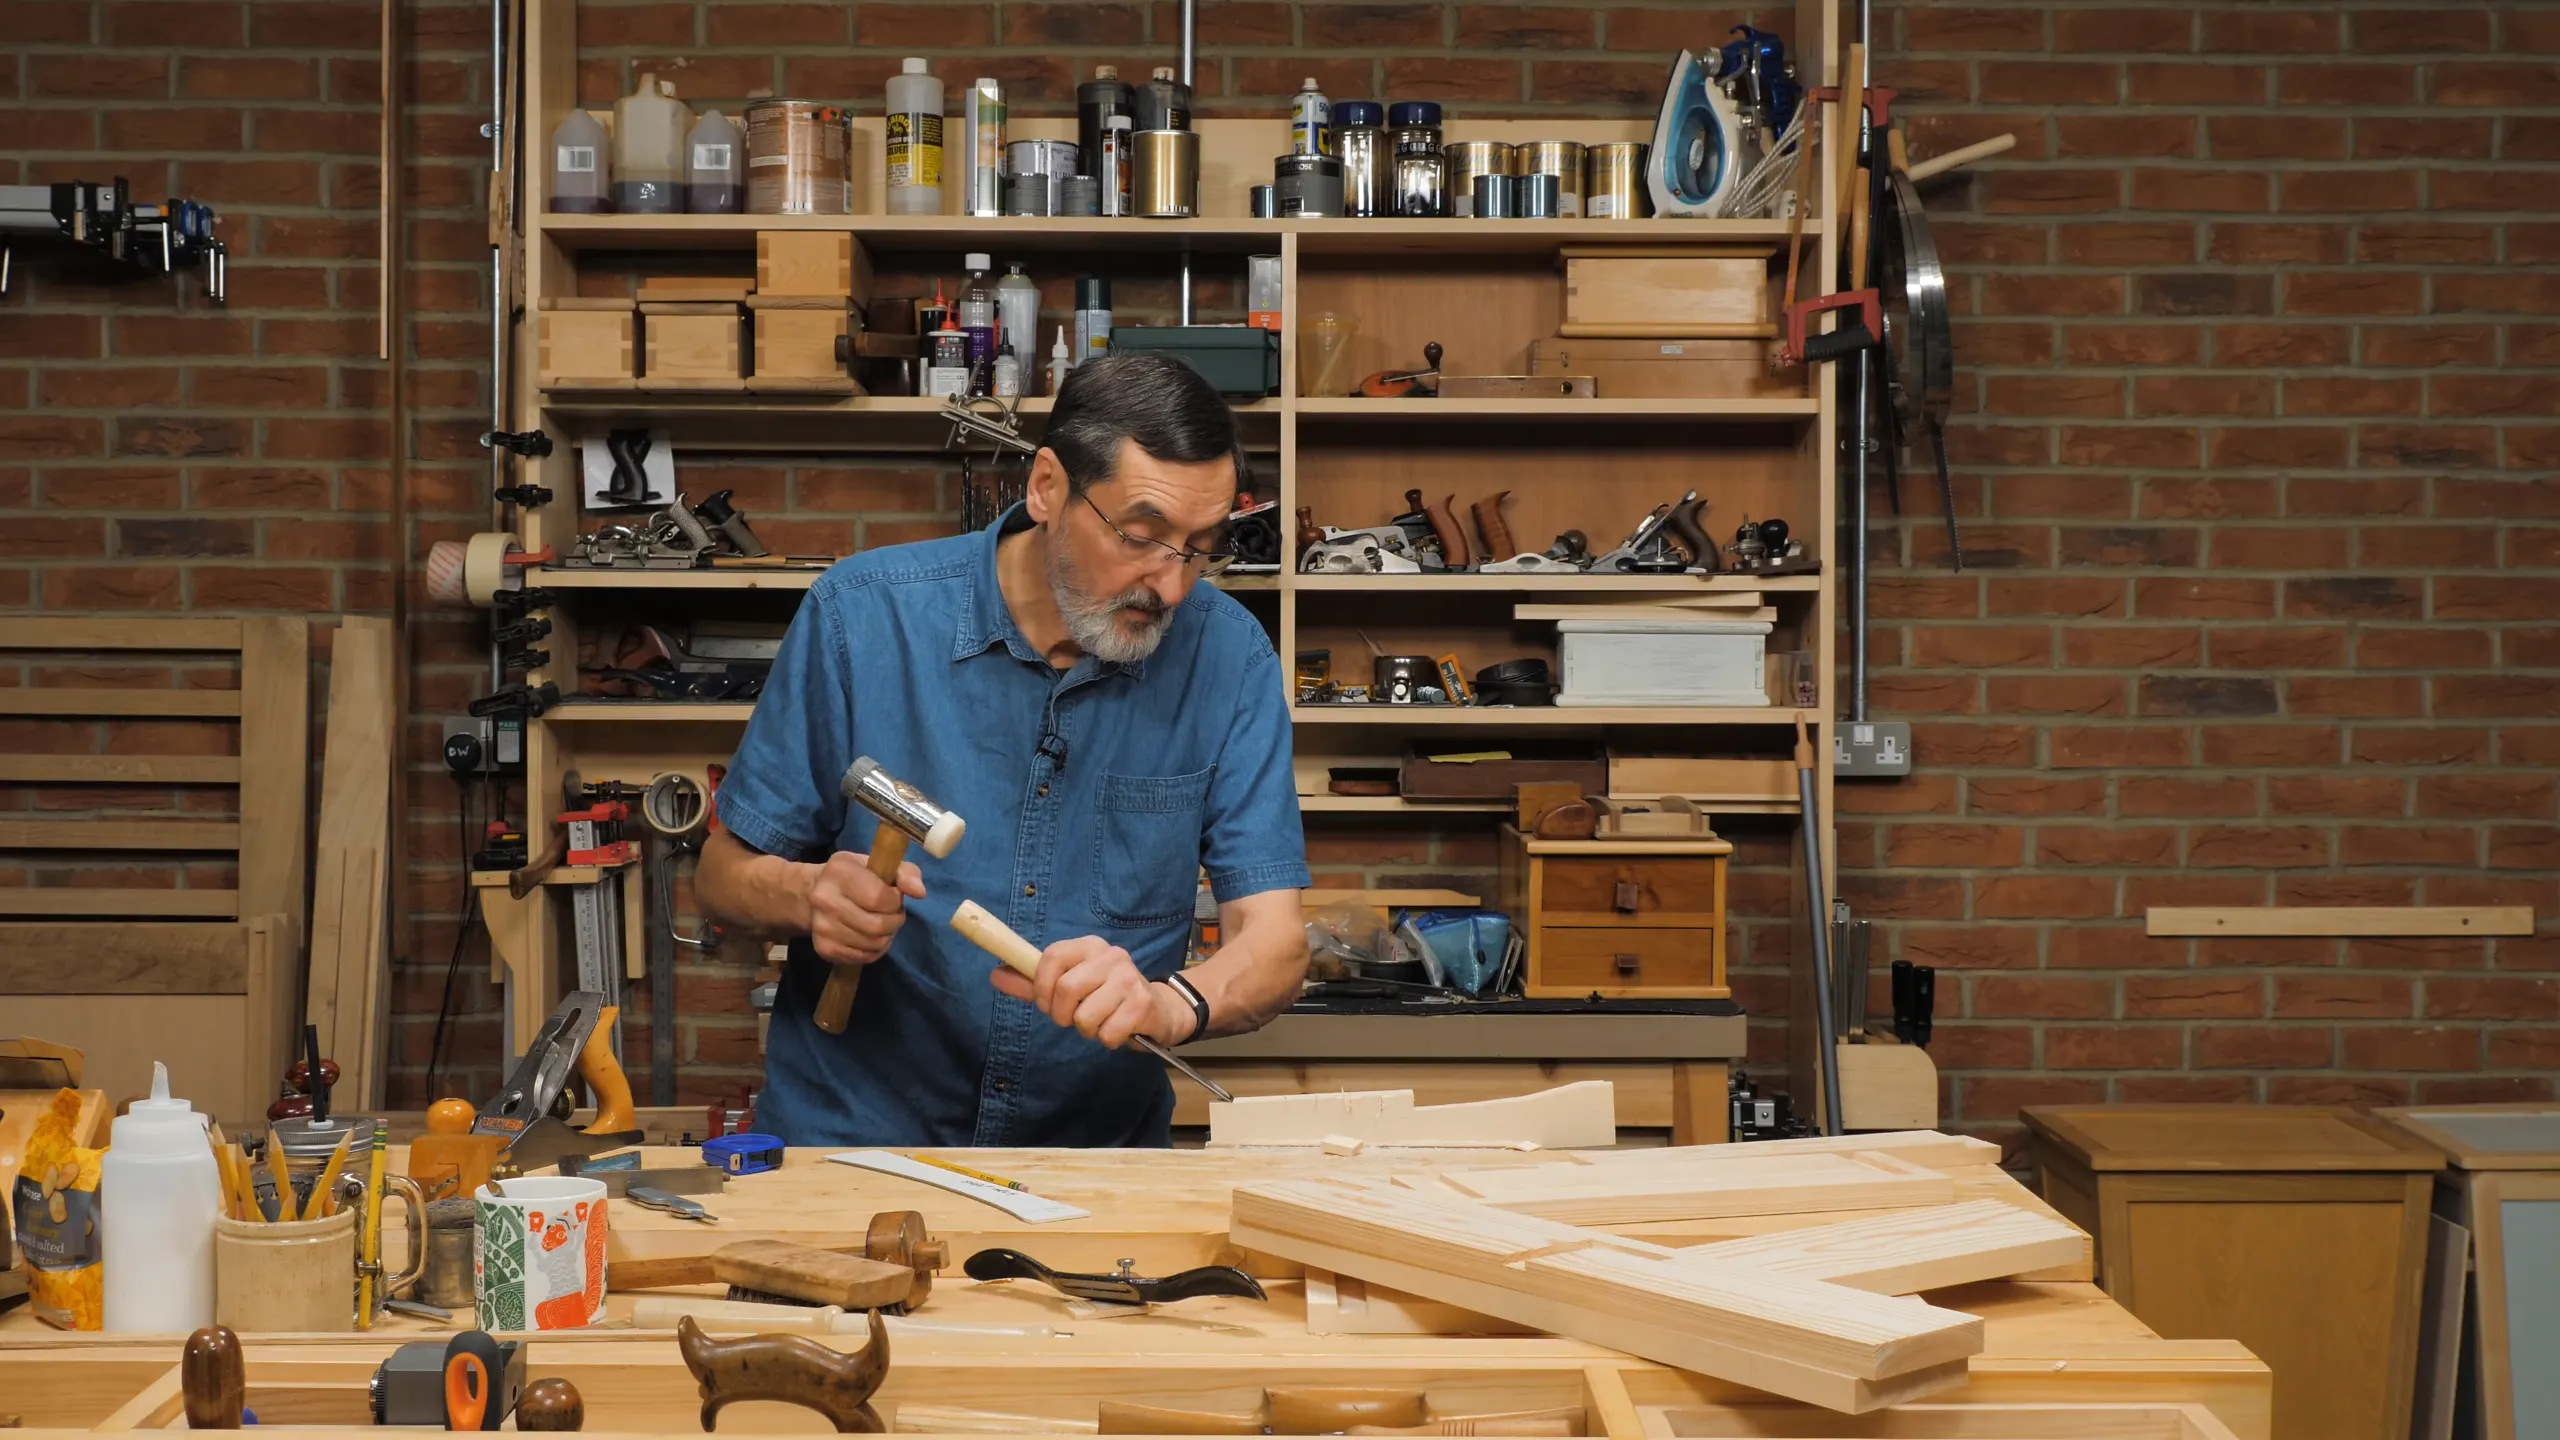
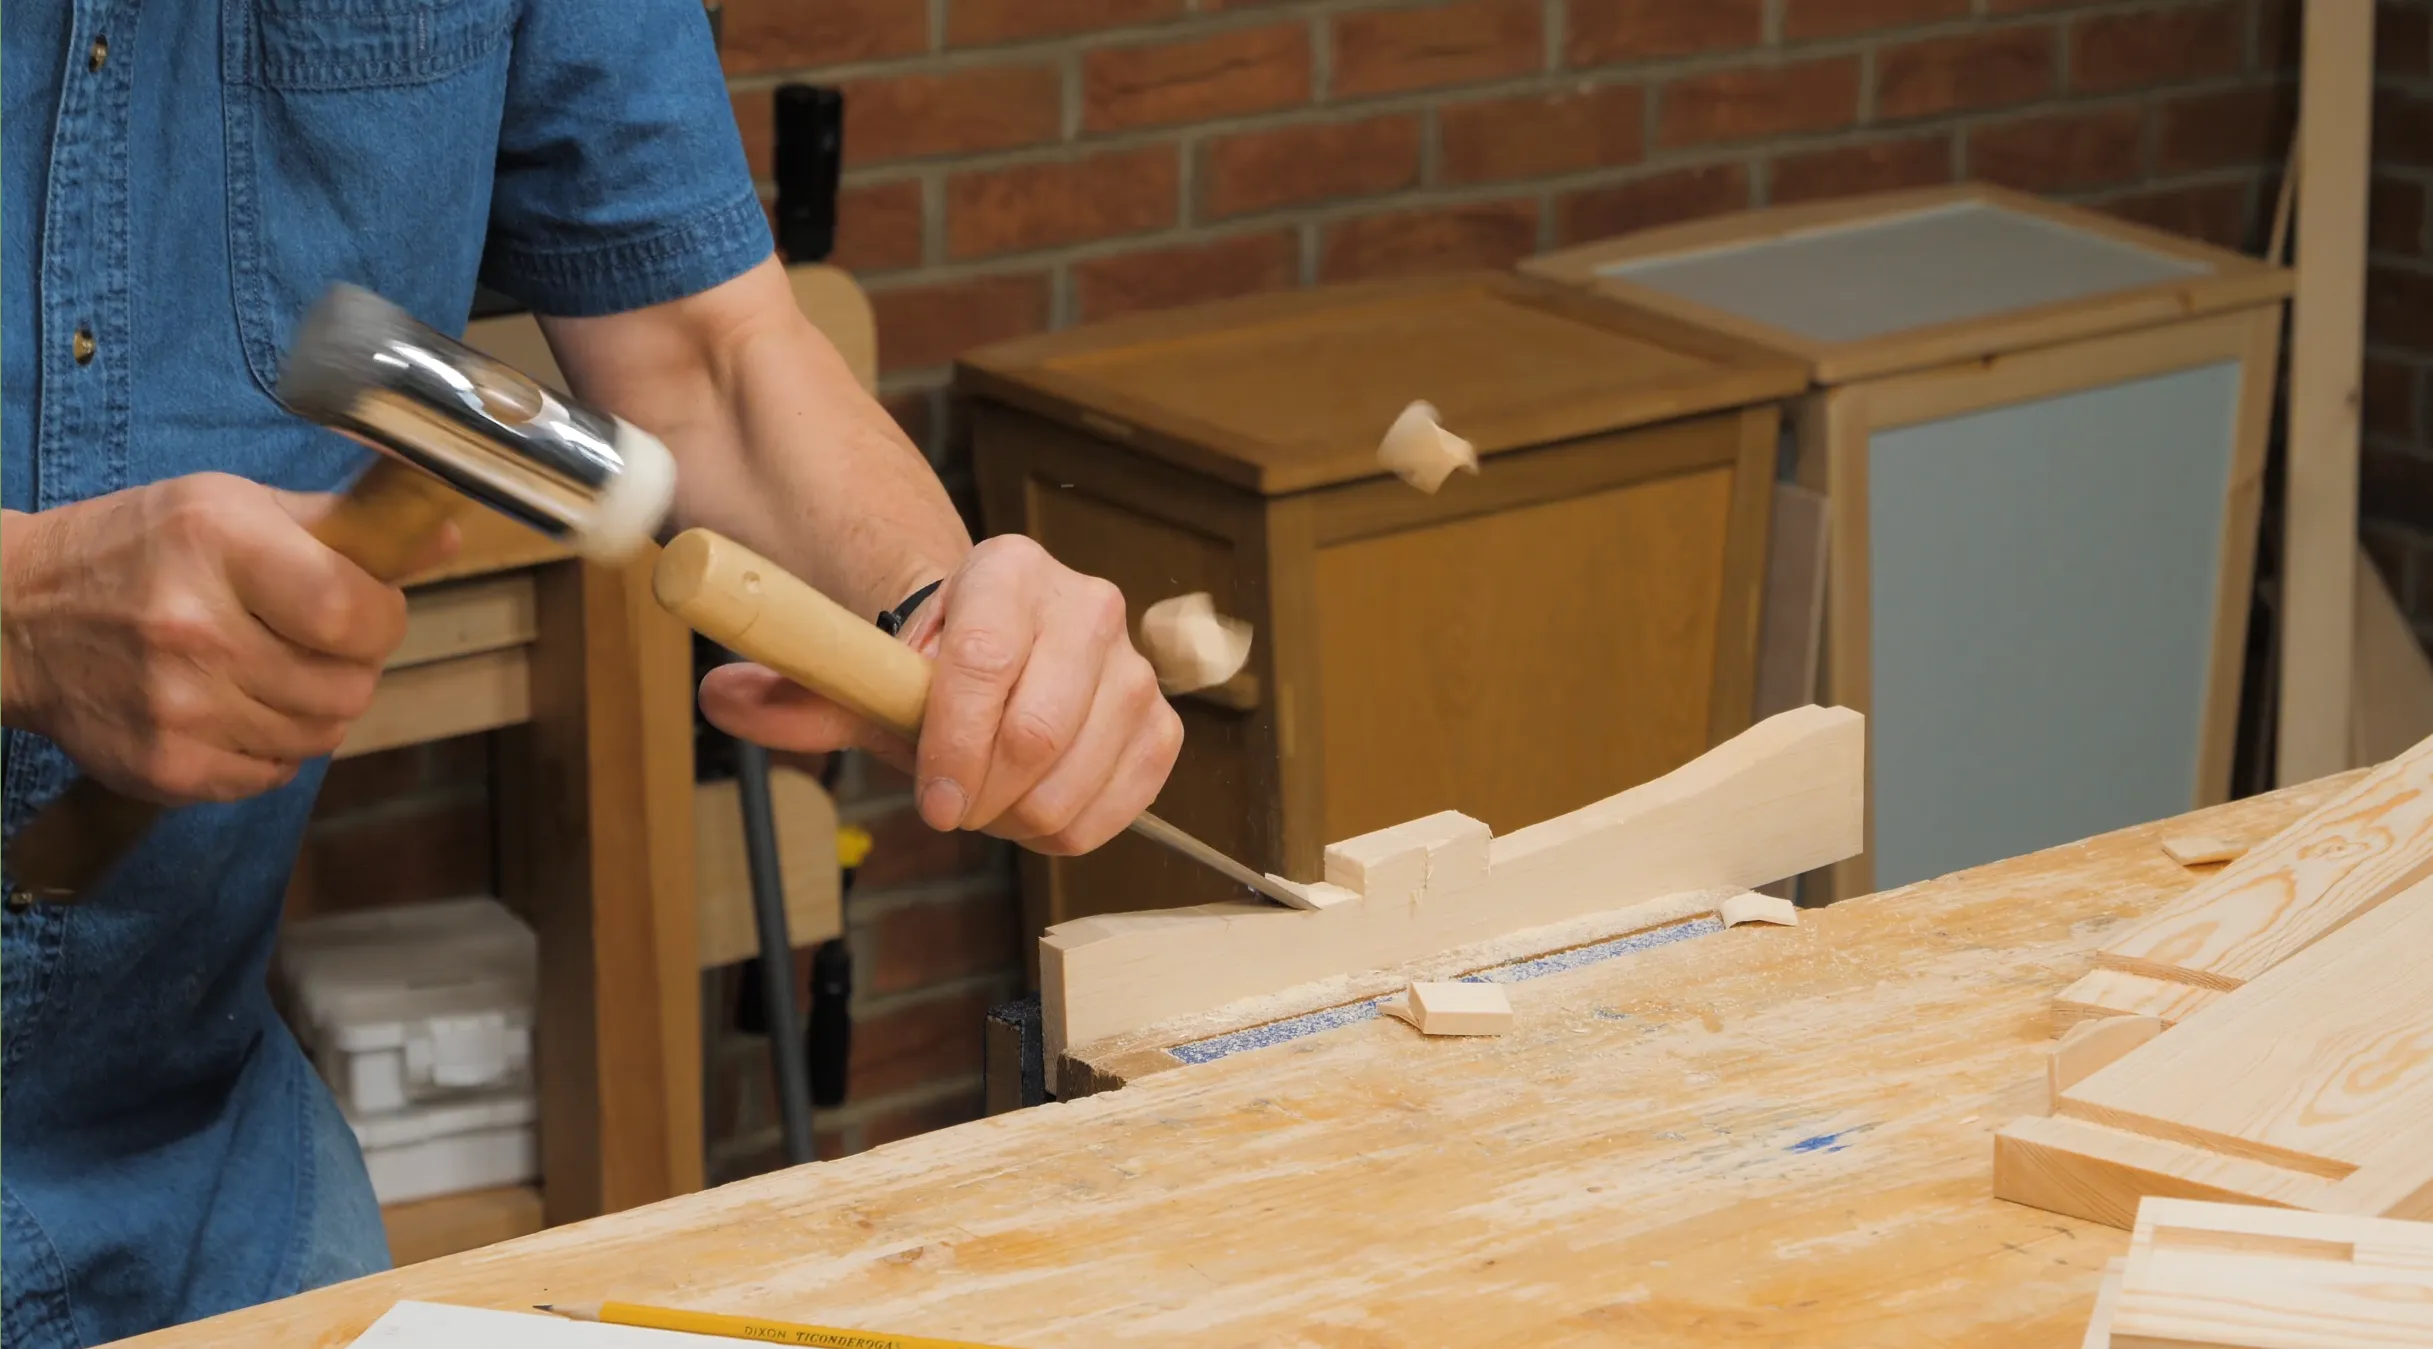
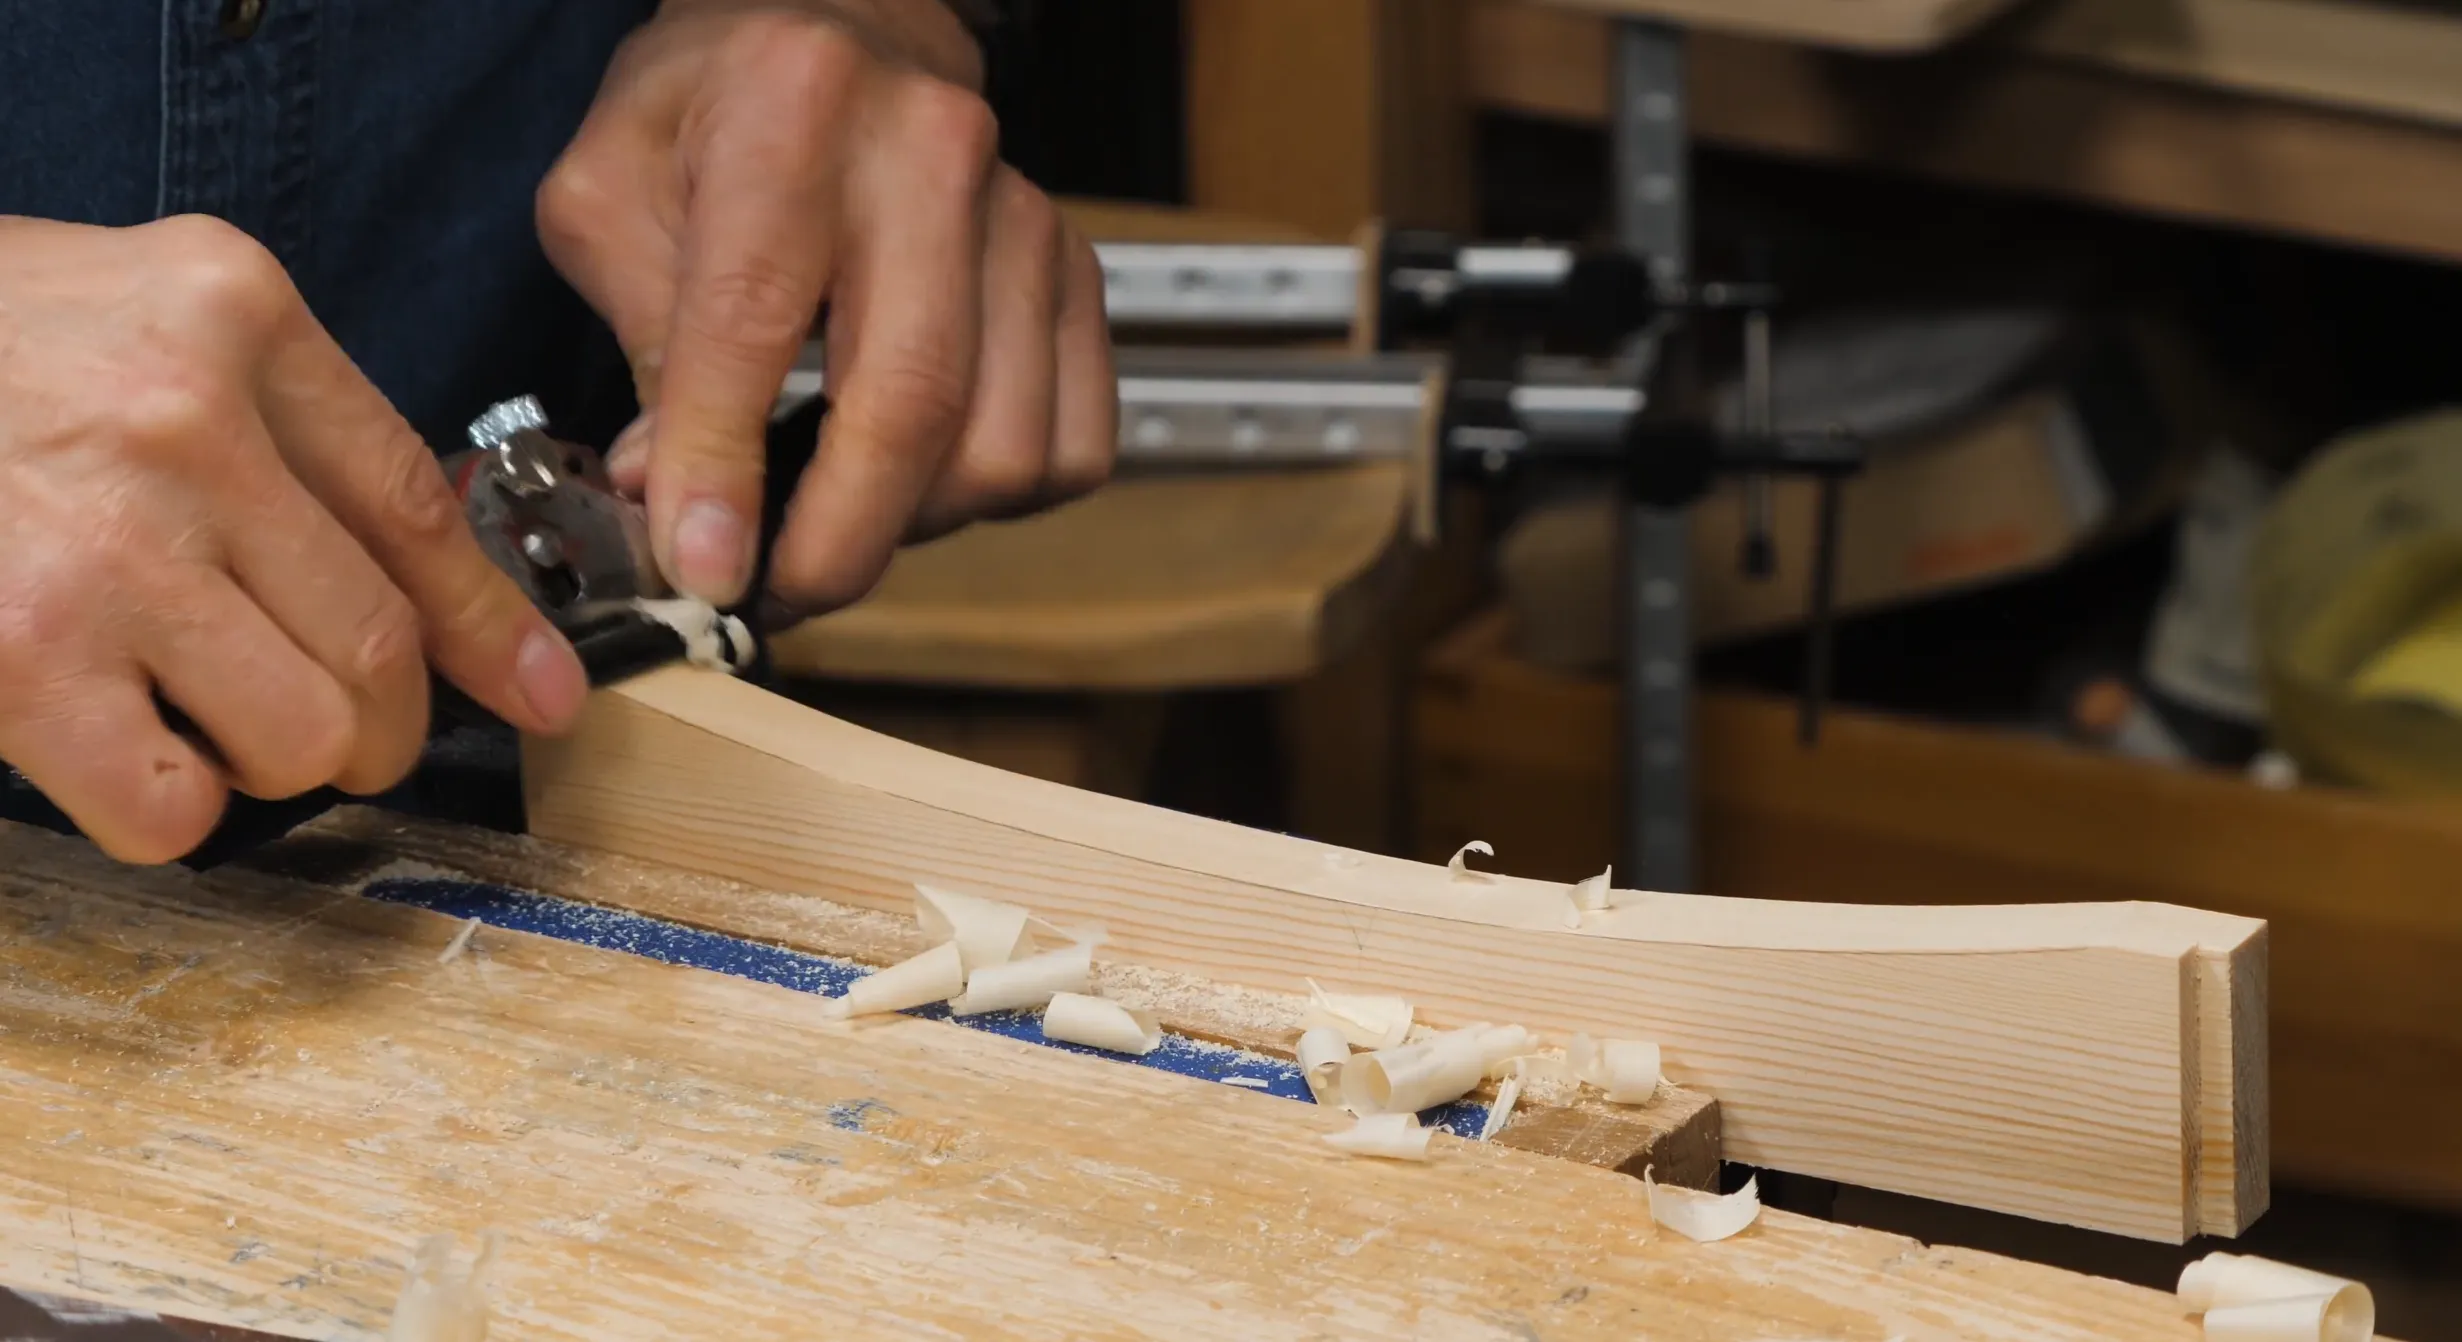
When you are approximately down to the line, switch to a double handed grip on the chisel to take the highs off with carefully controlled jabs. Finish off with a spokeshave set to a light cut, and once you’re done, take off the arris with a stroke or two of the spokeshave, always stopping at the bottom of the cut.
Arch Template PDF:
UK A4
US Letter
Sign in to track your progress