Fitting The Tenon
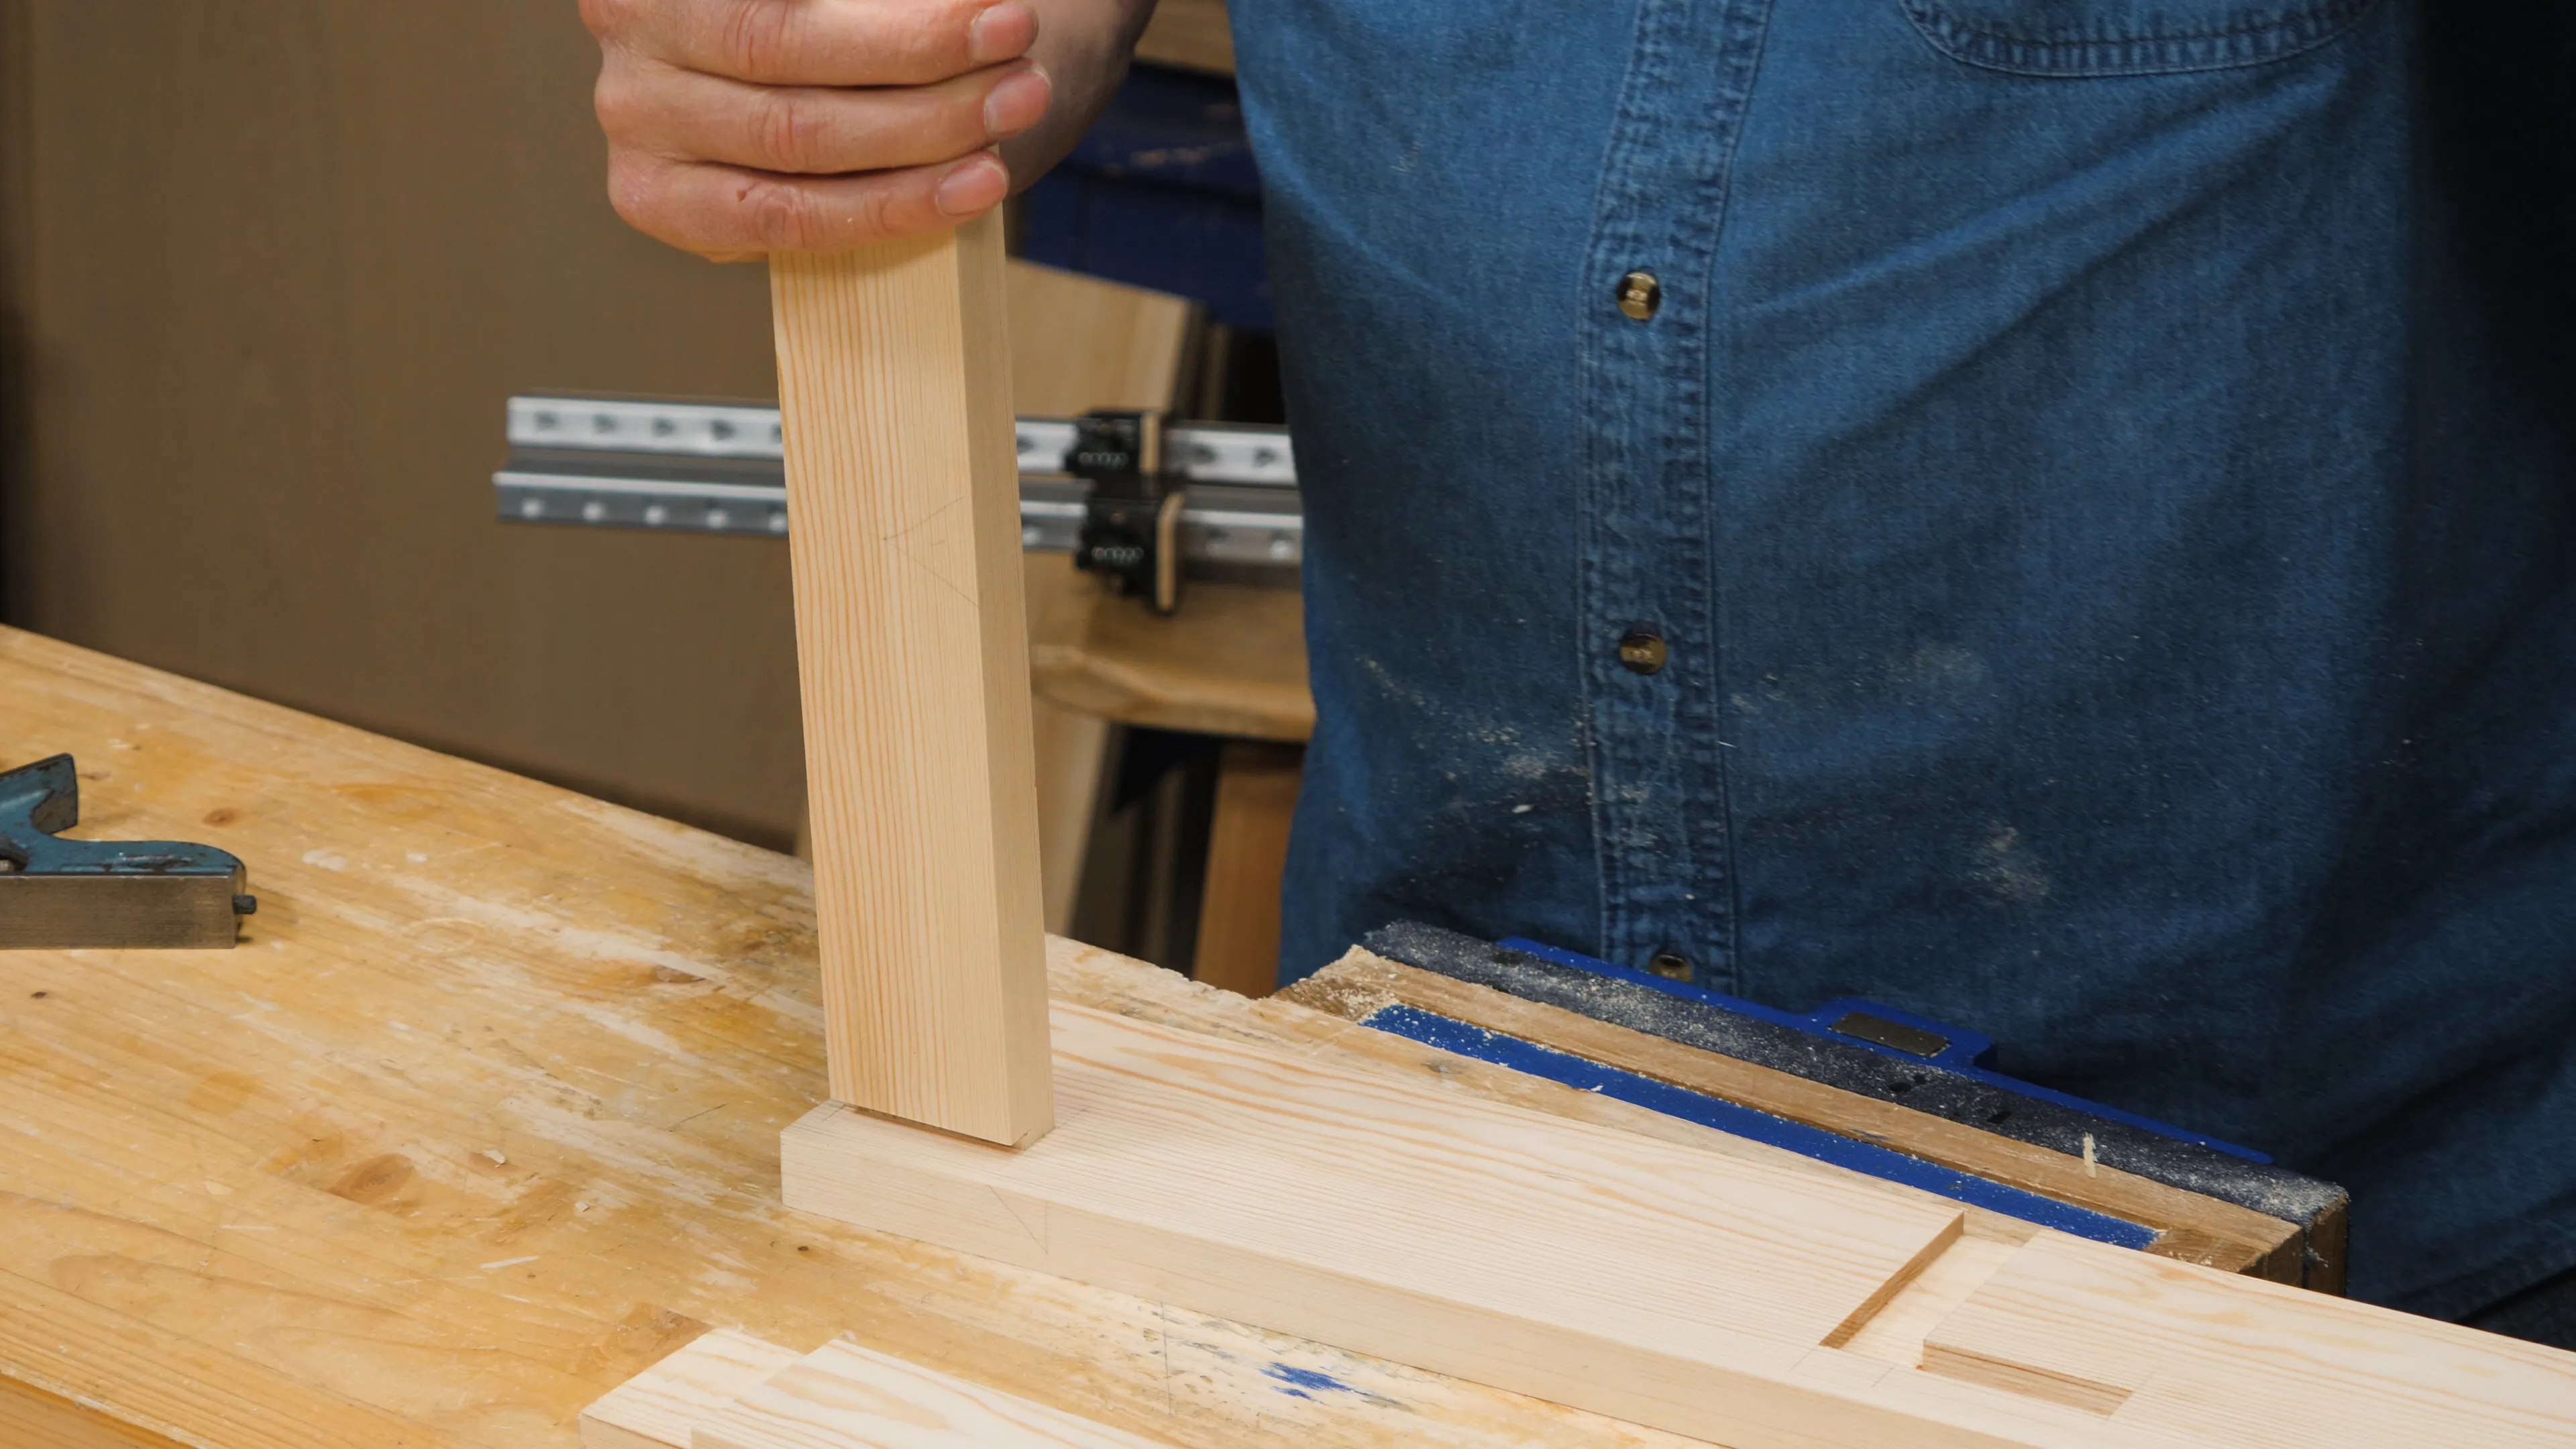
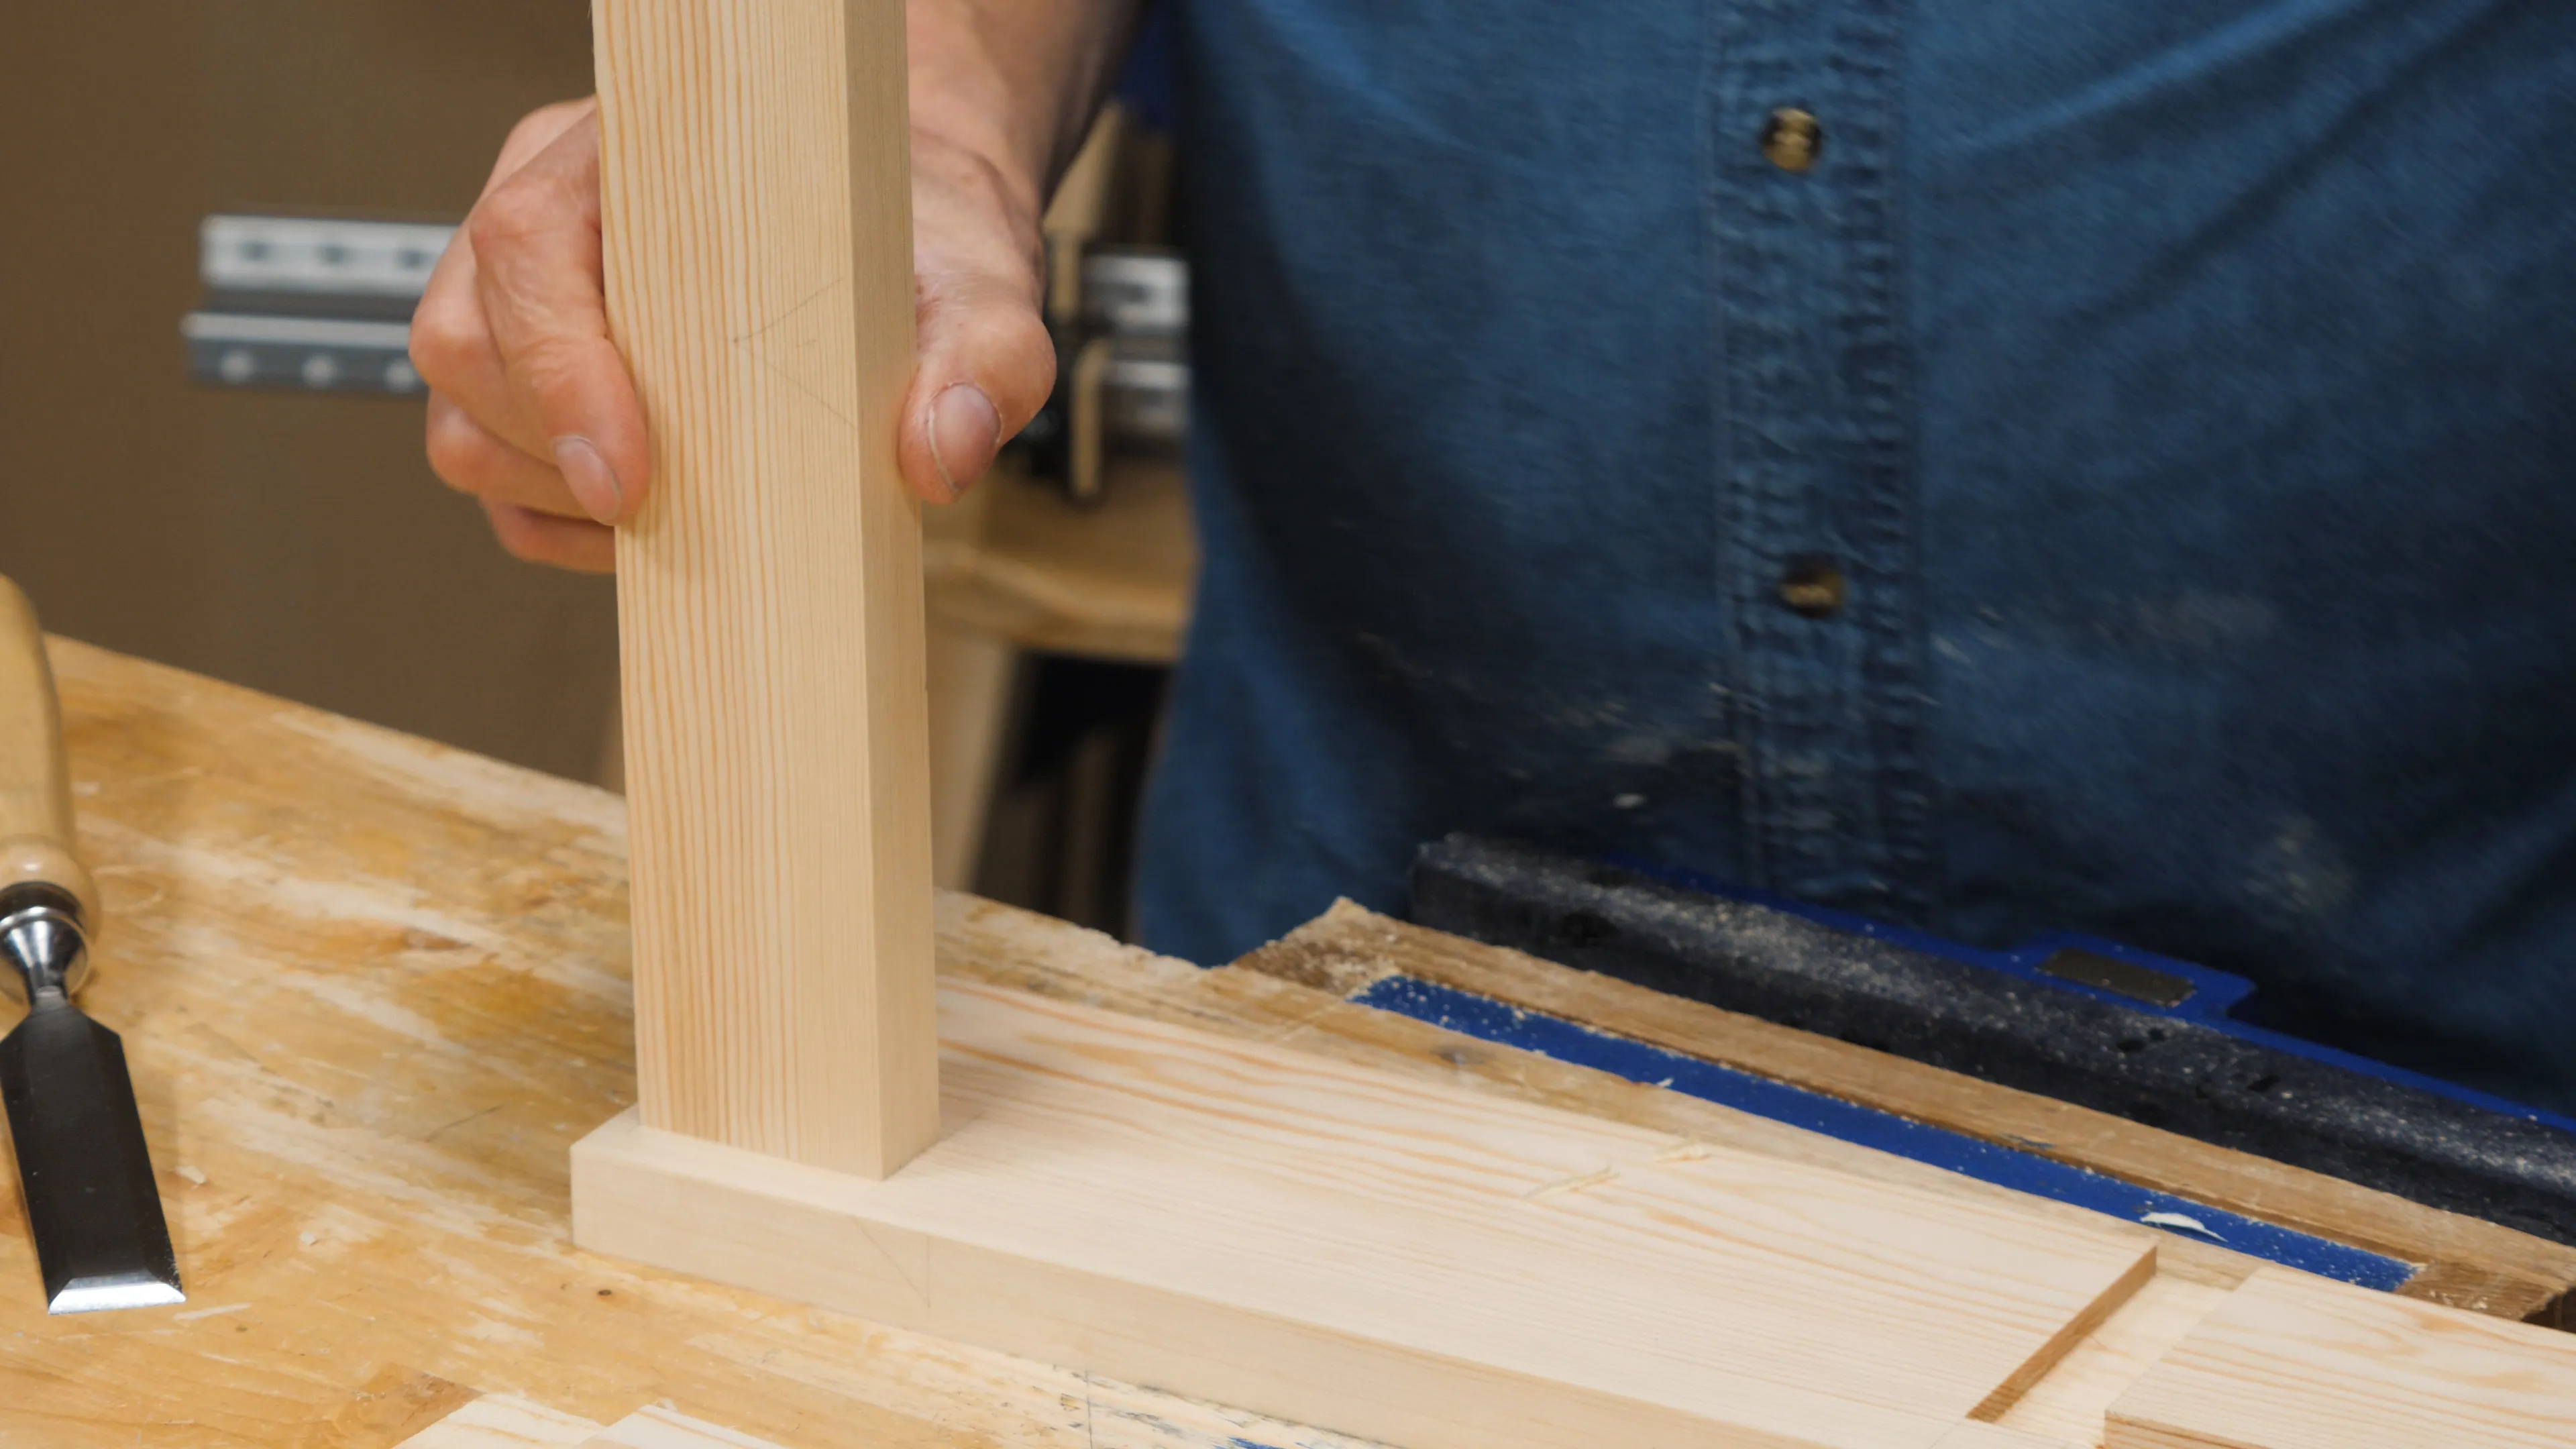
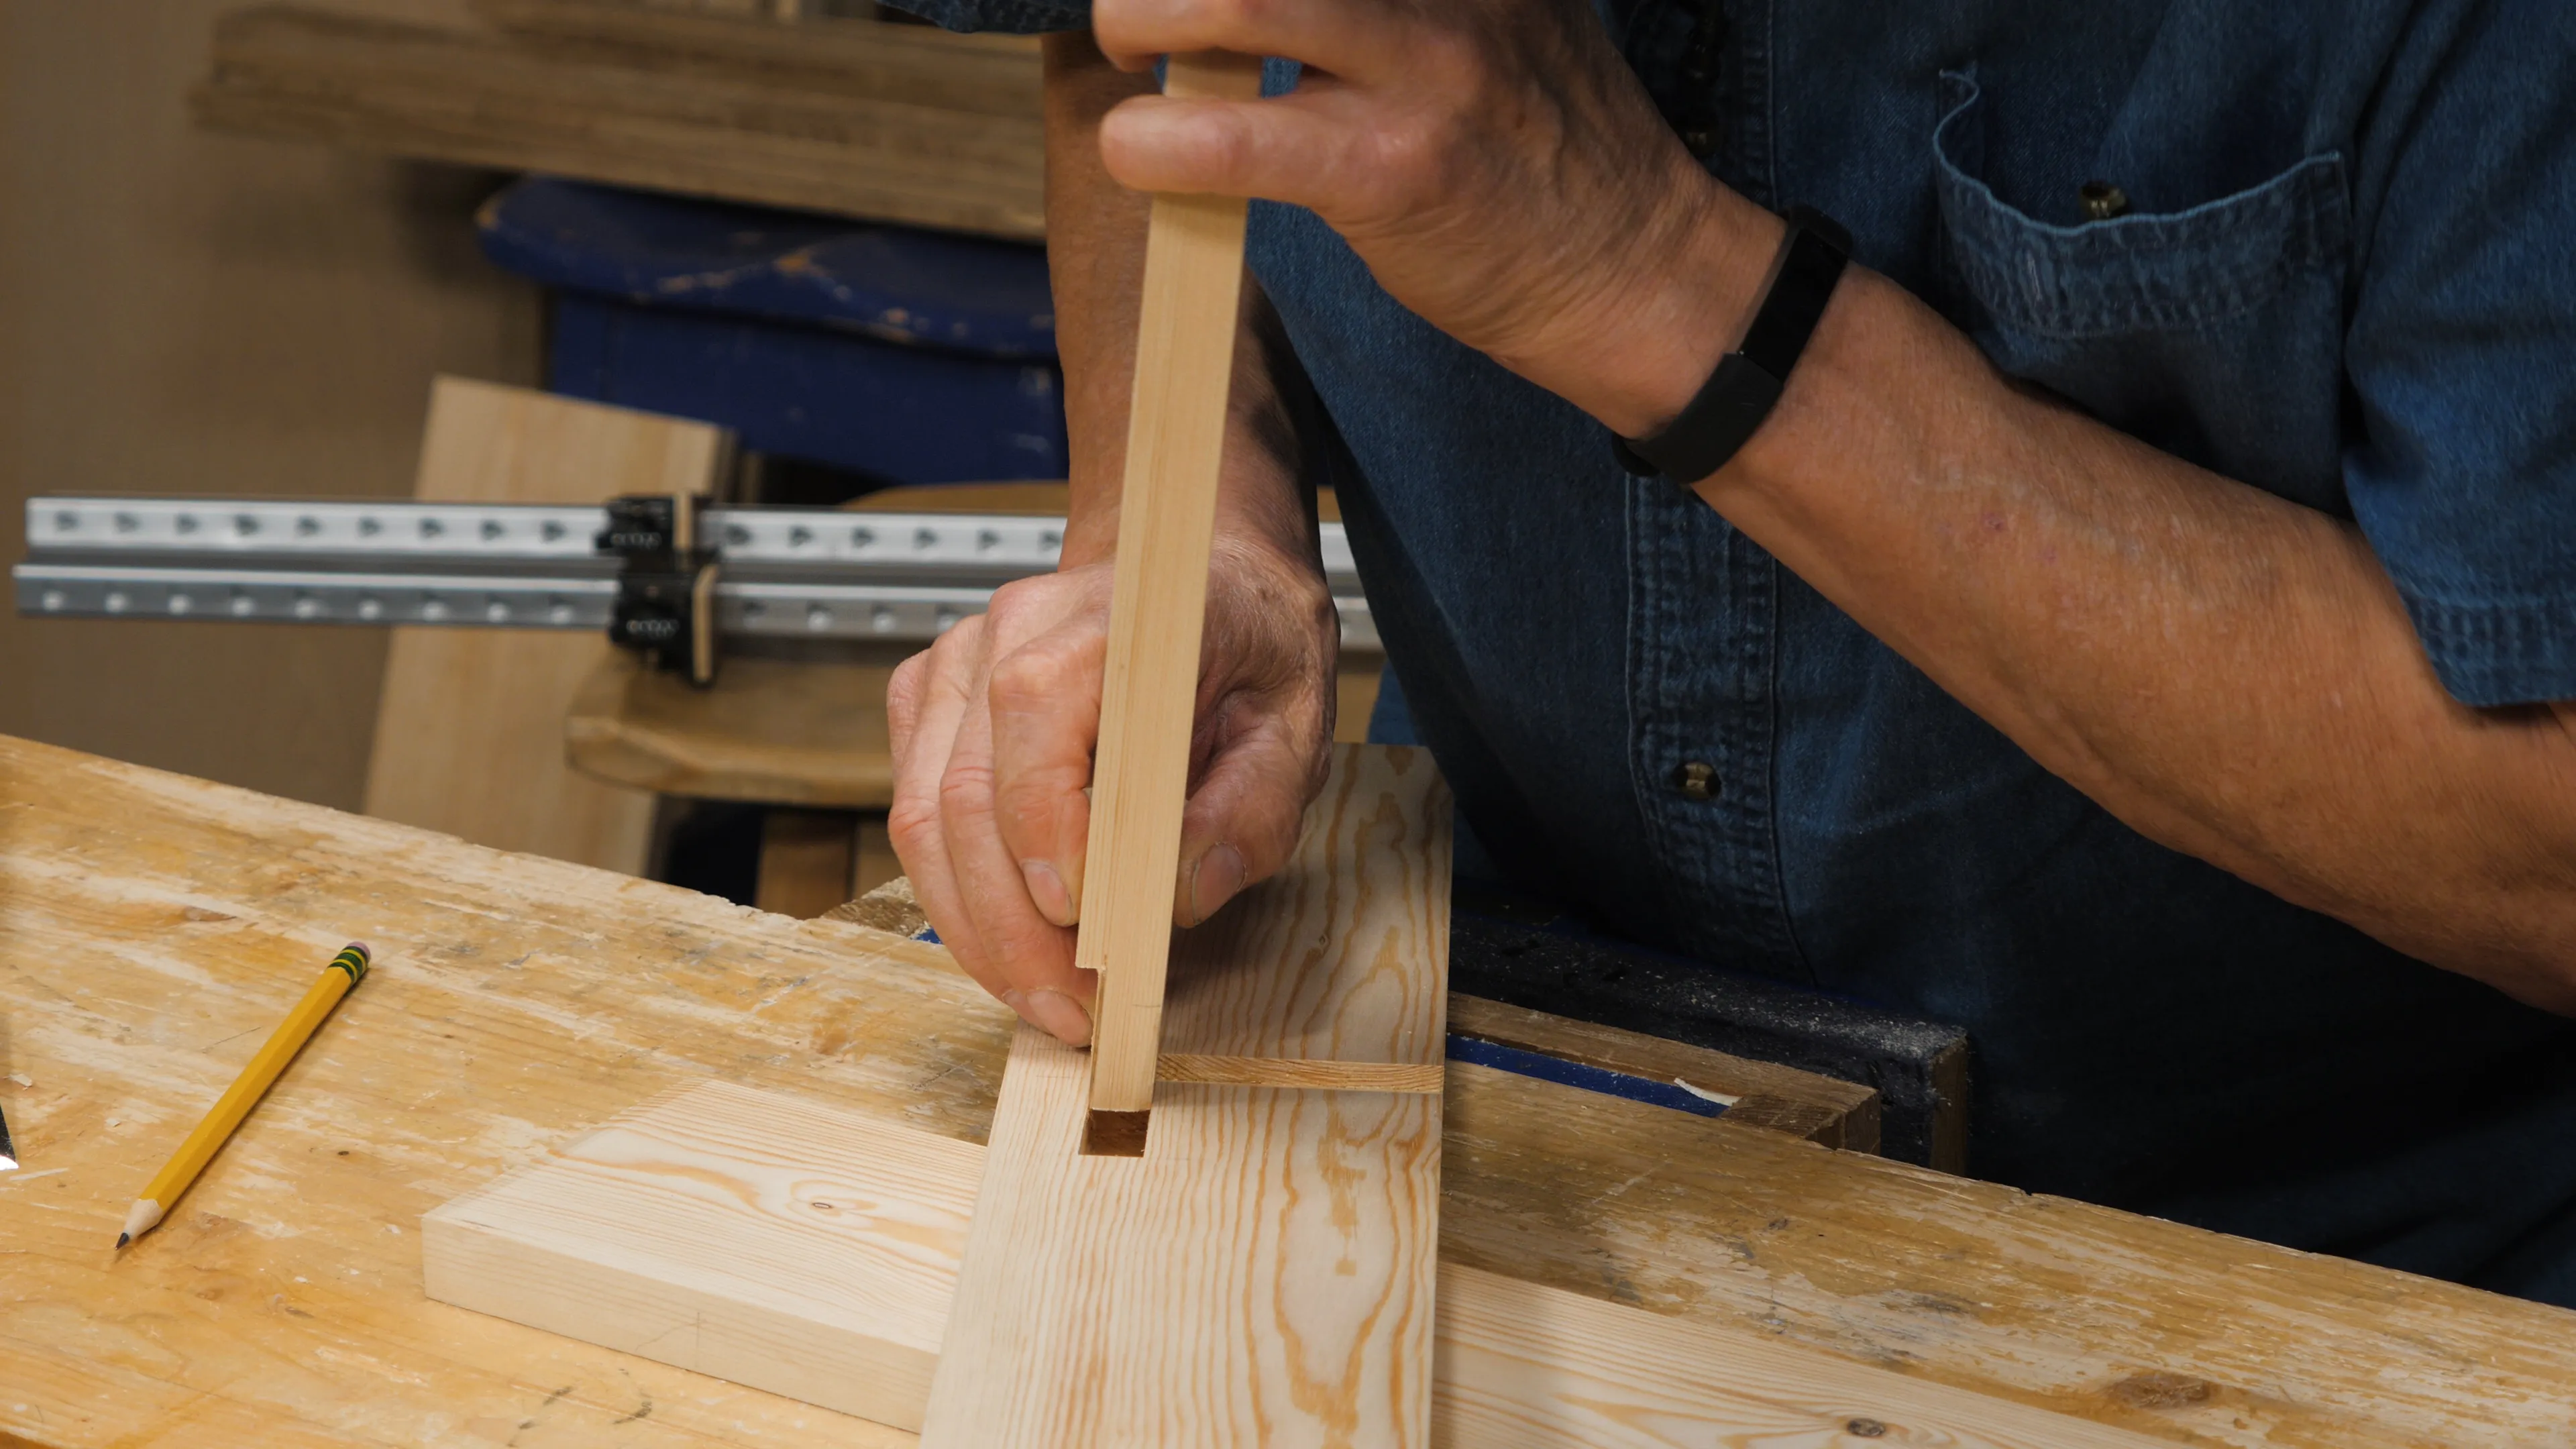
Take your shelf apart and try each of your tenons, one by one, in its corresponding mortise. Use the triangle markings you made initially as references to know which way up the rails go.
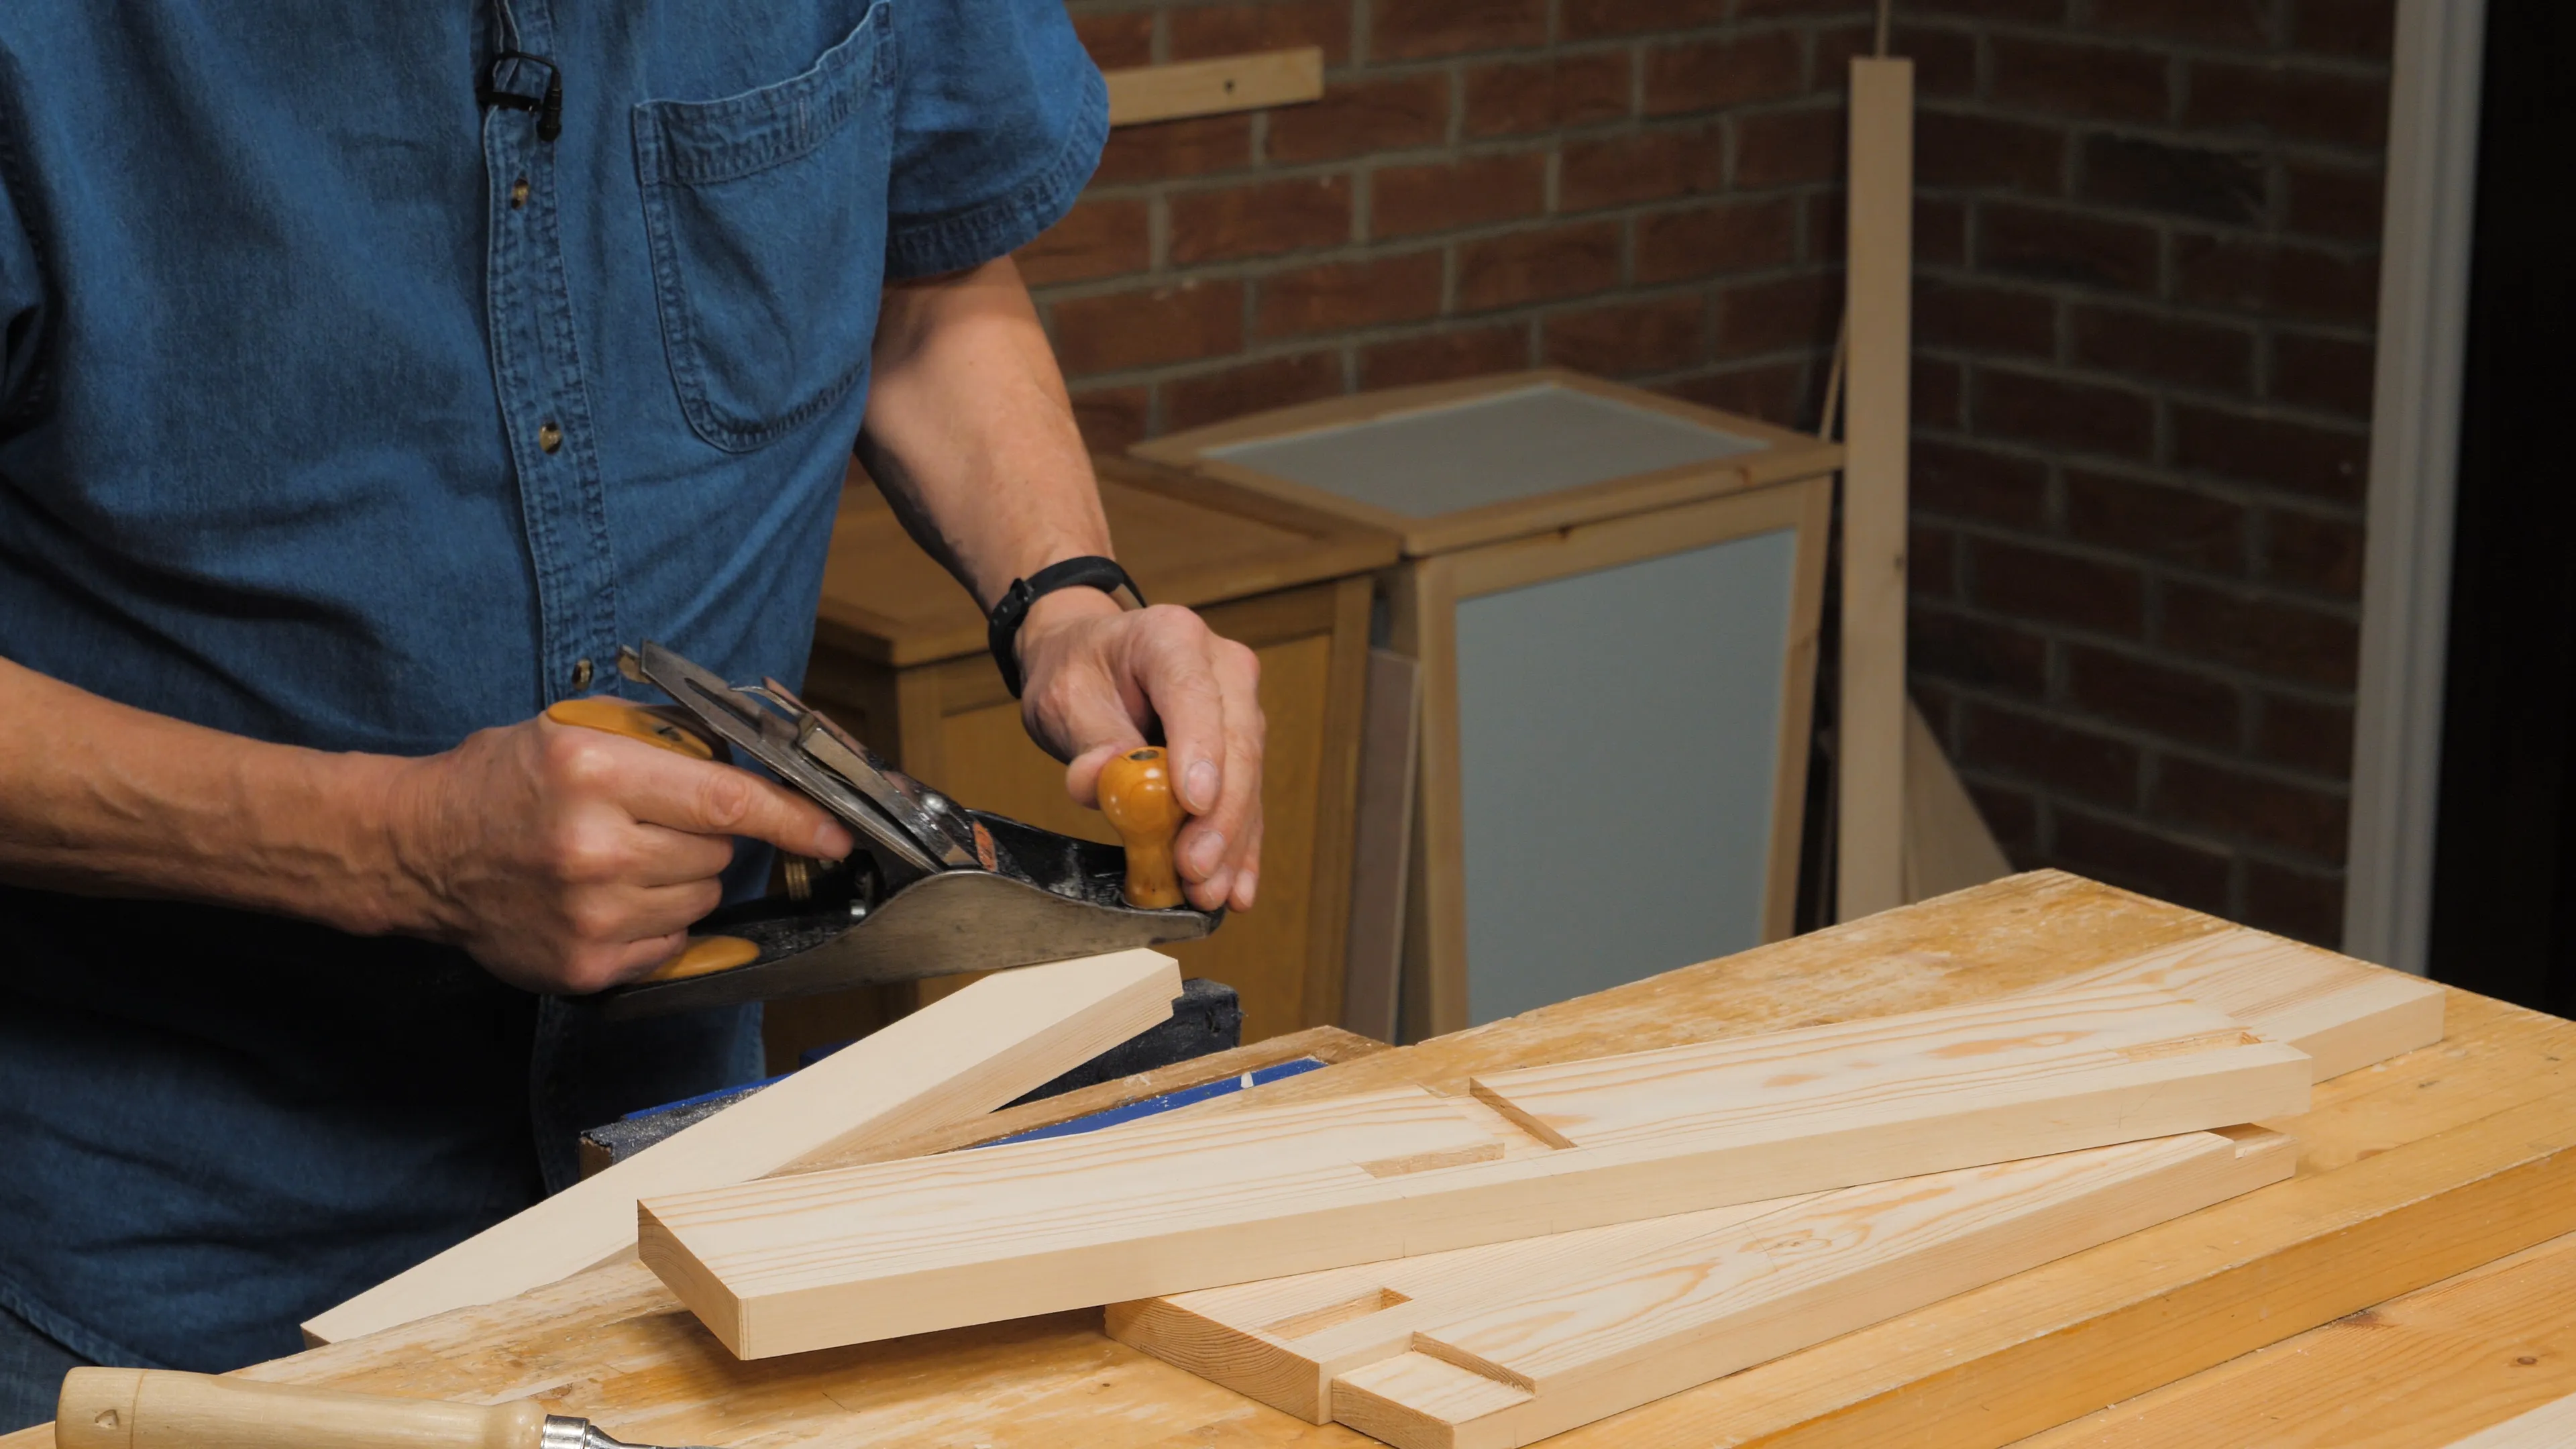
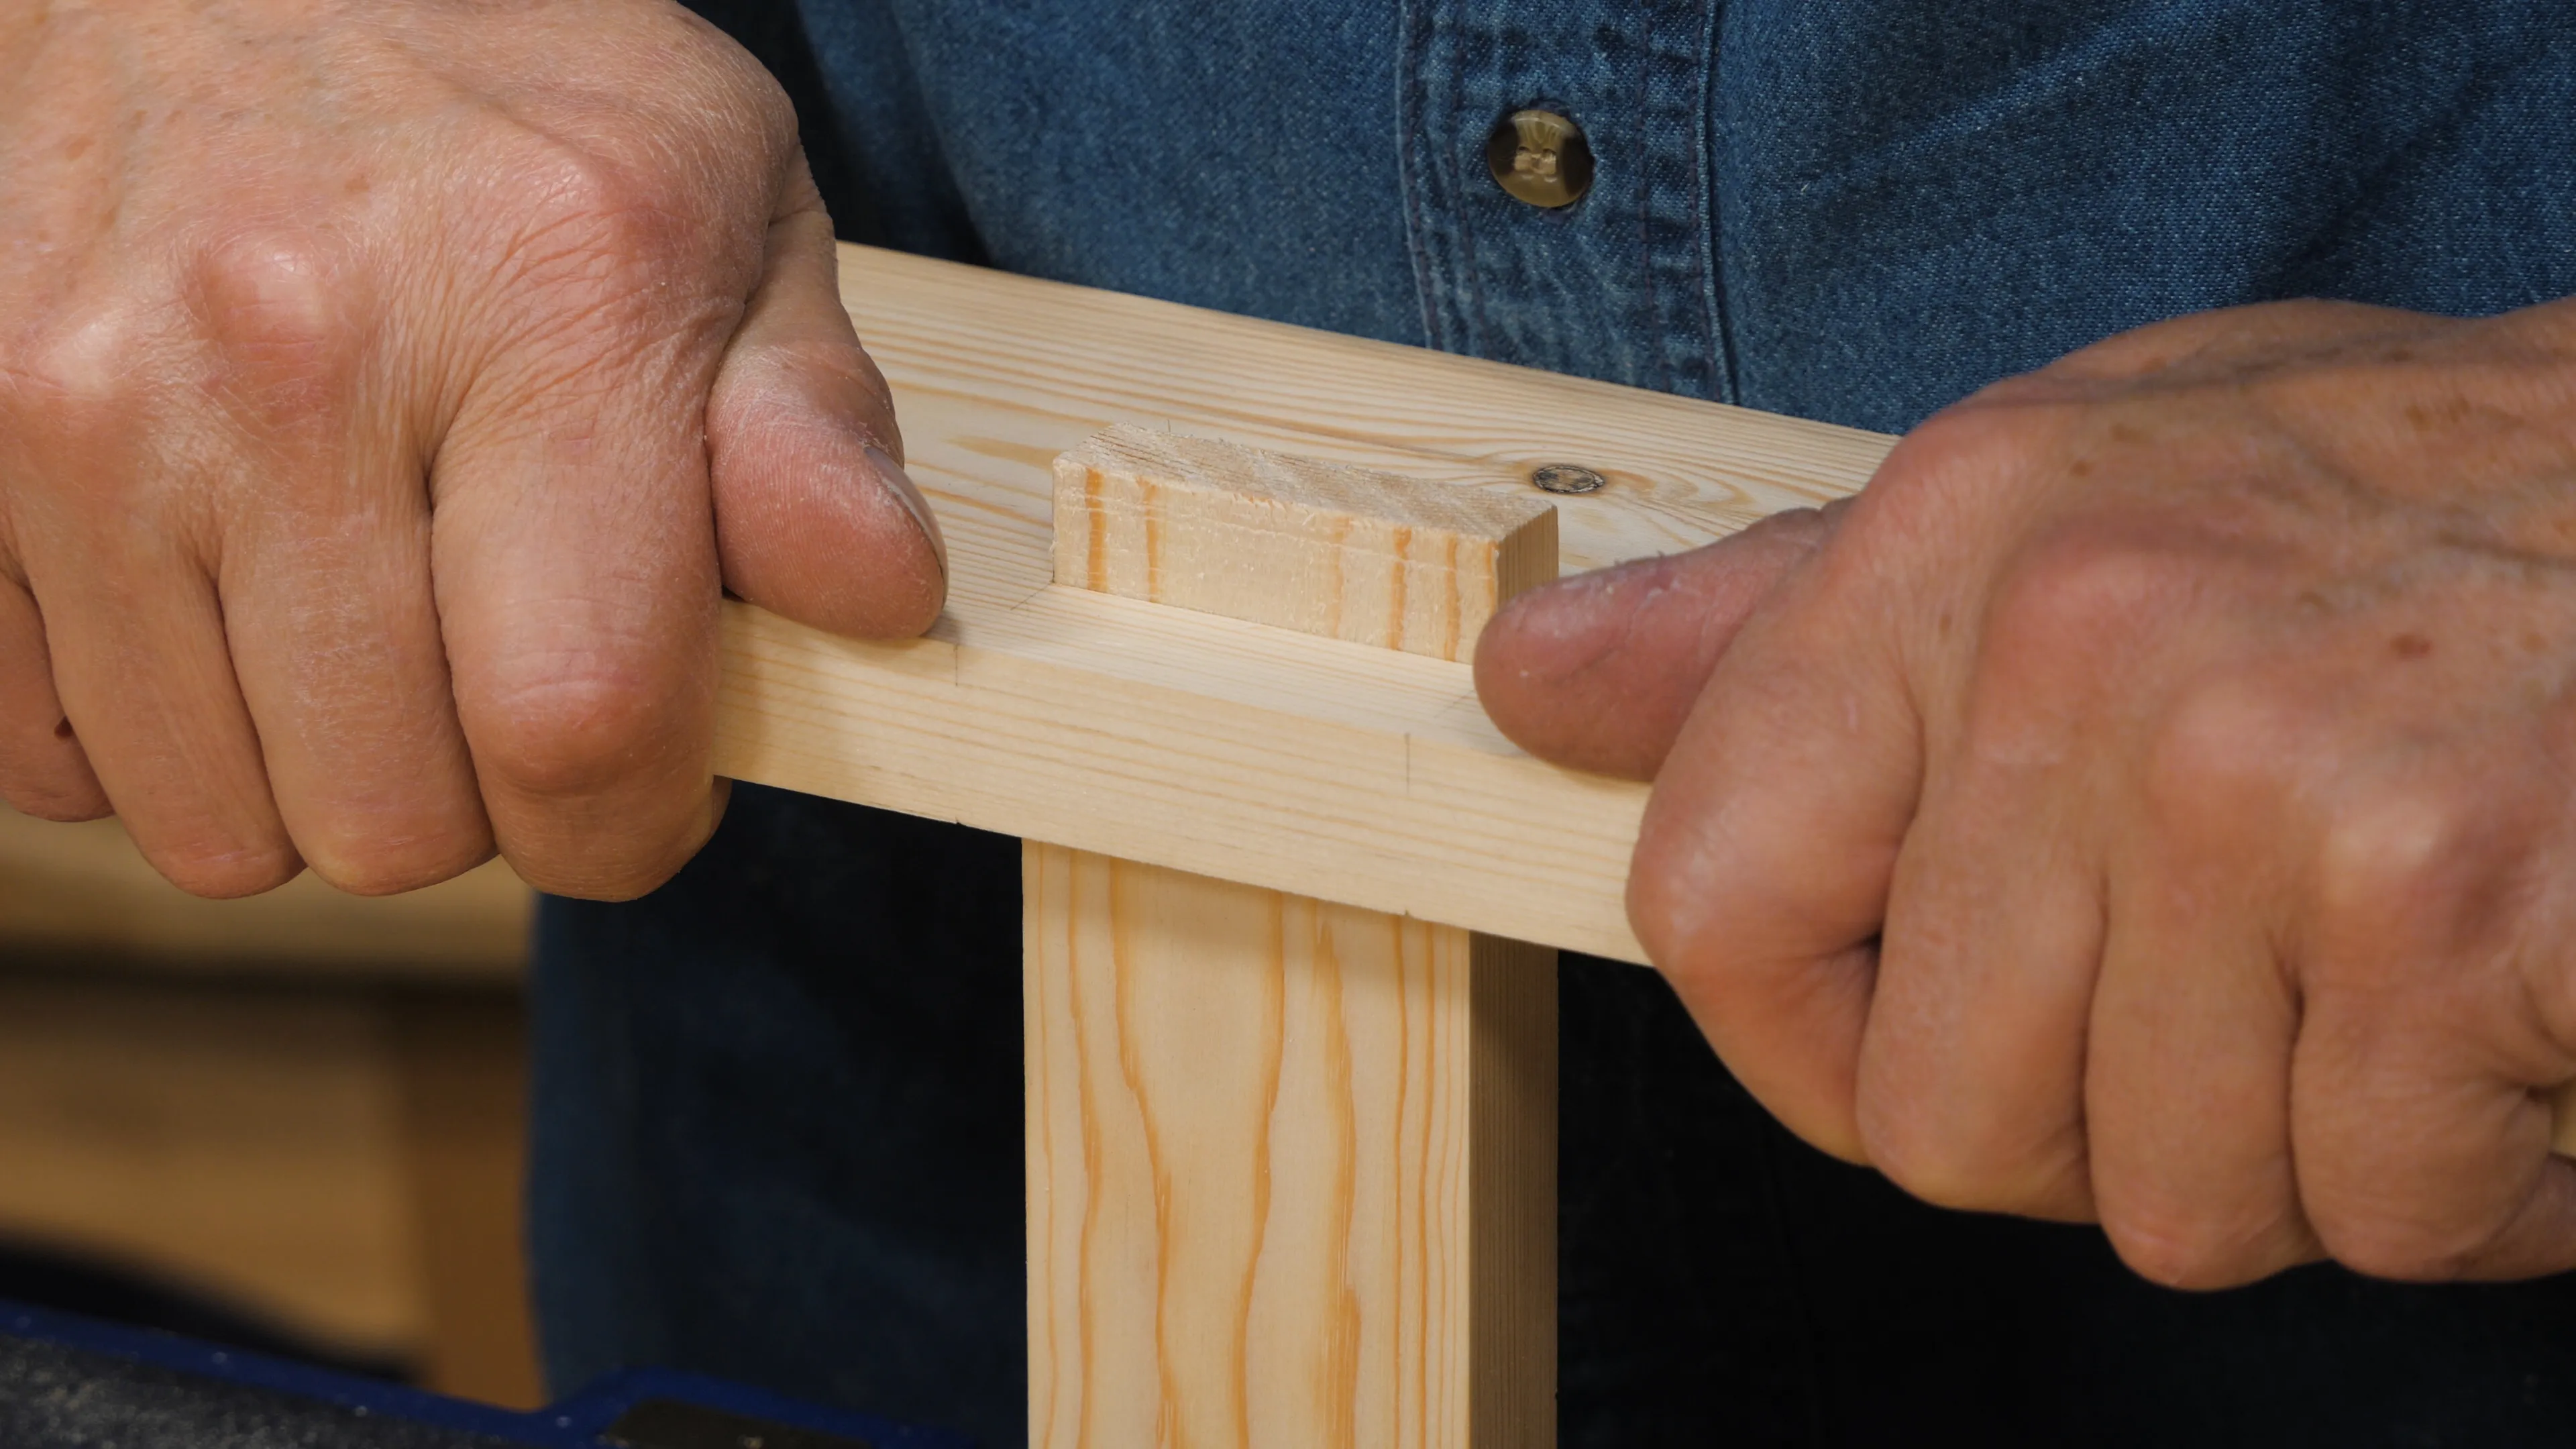
Starting with your stub tenons, present the first one to the appropriate mortise hole and test for tightness. You will probably have to clamp your rail in the vise and take a few, thin shavings from the cheeks. Try to keep the tenon straight, which can be tricky when they are so short.
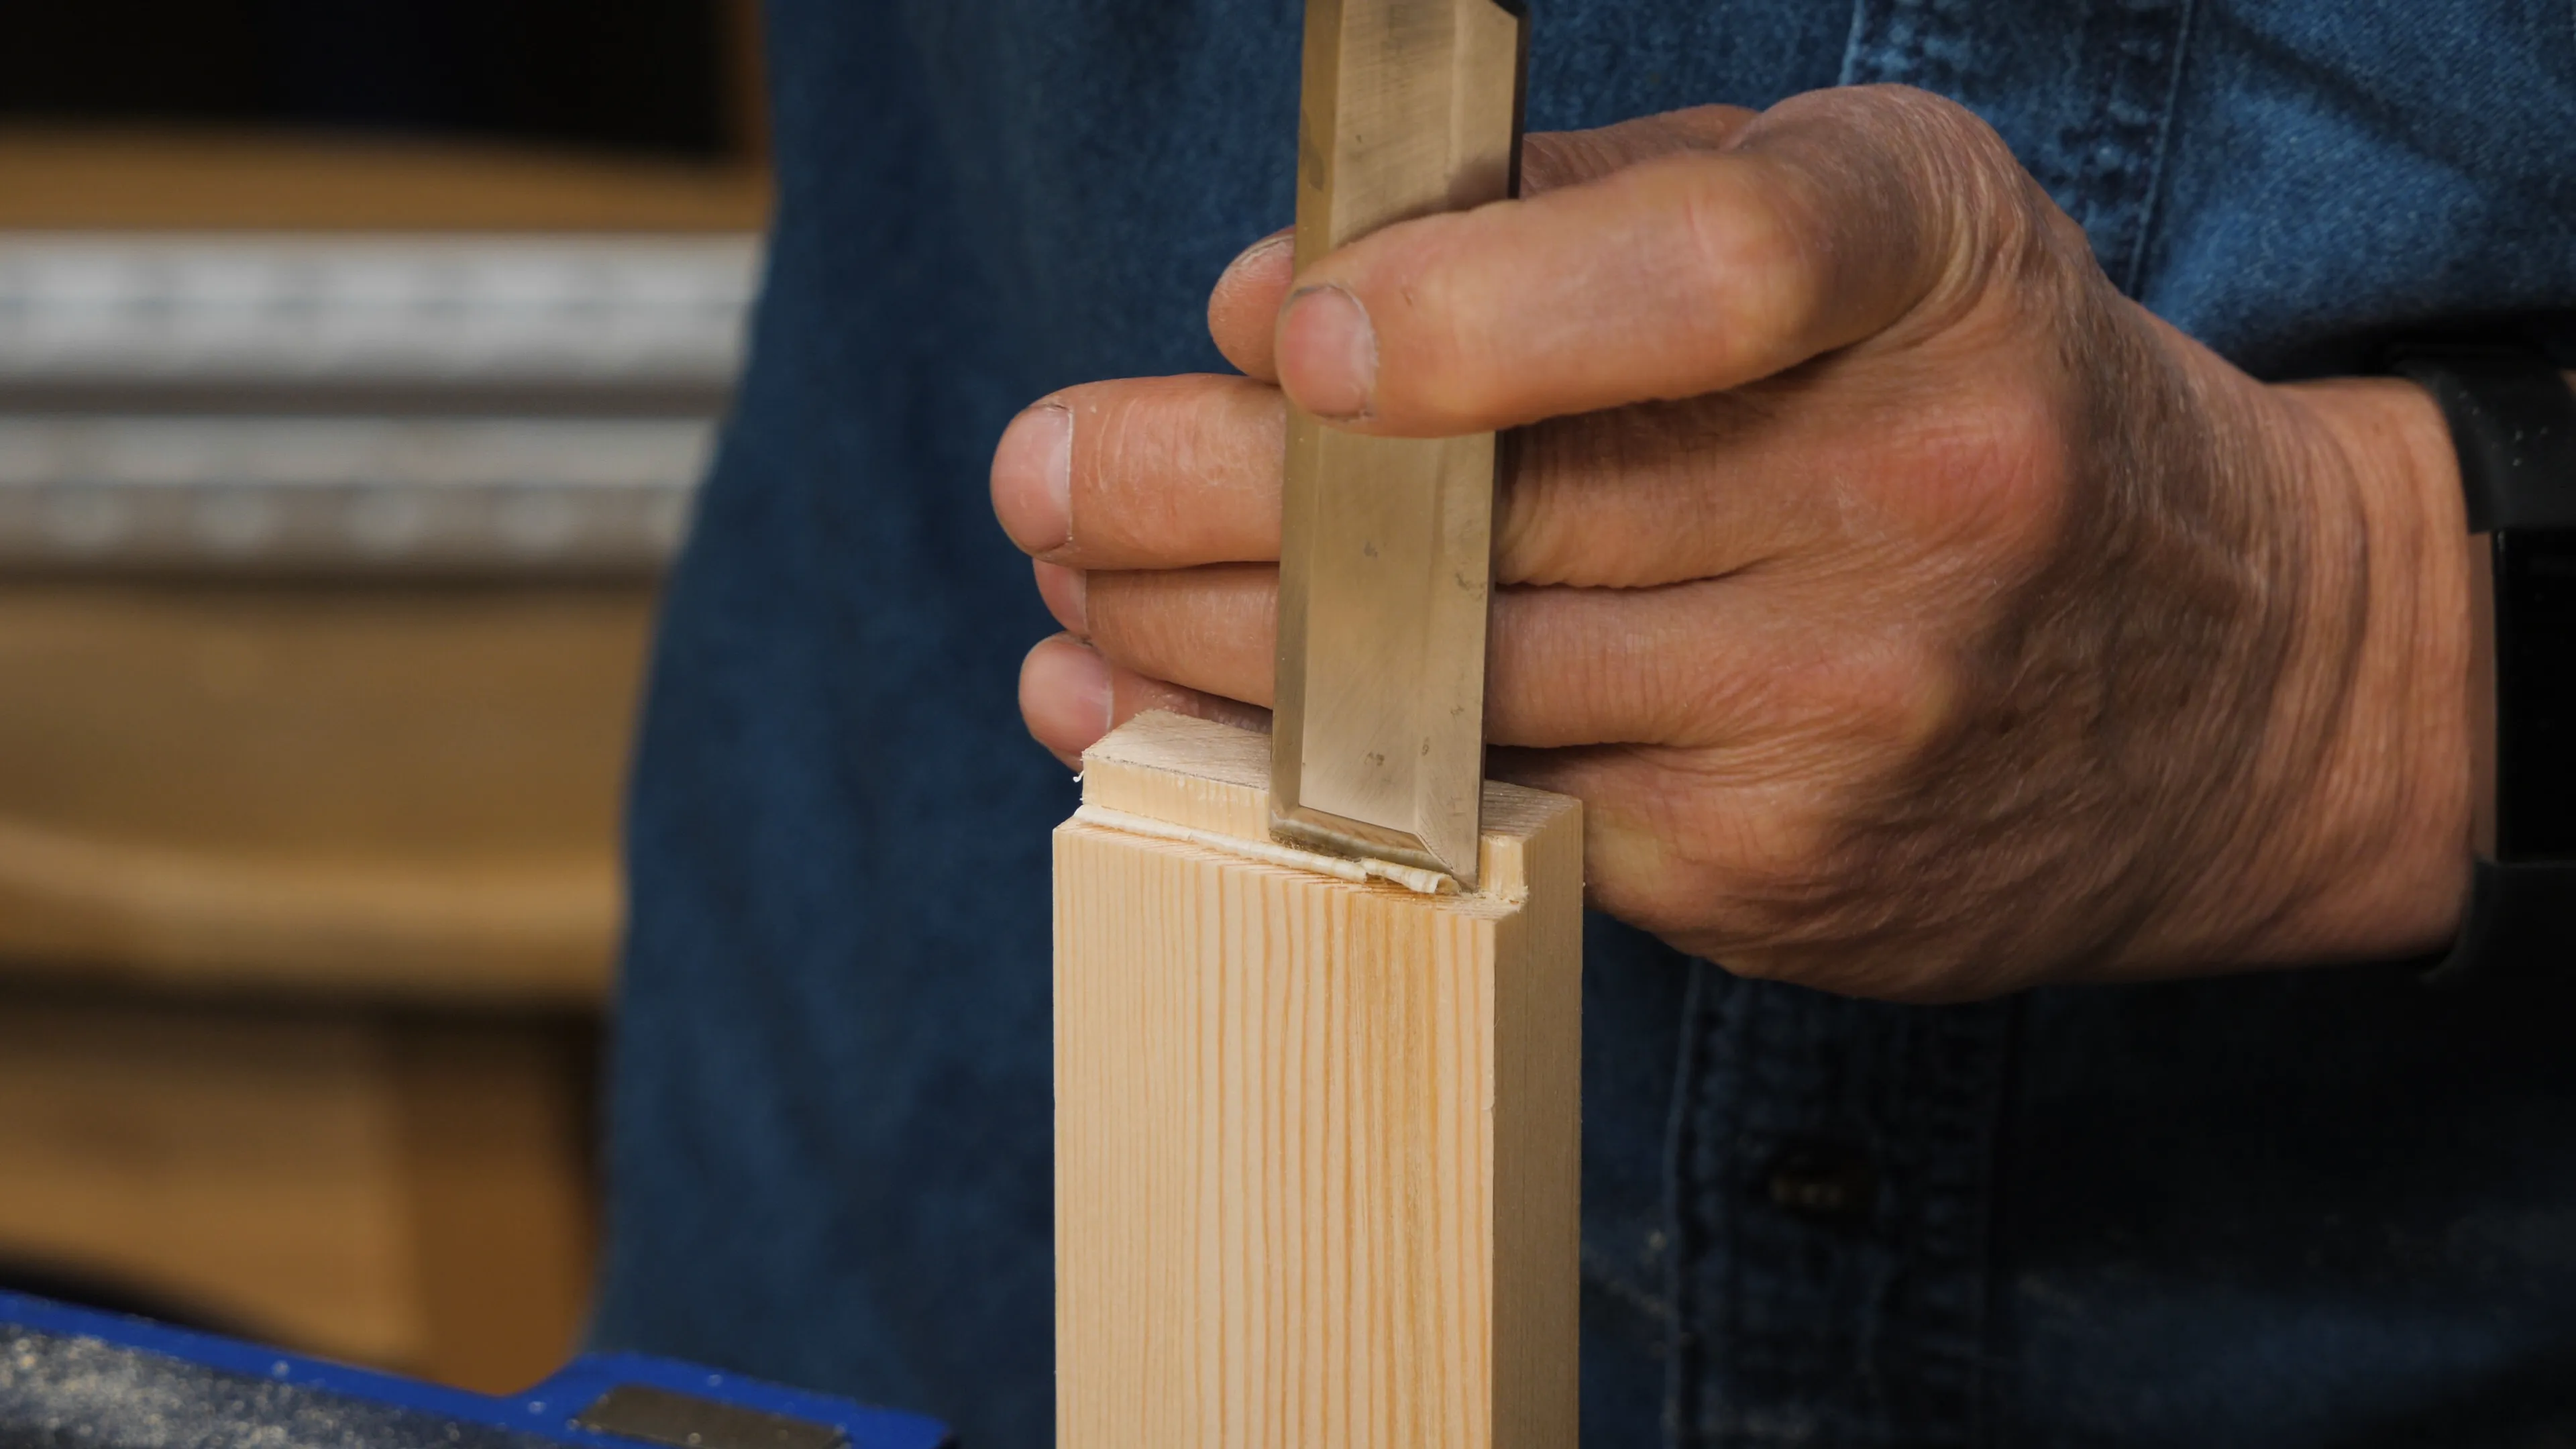
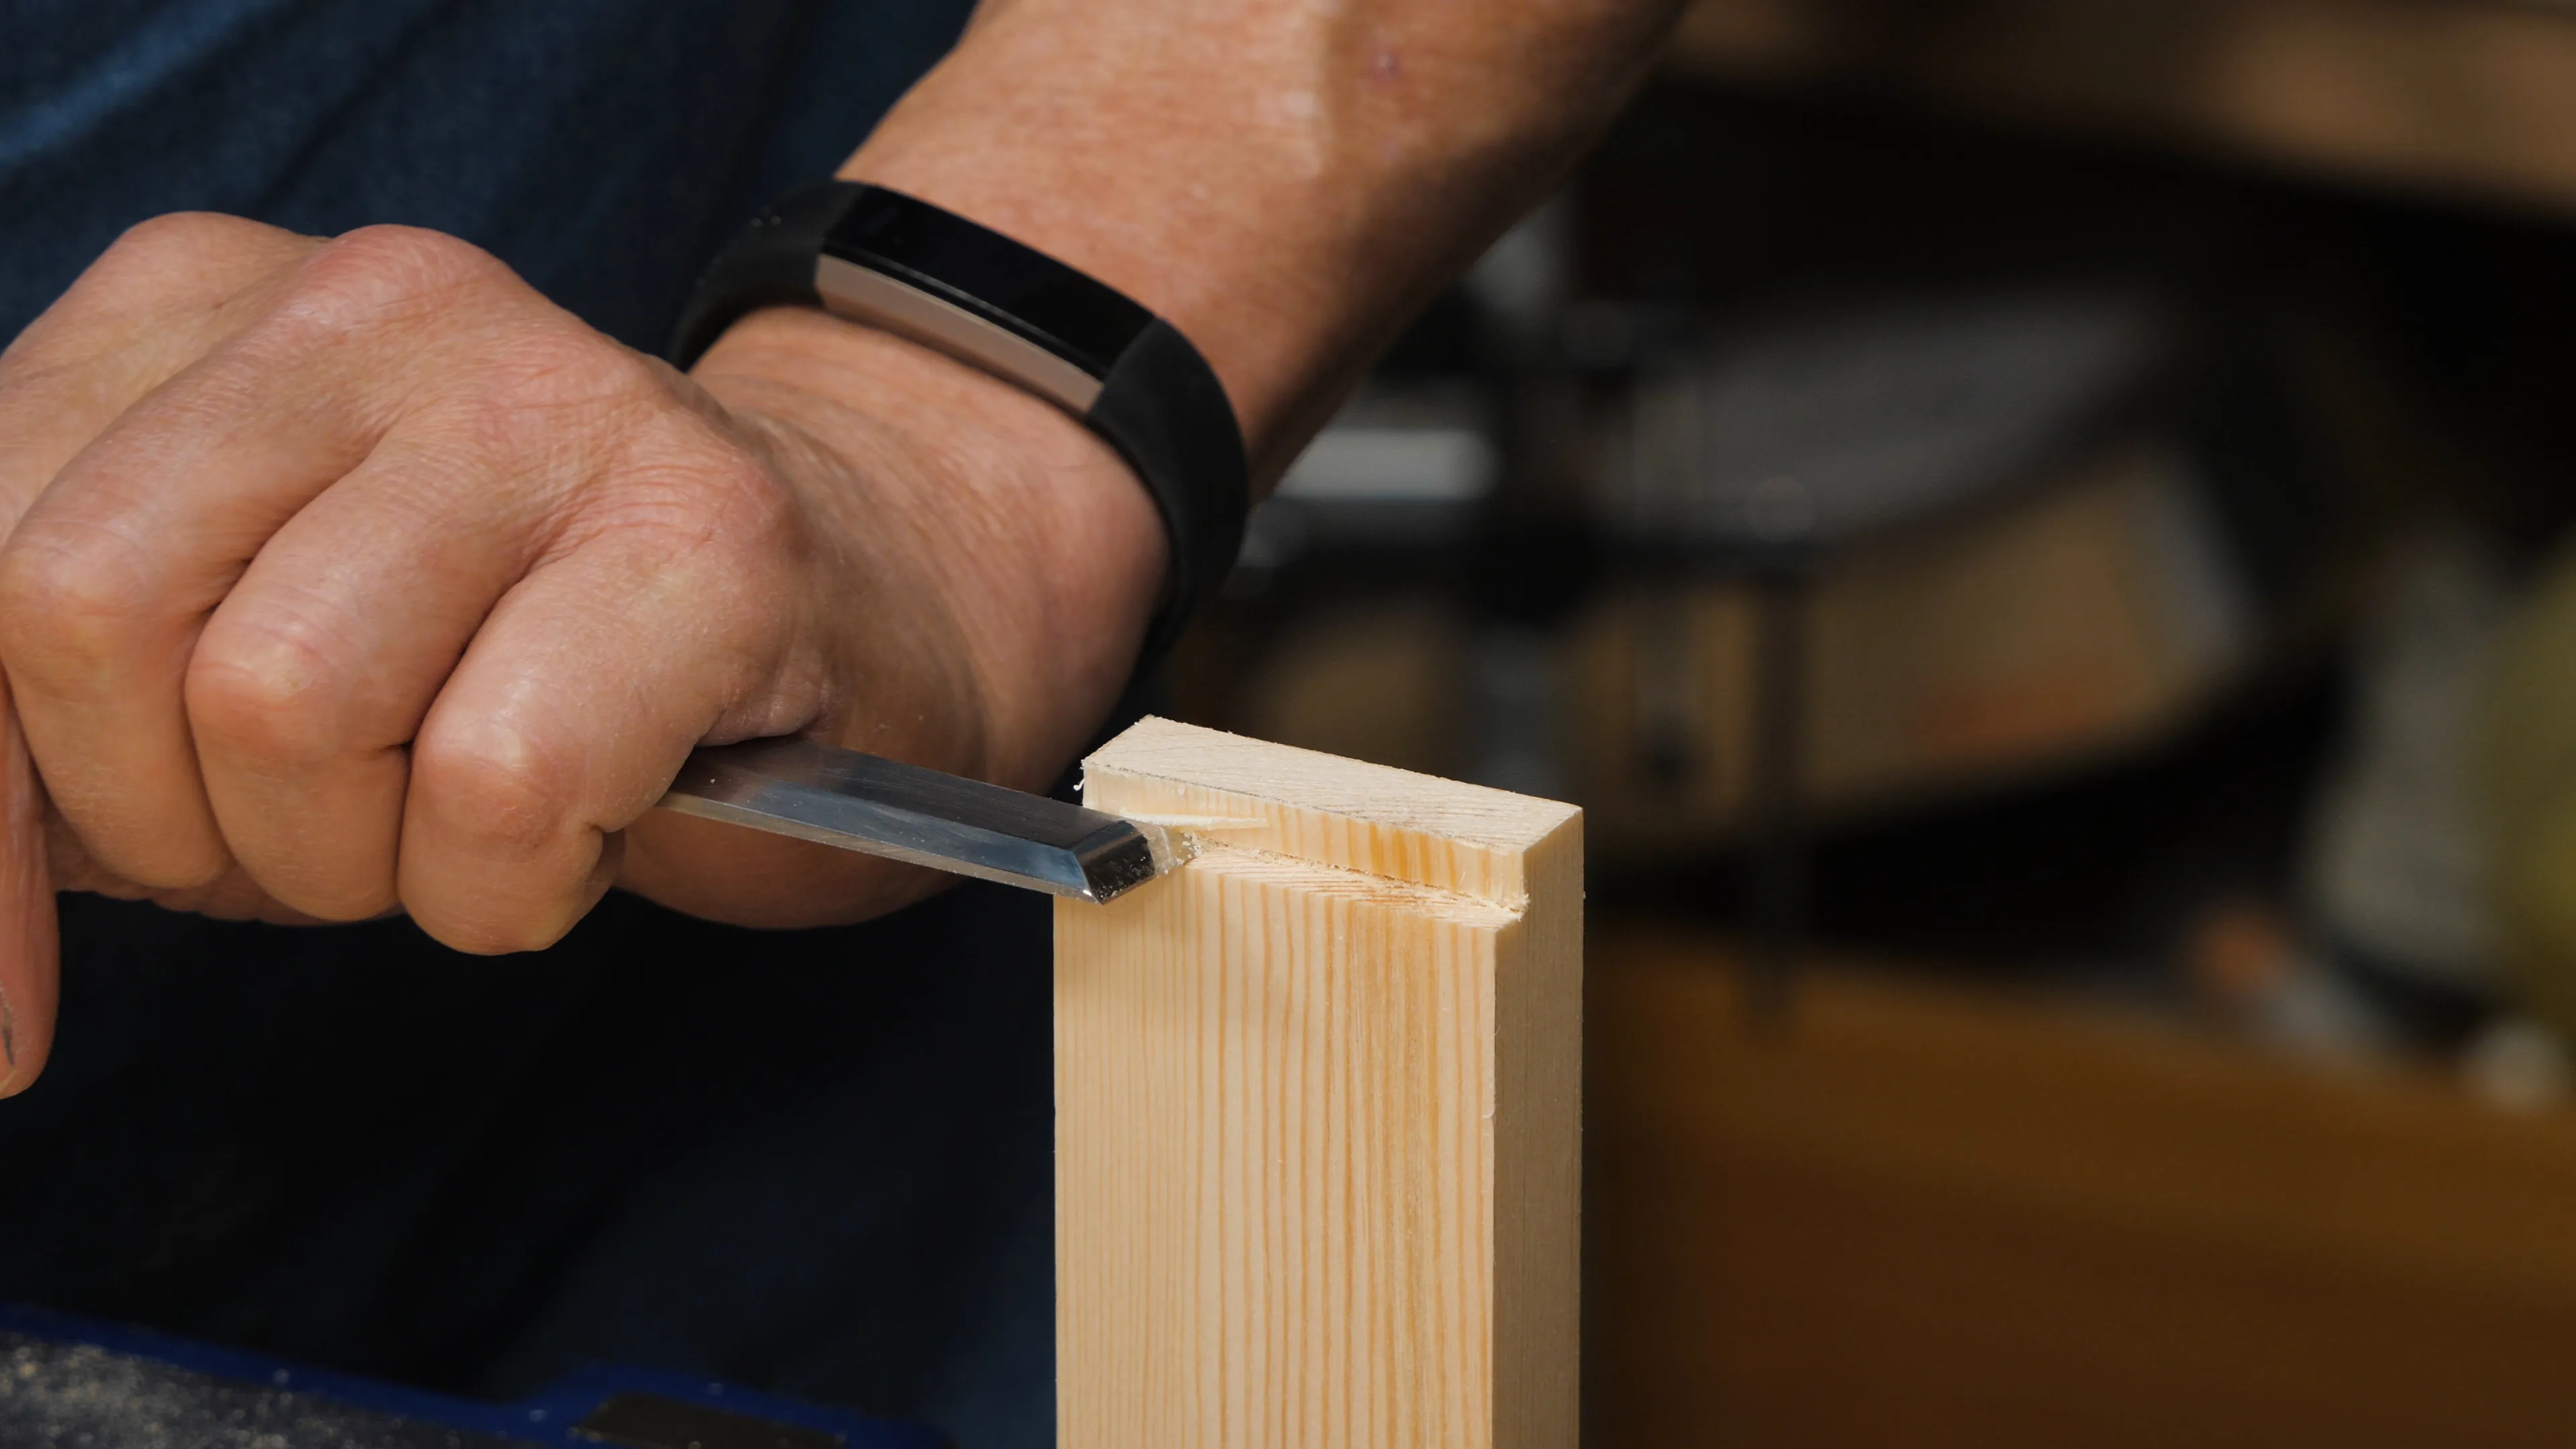
If your stub tenon joint is still a bit tight, use a sharp plane finely set to take a few, light shavings off the back face of the tenon. Only take one or two shavings off at a time before trying again as you don’t want to end up with a loose joint.
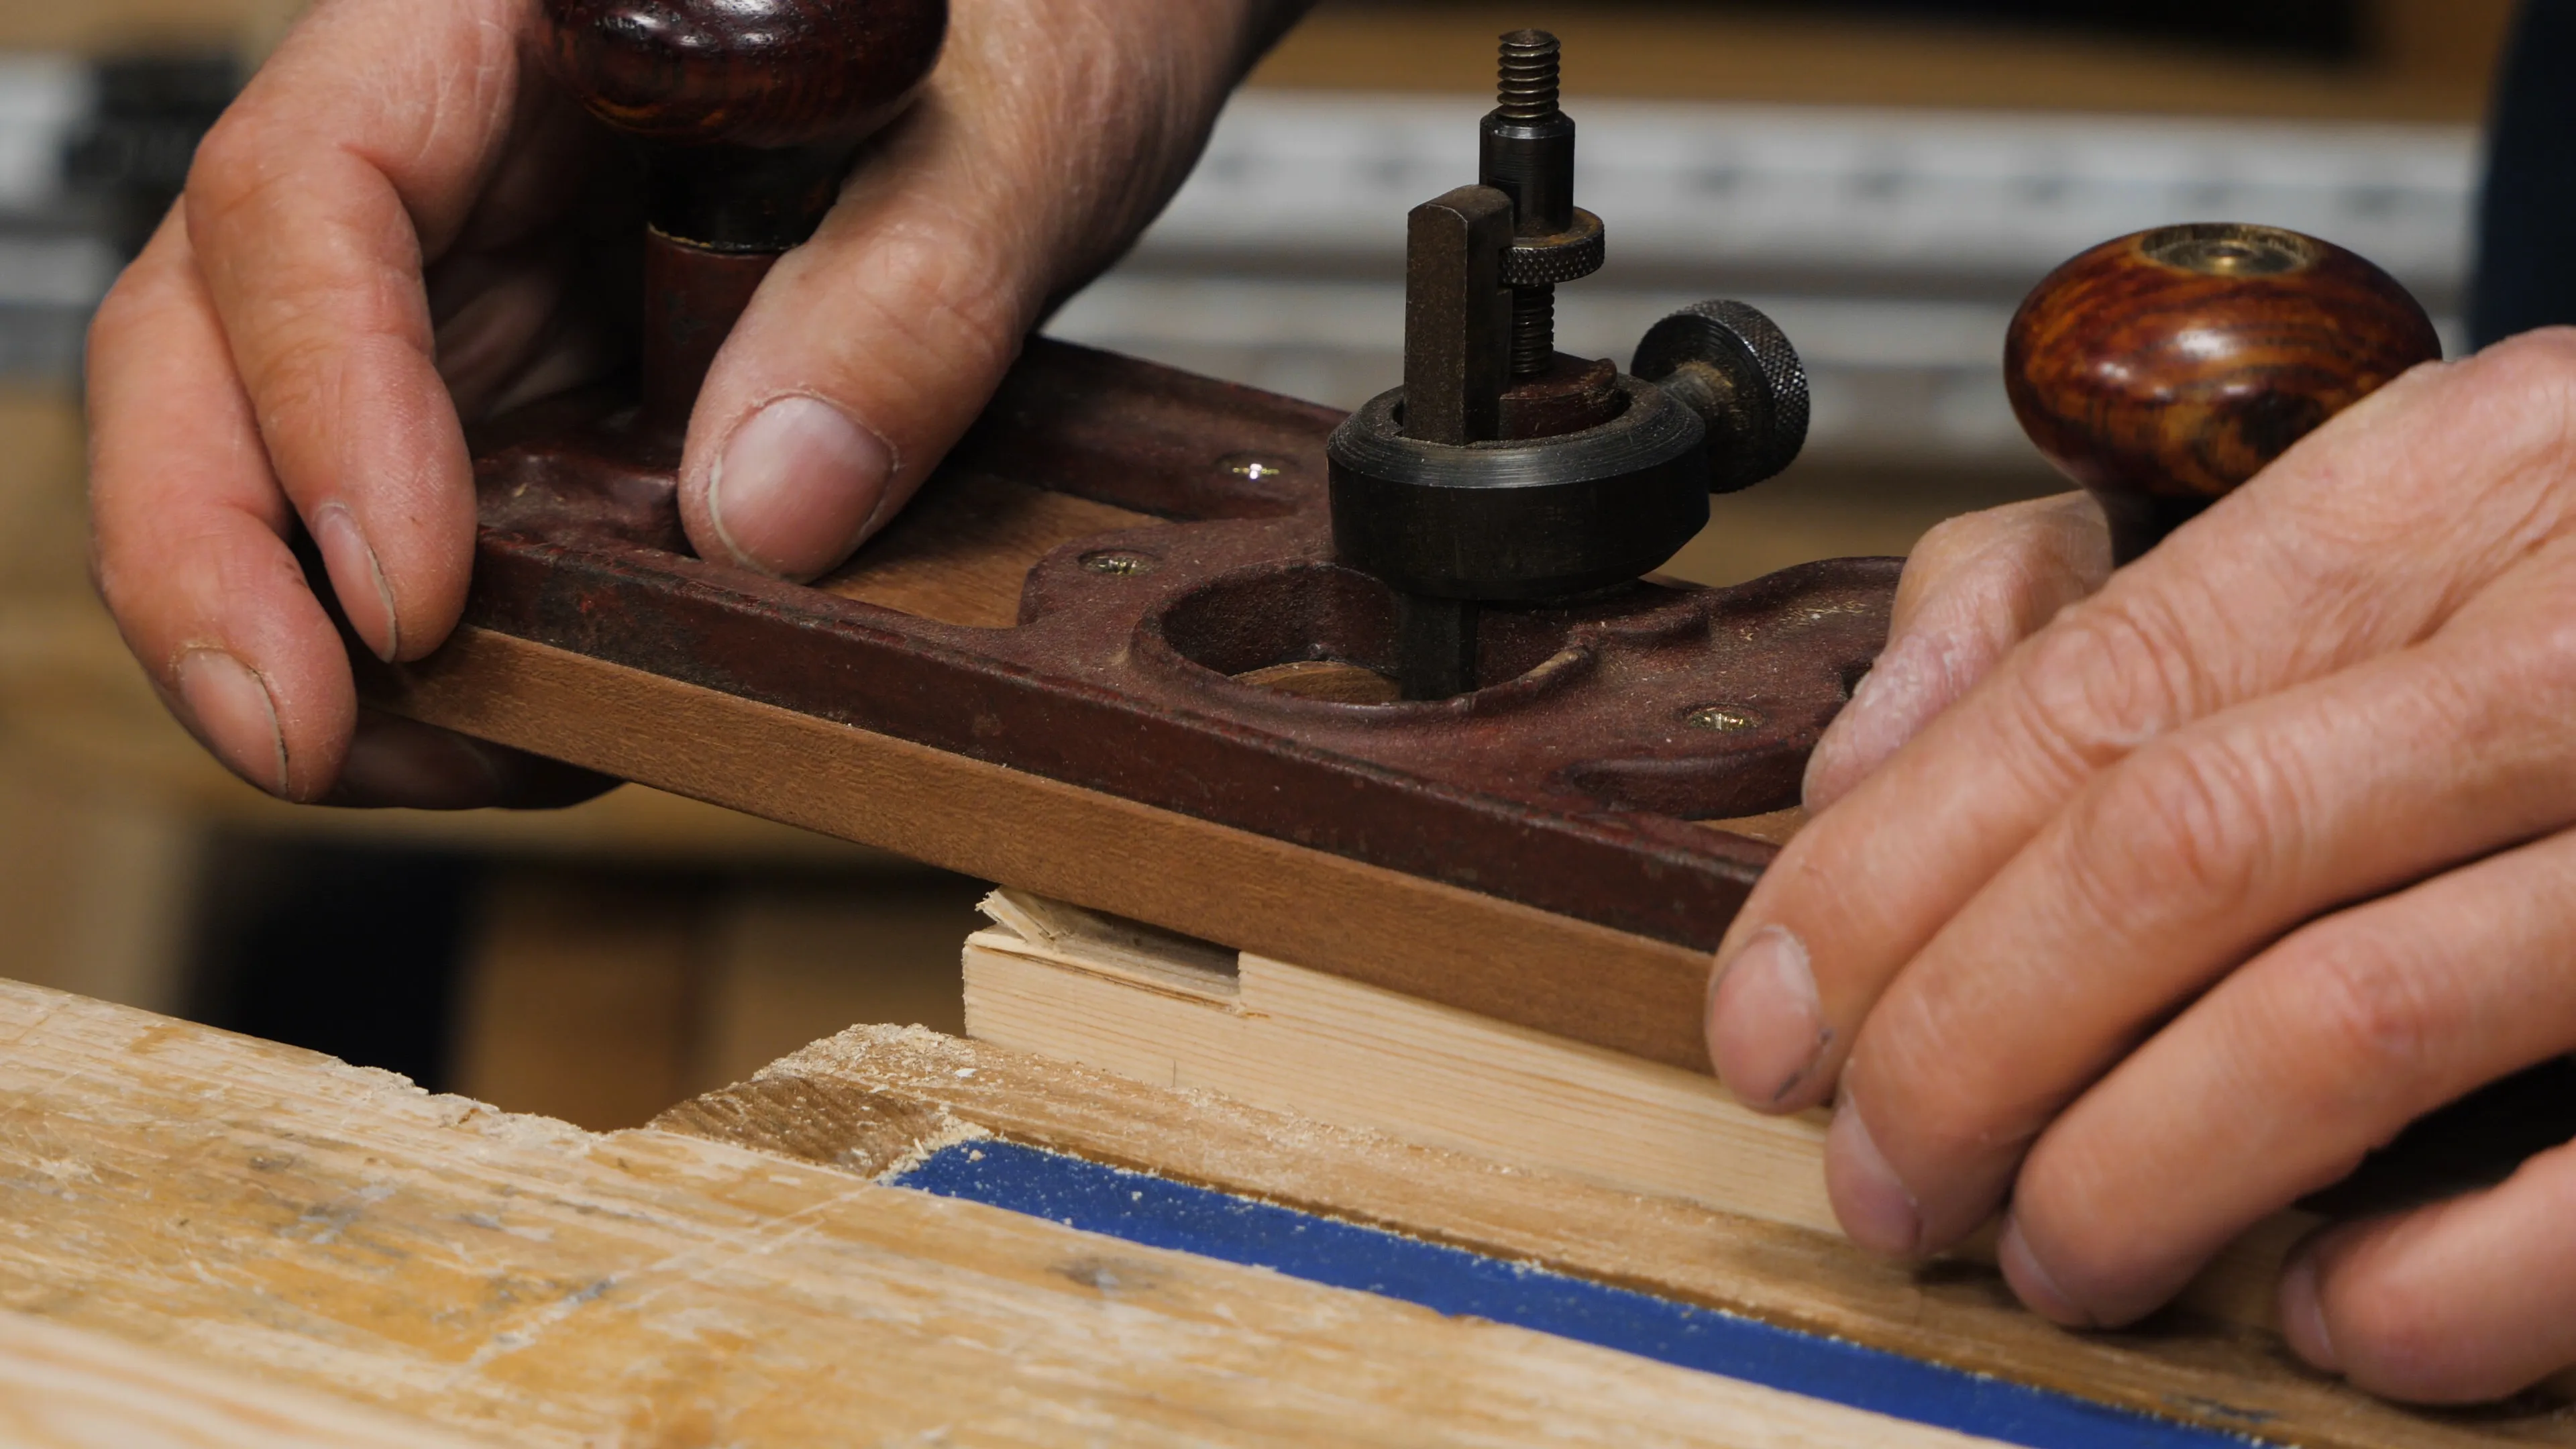
On the through tenons, you may have to take quite a bit more off if you left it a little too fat. Maintaining the cheeks level is also more important now since any jagged cuts will be seen where the tenon protrudes past the side piece.
The best result is achieved using the router plane to work down to depth gradually, as it will allow you to ensure a perfectly parallel surface to the front of the rail. After taking a thin layer off the whole of the face, test again in the mortise hole and repeat until you get a snug fit.
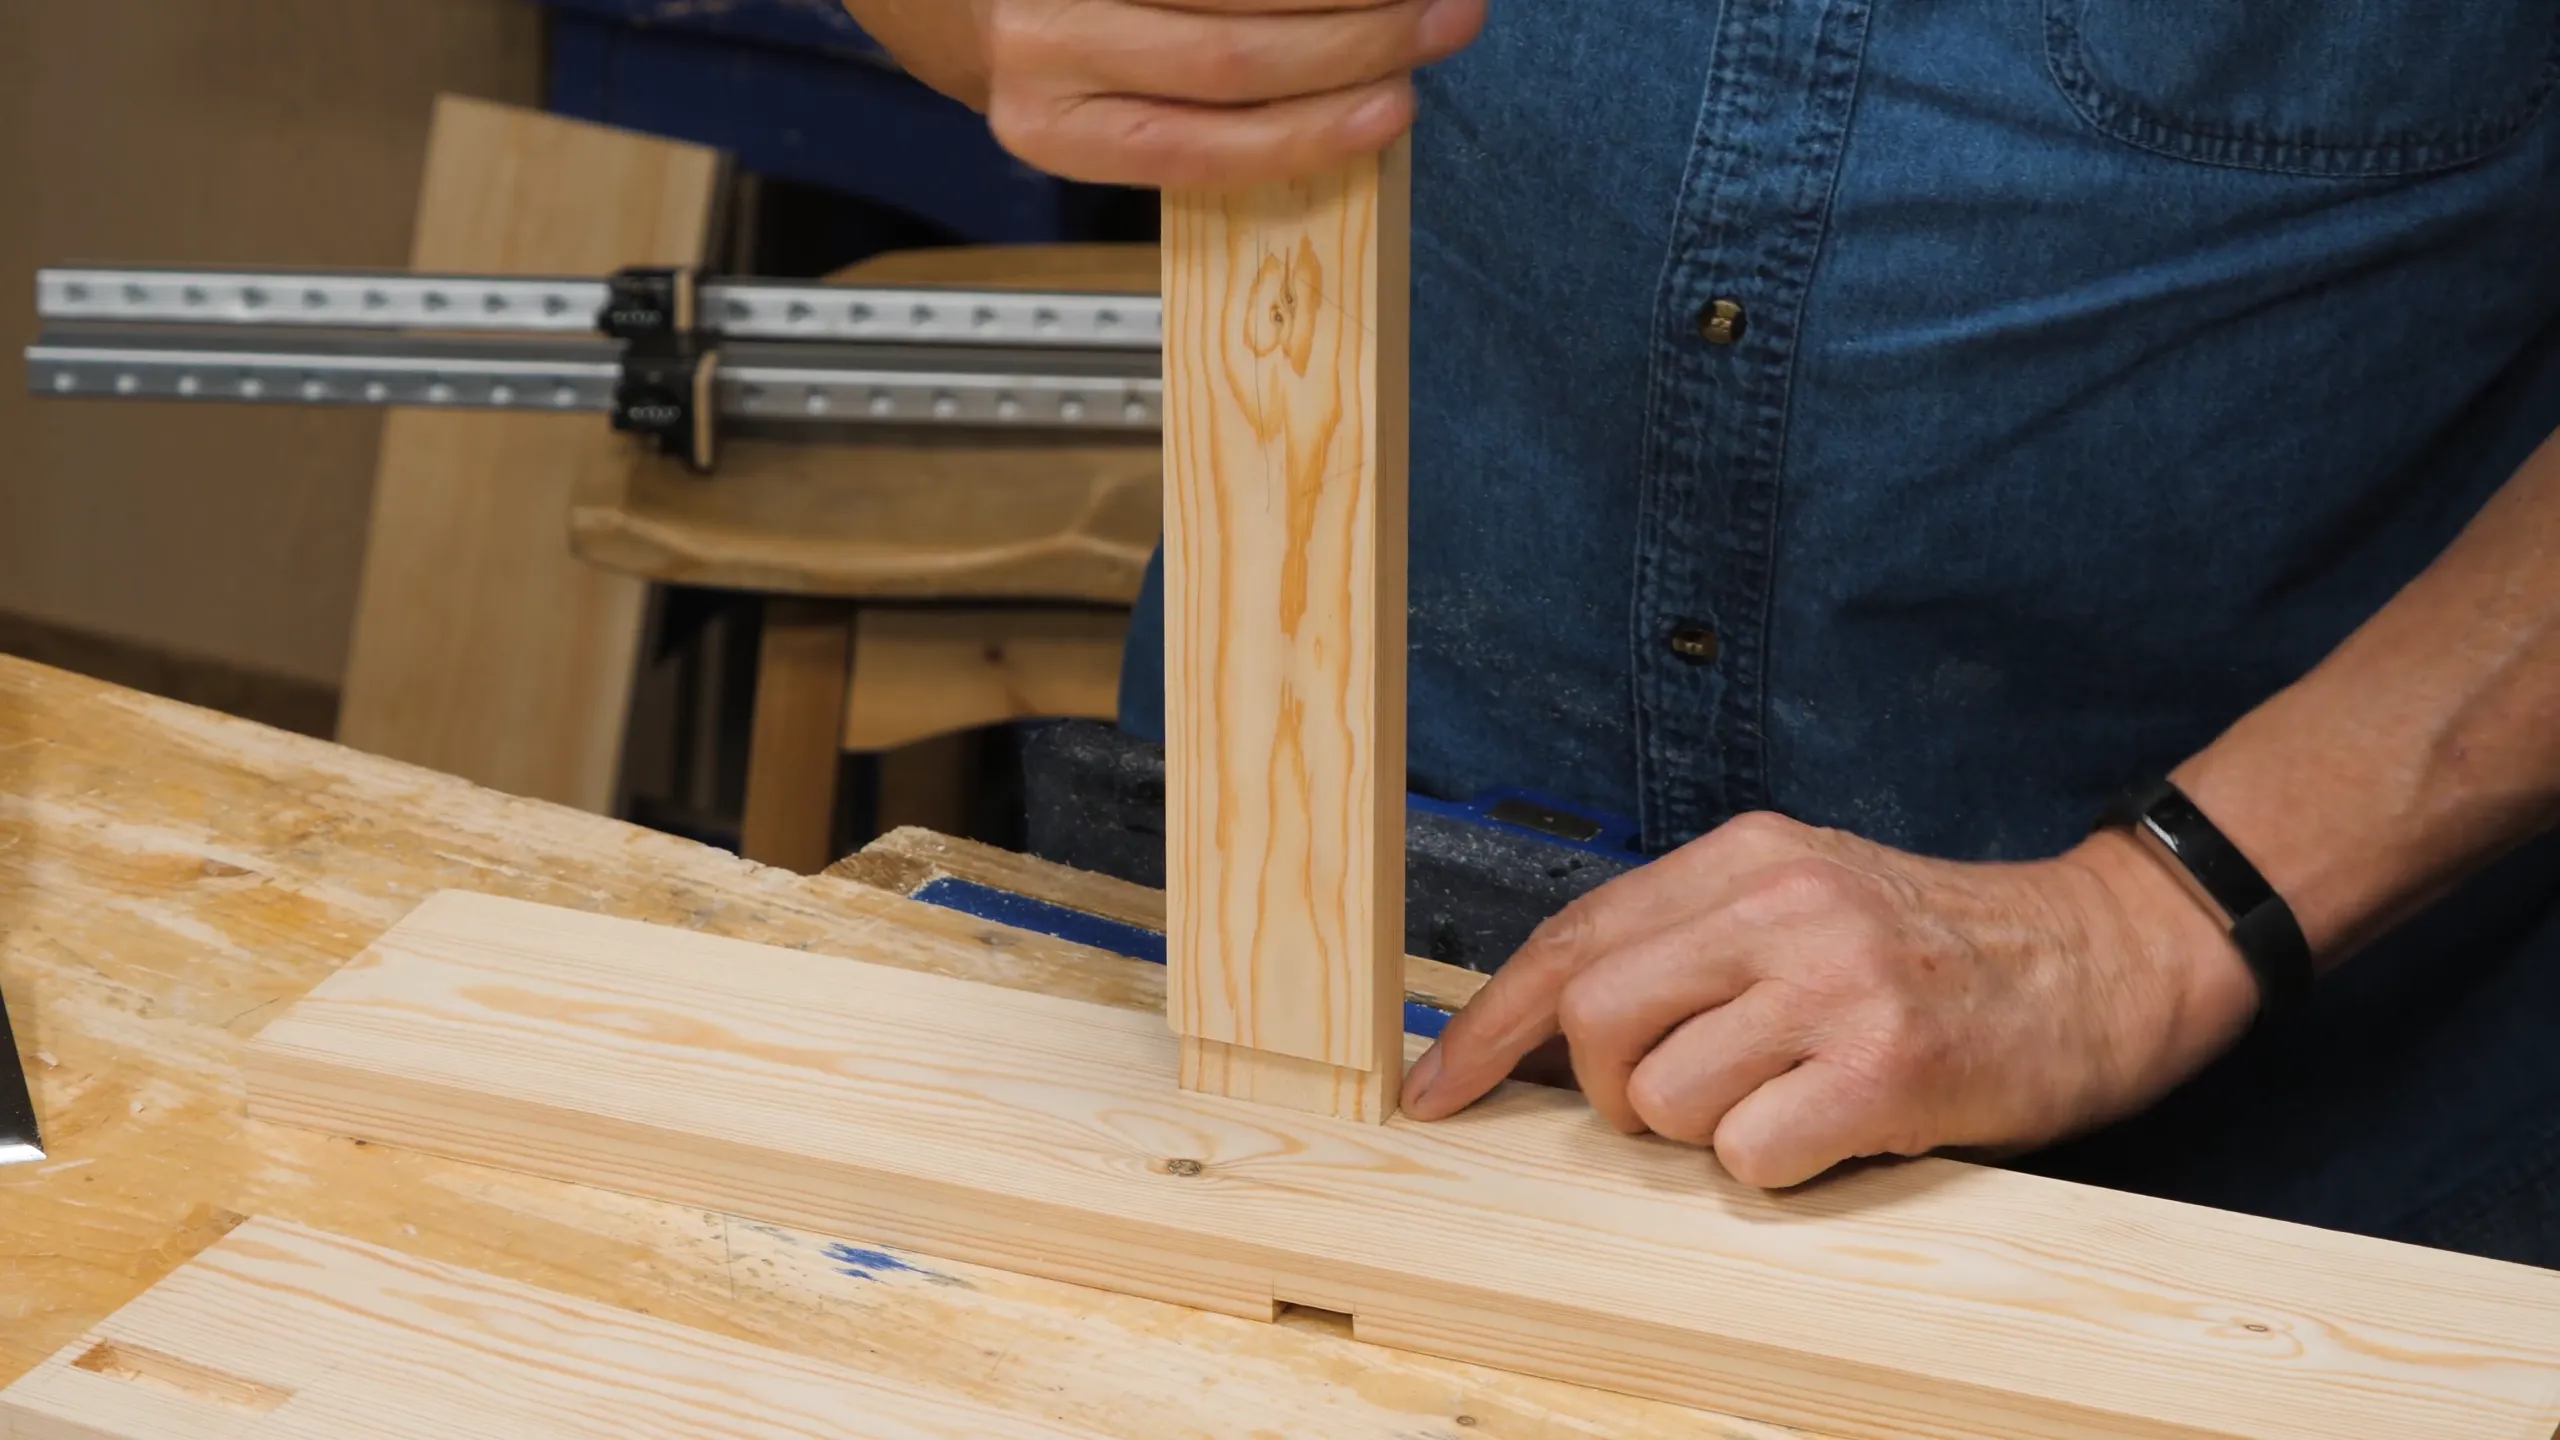
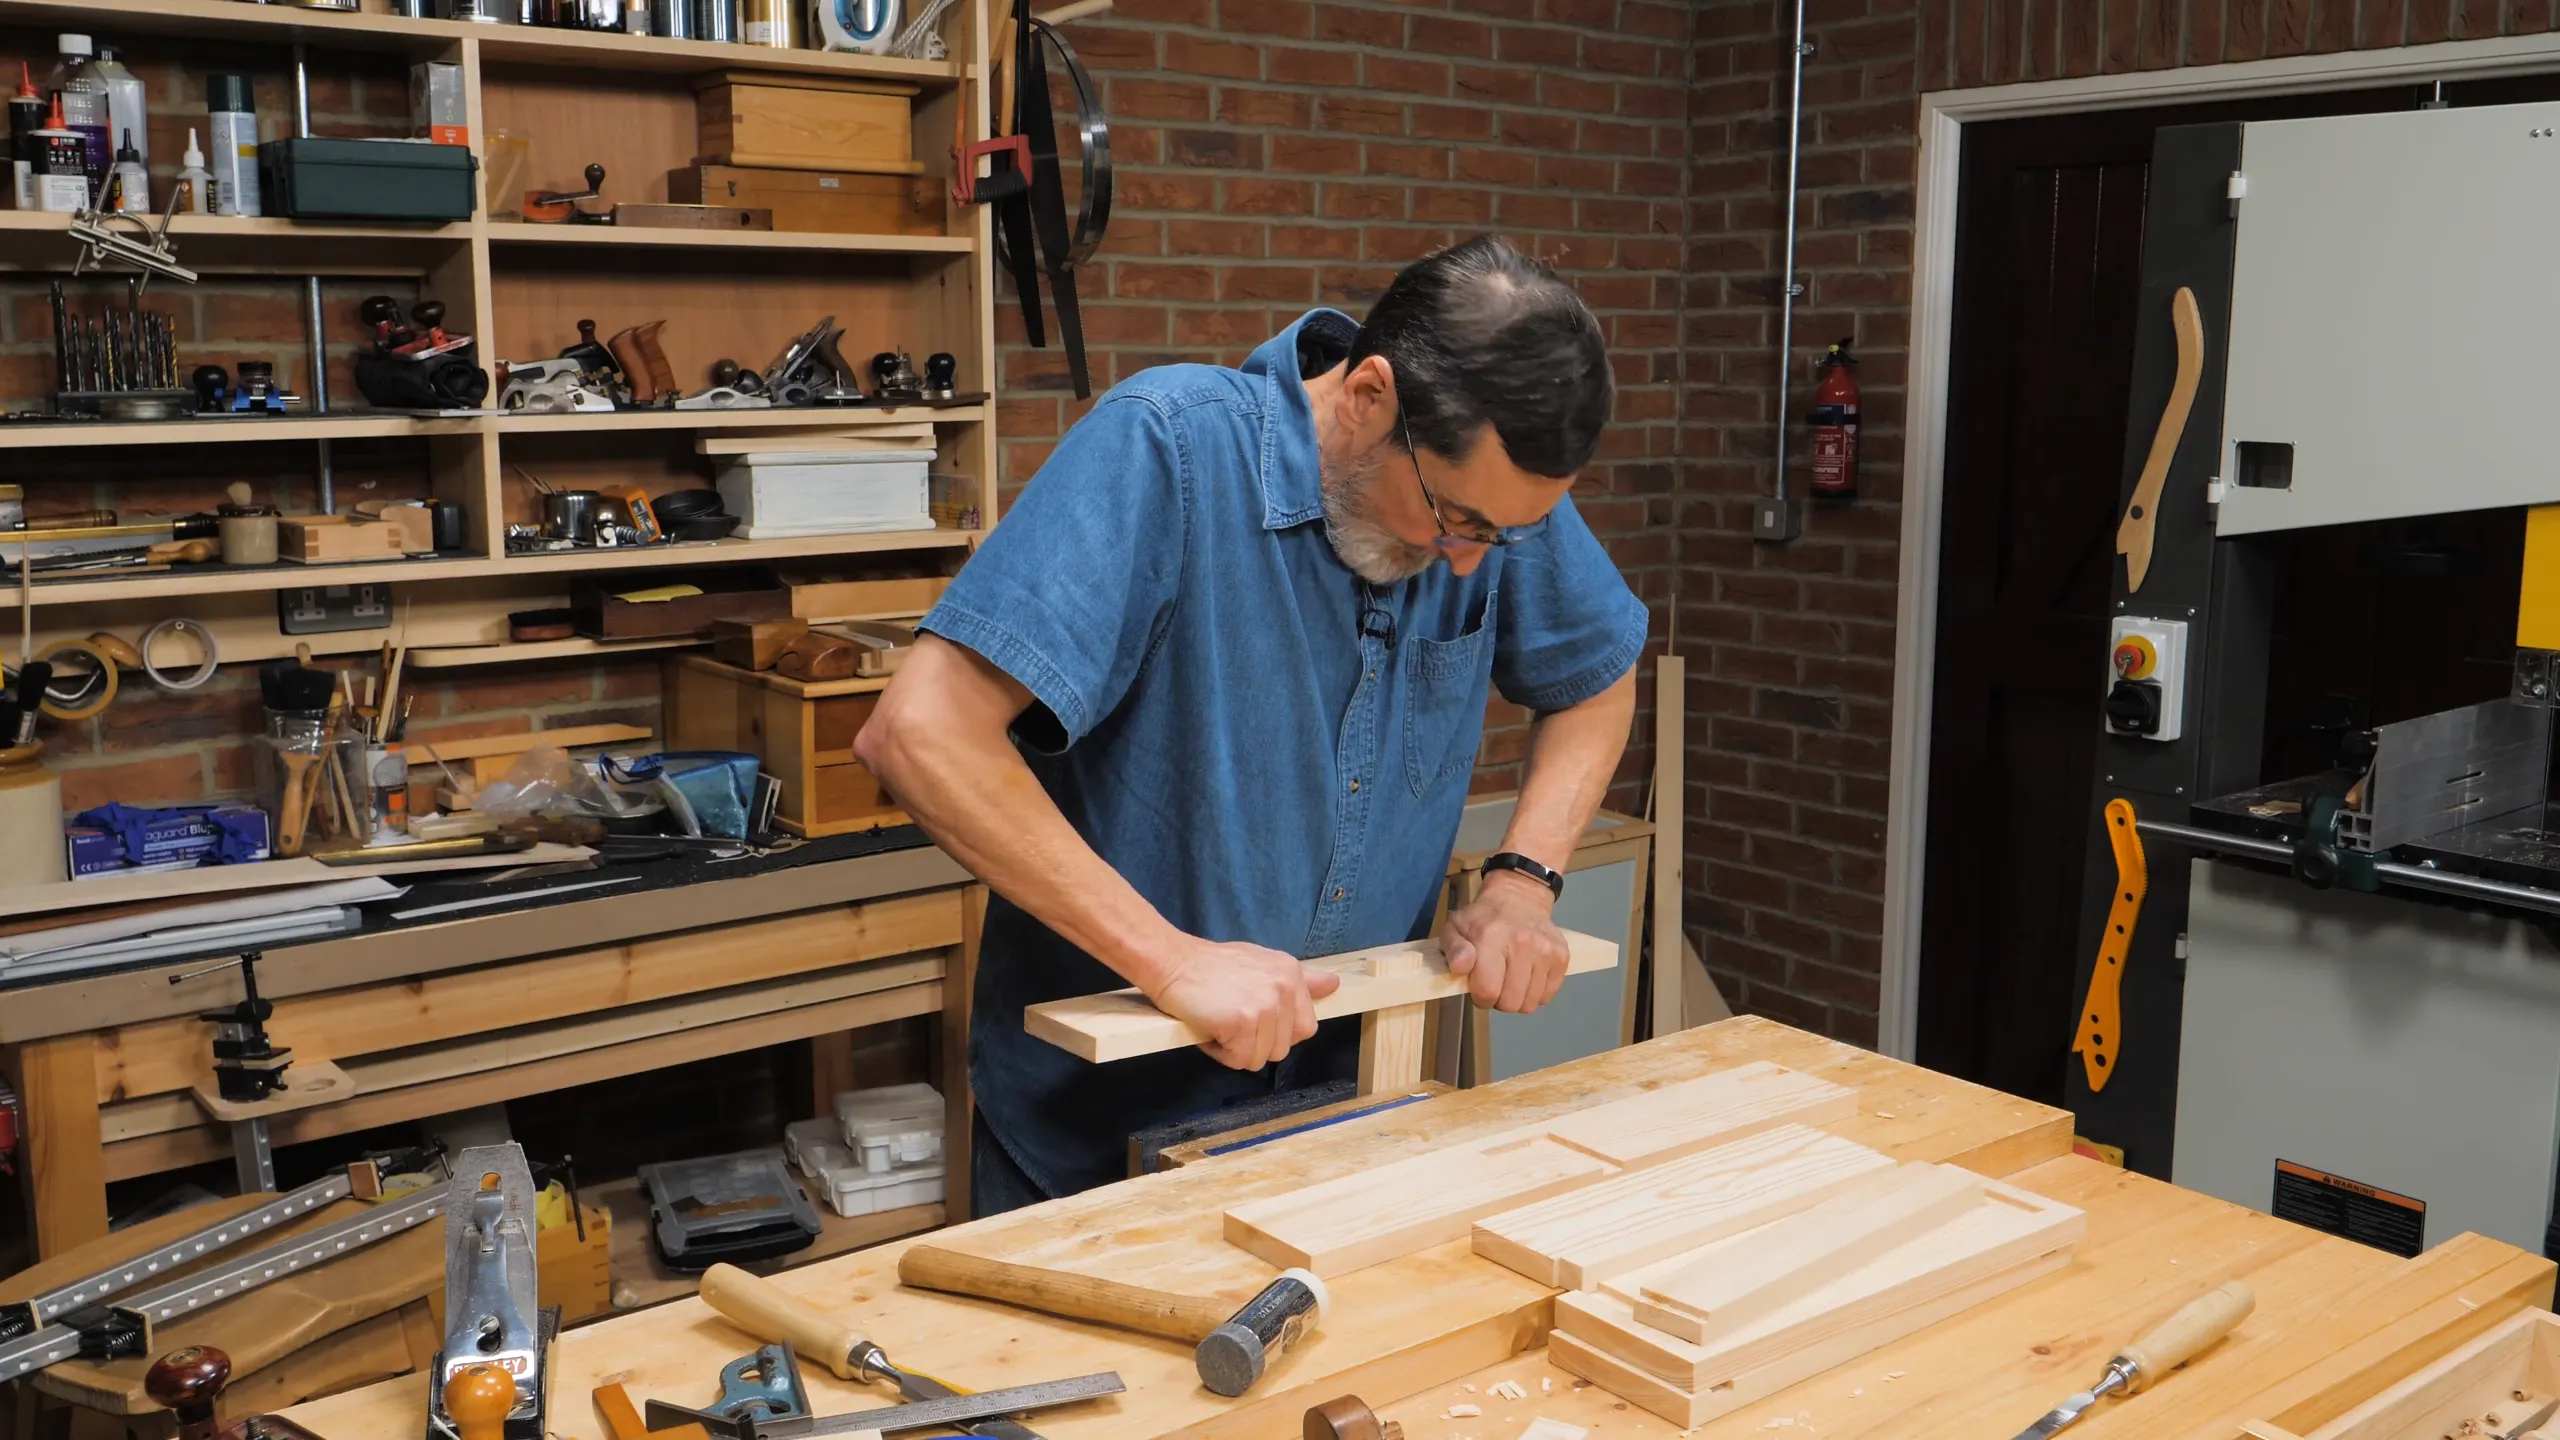
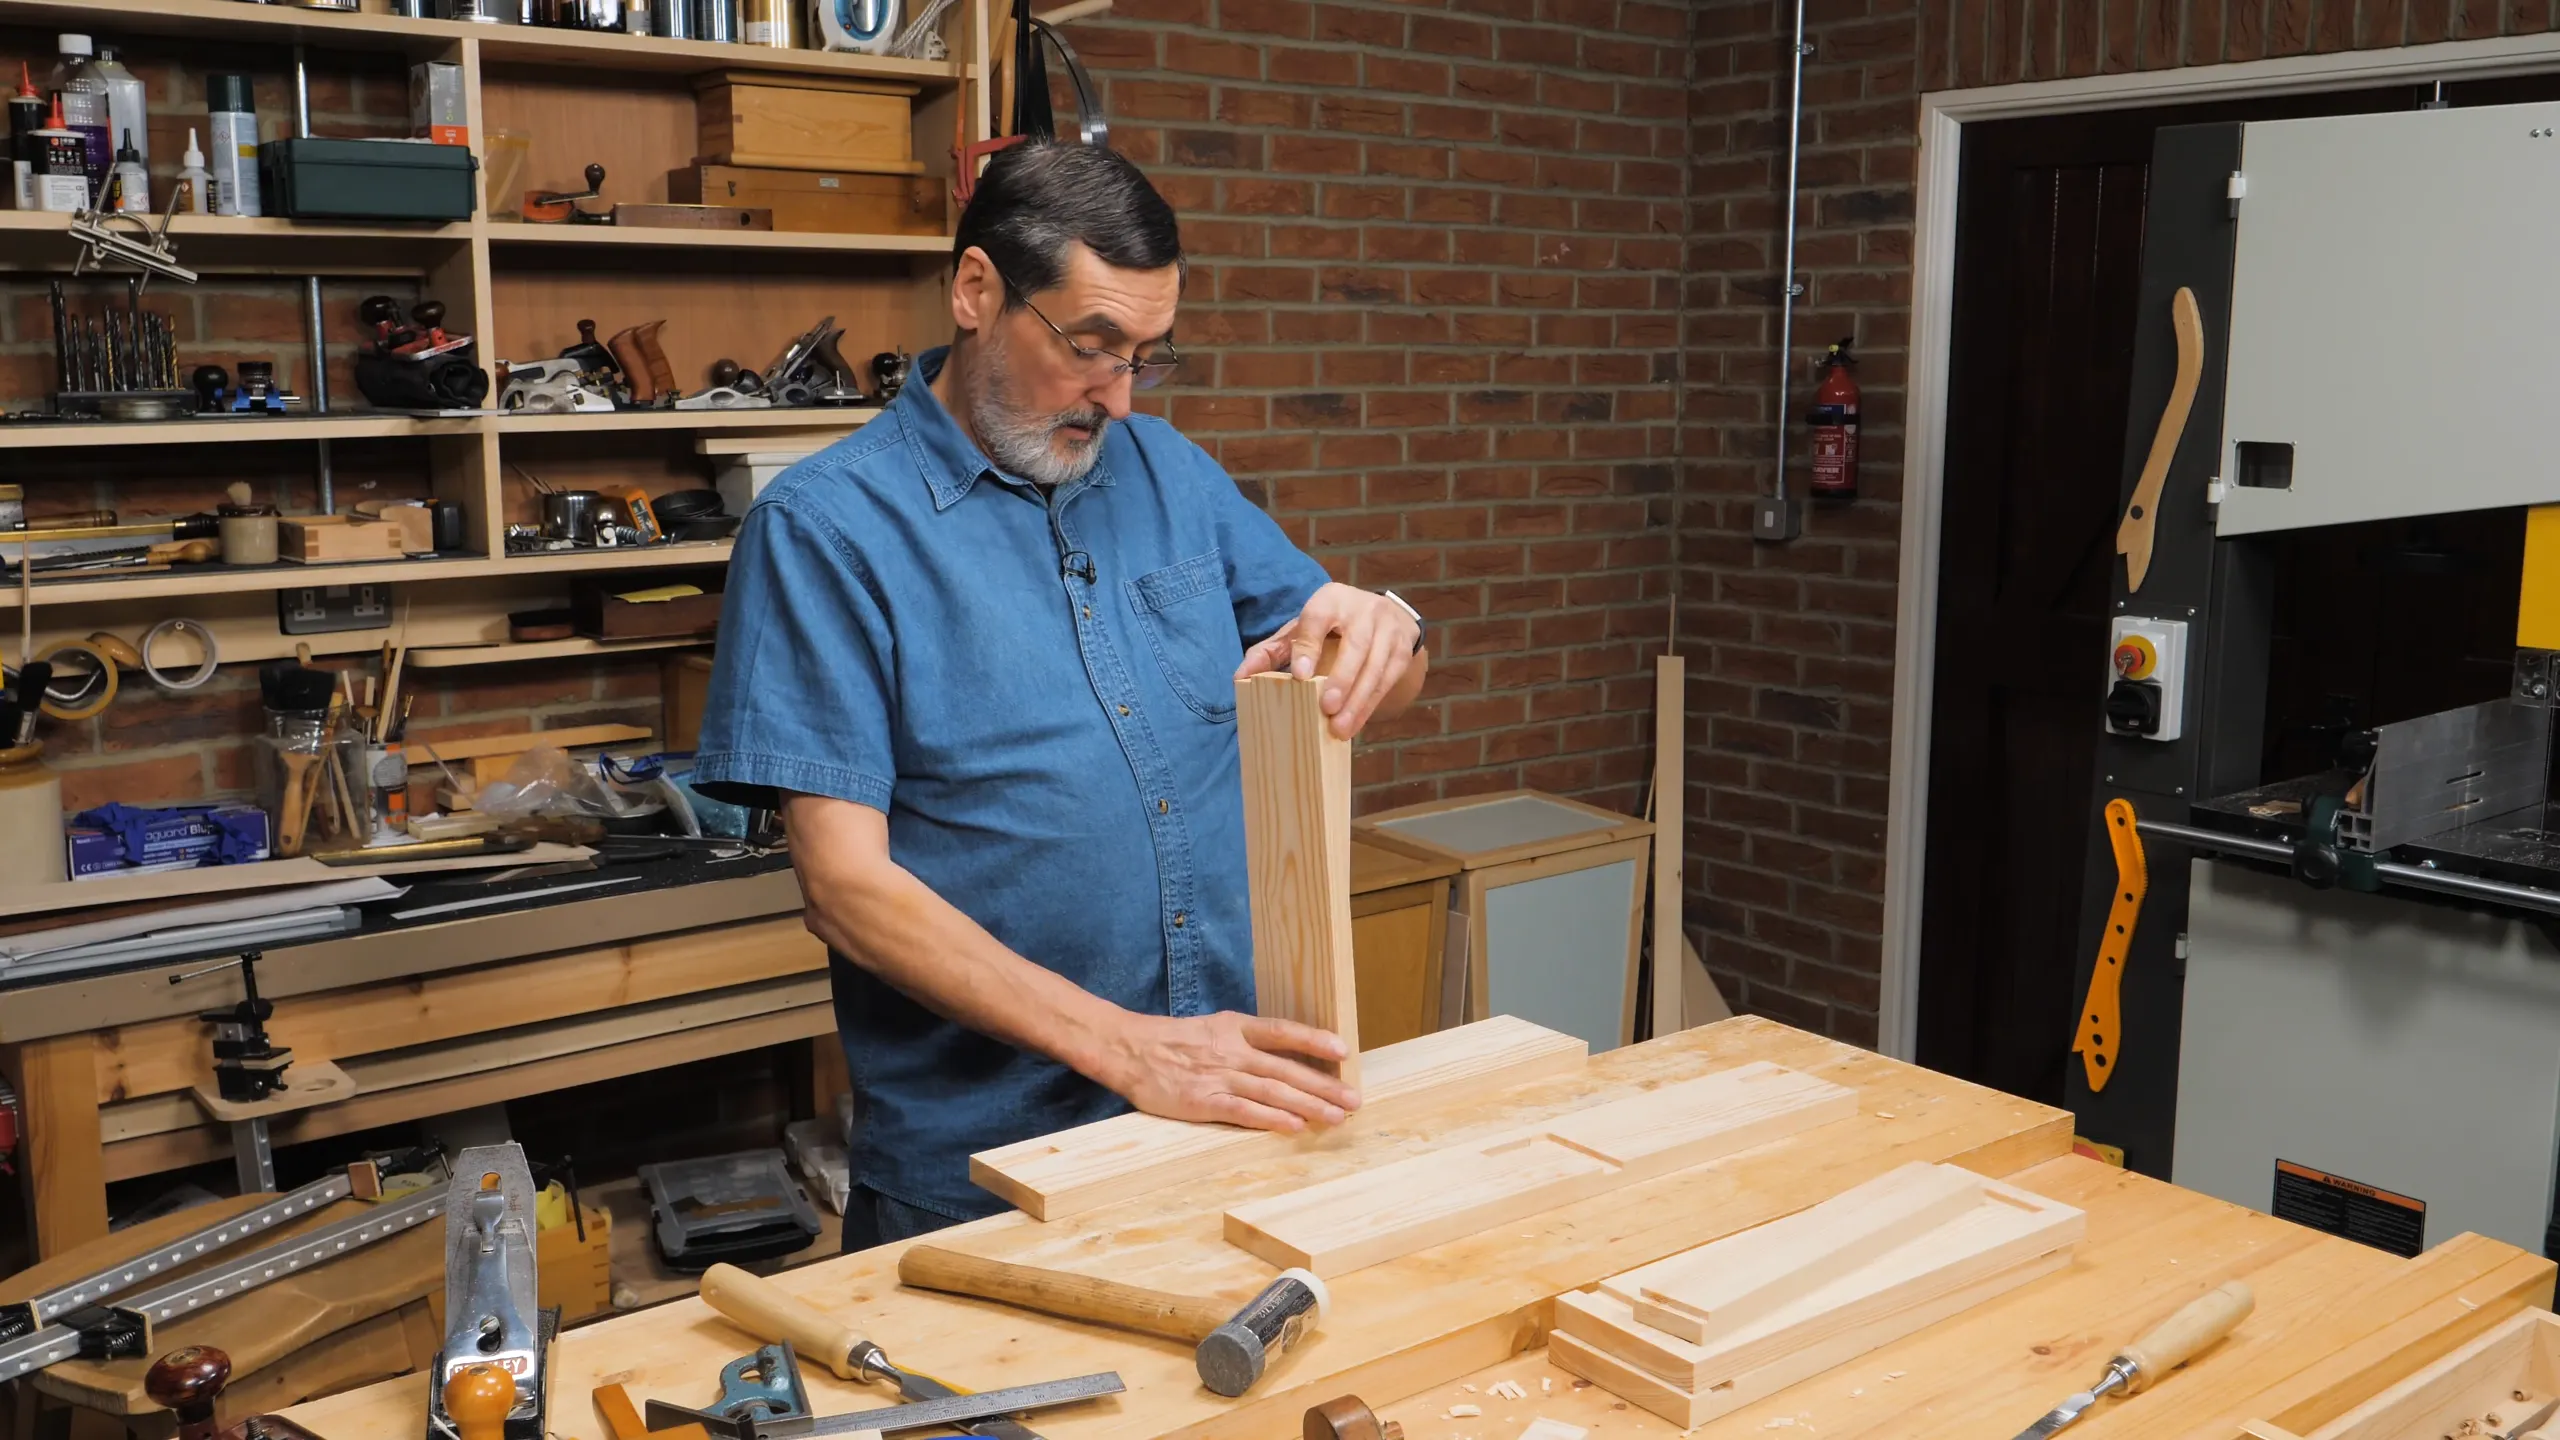
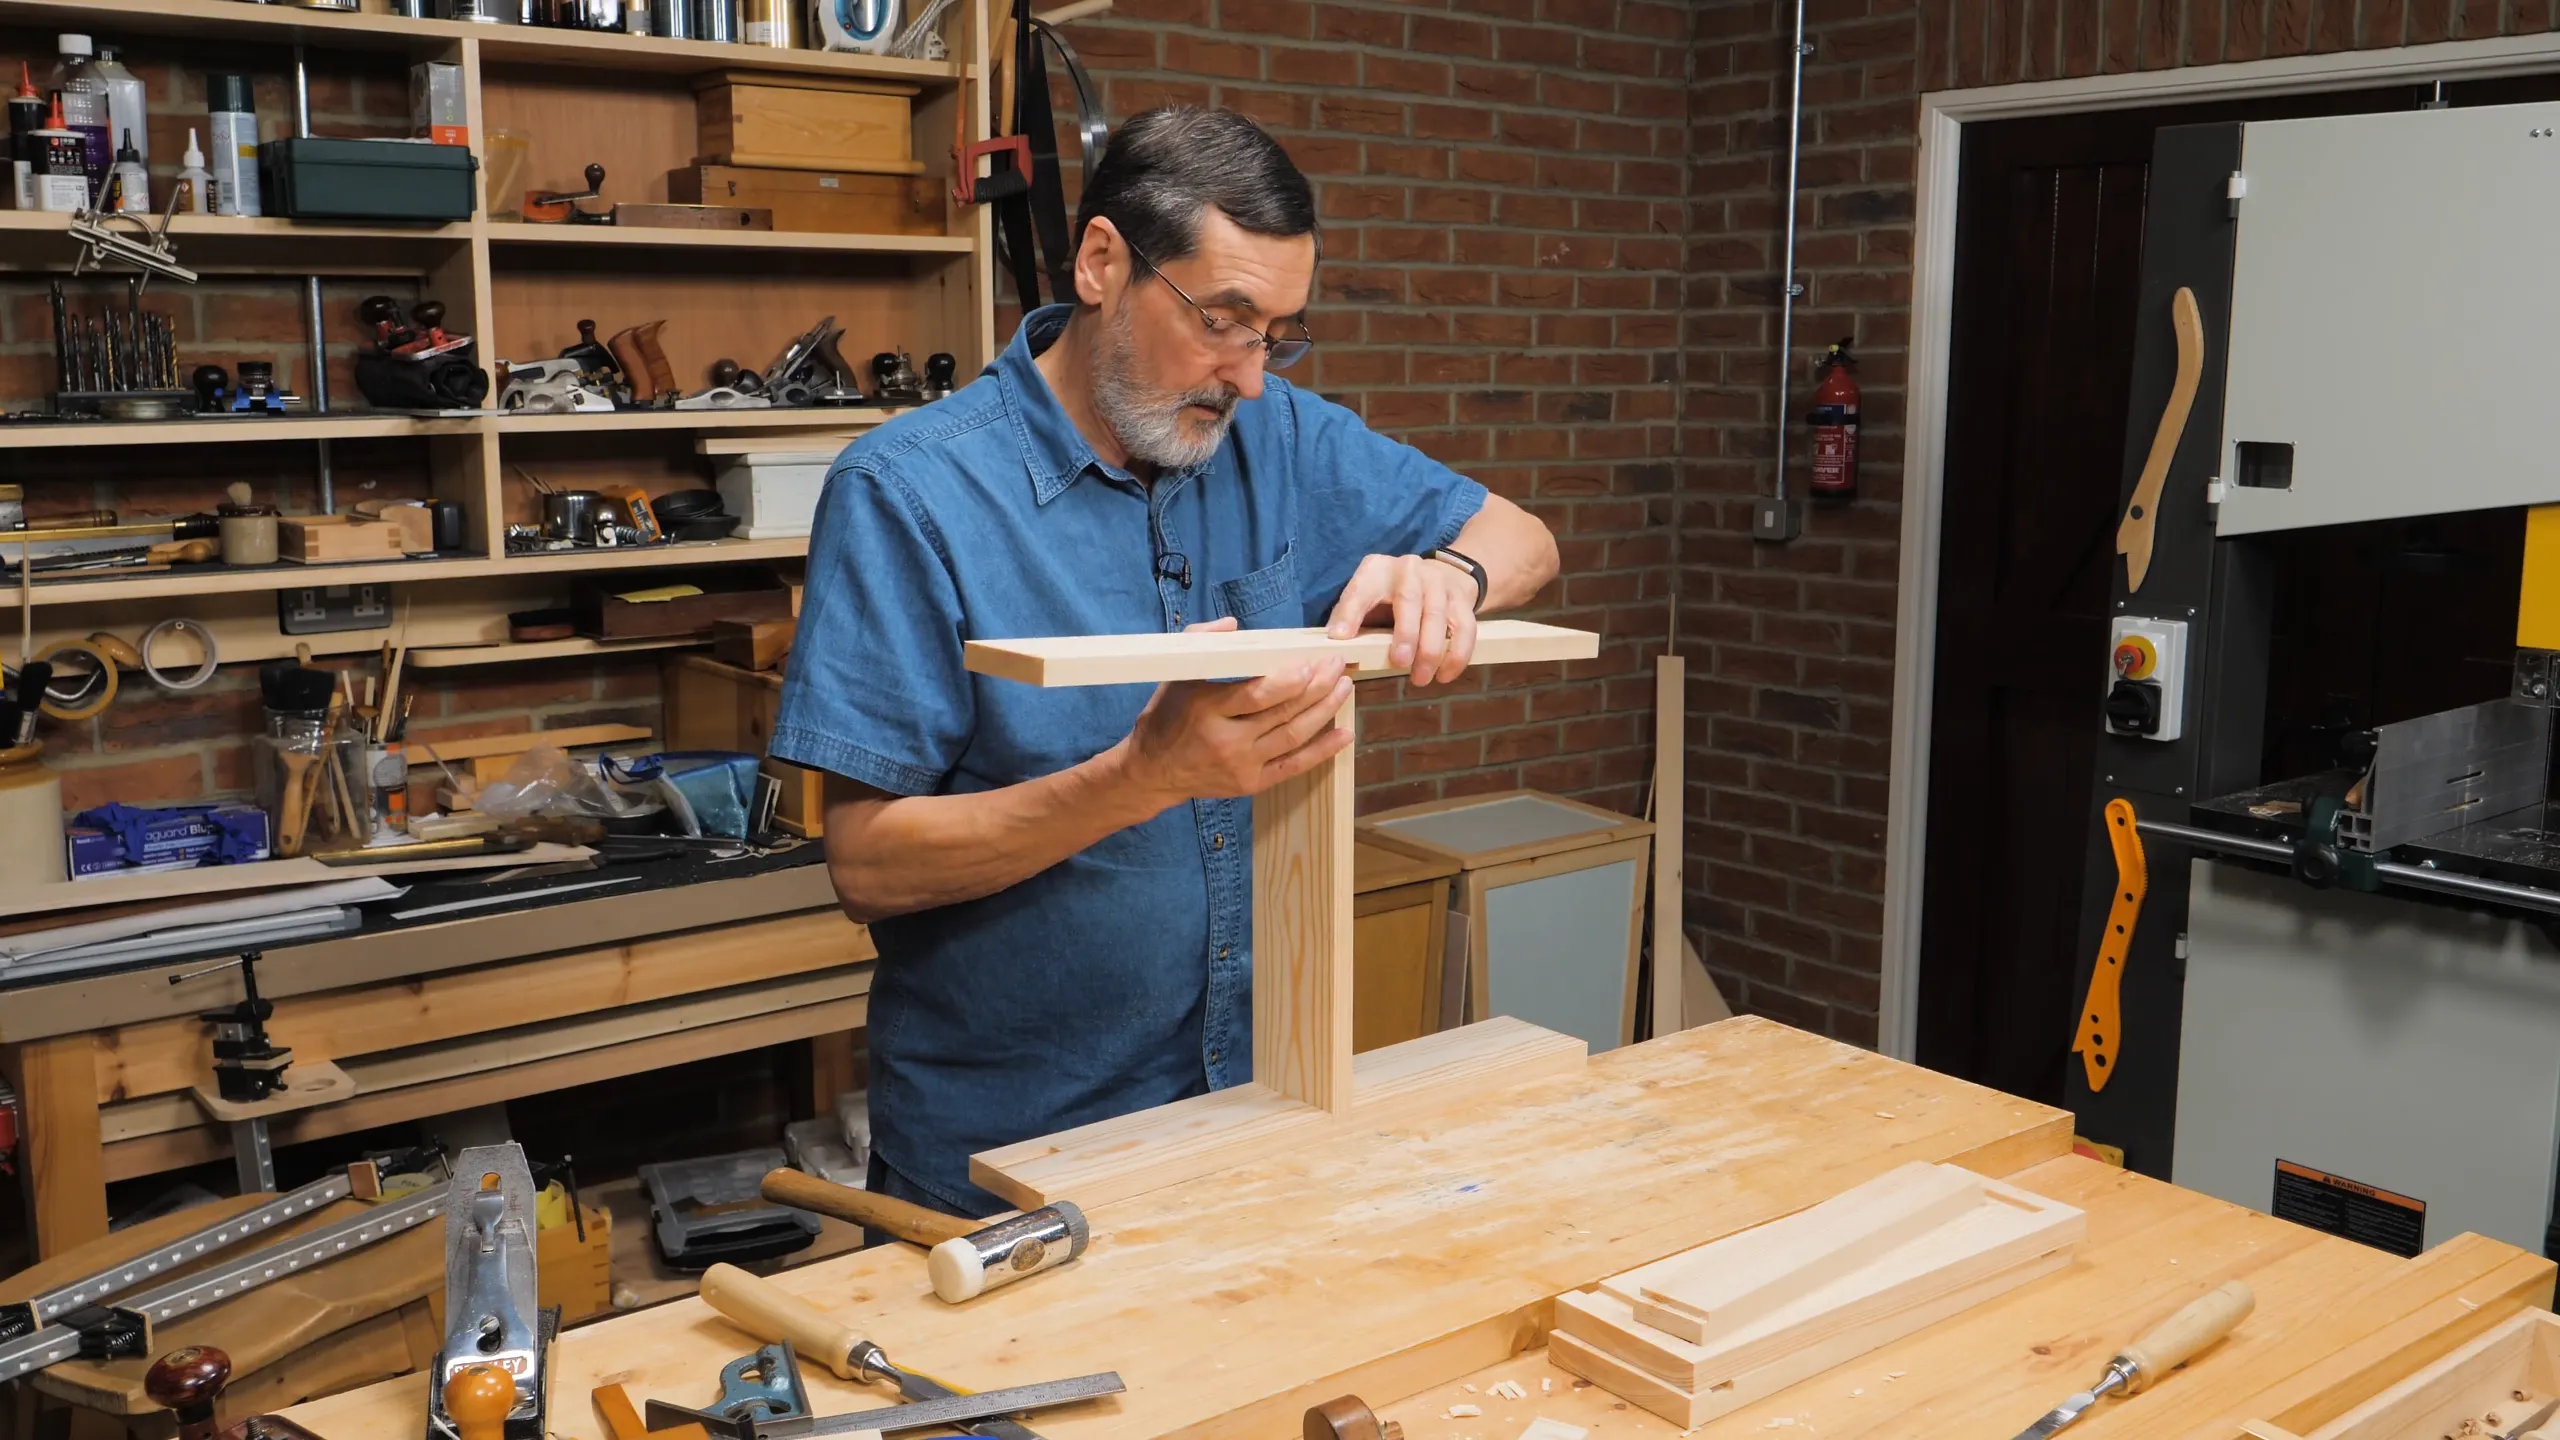
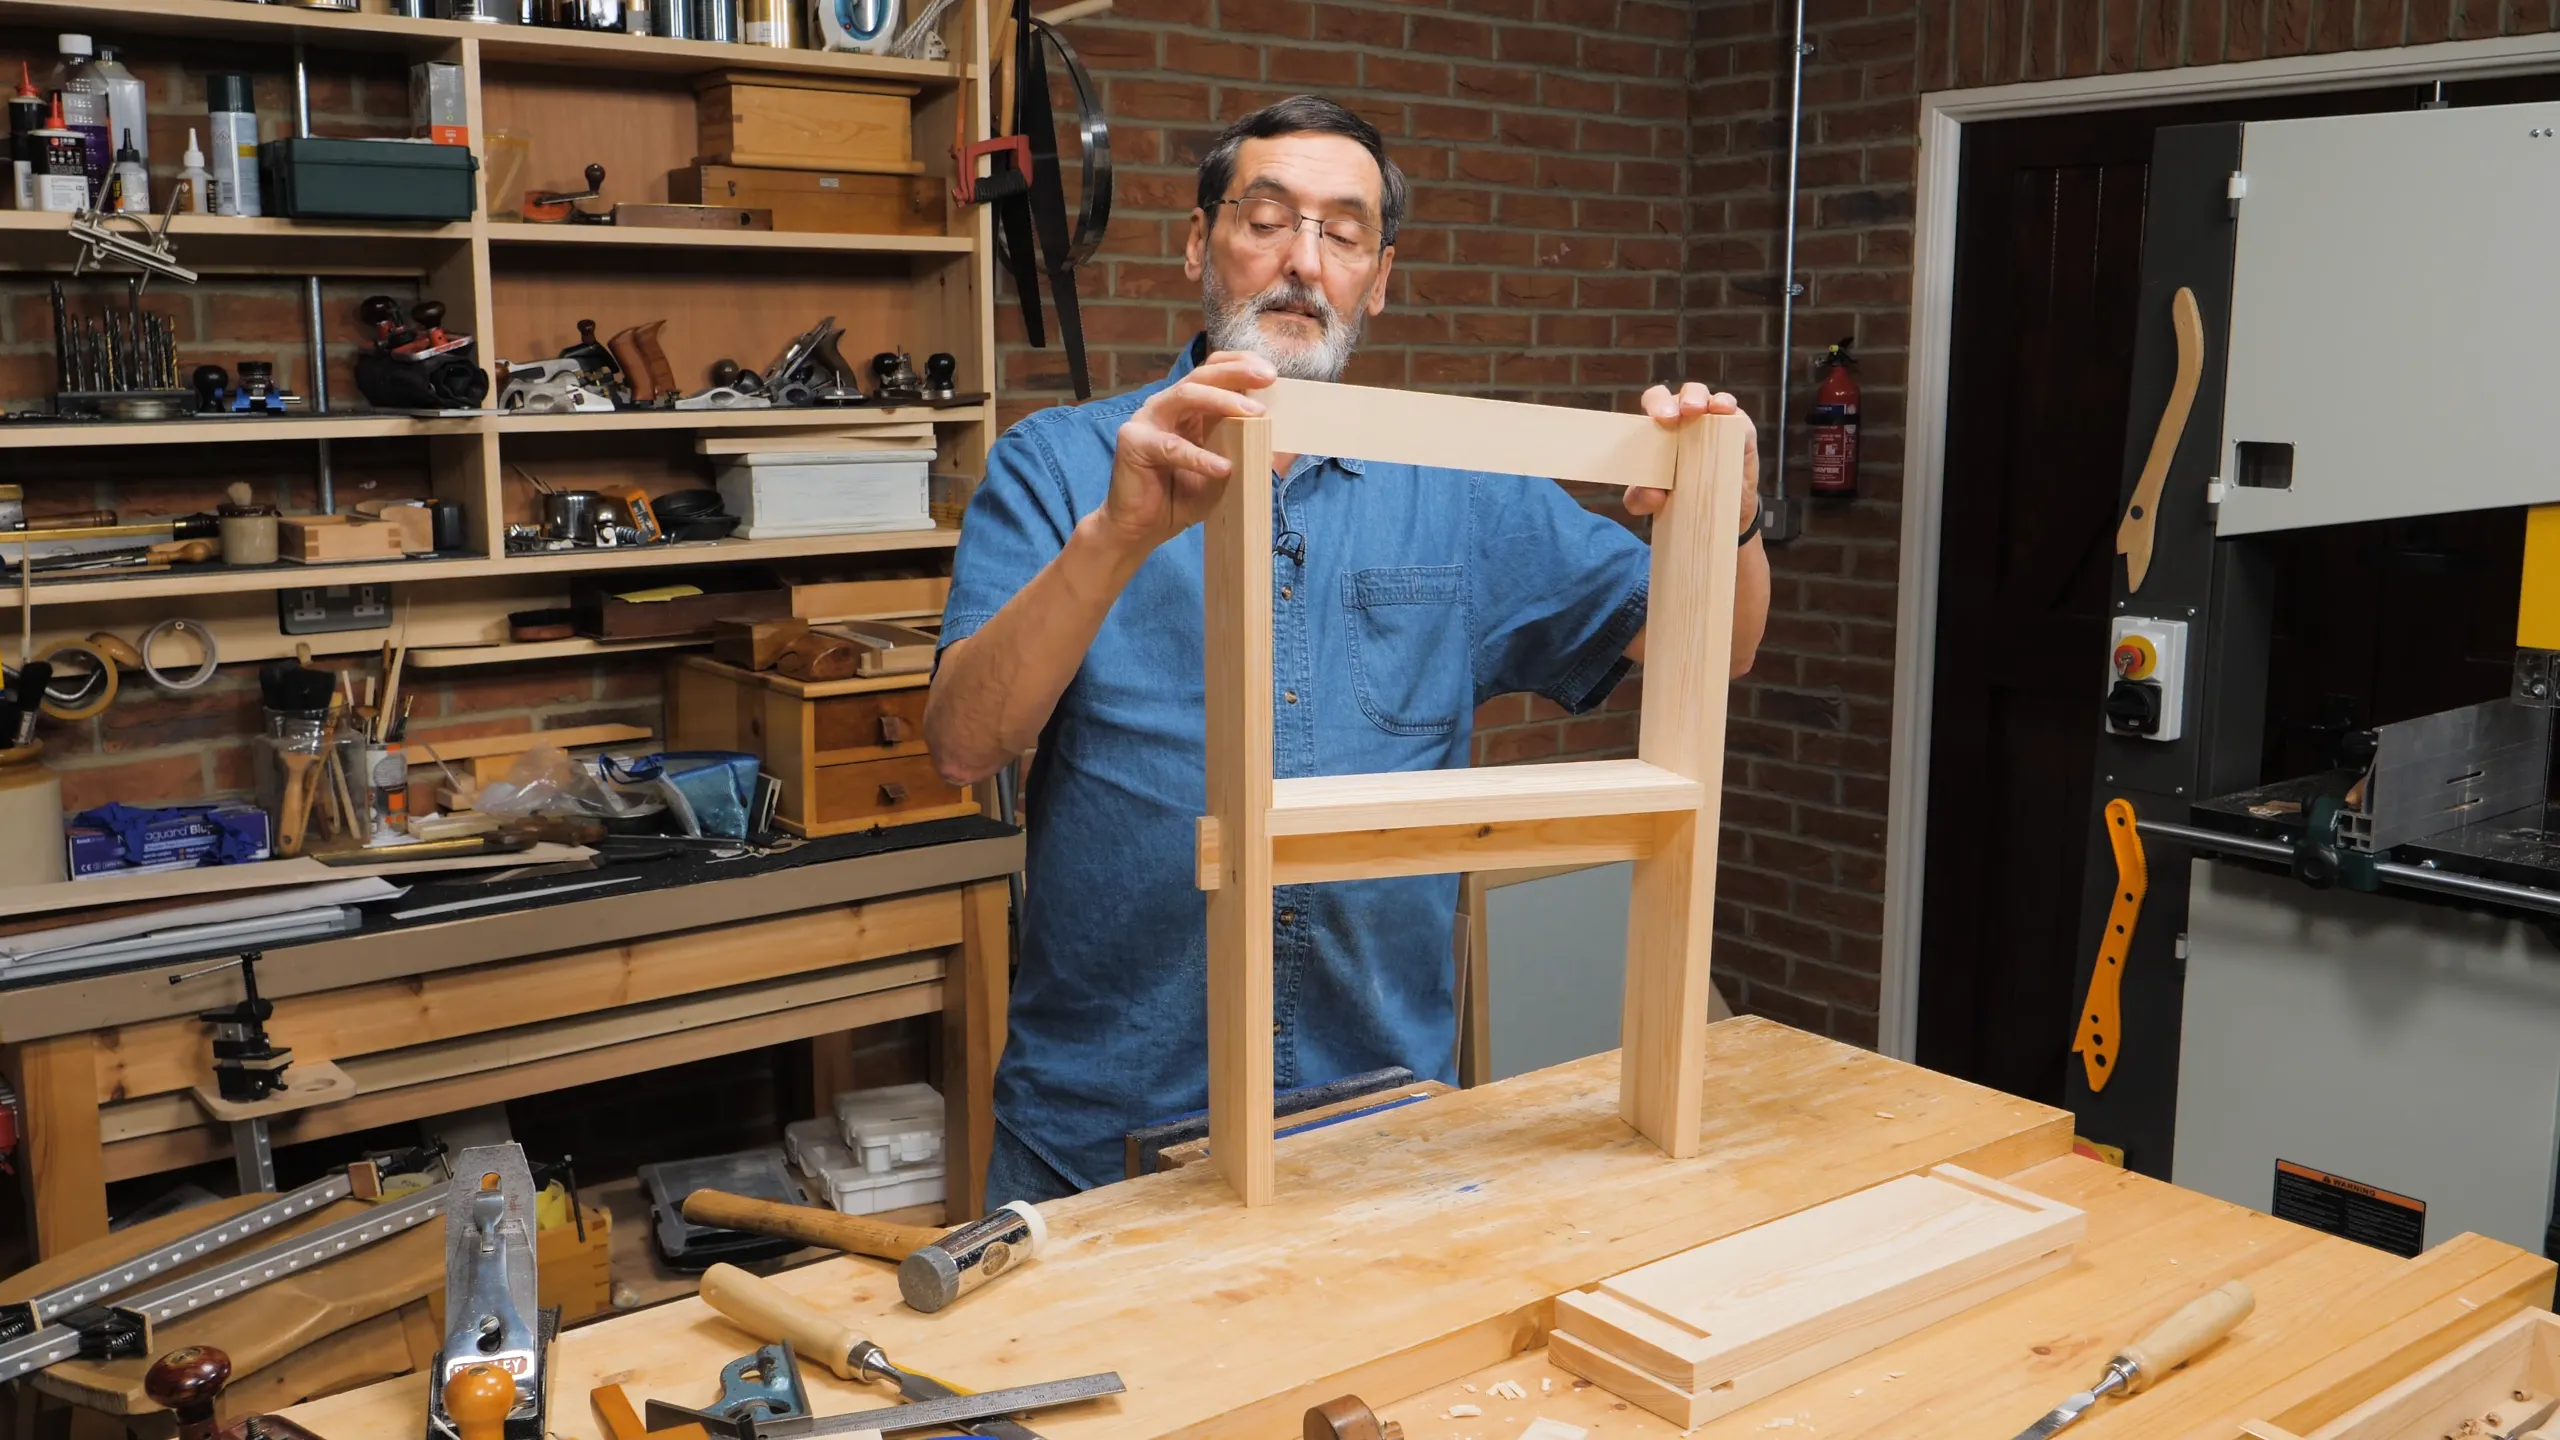
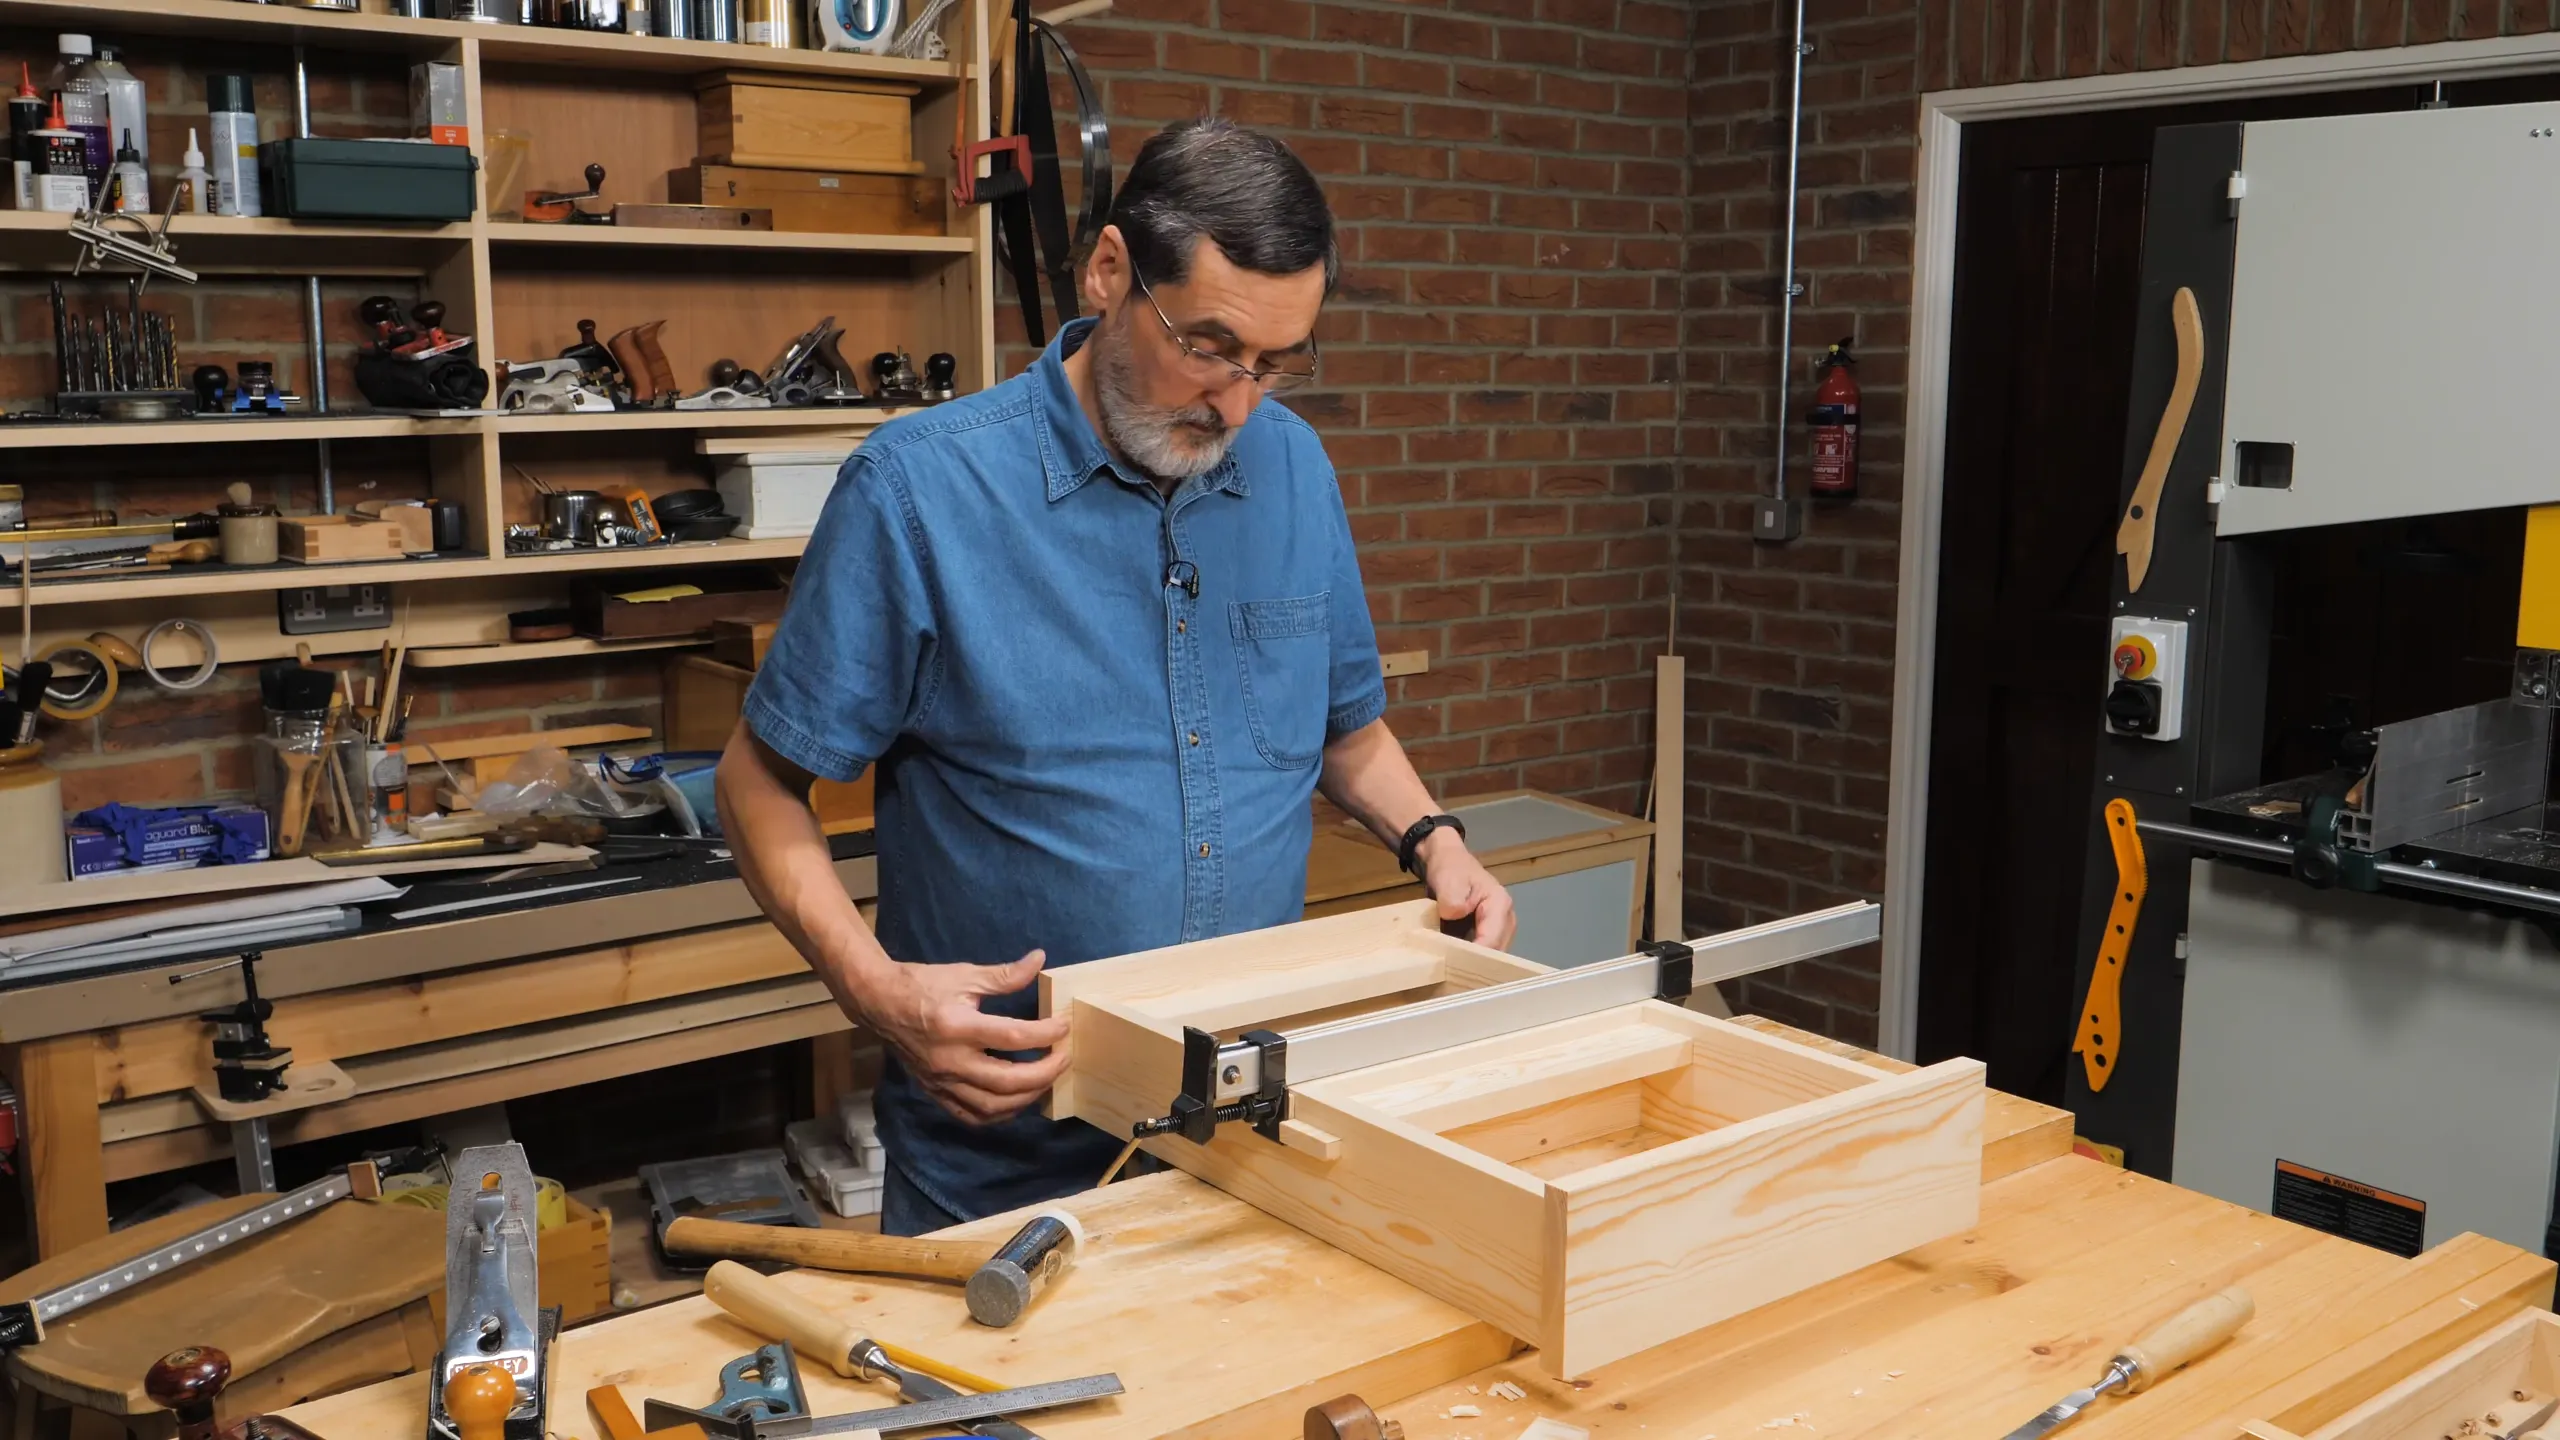
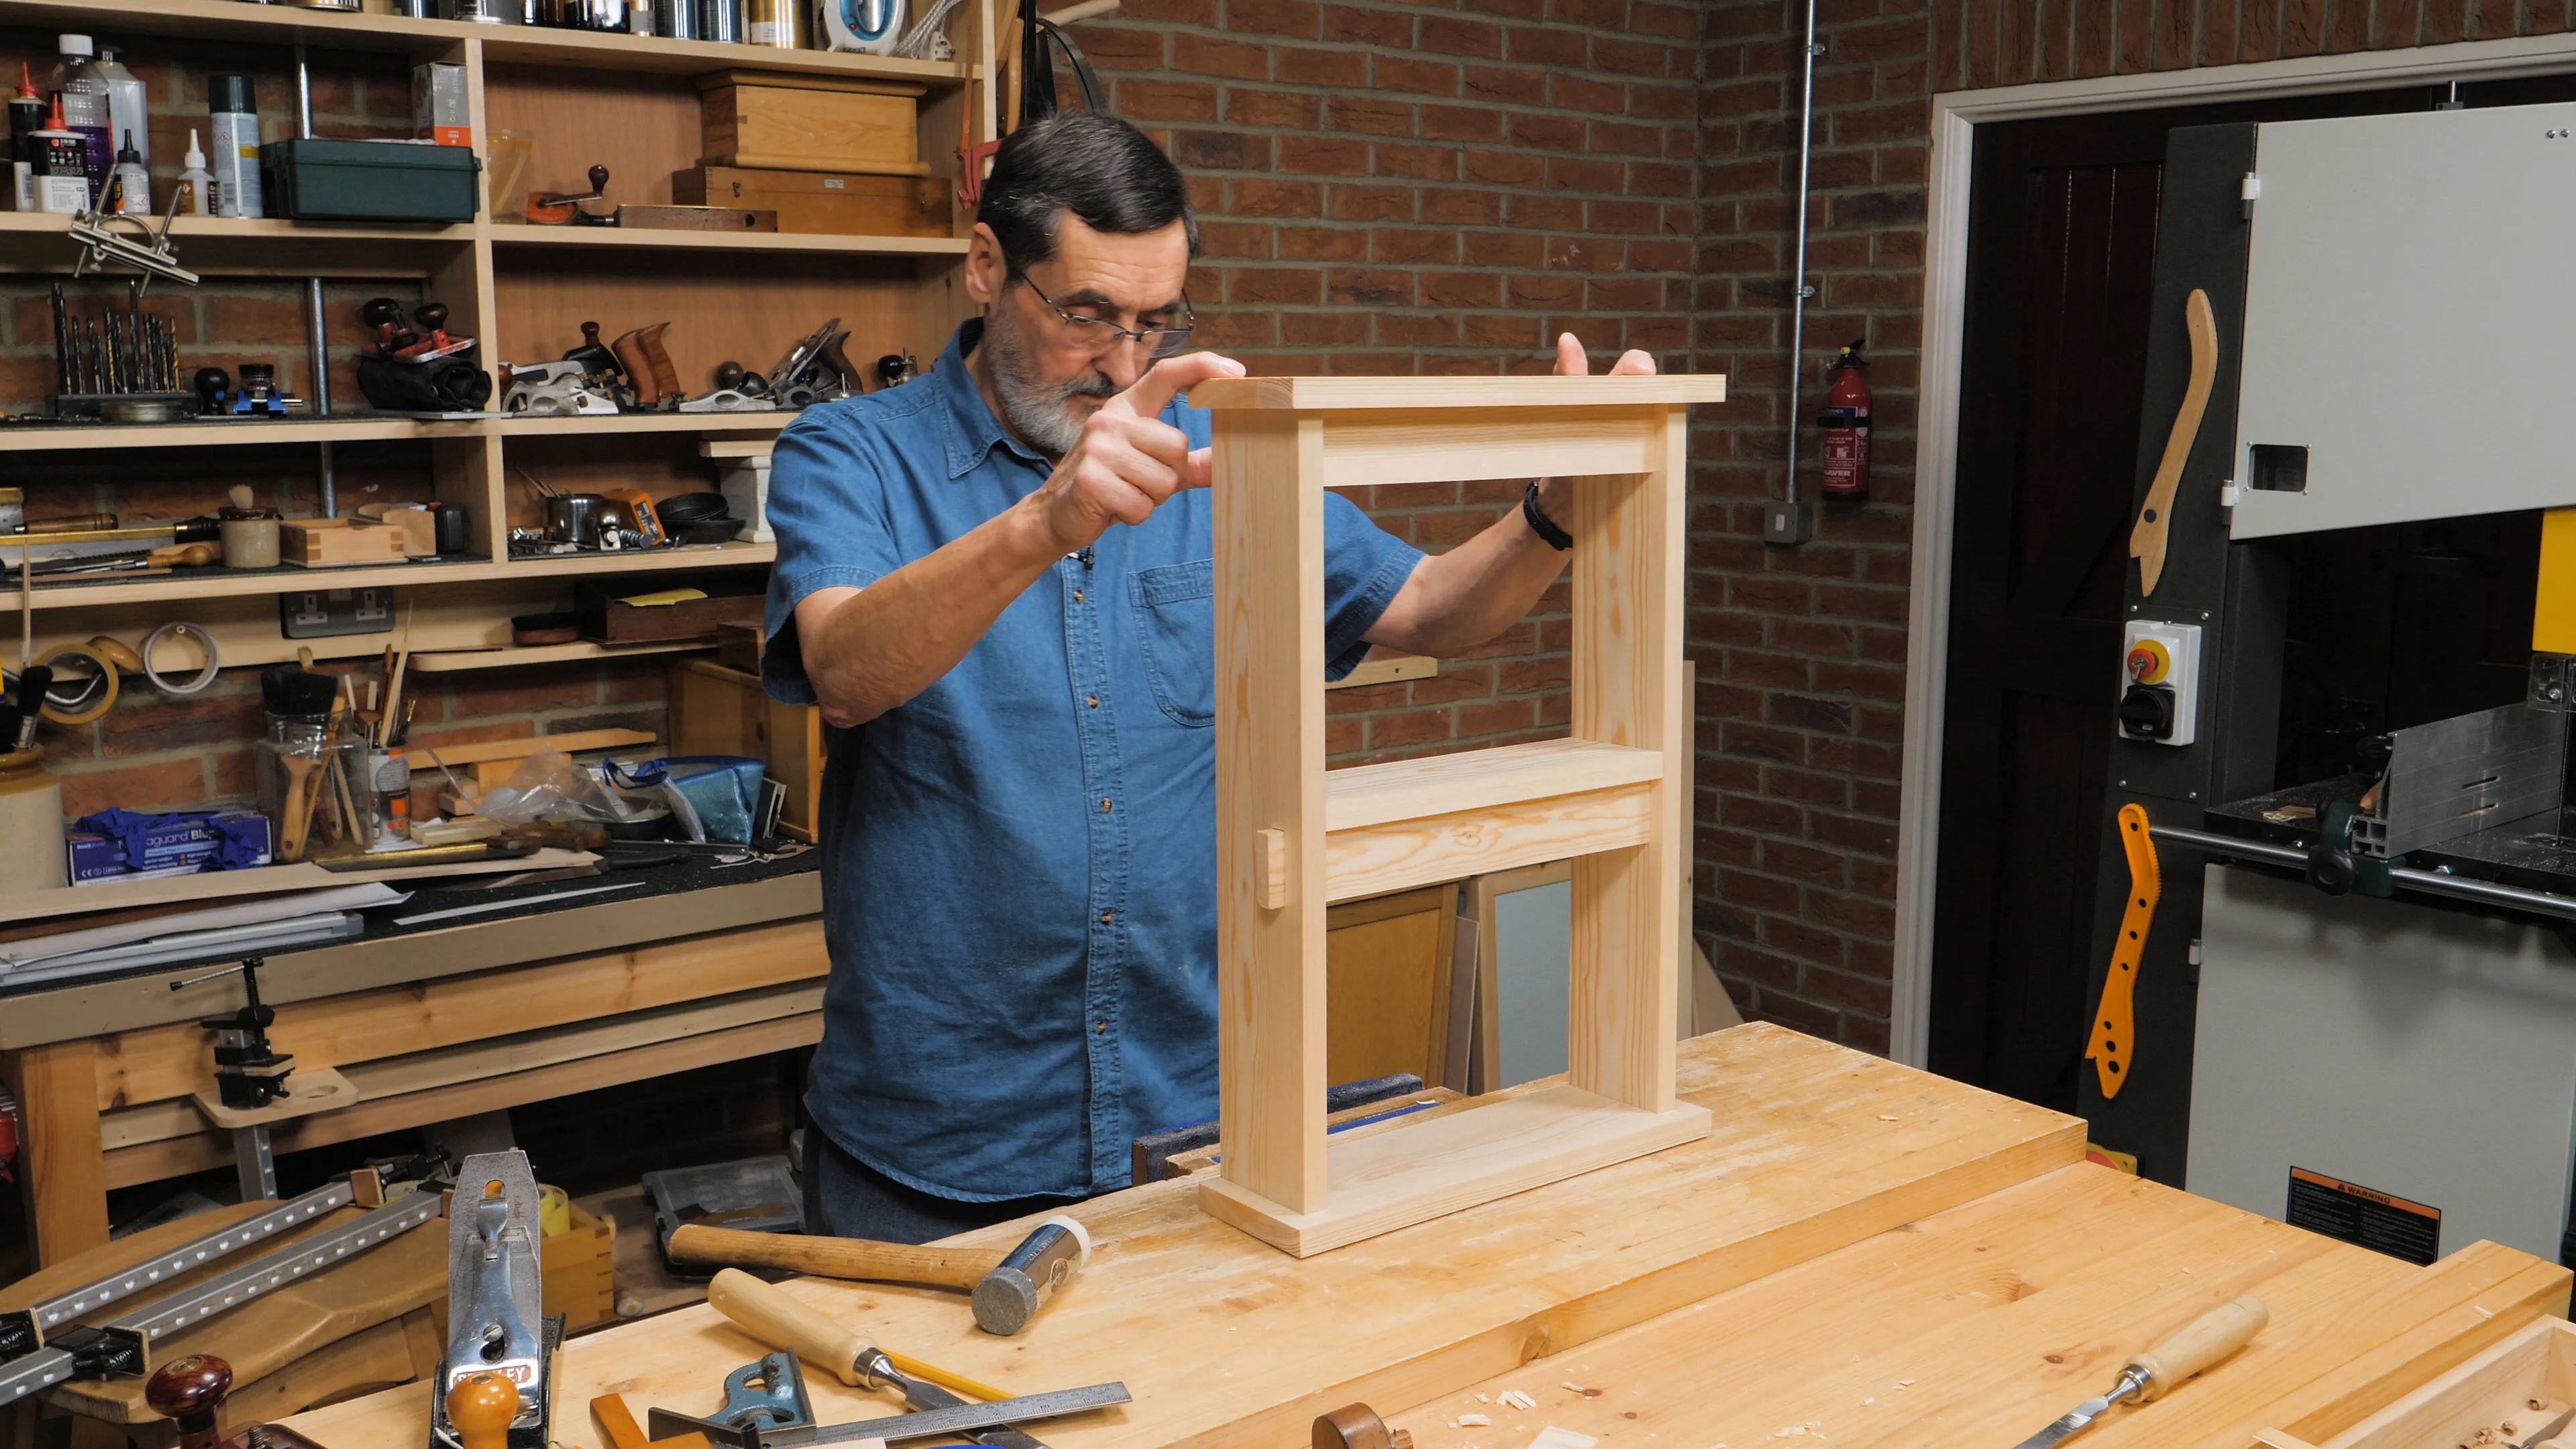
With all four mortise and tenons individually fitting well, dry assemble the whole shelf to check that it all comes together neatly with no discrepancies that may need correcting. You will do this once more, later, before gluing up.
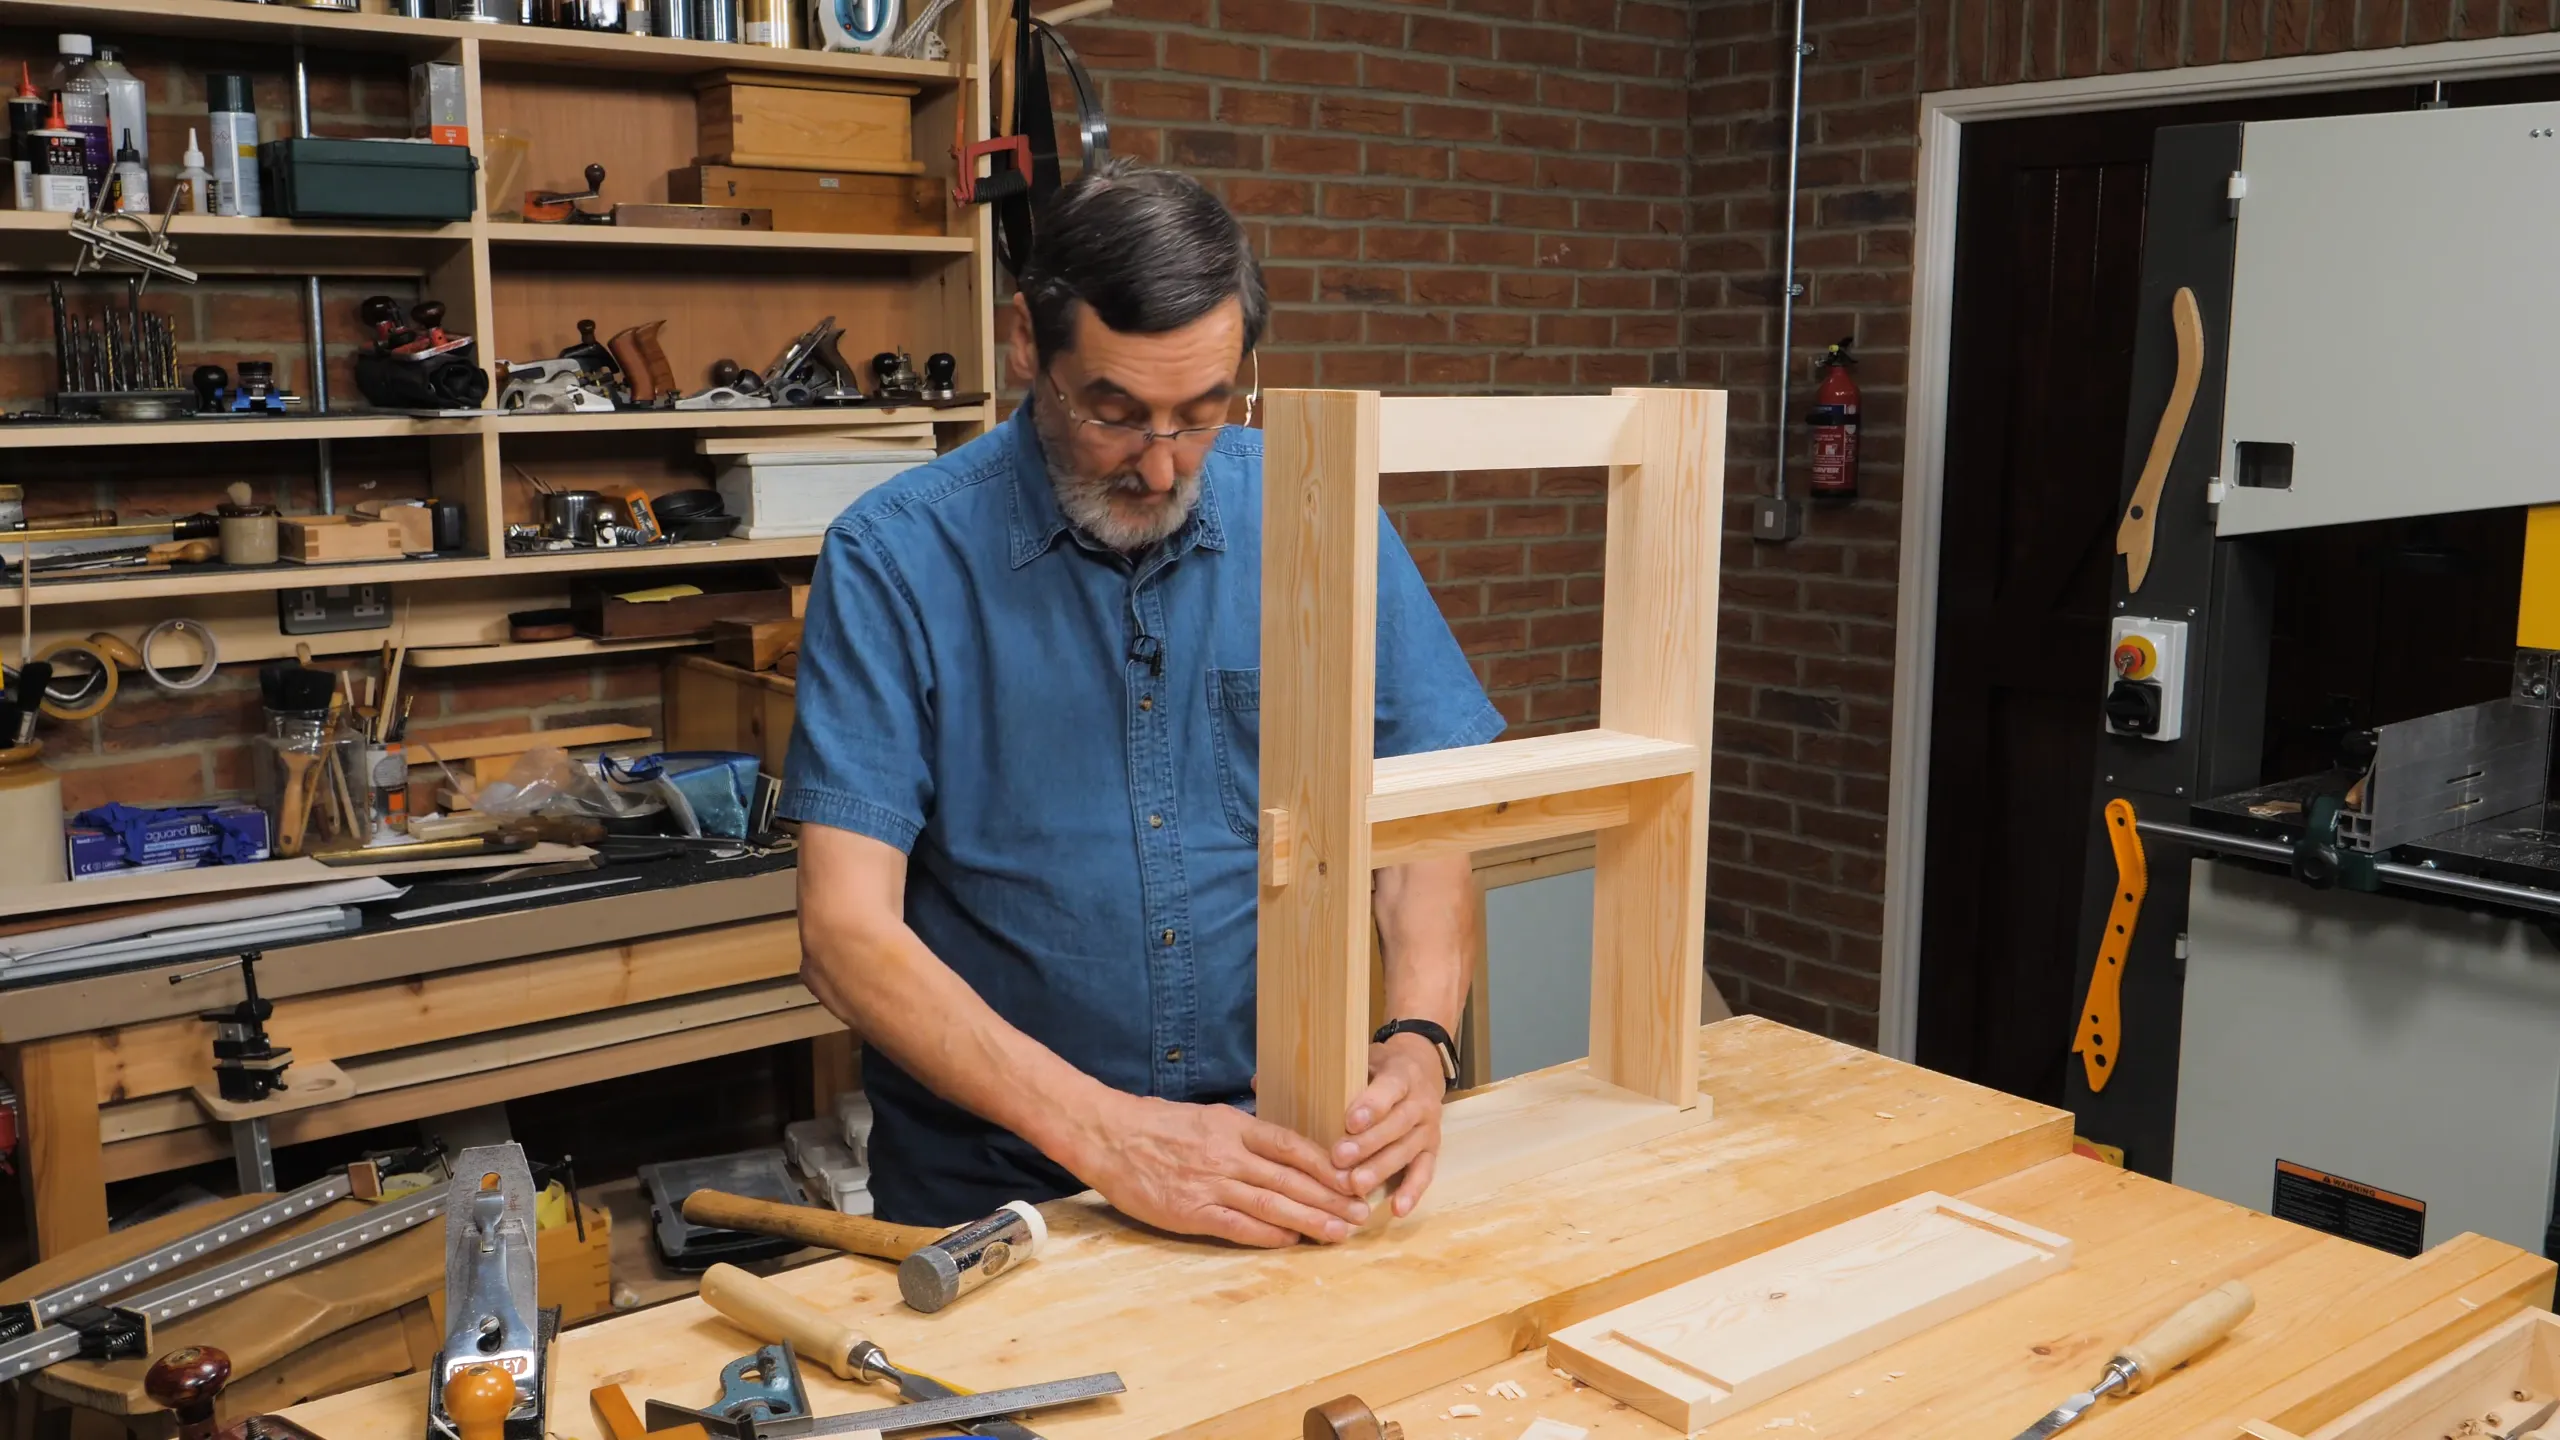
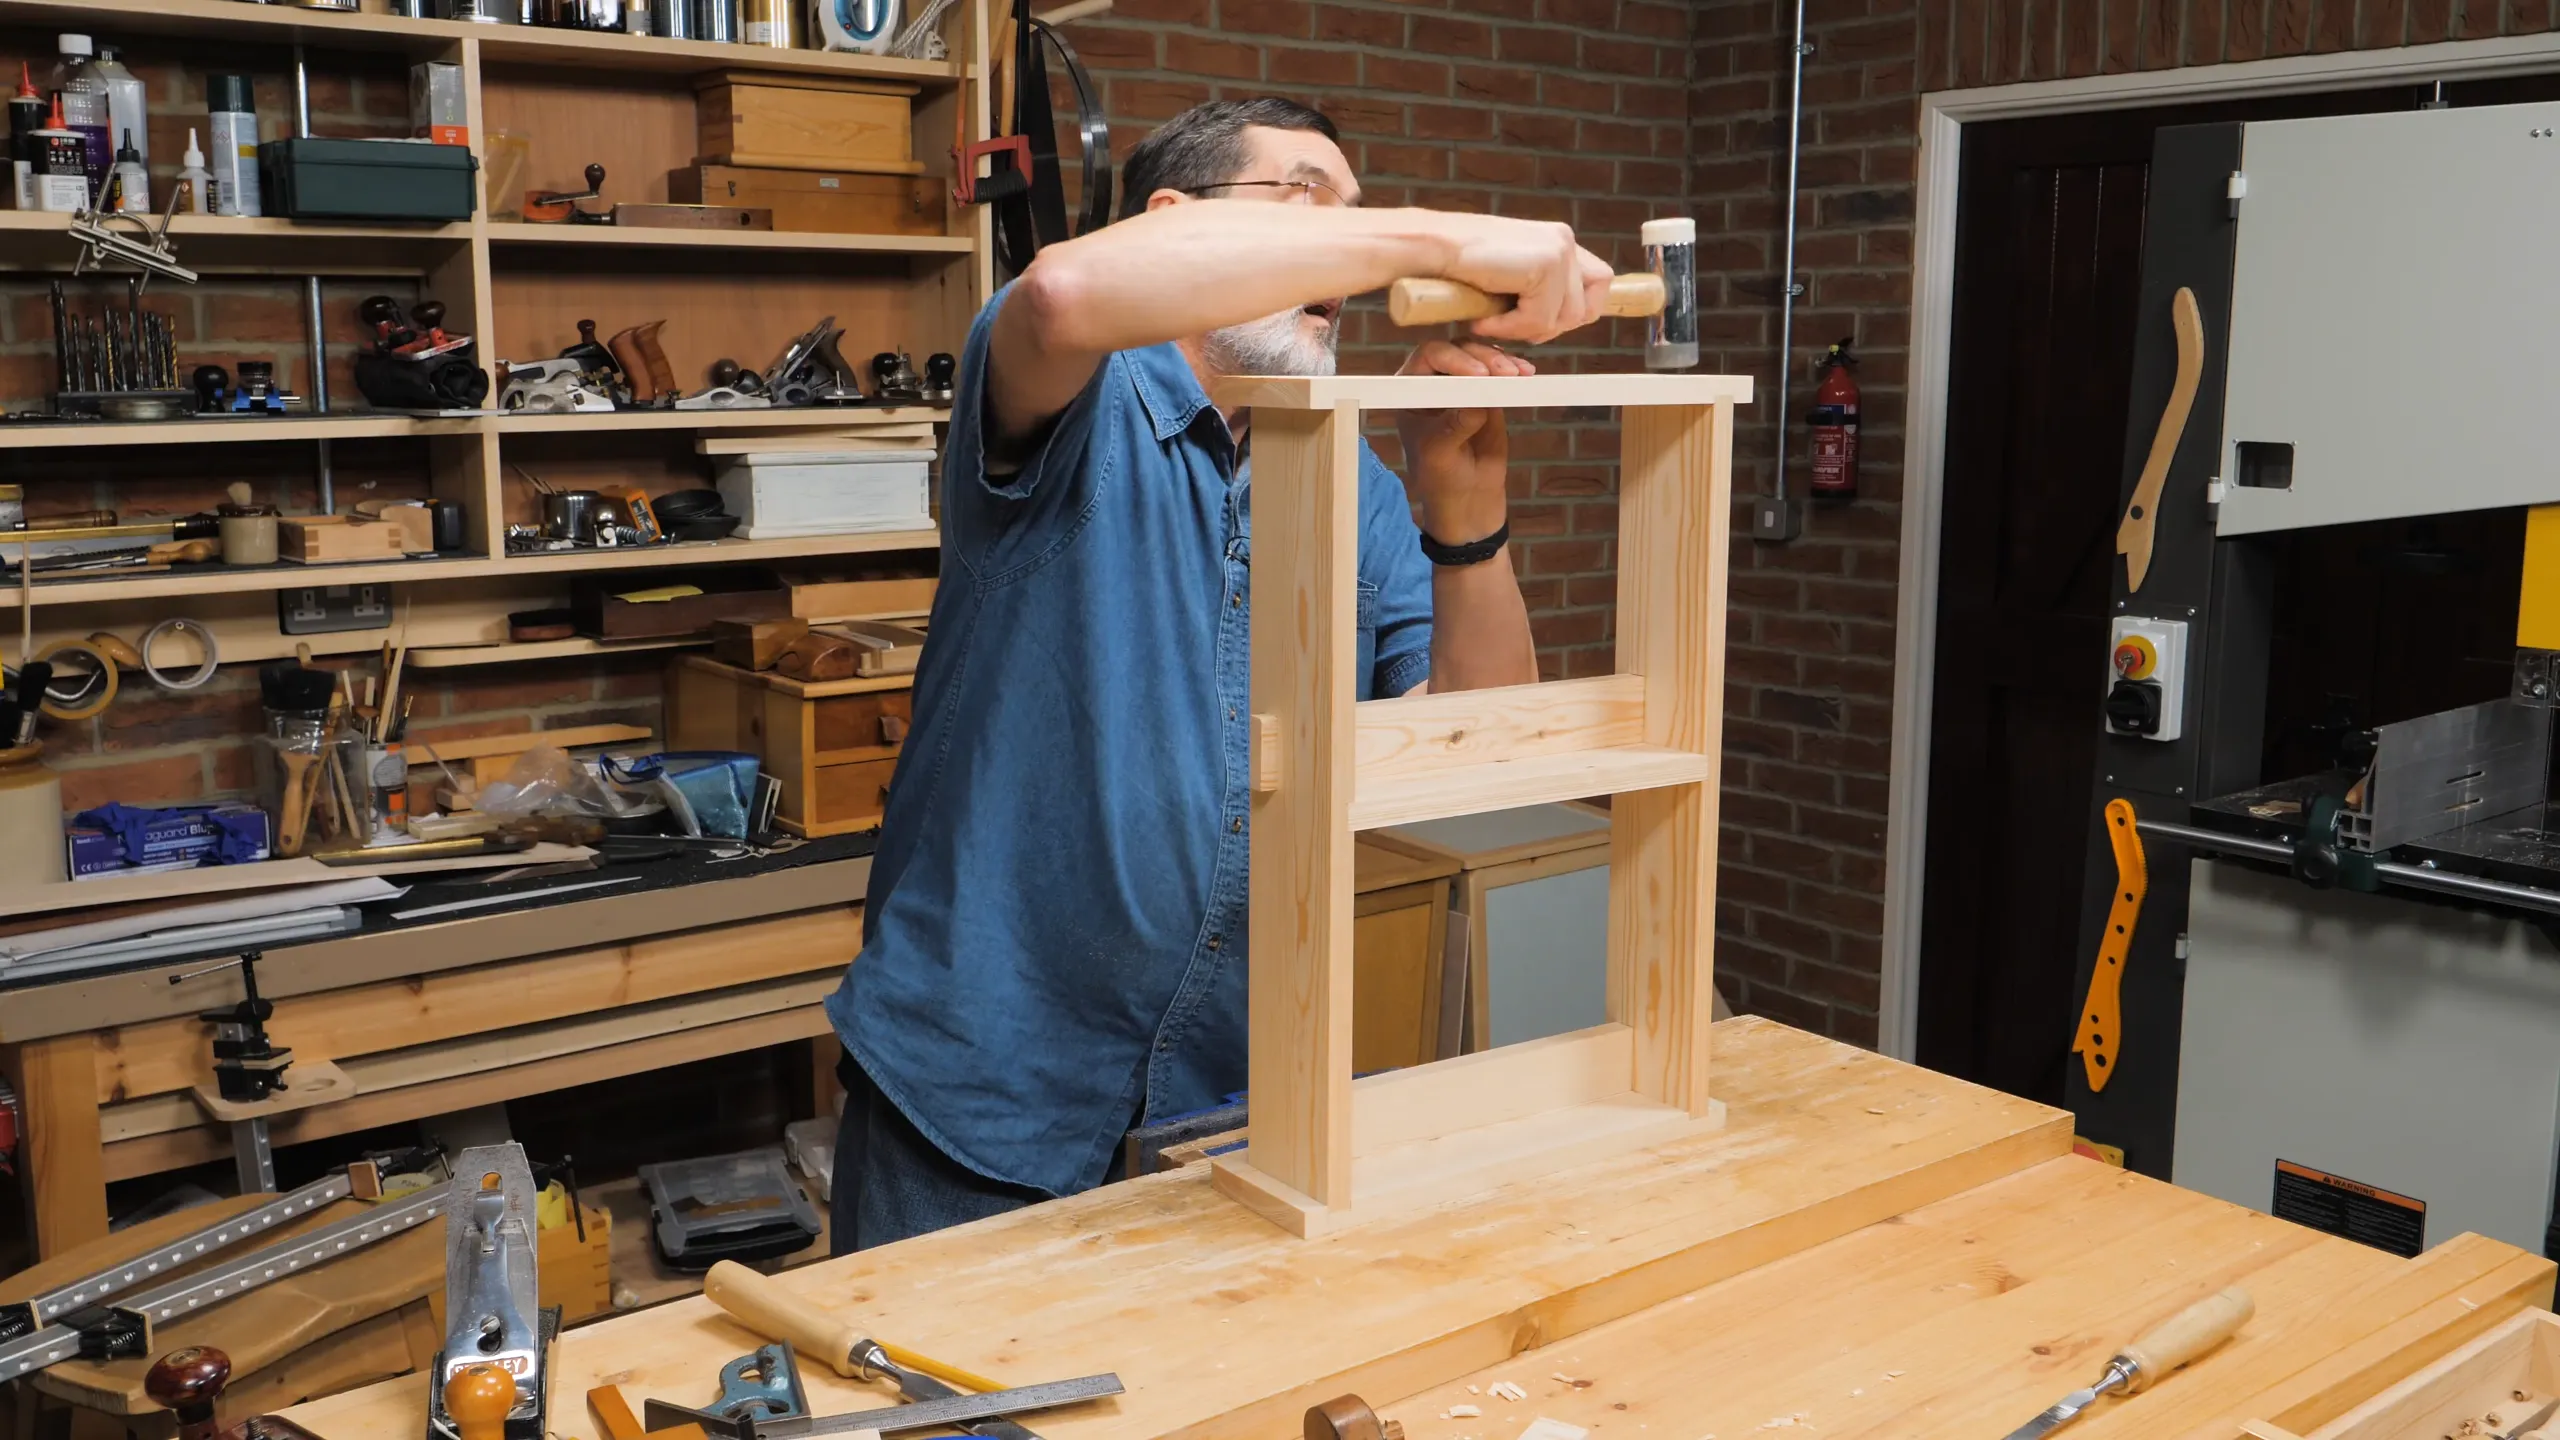
It is important to note here that, due to the nature of the joints and the way they are used on this particular design, the assembly sequence is crucial. Start with the bottom rail in one of the side pieces, followed by the shelf piece on the same side. You can then insert the other end of the rail and shelf into the mortise and housing dado on the other side piece. The stub tenons are short enough that you can pull the top apart a little and insert the top rail. With all joints fully seated, bring in the top and bottom pieces, one at a time, and use the chisel hammer to seat those all the way. Finally, use a clamp to close off any remaining gaps.
Sign in to track your progress