Laying Out The Tenons
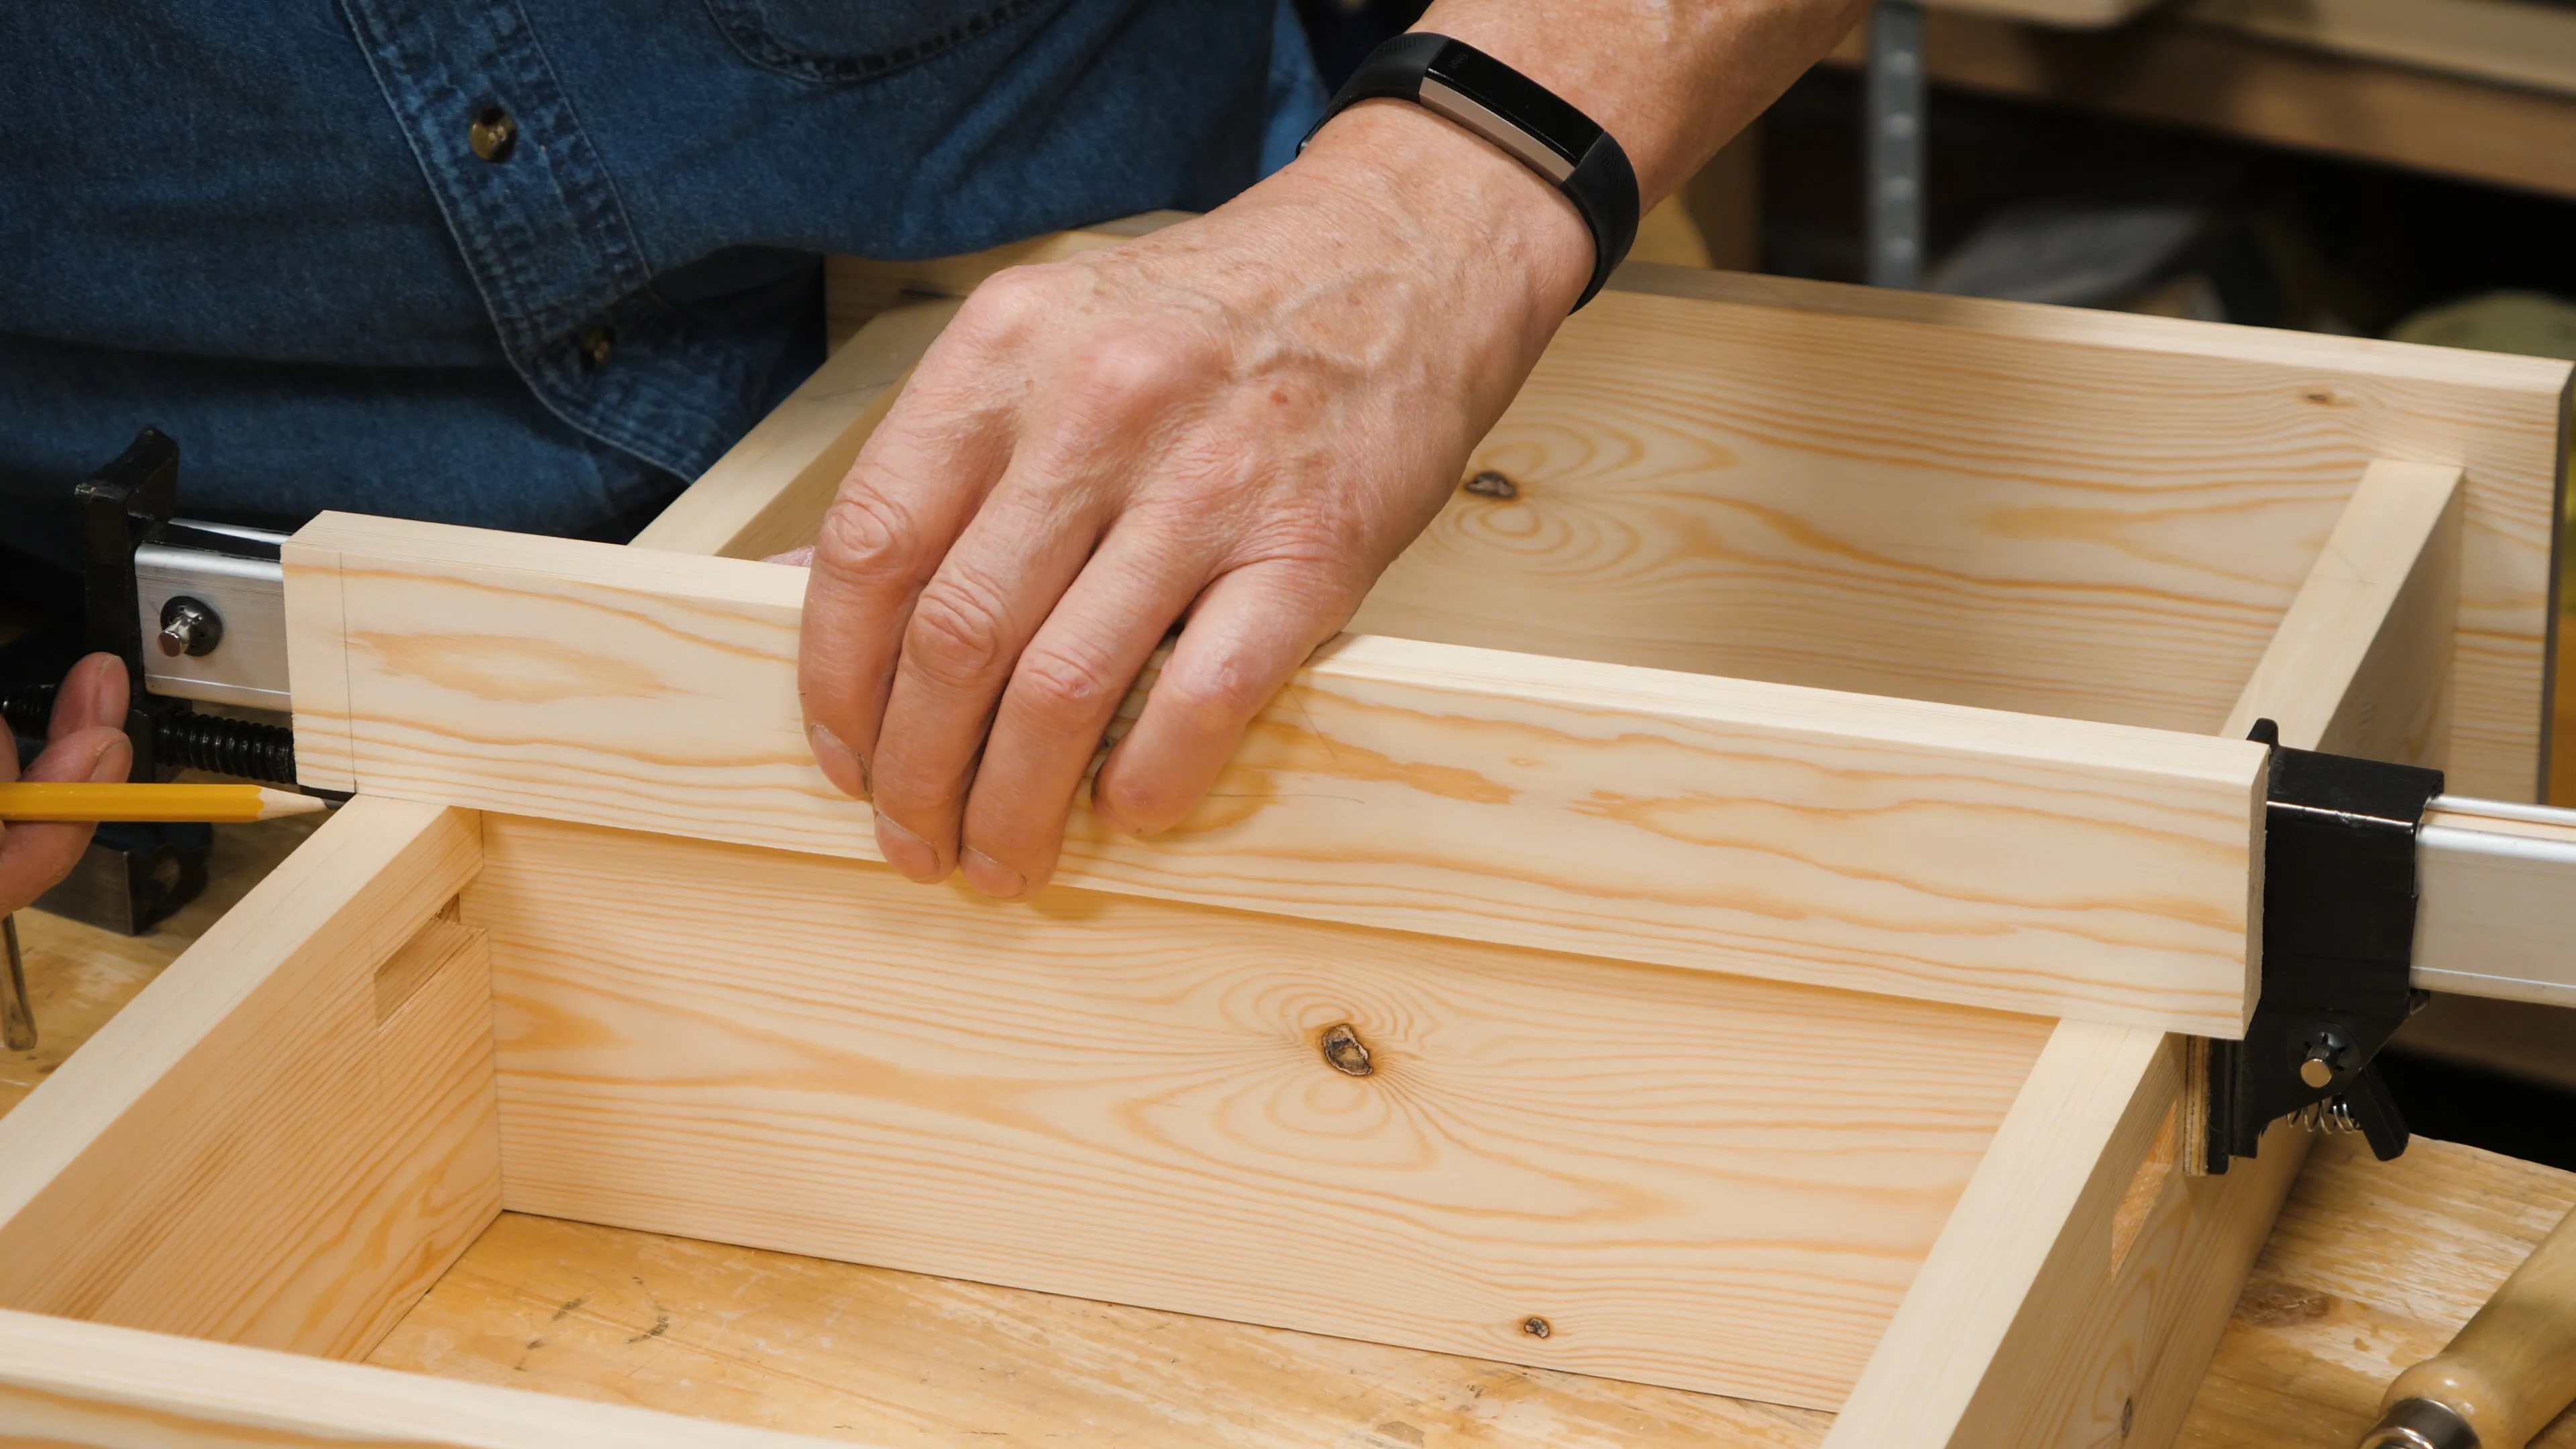
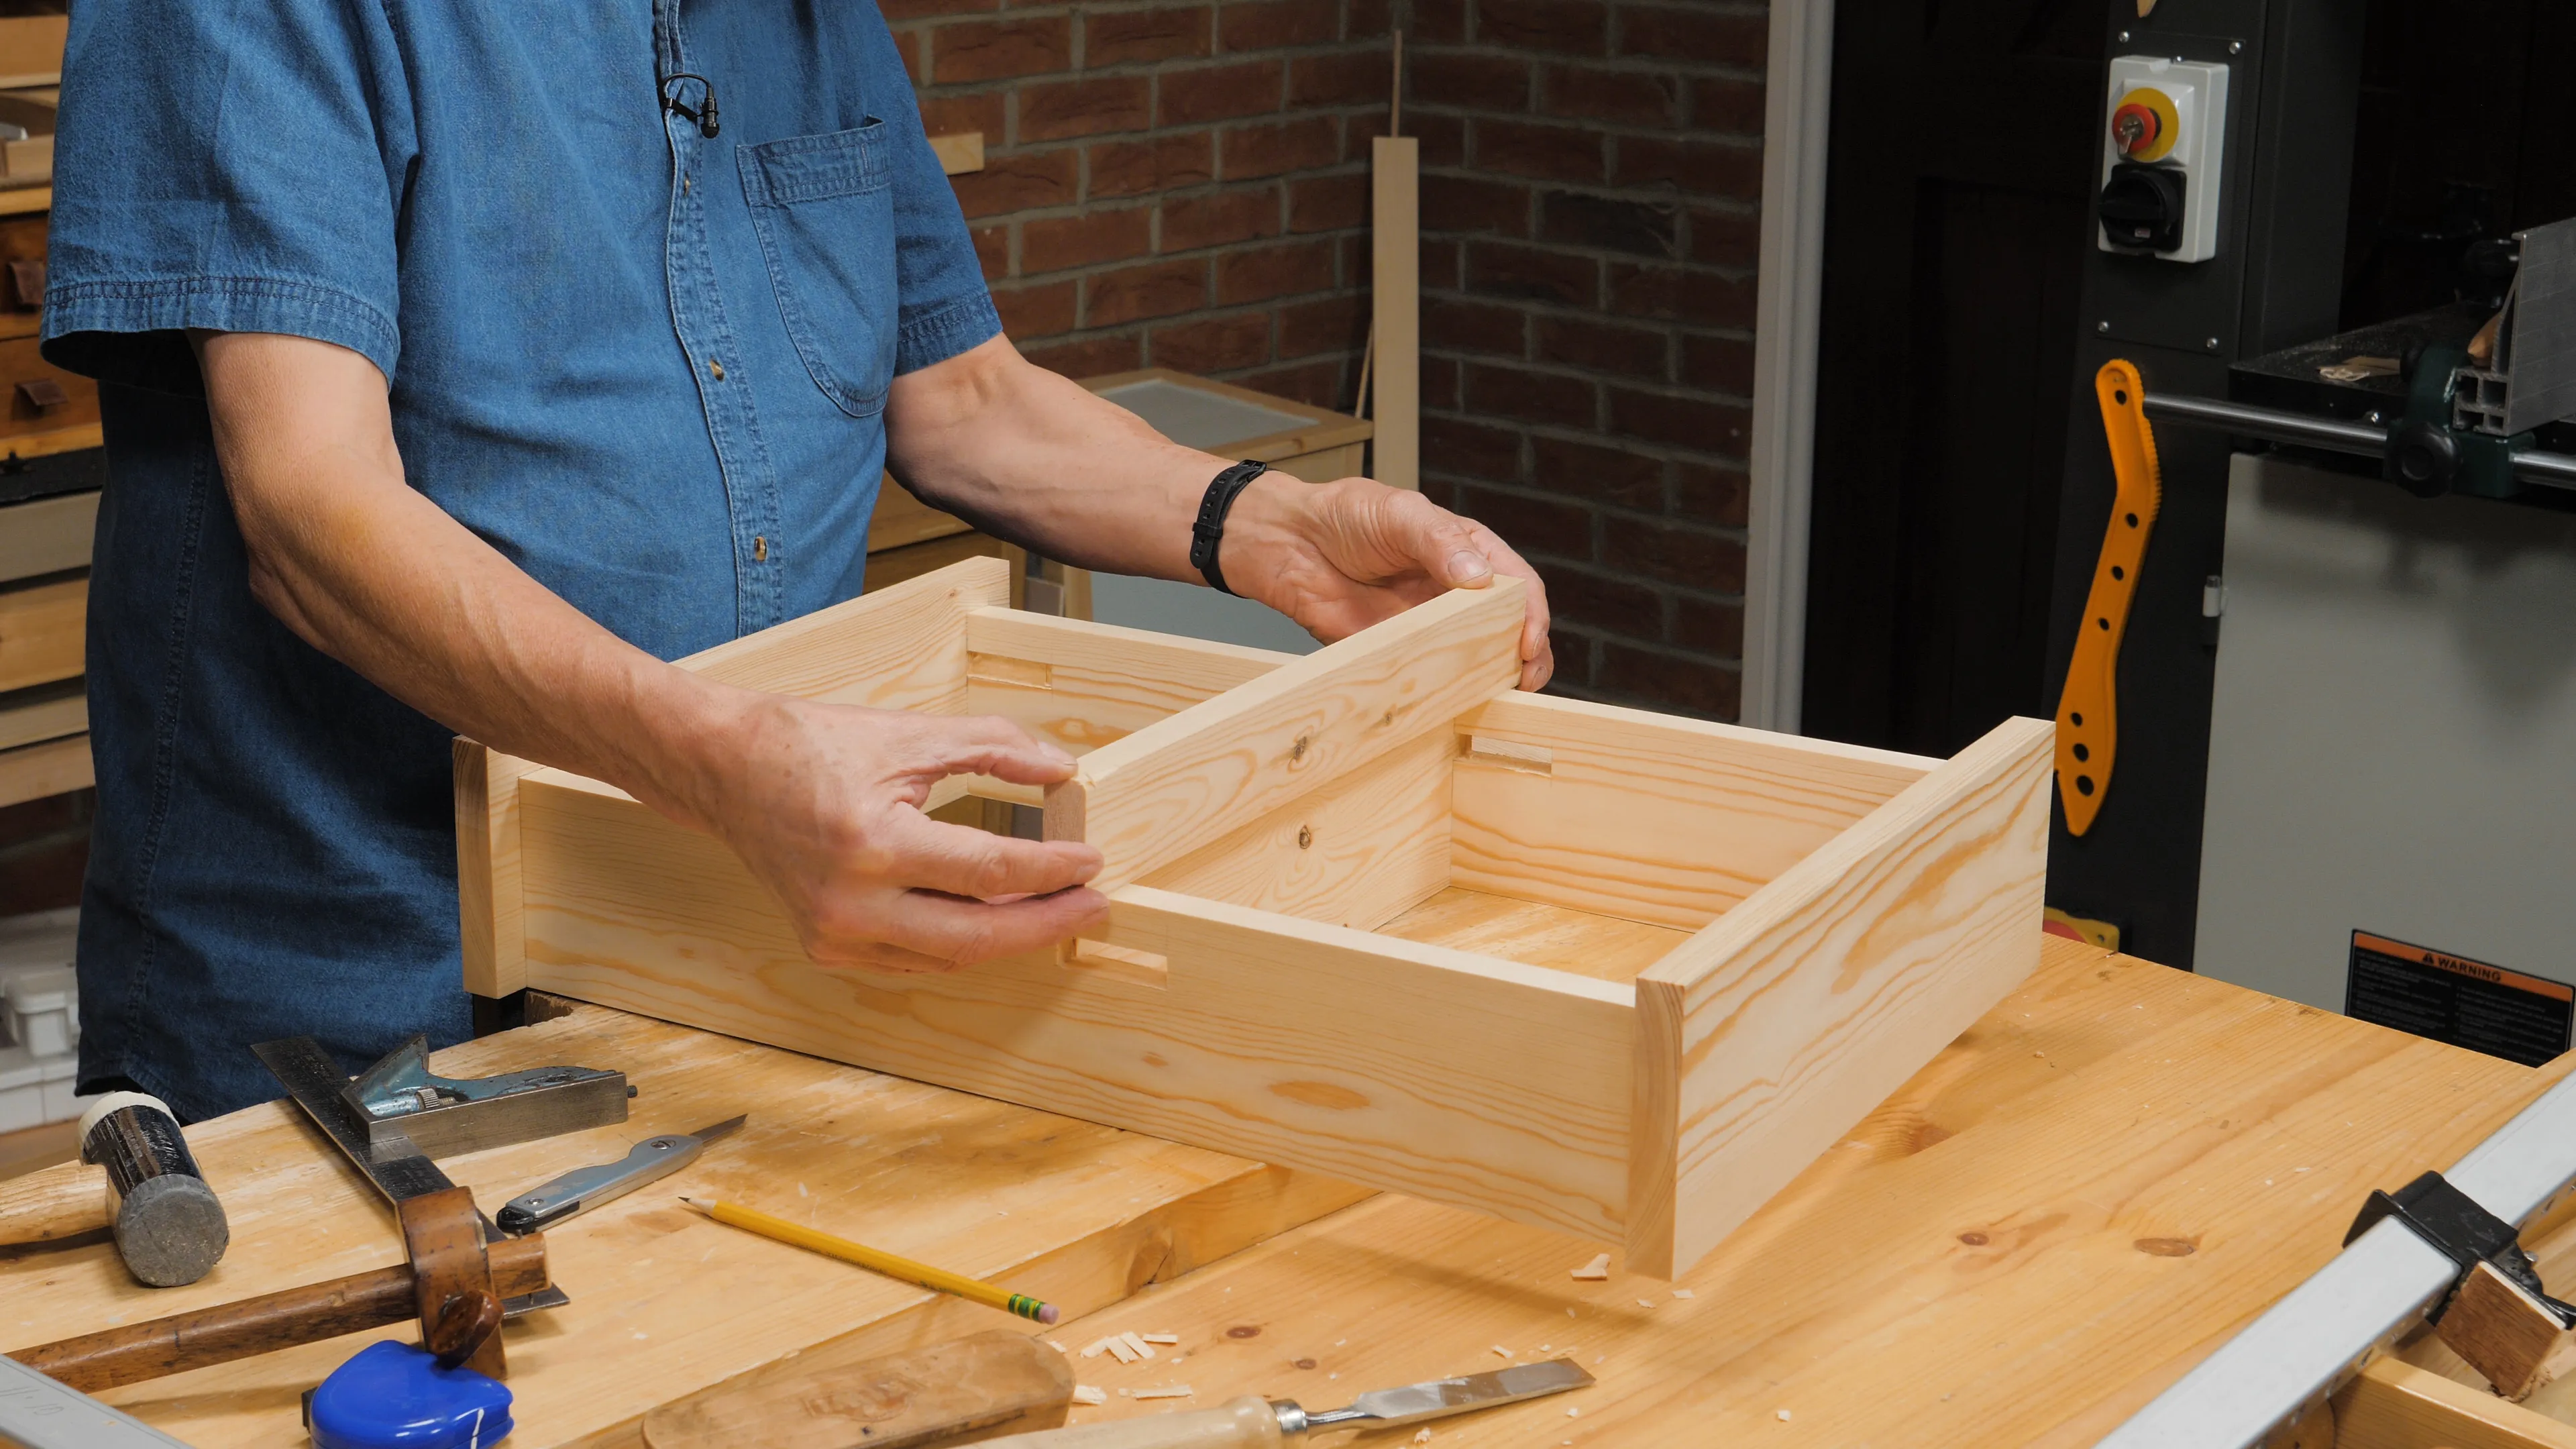
Begin by putting the shelf together and making sure every joint is seating well. Choose the faces you want for your cross rails and make some identifier markings like the triangle across both the faces.
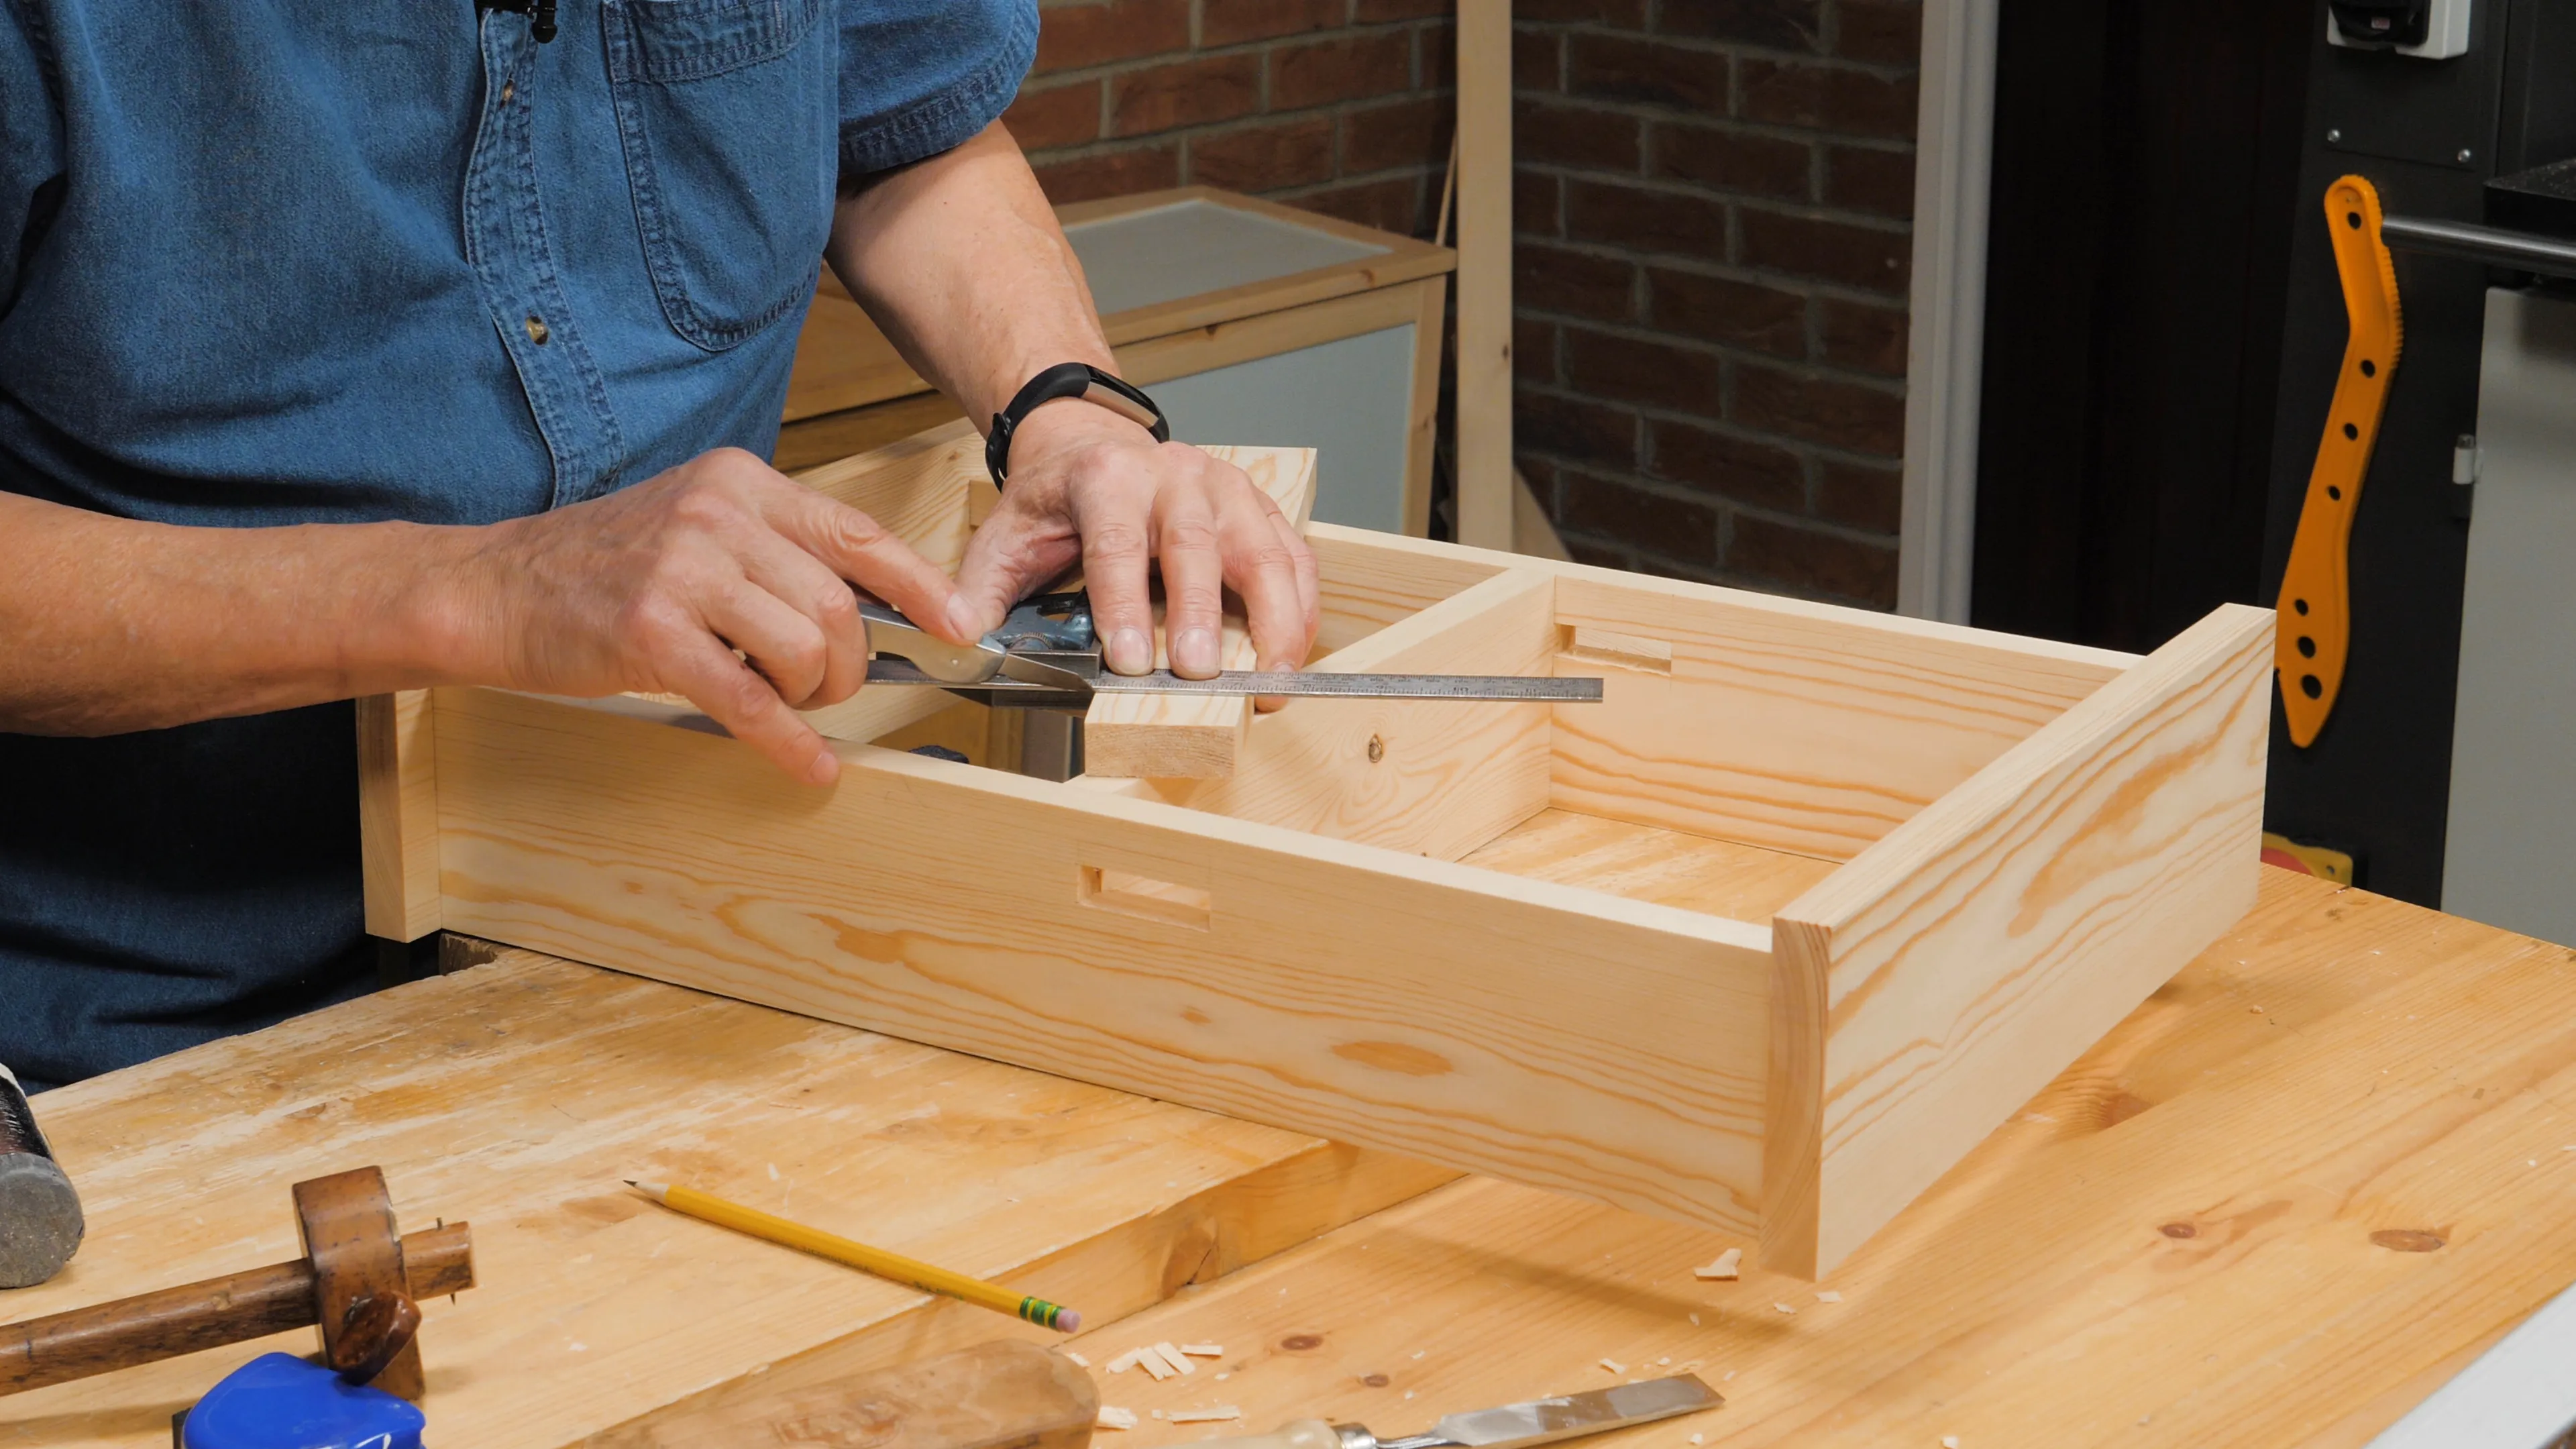
Accuracy in this step is critical if you want perfectly corresponding shoulders with no gaps showing from the front of the shelf. The best way to do this is to take the positions for the shoulders directly from the sides of the assembled shelf. You can either centre the rail piece between the side pieces and make two knife nicks, or you can follow Paul’s alternative method below. (This may be more helpful for those who are still relatively new to hand tools.)
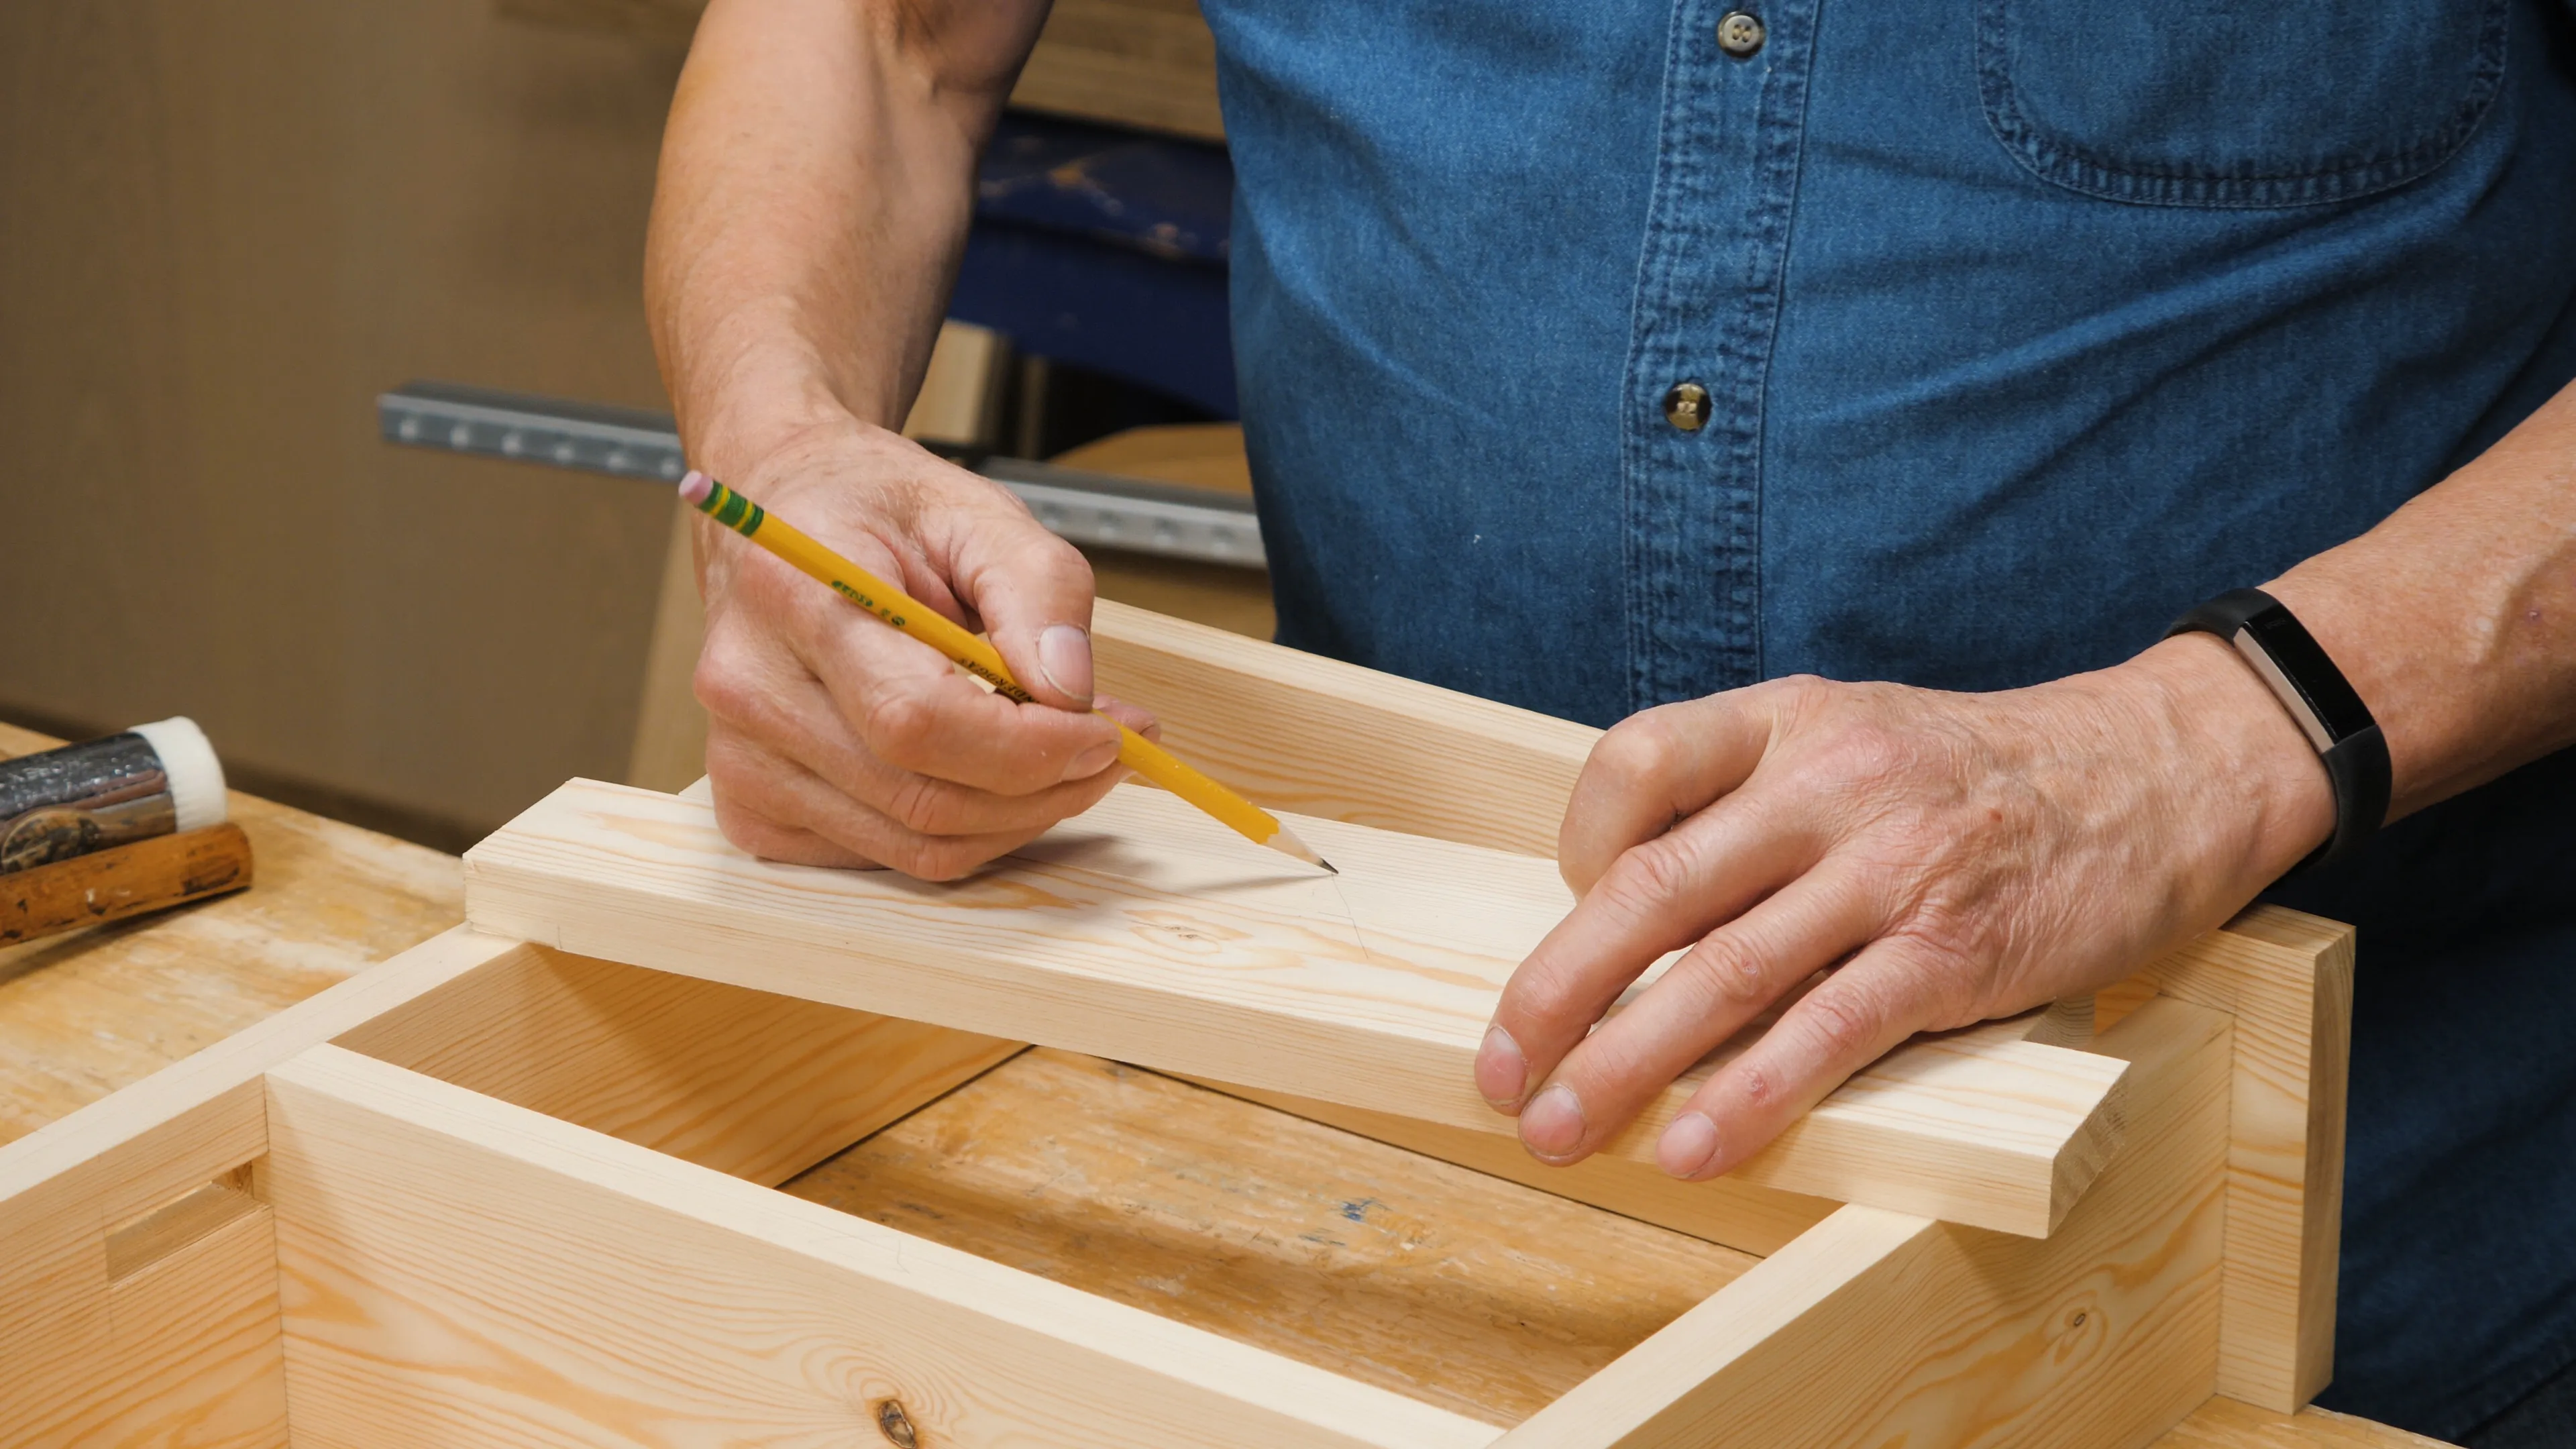
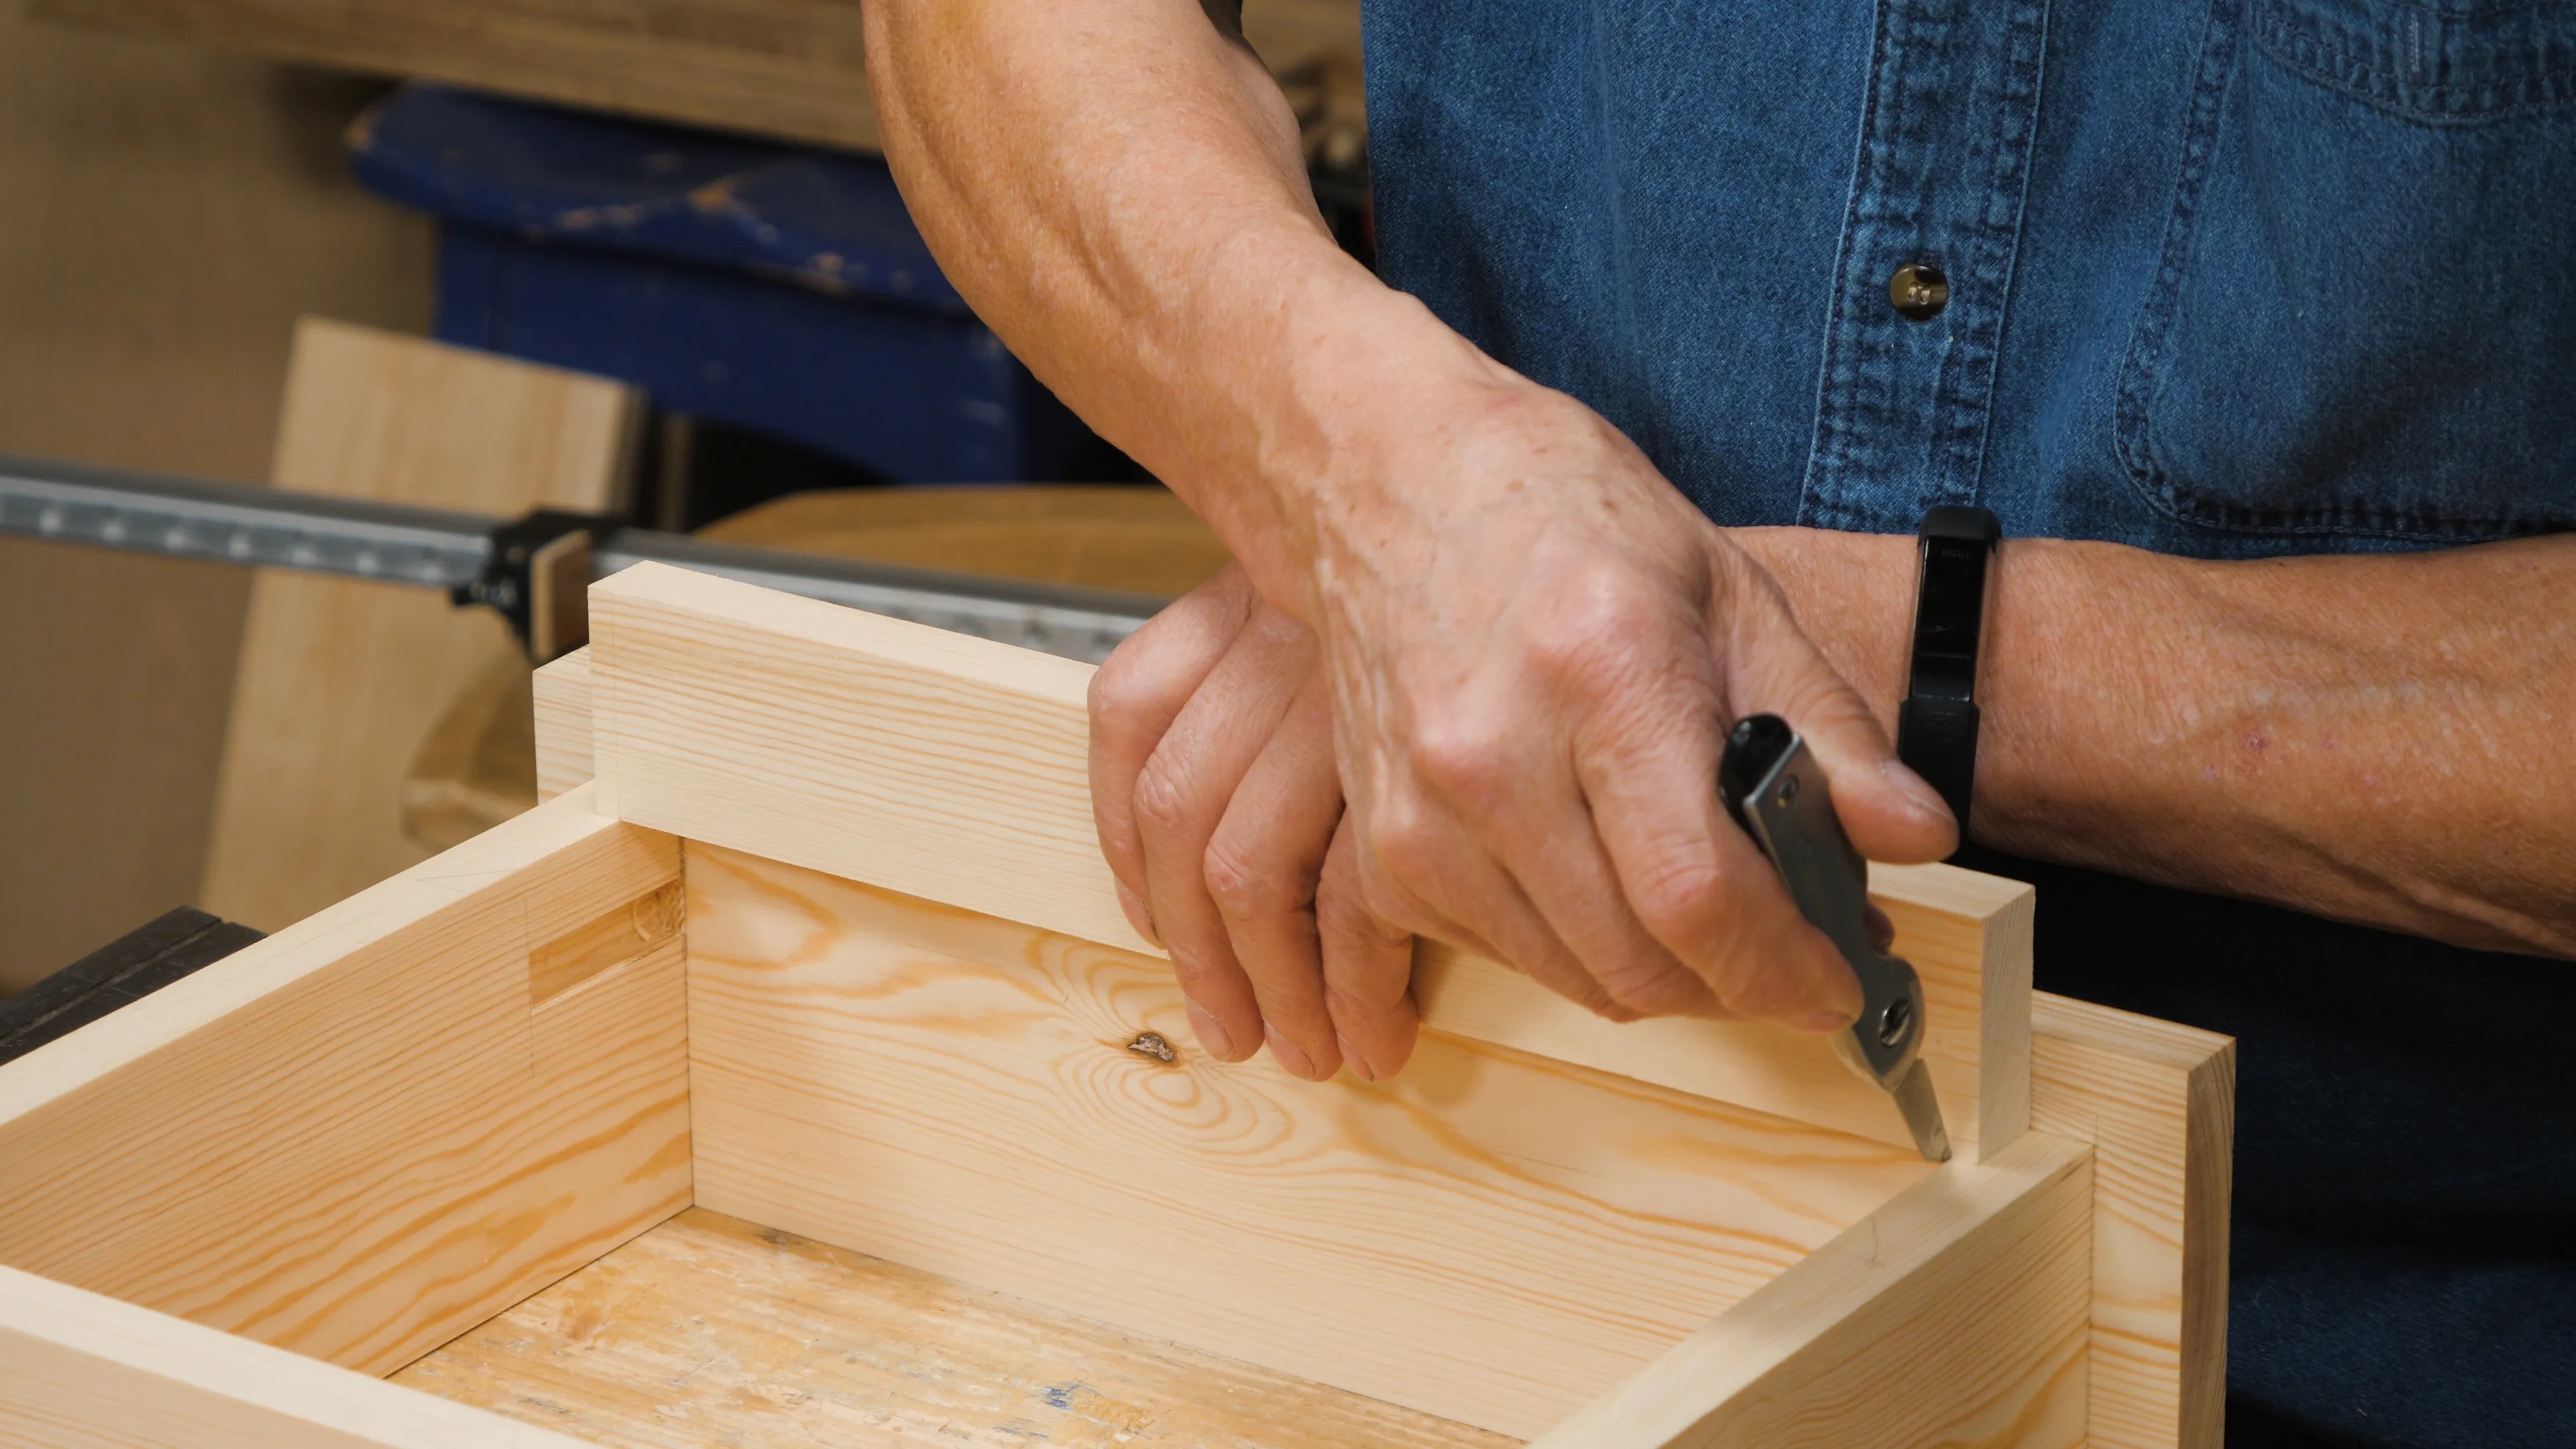
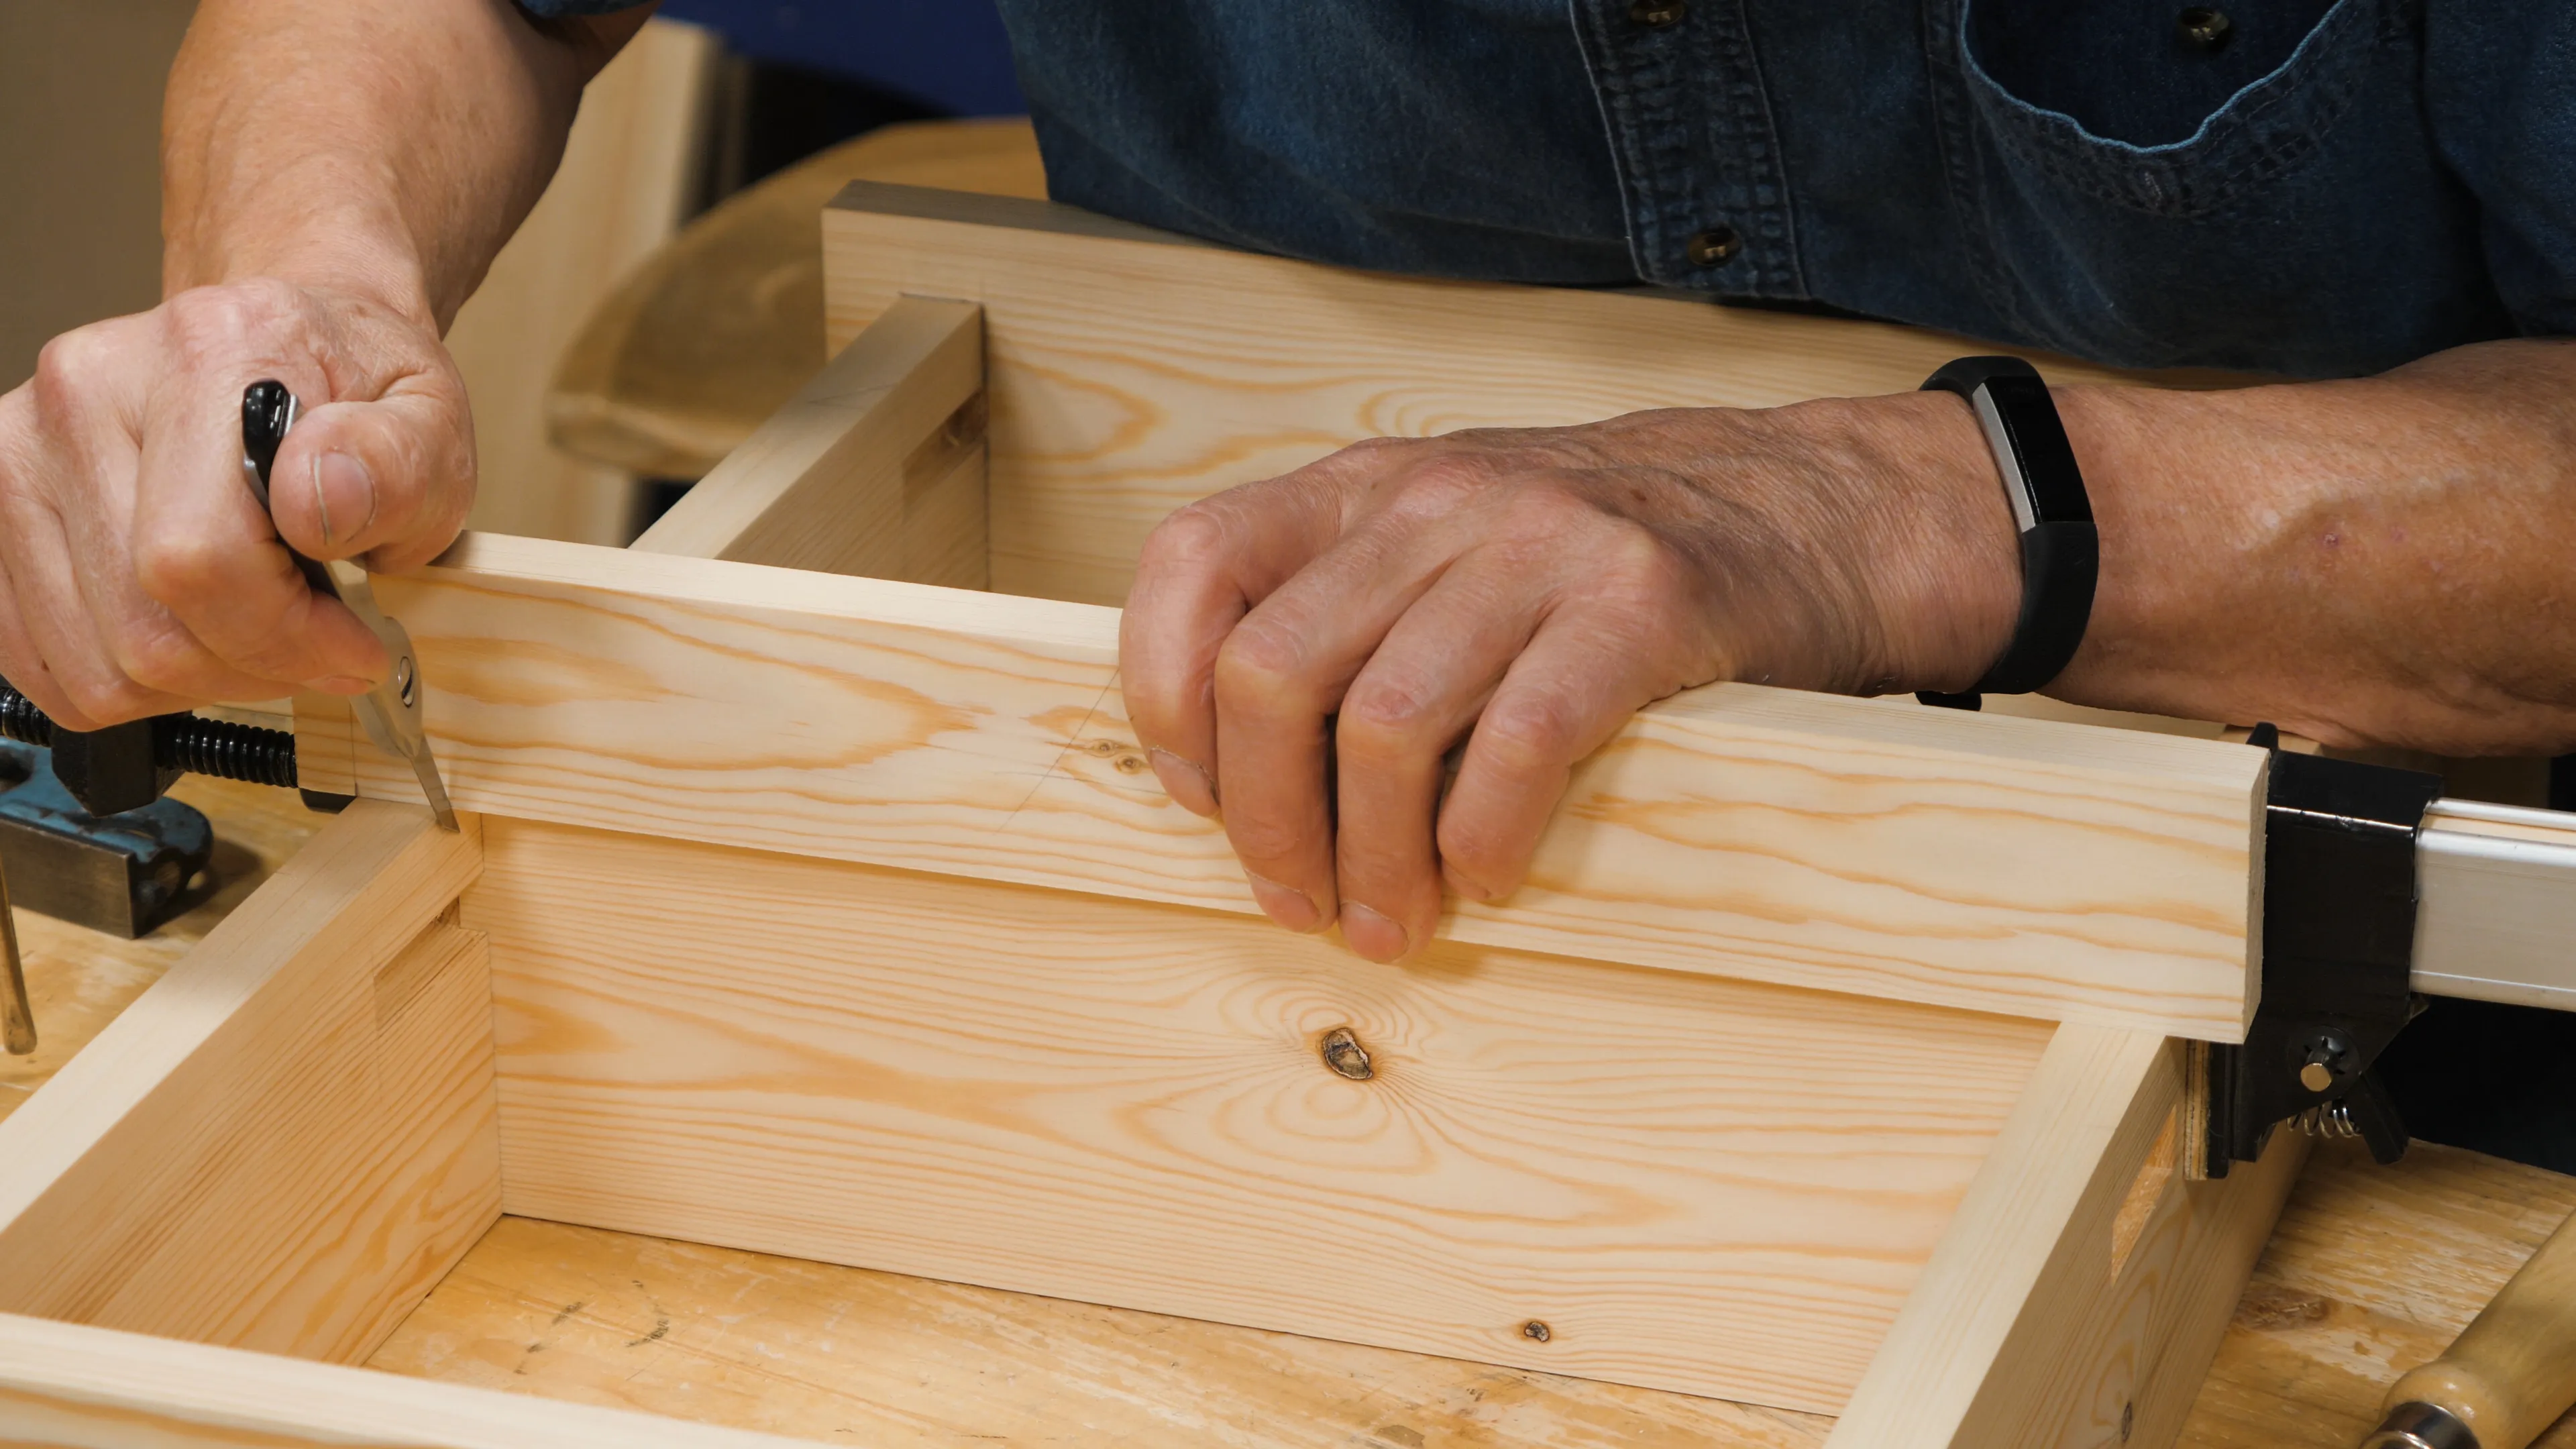
For the the top rail, measure ¼” (6mm) from one end for the tenon piece and make a knife nick. Square across the front face and part way towards the back (top and bottom) with a definite knifewall. Then, bring back the shelf in and line up the knifewall you just made with the internal face of one of the shelf sides, using the knife to make sure they are aligned perfectly. Now, holding the rail piece steady, make a second knife nick on the other end of the rail, exactly where the tenon meets the inside face.
Line up the shoulder line you just made with the inside of the side piece, seating the edge of your knife in the nick to make sure it is right up against the side piece. Hold the rail firmly in place and make another light nick on the other end of the rail to mark the position of the second shoulder line.
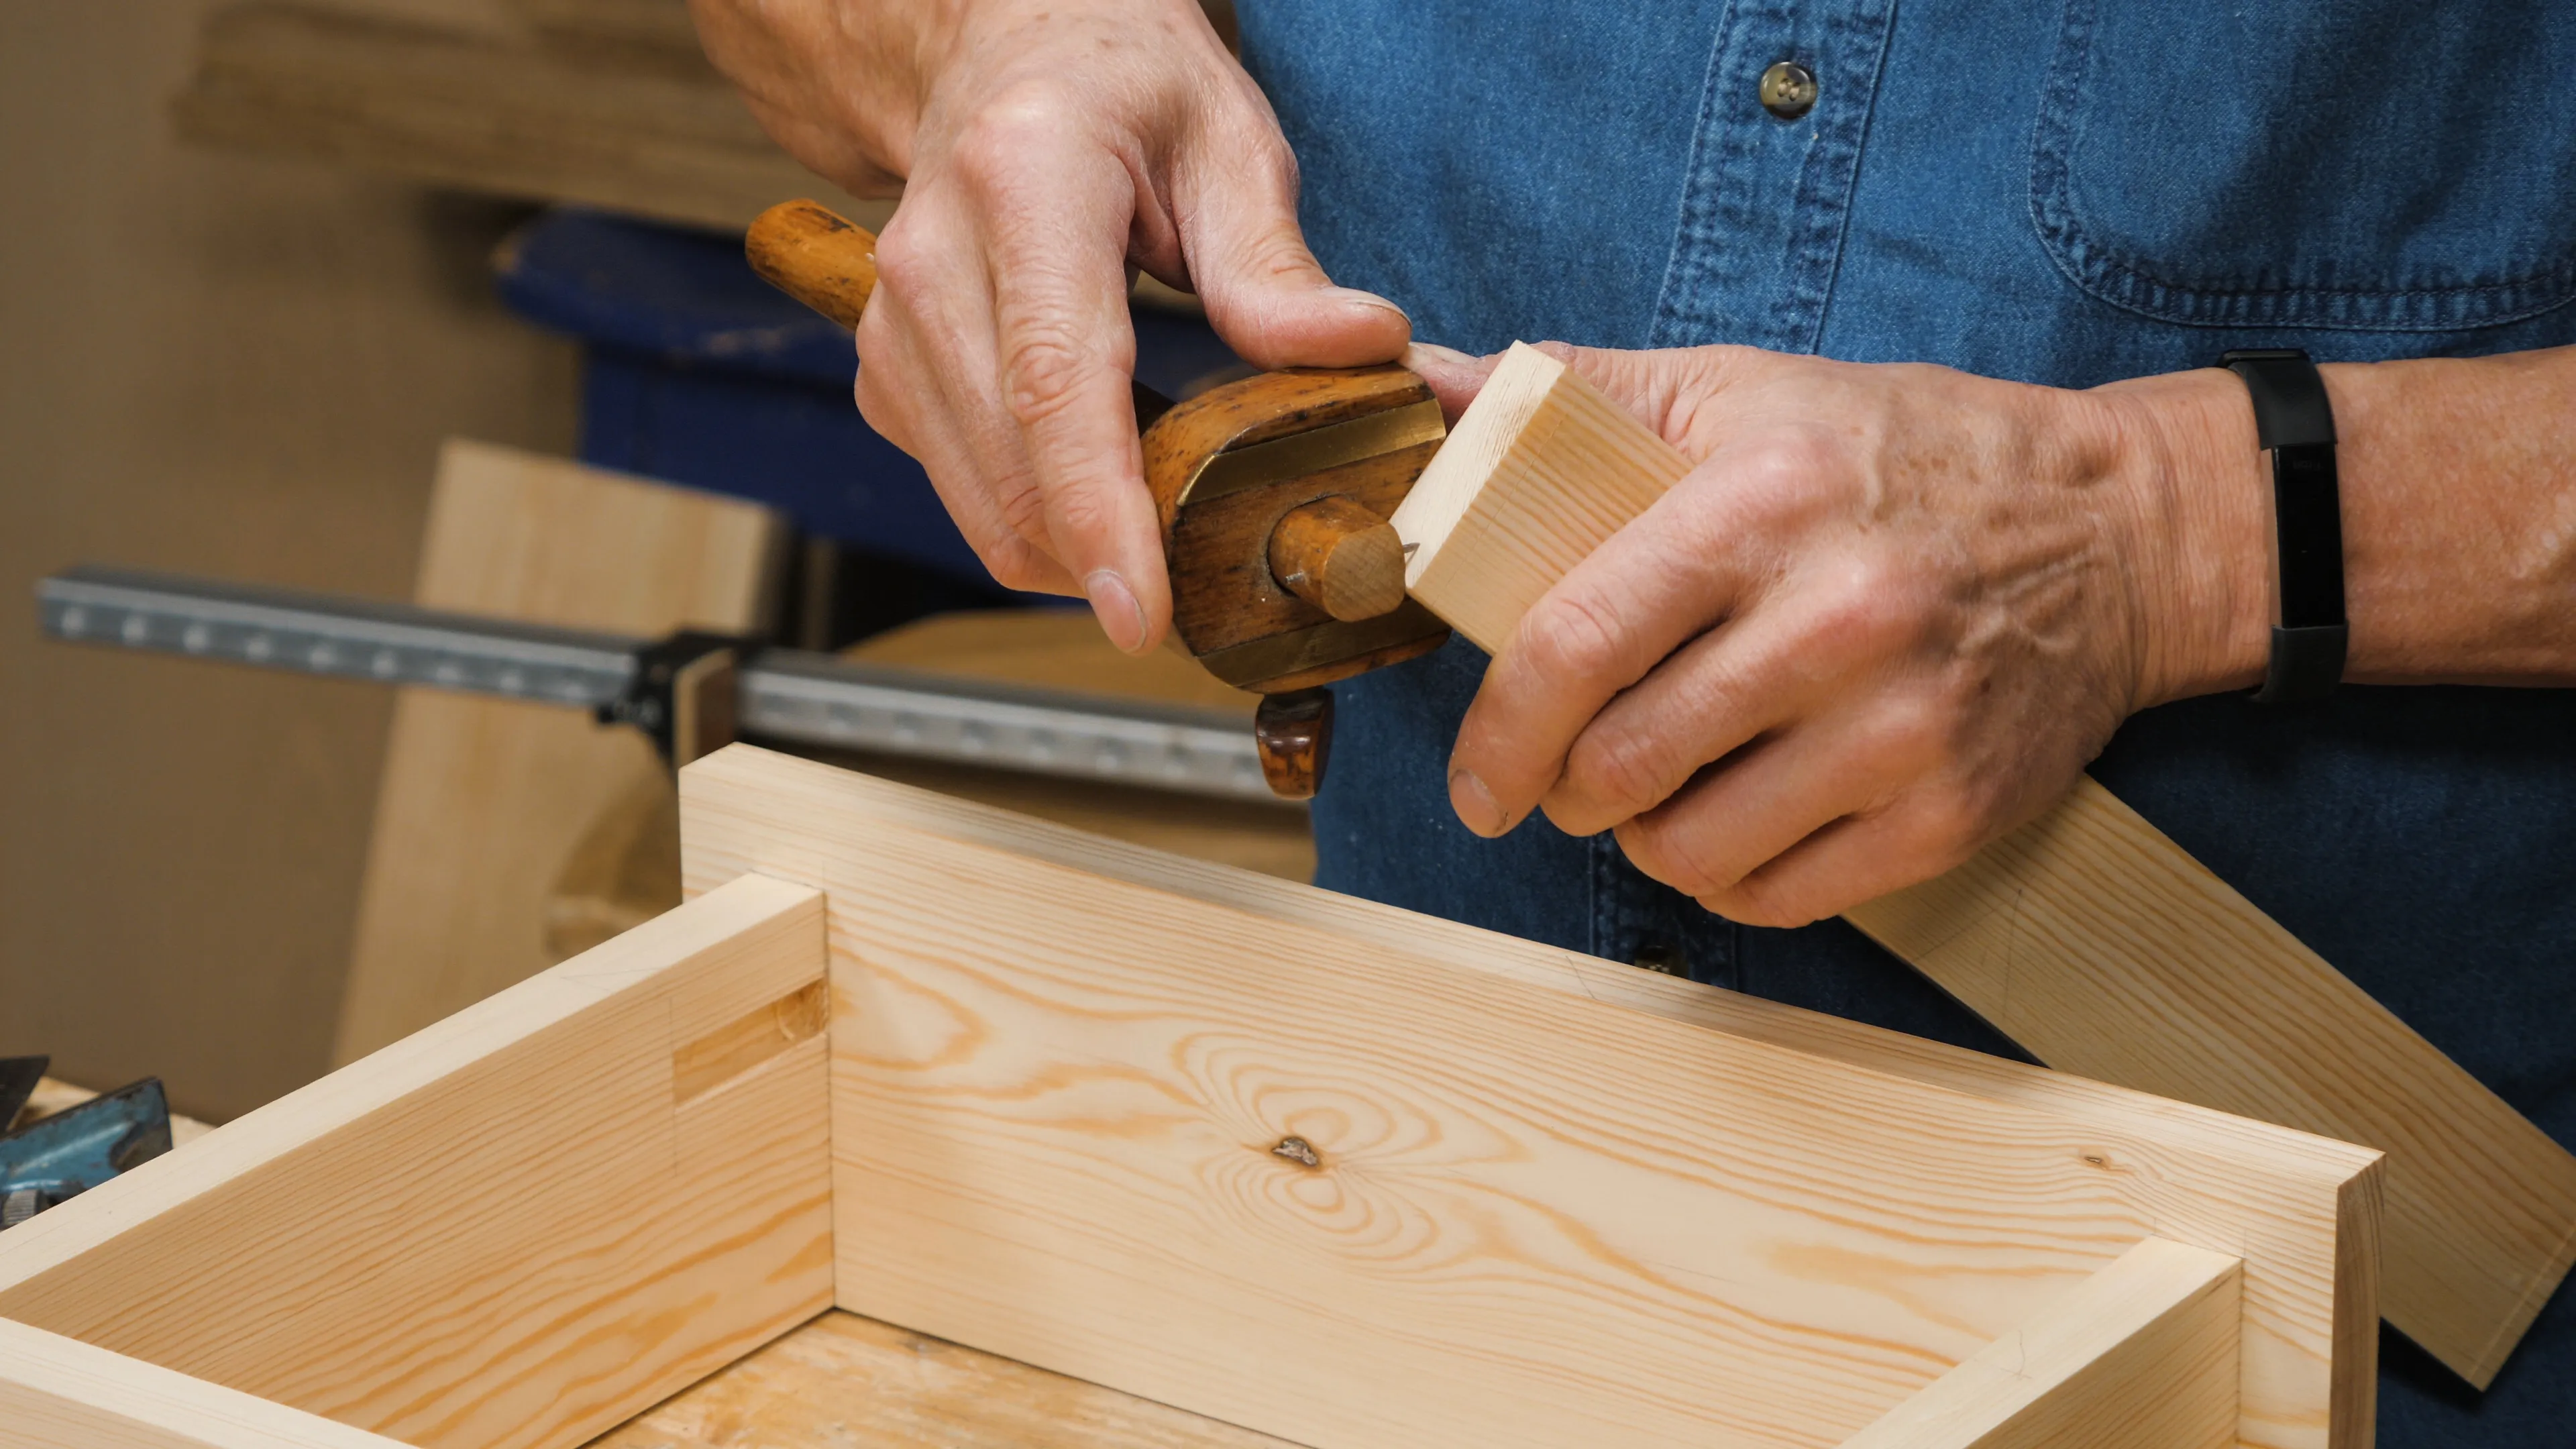
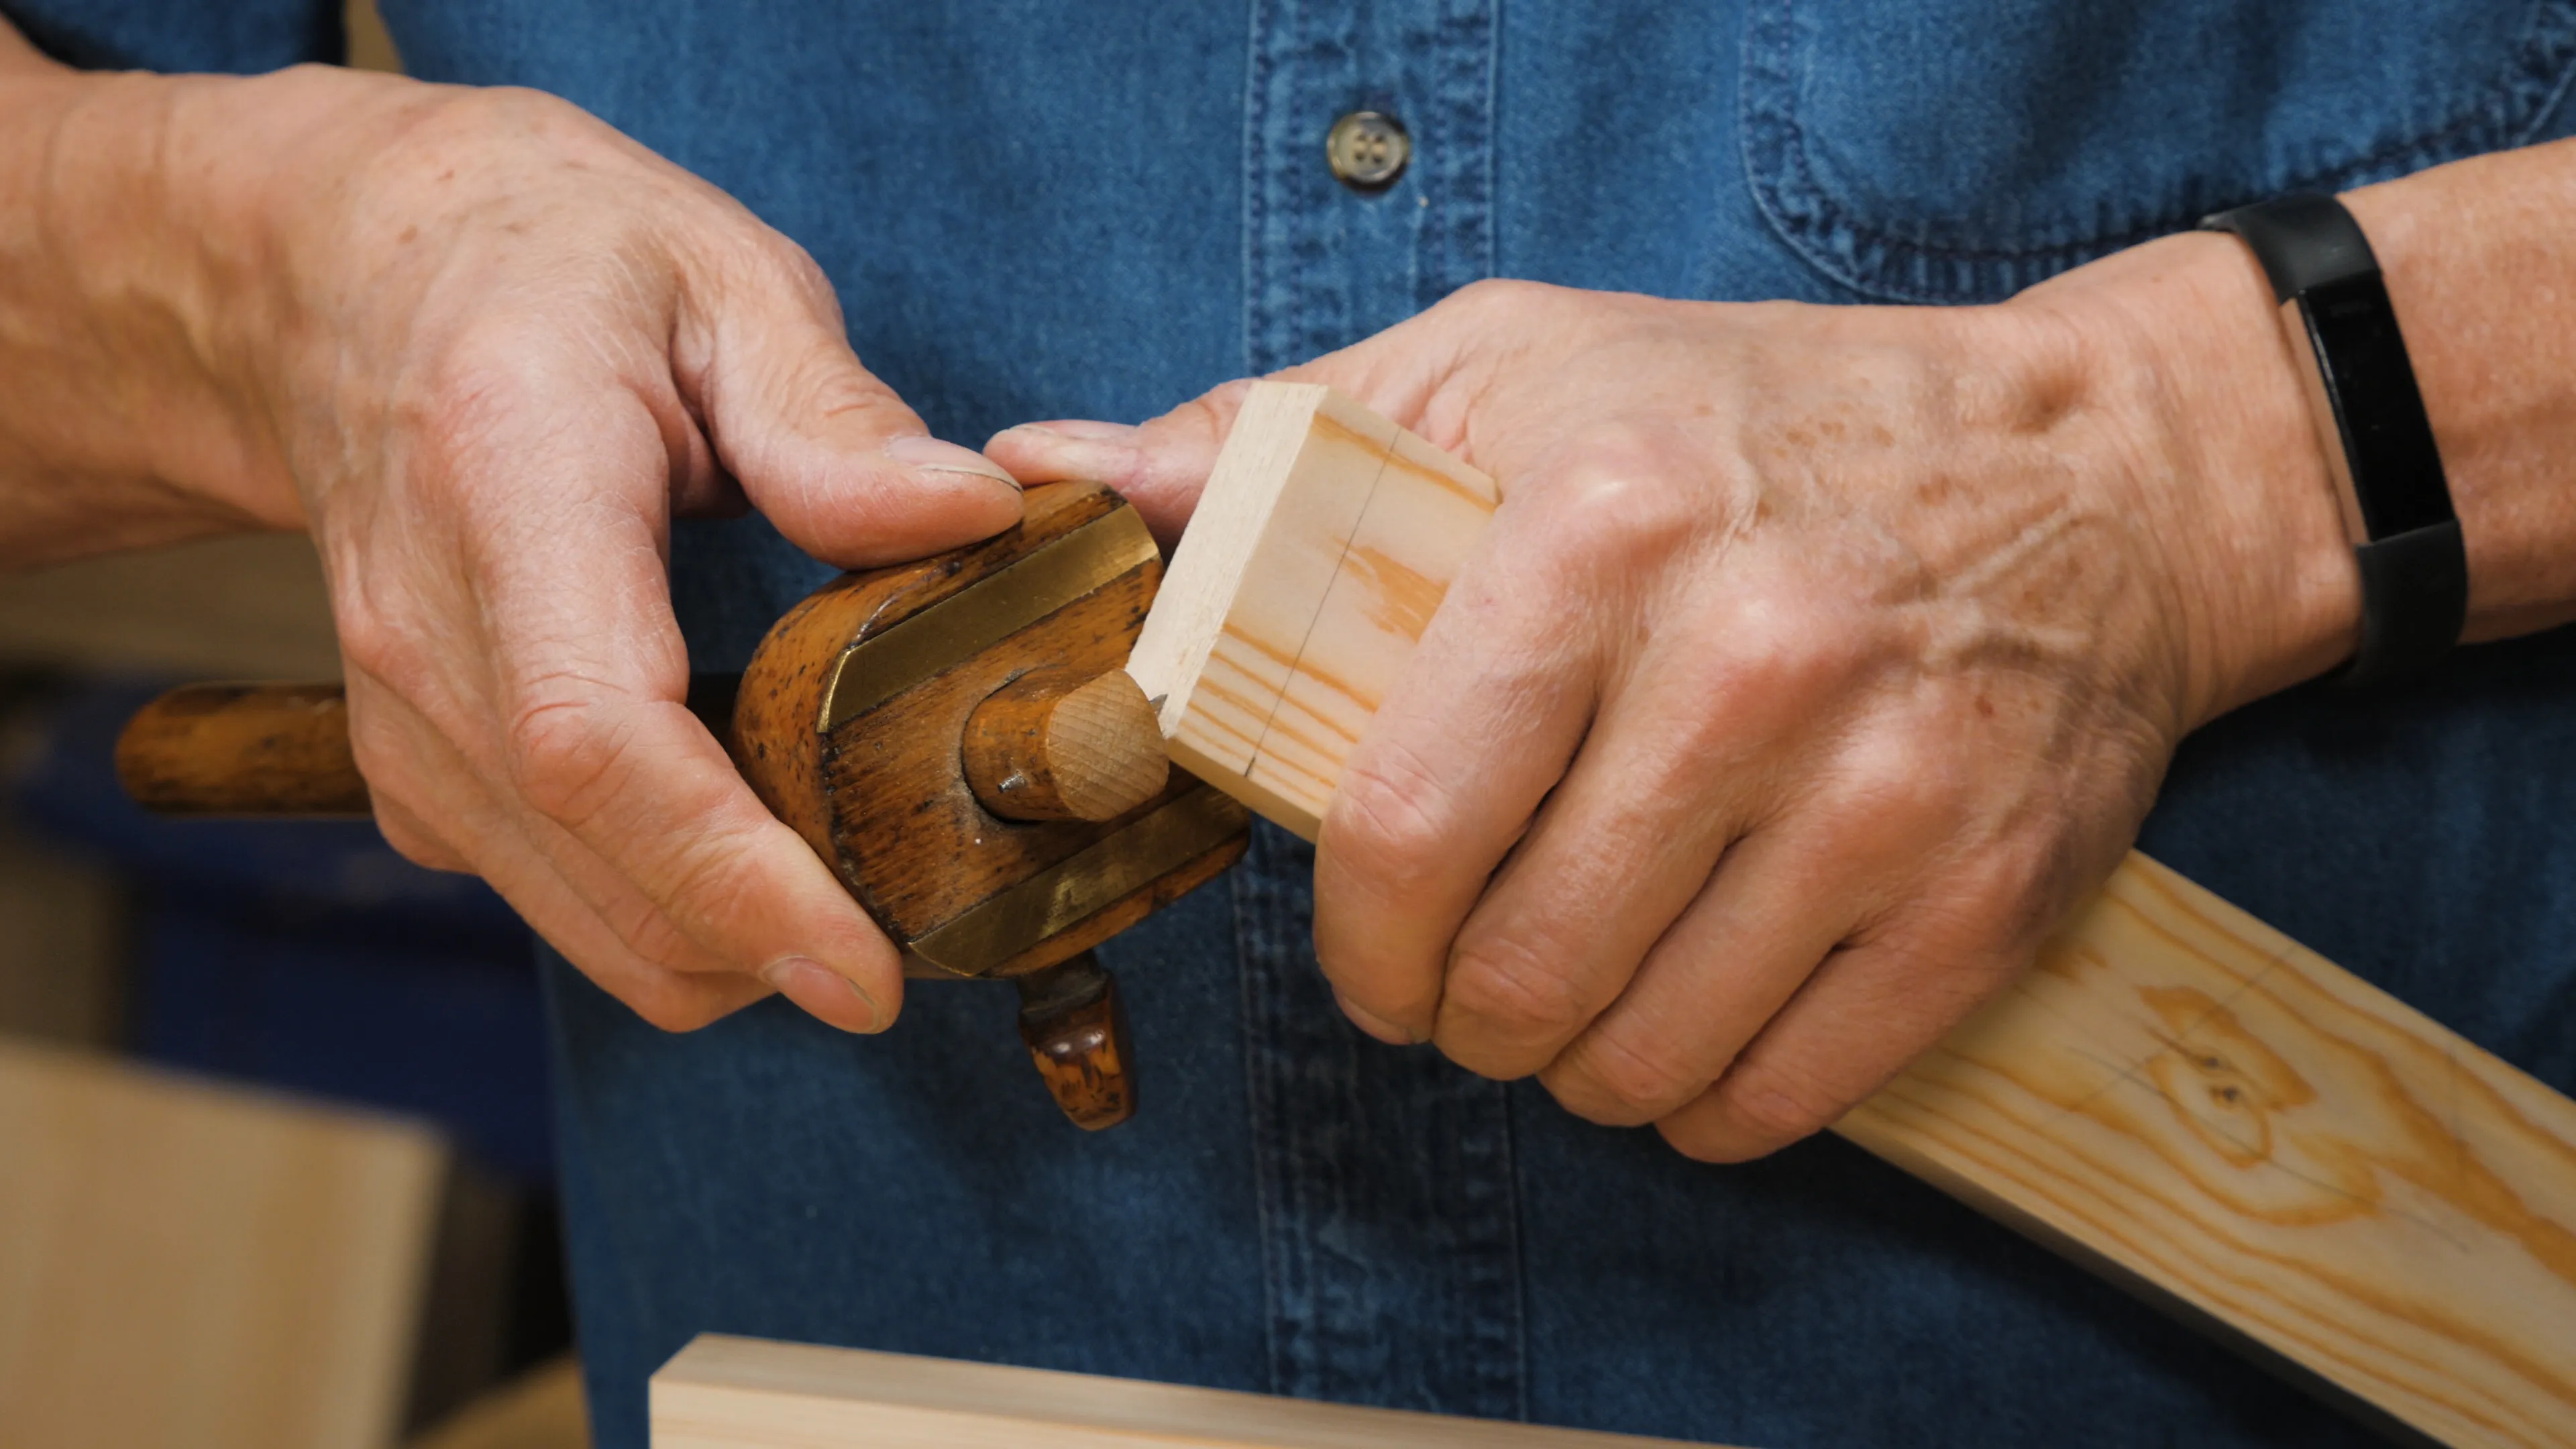
To mark the thickness of the tenon, set a single pin gauge to the width of your ½” (13mm) chisel. Register the stock of your gauge on the back of the rail piece. Run the gauge along the end of the tenon and down the sides for an accurate reference to work to.


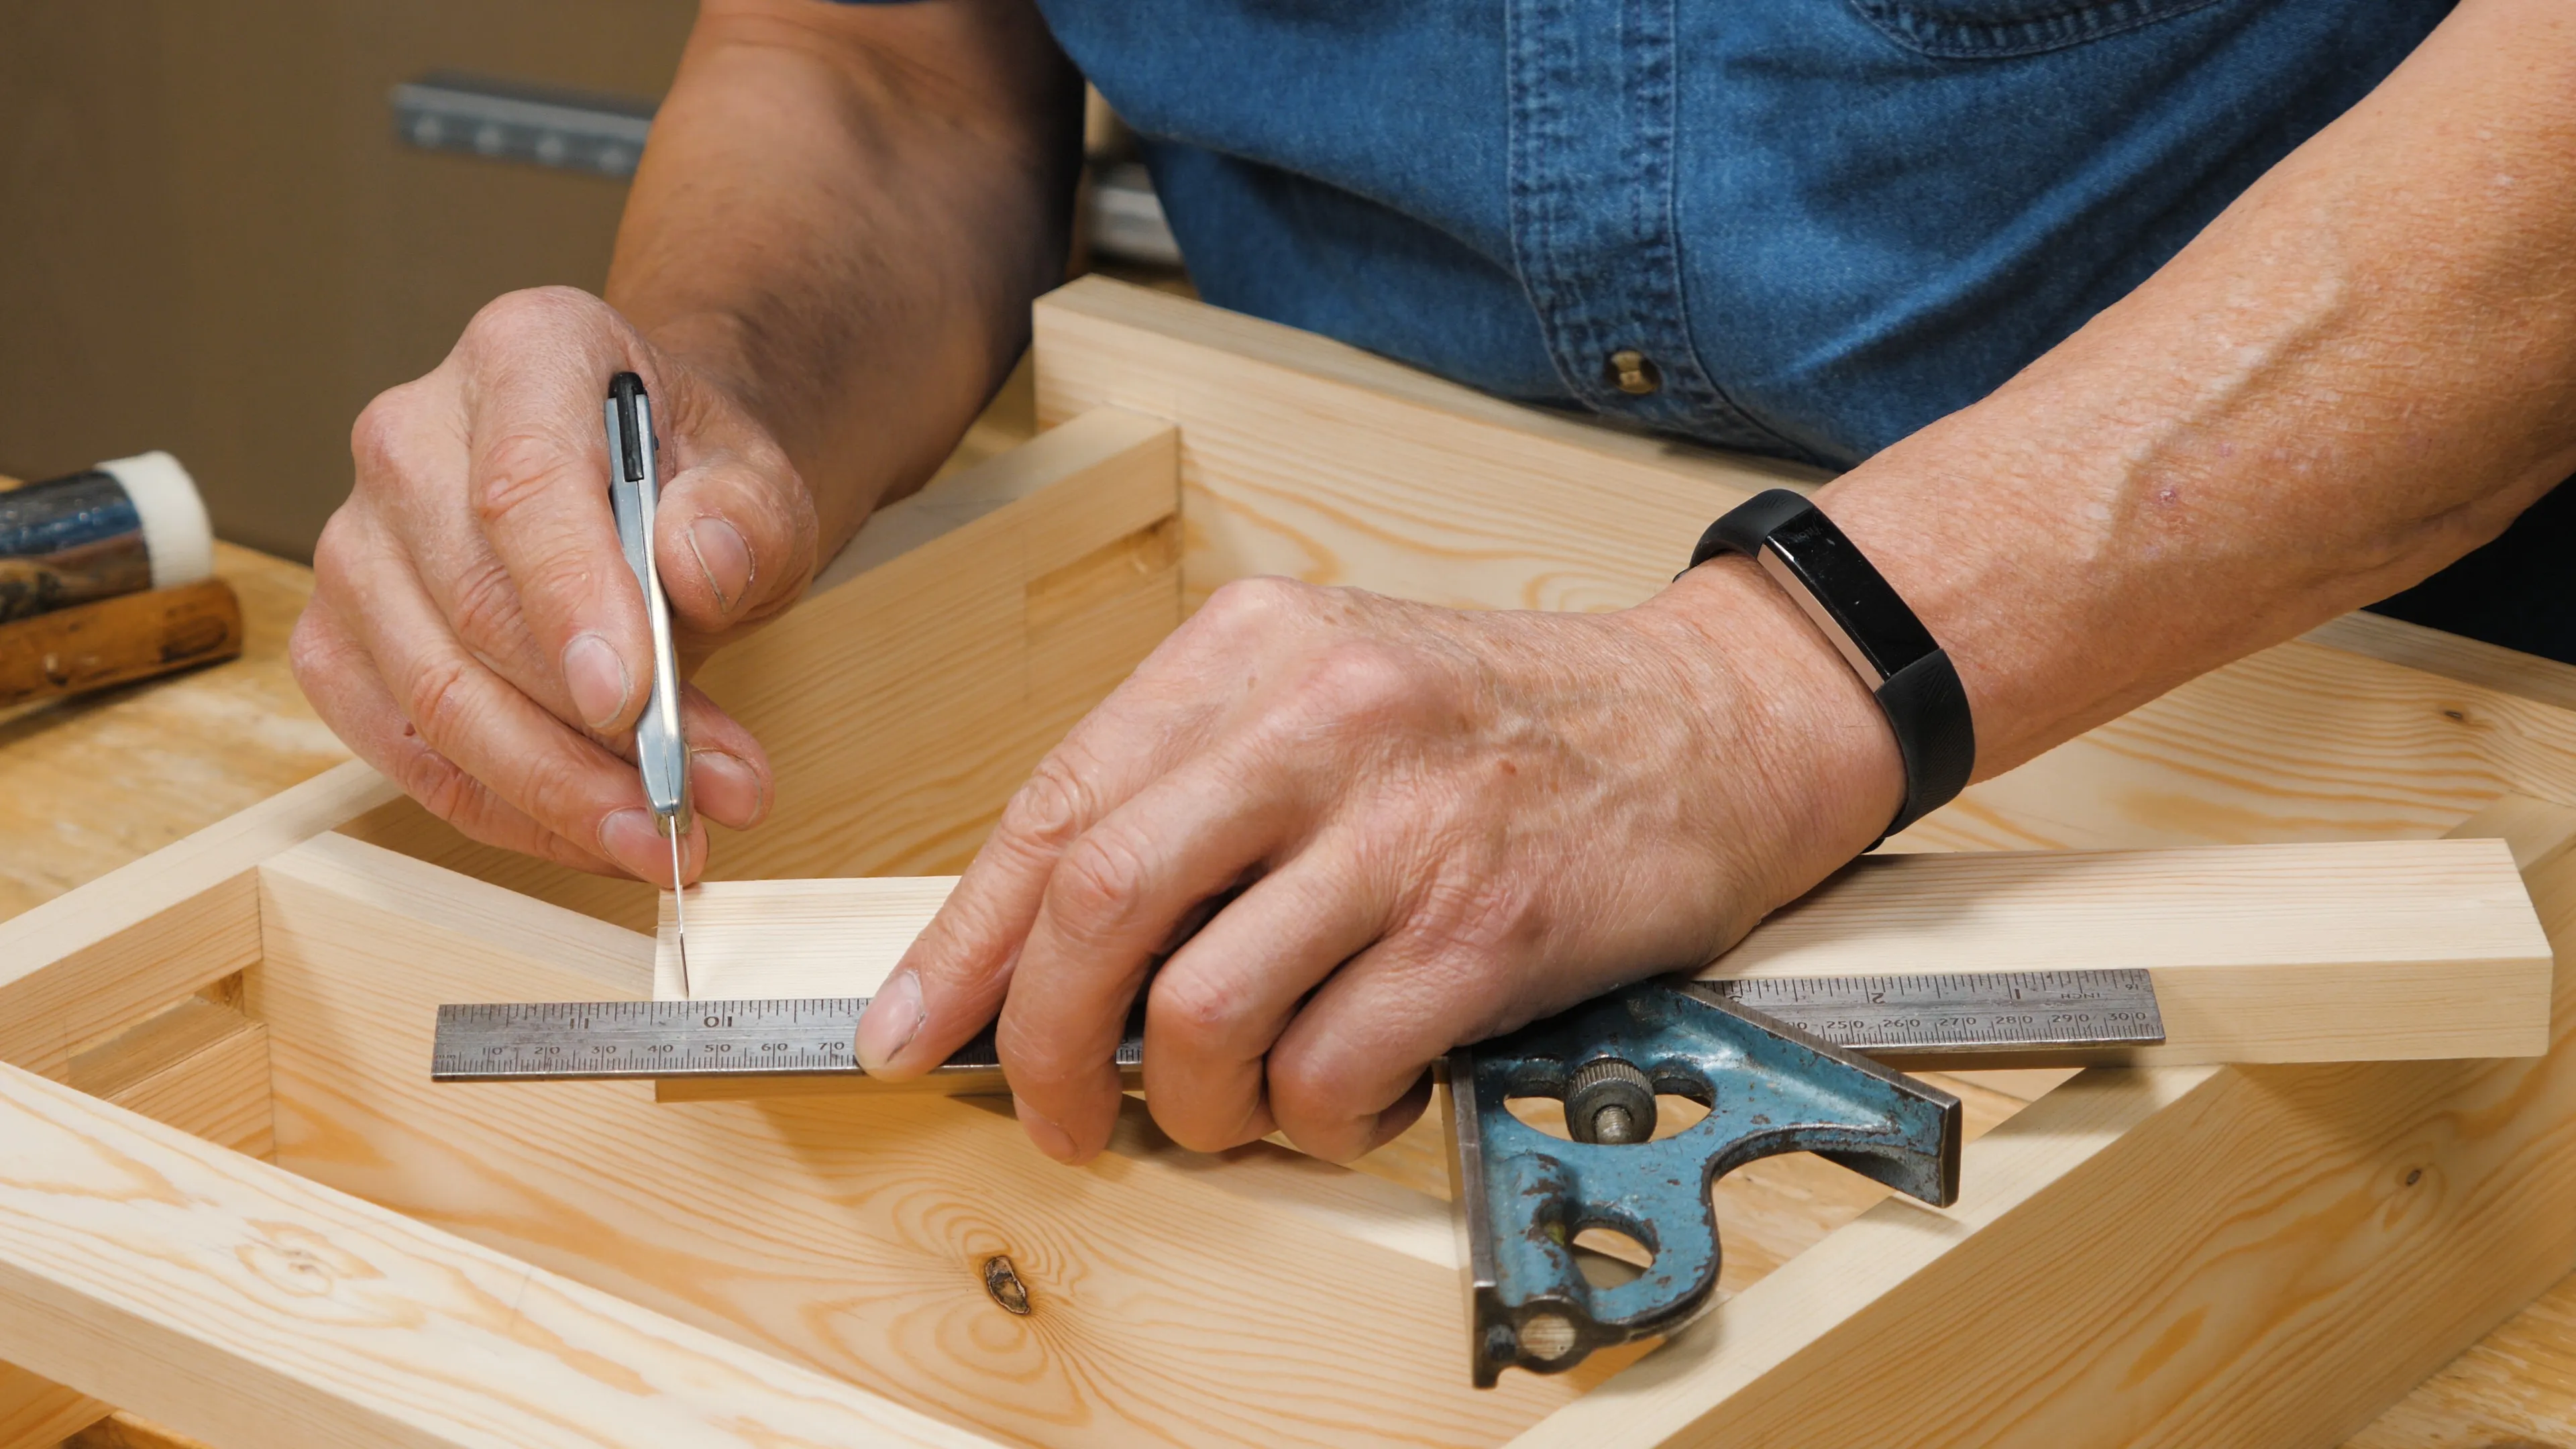
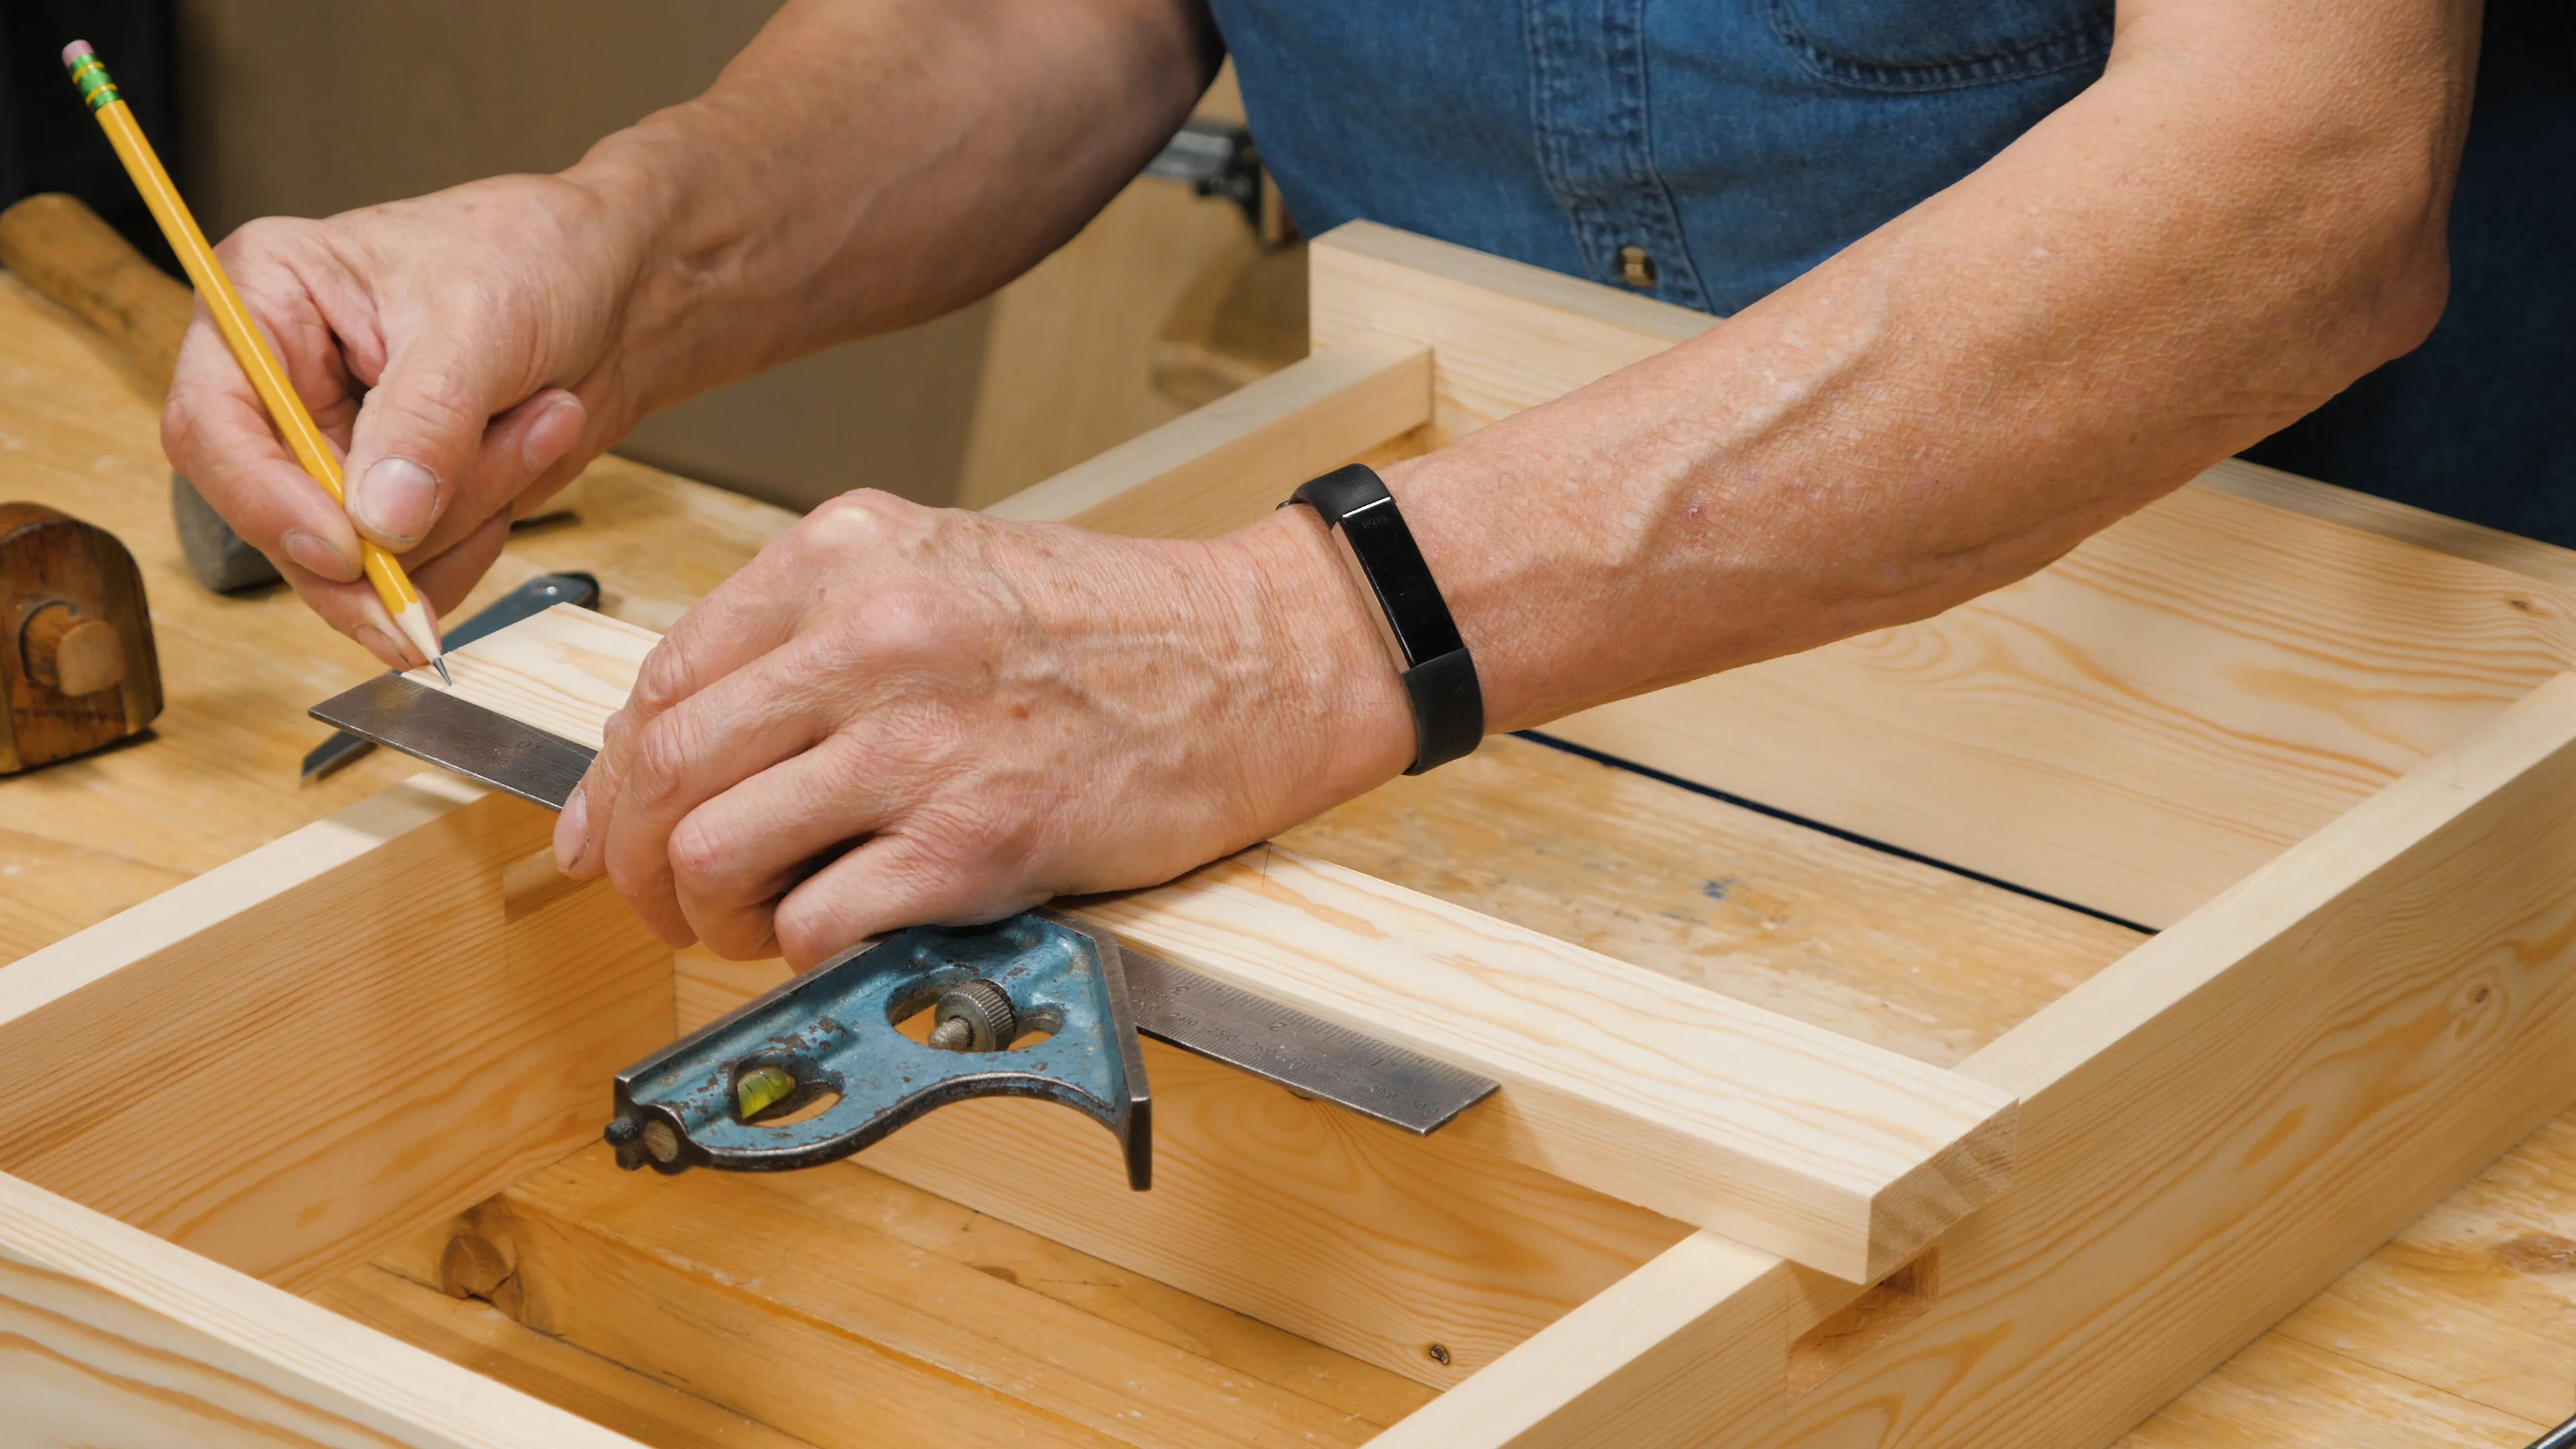
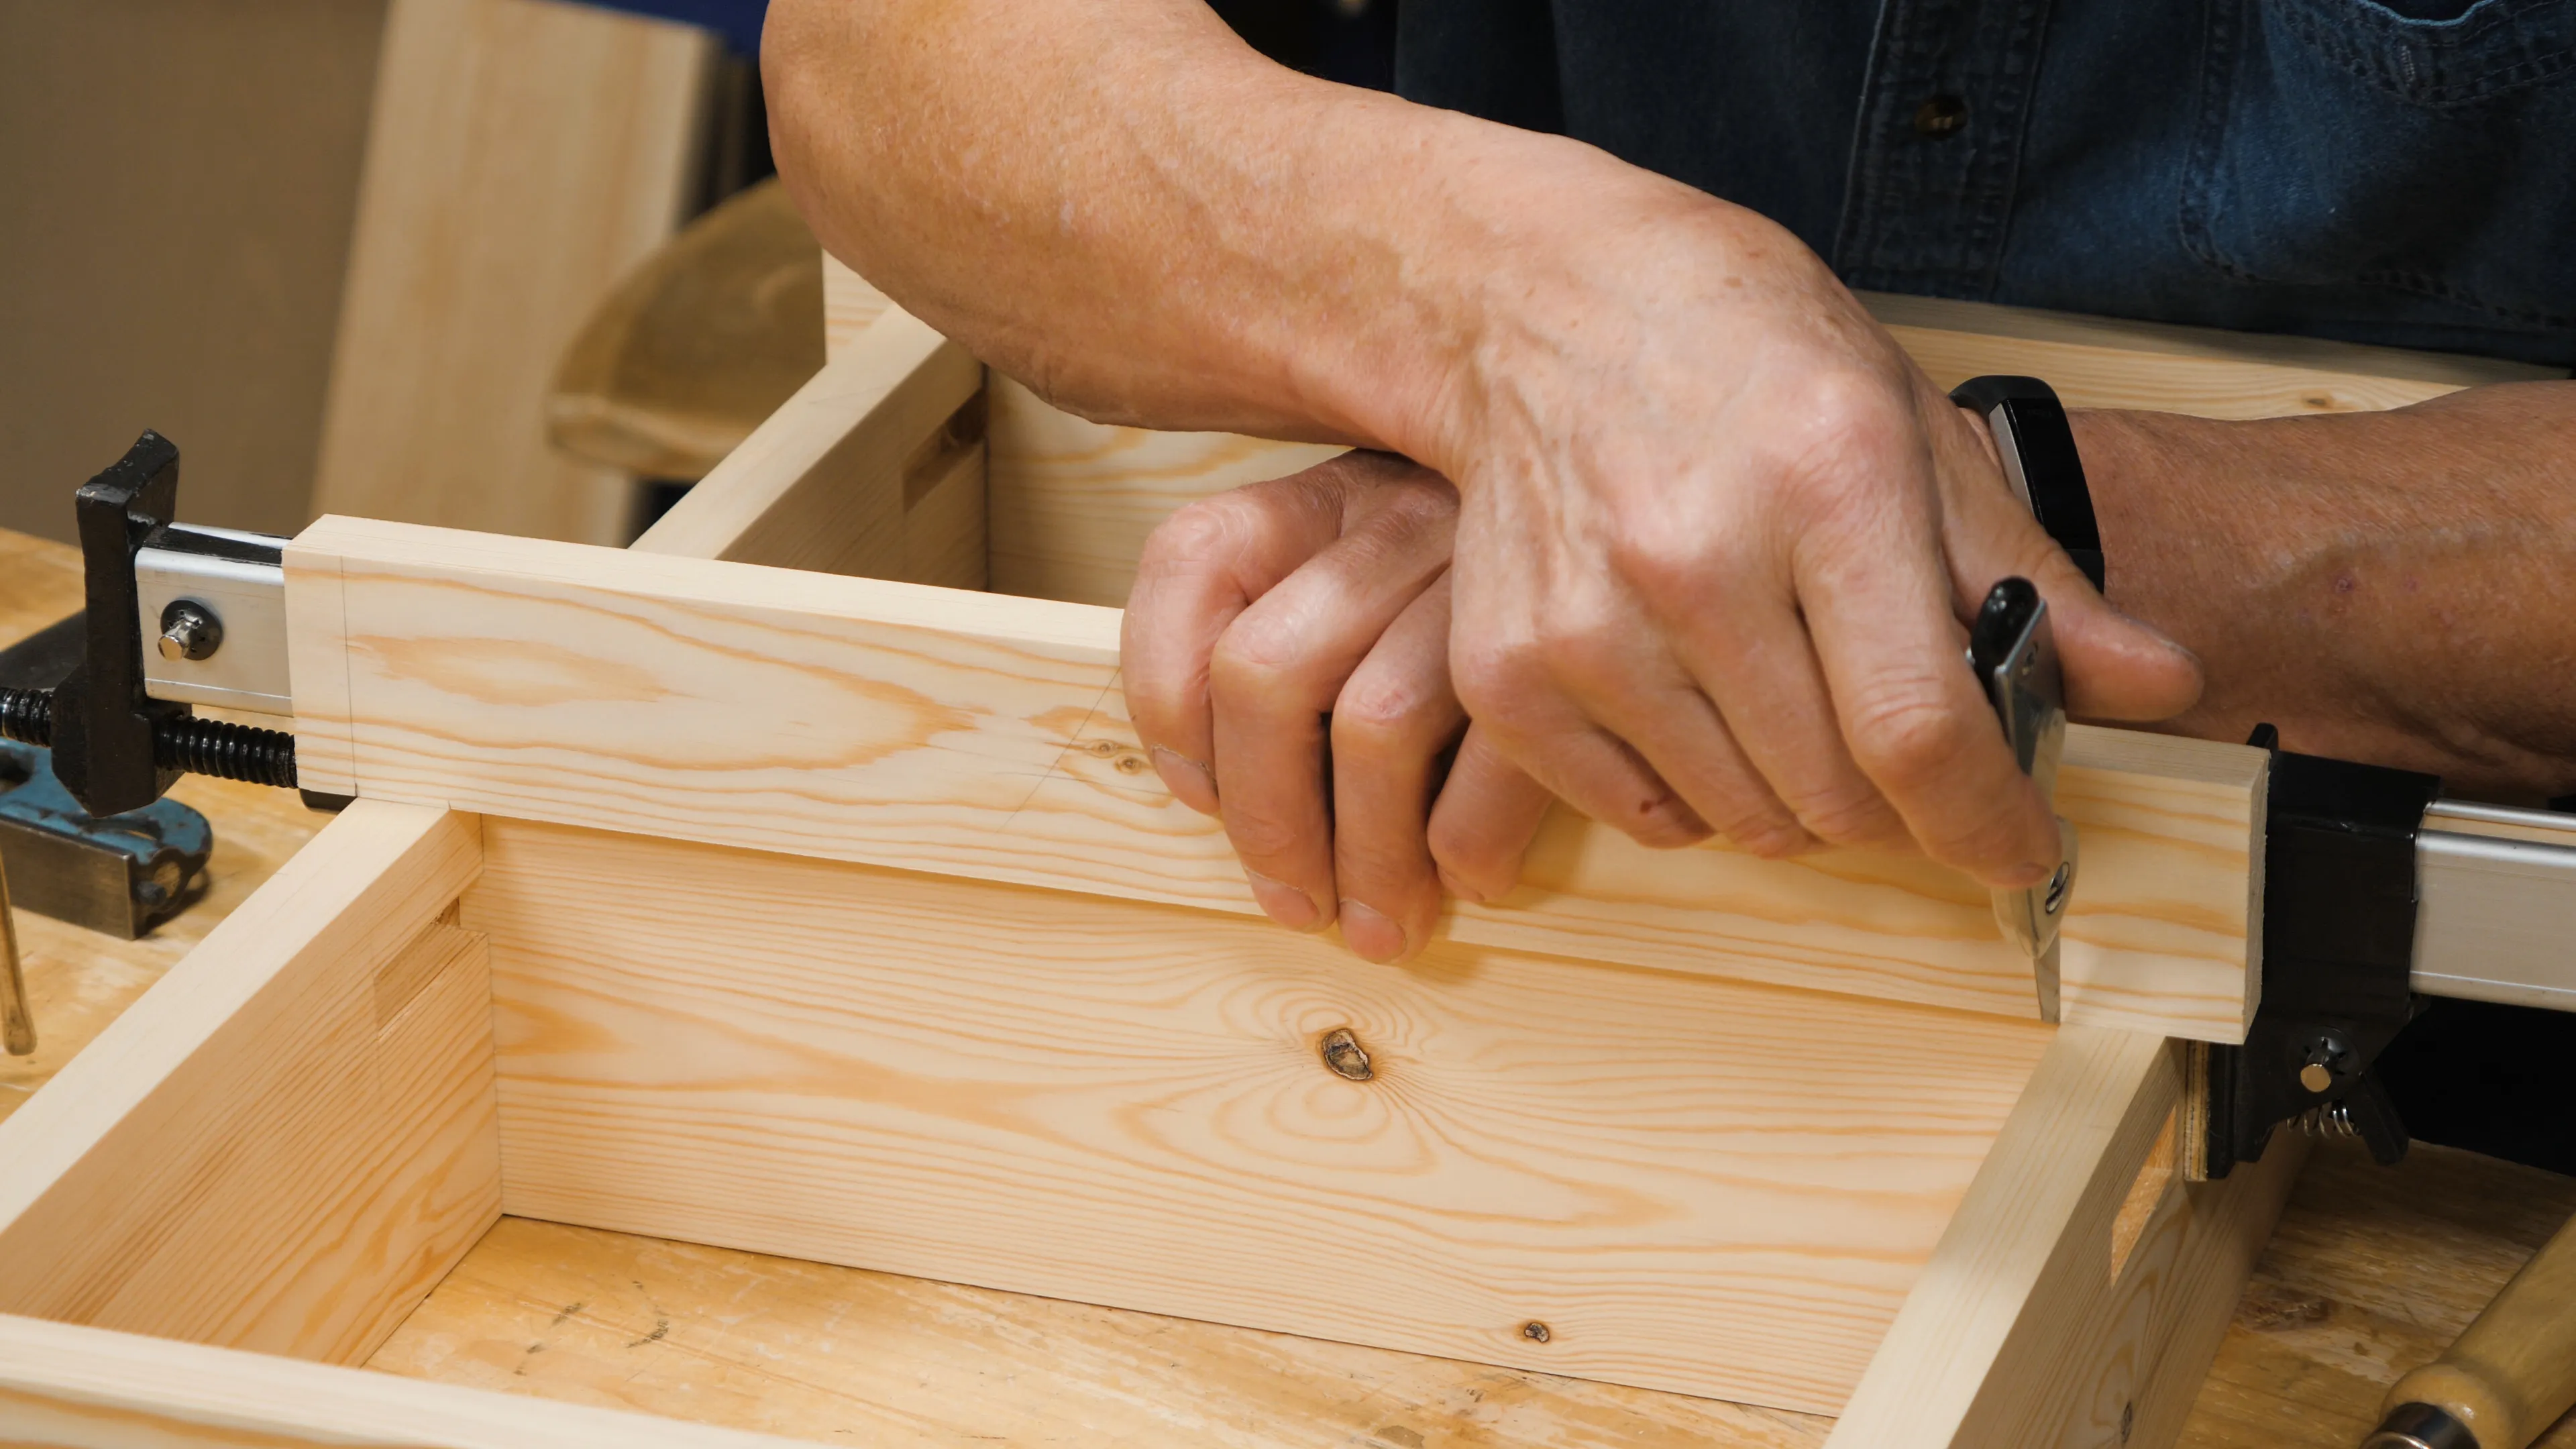
For the tenons on your bottom rails, first apply a sash clamp across the middle shelf to close up any gaps so that you can mark your shoulders again directly from the assembled unit. Then, square a pencil mark for the ½” (13mm) protrusion on one end of the rail. (Note, this is not the shoulder, only the excess which will be rounded over later.)
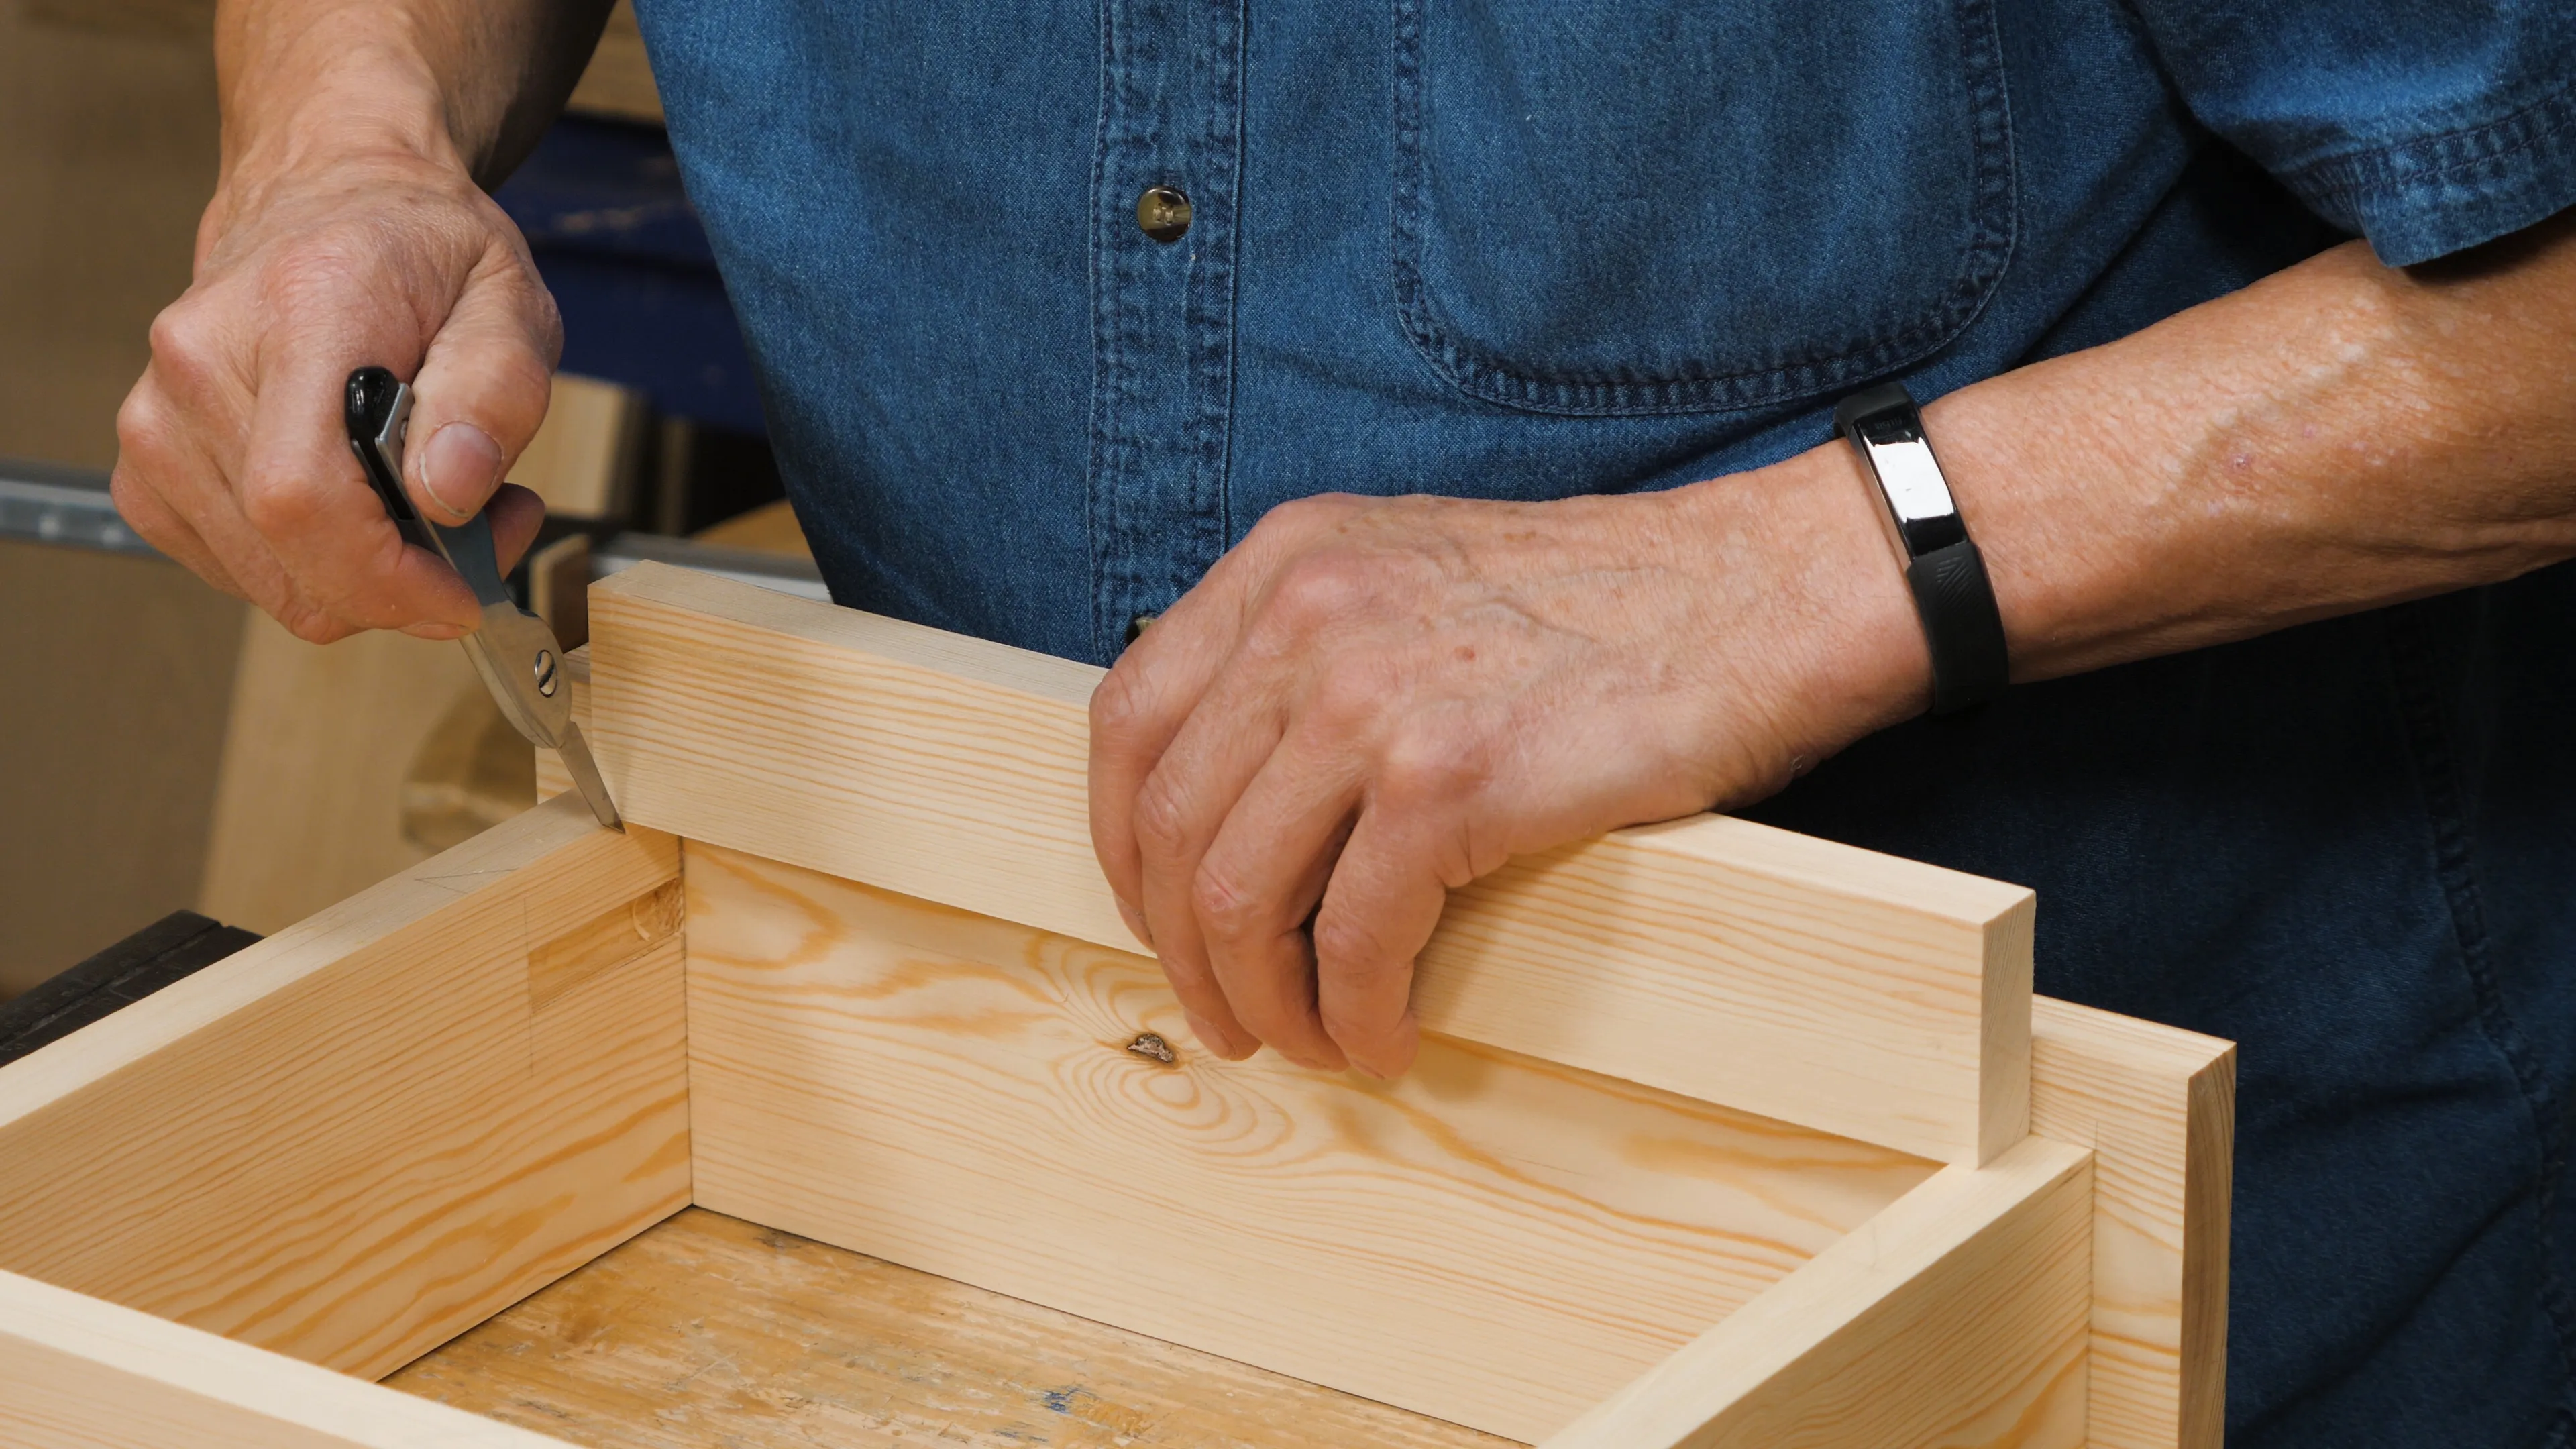
Next, line up the pencil mark you just made with the outside face of your side piece and use the edge of the knife to make a nick on the inside face. With the rail still in the same position, make a second knife nick on the inside of the other end for the last shoulder.
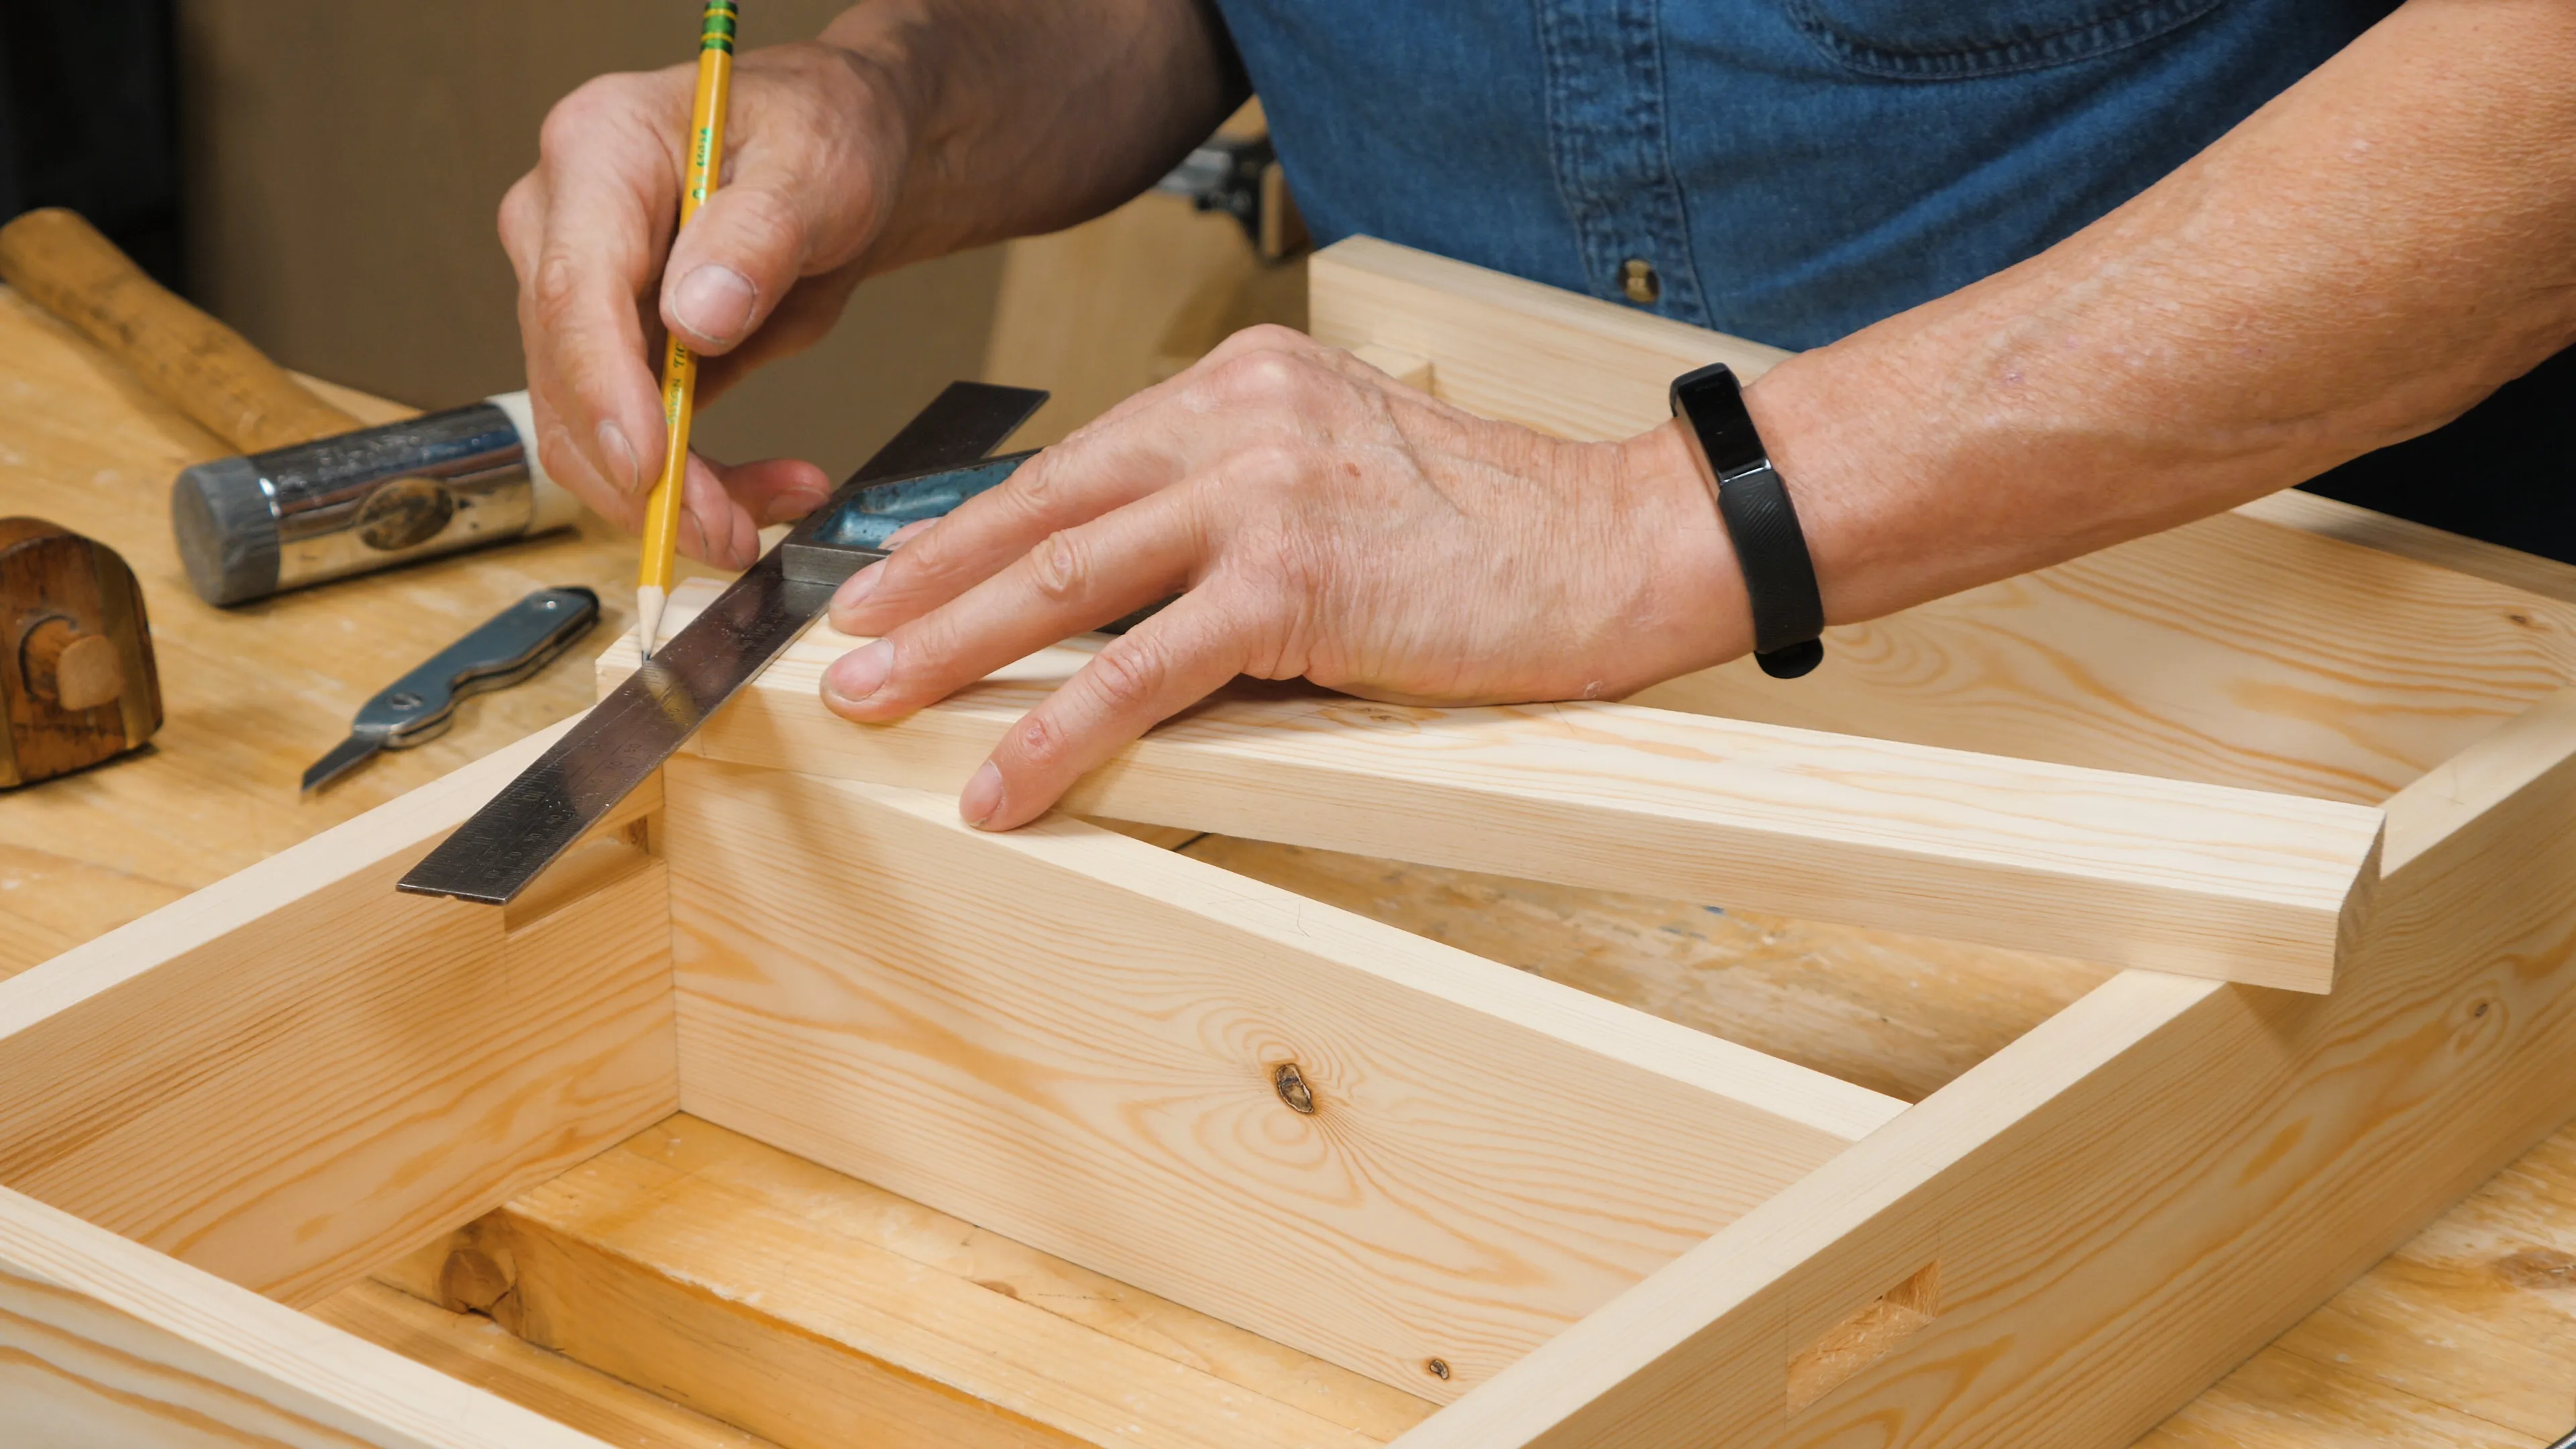
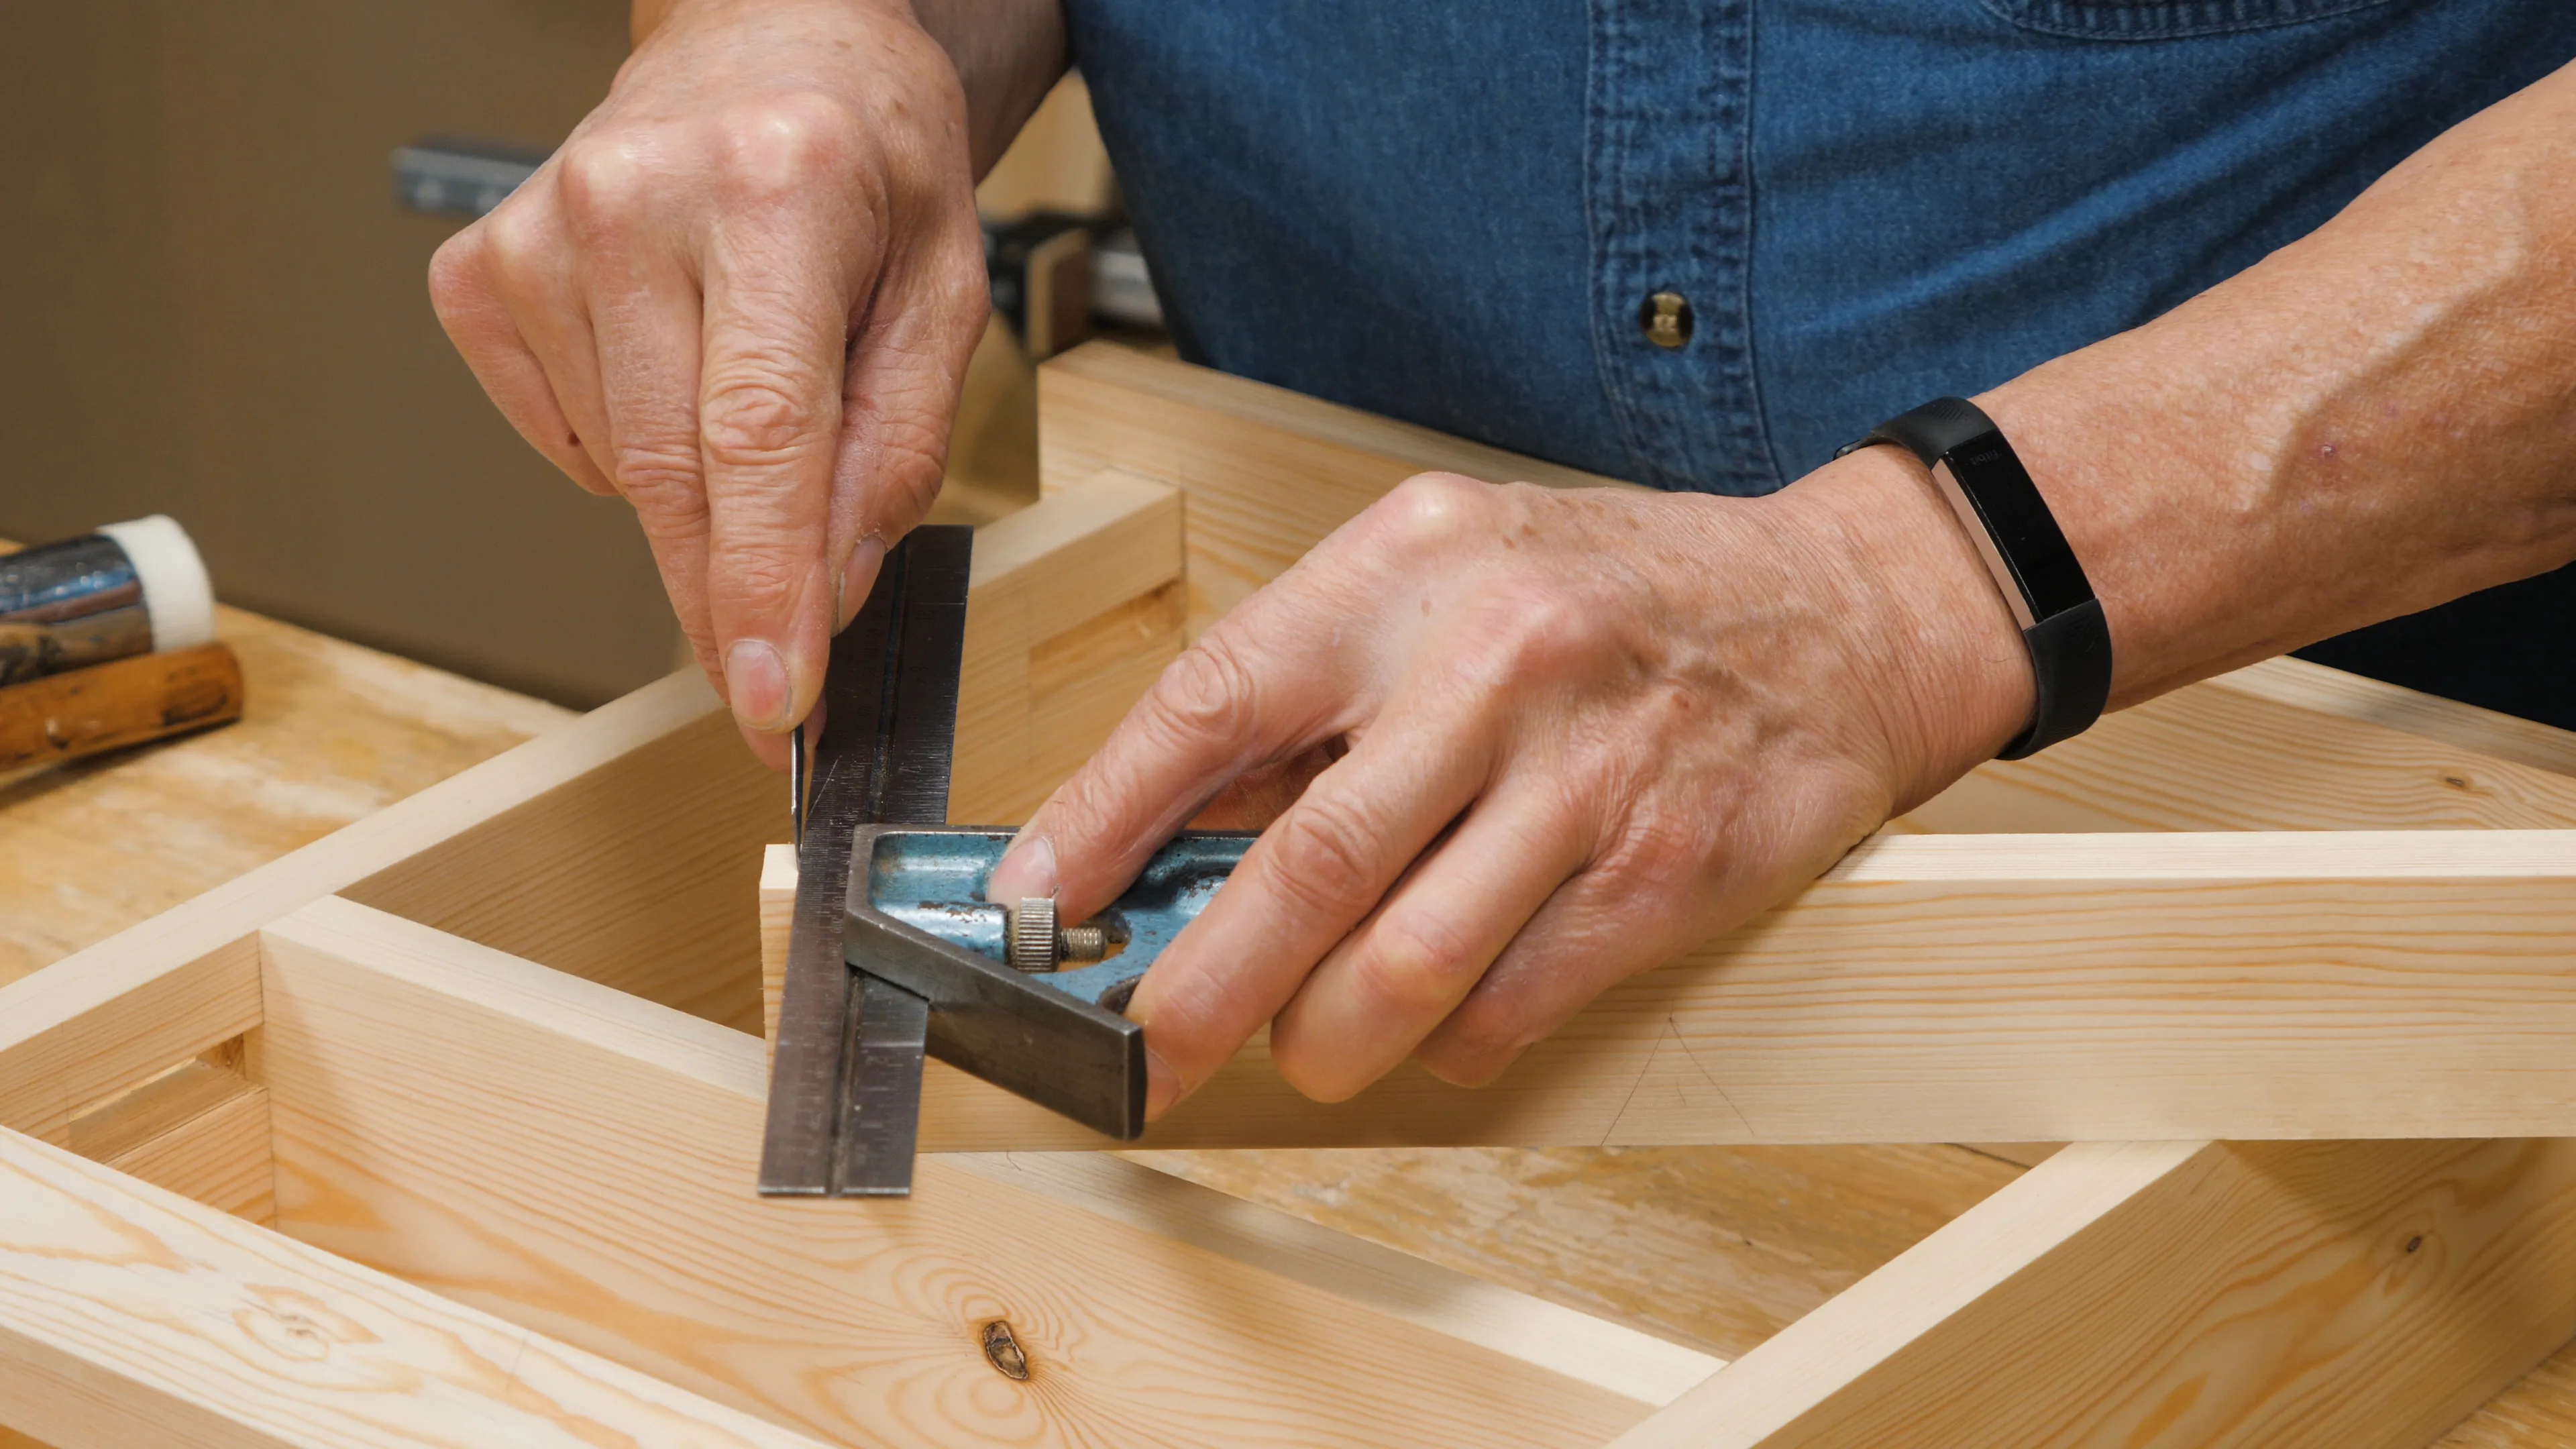
Remove the clamp and use your knife nicks as references to make a knifewall along the front faces and on the top and bottom edges (though these only need to be 1/2” long). The distance between these shoulder lines has to correspond with the front edges of the sides or else it won’t match up, so take your time with this step. Use the gauge to mark out the tenon in the same way as you did for the top tenons.
Sign in to track your progress