Laying Out The Pins
The next step is to lay out the pins, using the tail piece as a template. Making dovetails this way ensures the pins always marry the tails perfectly, whatever angle they came out at.
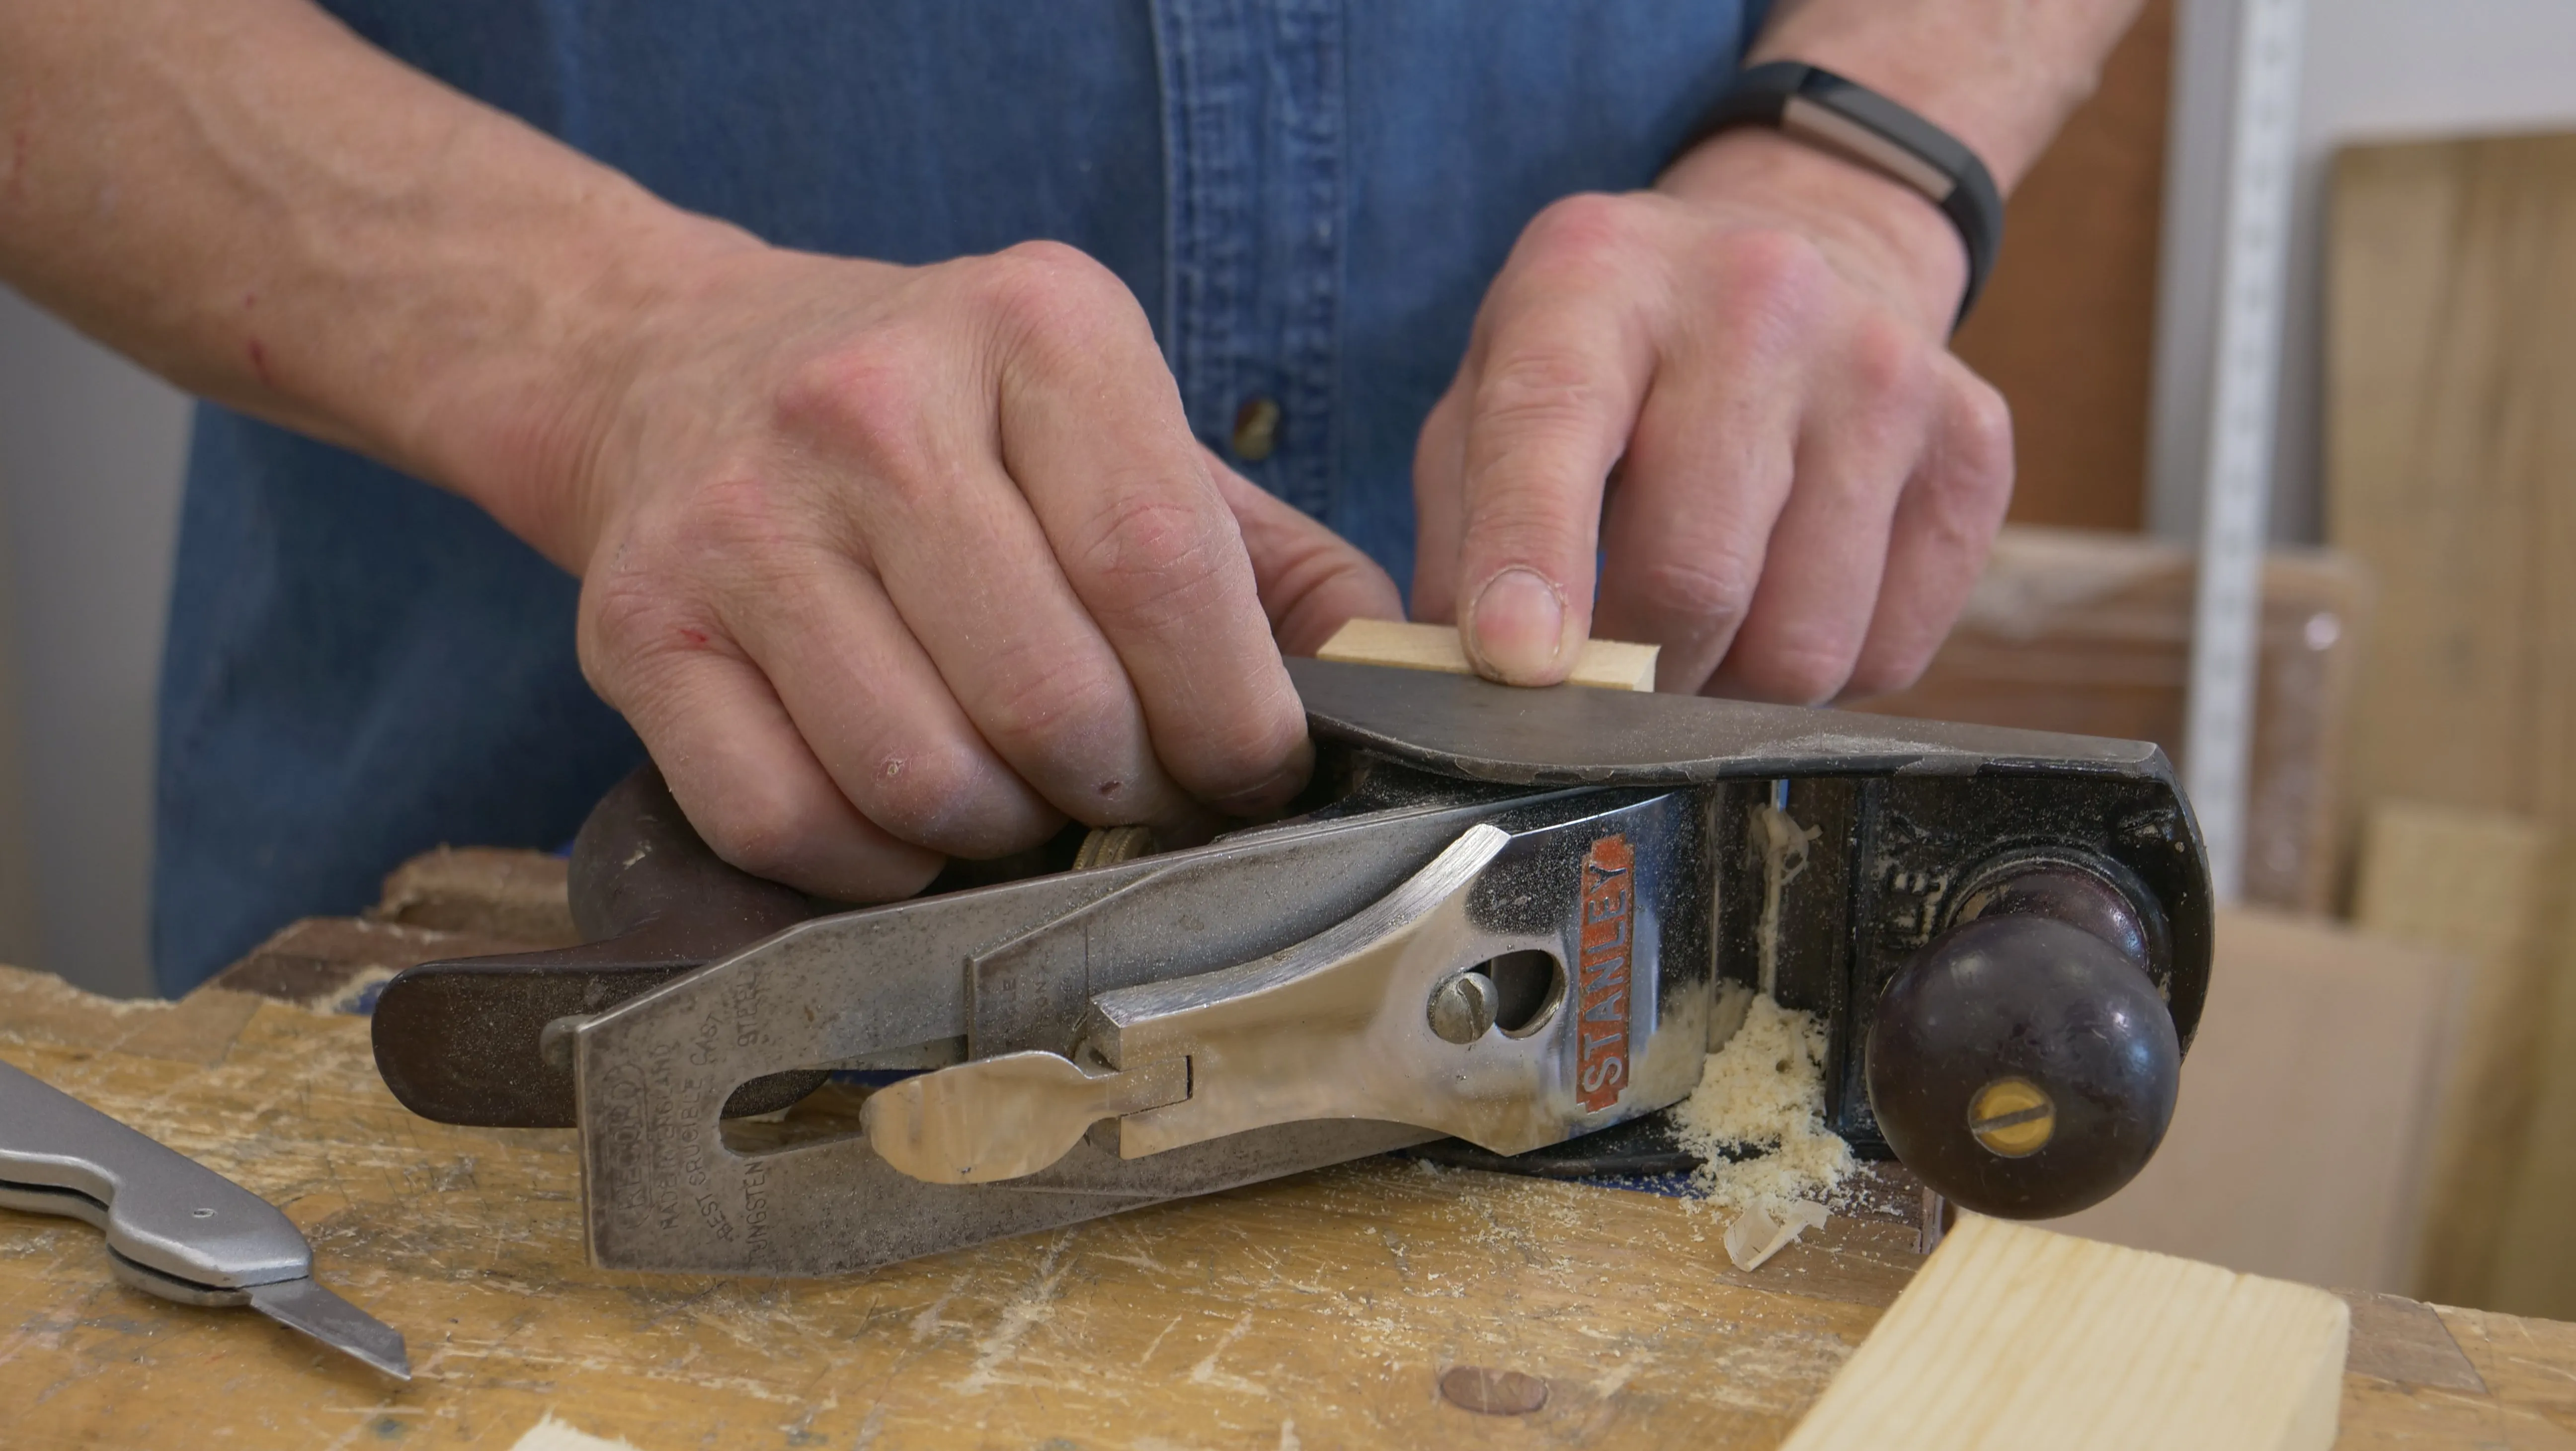
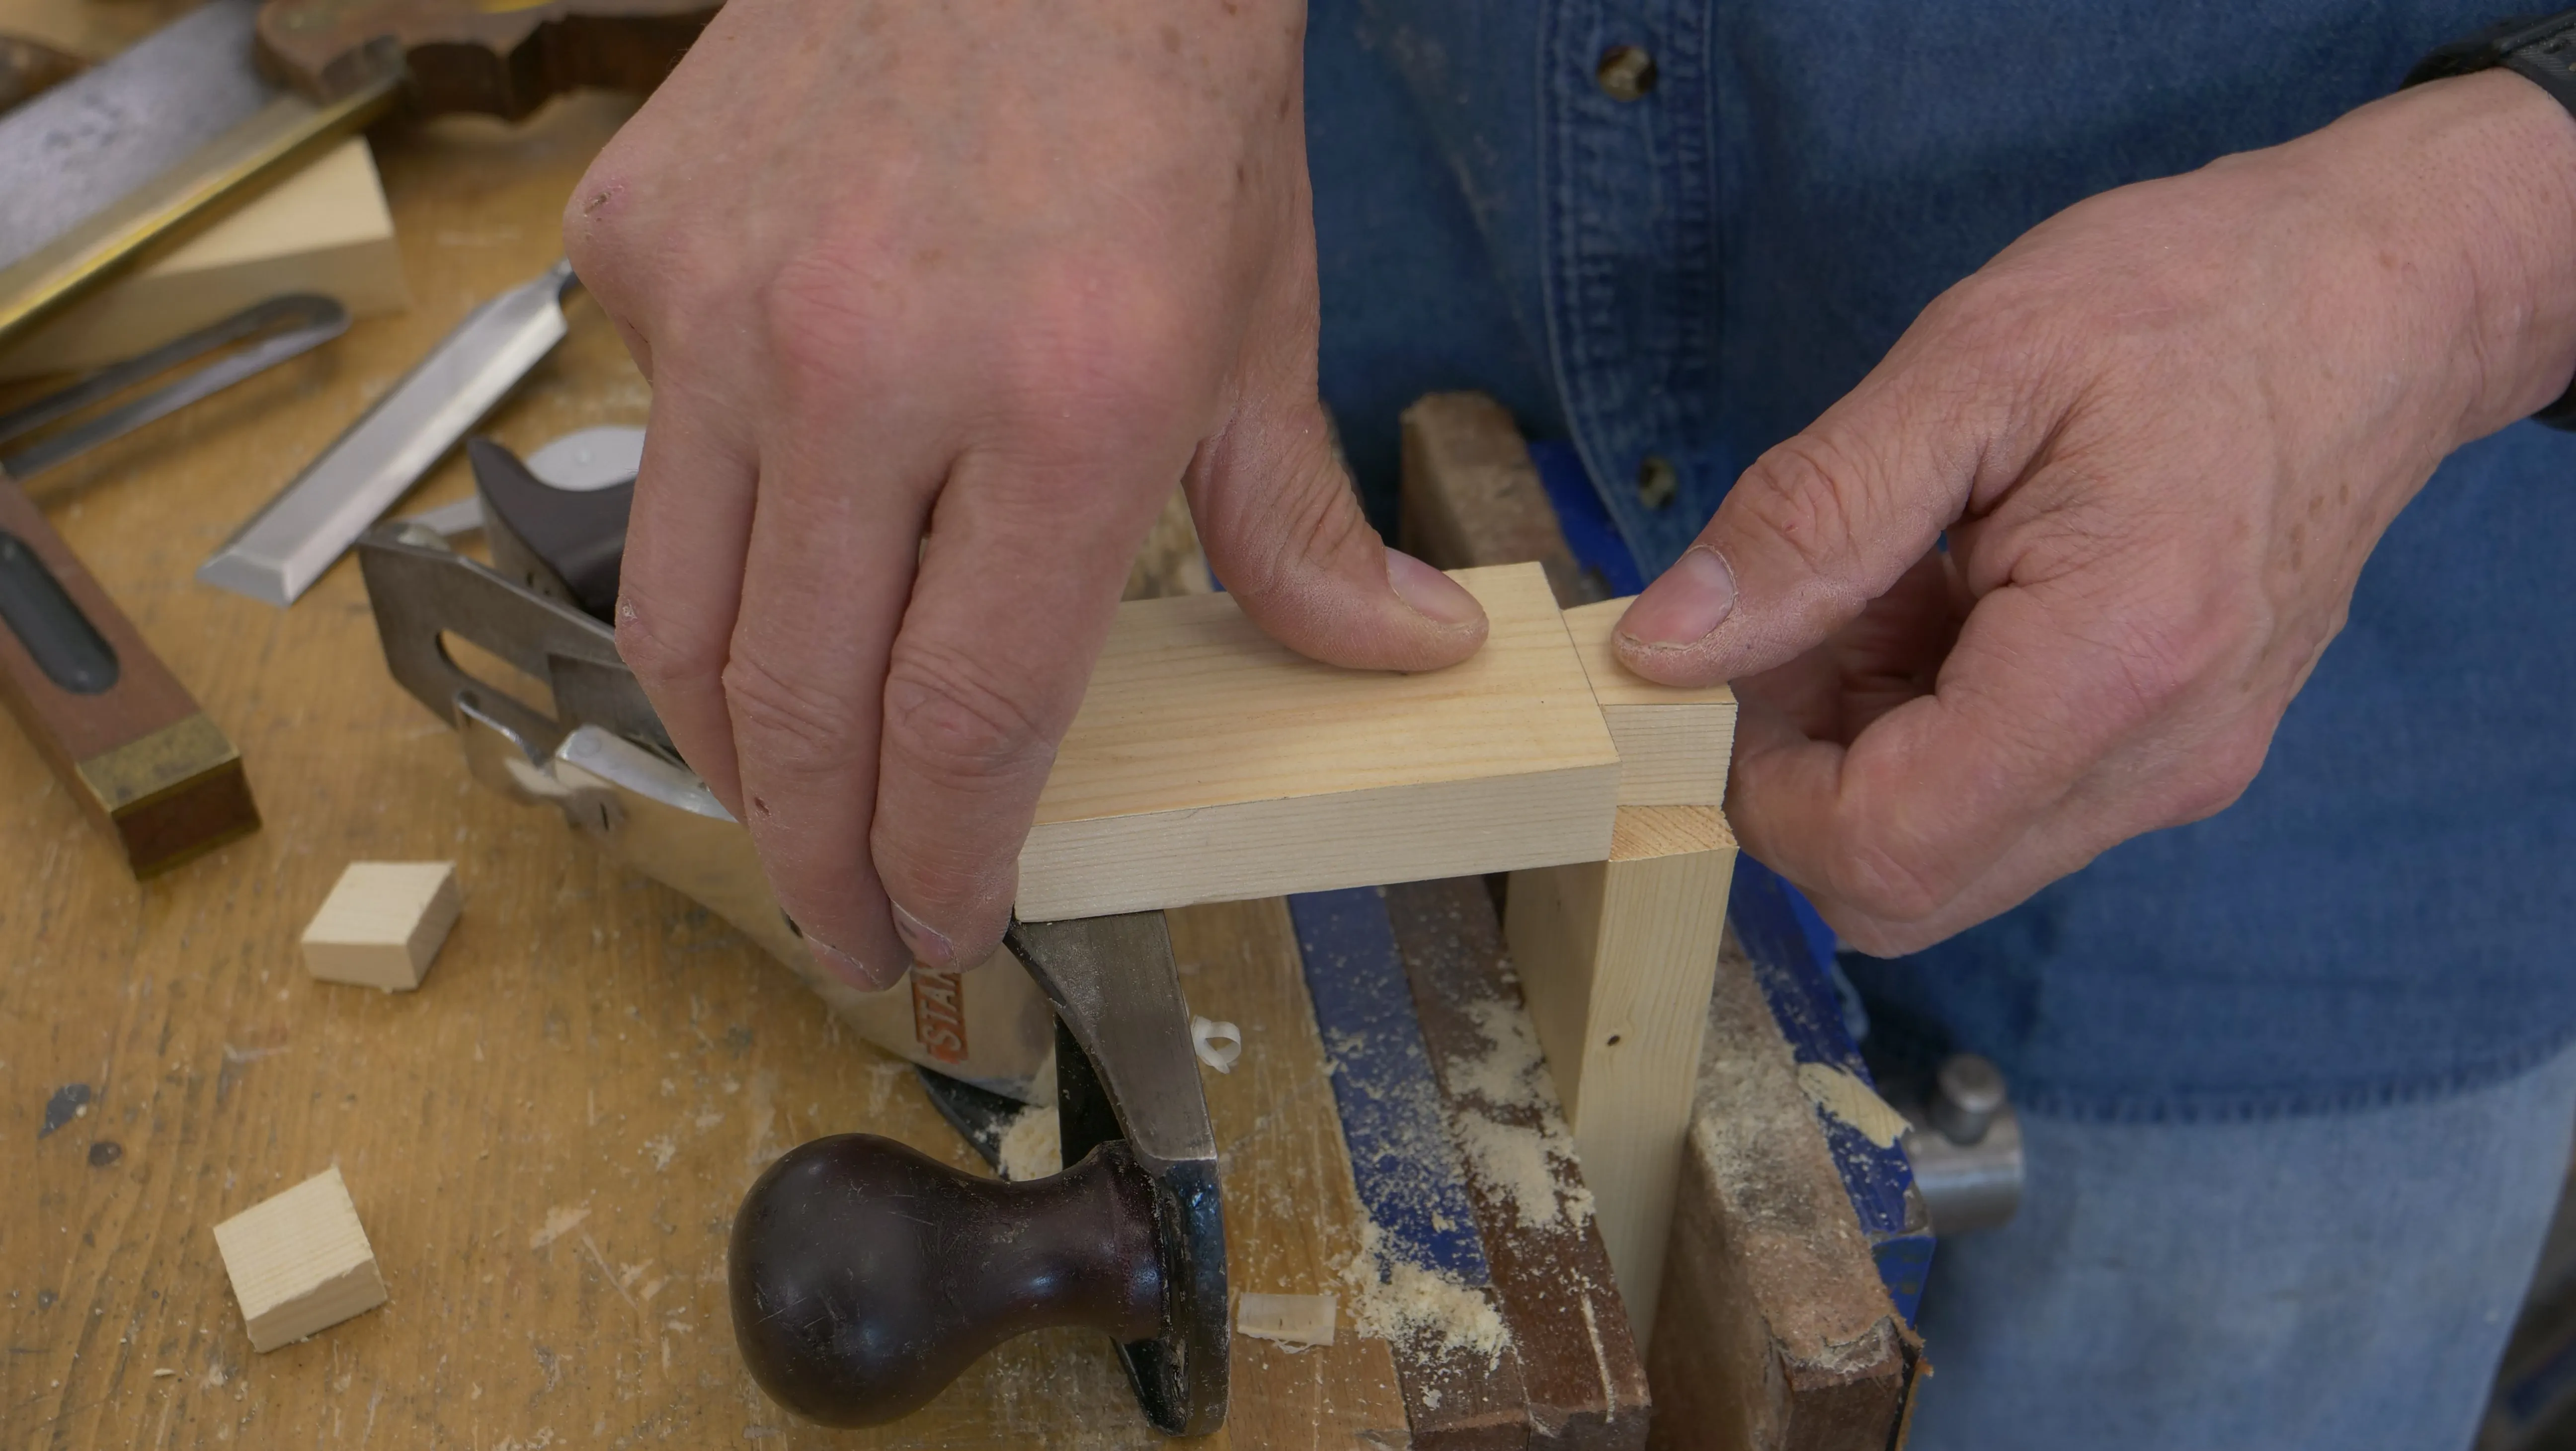
Clamp the pin piece in the vice with the outside face towards you and flush the top with a smoothing plane laying on its side. This is a neat little trick for making a good, level platform quickly. Lock the vice tight, move the plane back a few inches and place the tail piece directly over the end of the pin piece. Make sure to line up the shoulders with the inside face. If anything, it’s best if the shoulder overlaps minimally, rather than having a gap. Also check that the sides haven’t shifted as this would result in staggered edges when the joint is finally assembled.
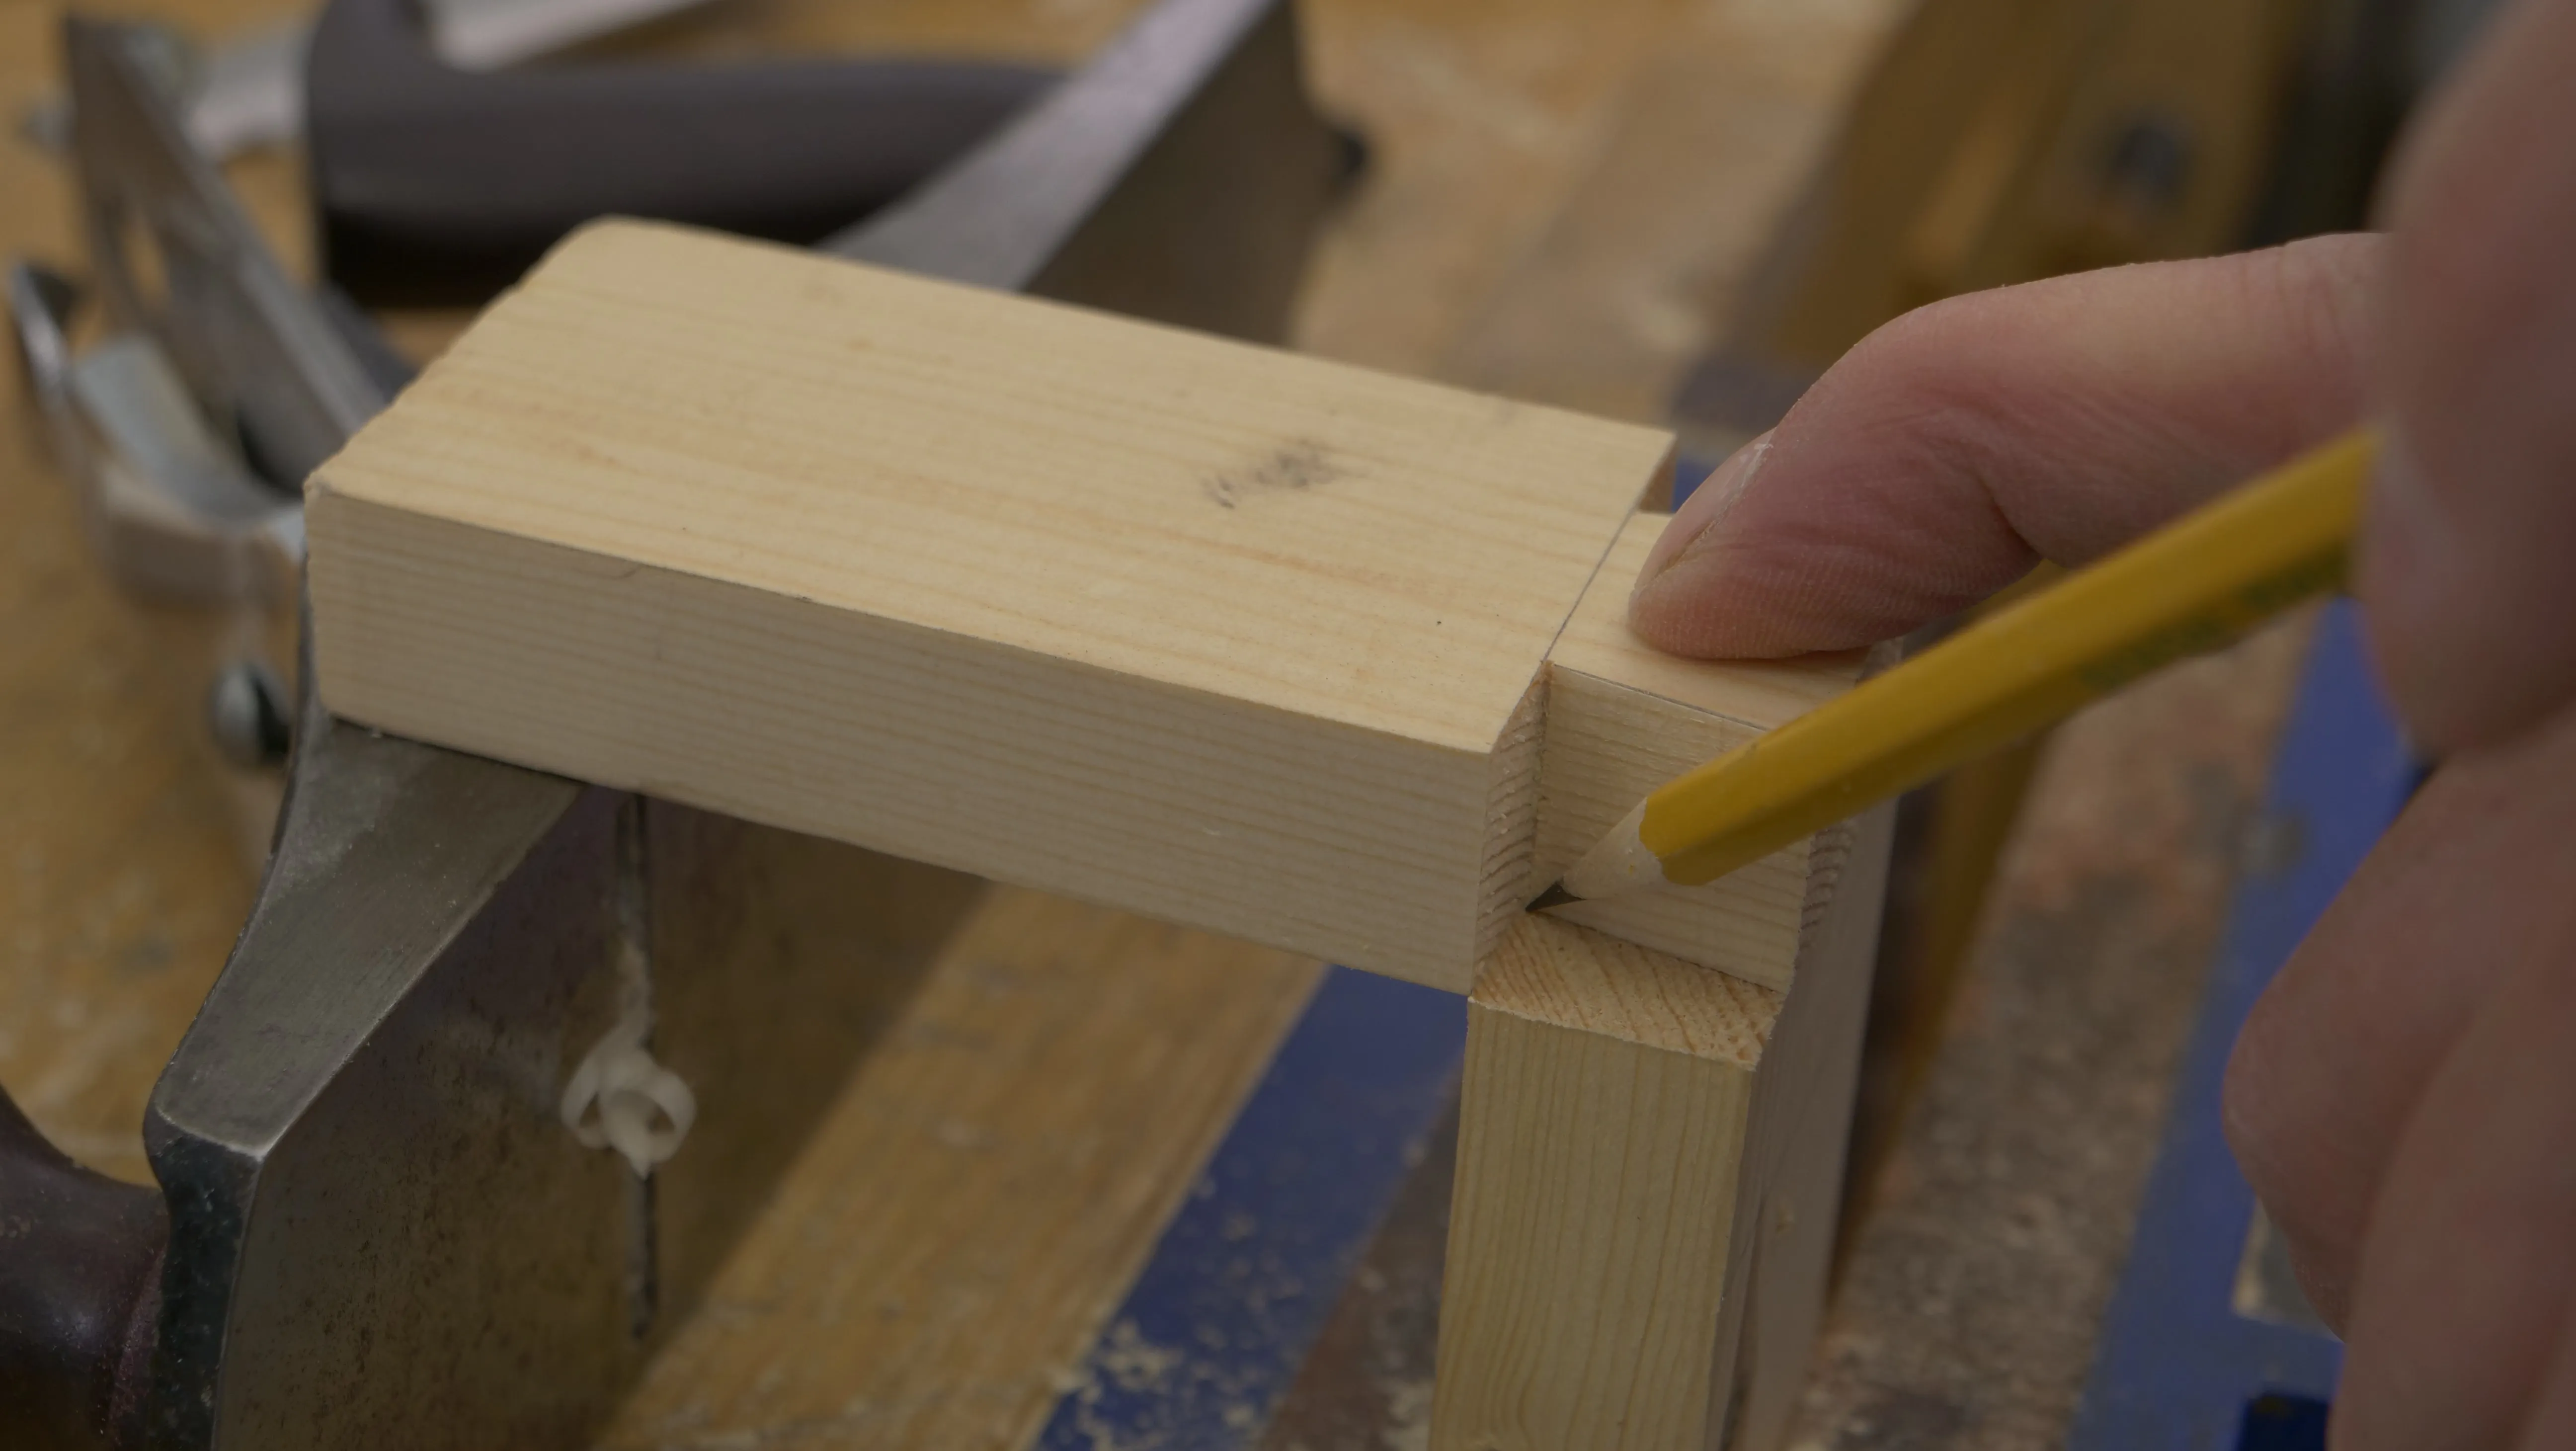
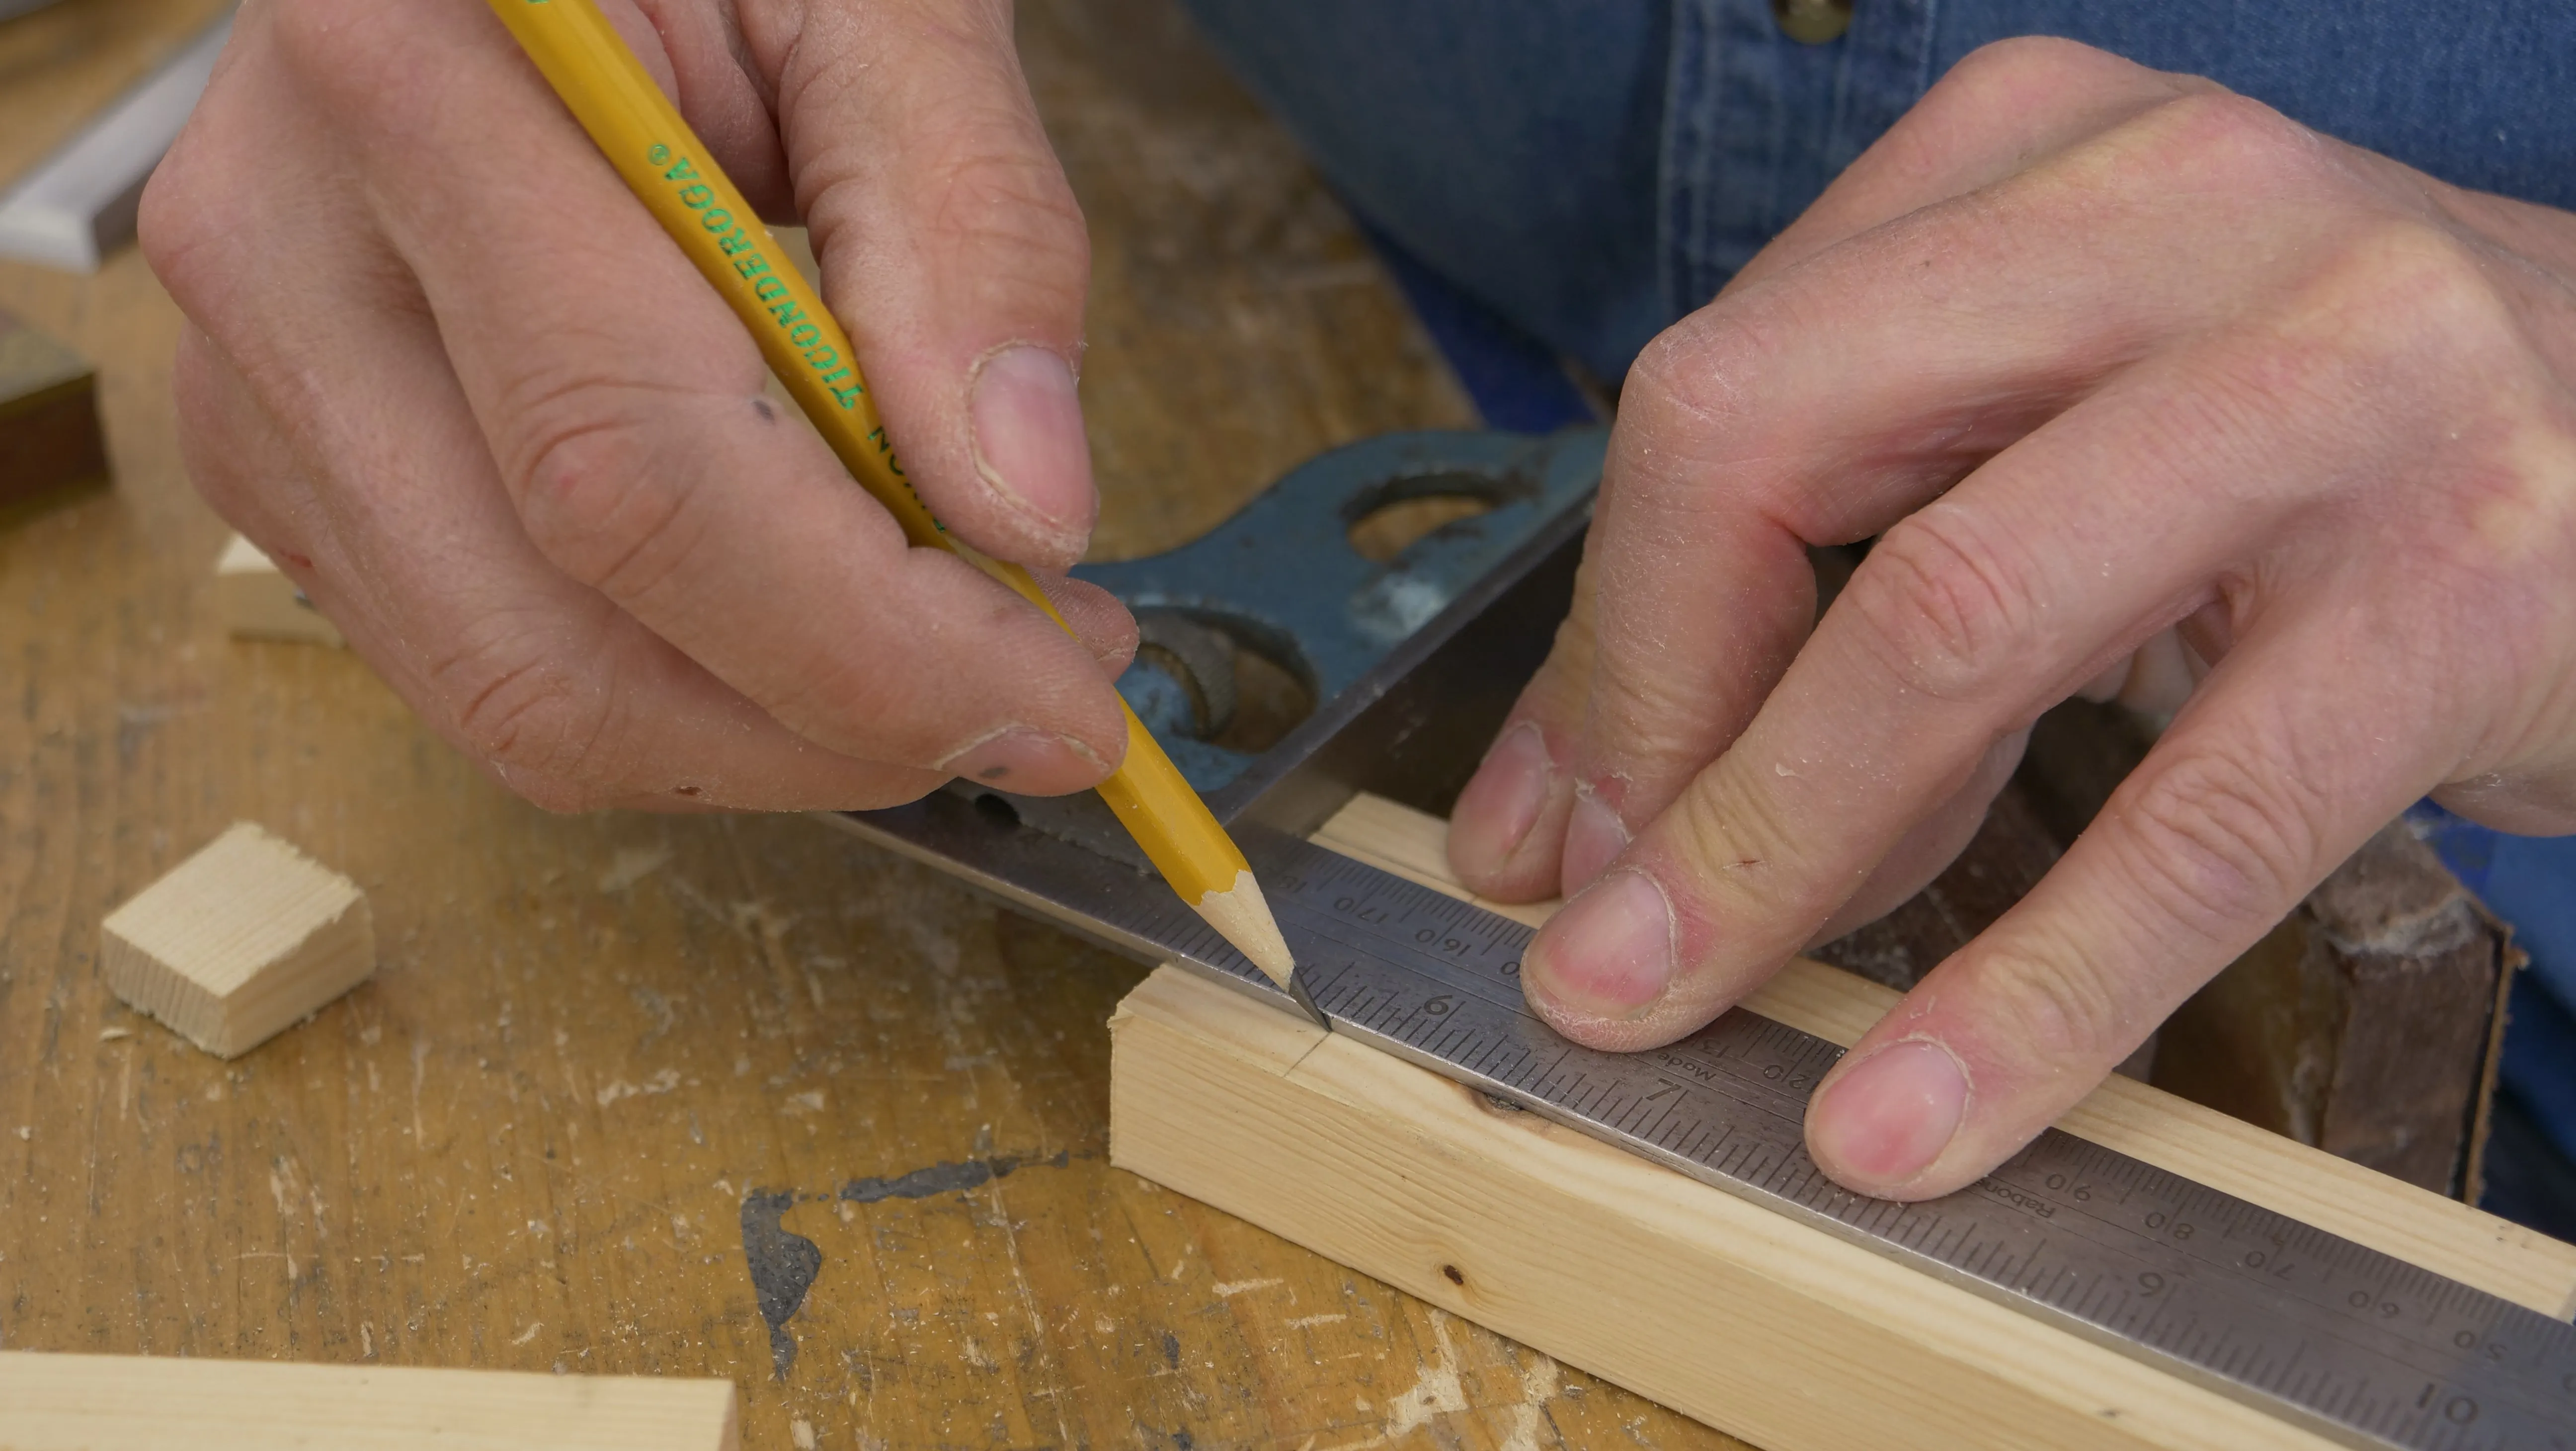
Next, press down the tail piece to avoid slipping and trace around the tail with a finely pointed pencil. You can now move the tail piece out of the way and square the two lines down to the shoulder line with a square. Note that the pencil lines were made on the good wood, therefore it is essential that you cut on the inside of those lines in the next step. (You can mark the waste piece, or tail recess with an X as a reminder.)
Laying Out Gallery:
Laying Out Video:
Sign in to track your progress