Marking the Shoulders – Tail Piece
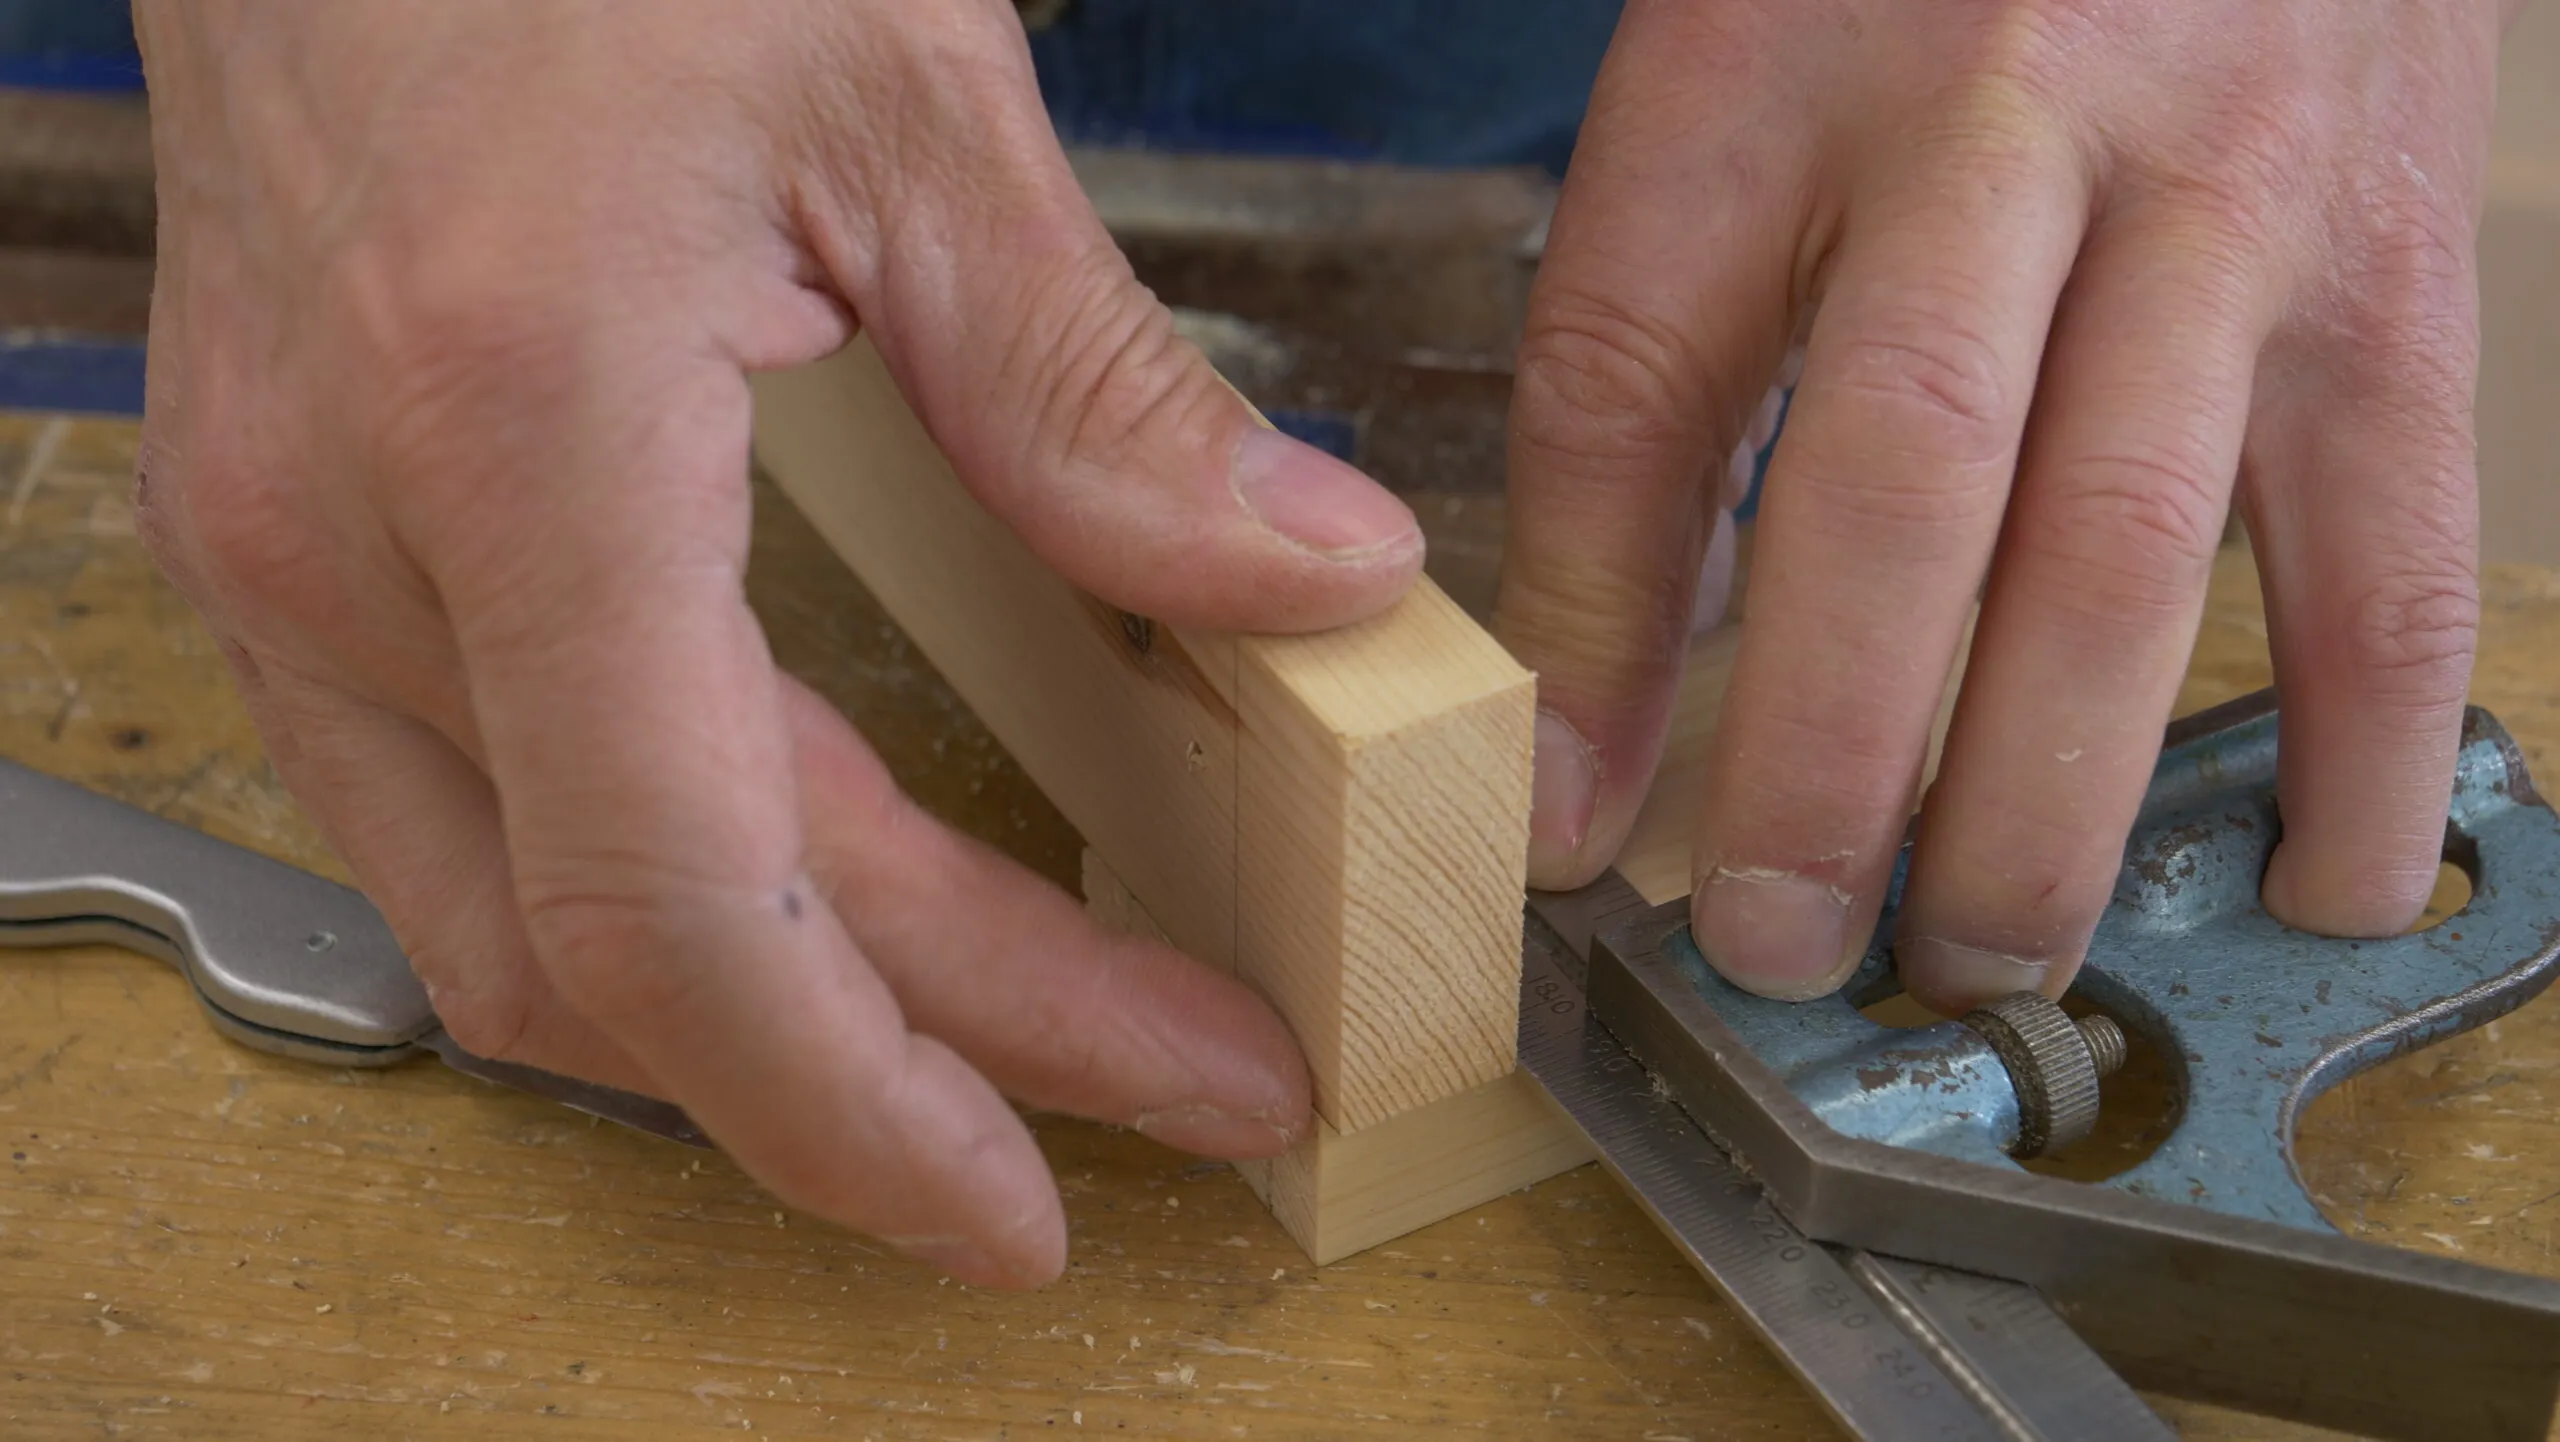
You must now create a definitive shoulder line all around the tail piece. The initial pencil mark was only a reference for the depth when sawing, but could never give you the exact boundary you get with the knifewall.
Regardless of what depth you cut to previously, take your pin piece again and flush it on the end of the tail piece as before to get the exact depth. Bring in your square from behind and slide it right up against the pin piece. Check for flush again, and take the pin piece away, keeping the square locked in place. Now cut along the beam of the square with a sharp knife, taking care to avoid cutting into the tail. Go with a light pass at first to make sure you don’t deviate or move the square out of place.
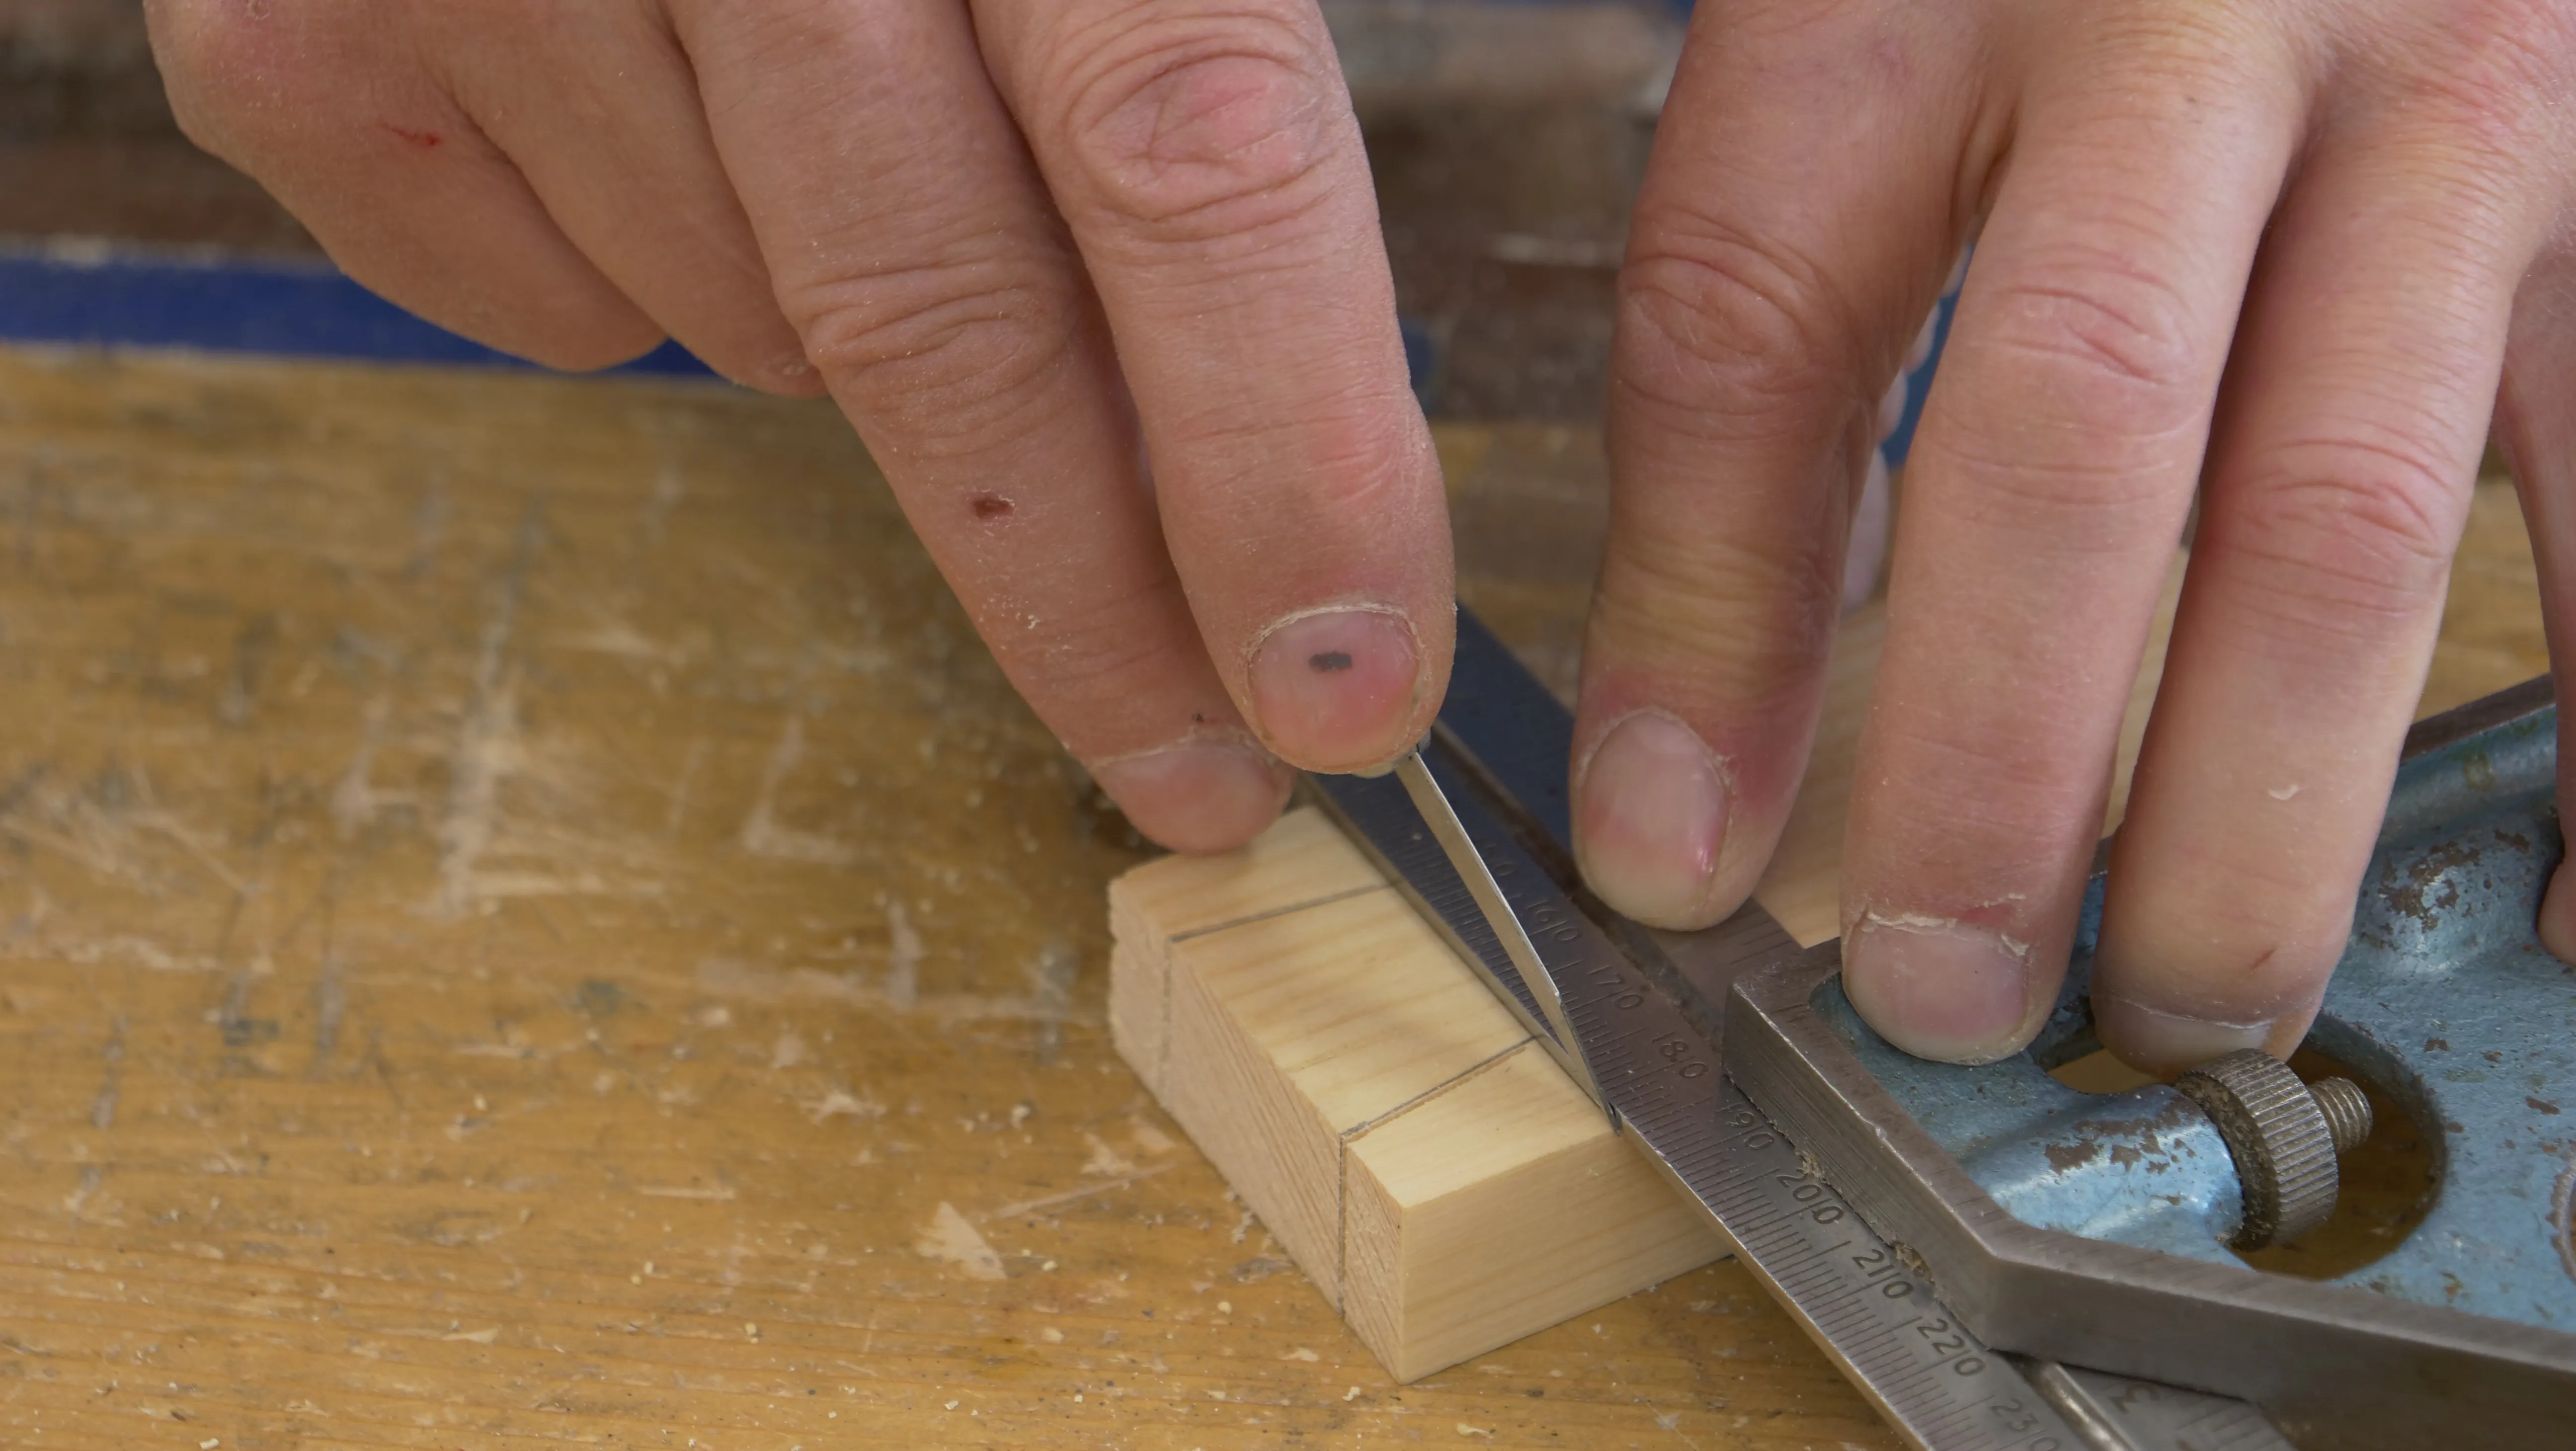
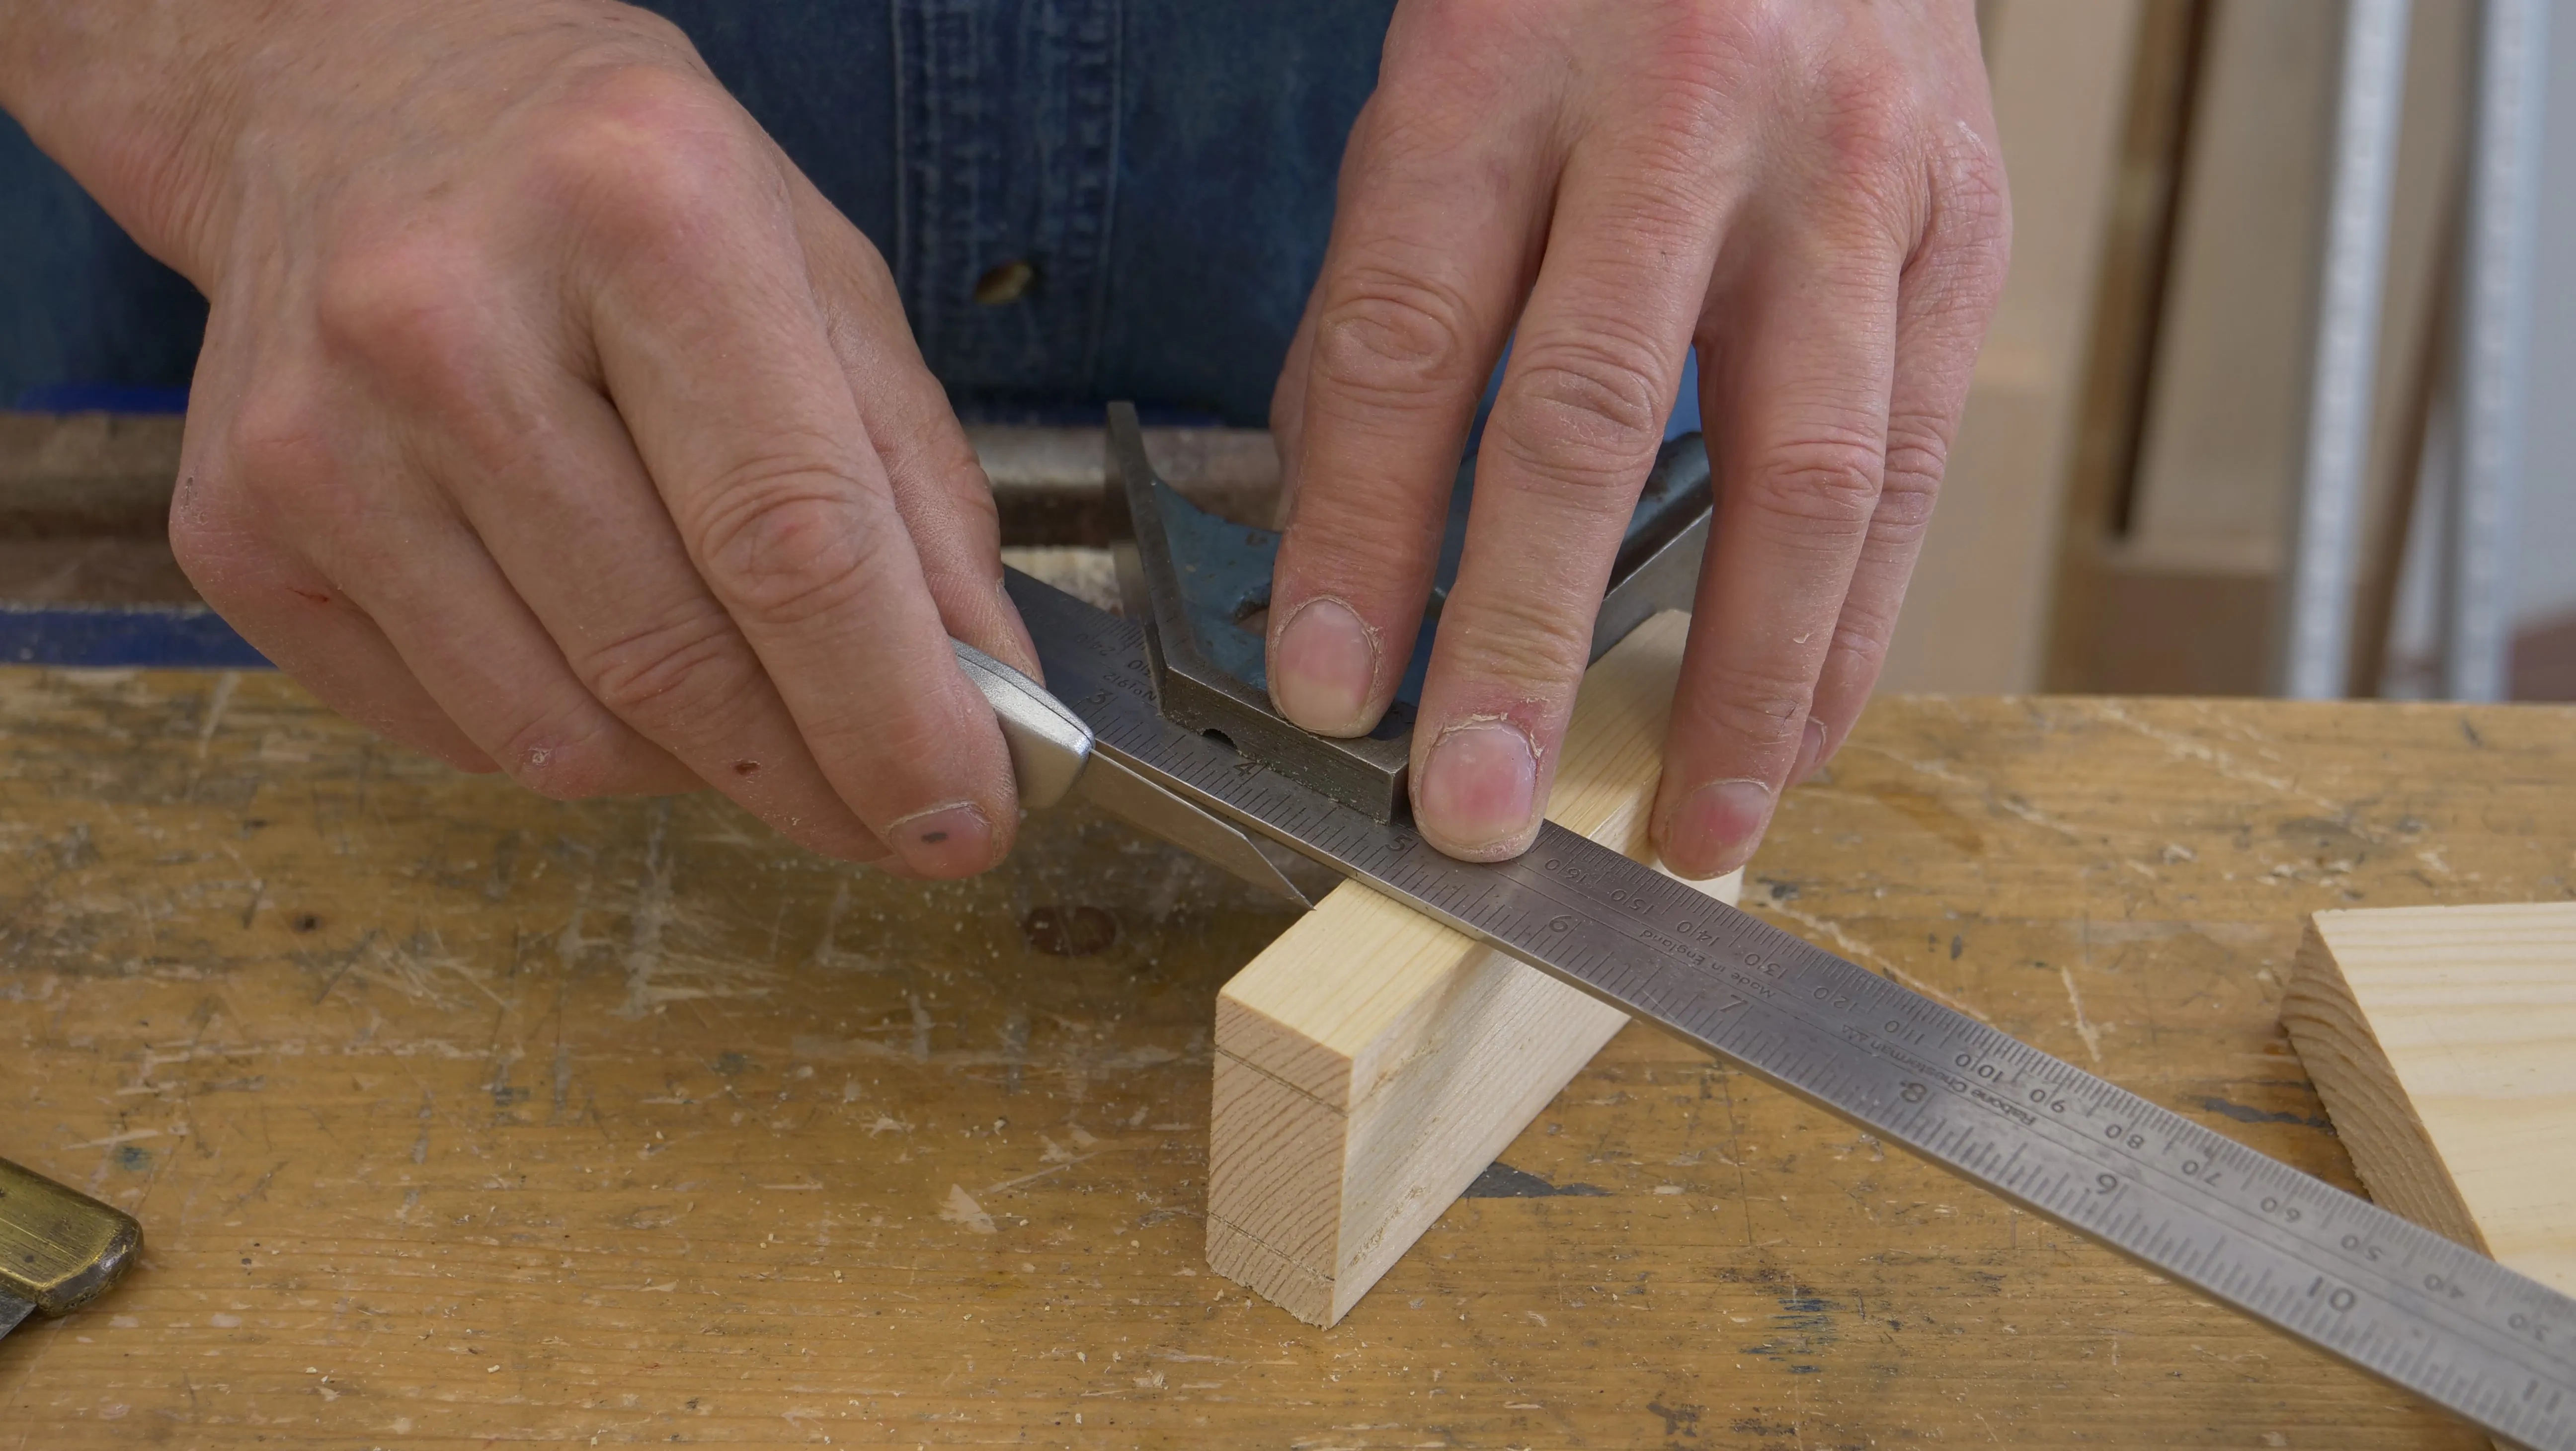
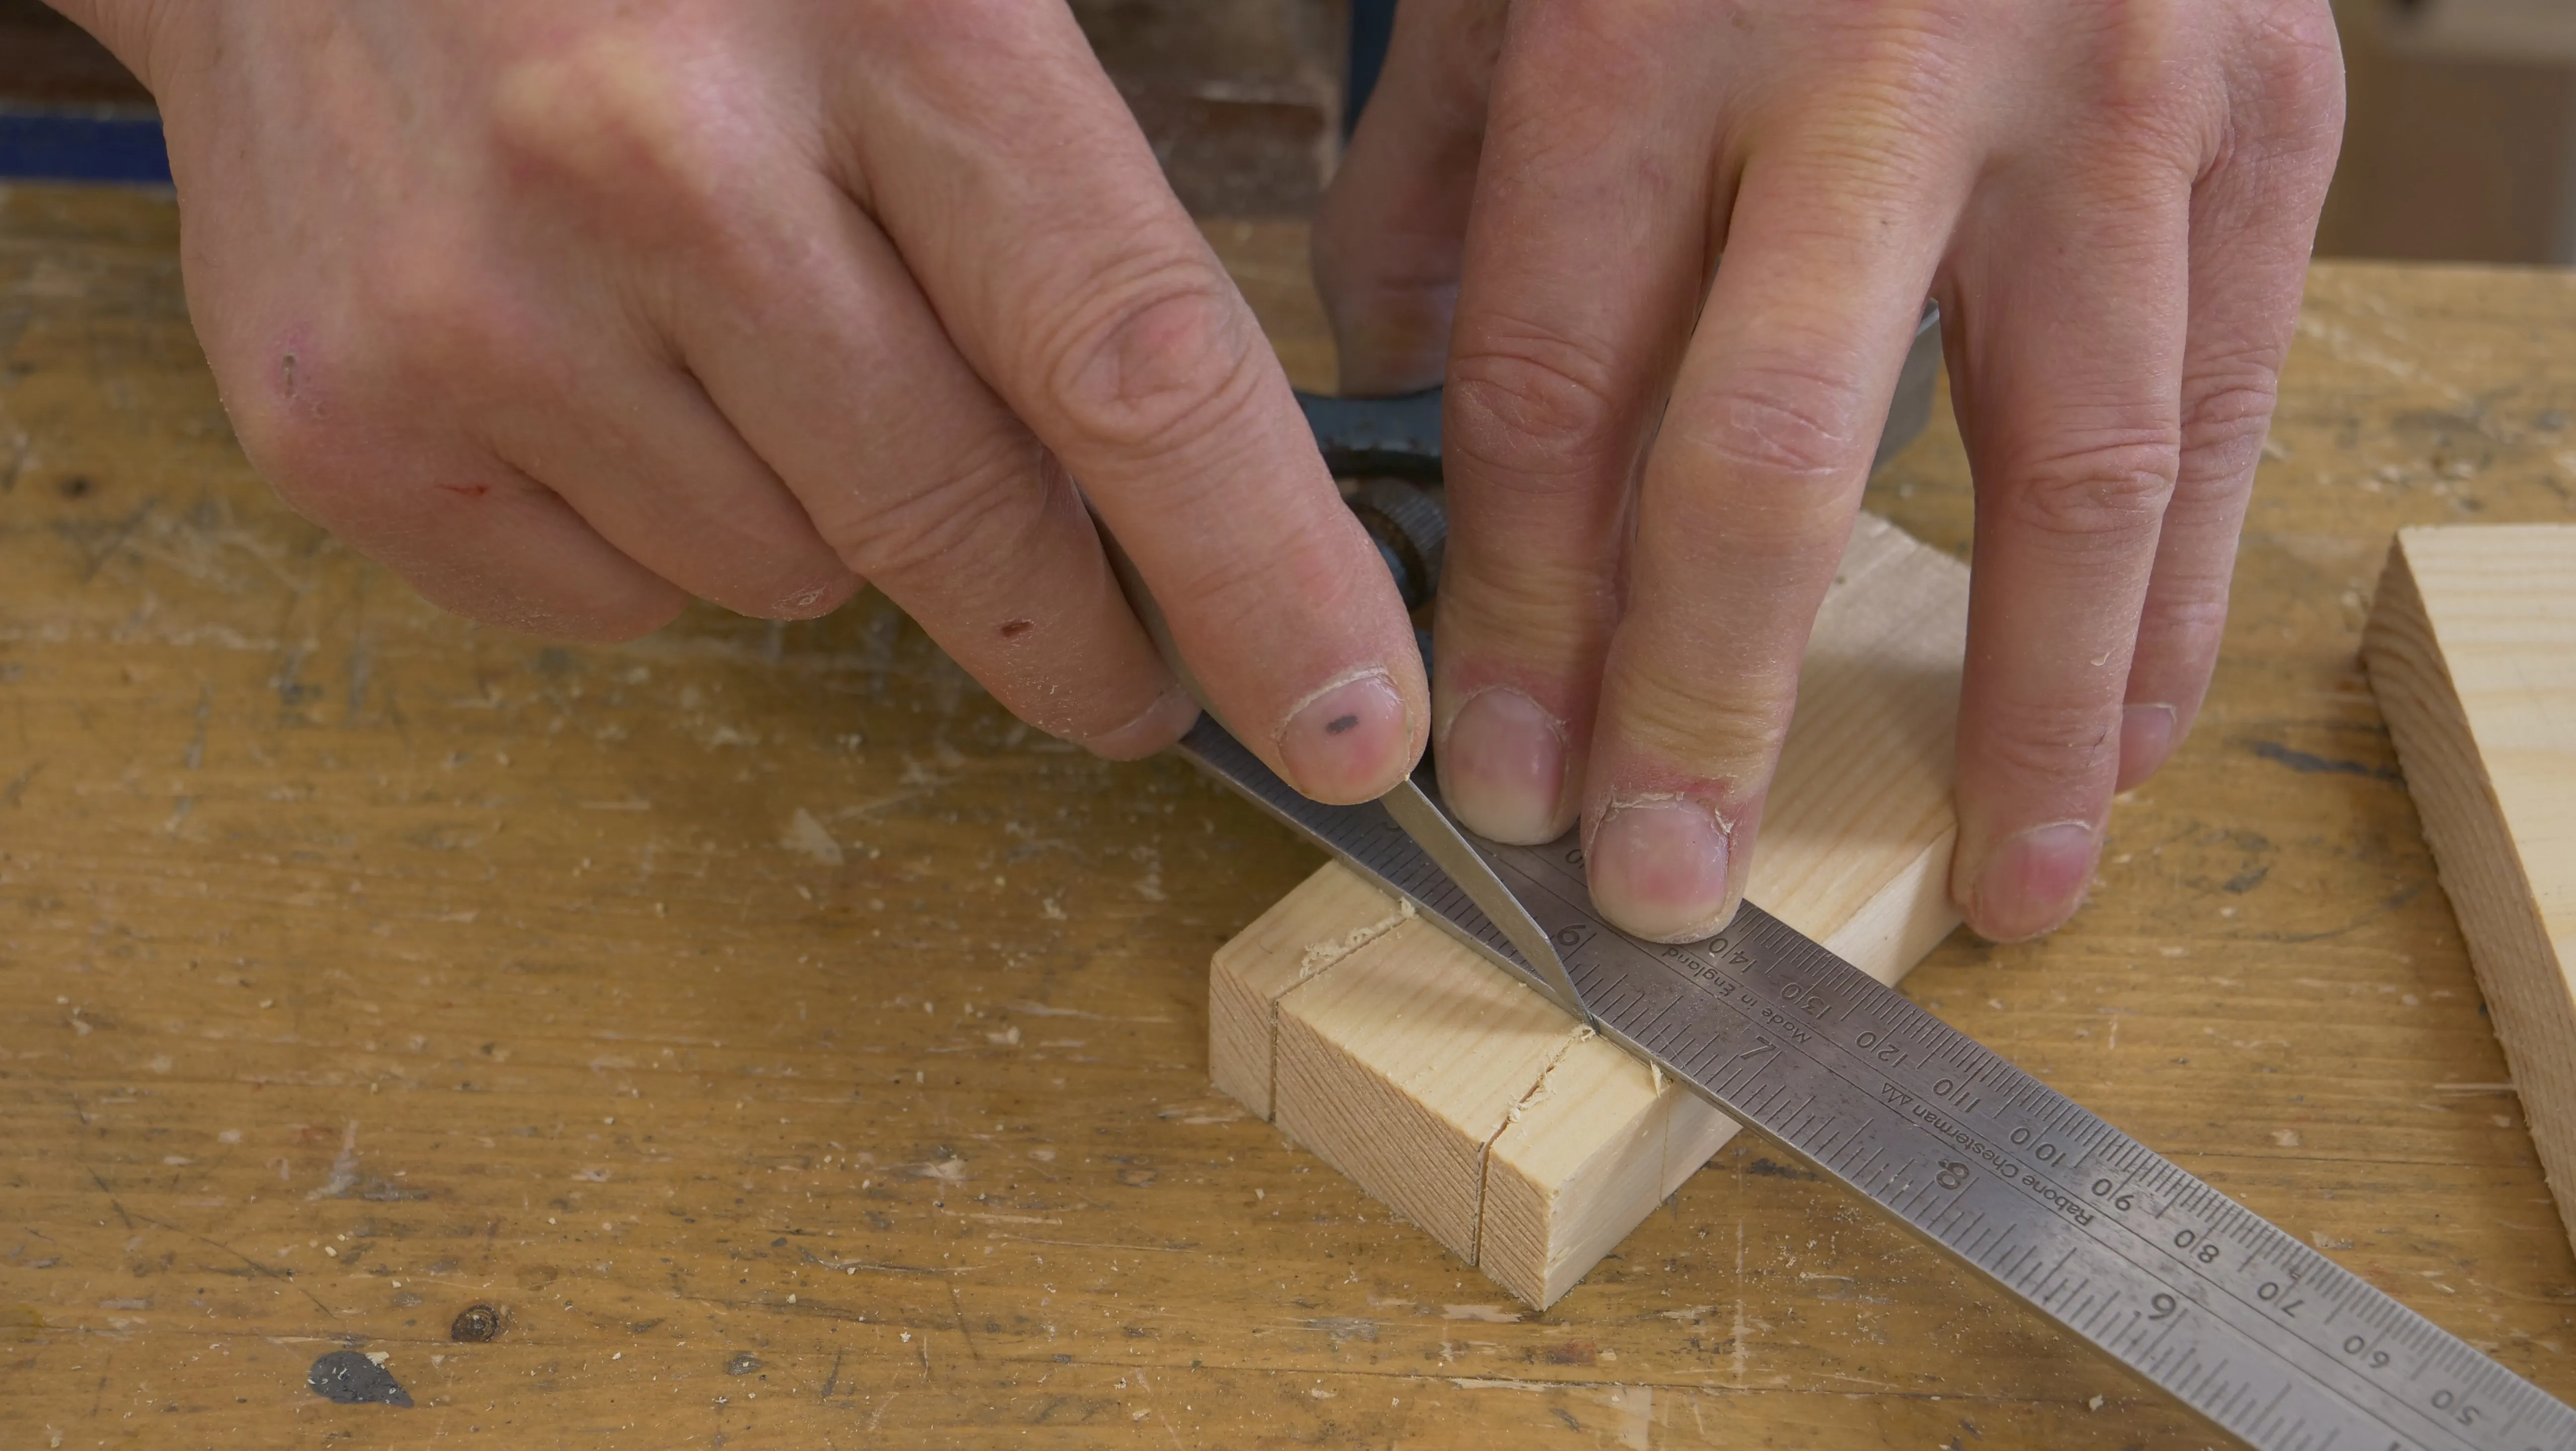
Next, stand the tail piece on its side, find the knifewall on the corner with the edge of your knife, and slide your square against it. Lock the square in place and creat a knifewall along the edge. Repeat with the remaining face and edge. If you’ve worked accurately, your first and last cuts should line up exactly.
Marking the Shoulders Gallery:
Marking the Shoulders Video:
Sign in to track your progress