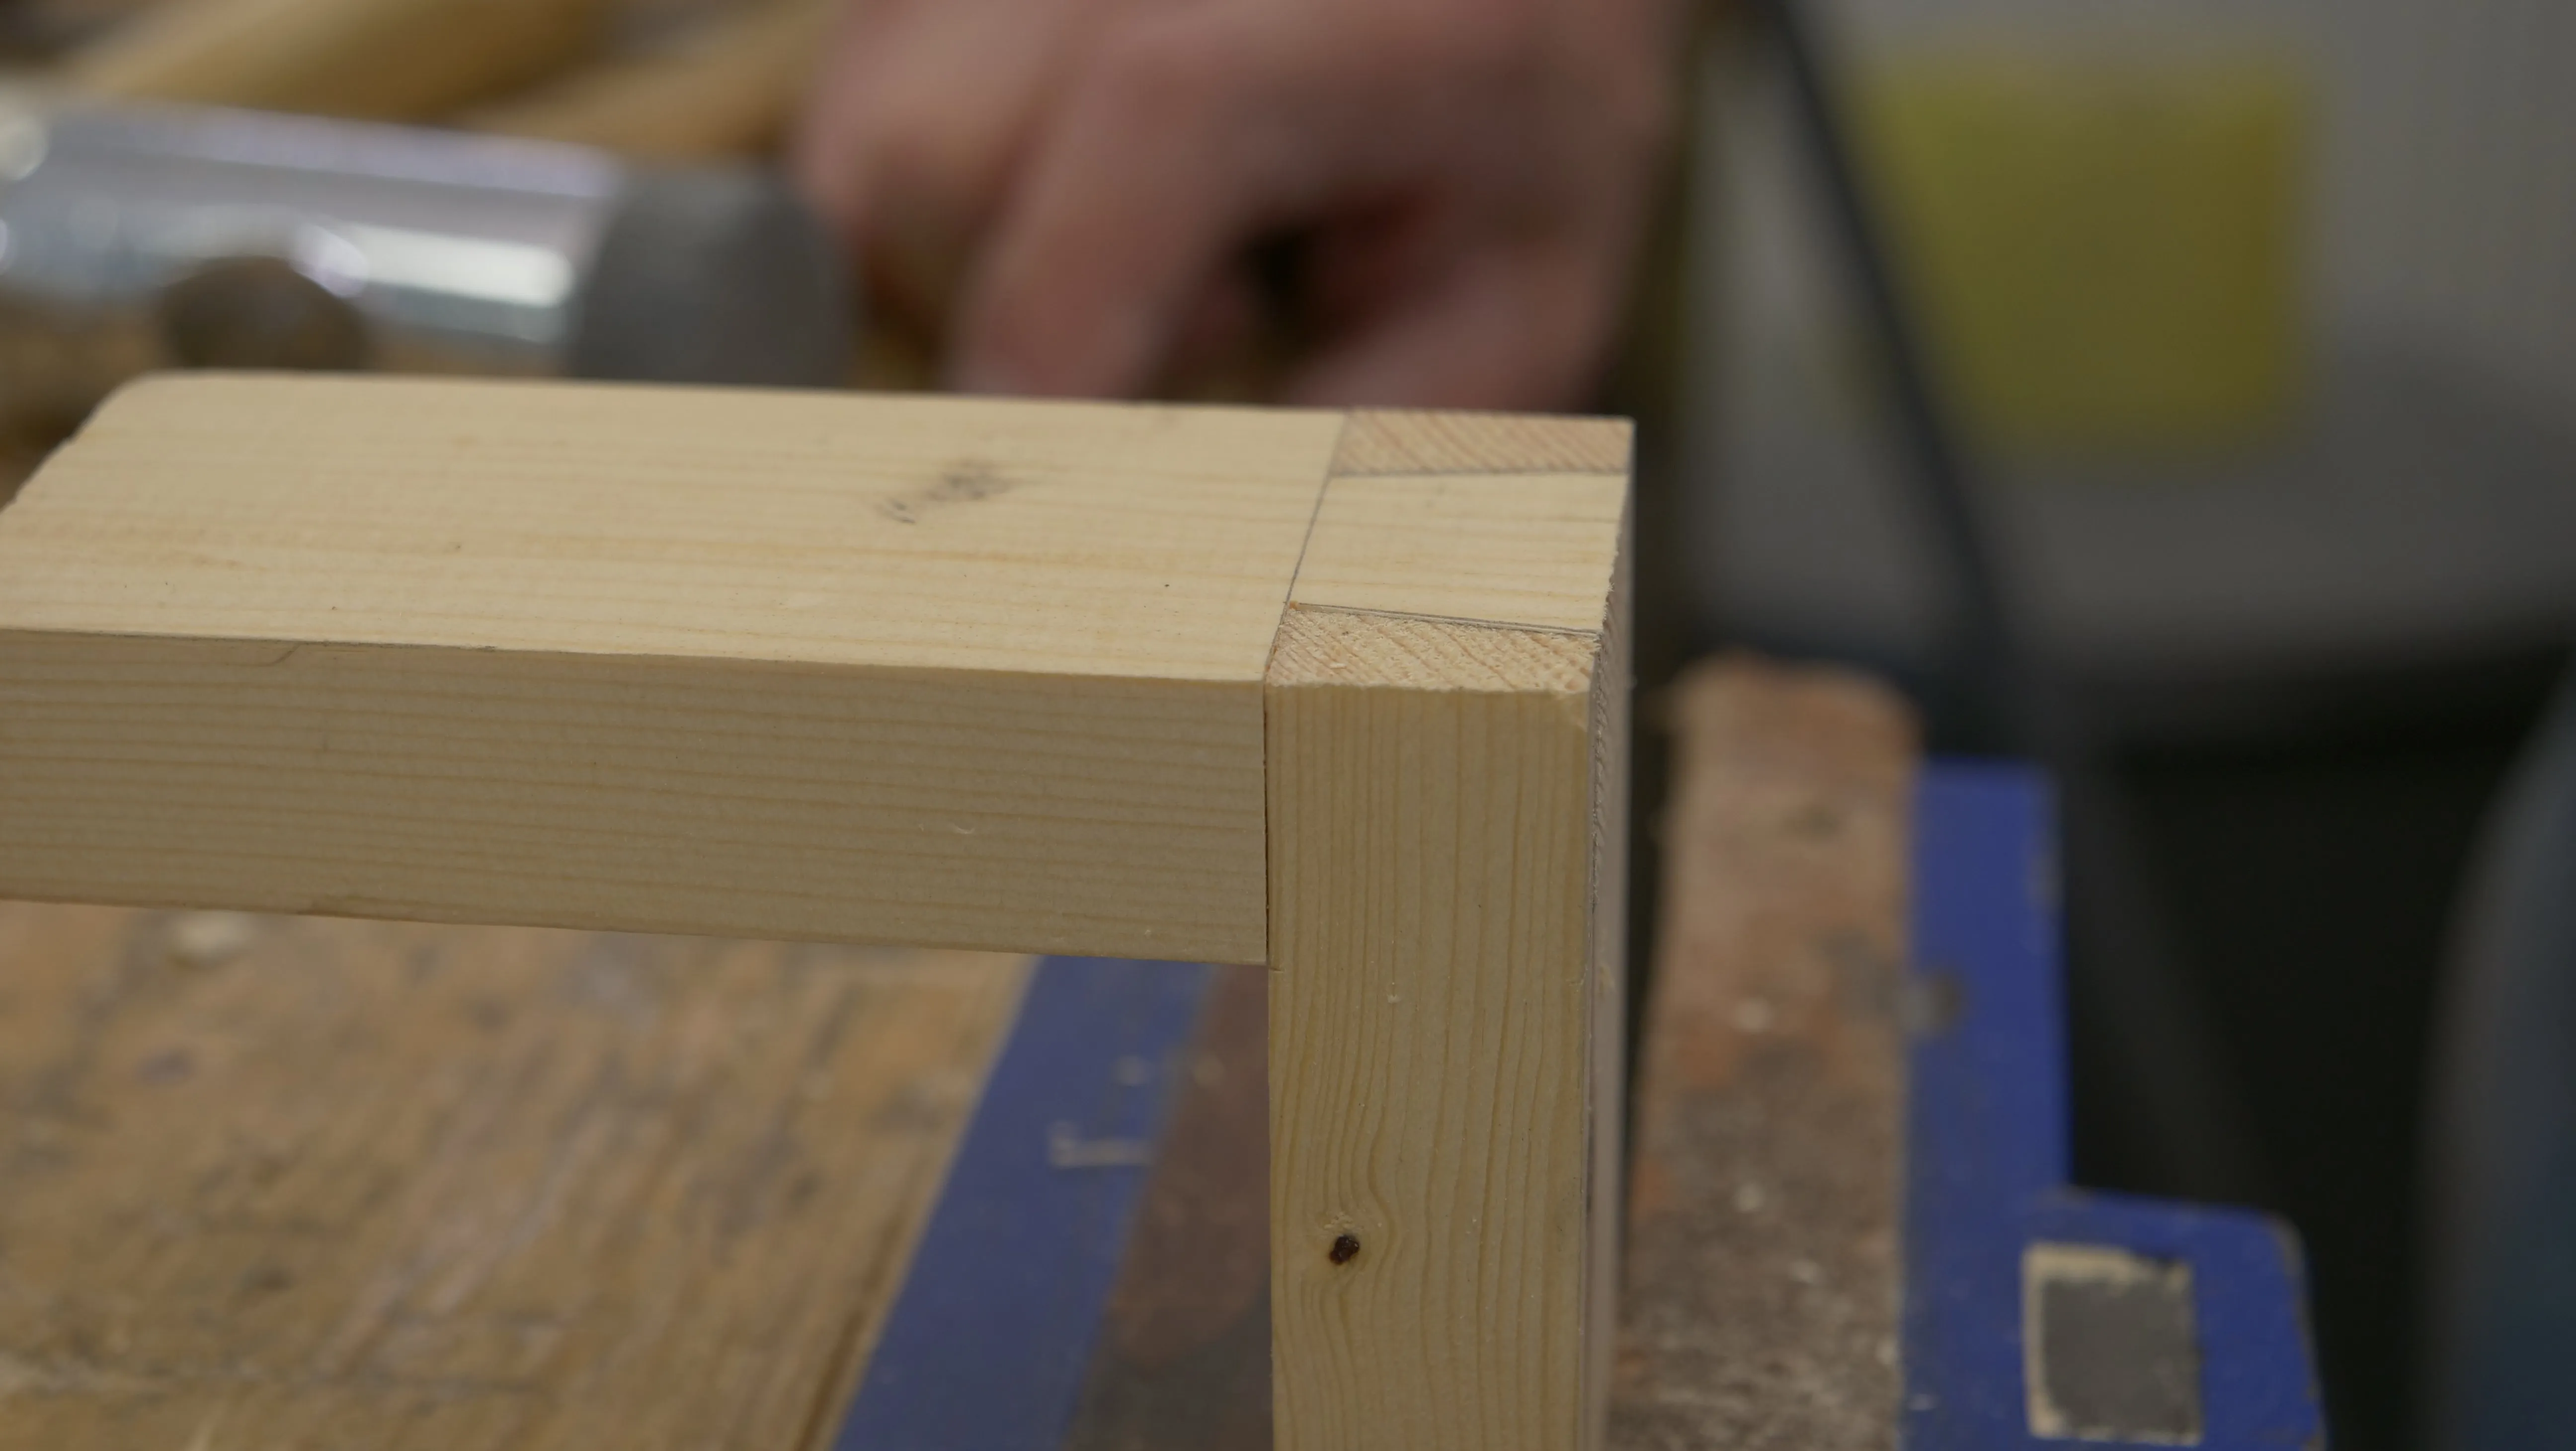
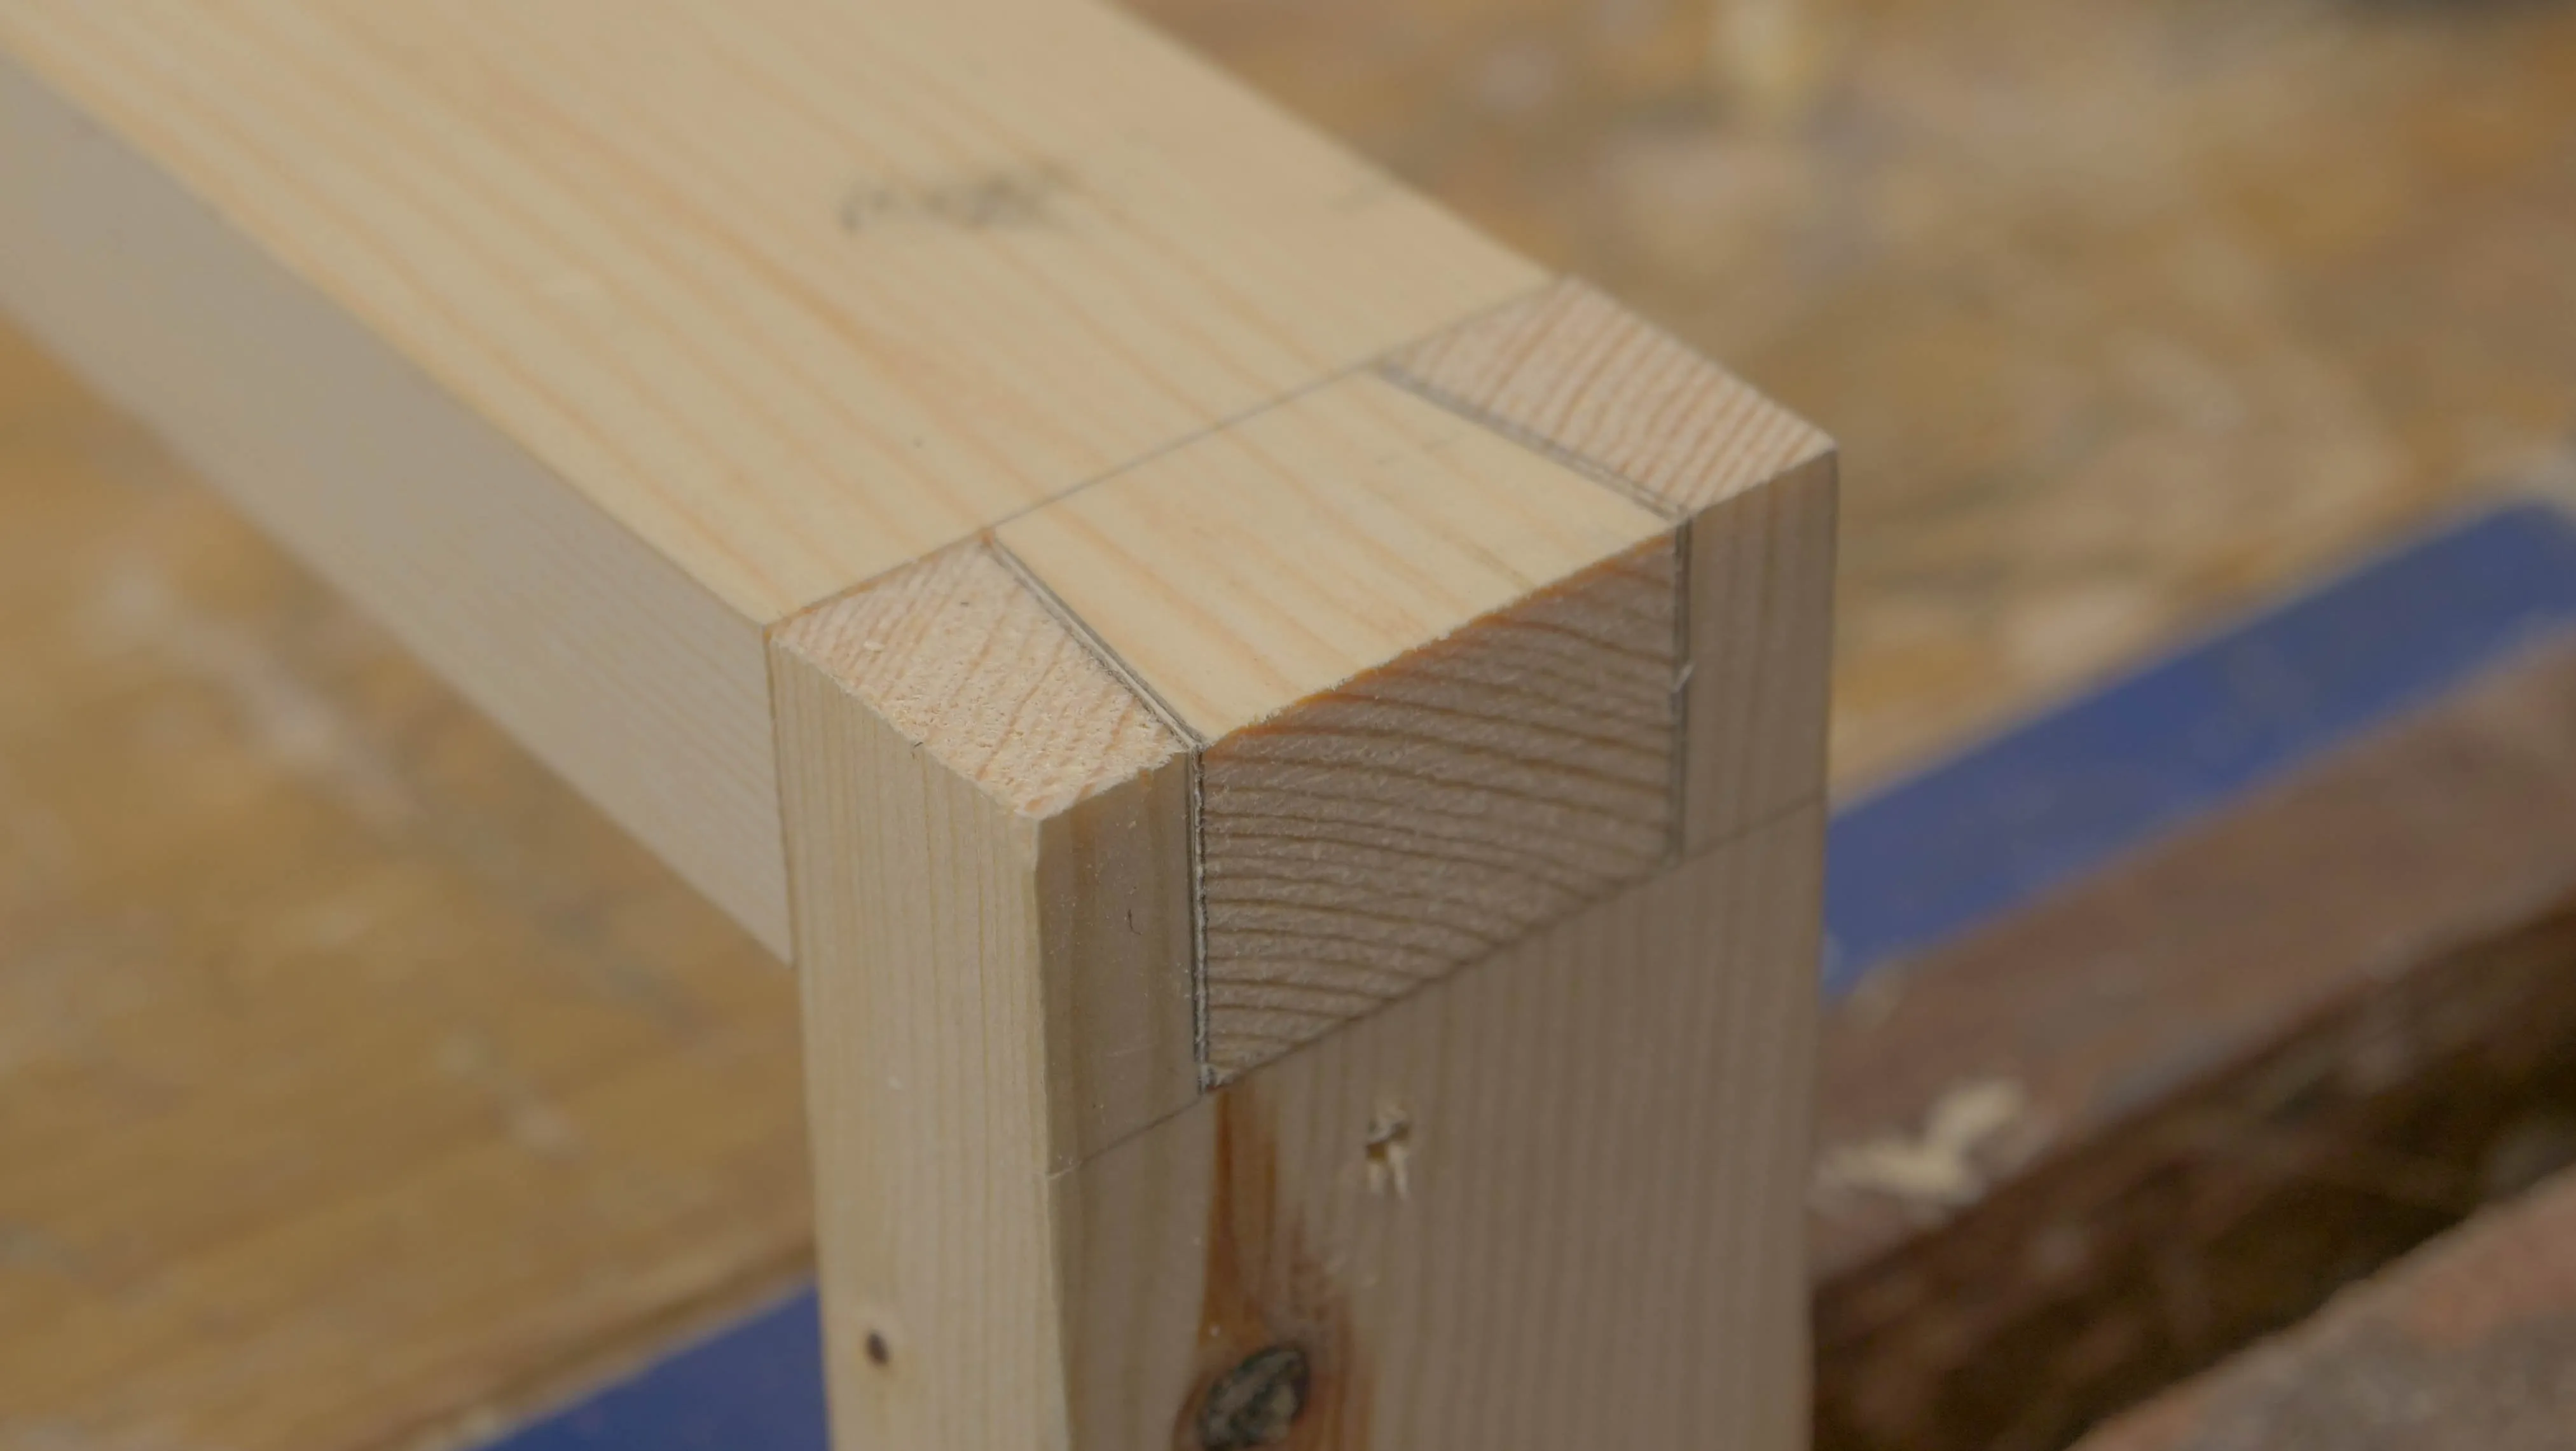
Fitting The Dovetail
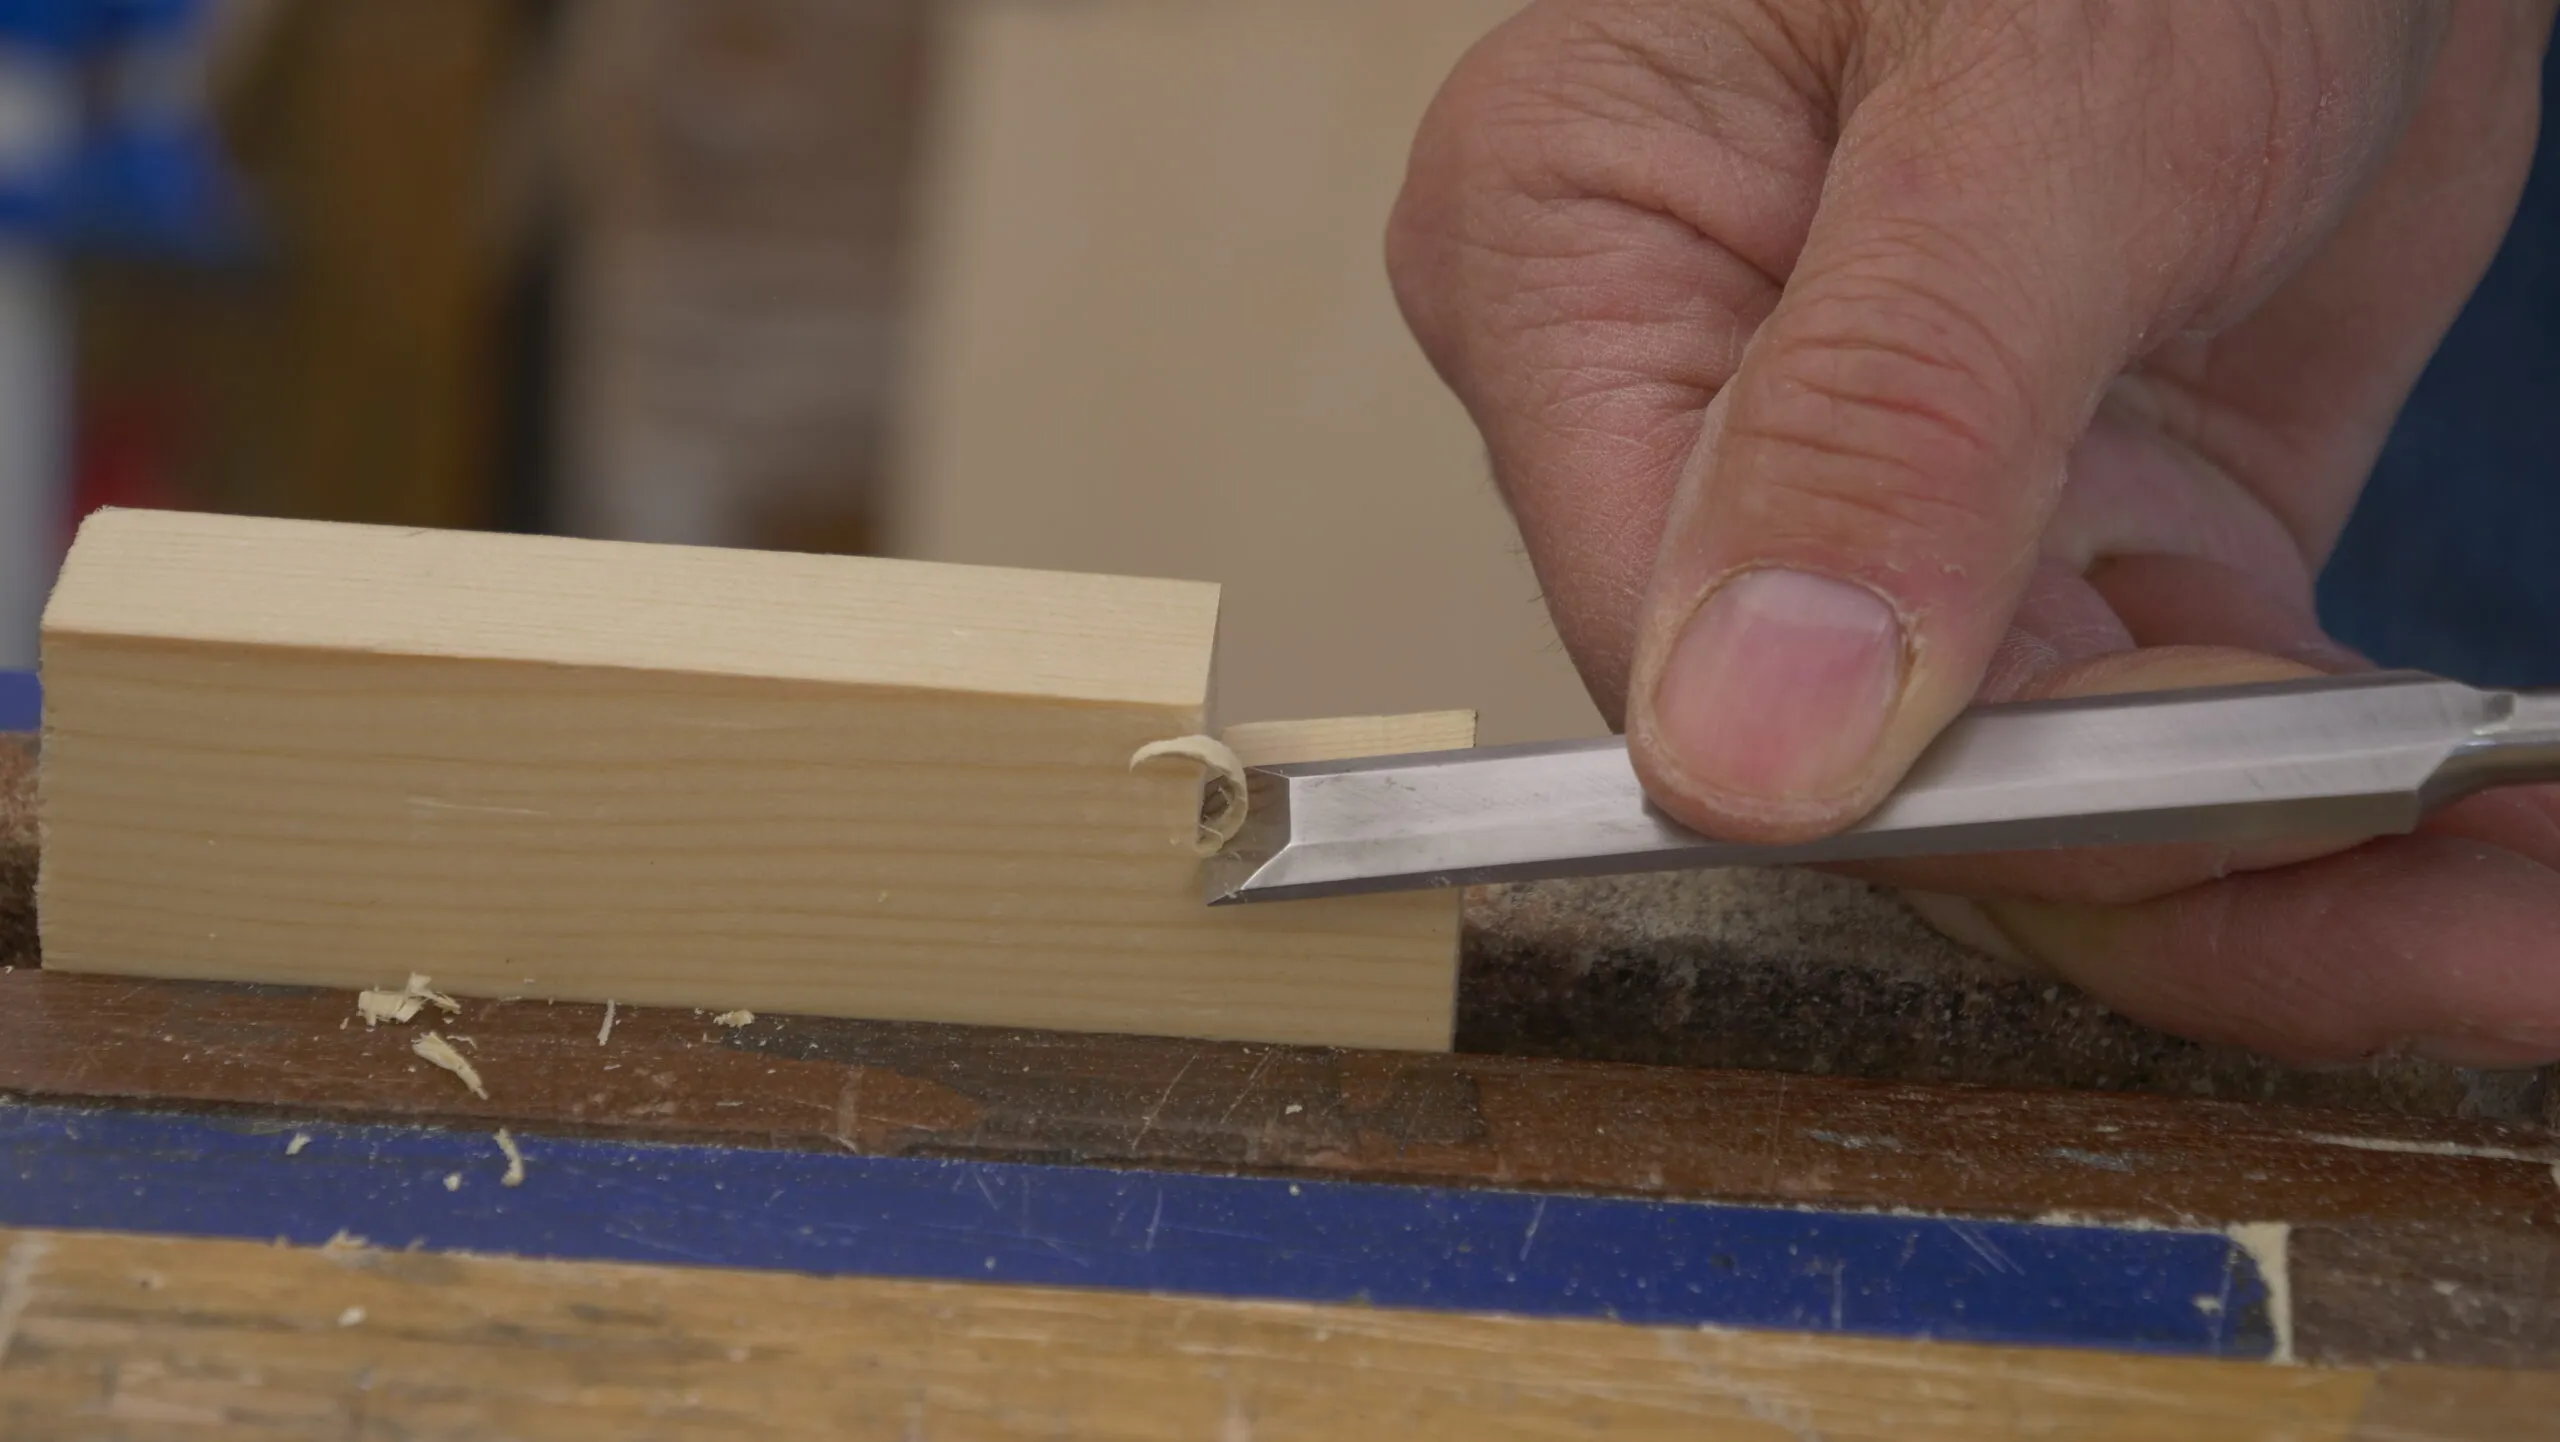
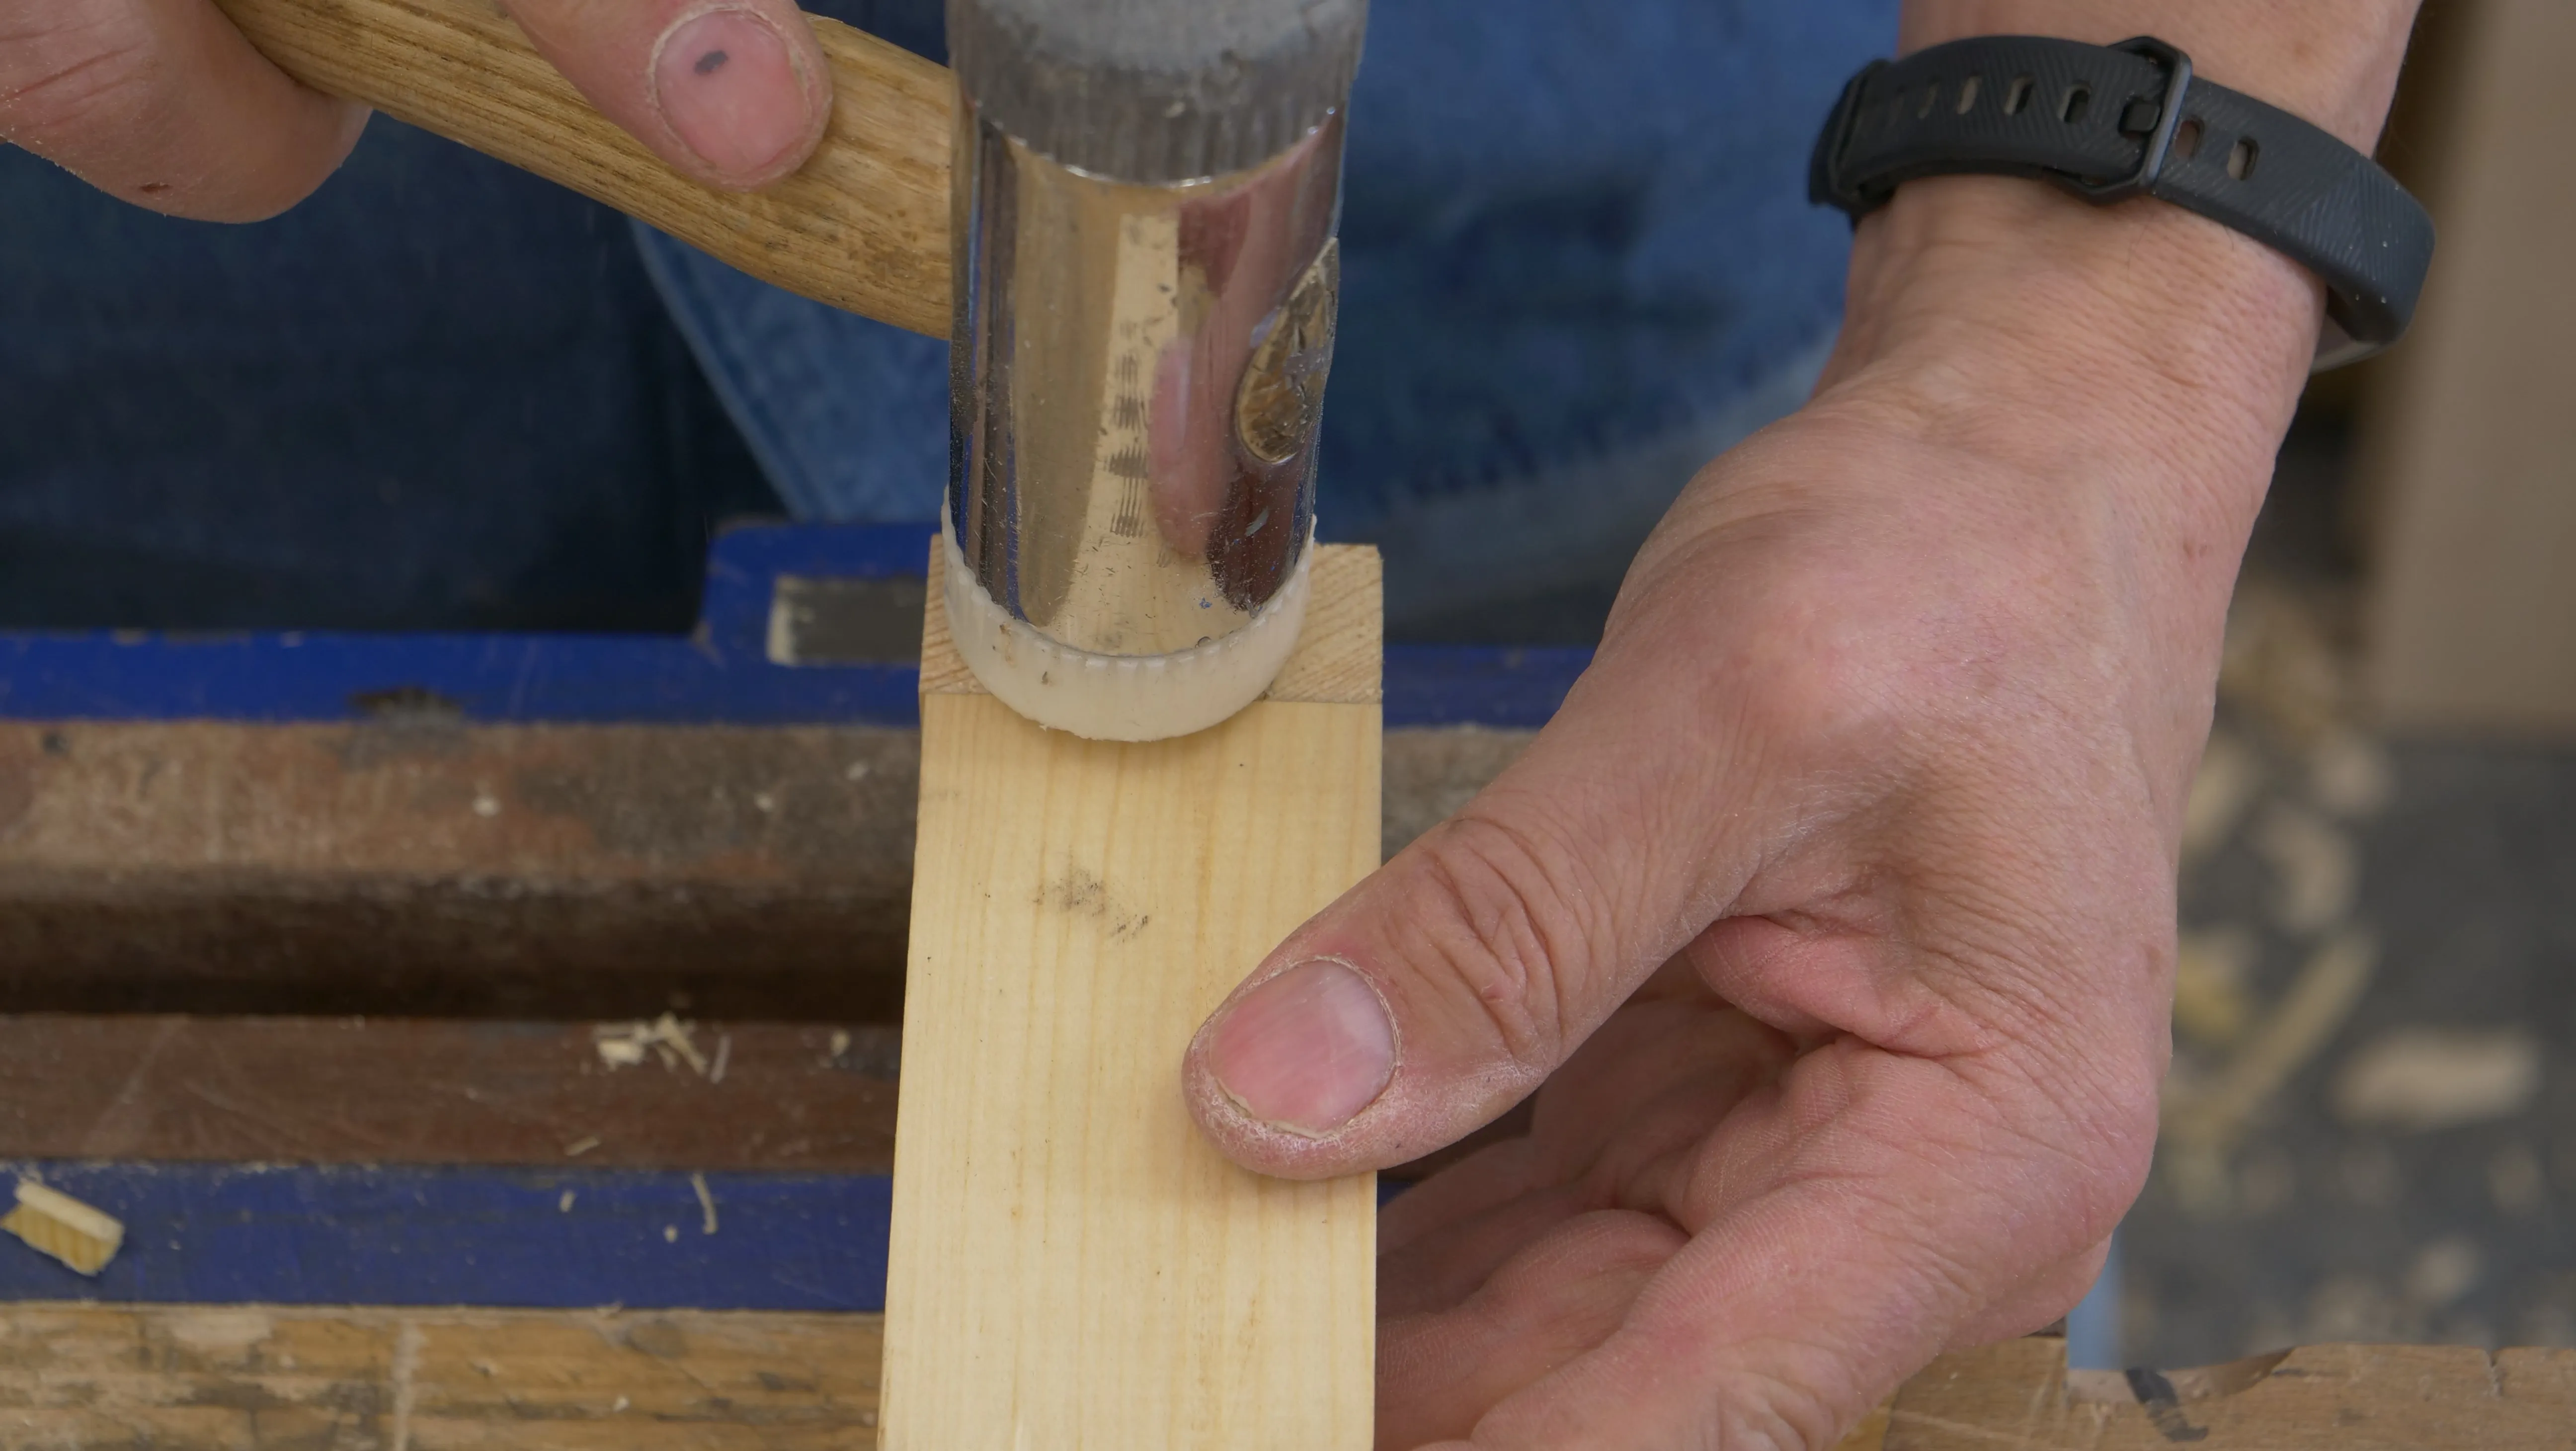
Clamp the pin piece in the vice and test the fit by bringing in the tail piece from above. Press down gently with your thumb and keep going if it’s not too tight. If it is, create a slight leading edge on the sides of the tail -on the inside face only. This will ease the tail’s entry in between the pins. If it’s still too tight, check for any bruise marks (shiny spots) which indicate too much compression. Secure in the vice and pare with a sharp chisel where you can see clear bruising. Make sure to only take off a little at a time before testing again. When it finally goes in, tap down with a chisel hammer to close up the shoulders.
Conclusion
The single dovetail is the most basic form of the joint. Making it requires much care and accuracy, both in the laying out and in making the cuts. On most projects involving dovetails, you will have two or three smaller dovetails side by side. Multiple dovetails are actually more forgiving, and the wider the stock, the easier it is to align the shoulder when marking the pins. Even so, it’s important that you understand the single dovetail and get some good practice before moving on to make a double dovetail. So don’t get discouraged if your dovetails come out a little loose or wonky at first. Keep practicing as you will develop sensitivity and accuracy with every joint you make.
Sign in to track your progress