Recessing The Hinges
You can now put the box aside and lay out the exact cut line on the lid. As a general rule, you should always recess the hinge onto the lighter components first.
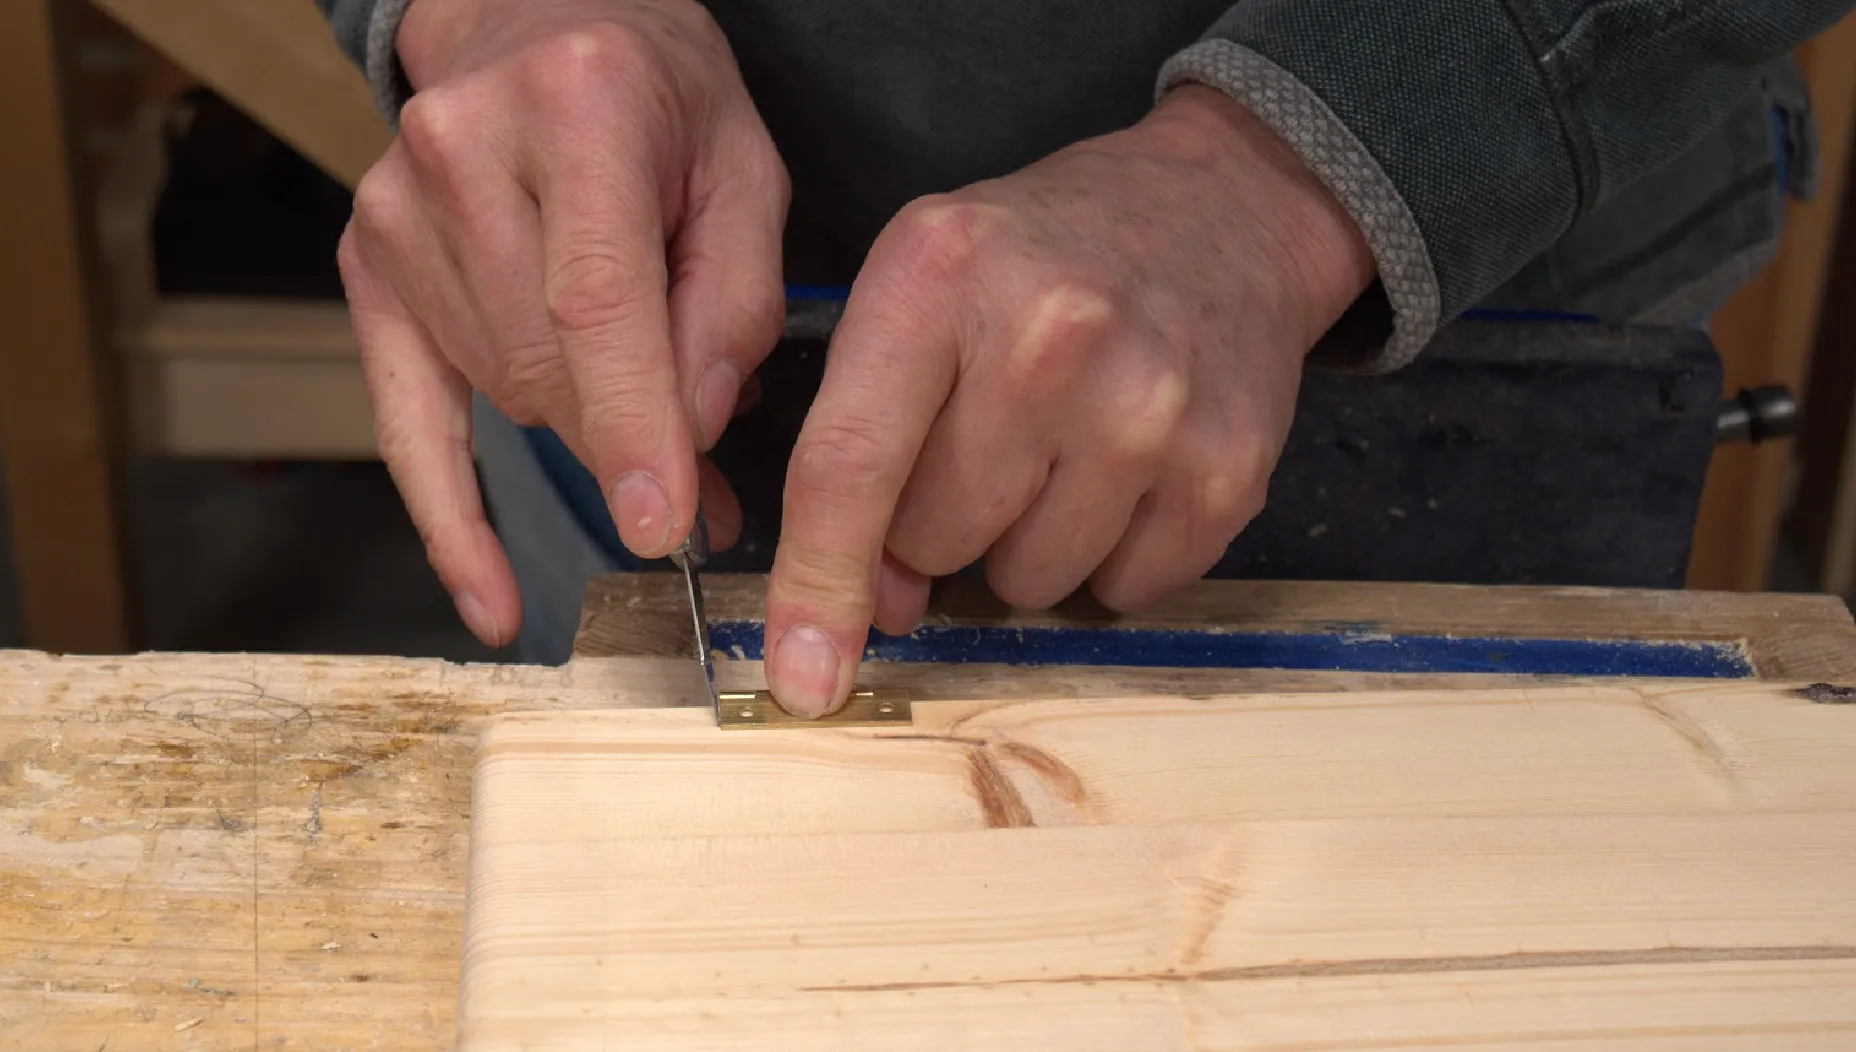
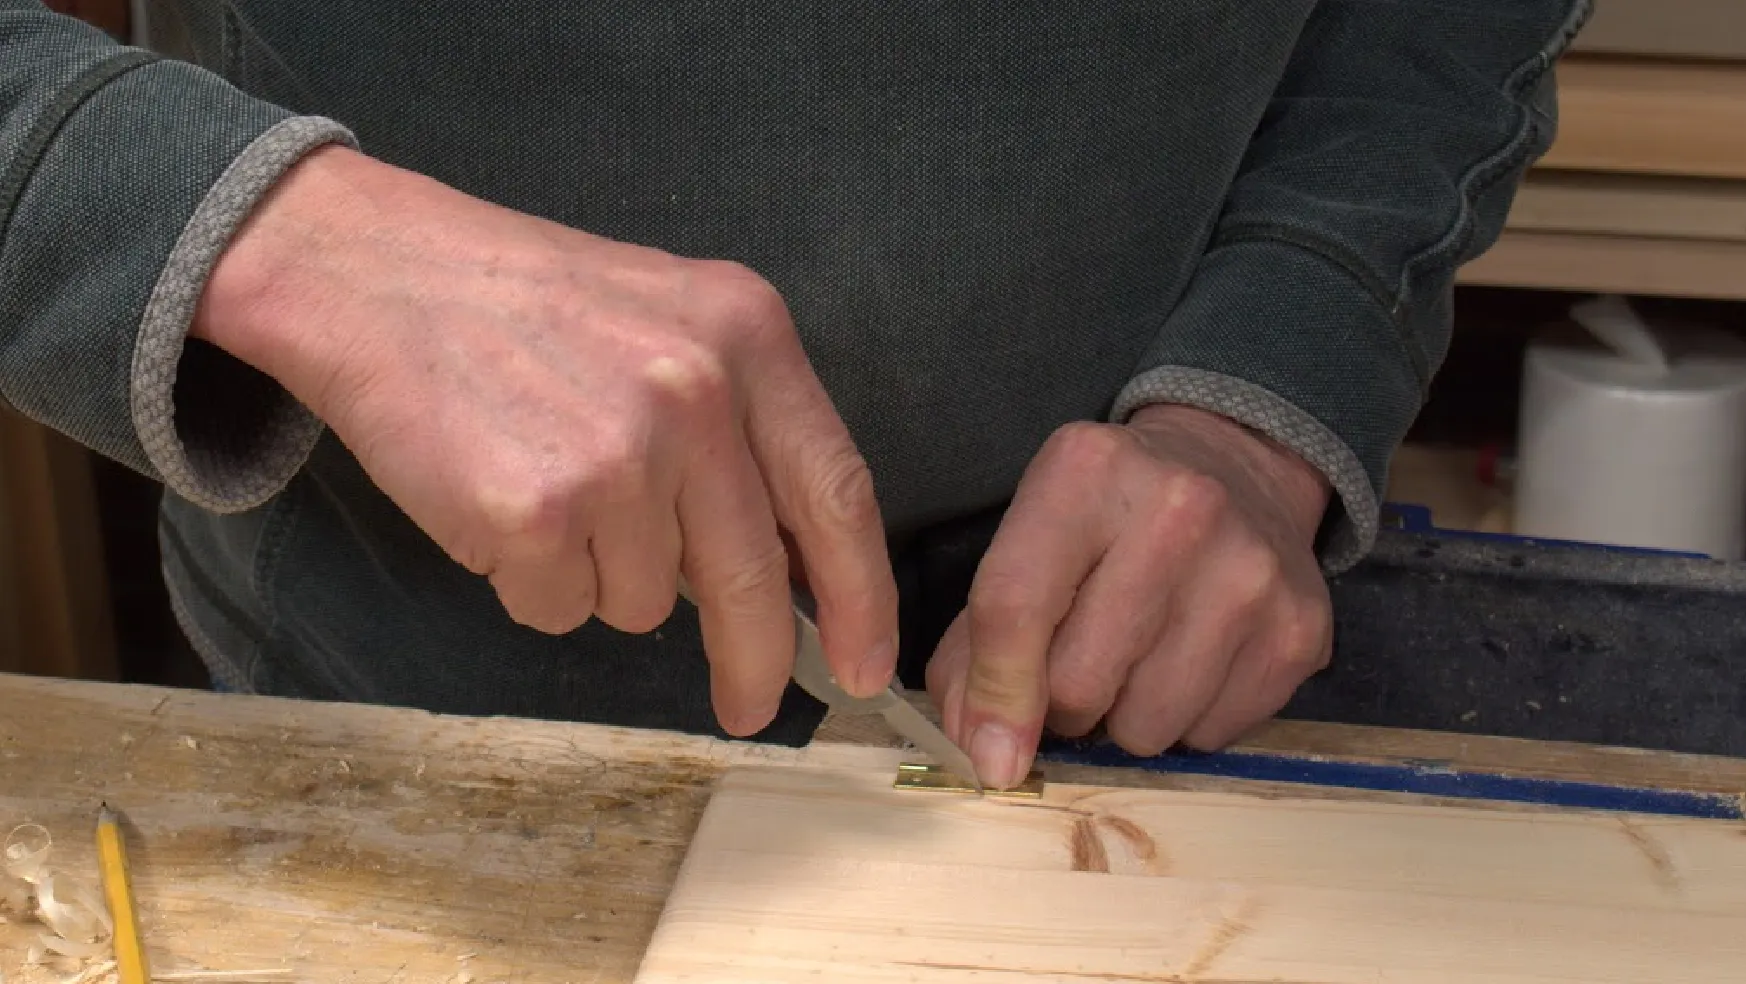
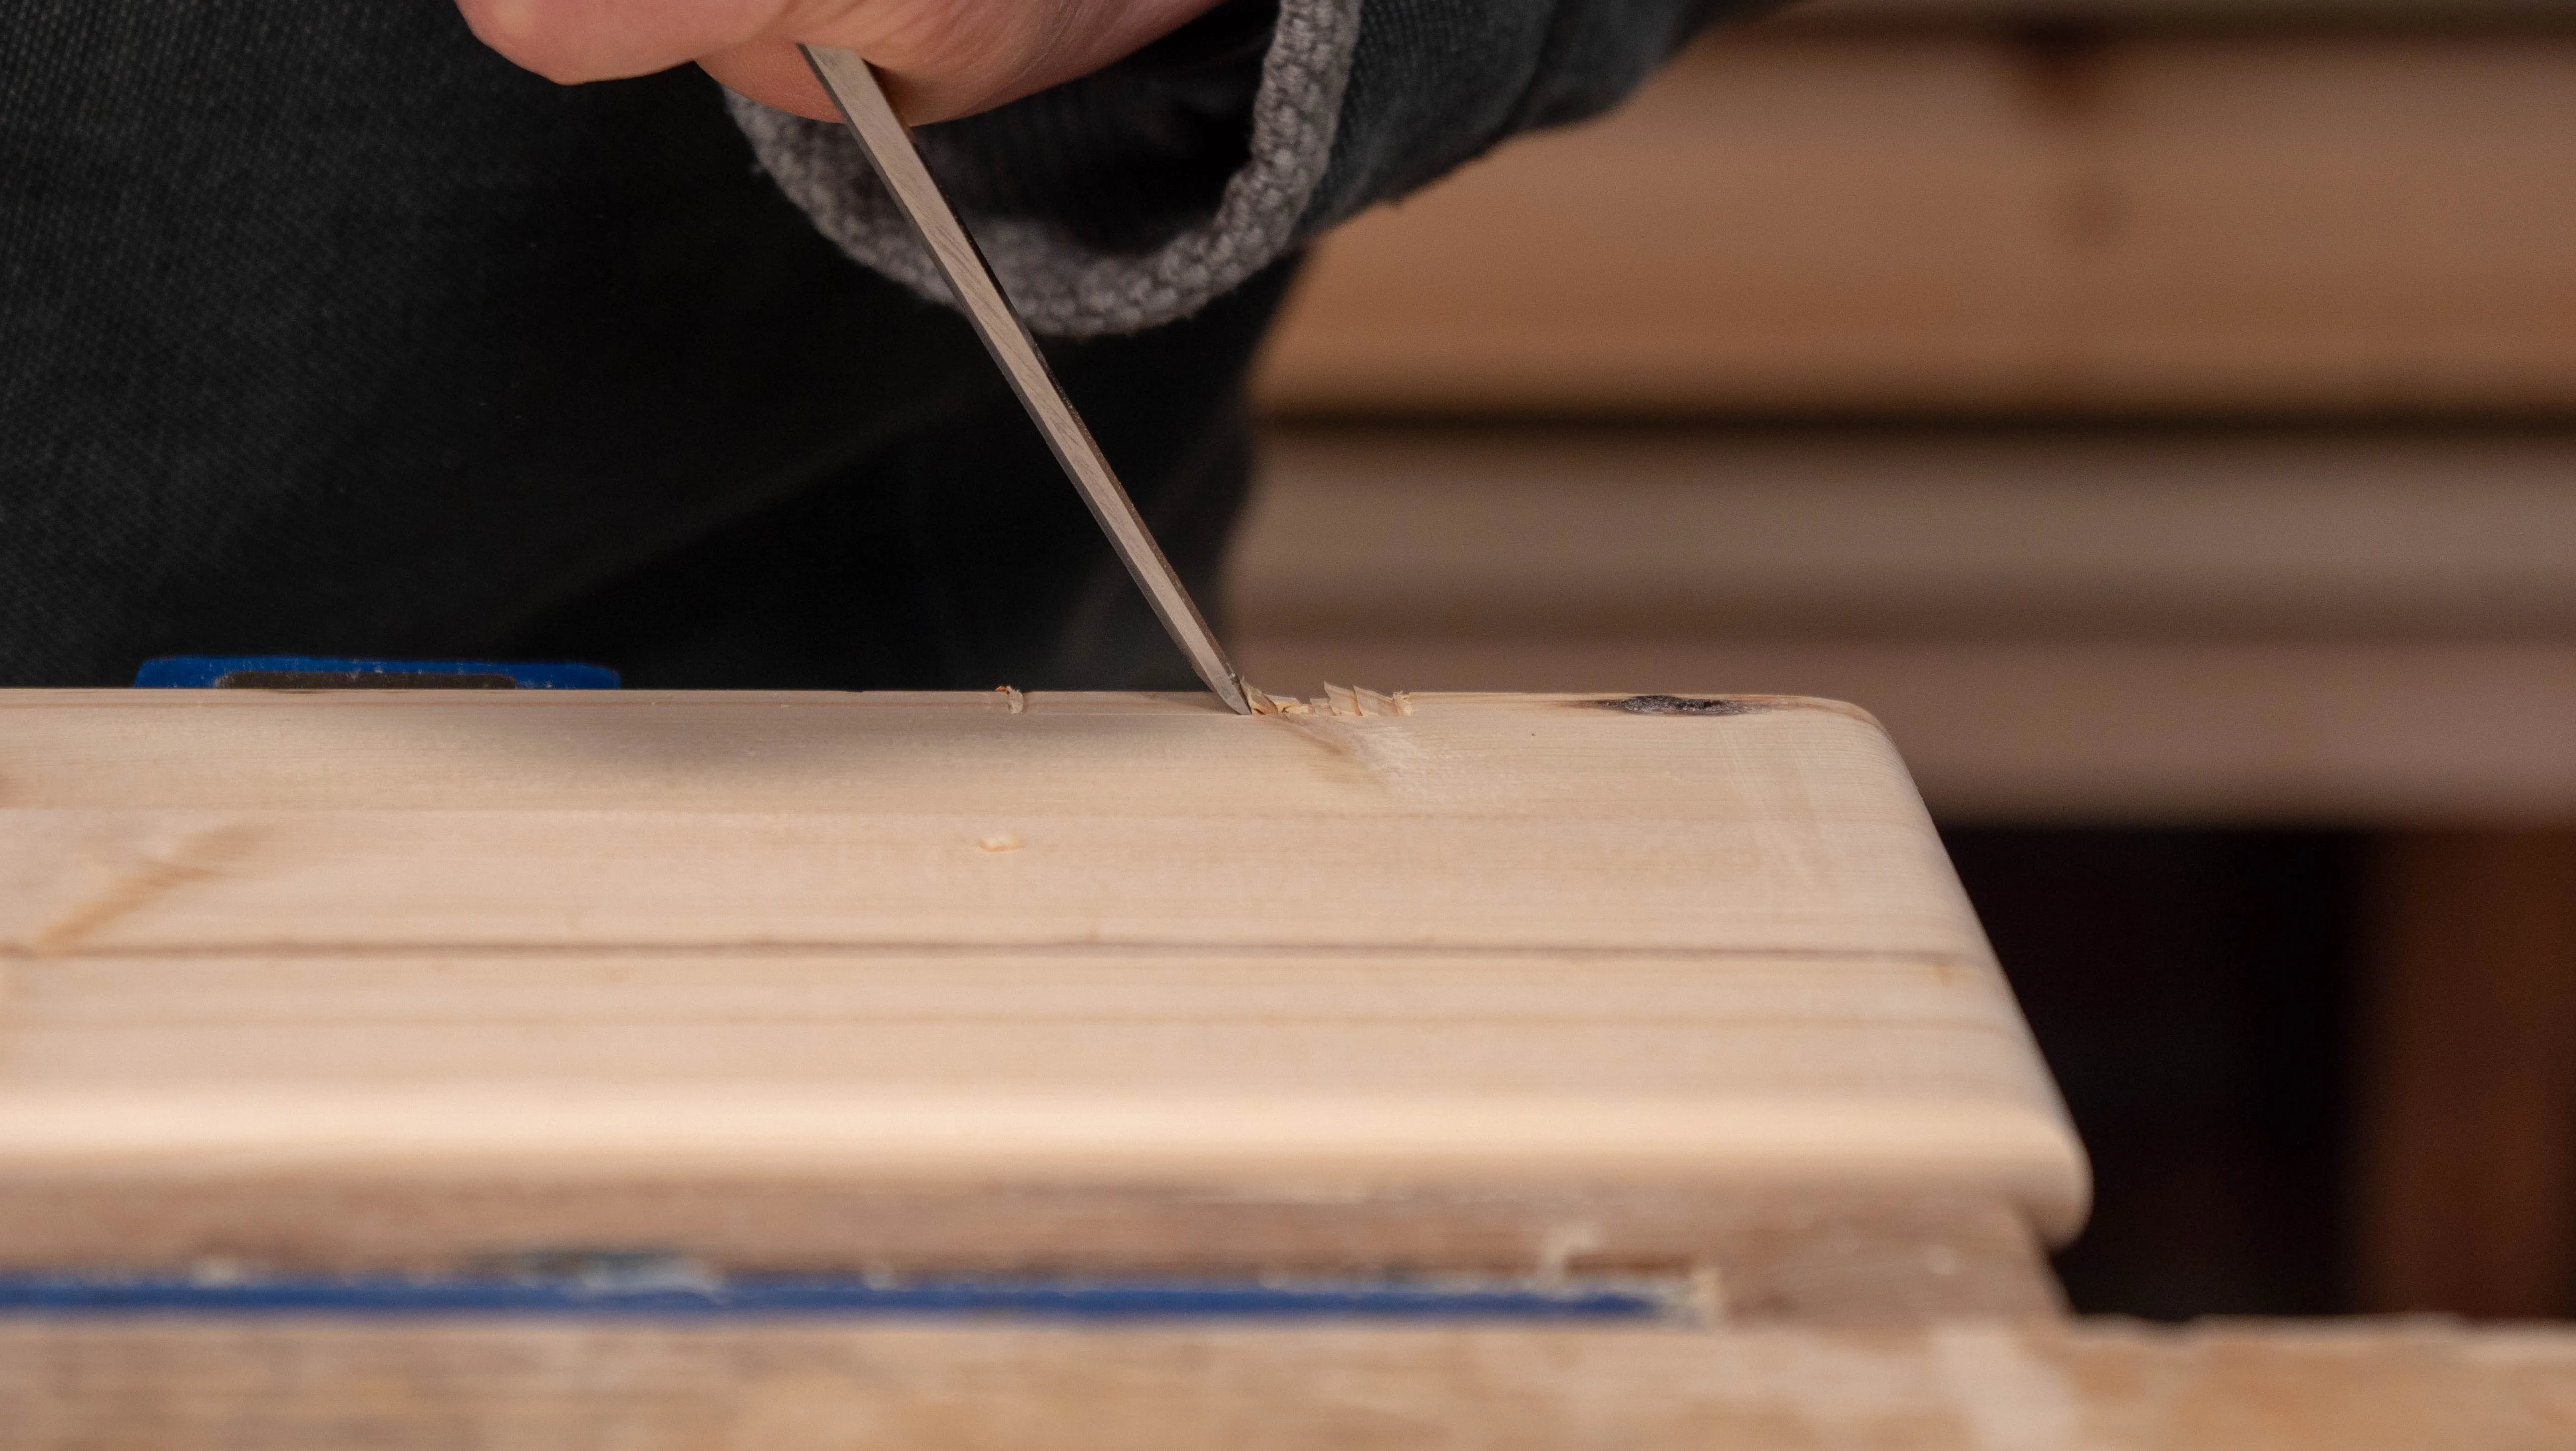
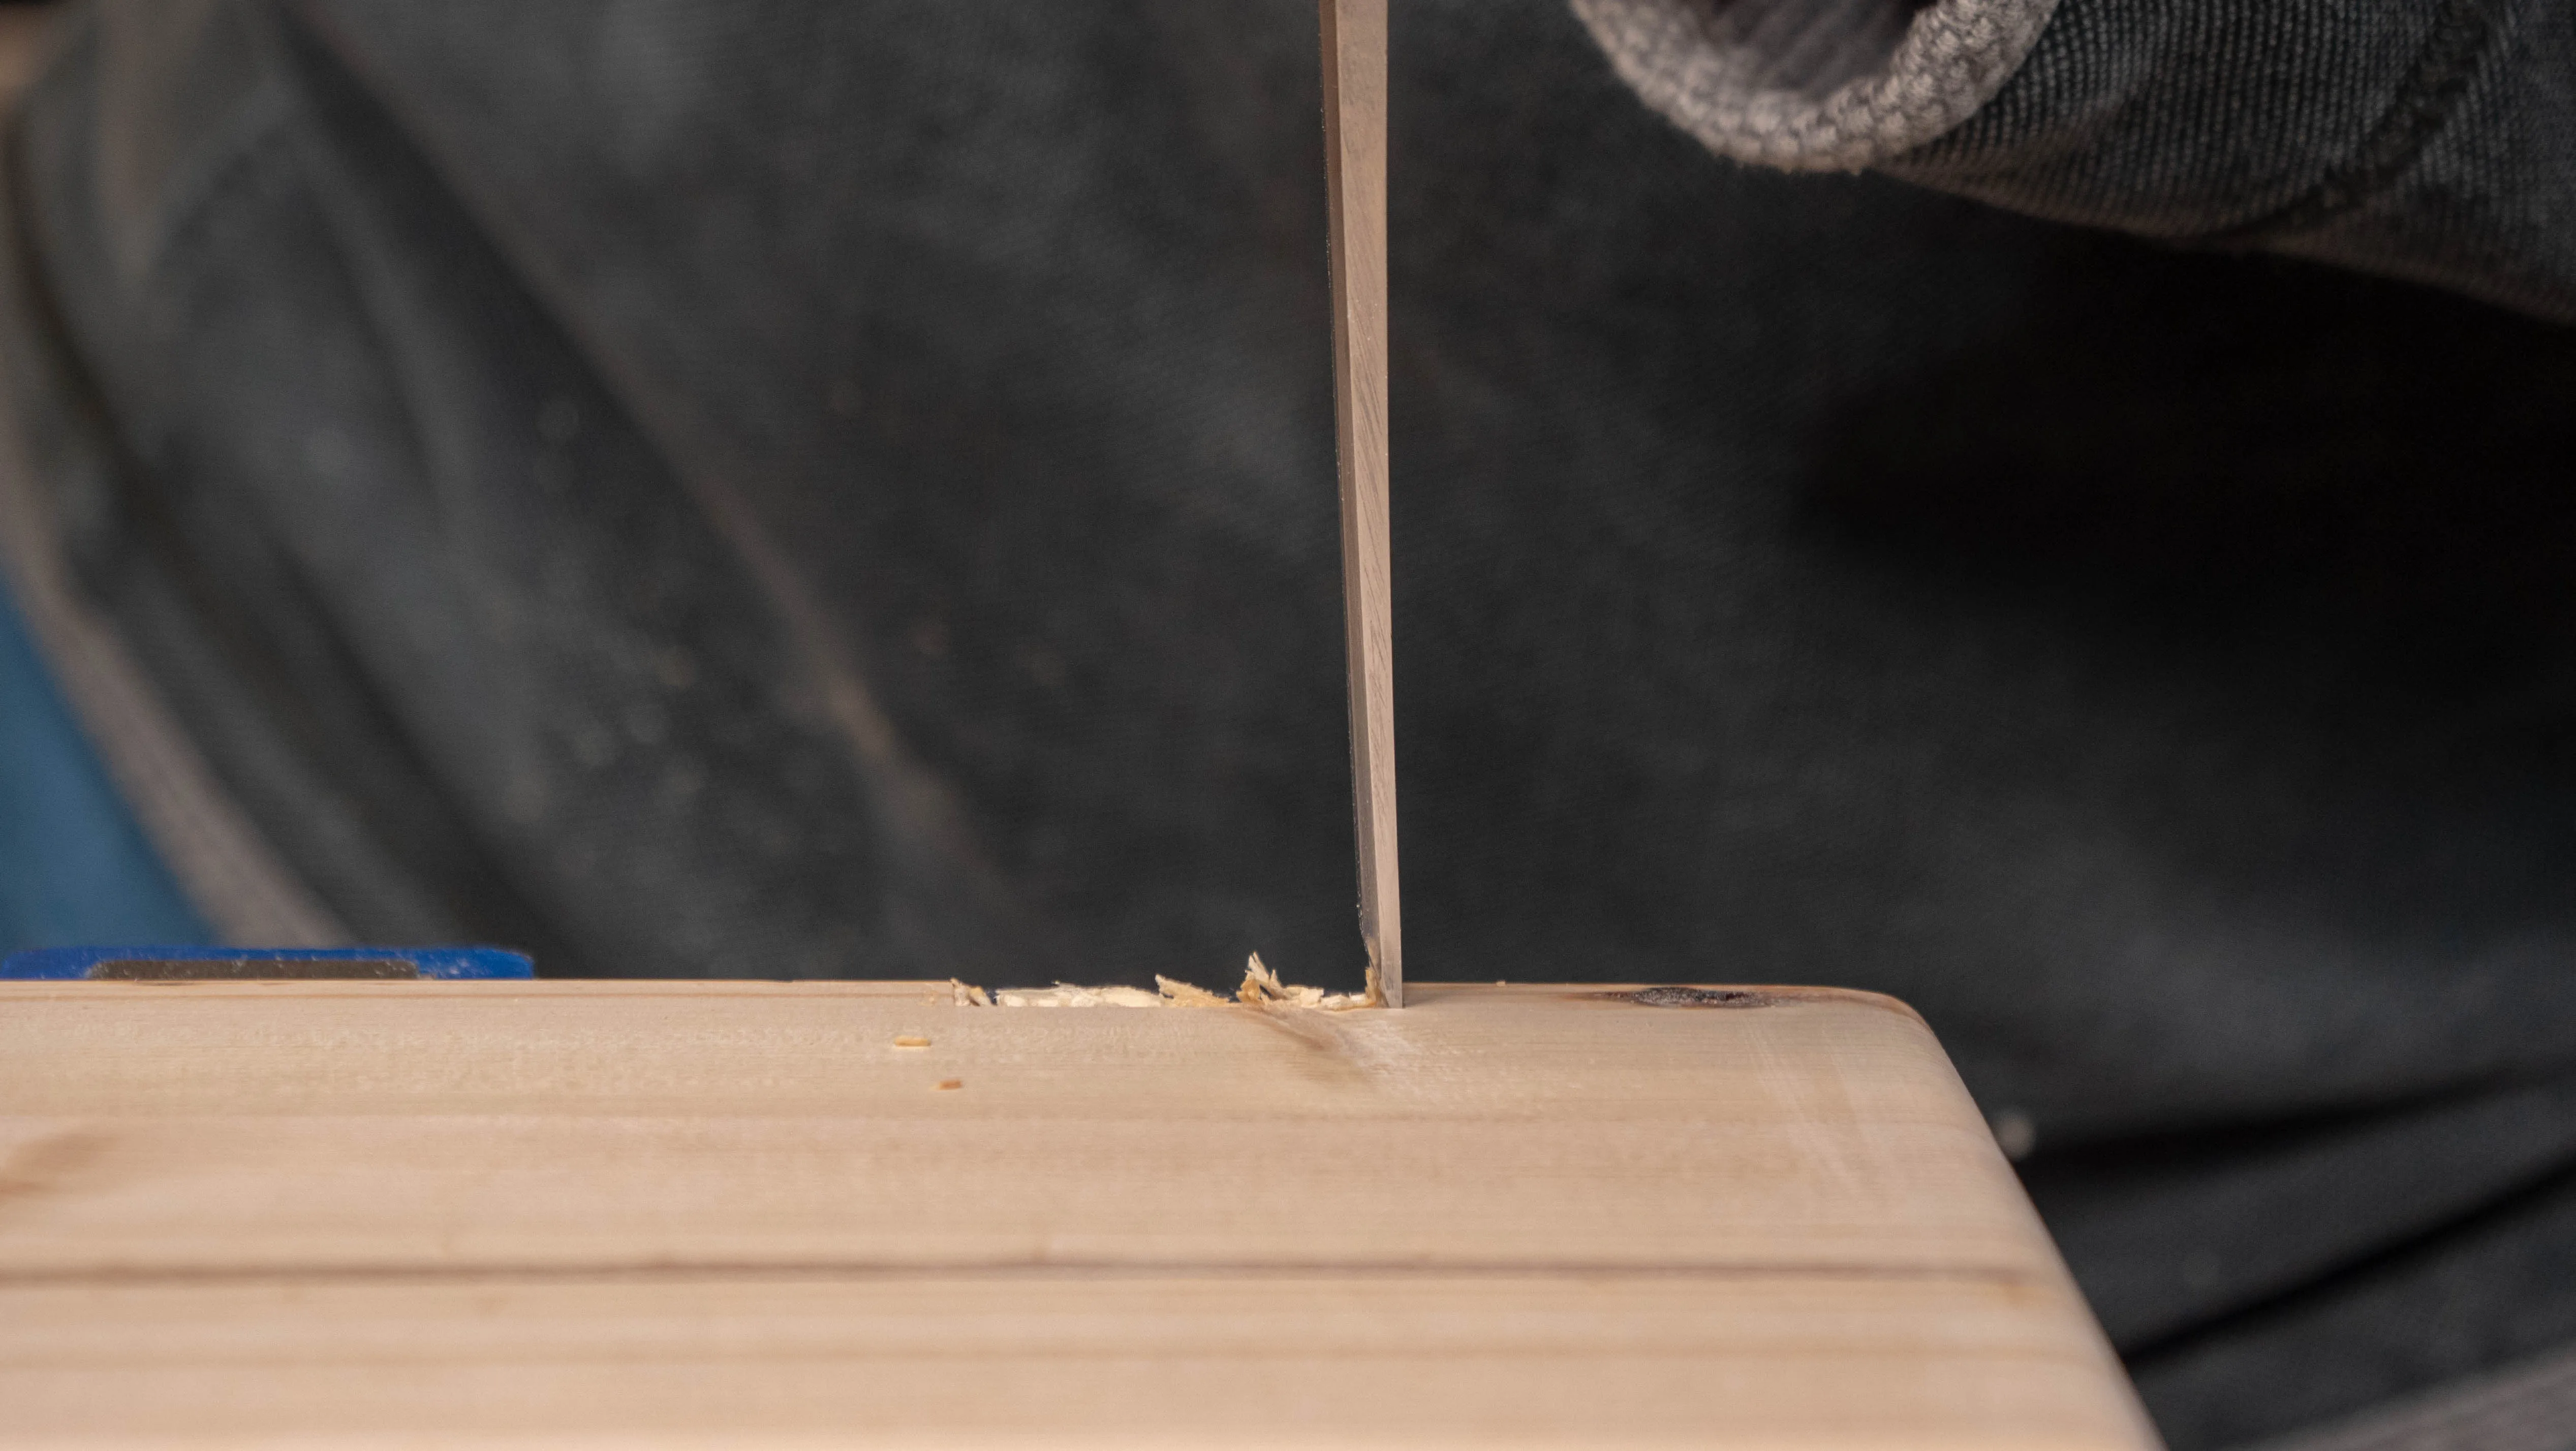
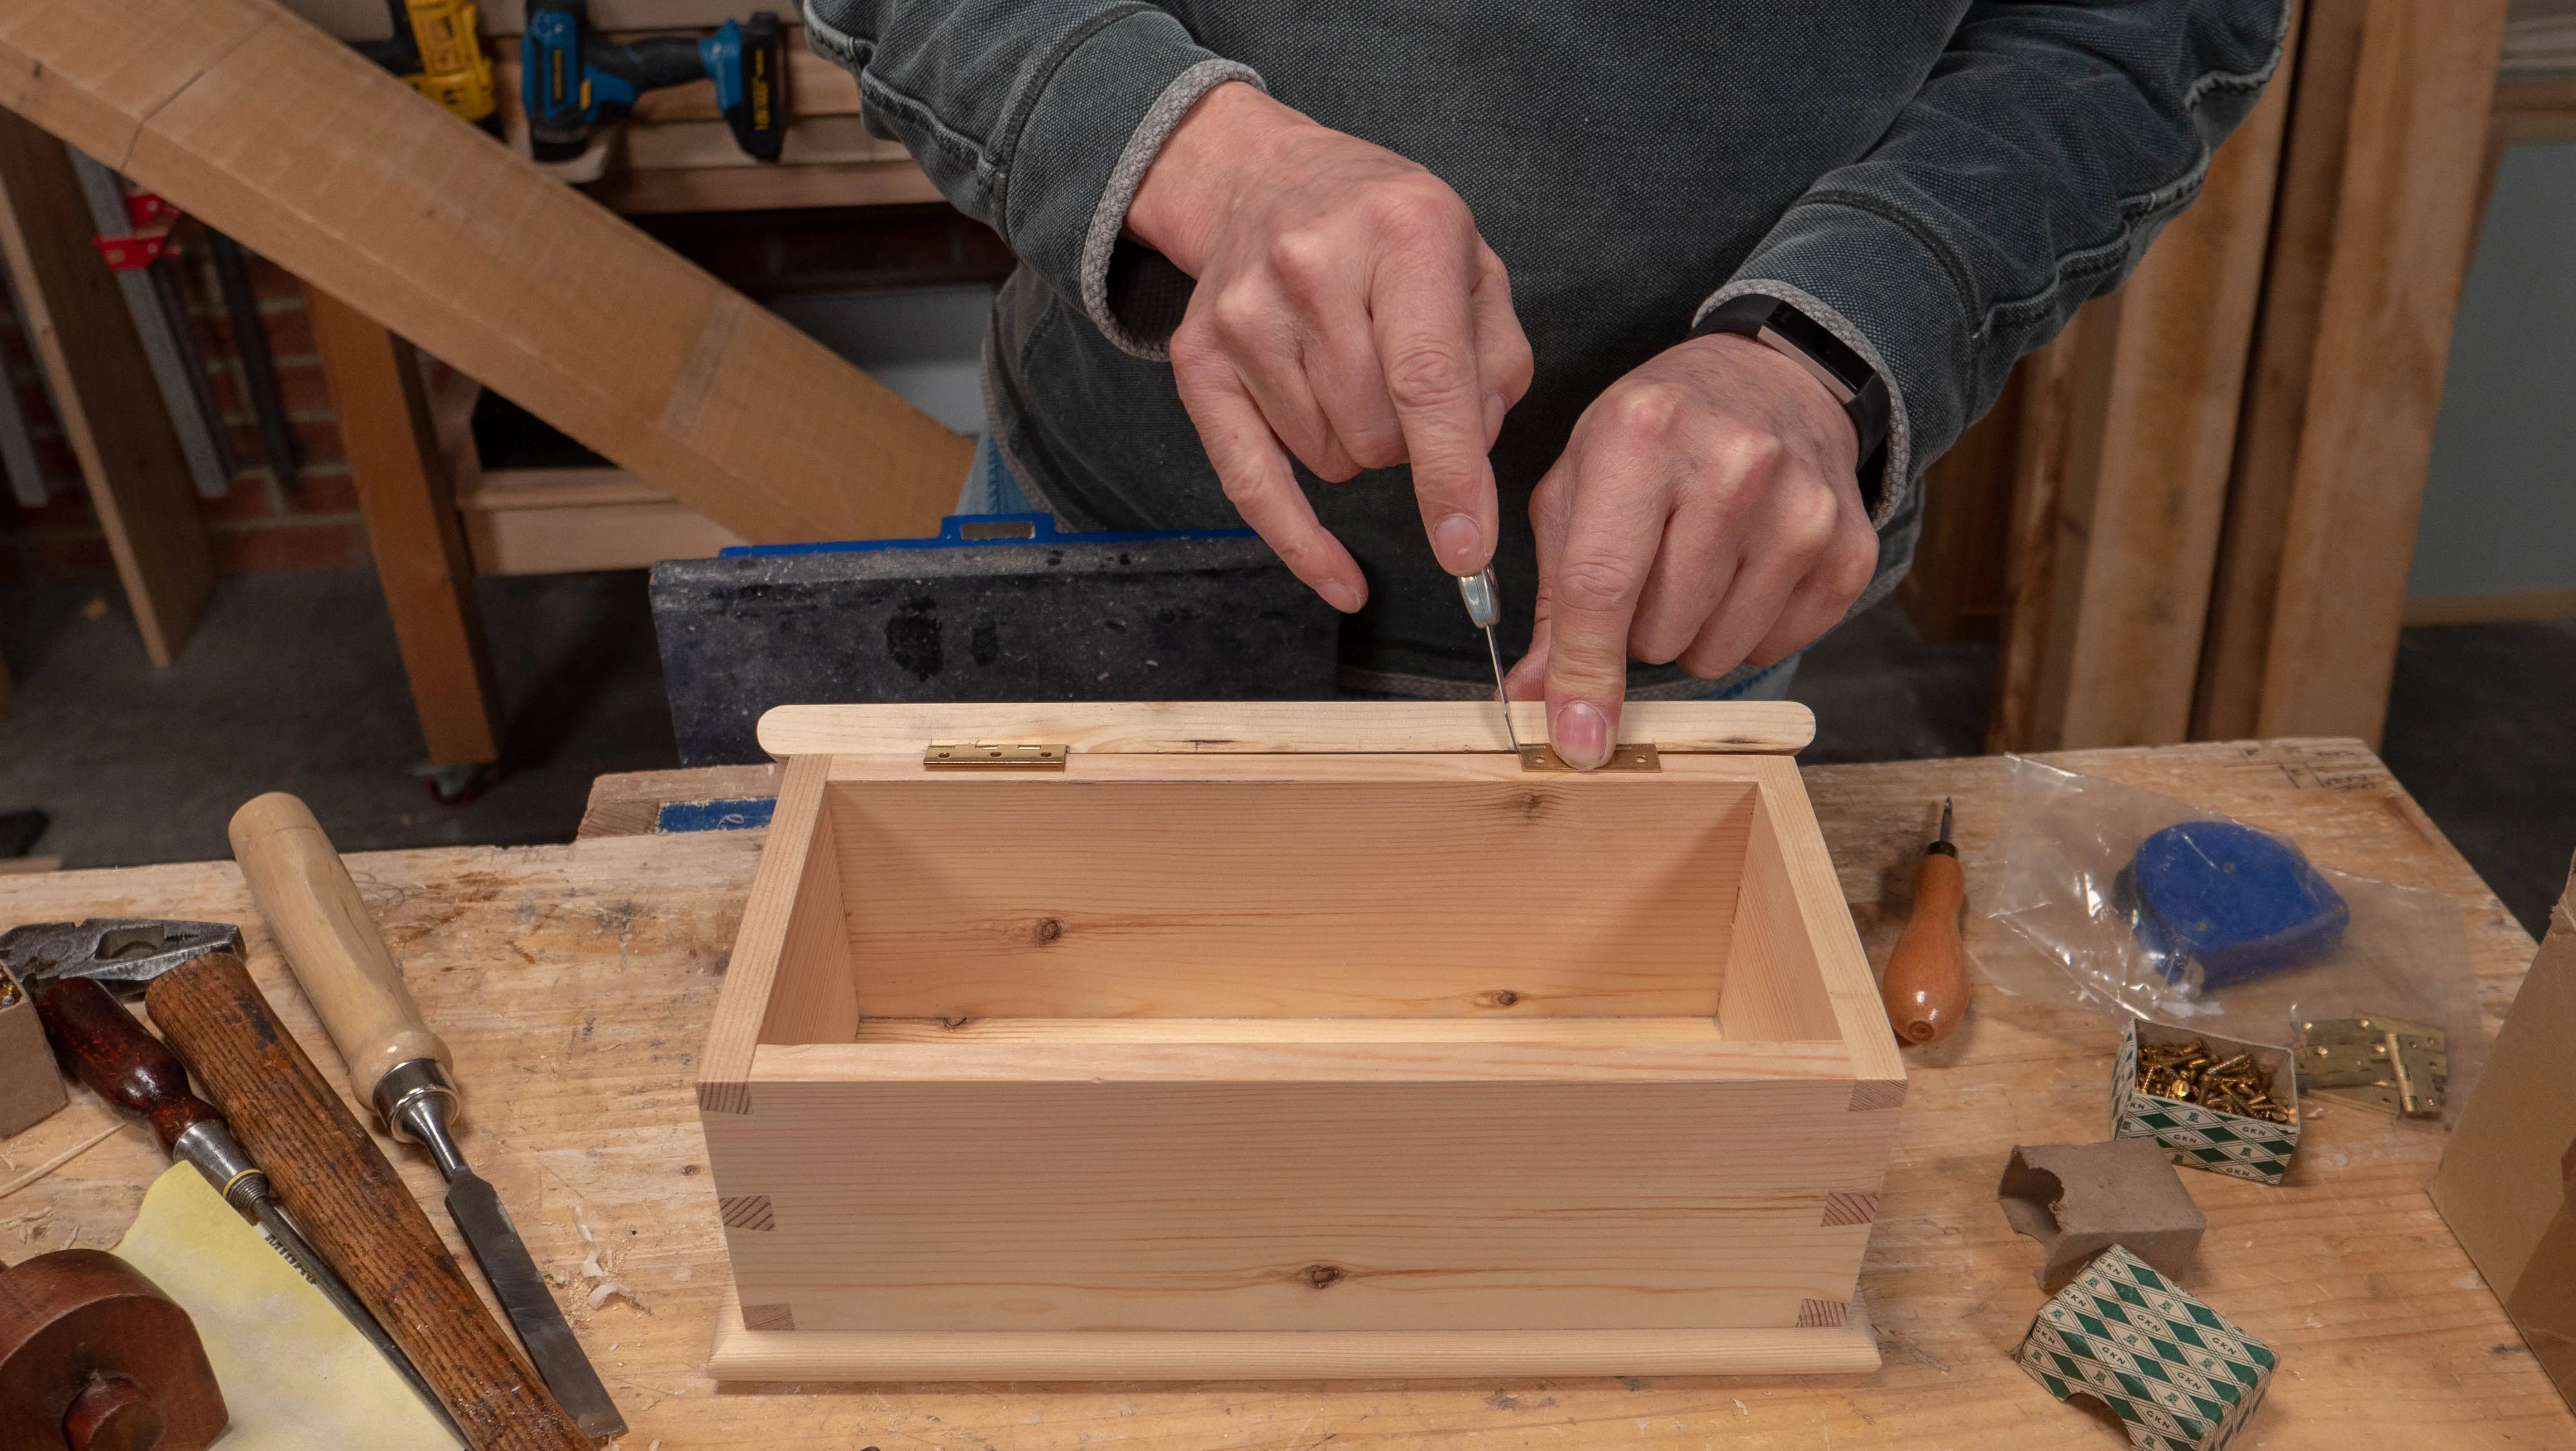
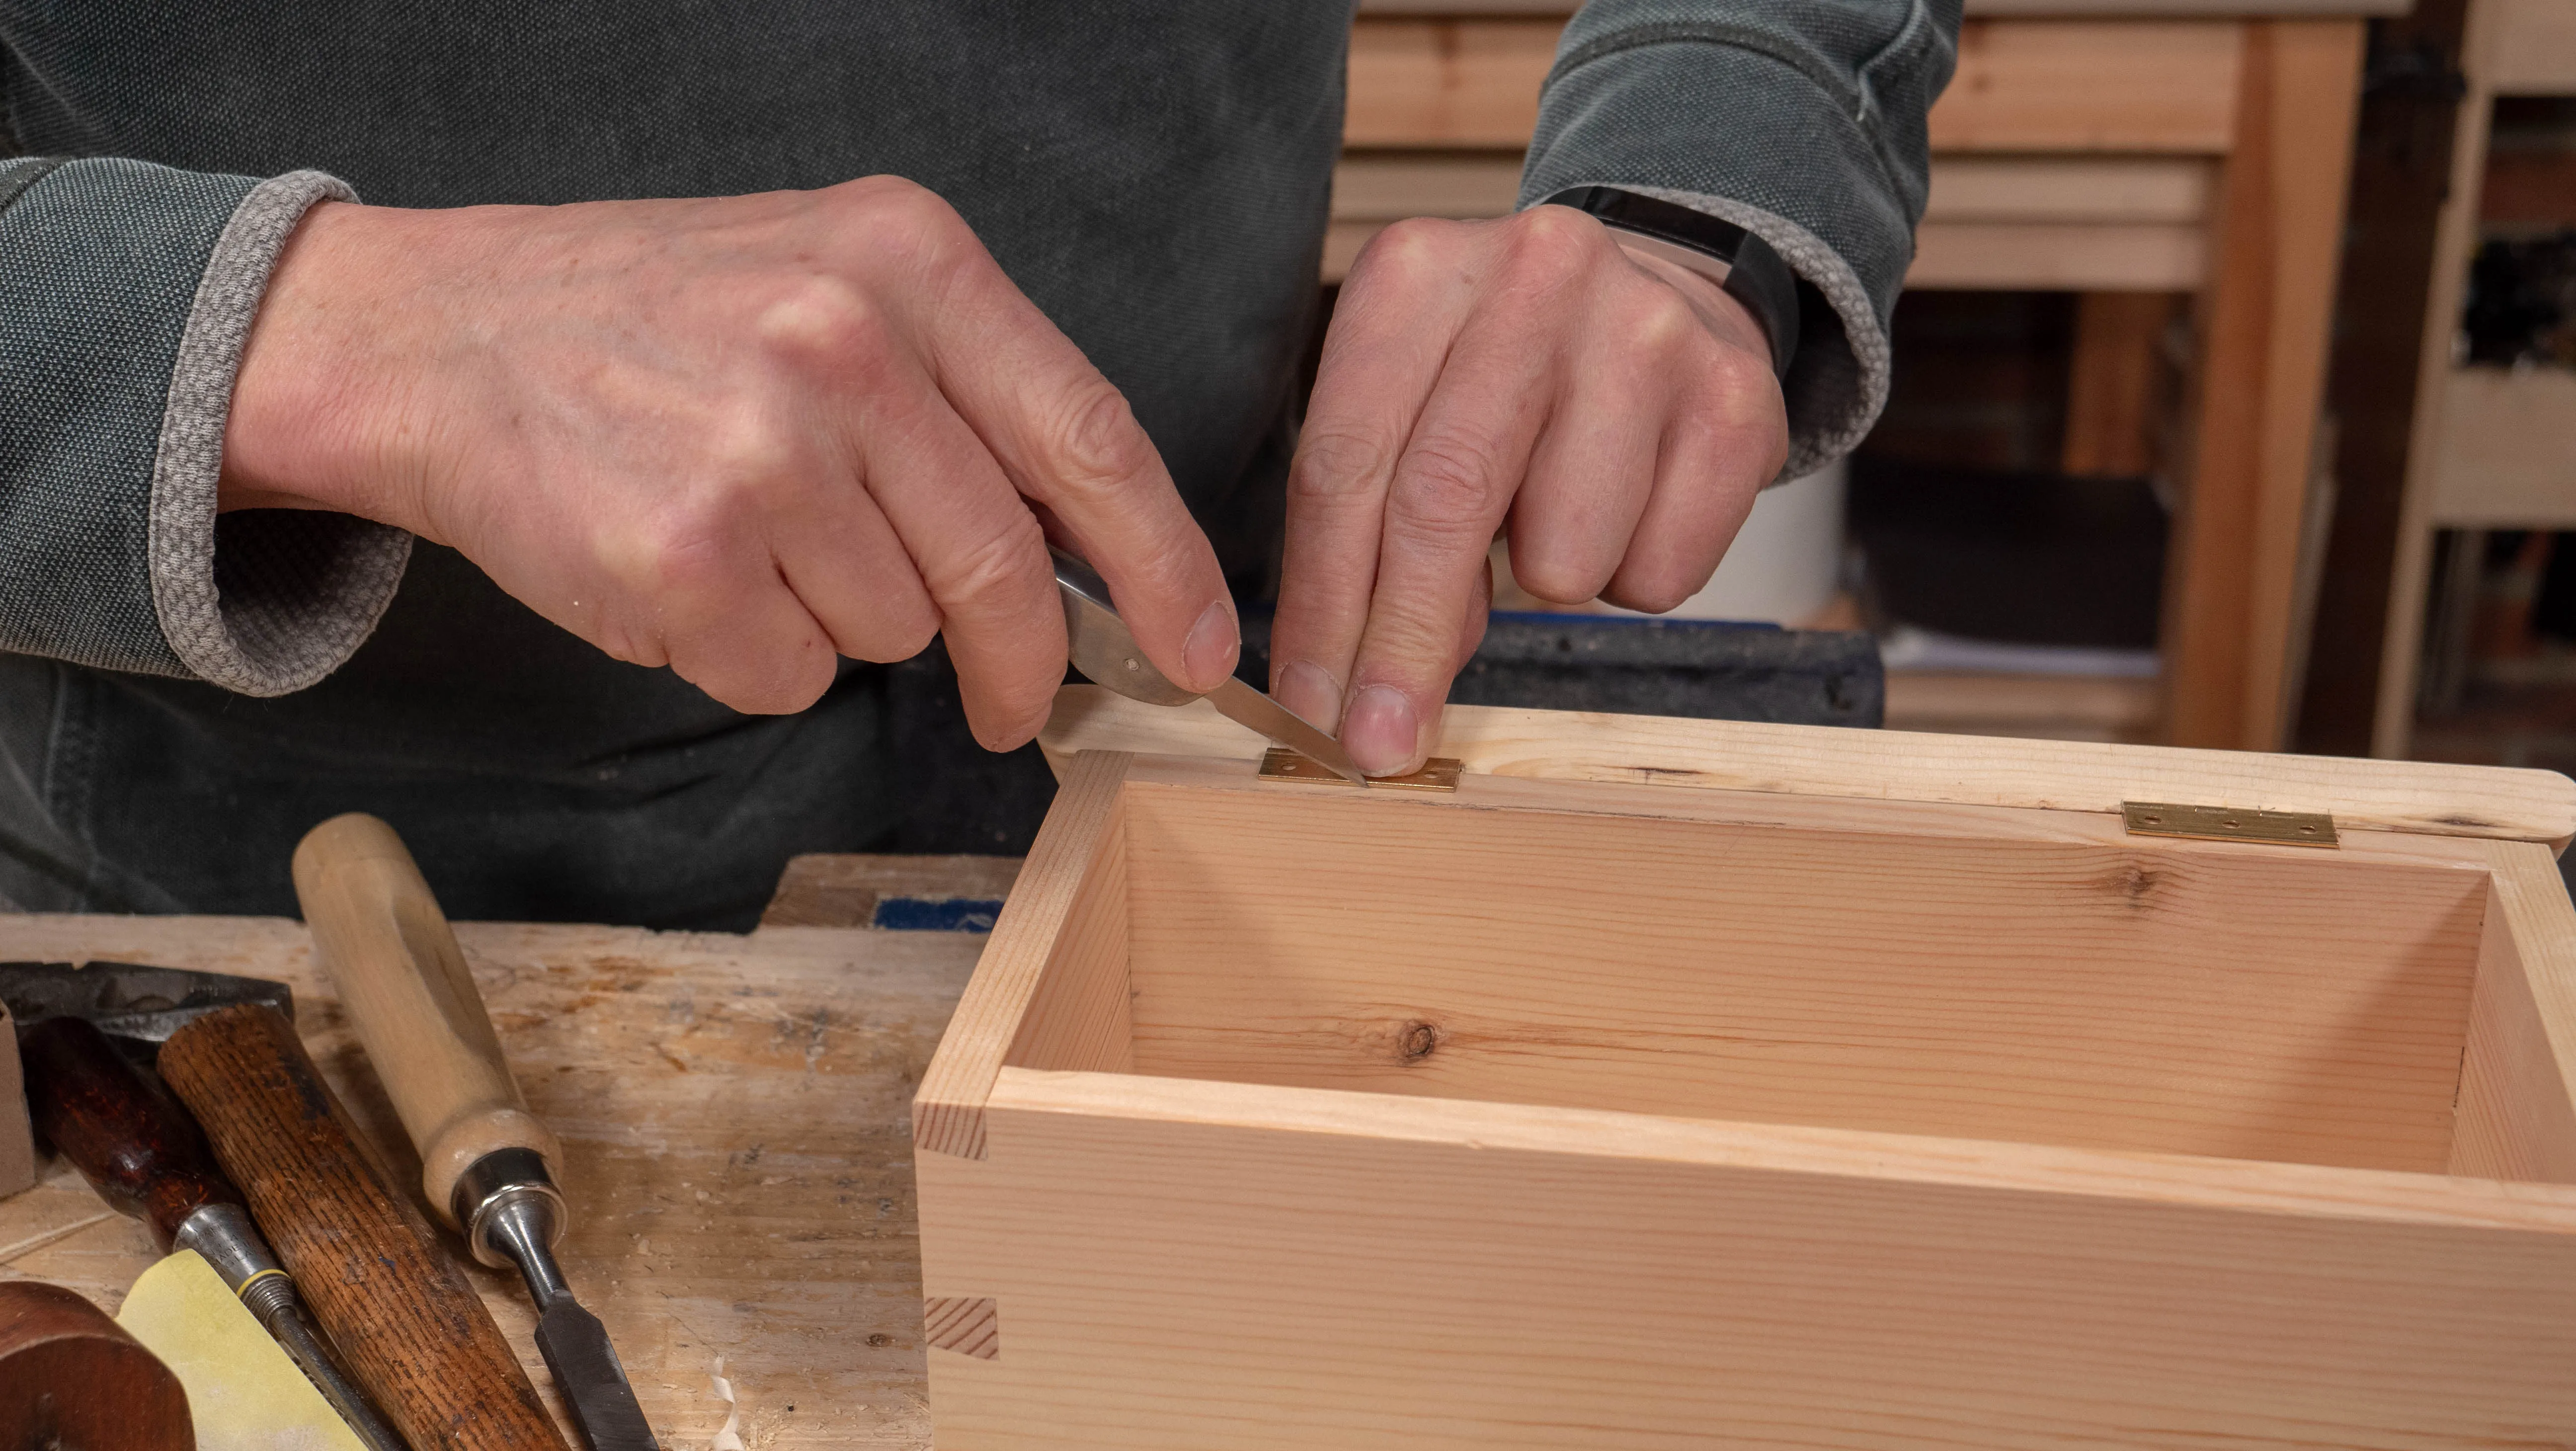
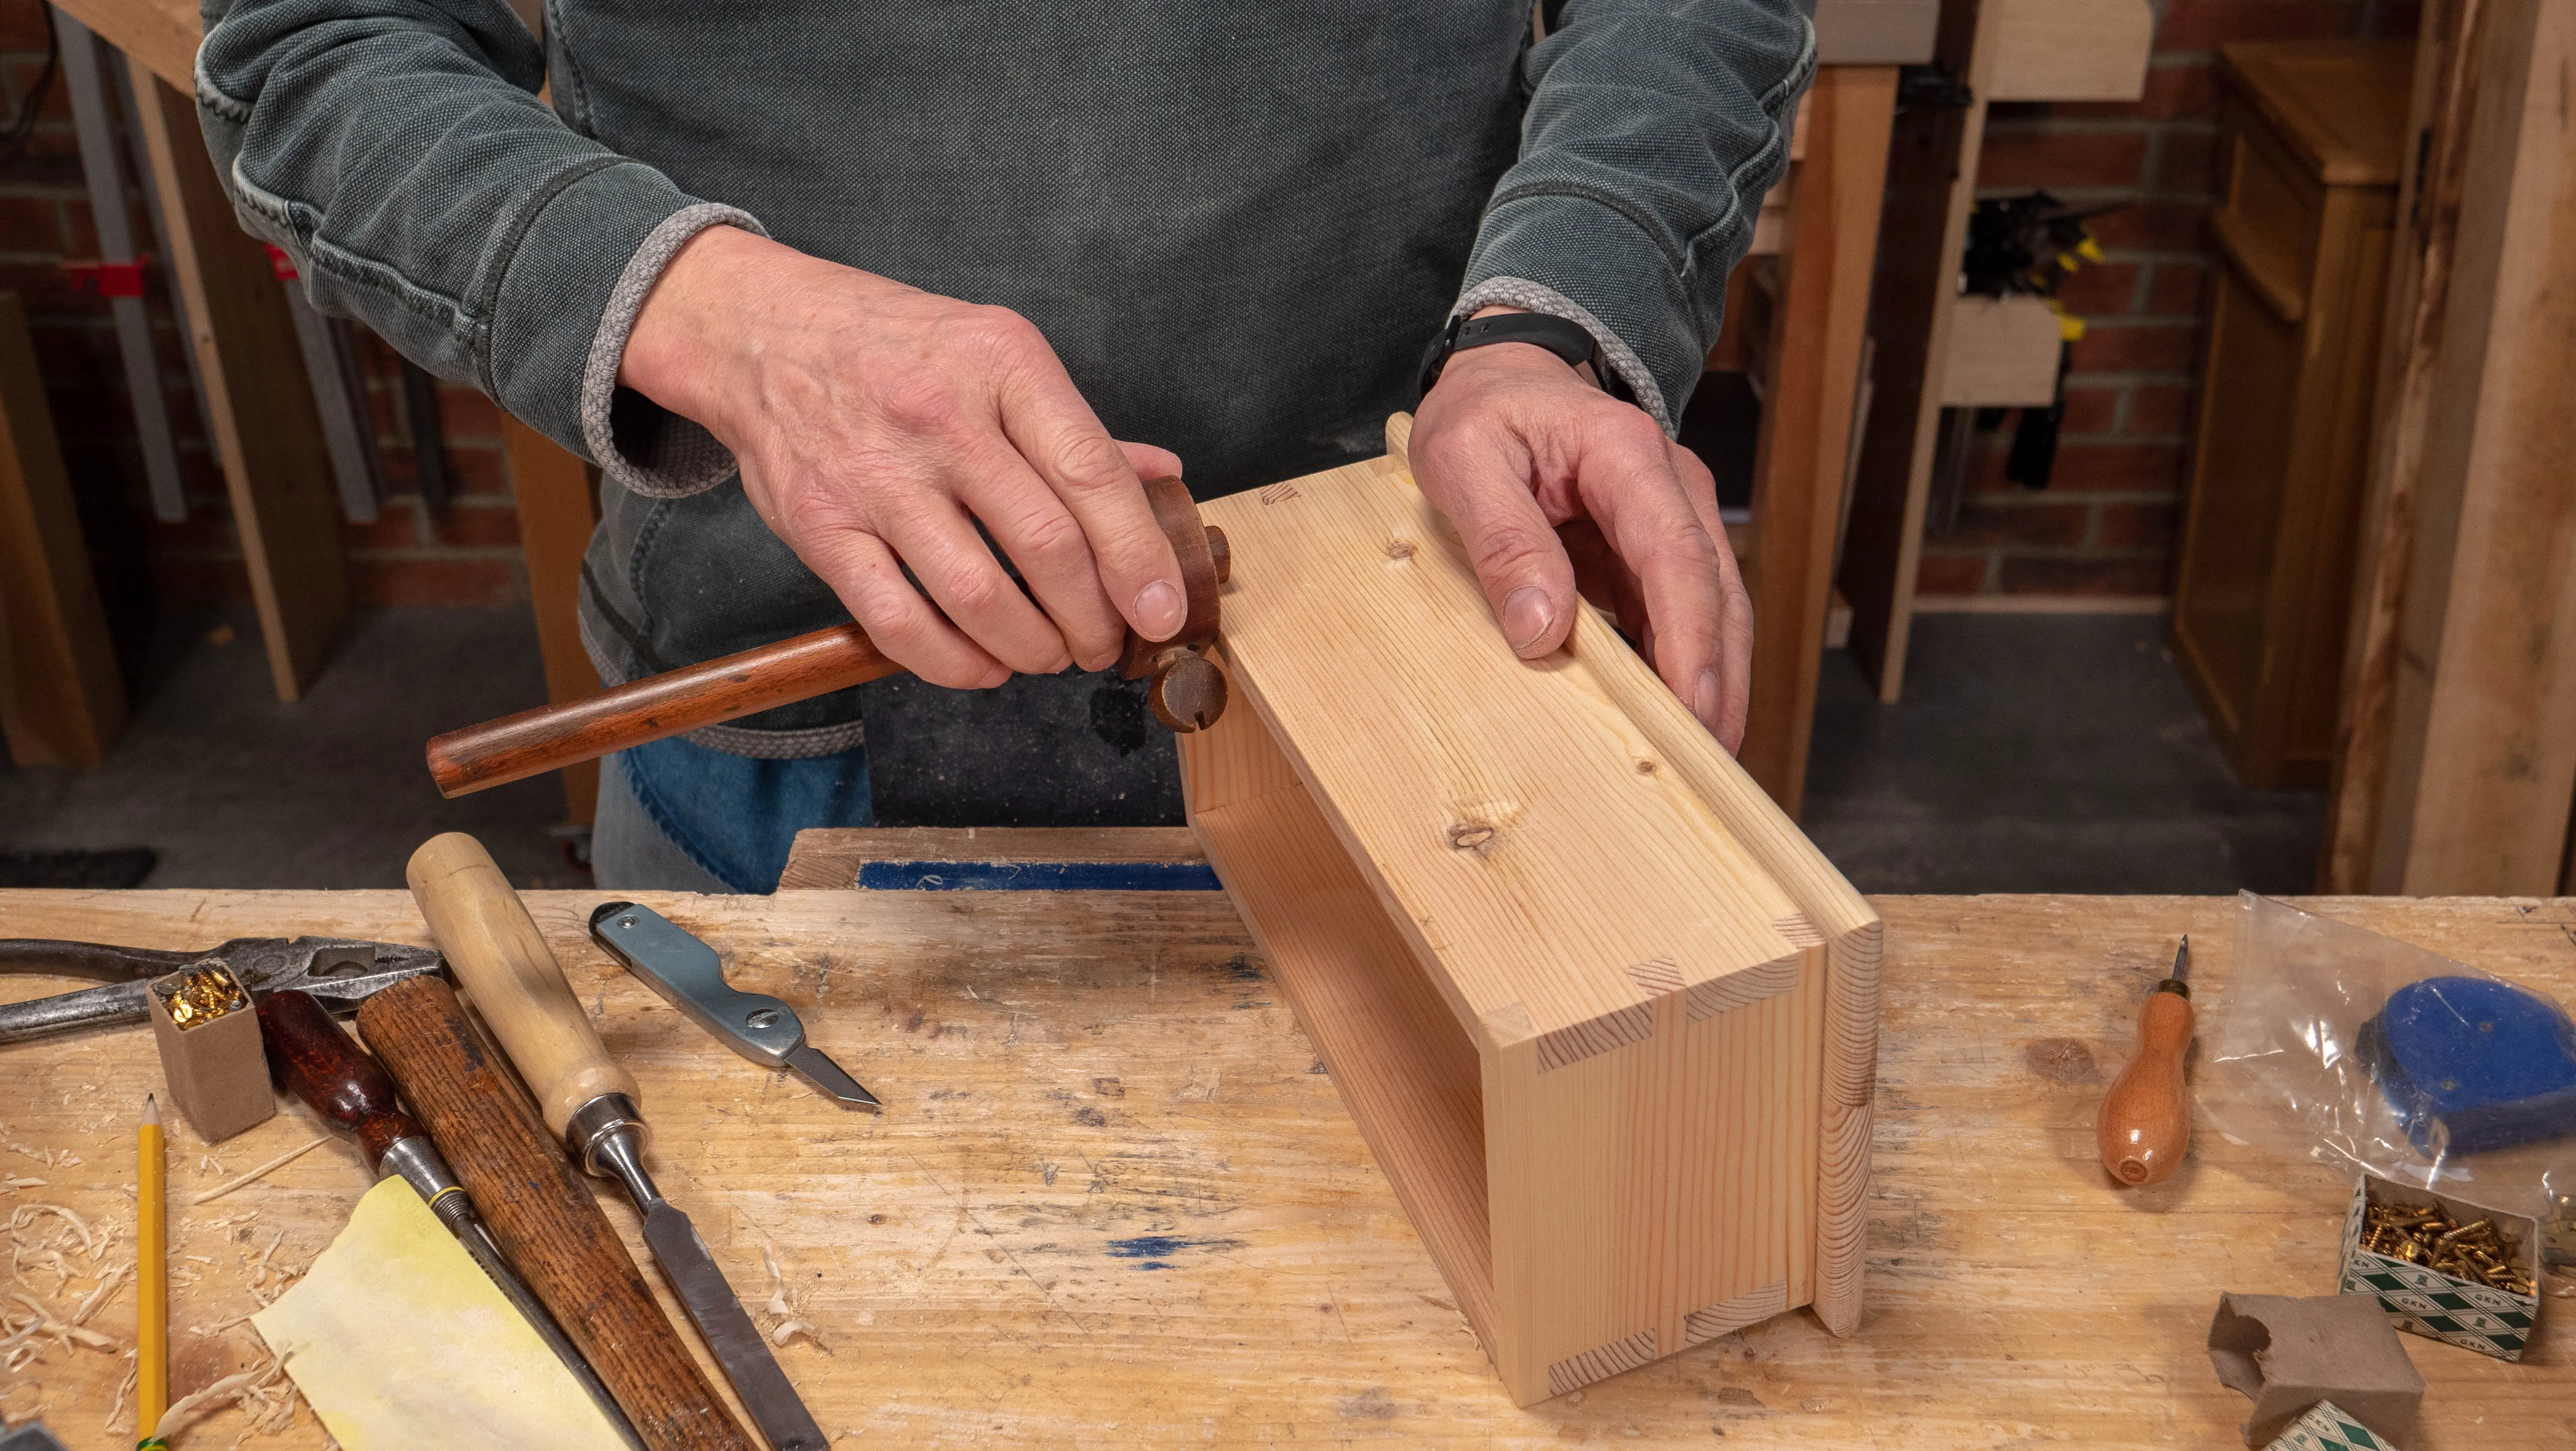
Place the hinge up-side down on the back of your lid so that the knuckle butts up tight against the edge. Slide the hinge so that the outside is aligned with your pencil line. Then press down tightly to avoid slipping and make two light cuts on either end of the hinge. Go over them again with a second pass, but avoid going too deep as you will put bruising on the good wood. Also trace along the front edge with the very tip of a sharp knife, making sure you don’t drift from the wall of the hinge.
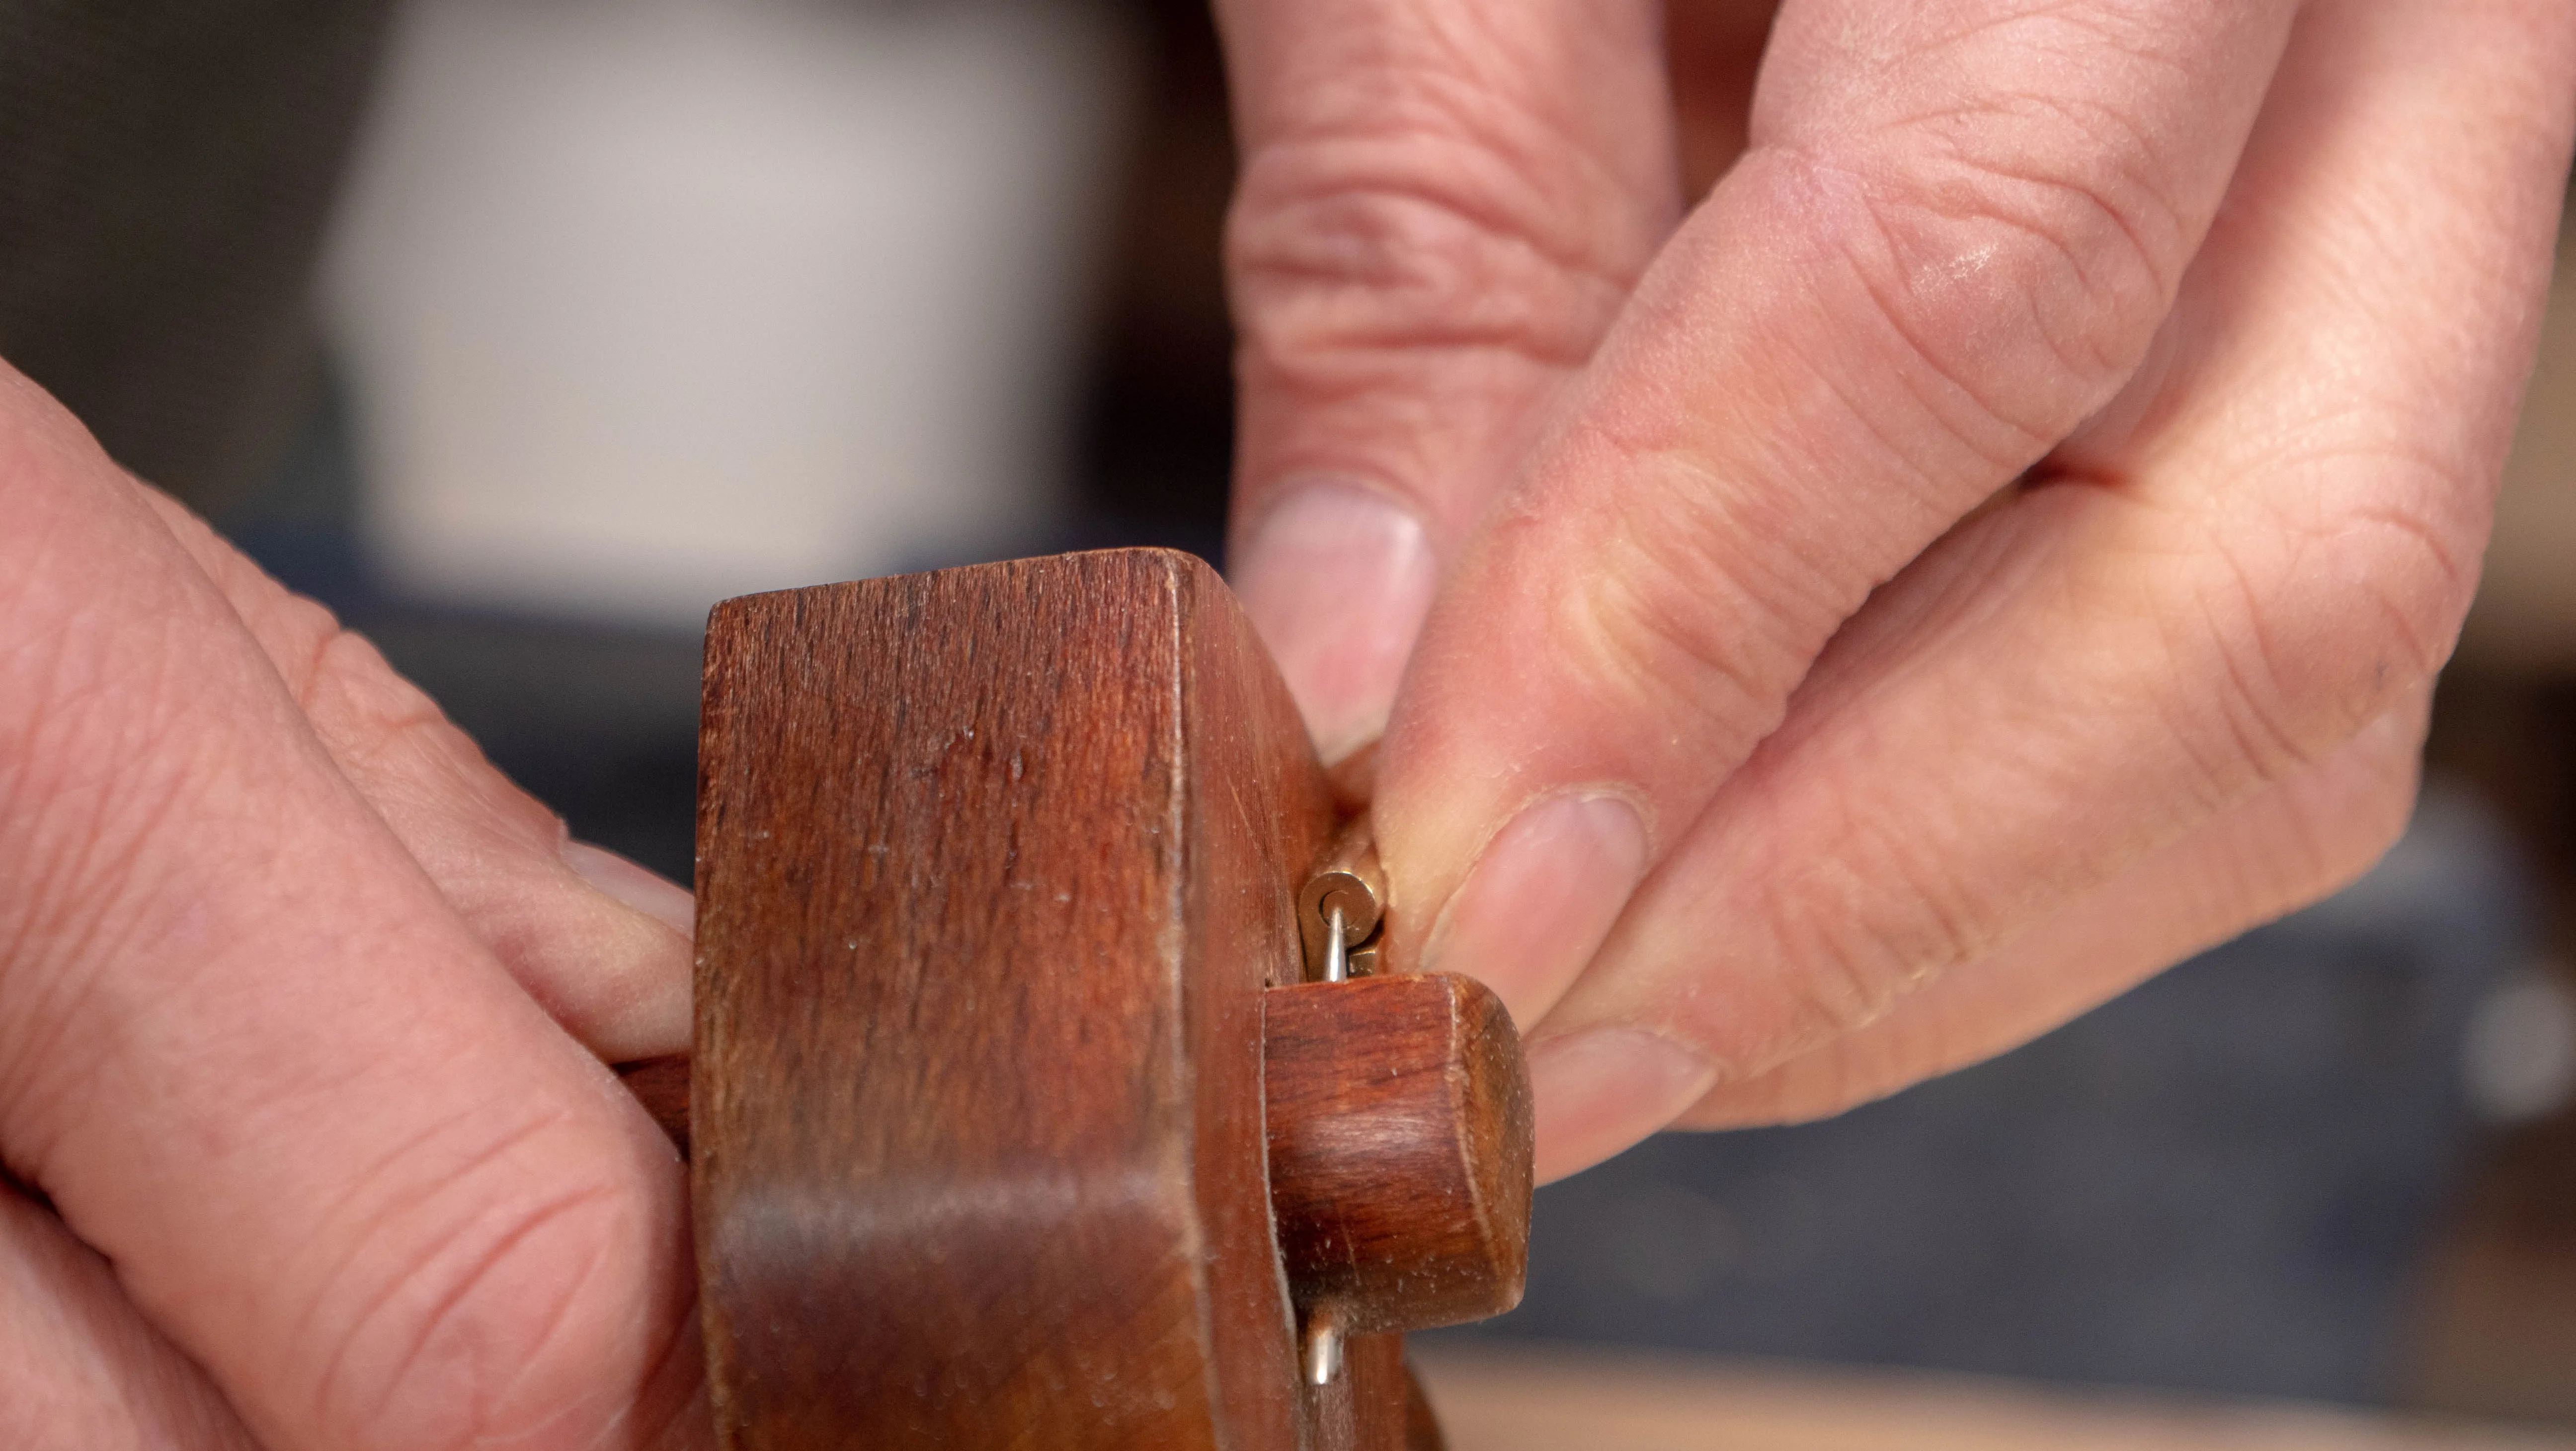
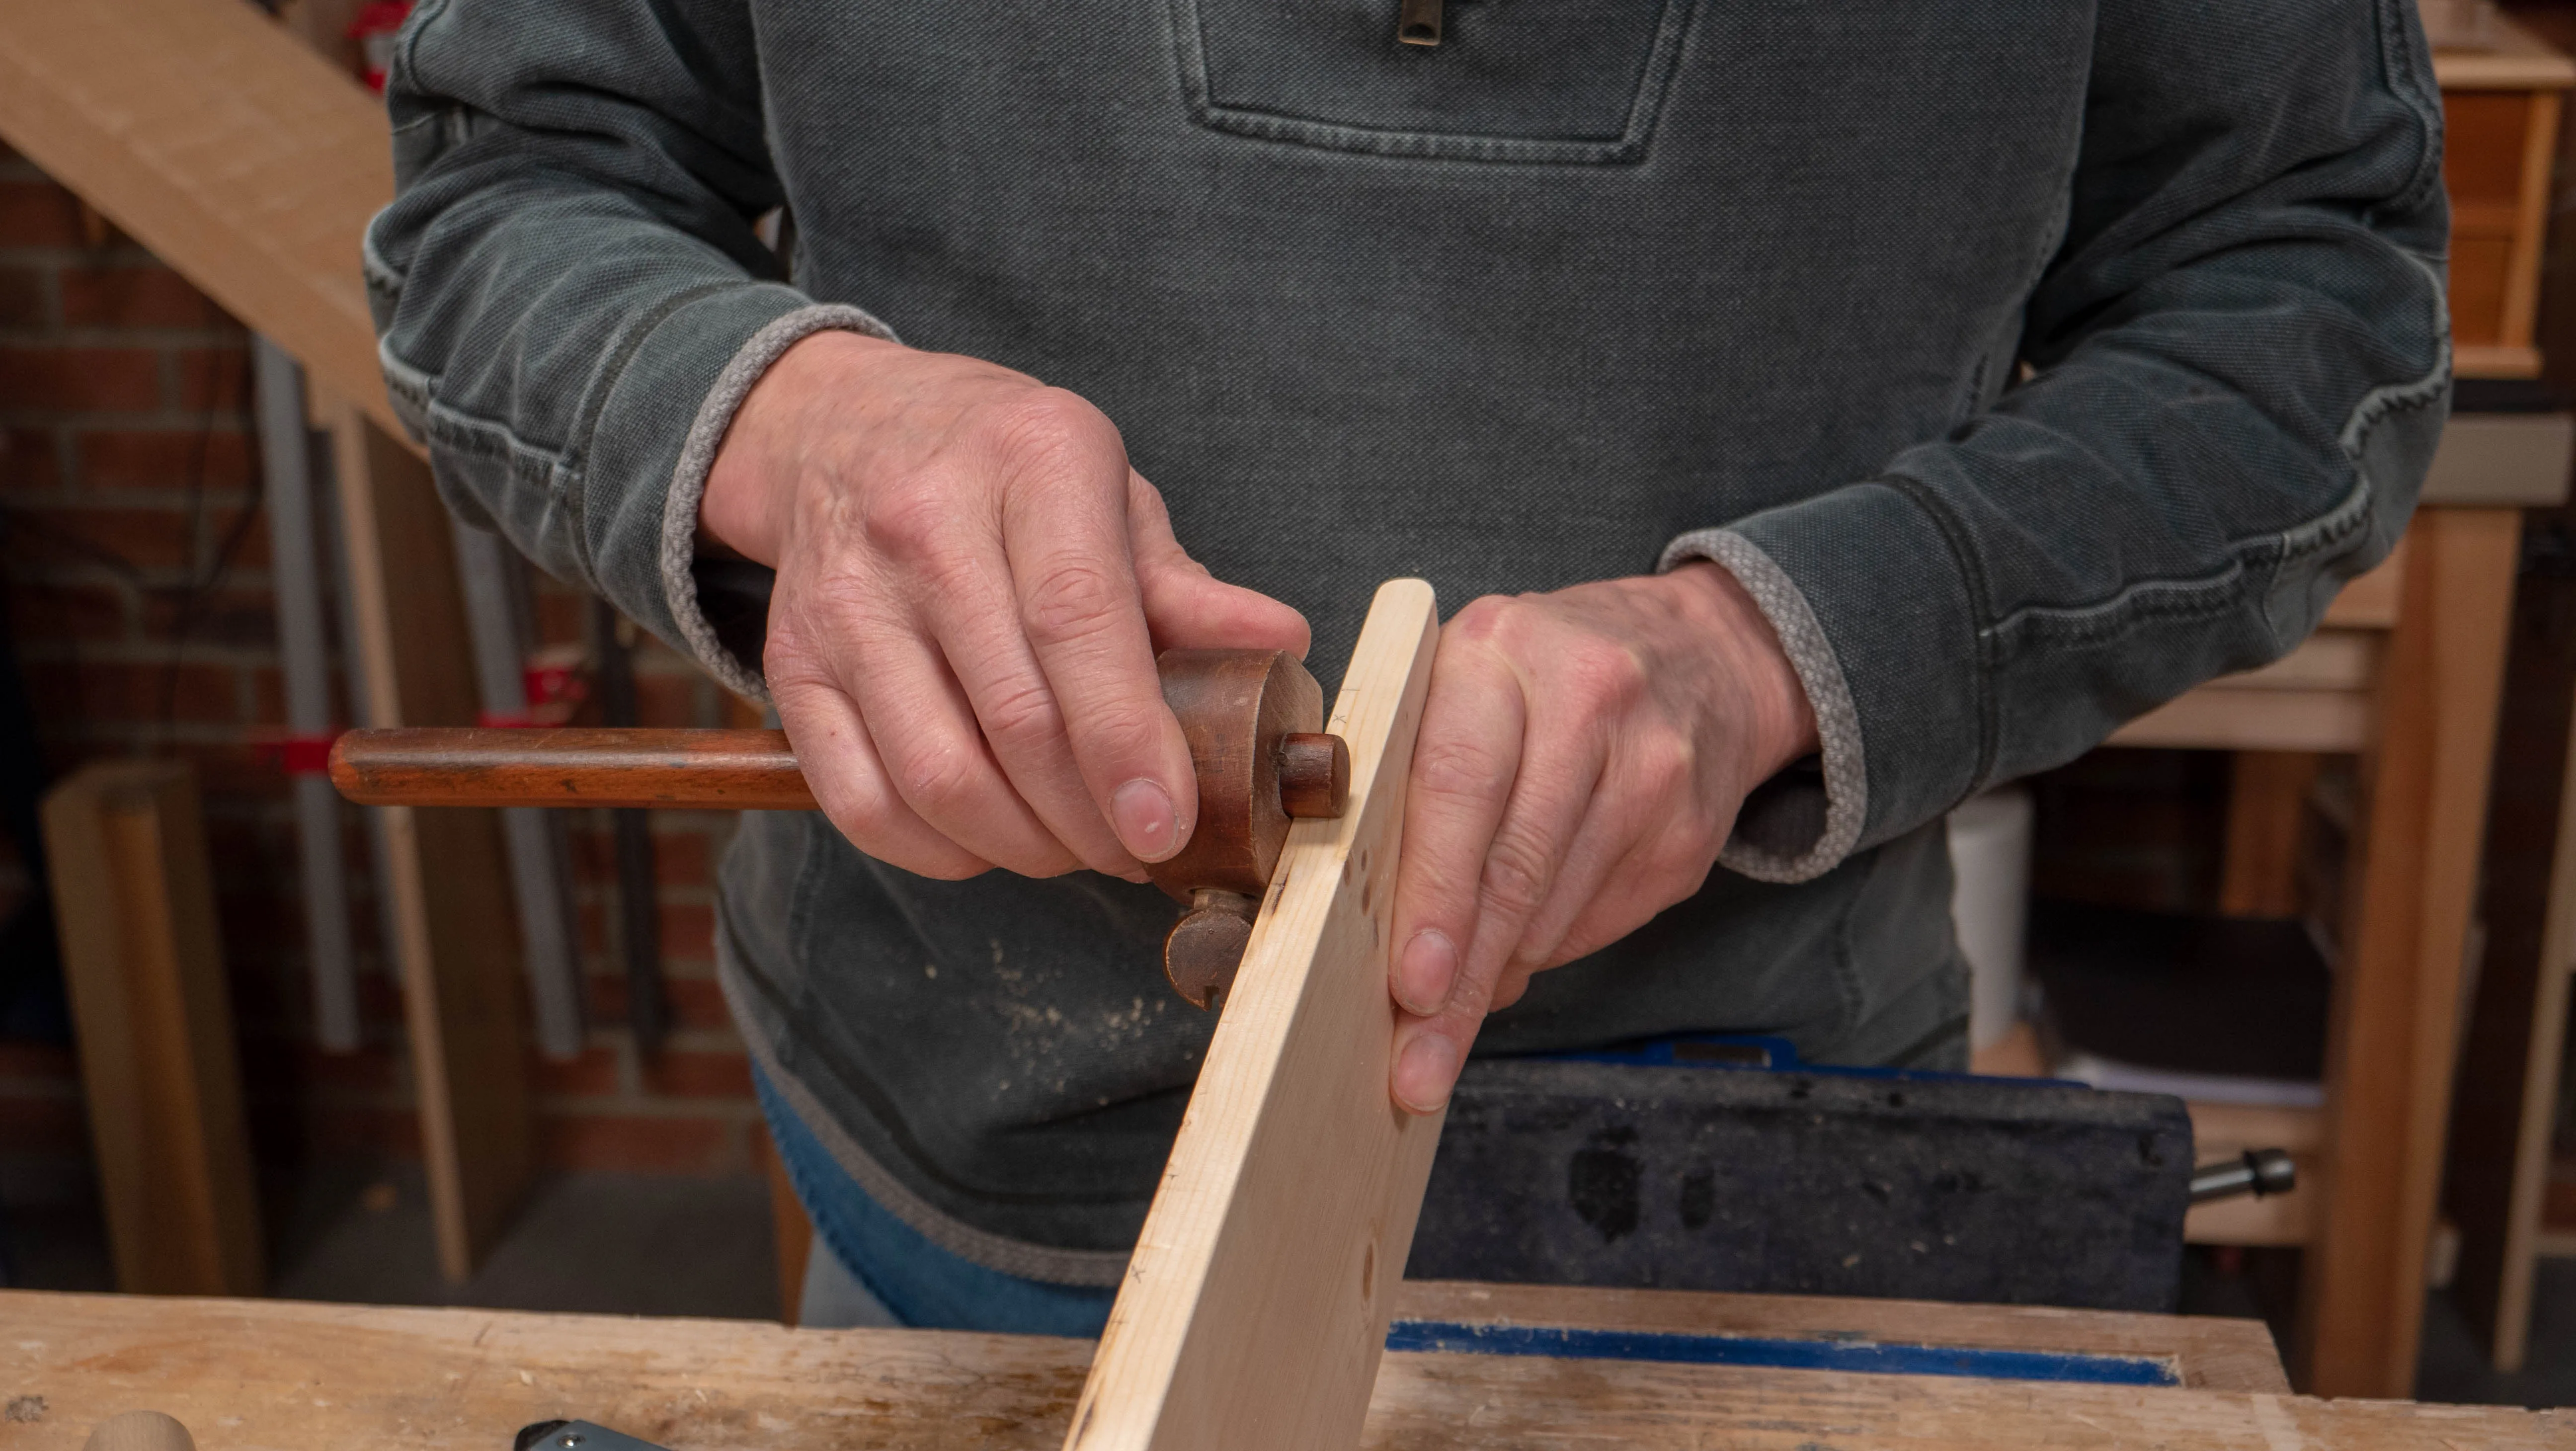
Next, use a gauge to mark the depth of the hinge on the edge of your lid. Set the gauge to just less than half the thickness of the whole hinge pin and, once you have secured it tight, run the pin along the edge, referencing with your knifewalls on the face for the start and stop marks.
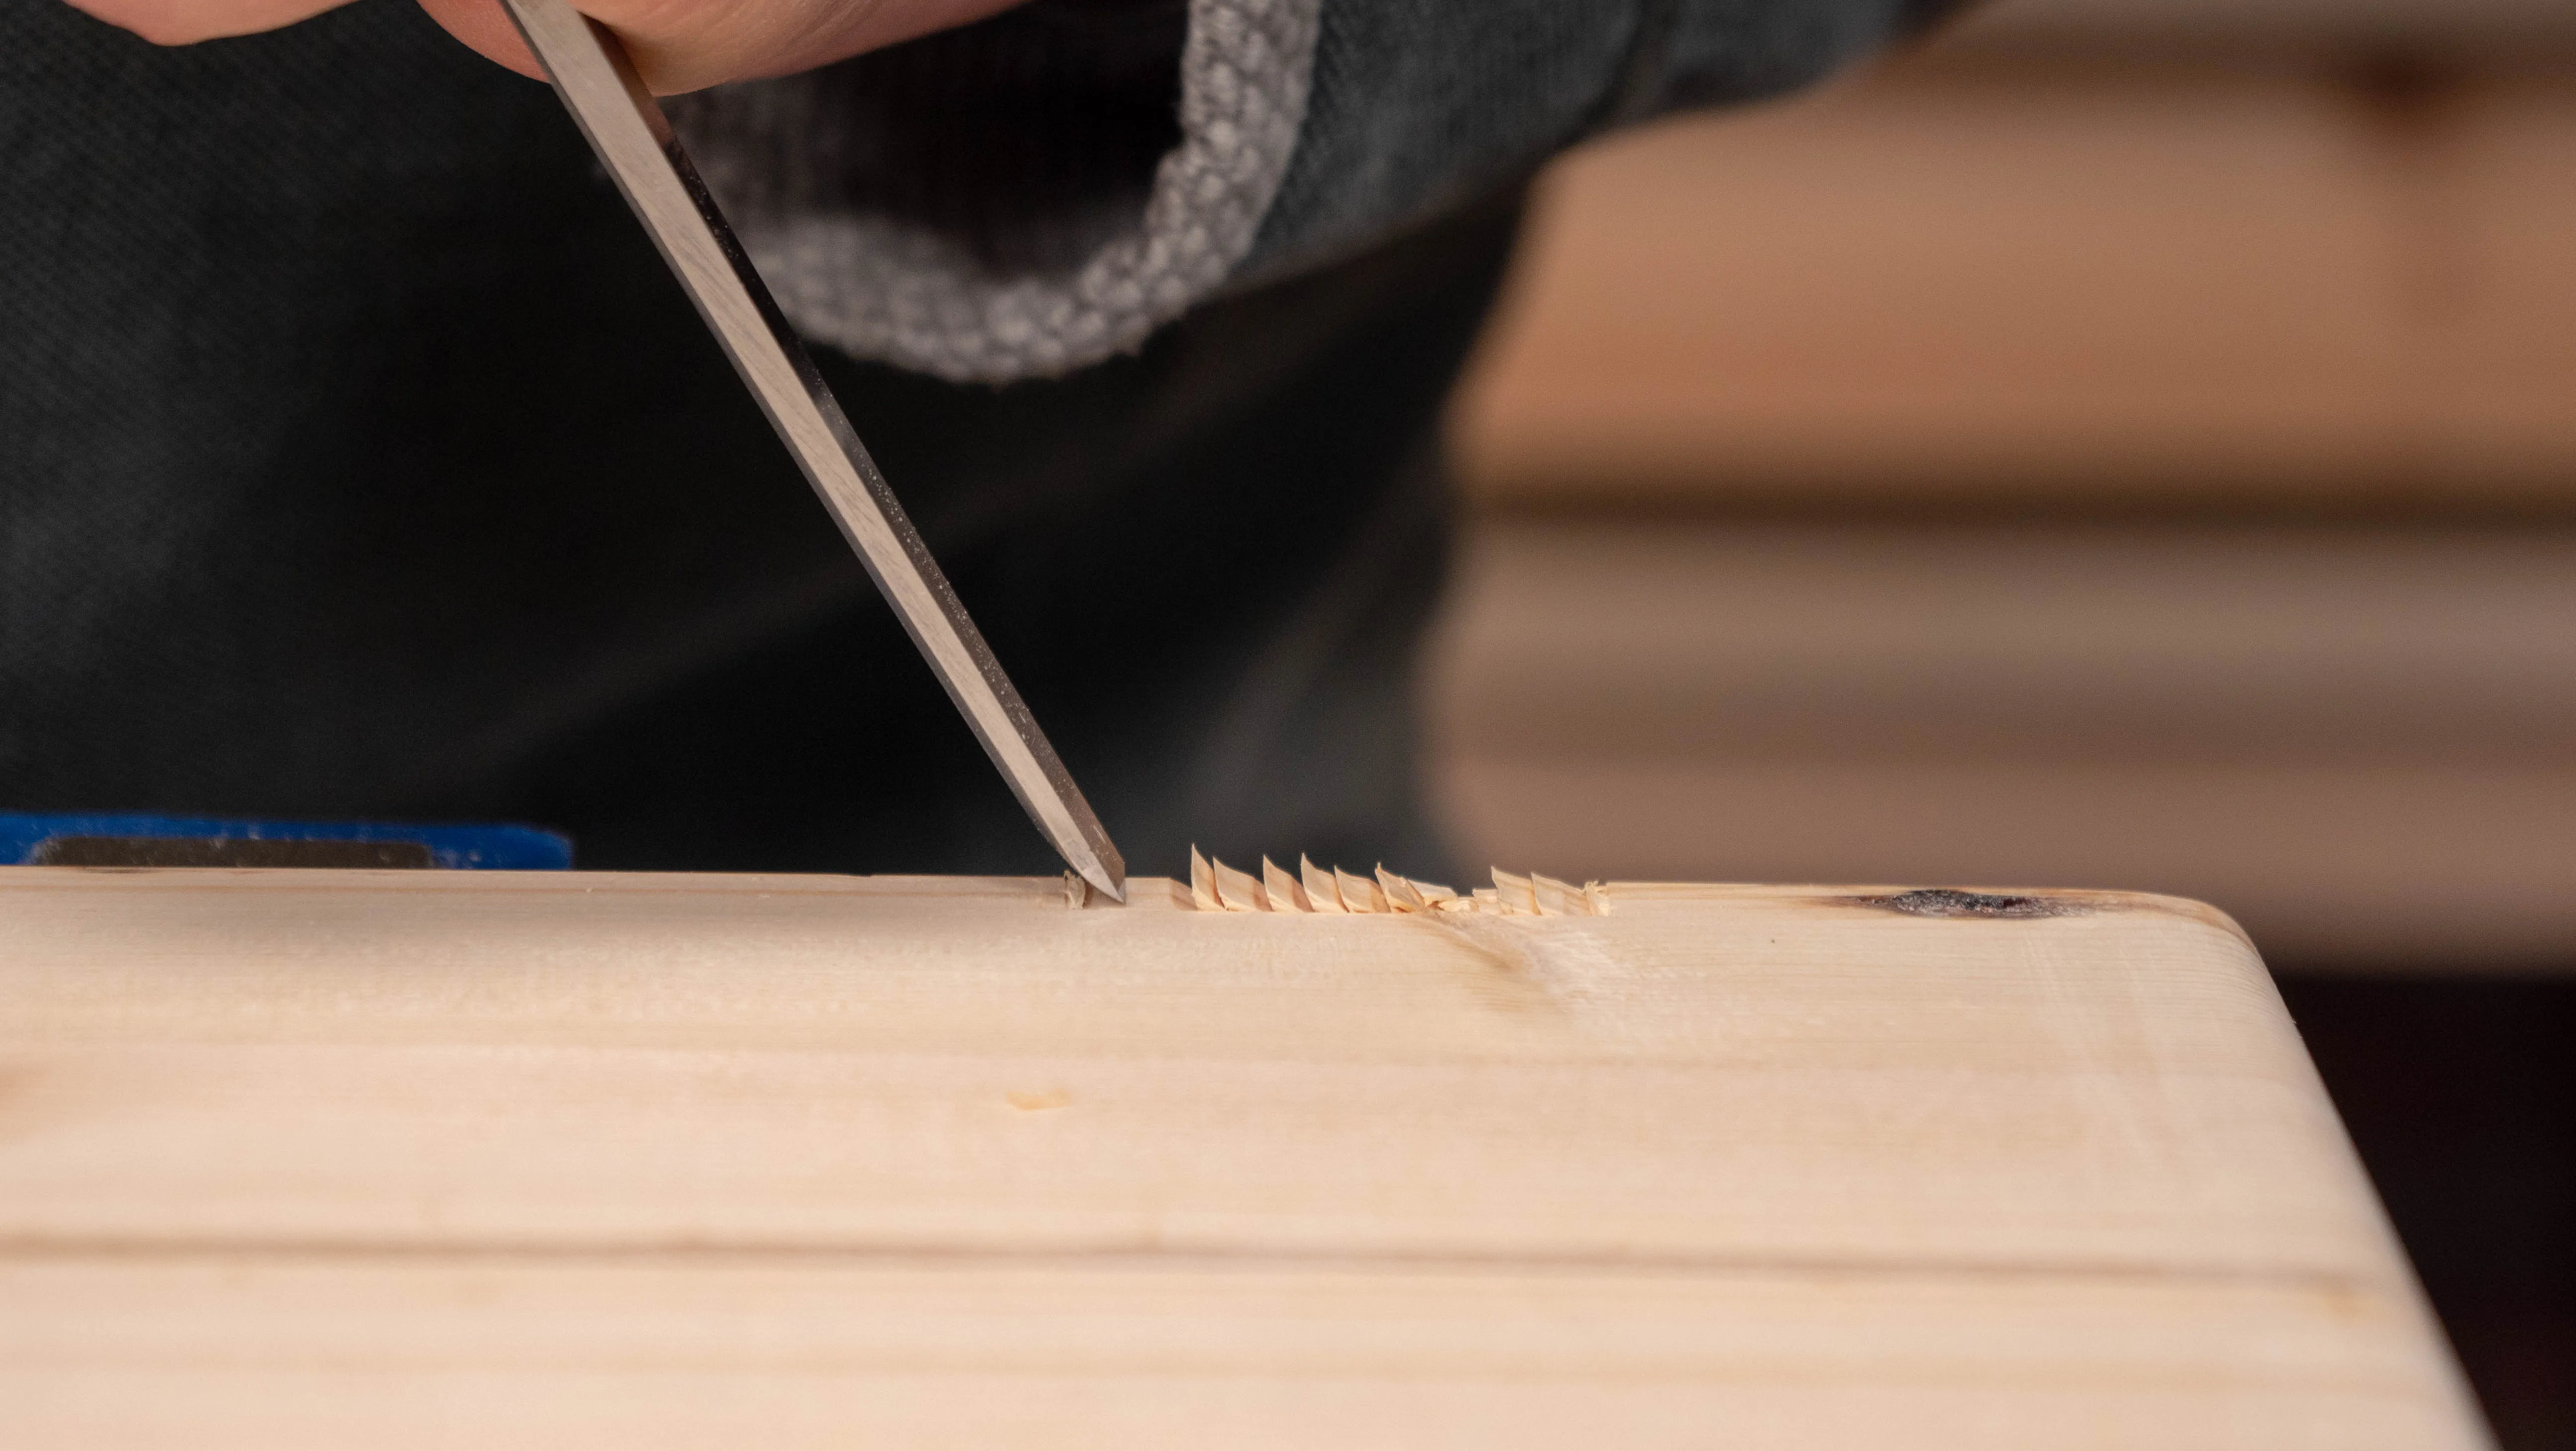
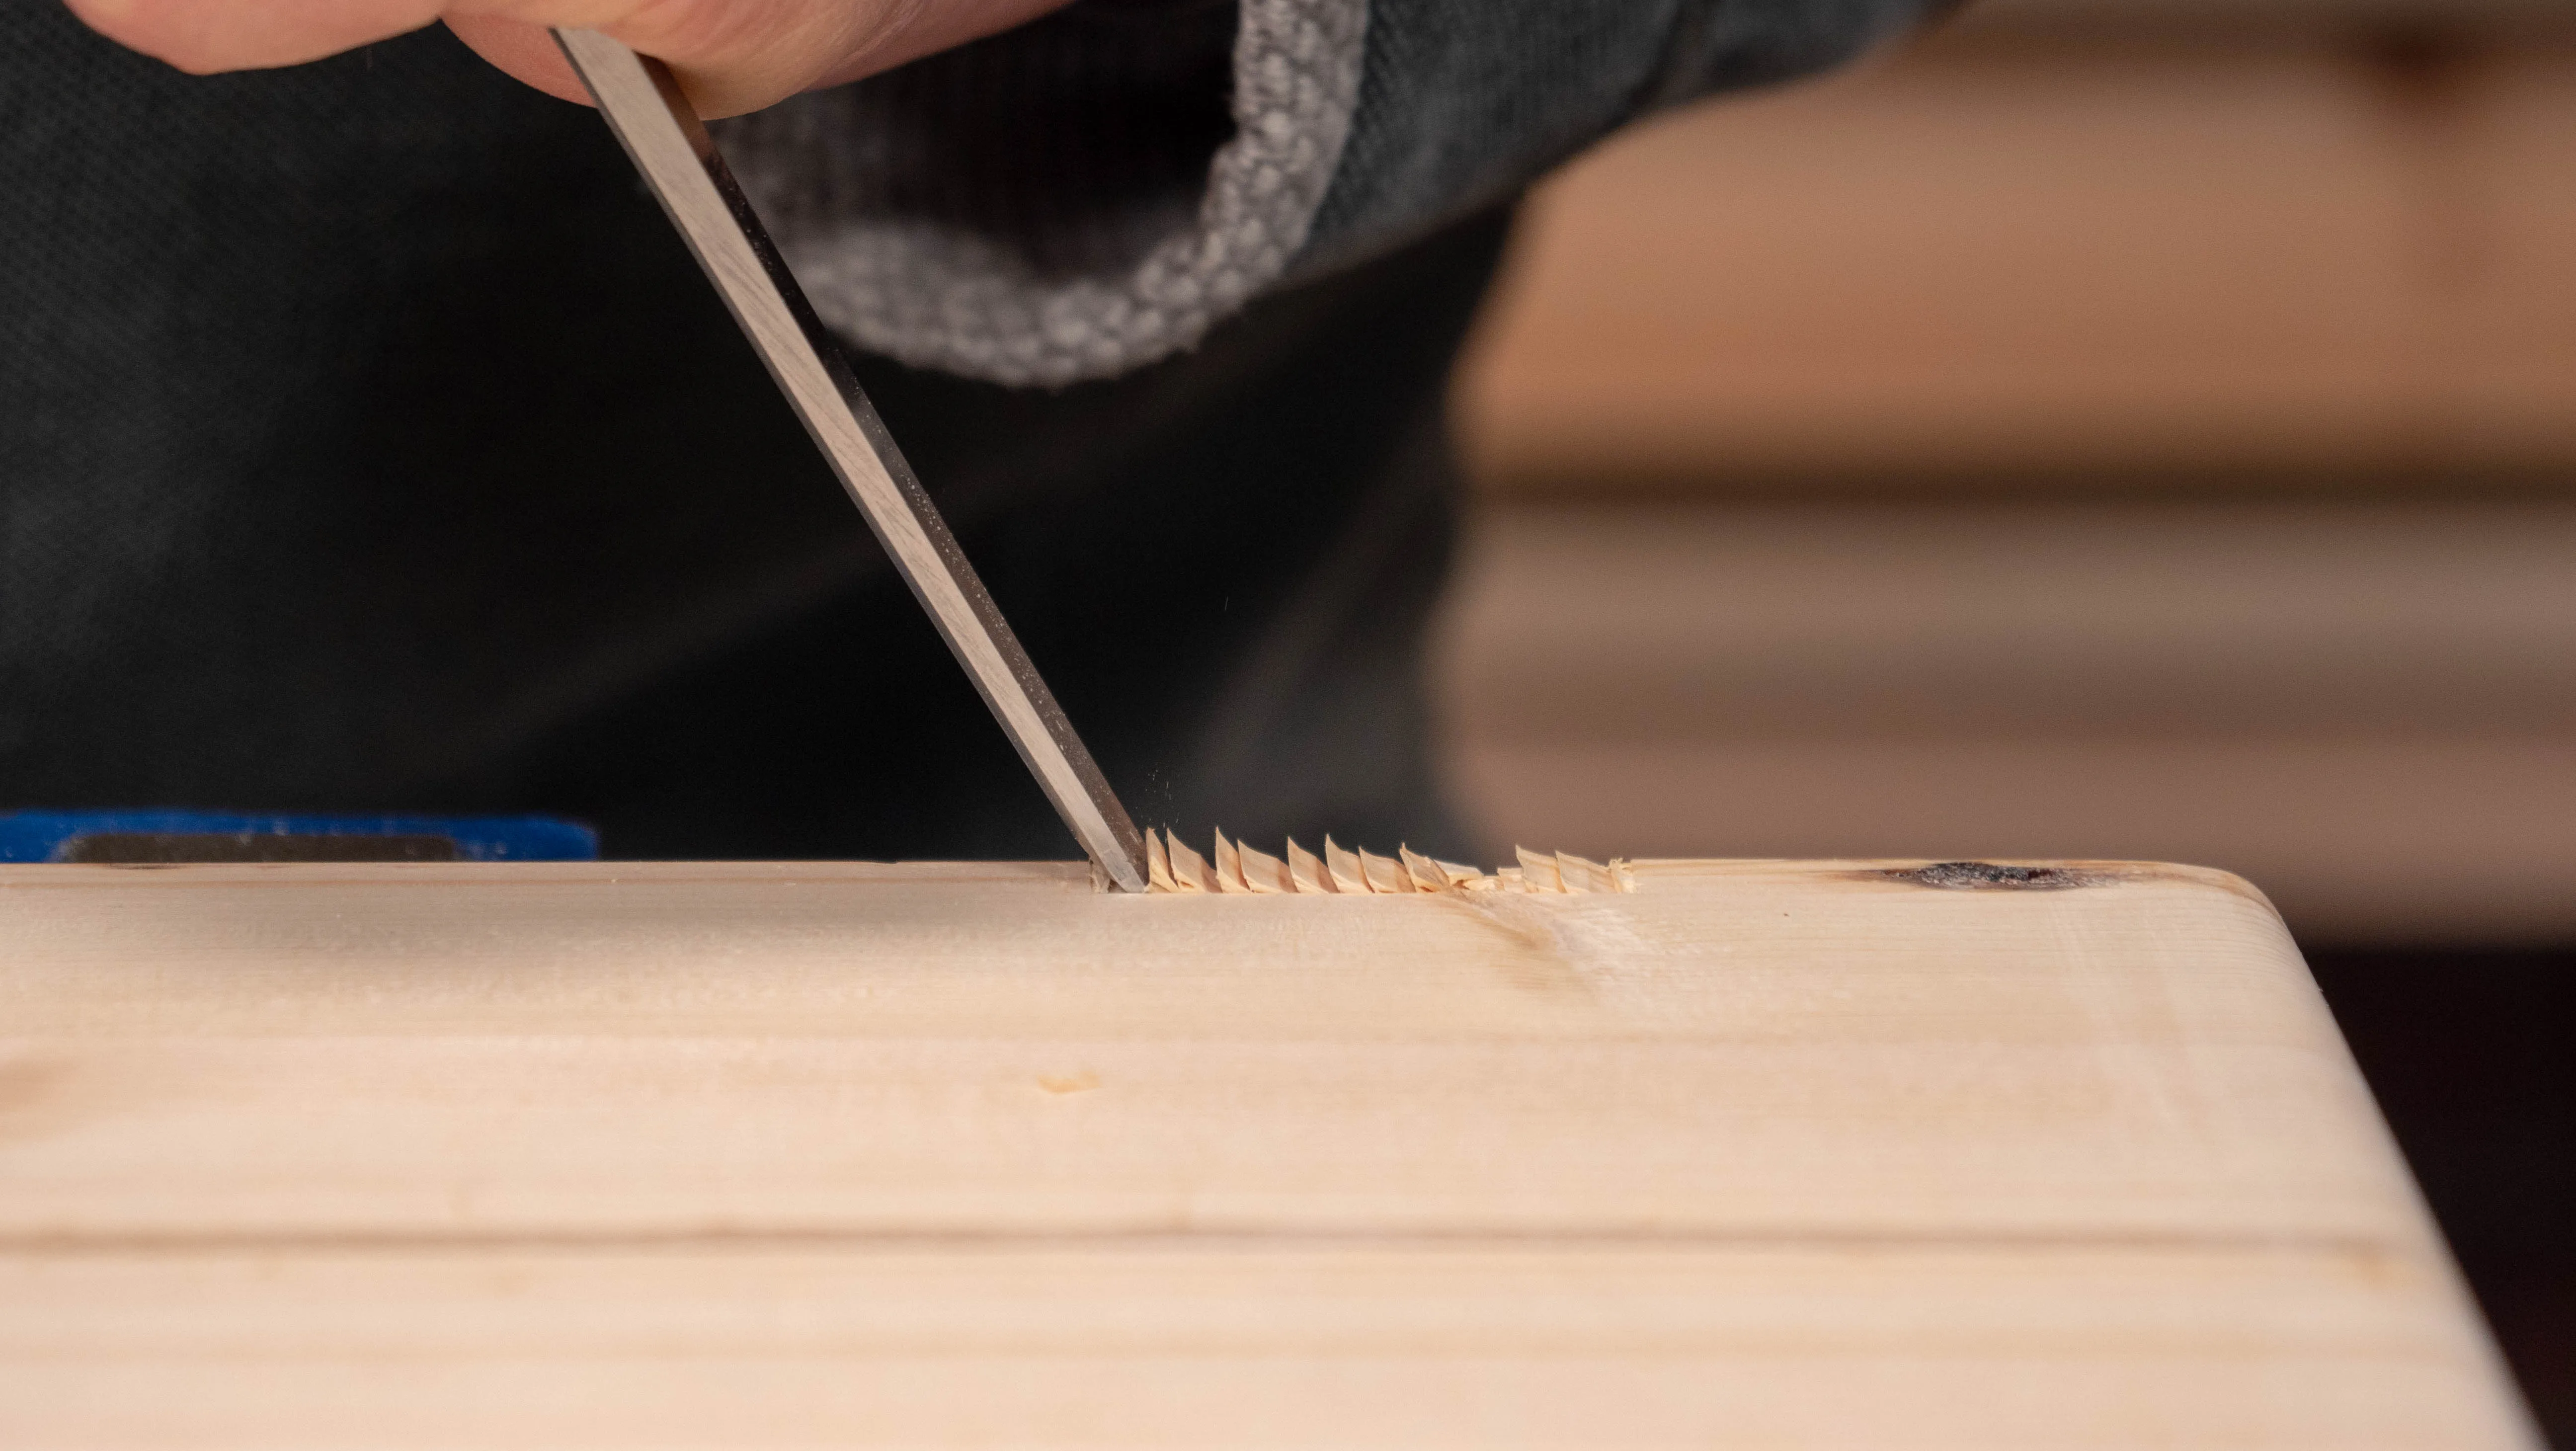
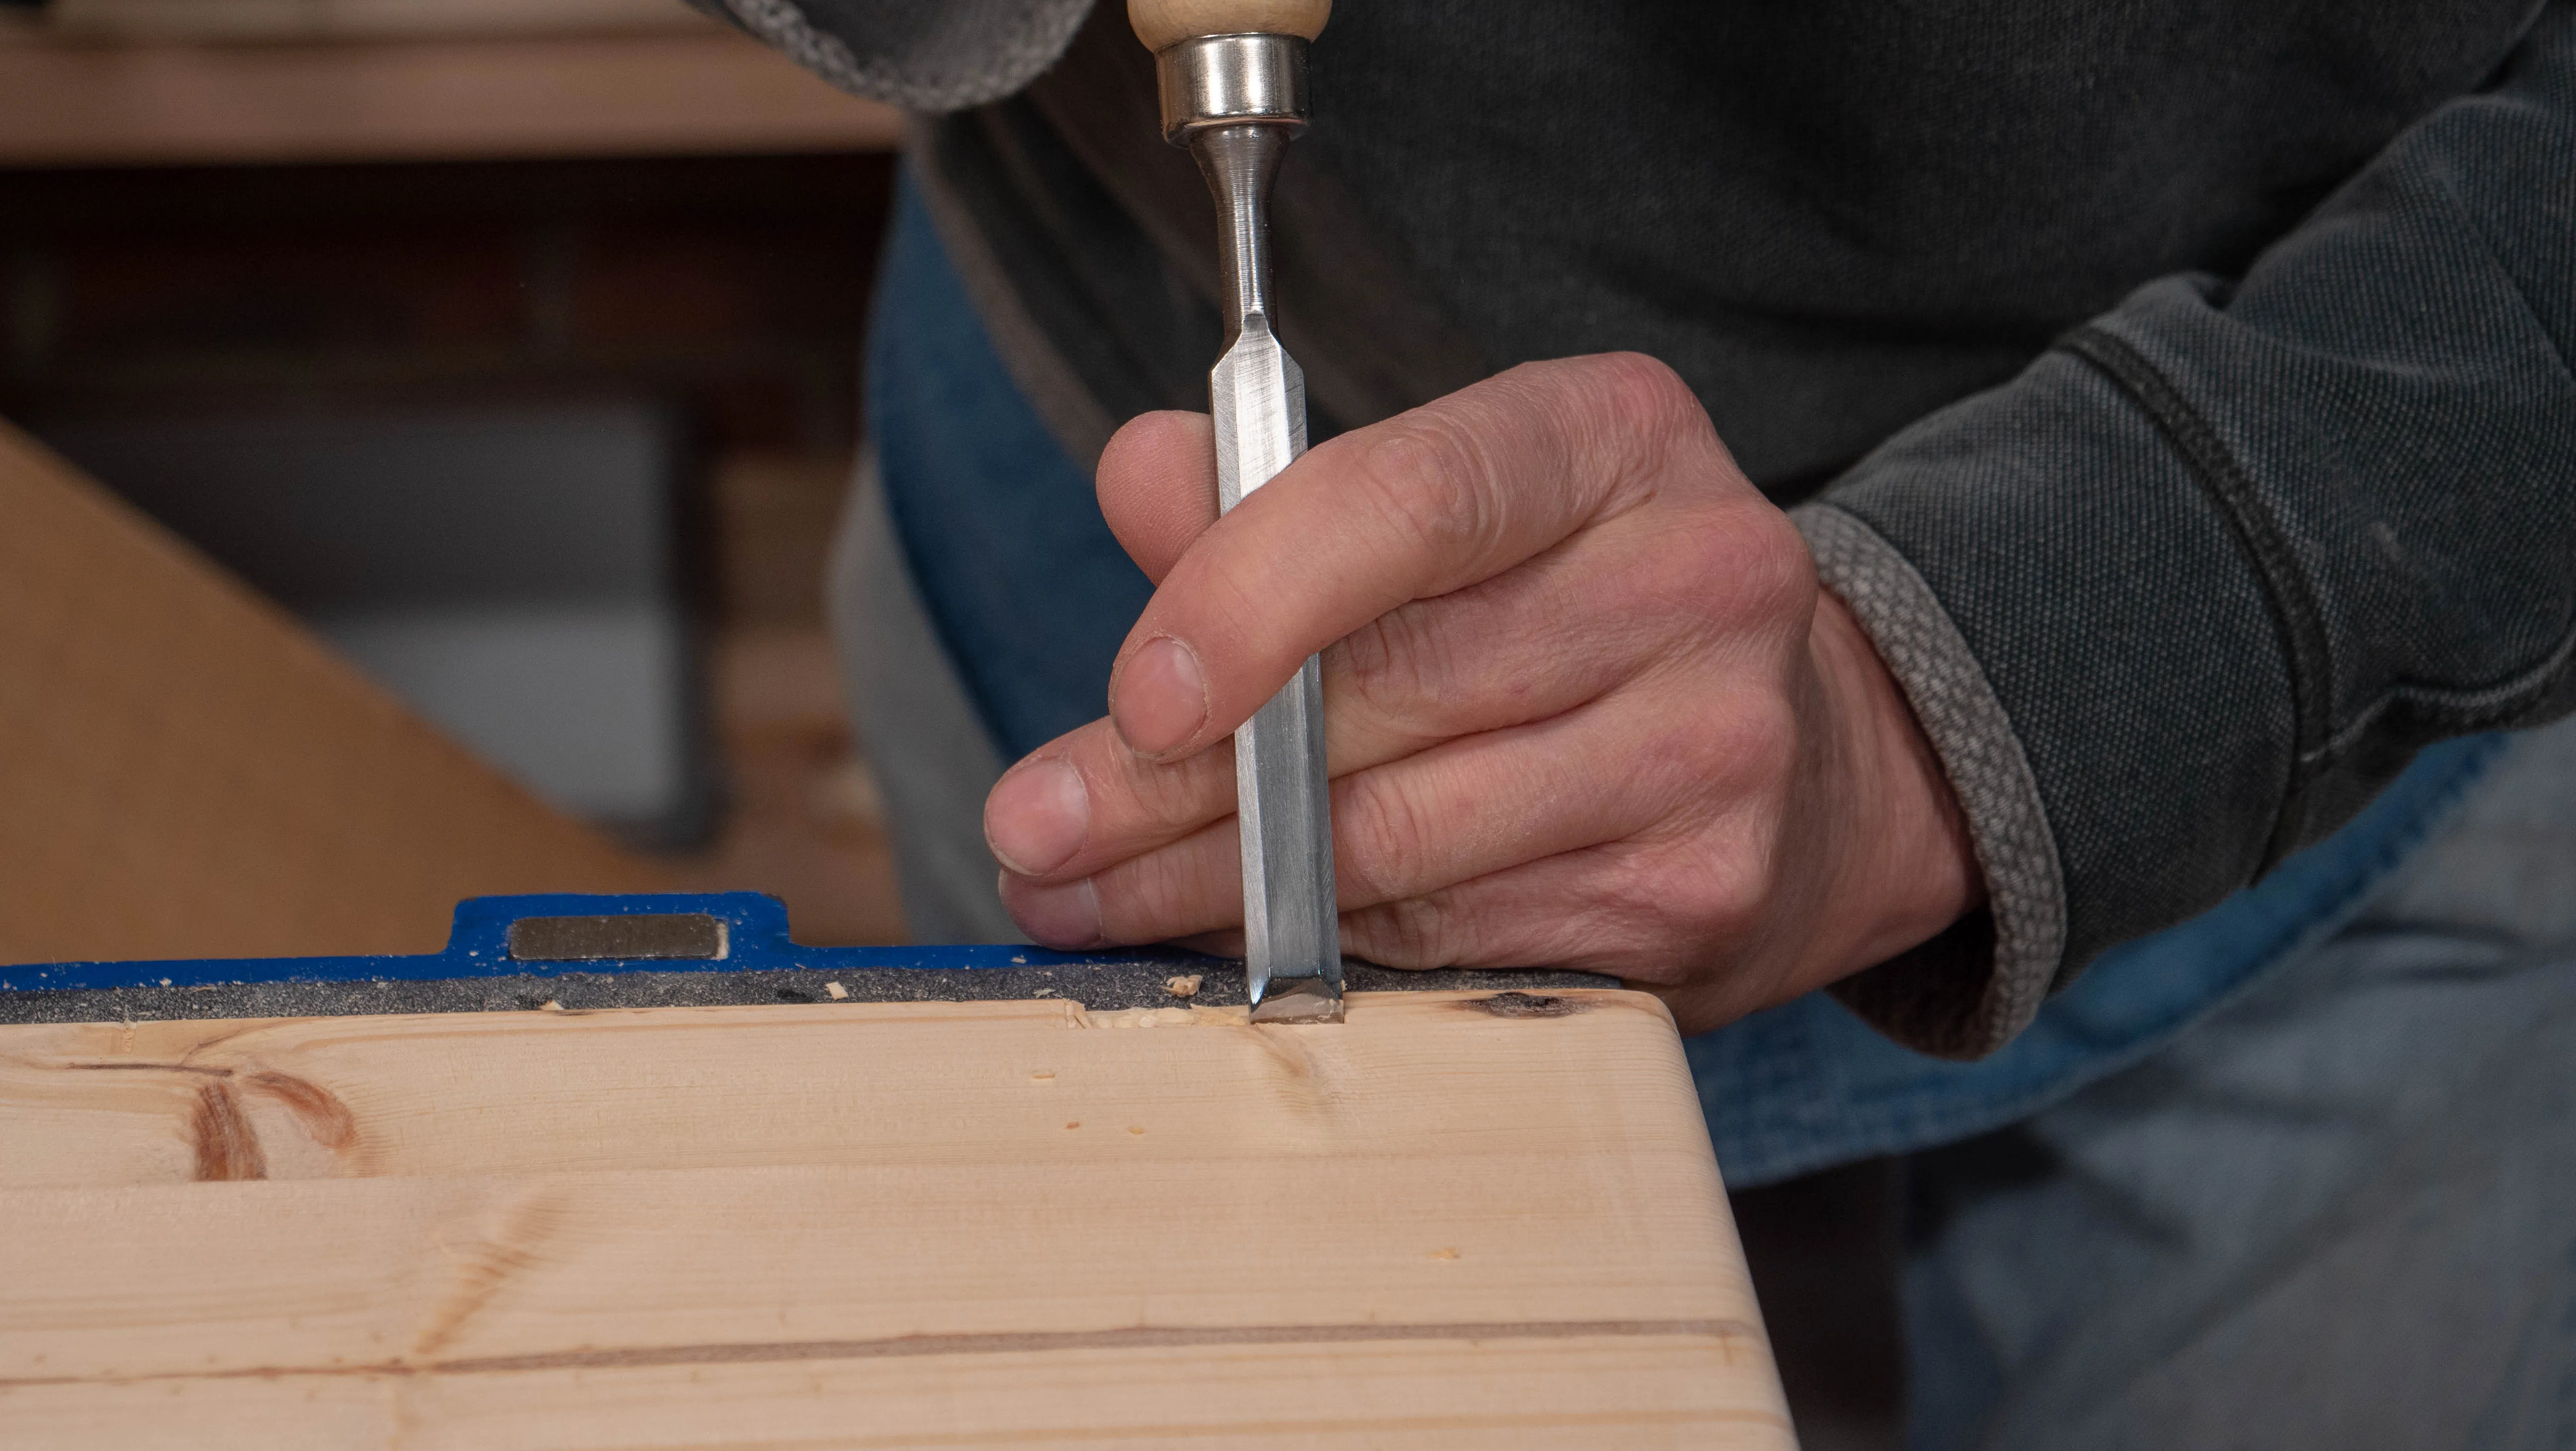
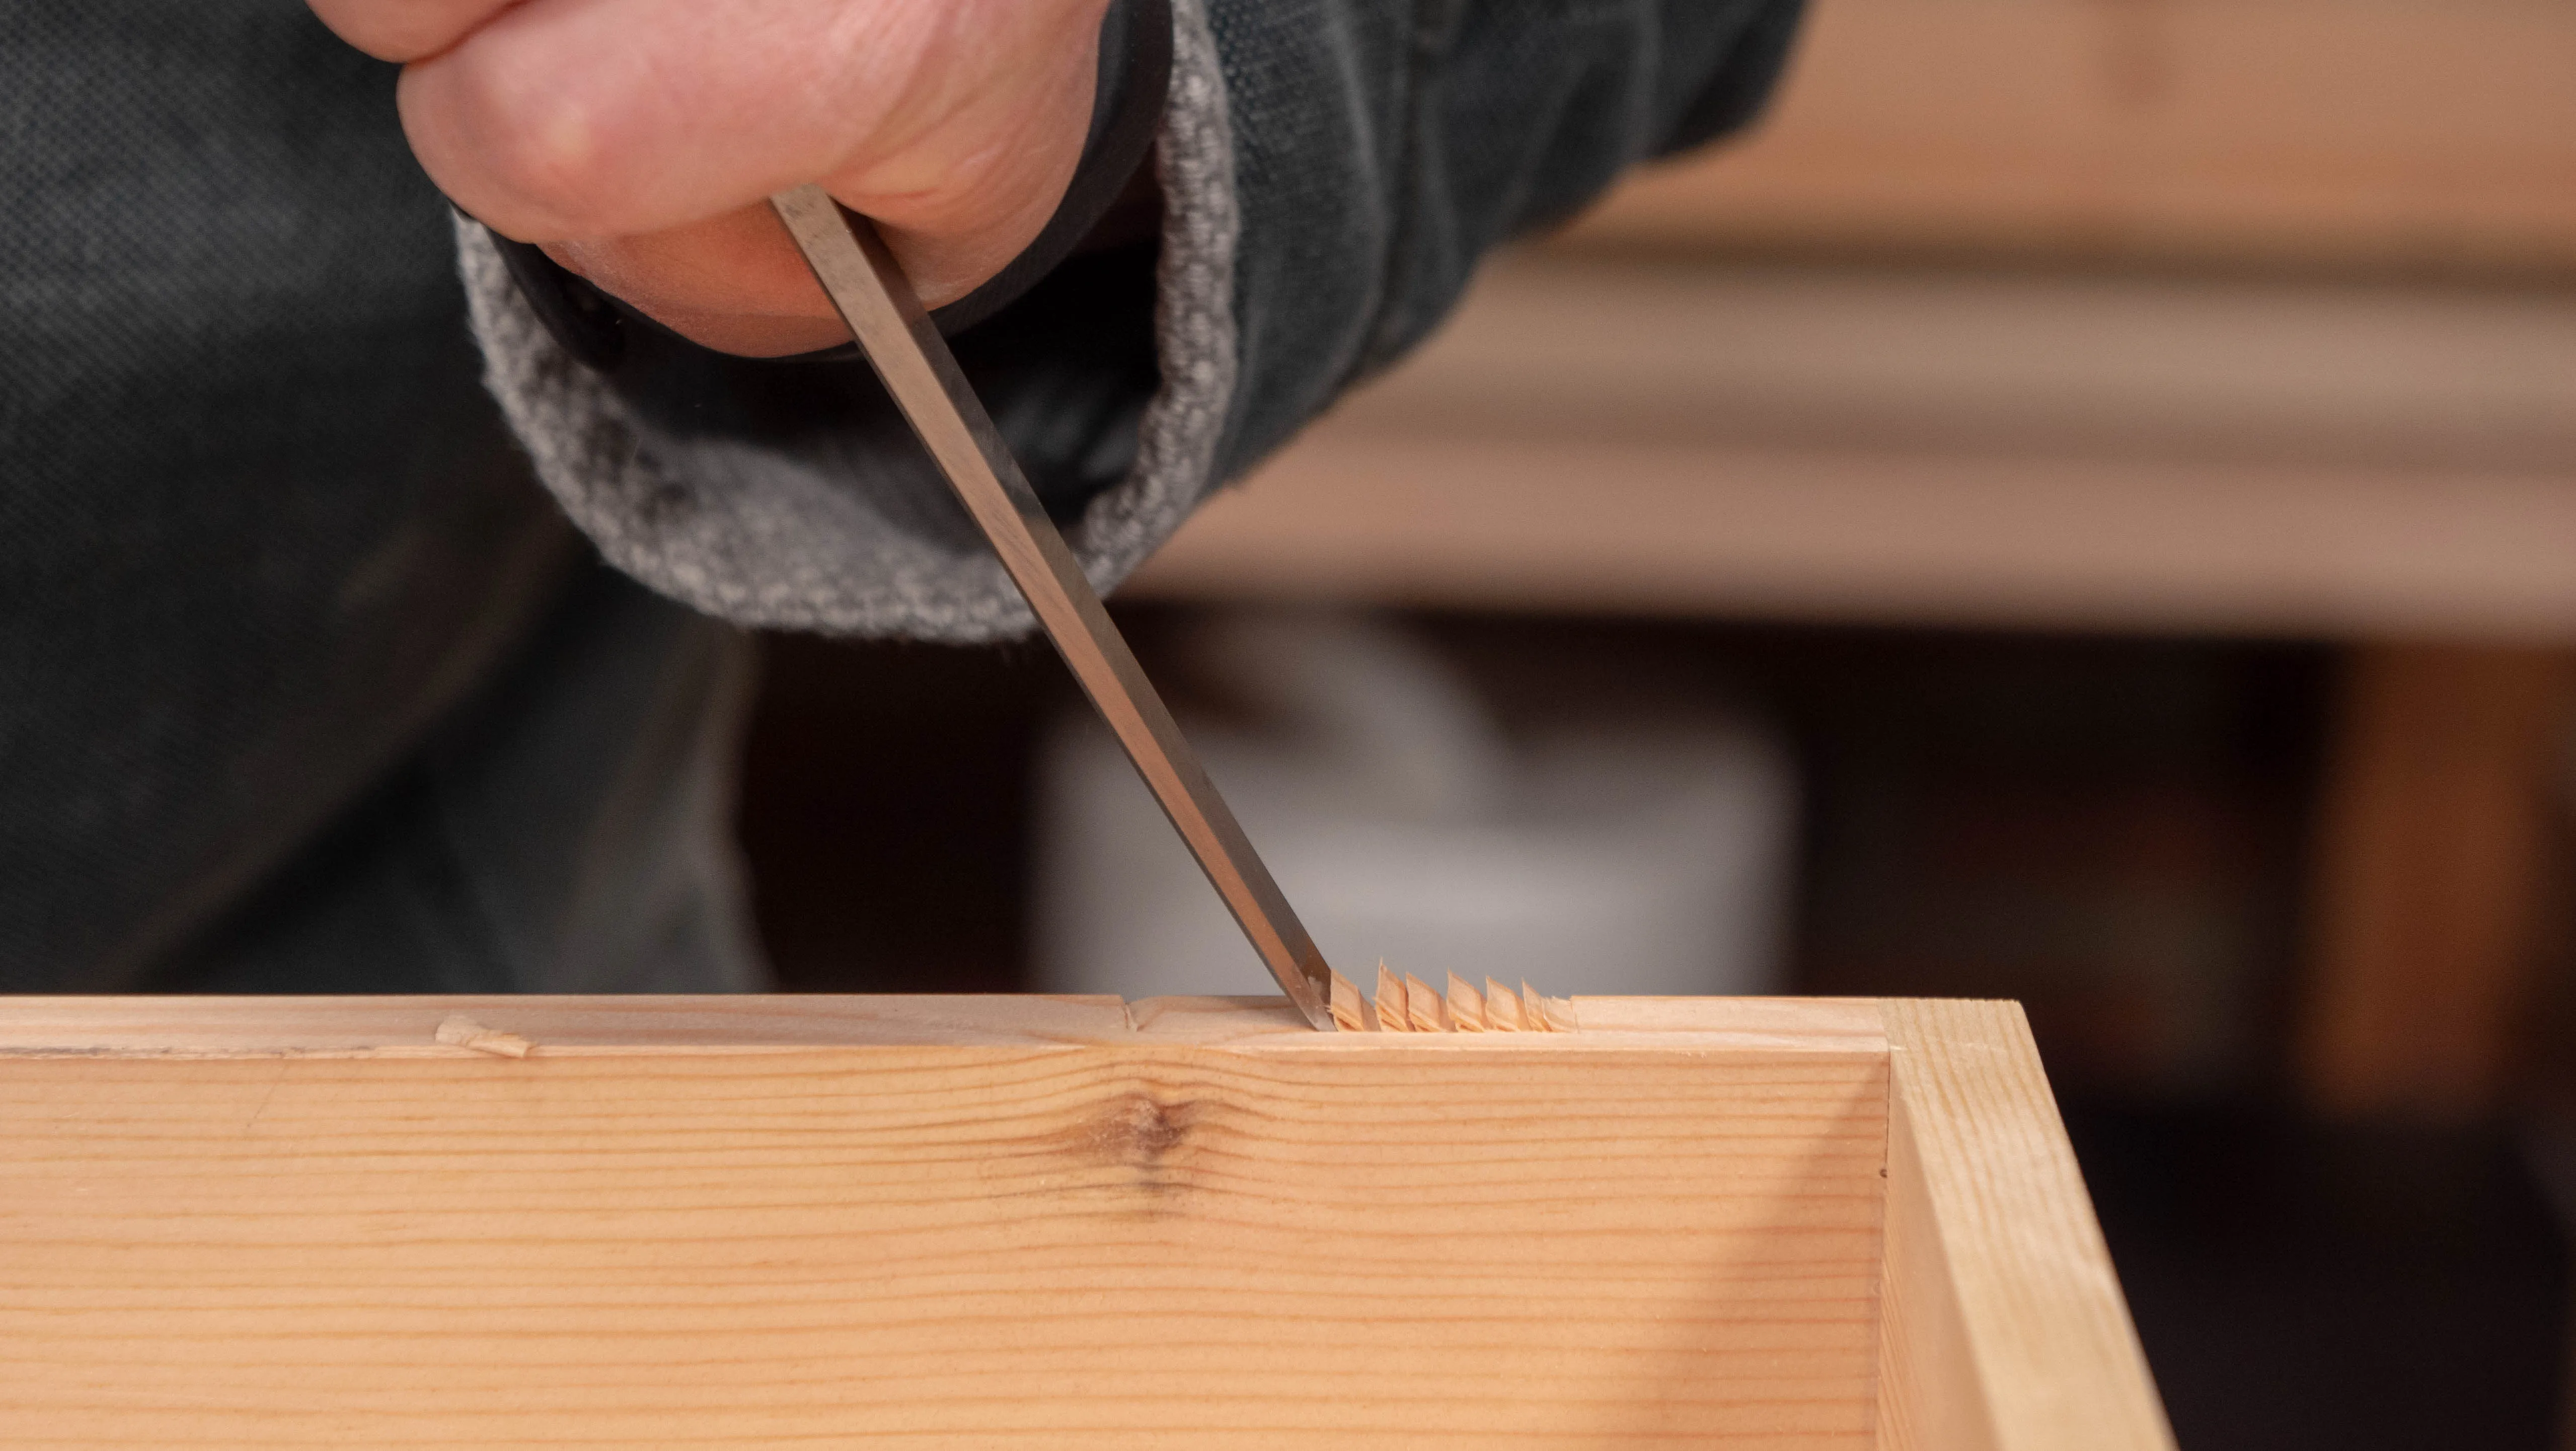
Use a sharp chisel to chop the waste wood from the recess into small chunks that are easy to remove. Begin by clamping your lid in the vise and start to take diagonal chops about 1/8” (3mm) apart with your chisel bevel-down. Do not chop too hard as it’s only a shallow recess. On the ends, gradually chop steeper (bevel-up) until you can go right on your knifewall with a perfectly vertical chop.
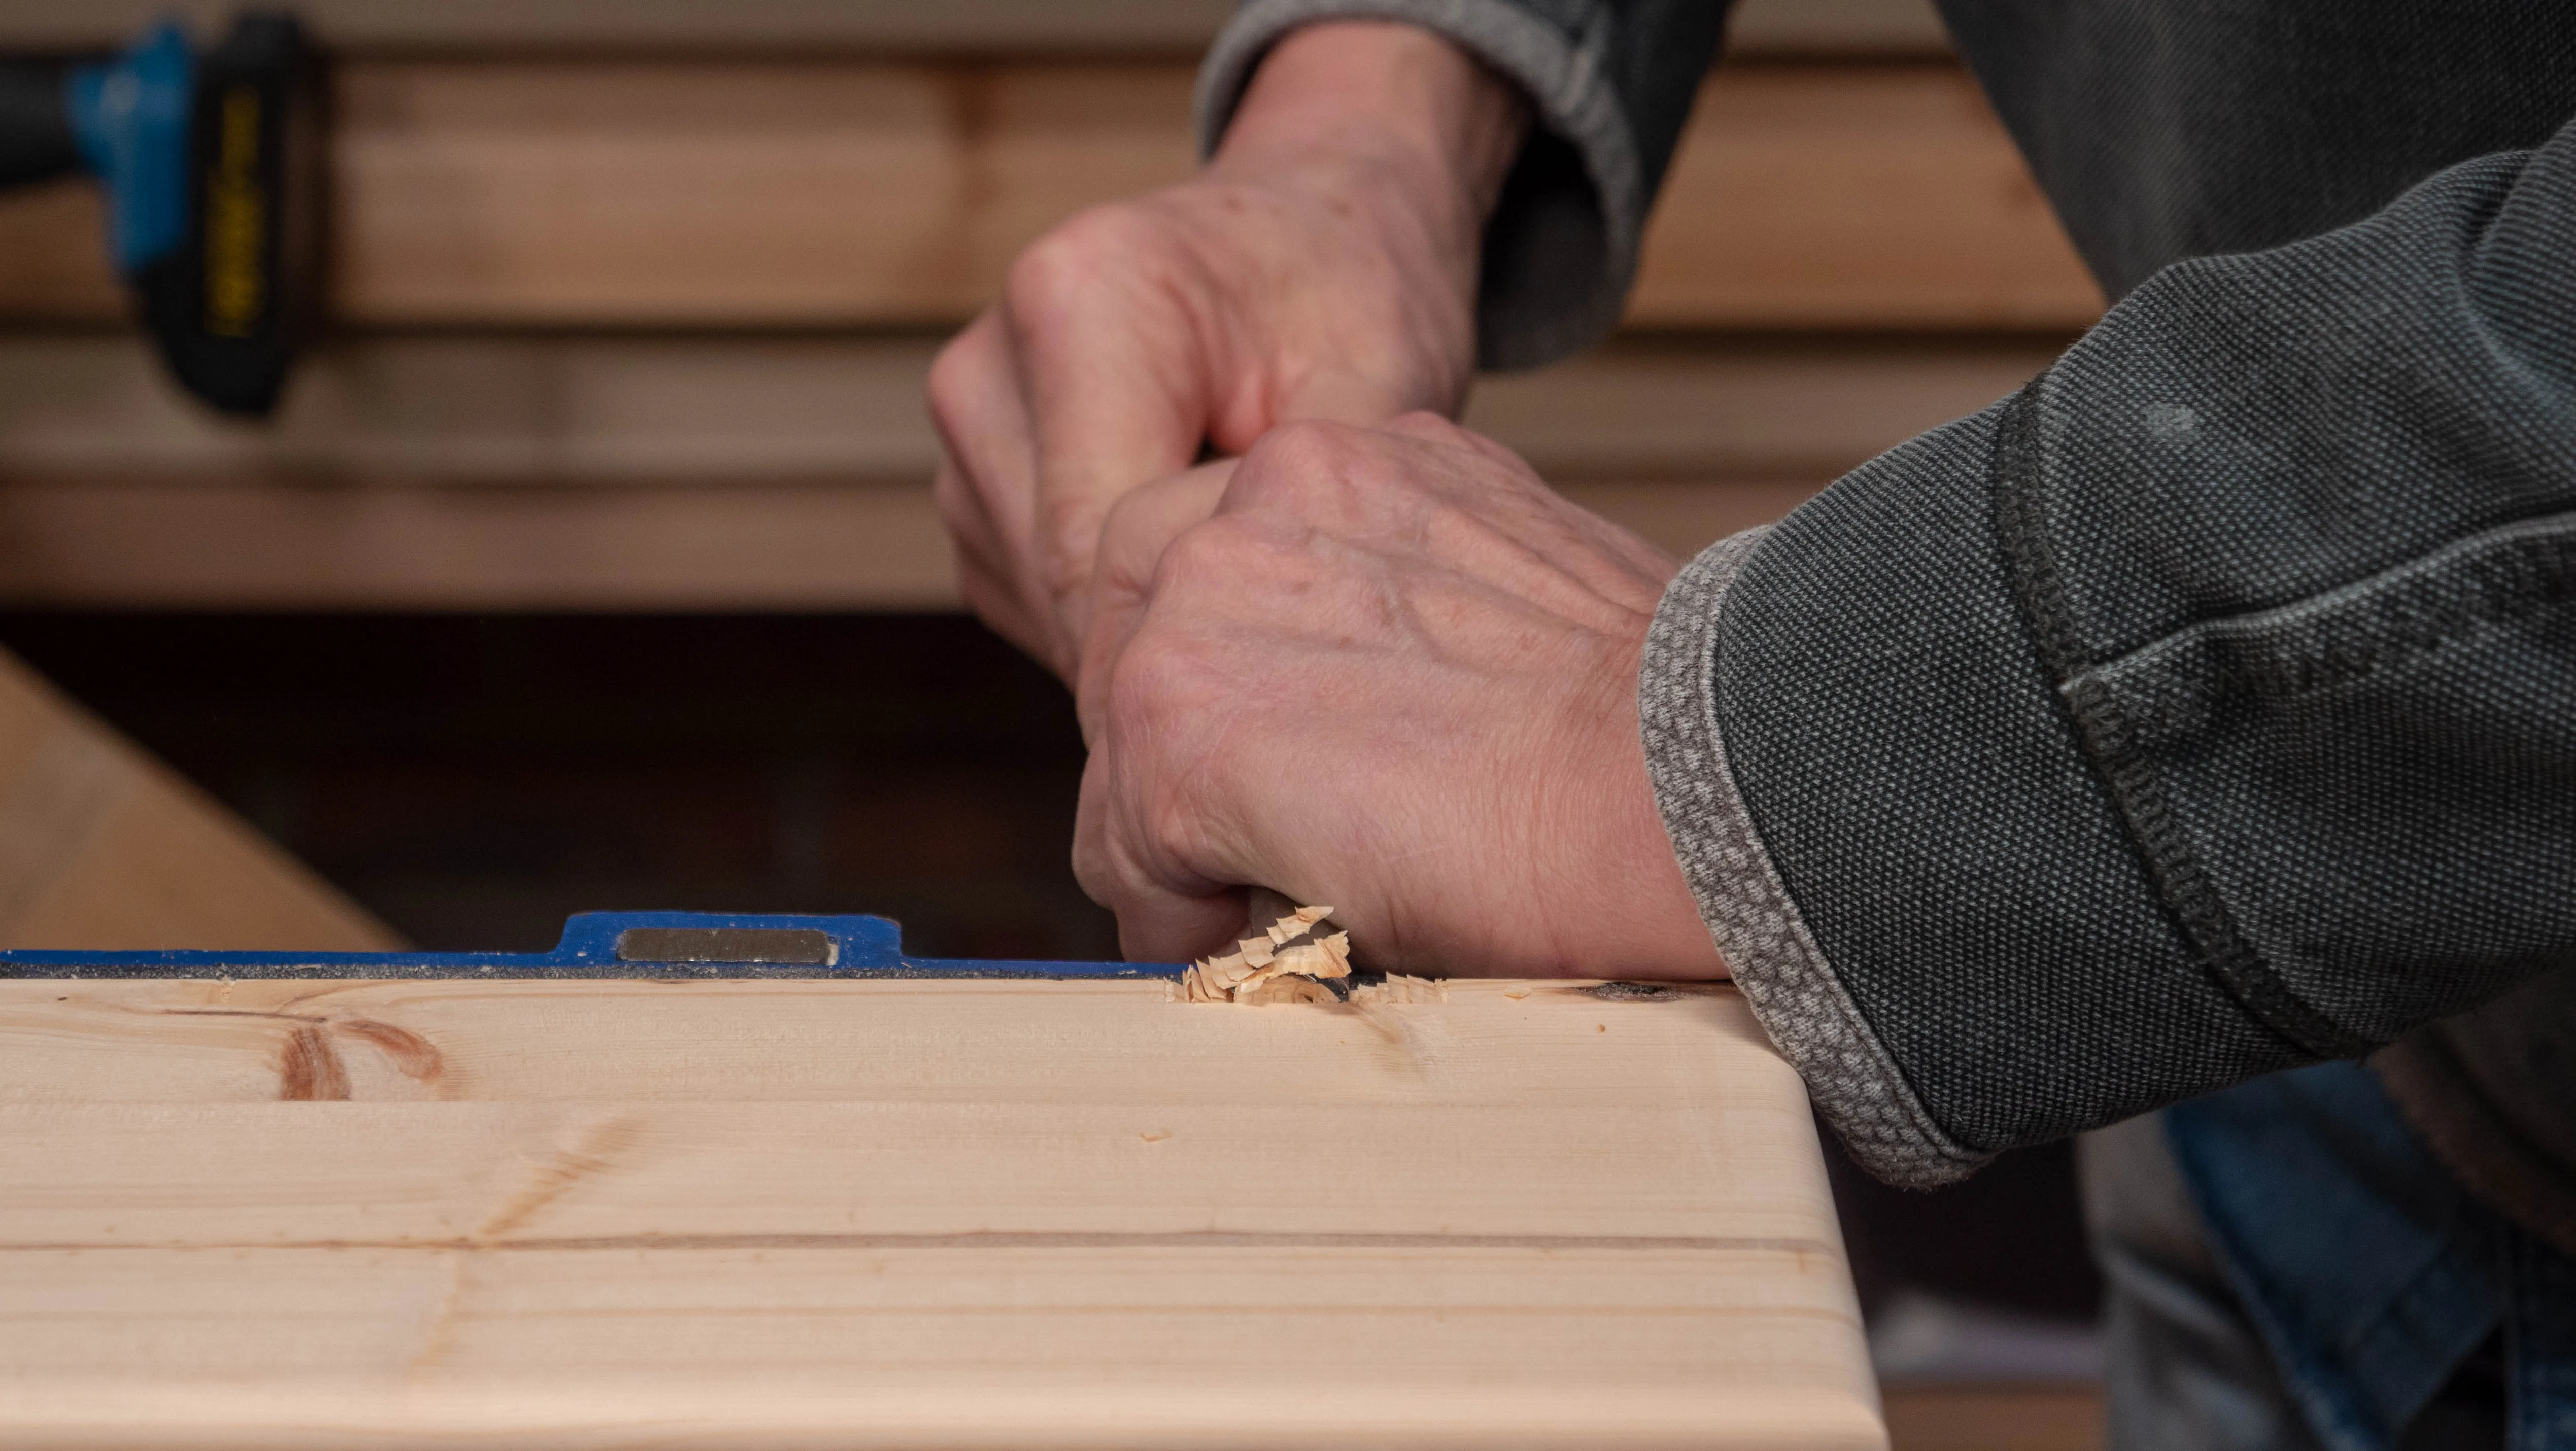
To remove the waste, use a wide chisel and work from the back edge, making sure you do not cut below the depth line. You may need to go back in to sever the fibres still attached to the end of the recess.
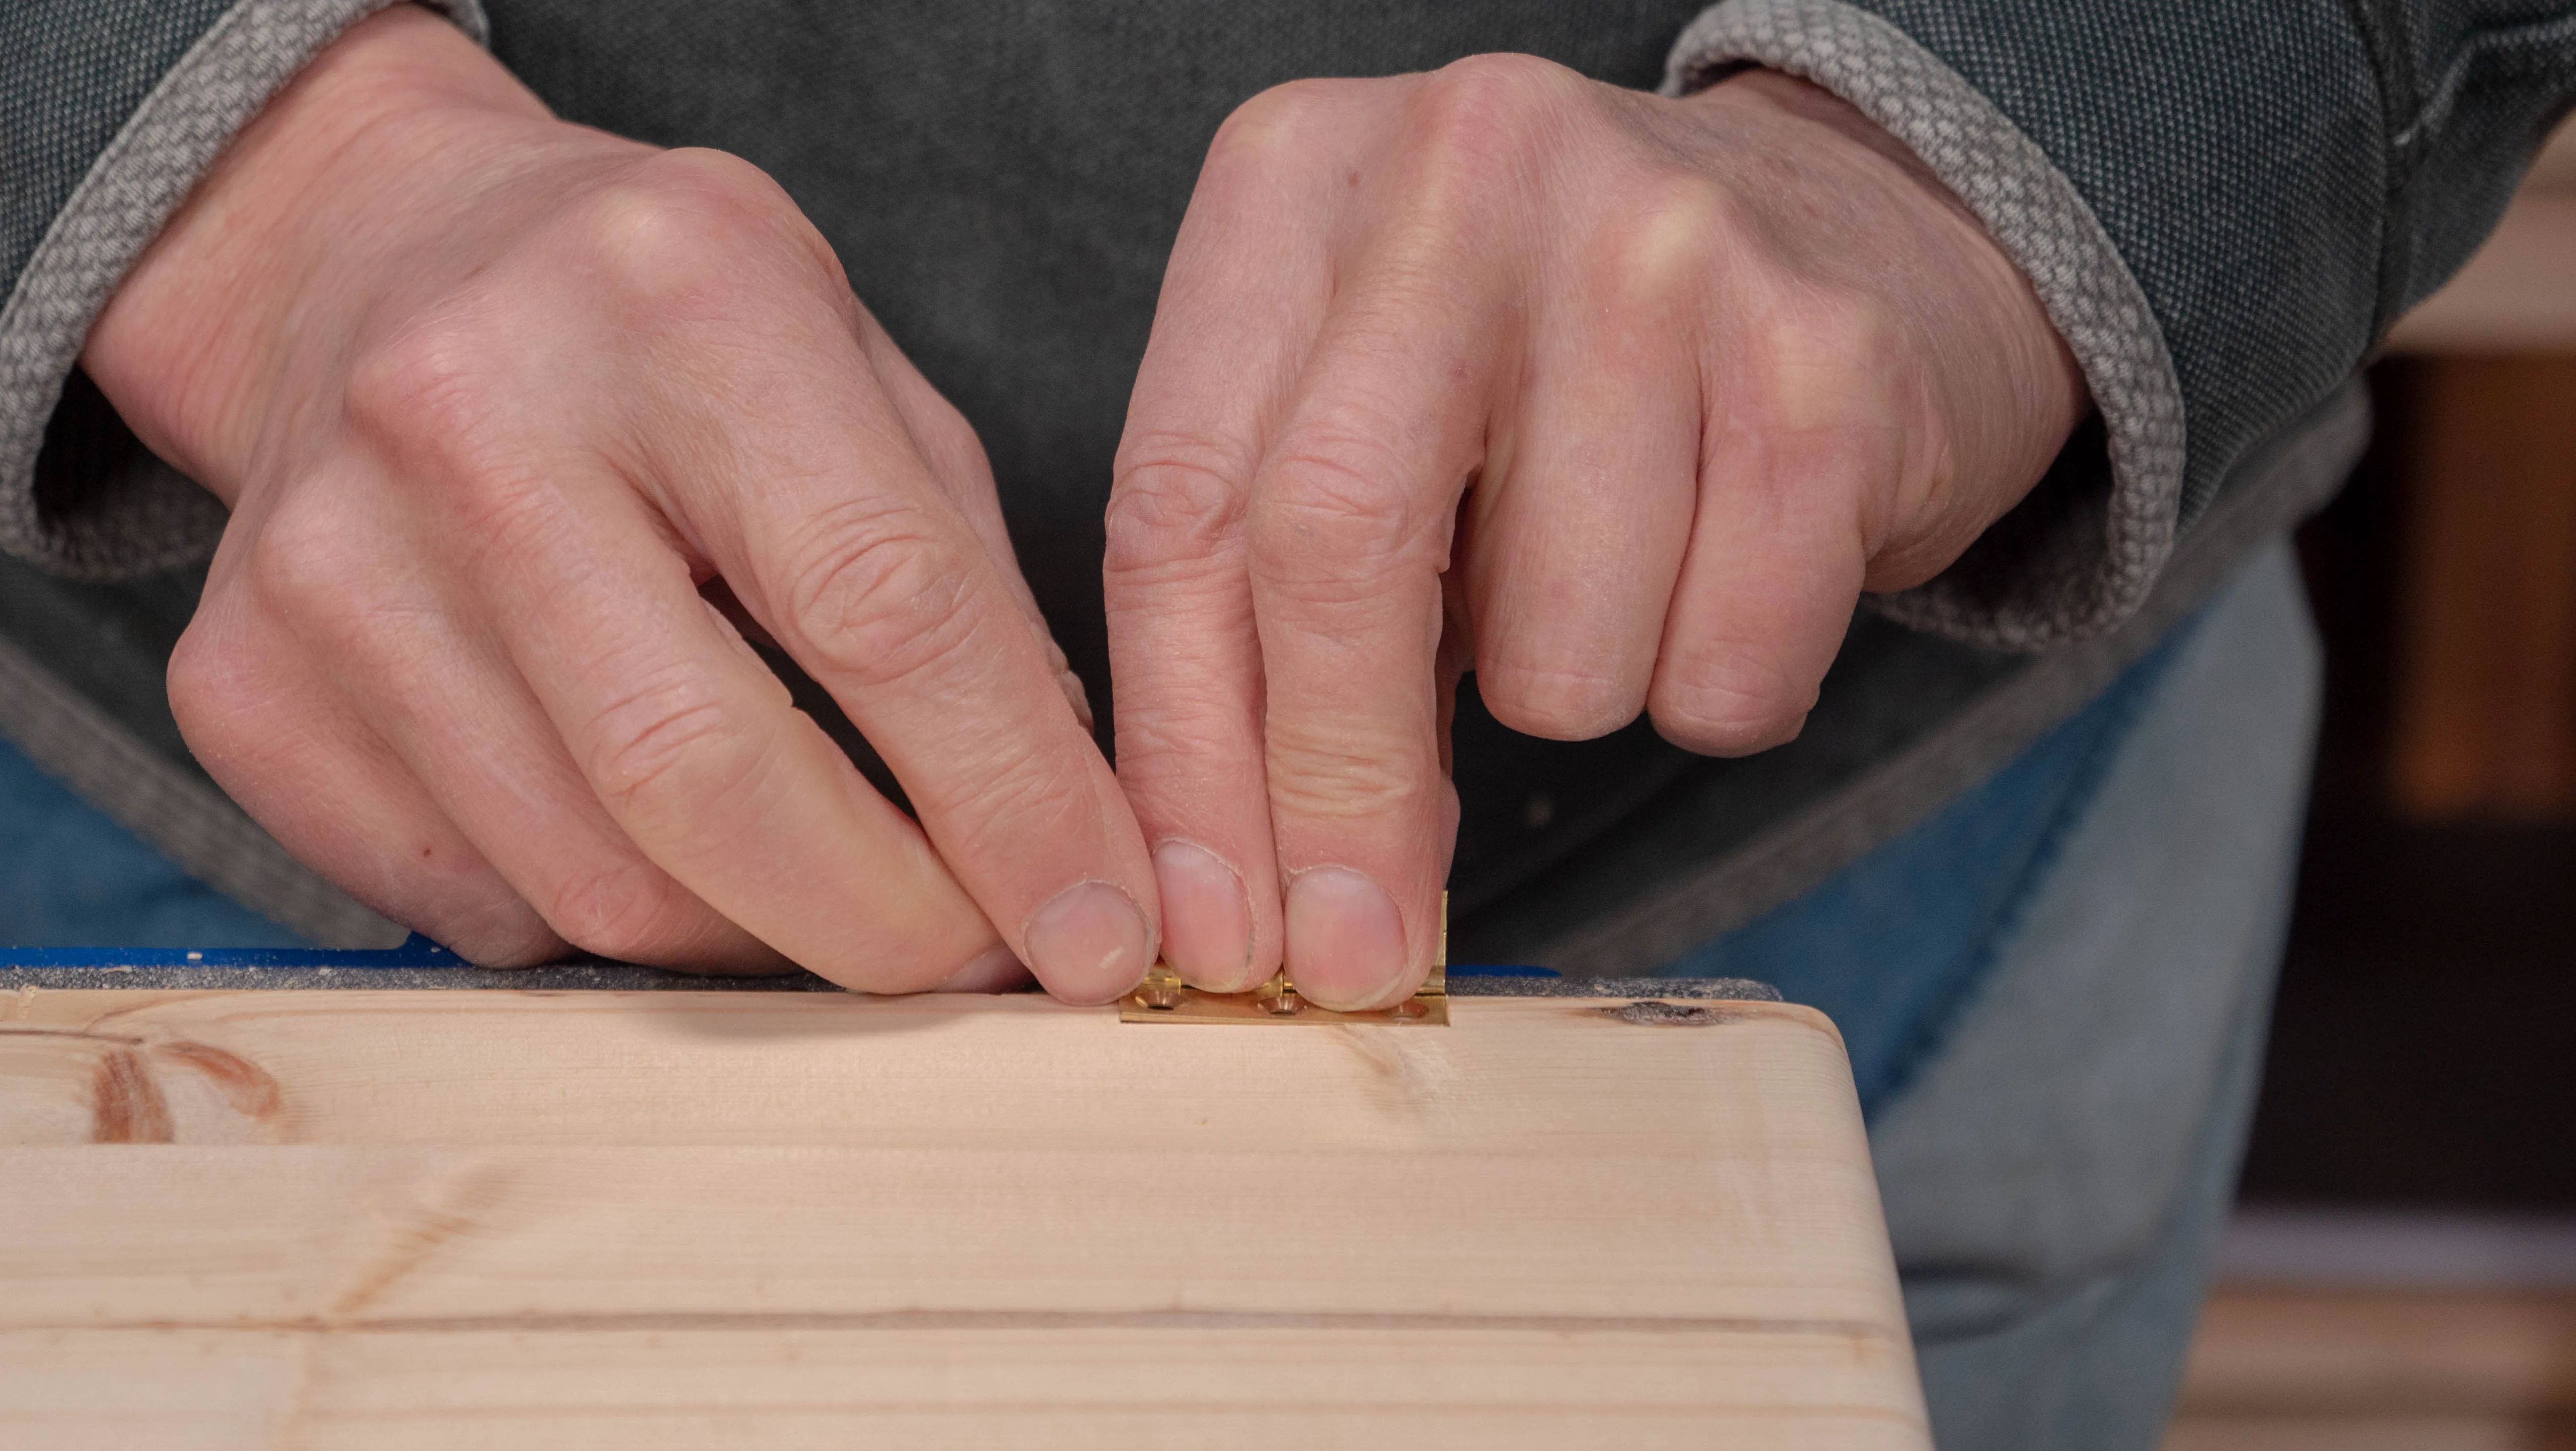
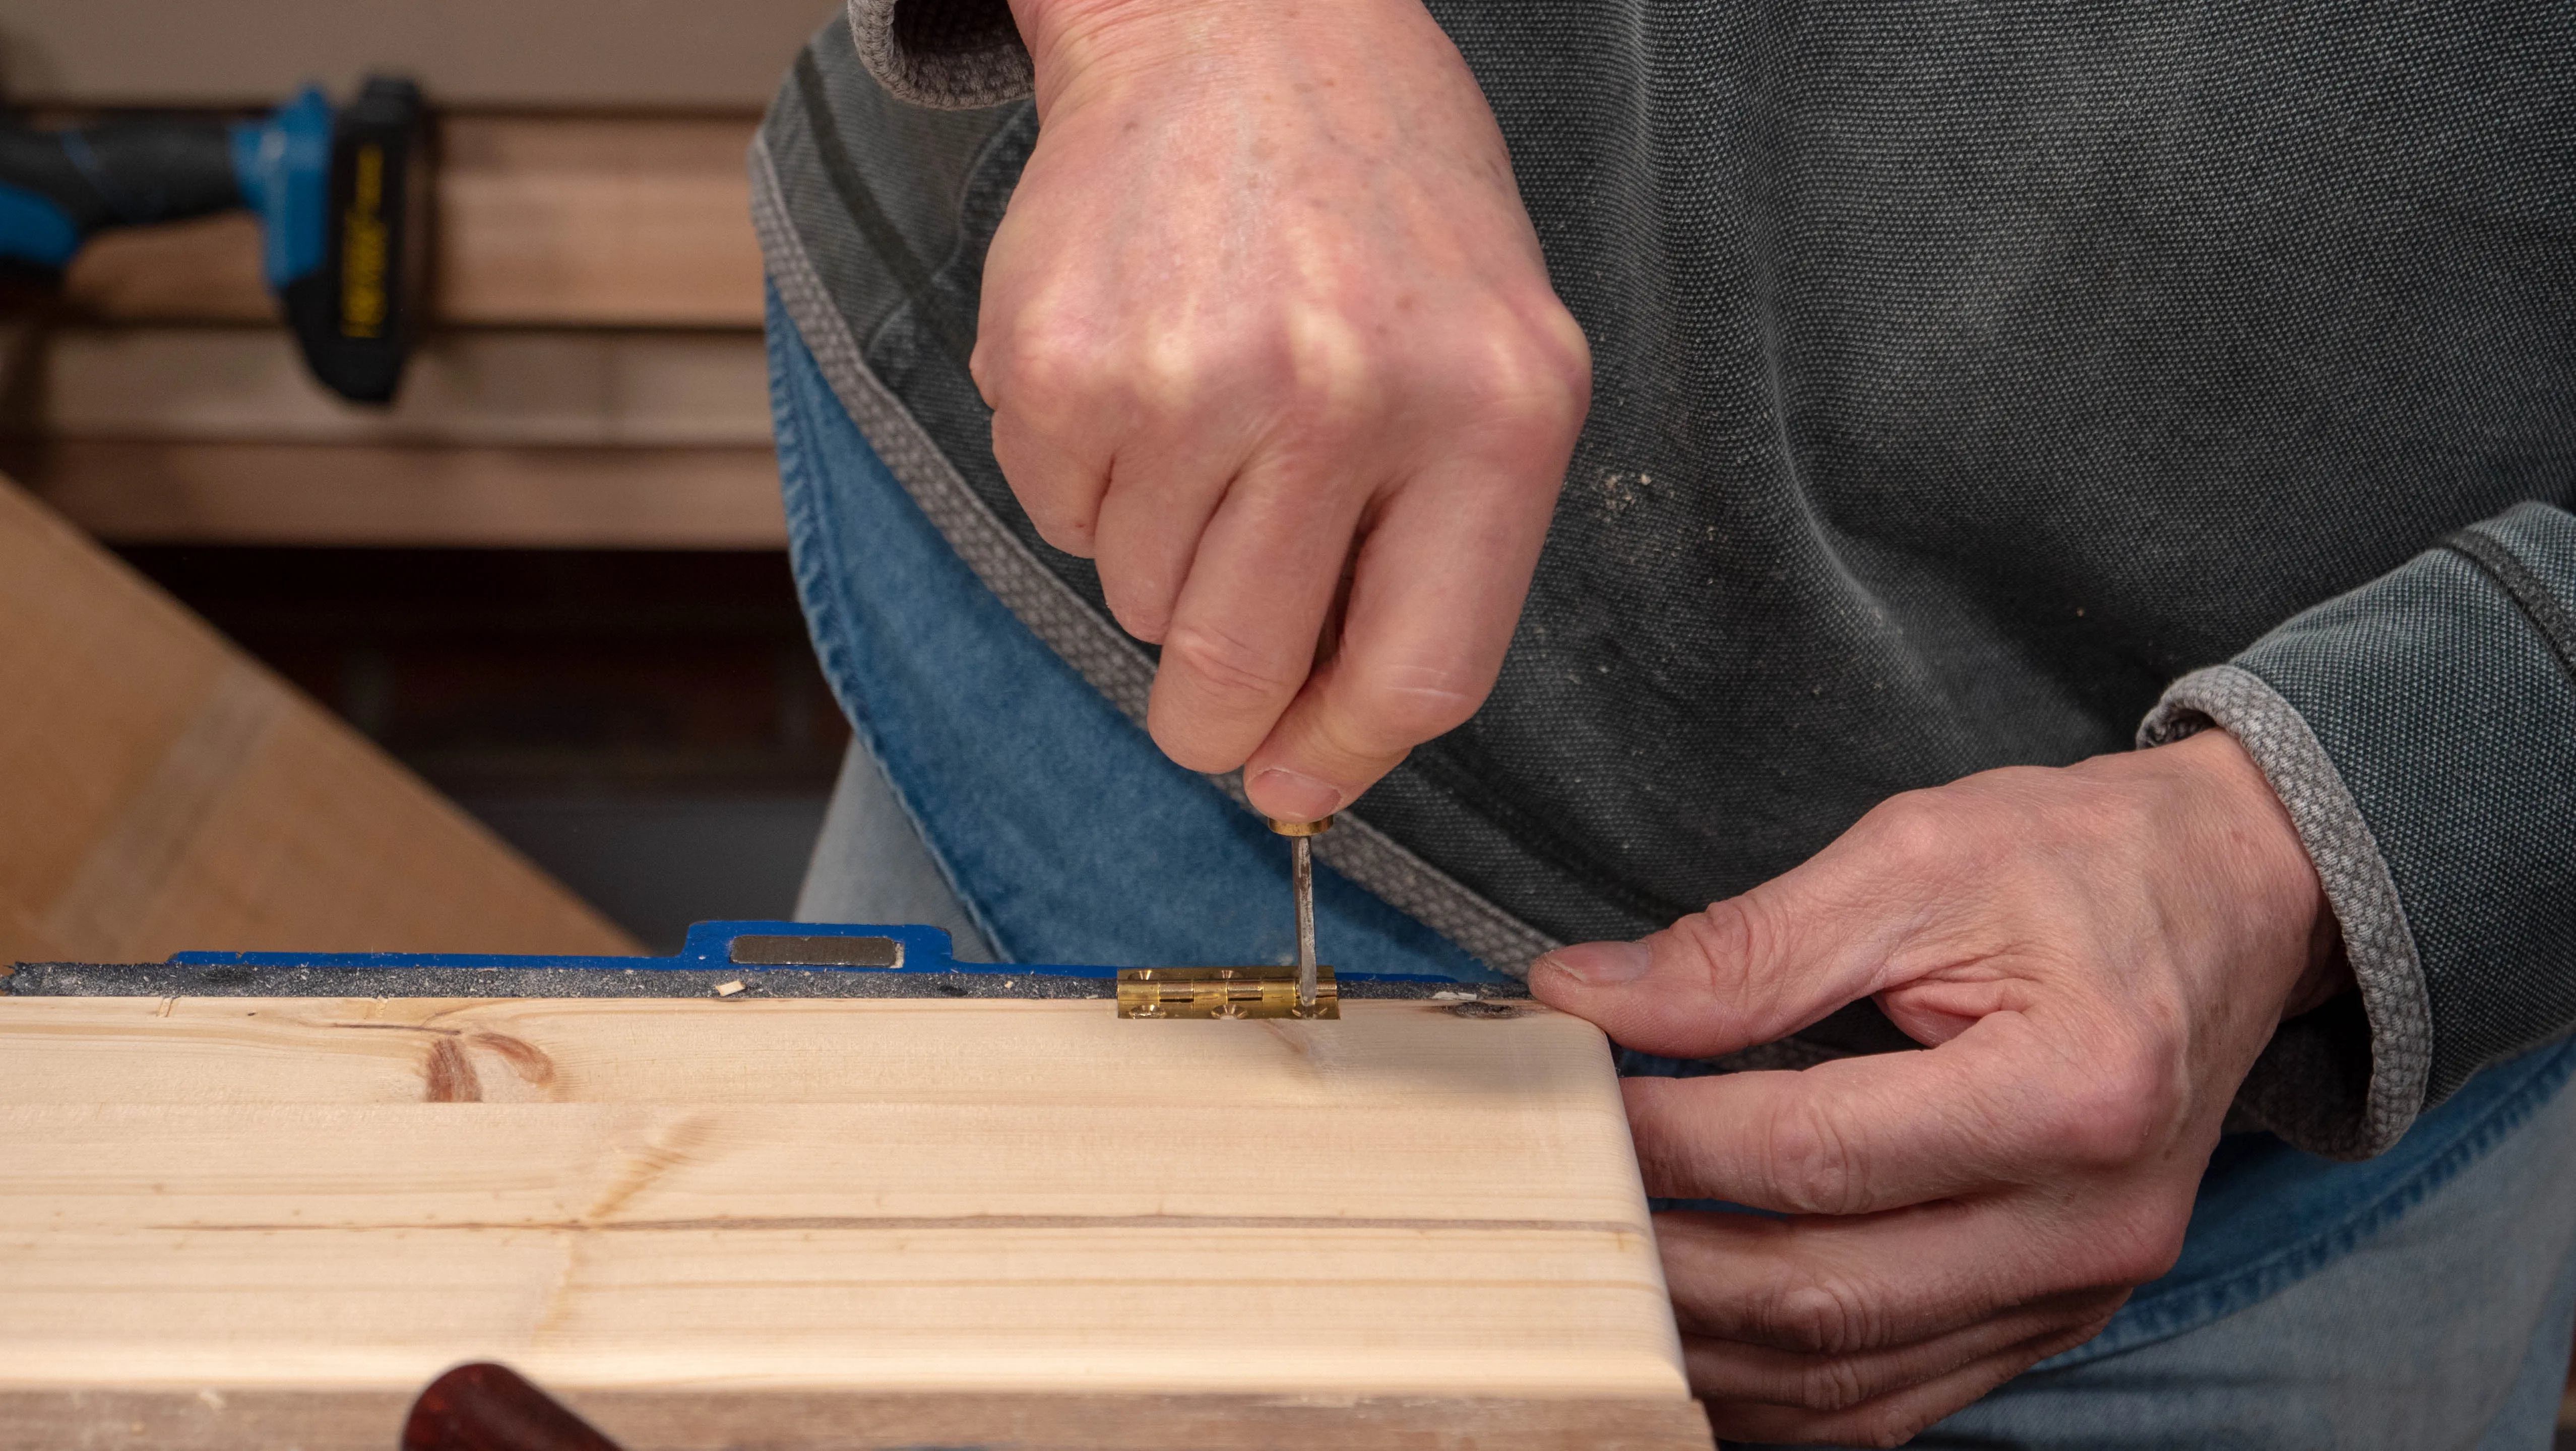
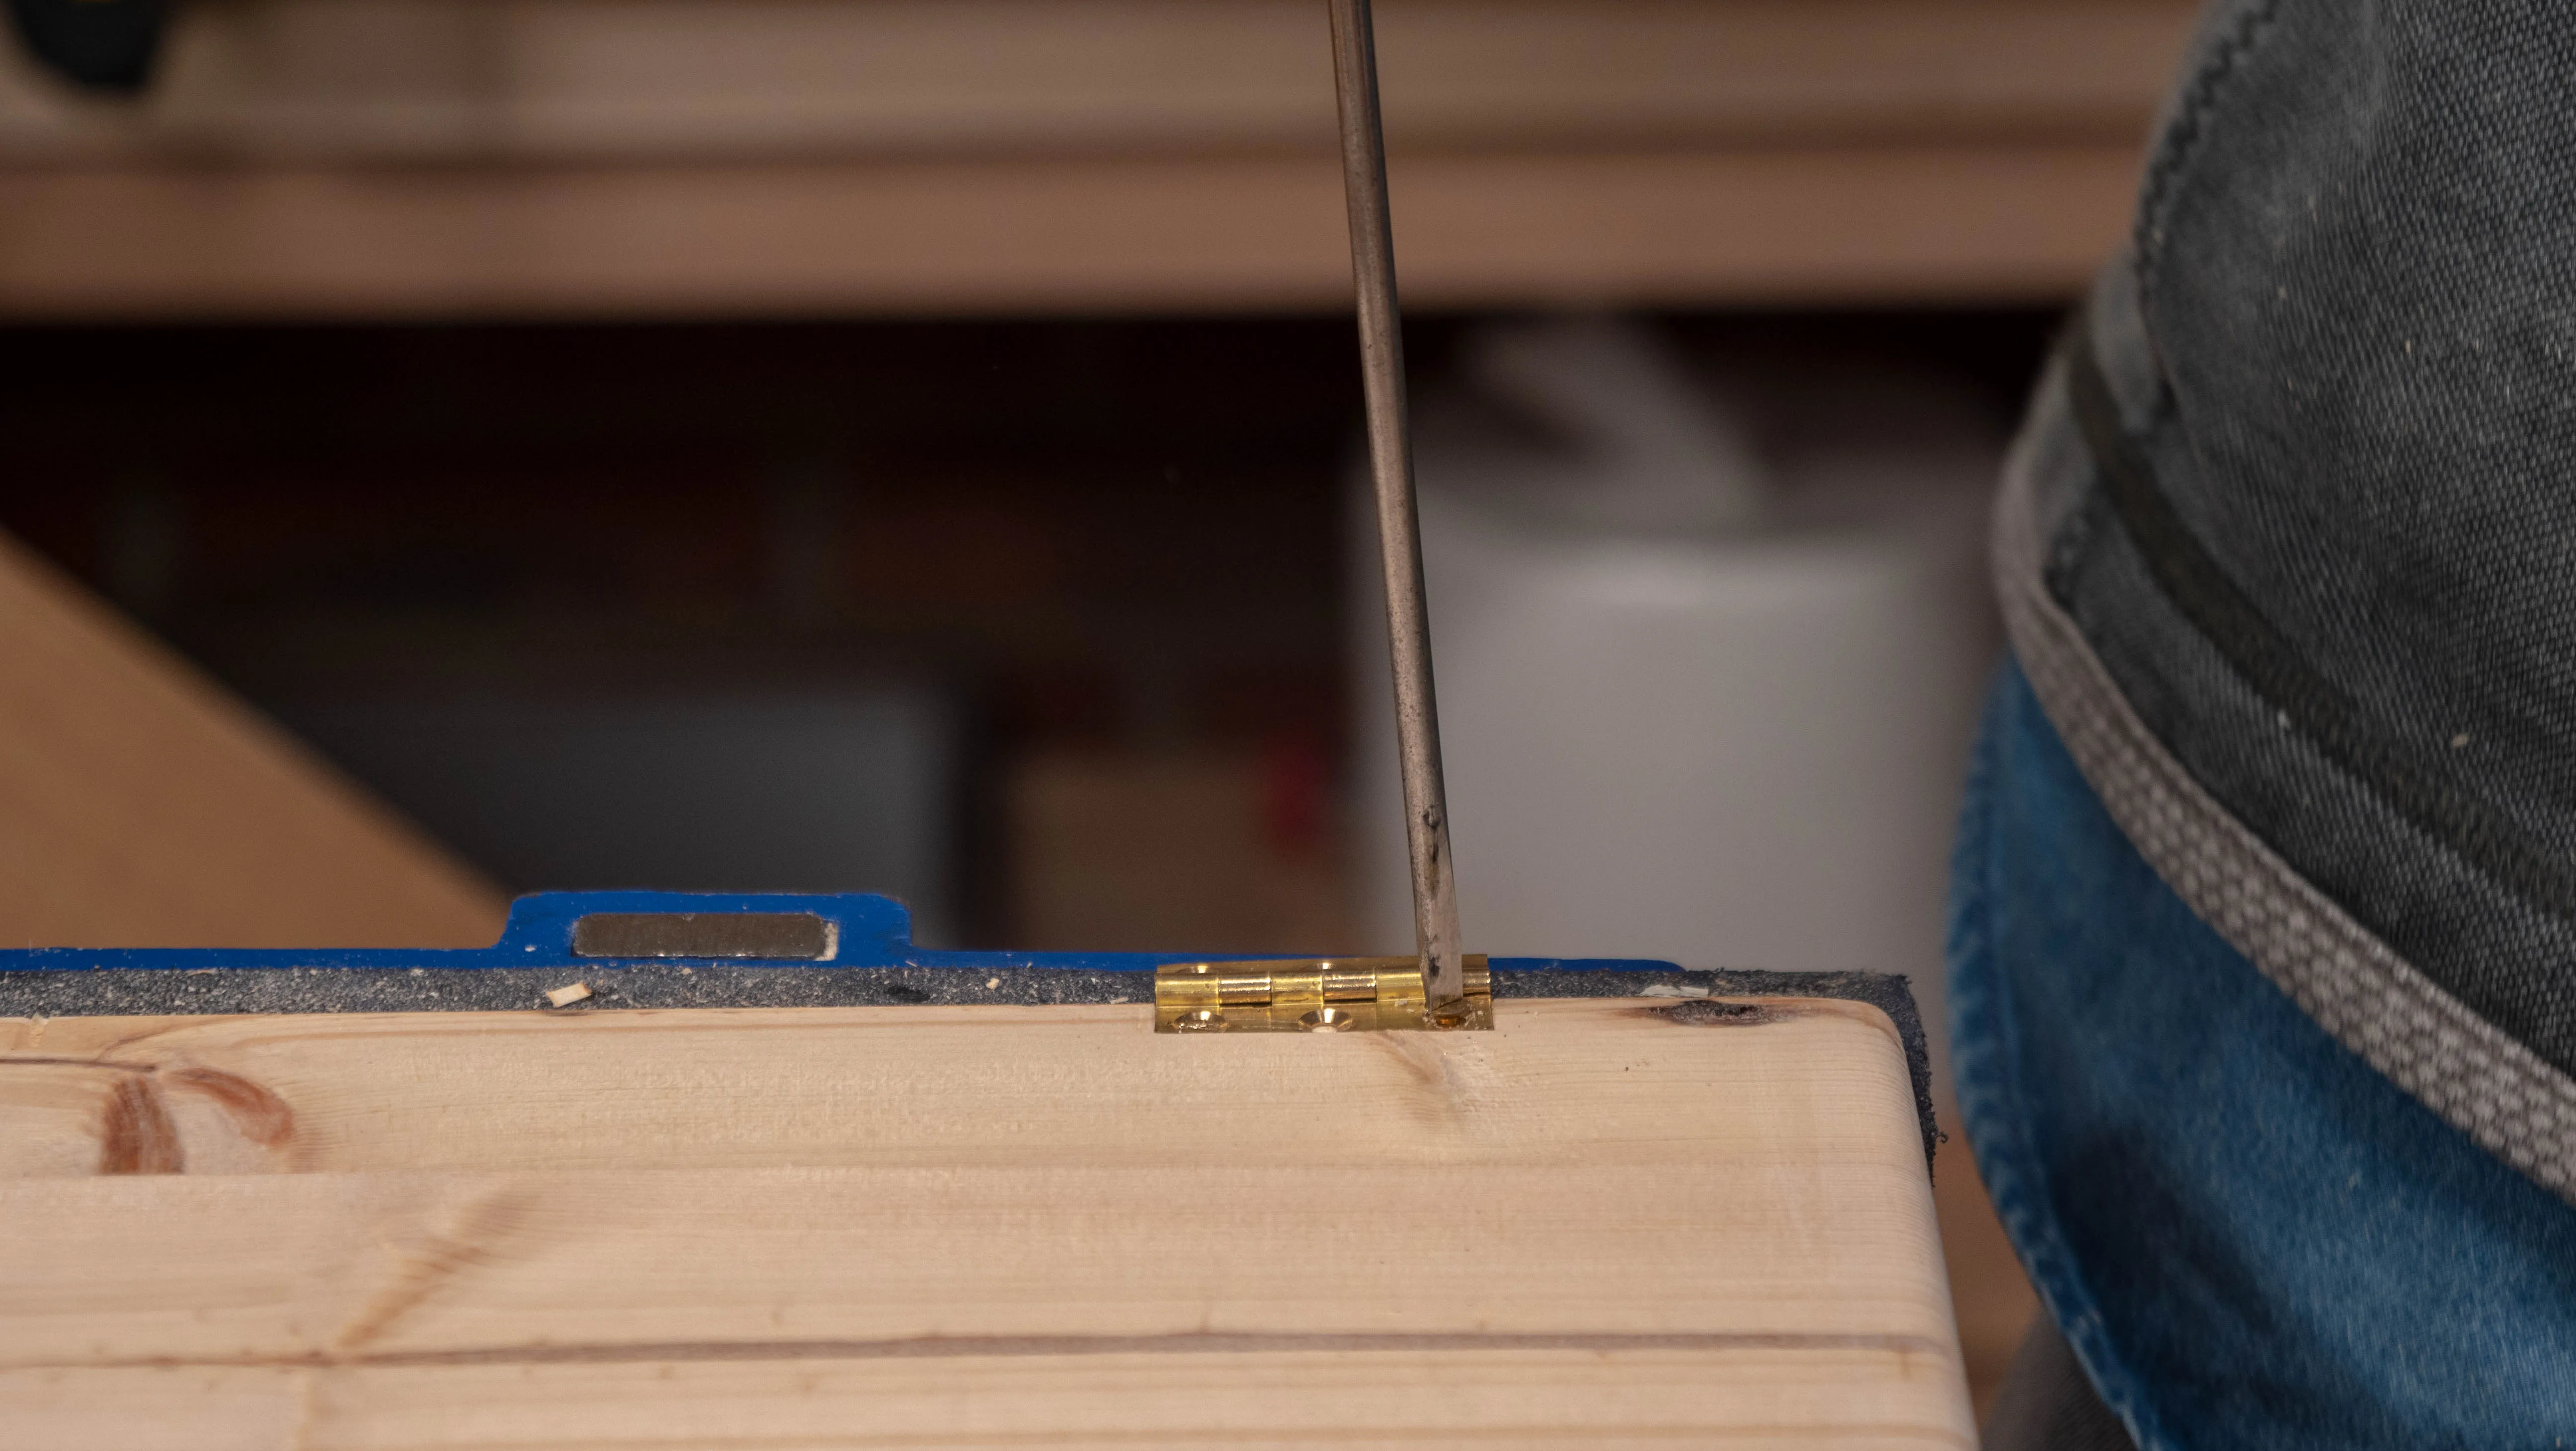
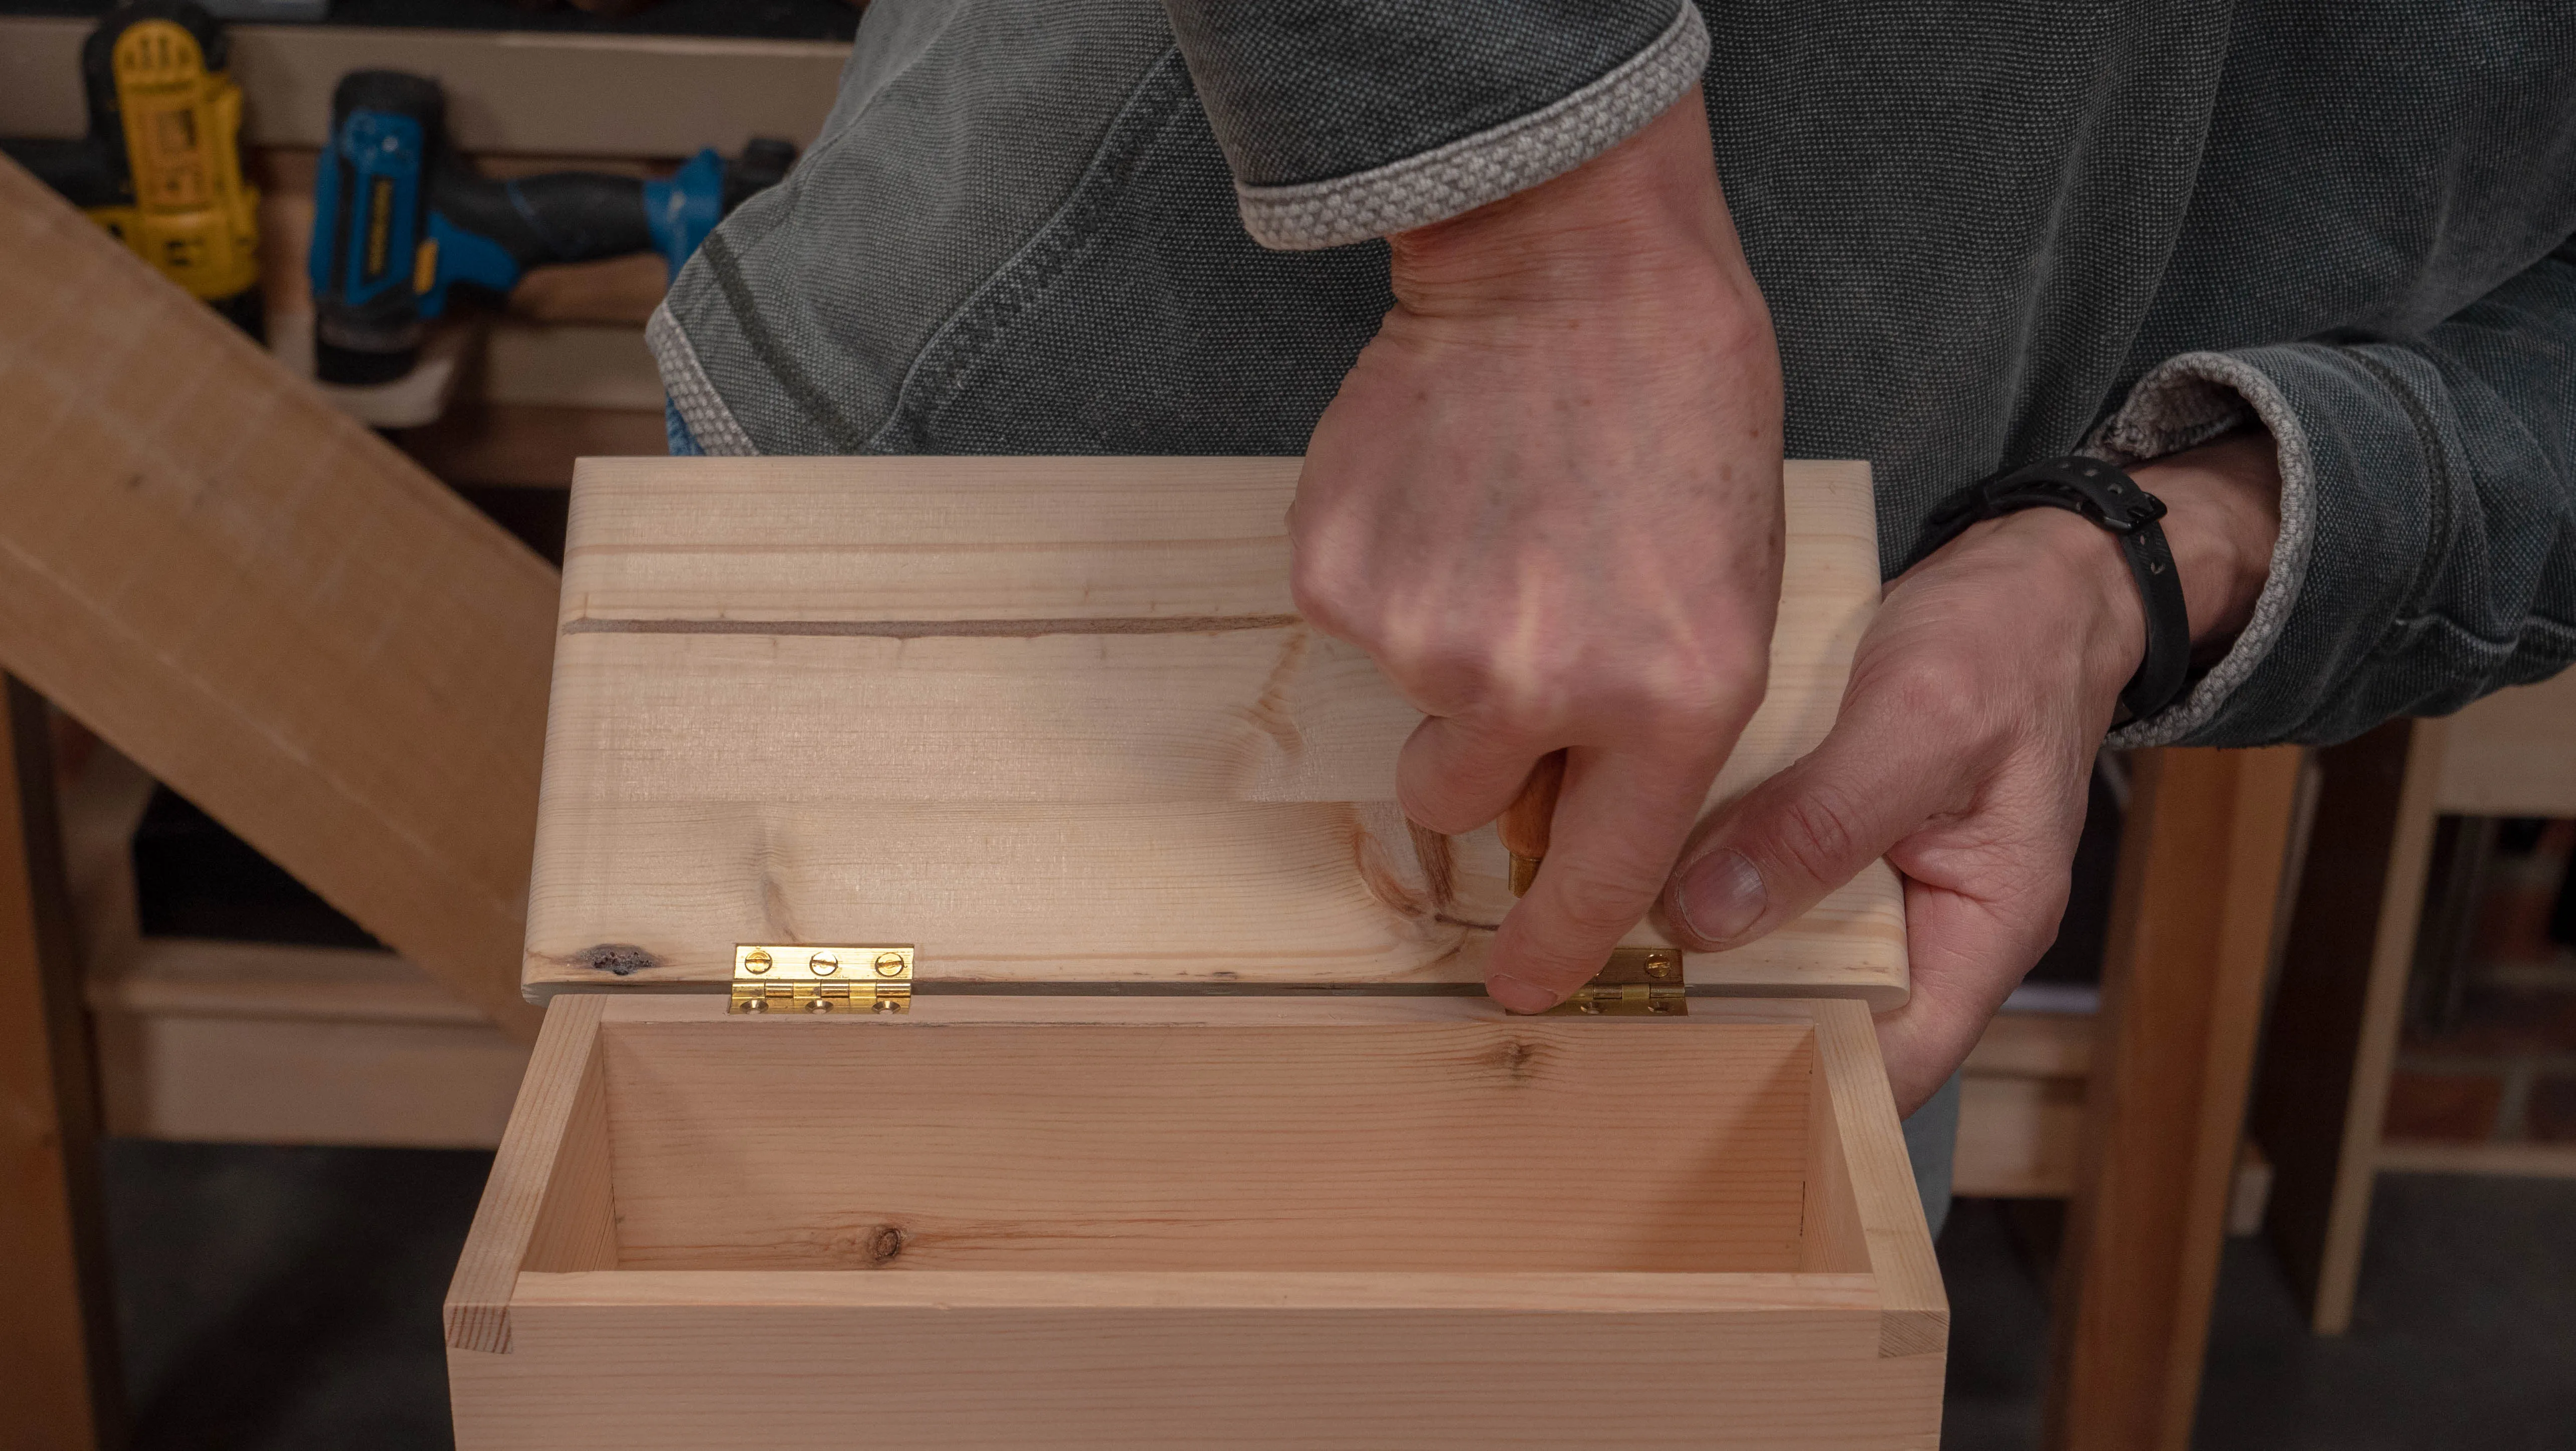
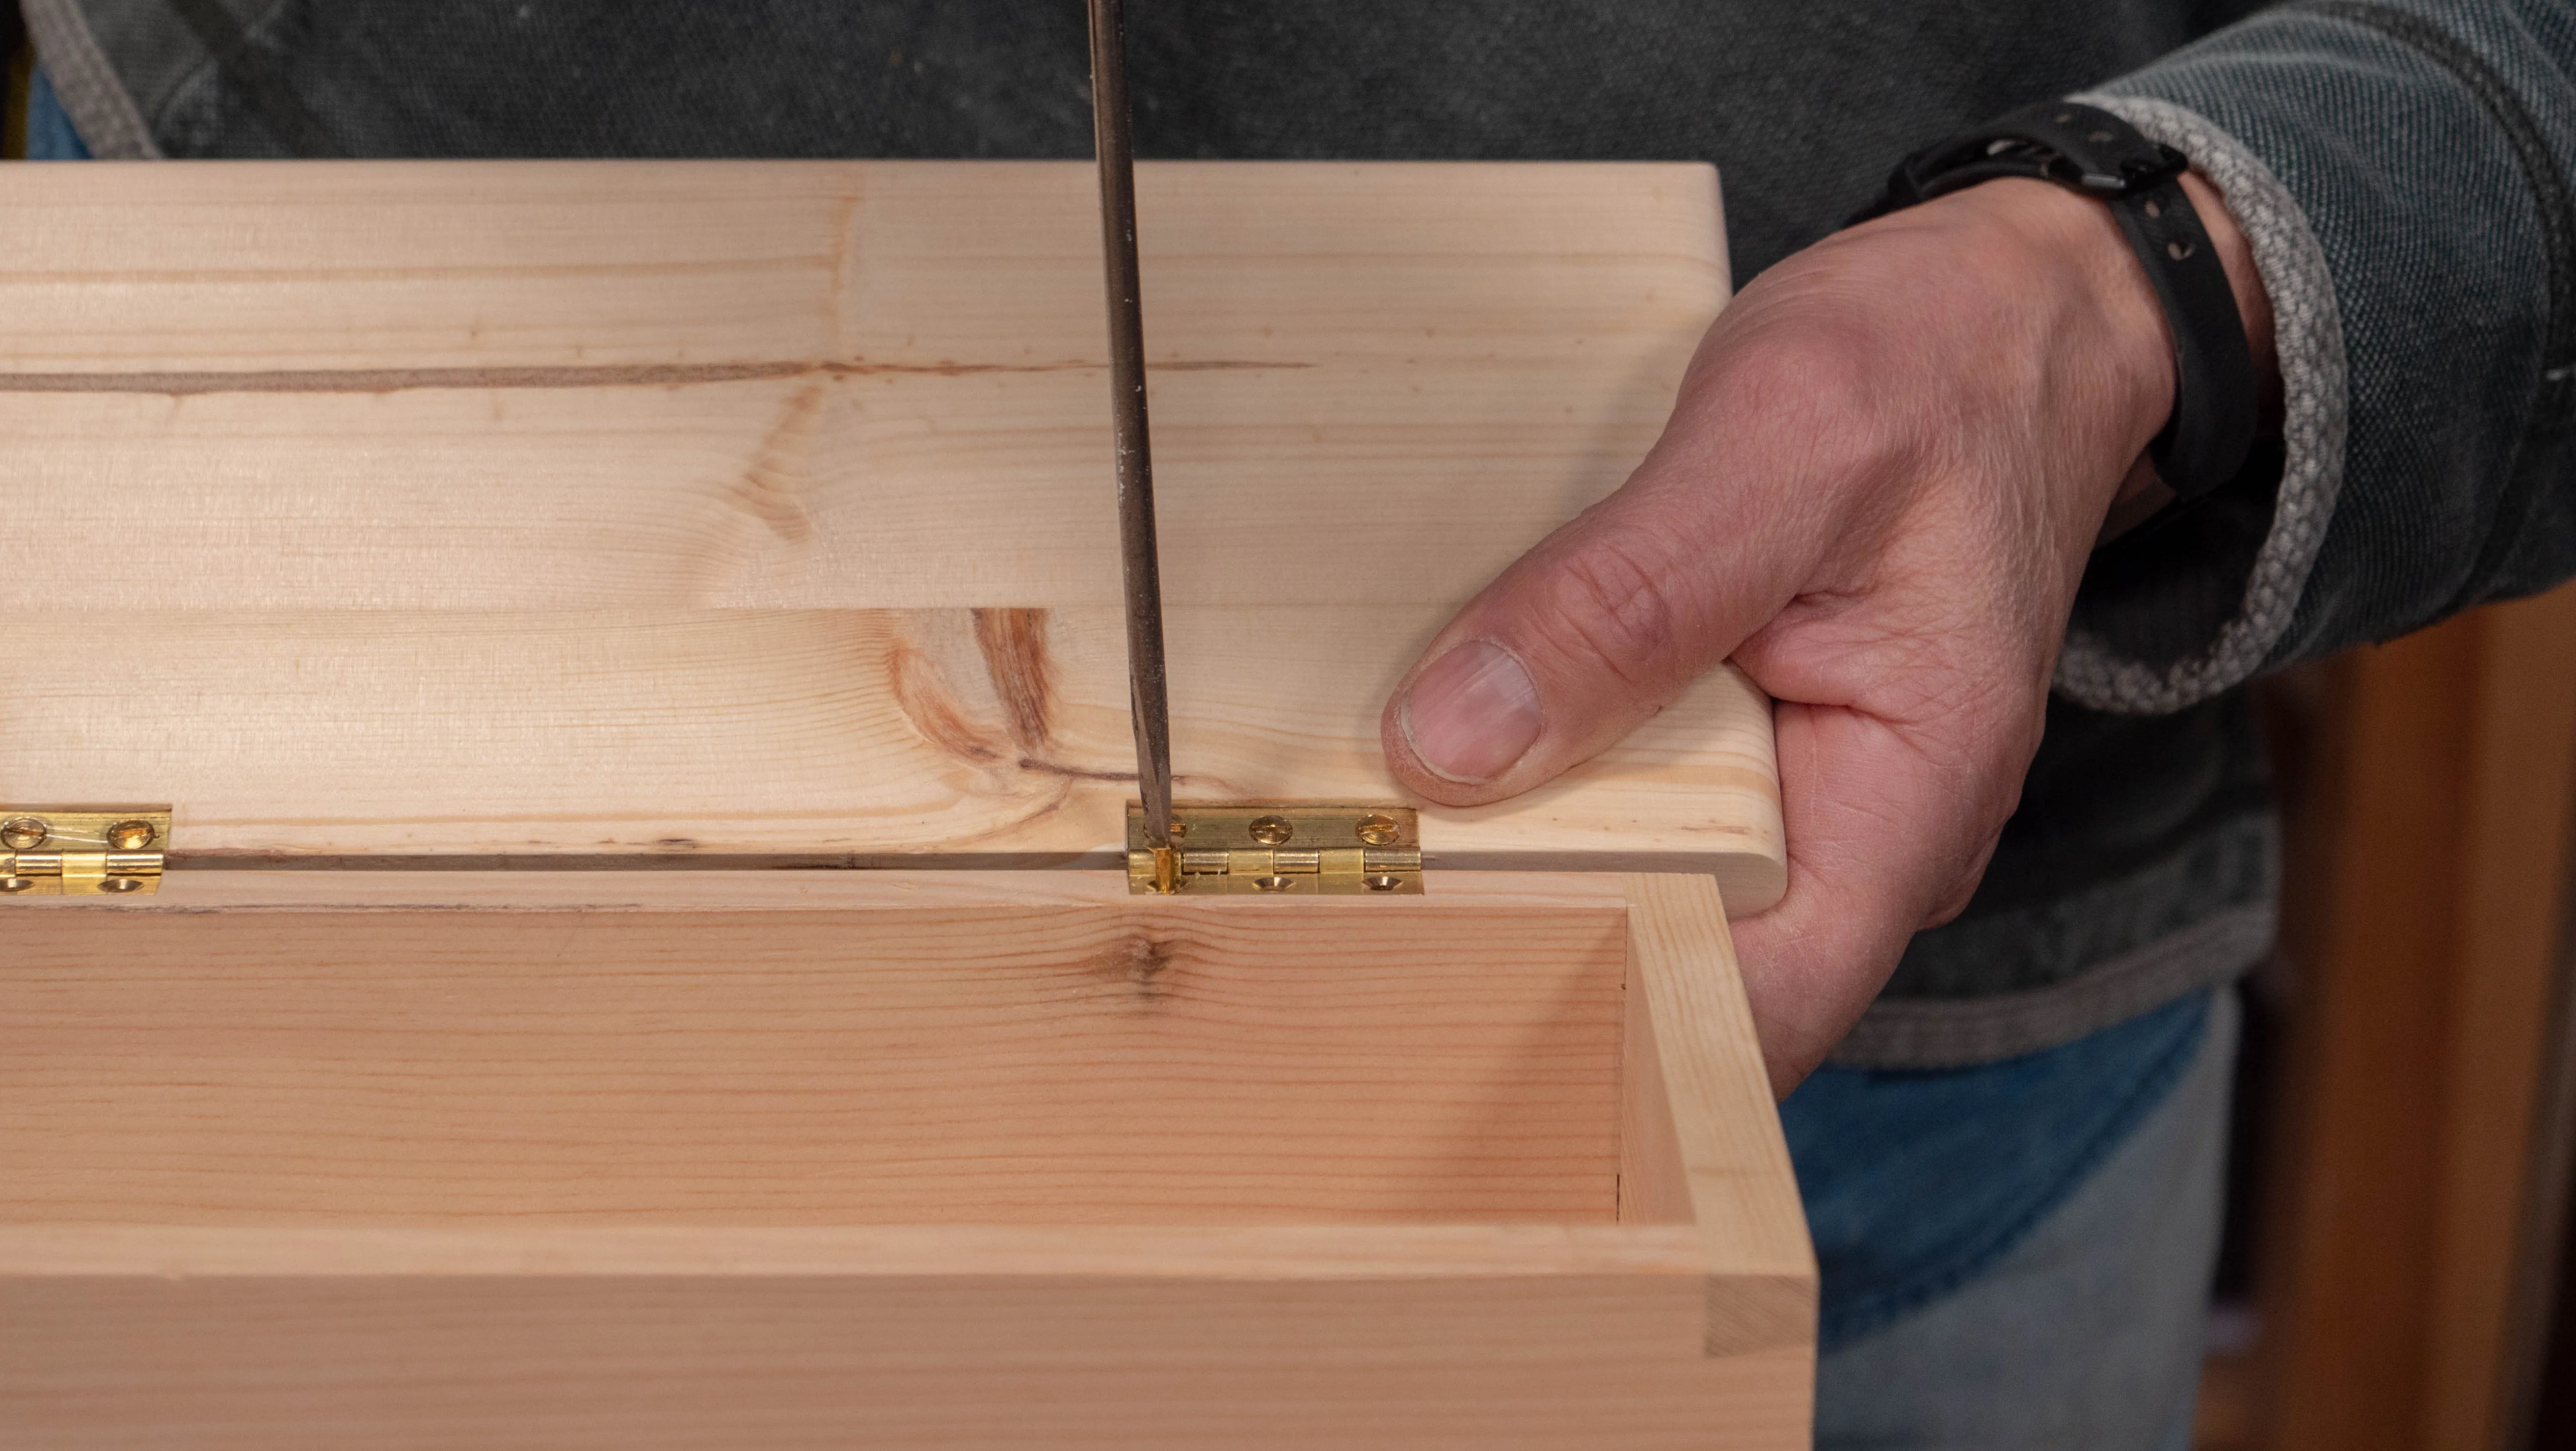
When the recess is cleaned out and the hinge is fitting well, use a sharp square awl to ream the holes for the screws. It’s a good practice to make the hole slightly towards the front of the recess rather than centred, as this will push the hinge towards the front and close up any gaps from showing.
If you would like a more detailed description of these techniques, see our ‘Setting Hinges’ guide.
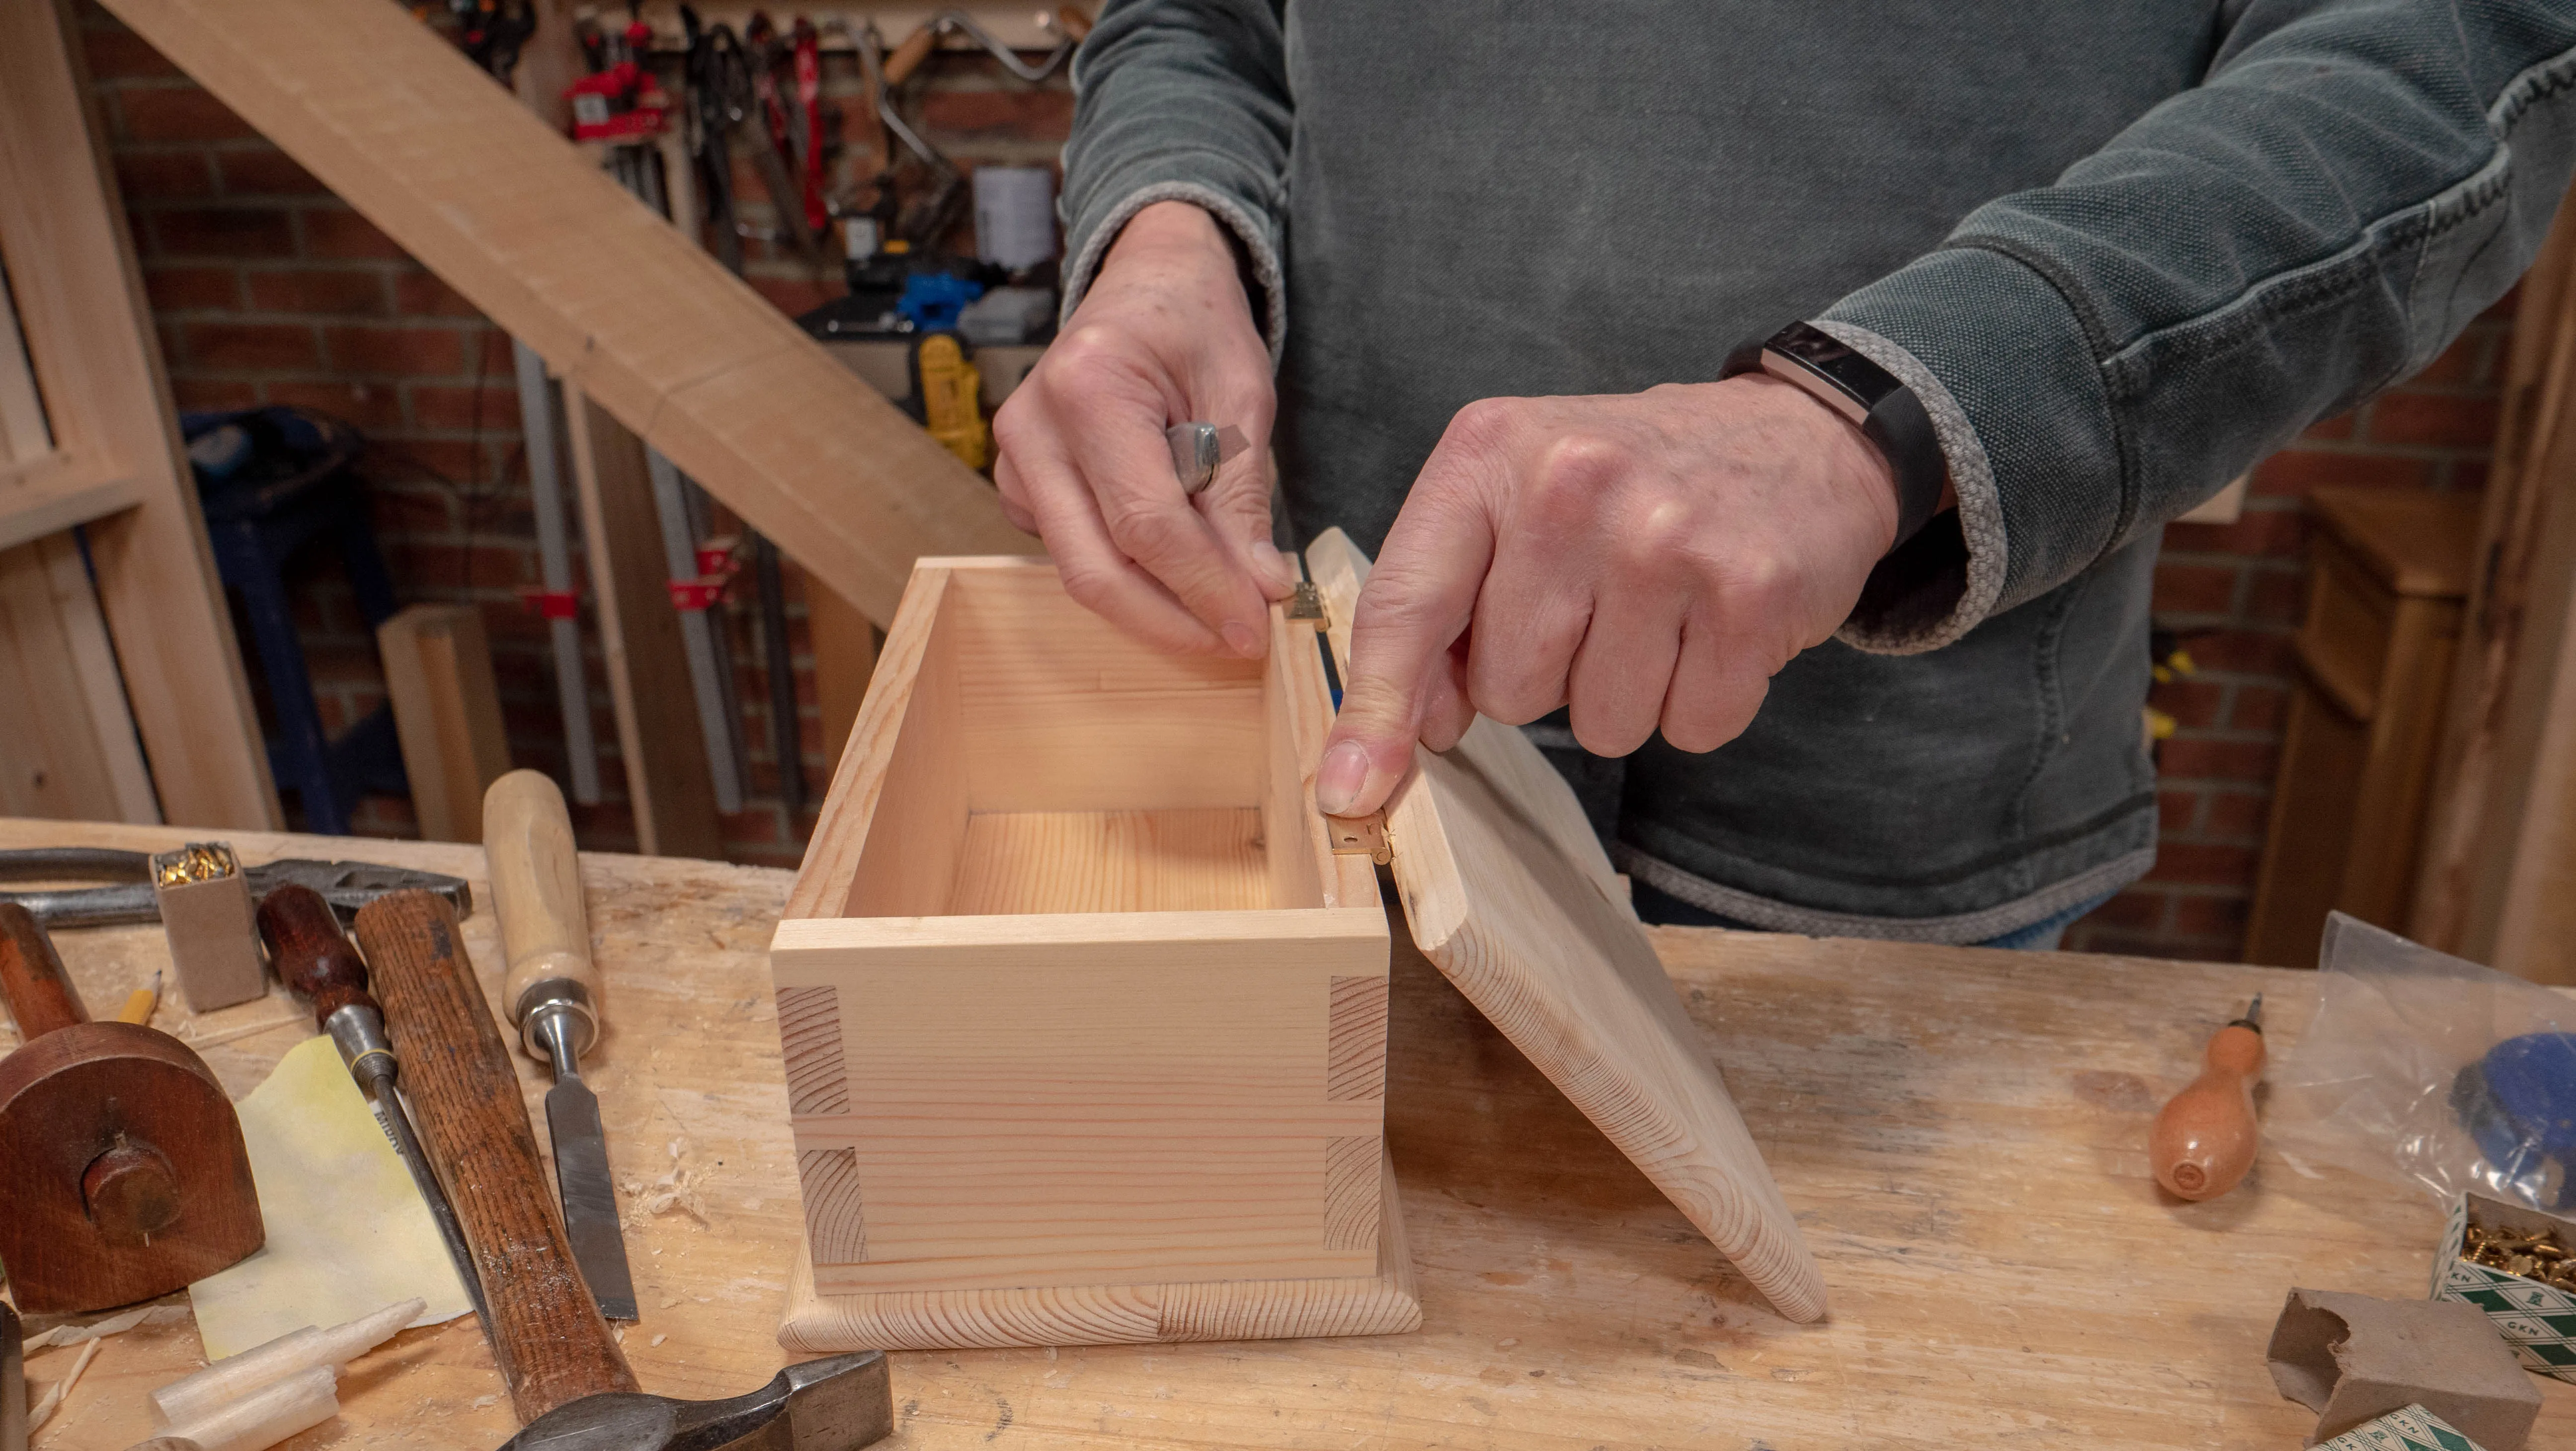
With the hinges recessed and screwed into the lid, flip around and mark out the hinge positions on the back rim of the box. Make sure the lid is resting neatly on the bench so you’re not juggling mid-air, and slide the lid so that the hinges line up with the initial pencil lines you made at the start.
Note: The hinges can be laid out up-side down (or using the ‘wrong’ hinge) because they are generally milled accurately enough.
Repeat the methods for marking the perimeter of the hinges, cutting the remaining recesses and attaching the lid to the box.
Sign in to track your progress