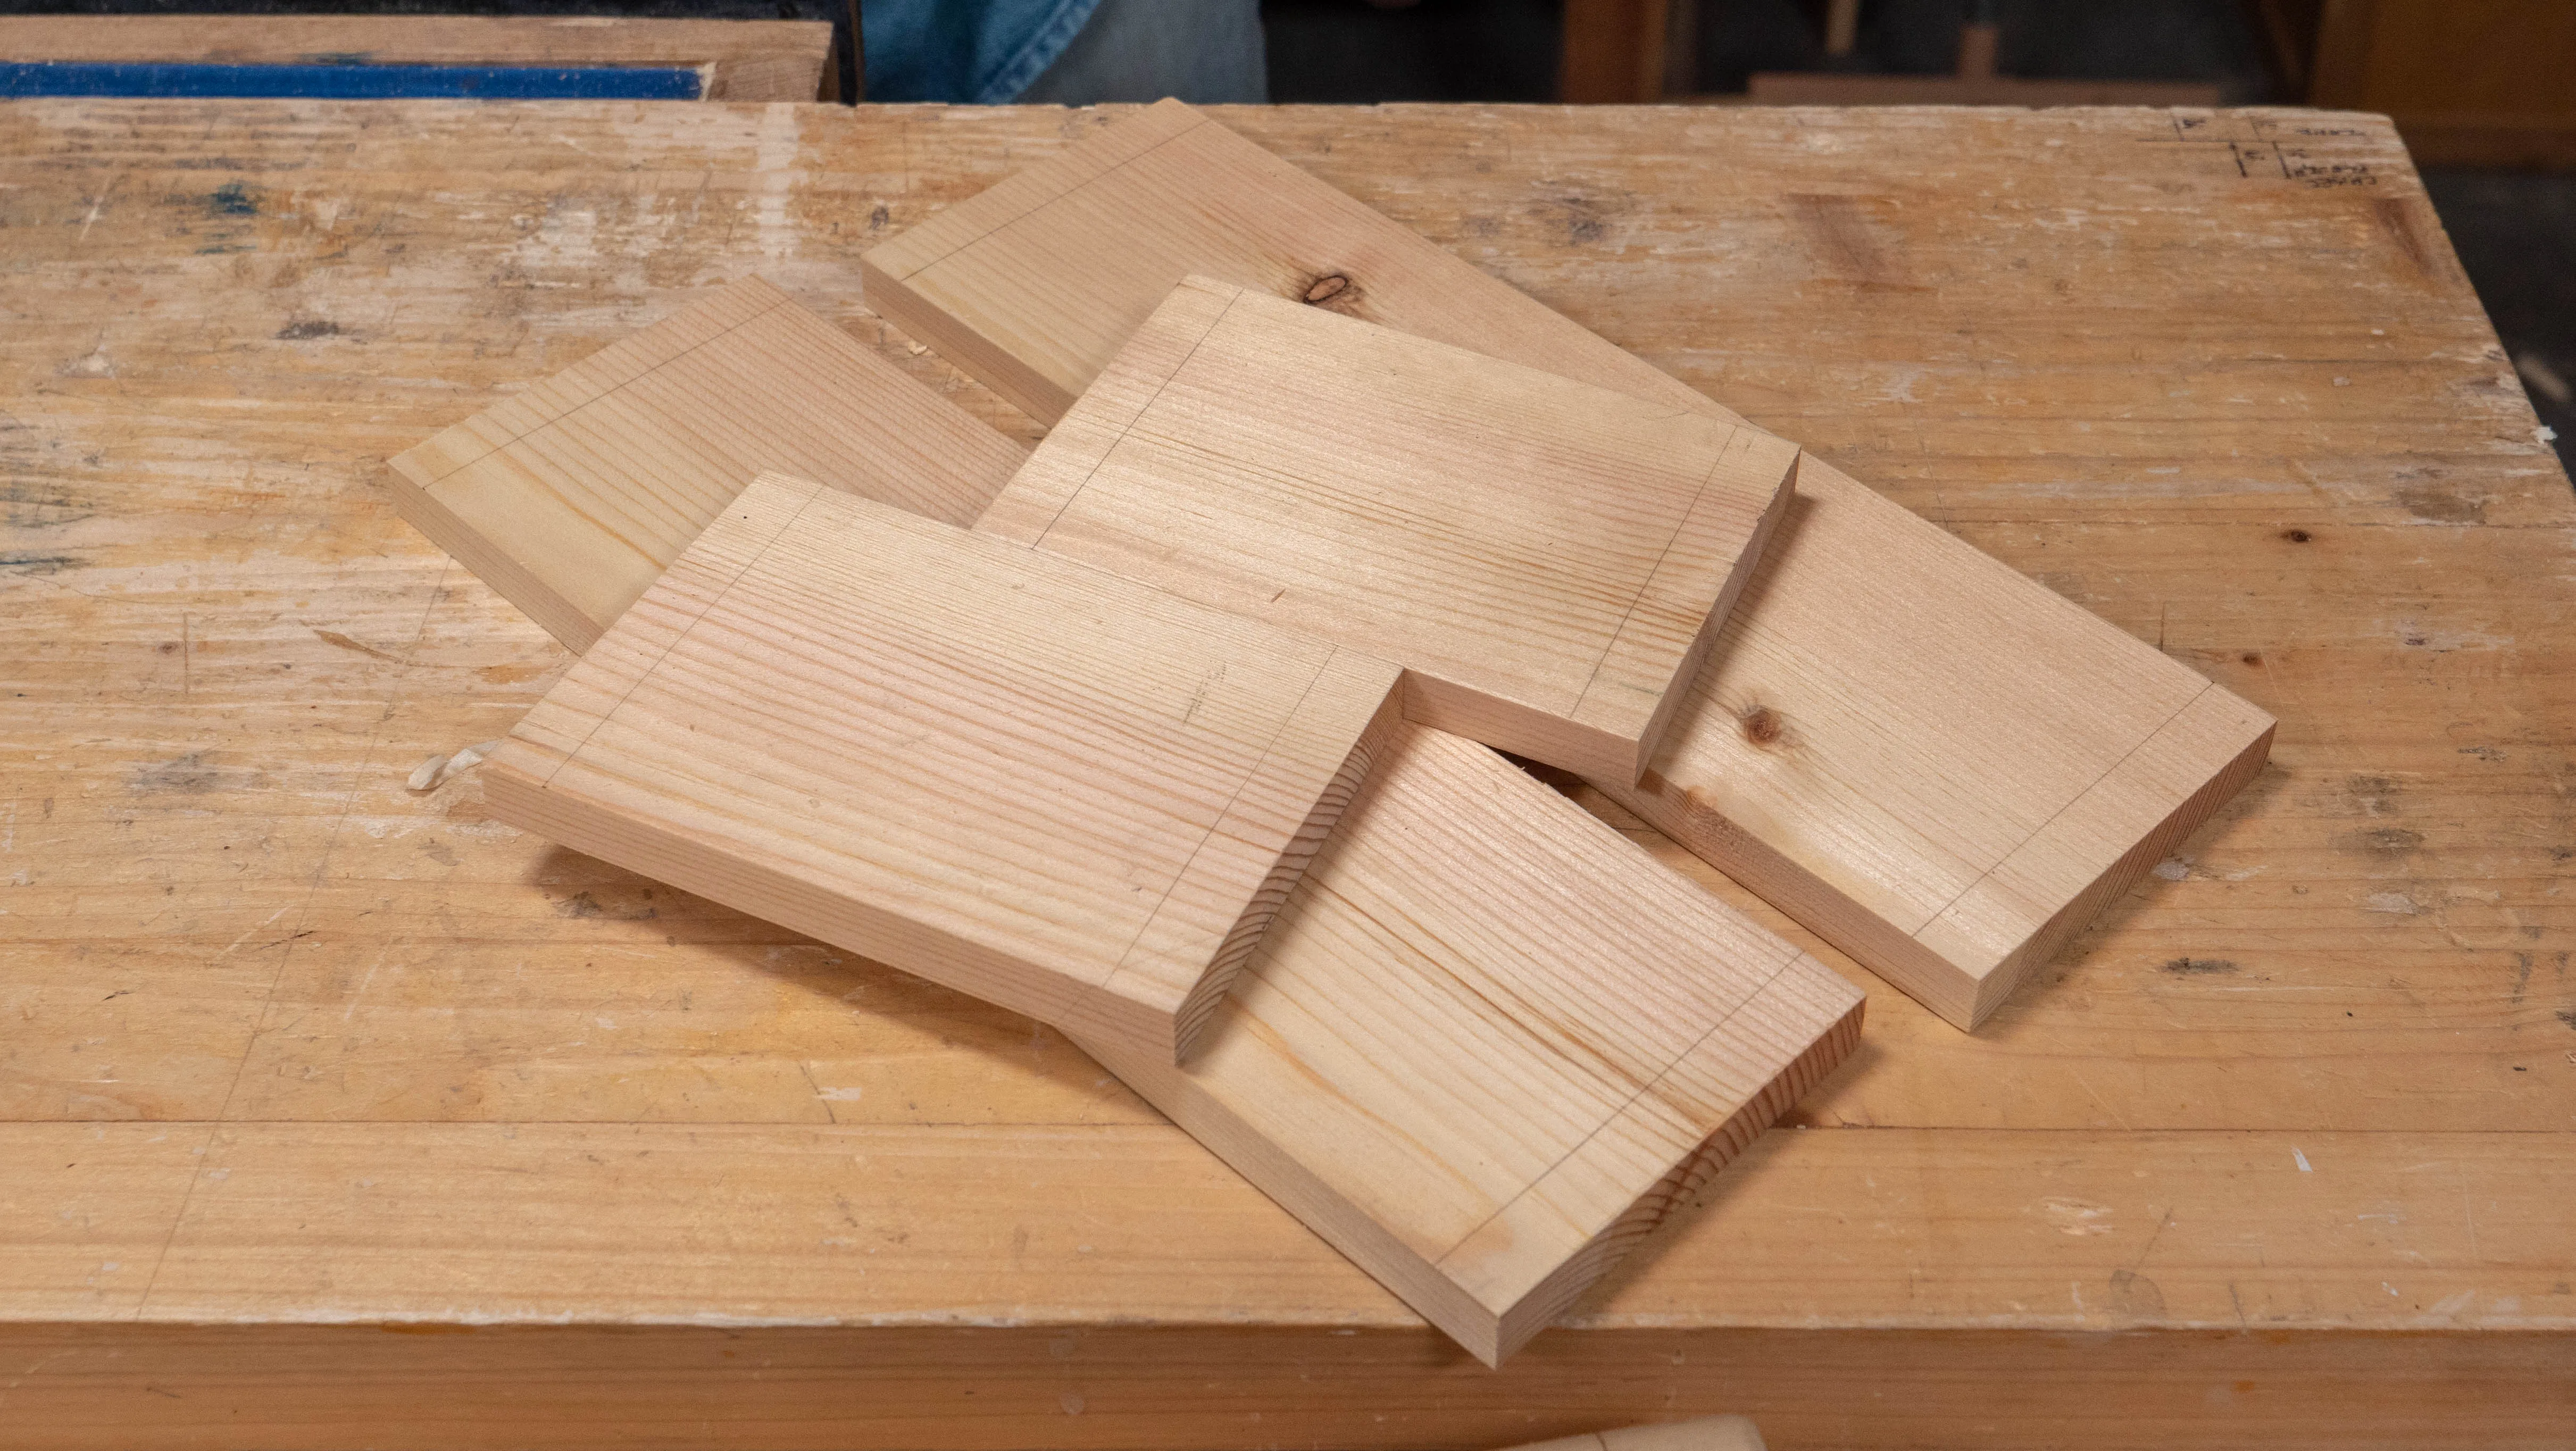
Laying Out, Cutting And Assembling The Box Sides
The layout for each corner follows the same patter as that for cutting a double dovetail. You can click here for a more comprehensive guide.
The ‘Tails’
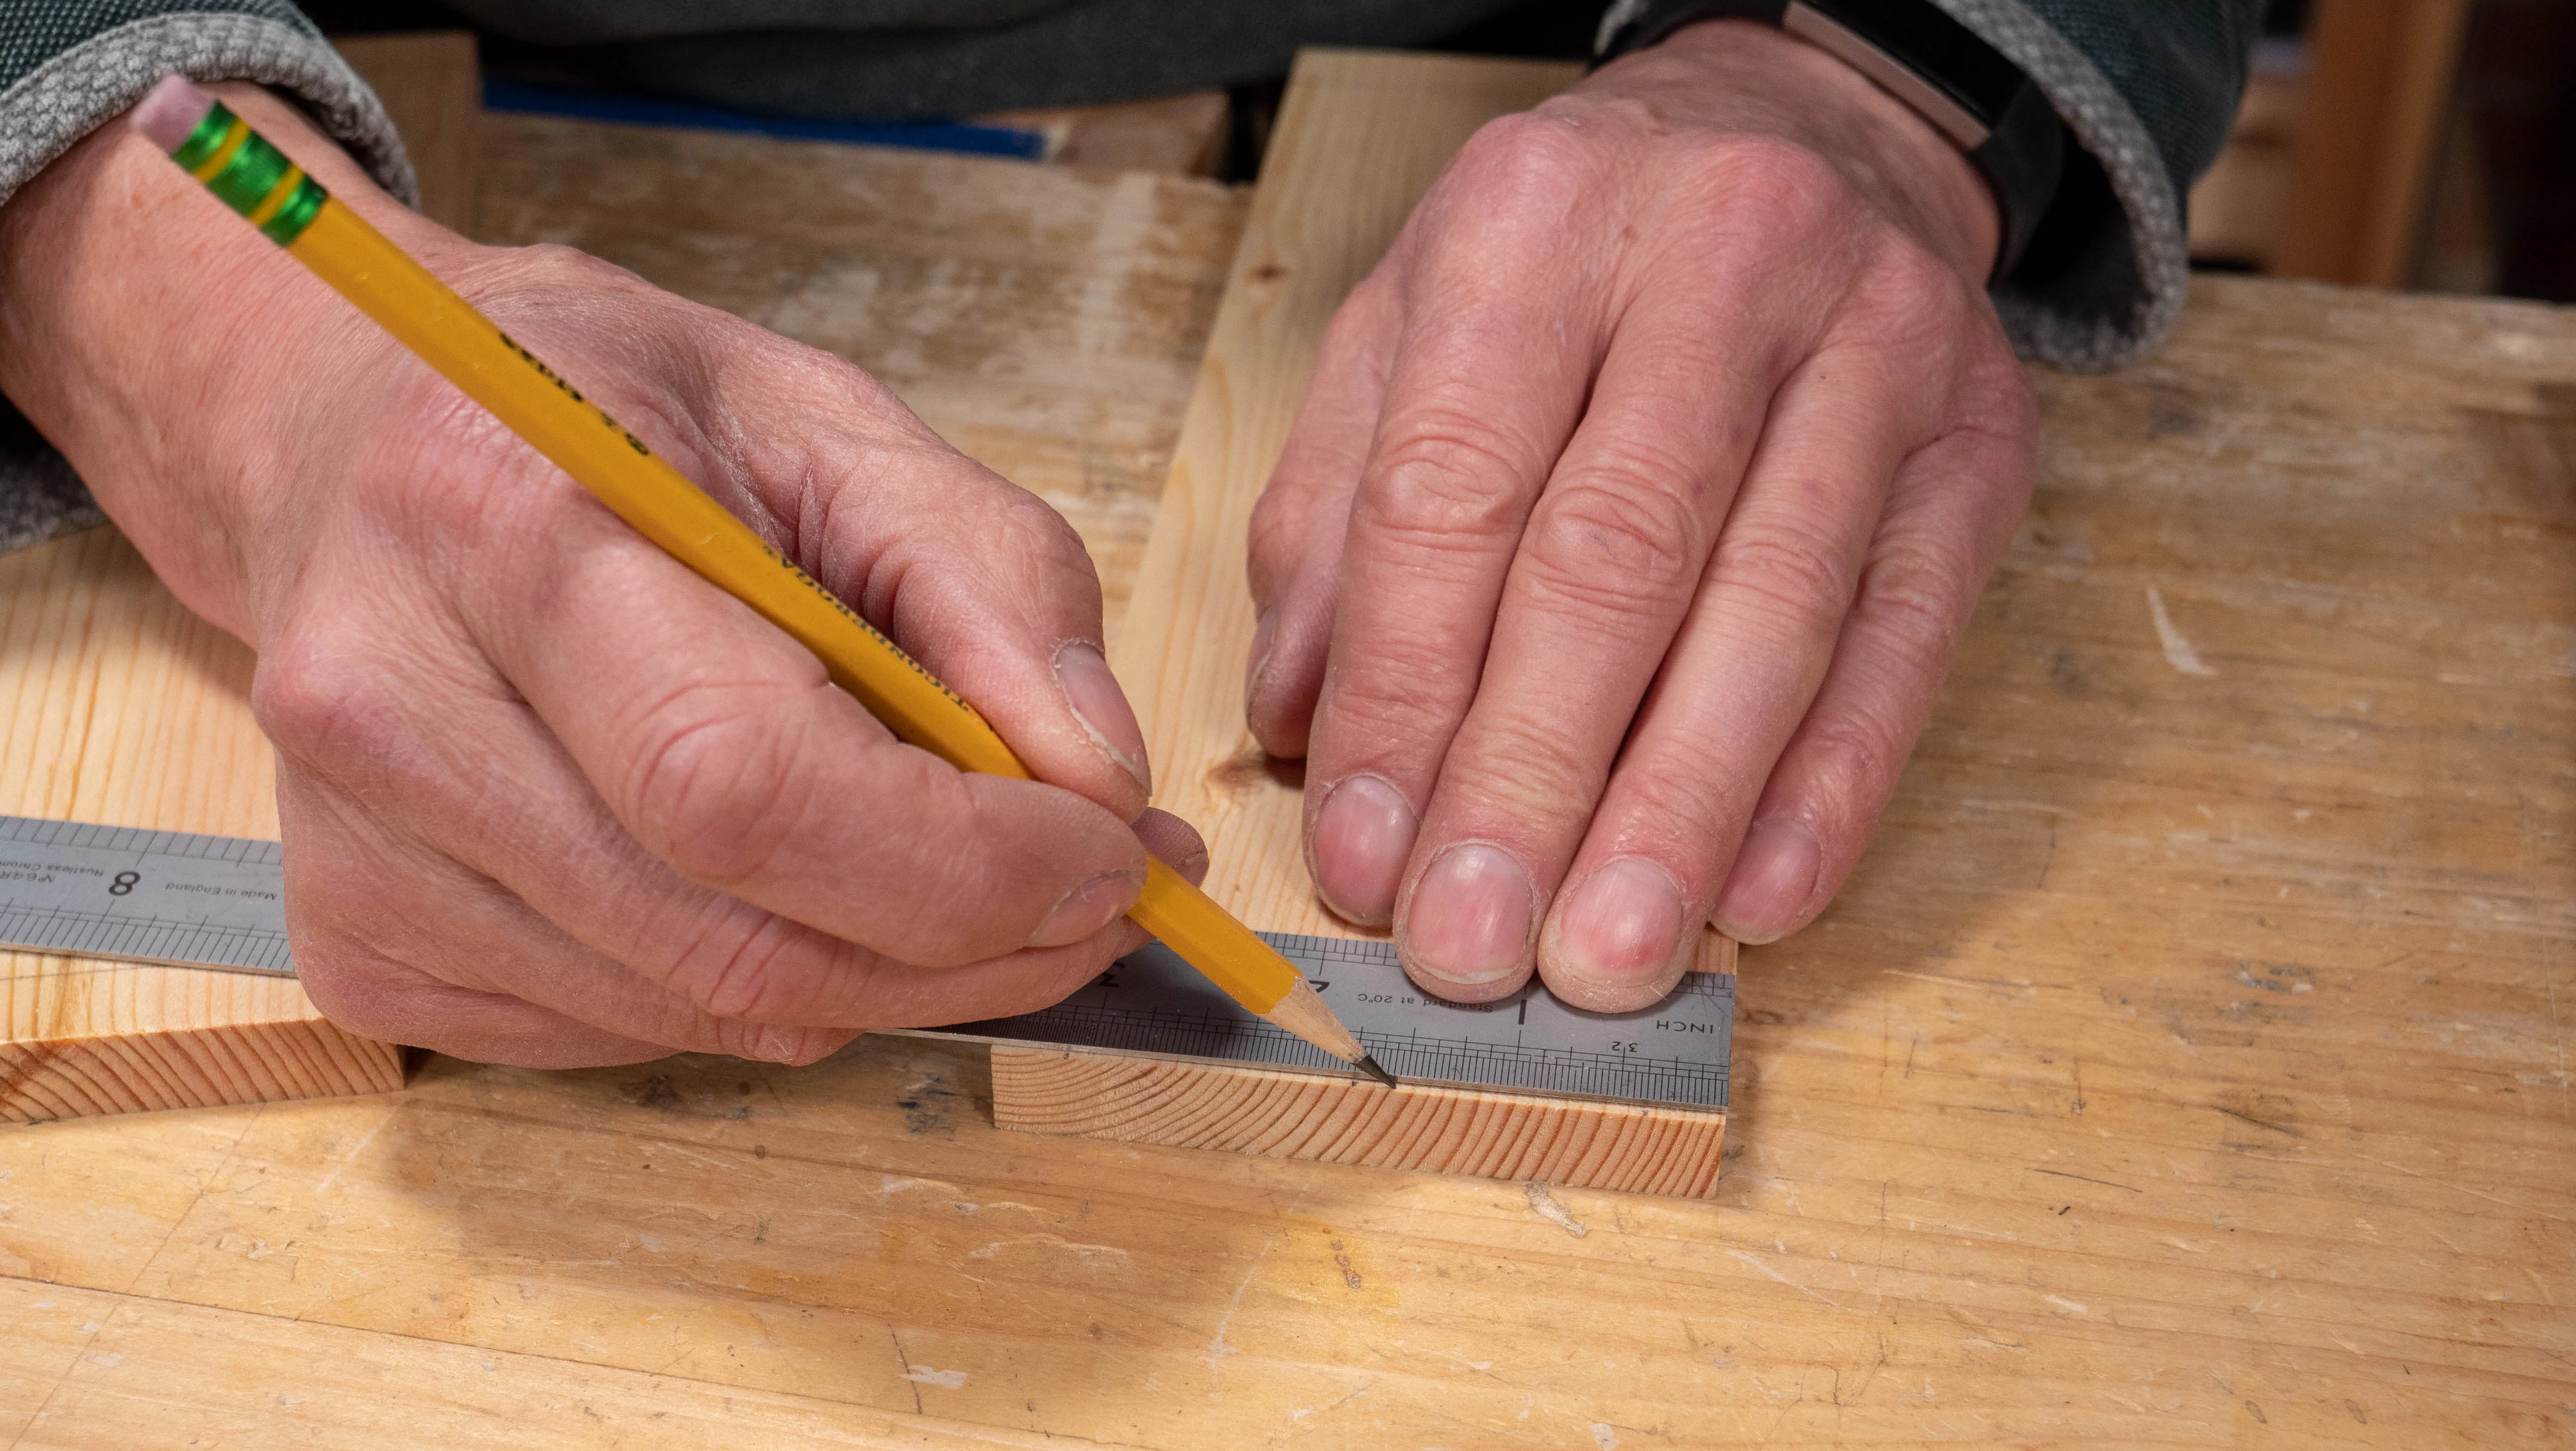
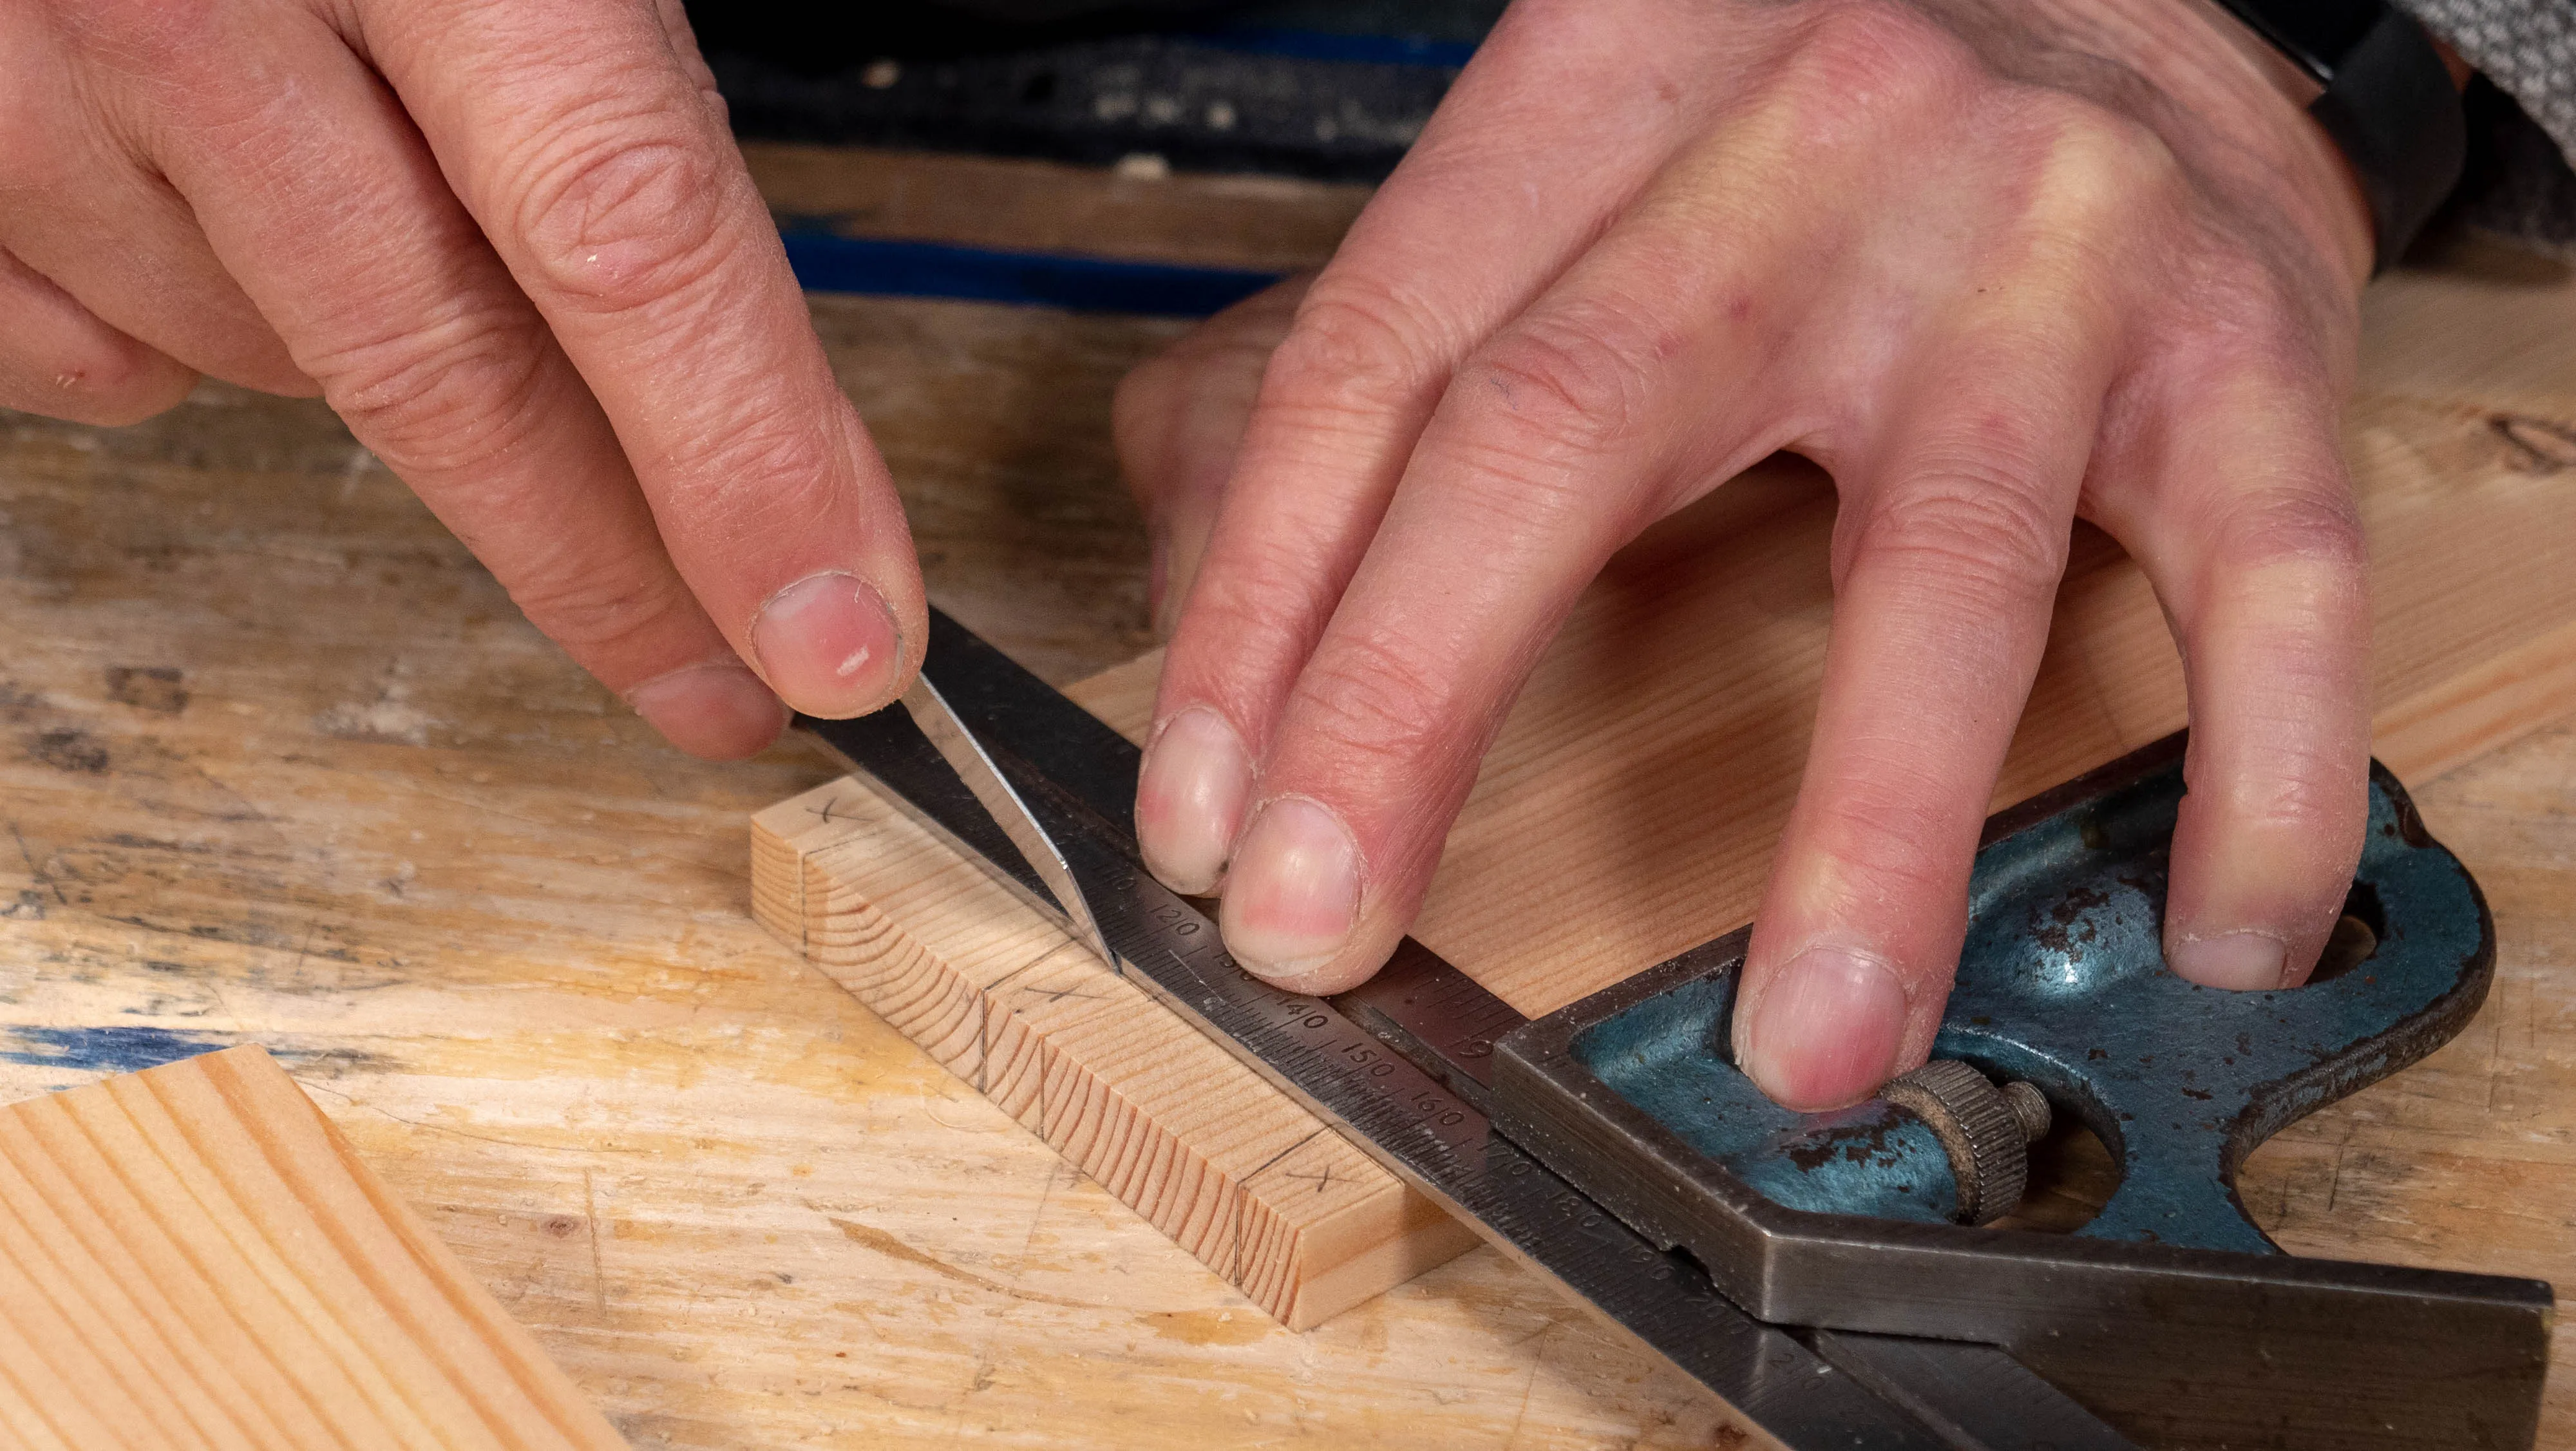
On one of your tail pieces (the long side pieces), measure in ⅜” (10mm) from either side and make a small mark. Then find the midpoint across the width and measure 3/16” (5mm) to either side. Use a dovetail template to mark out the 1:7 dovetail pitch along the face and the square lines across the end.
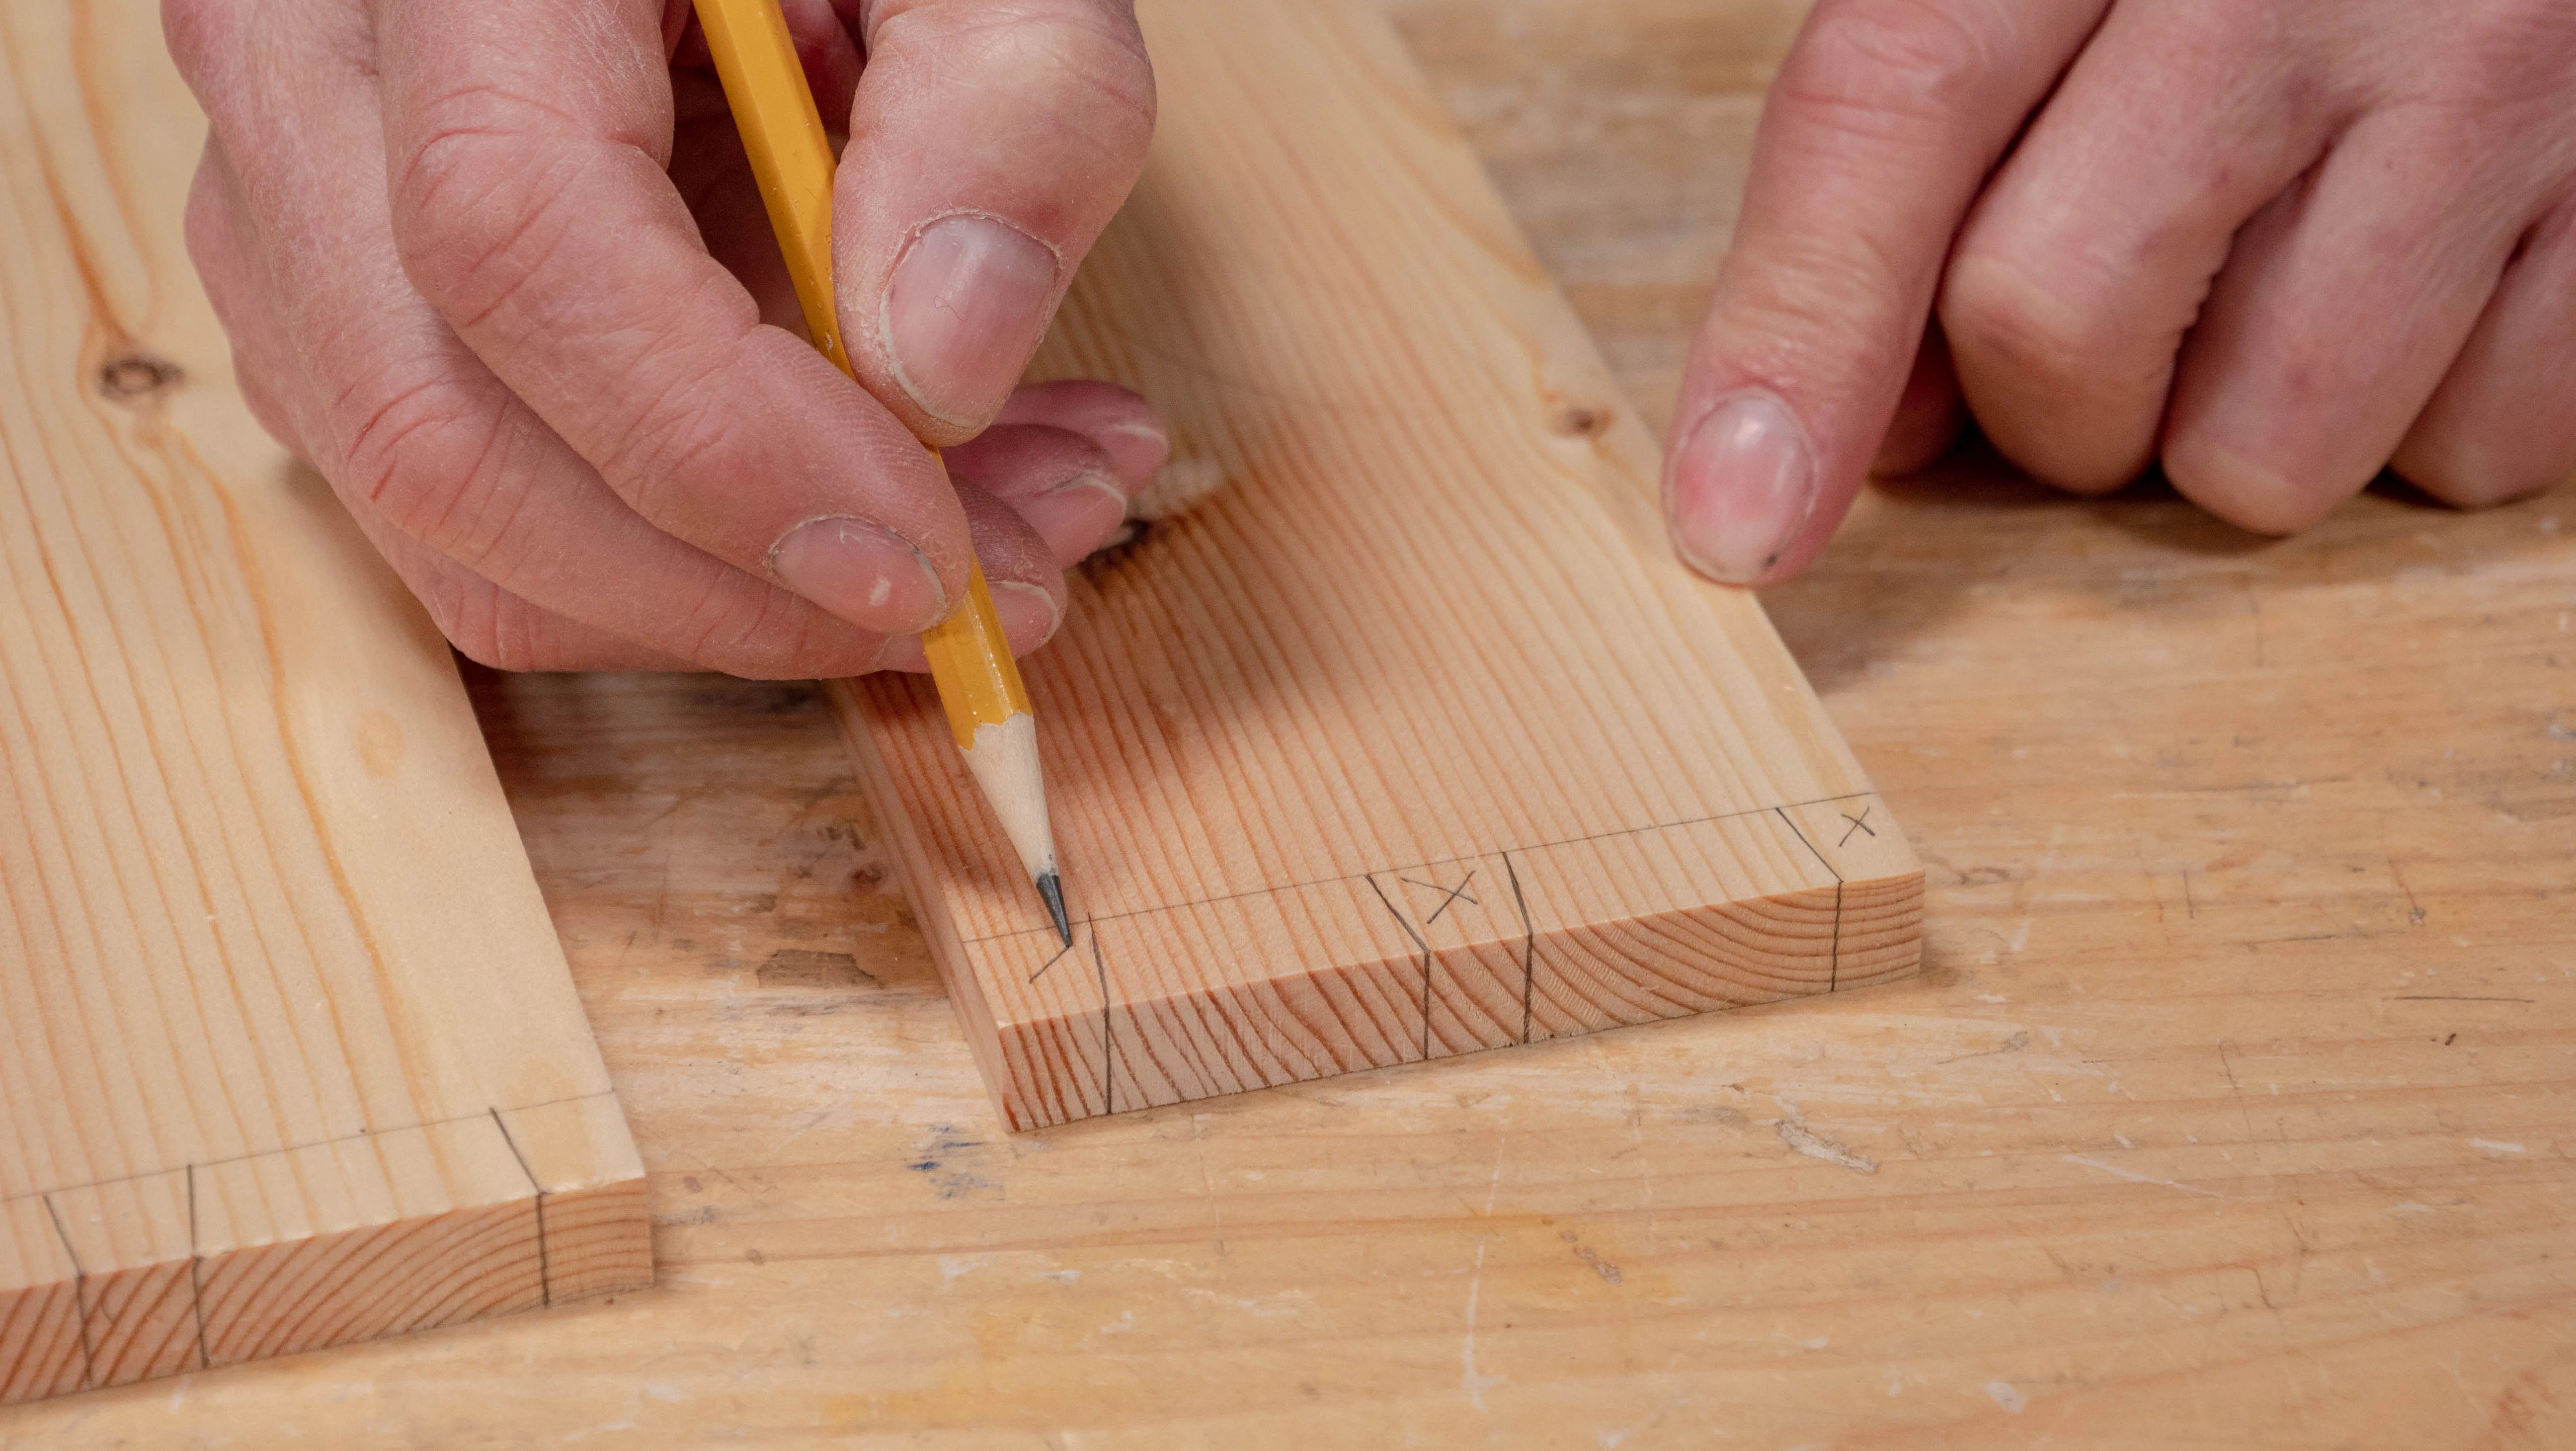
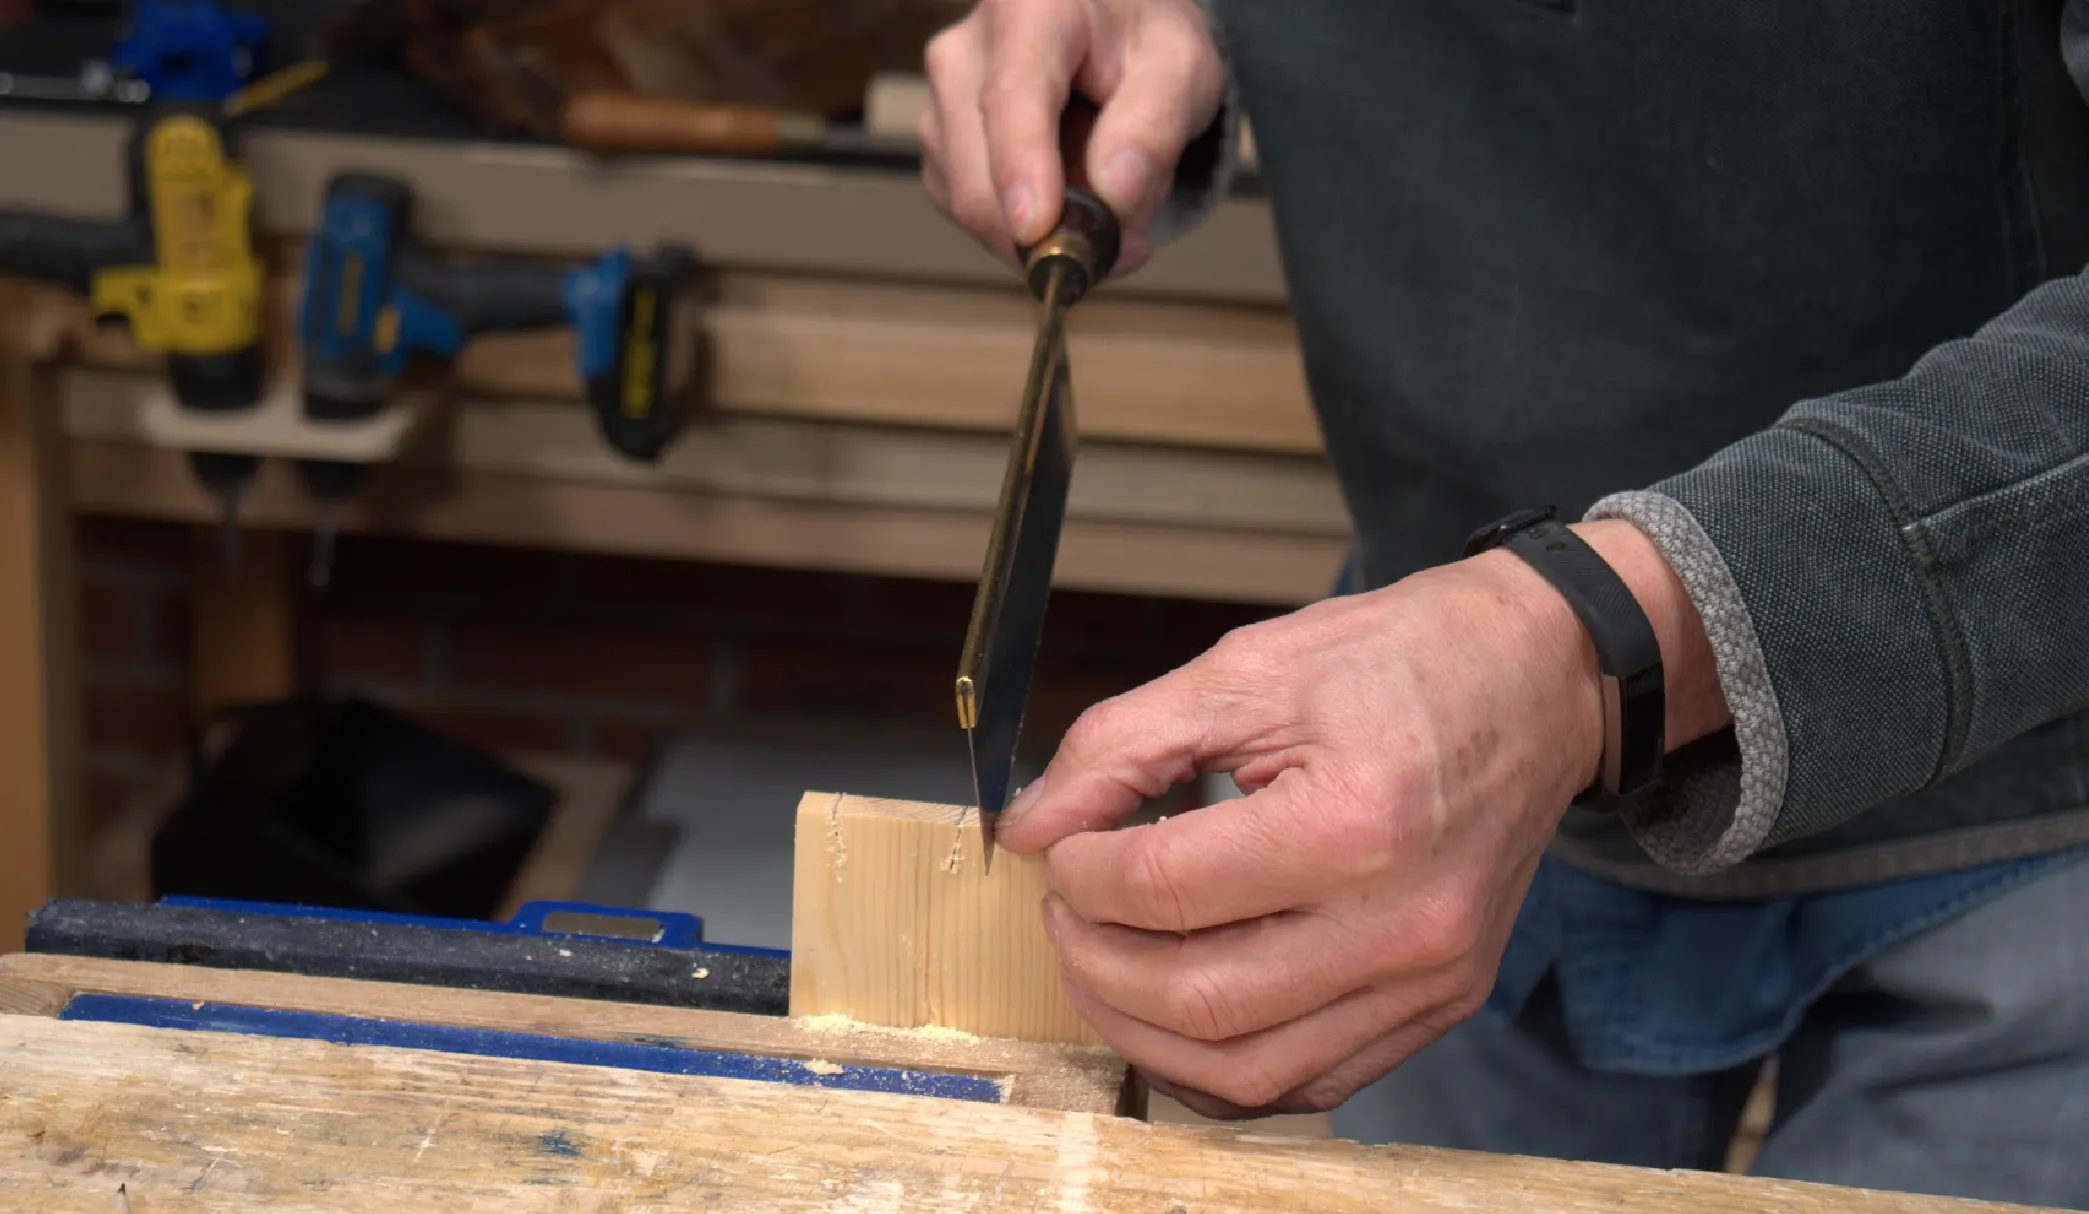
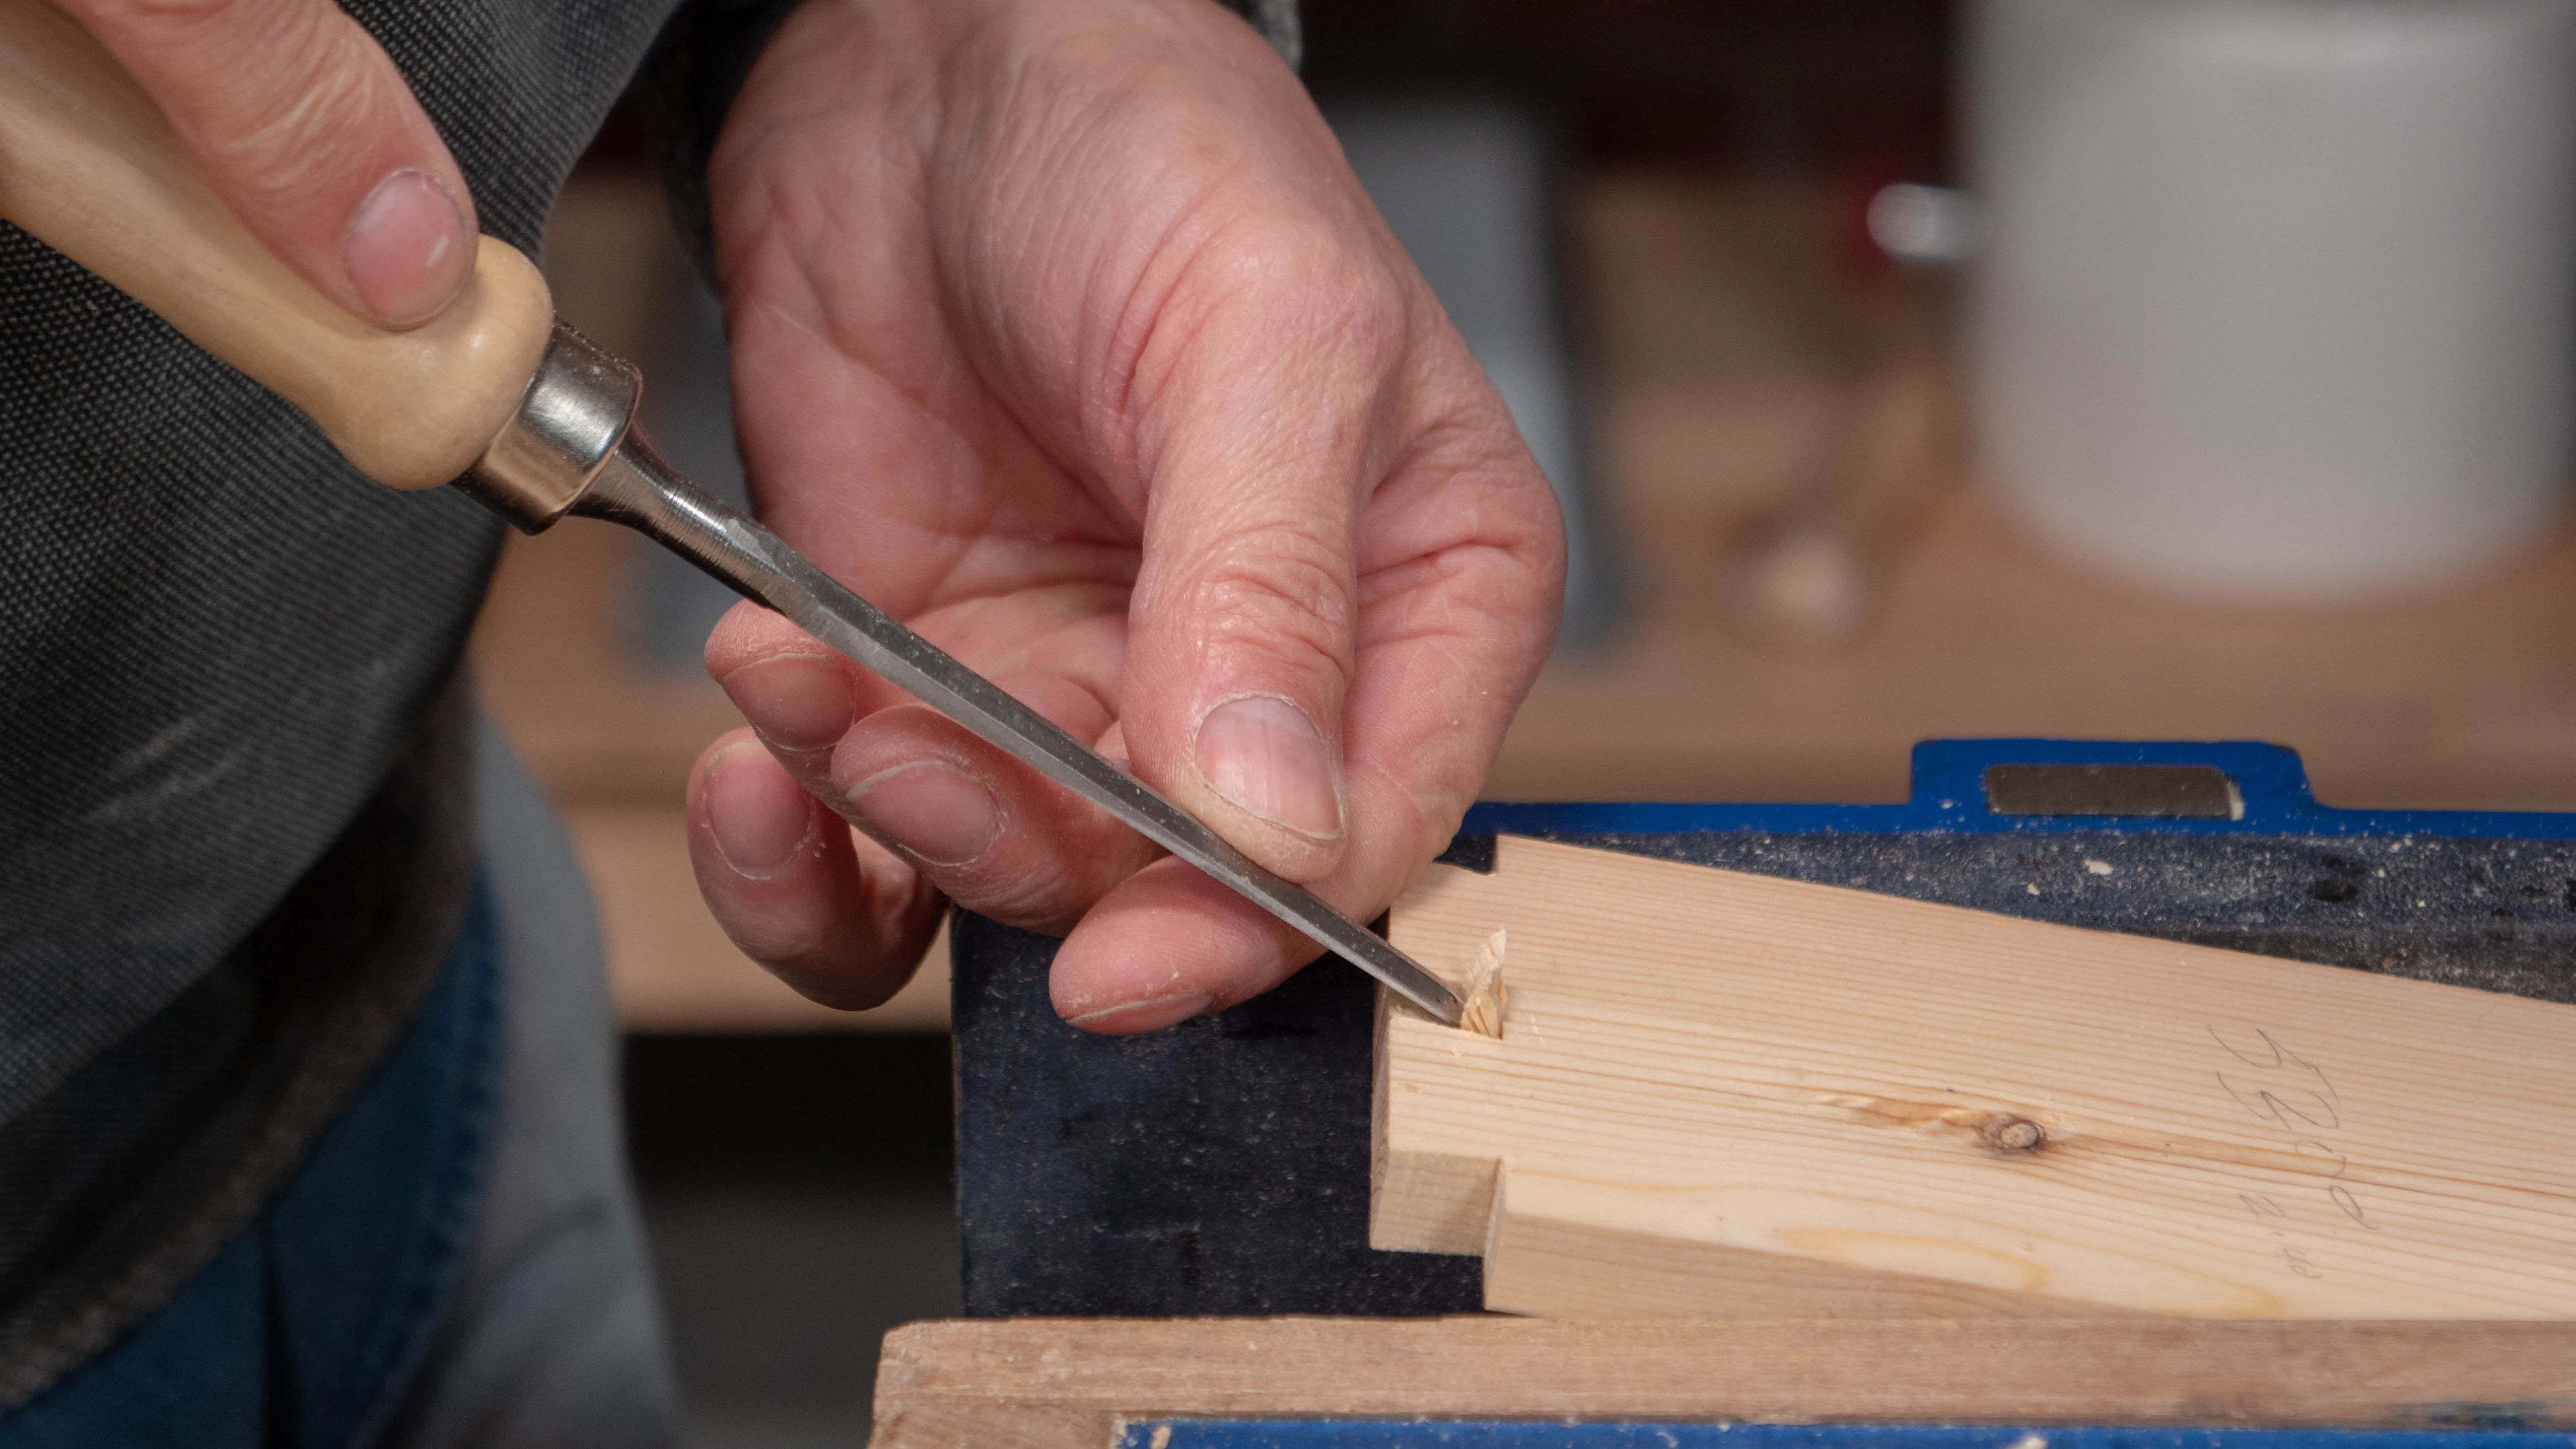
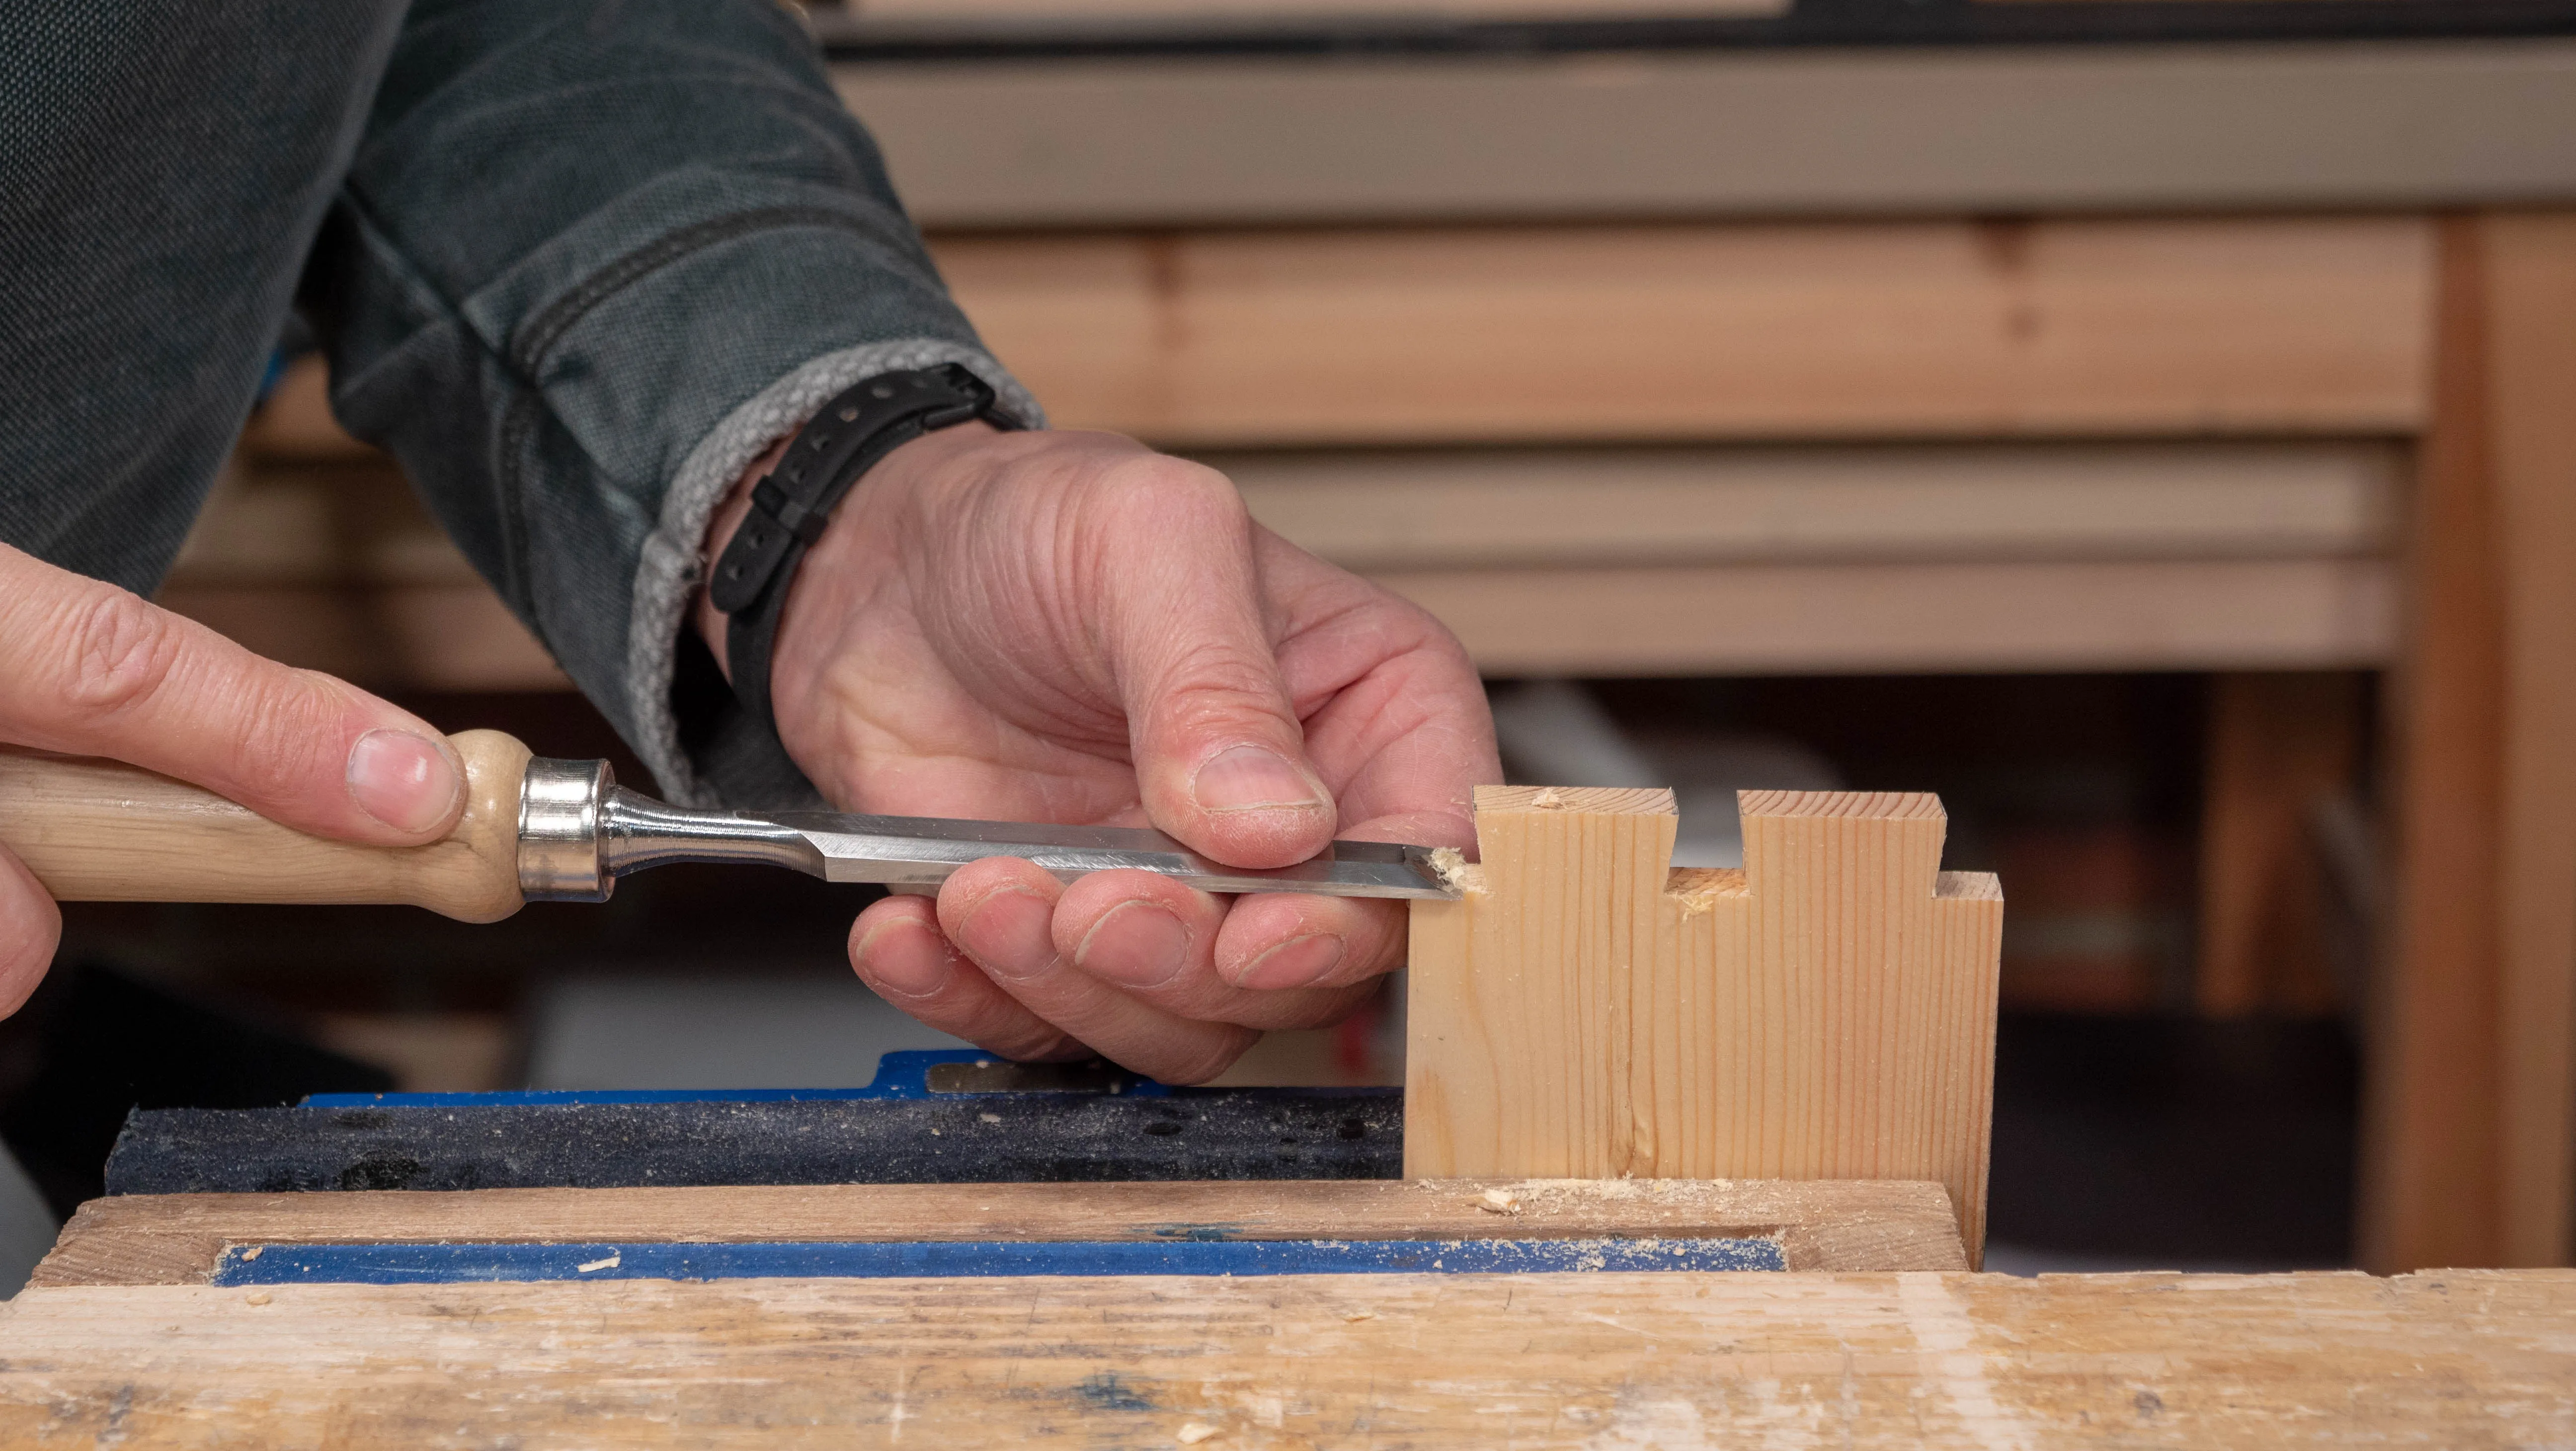
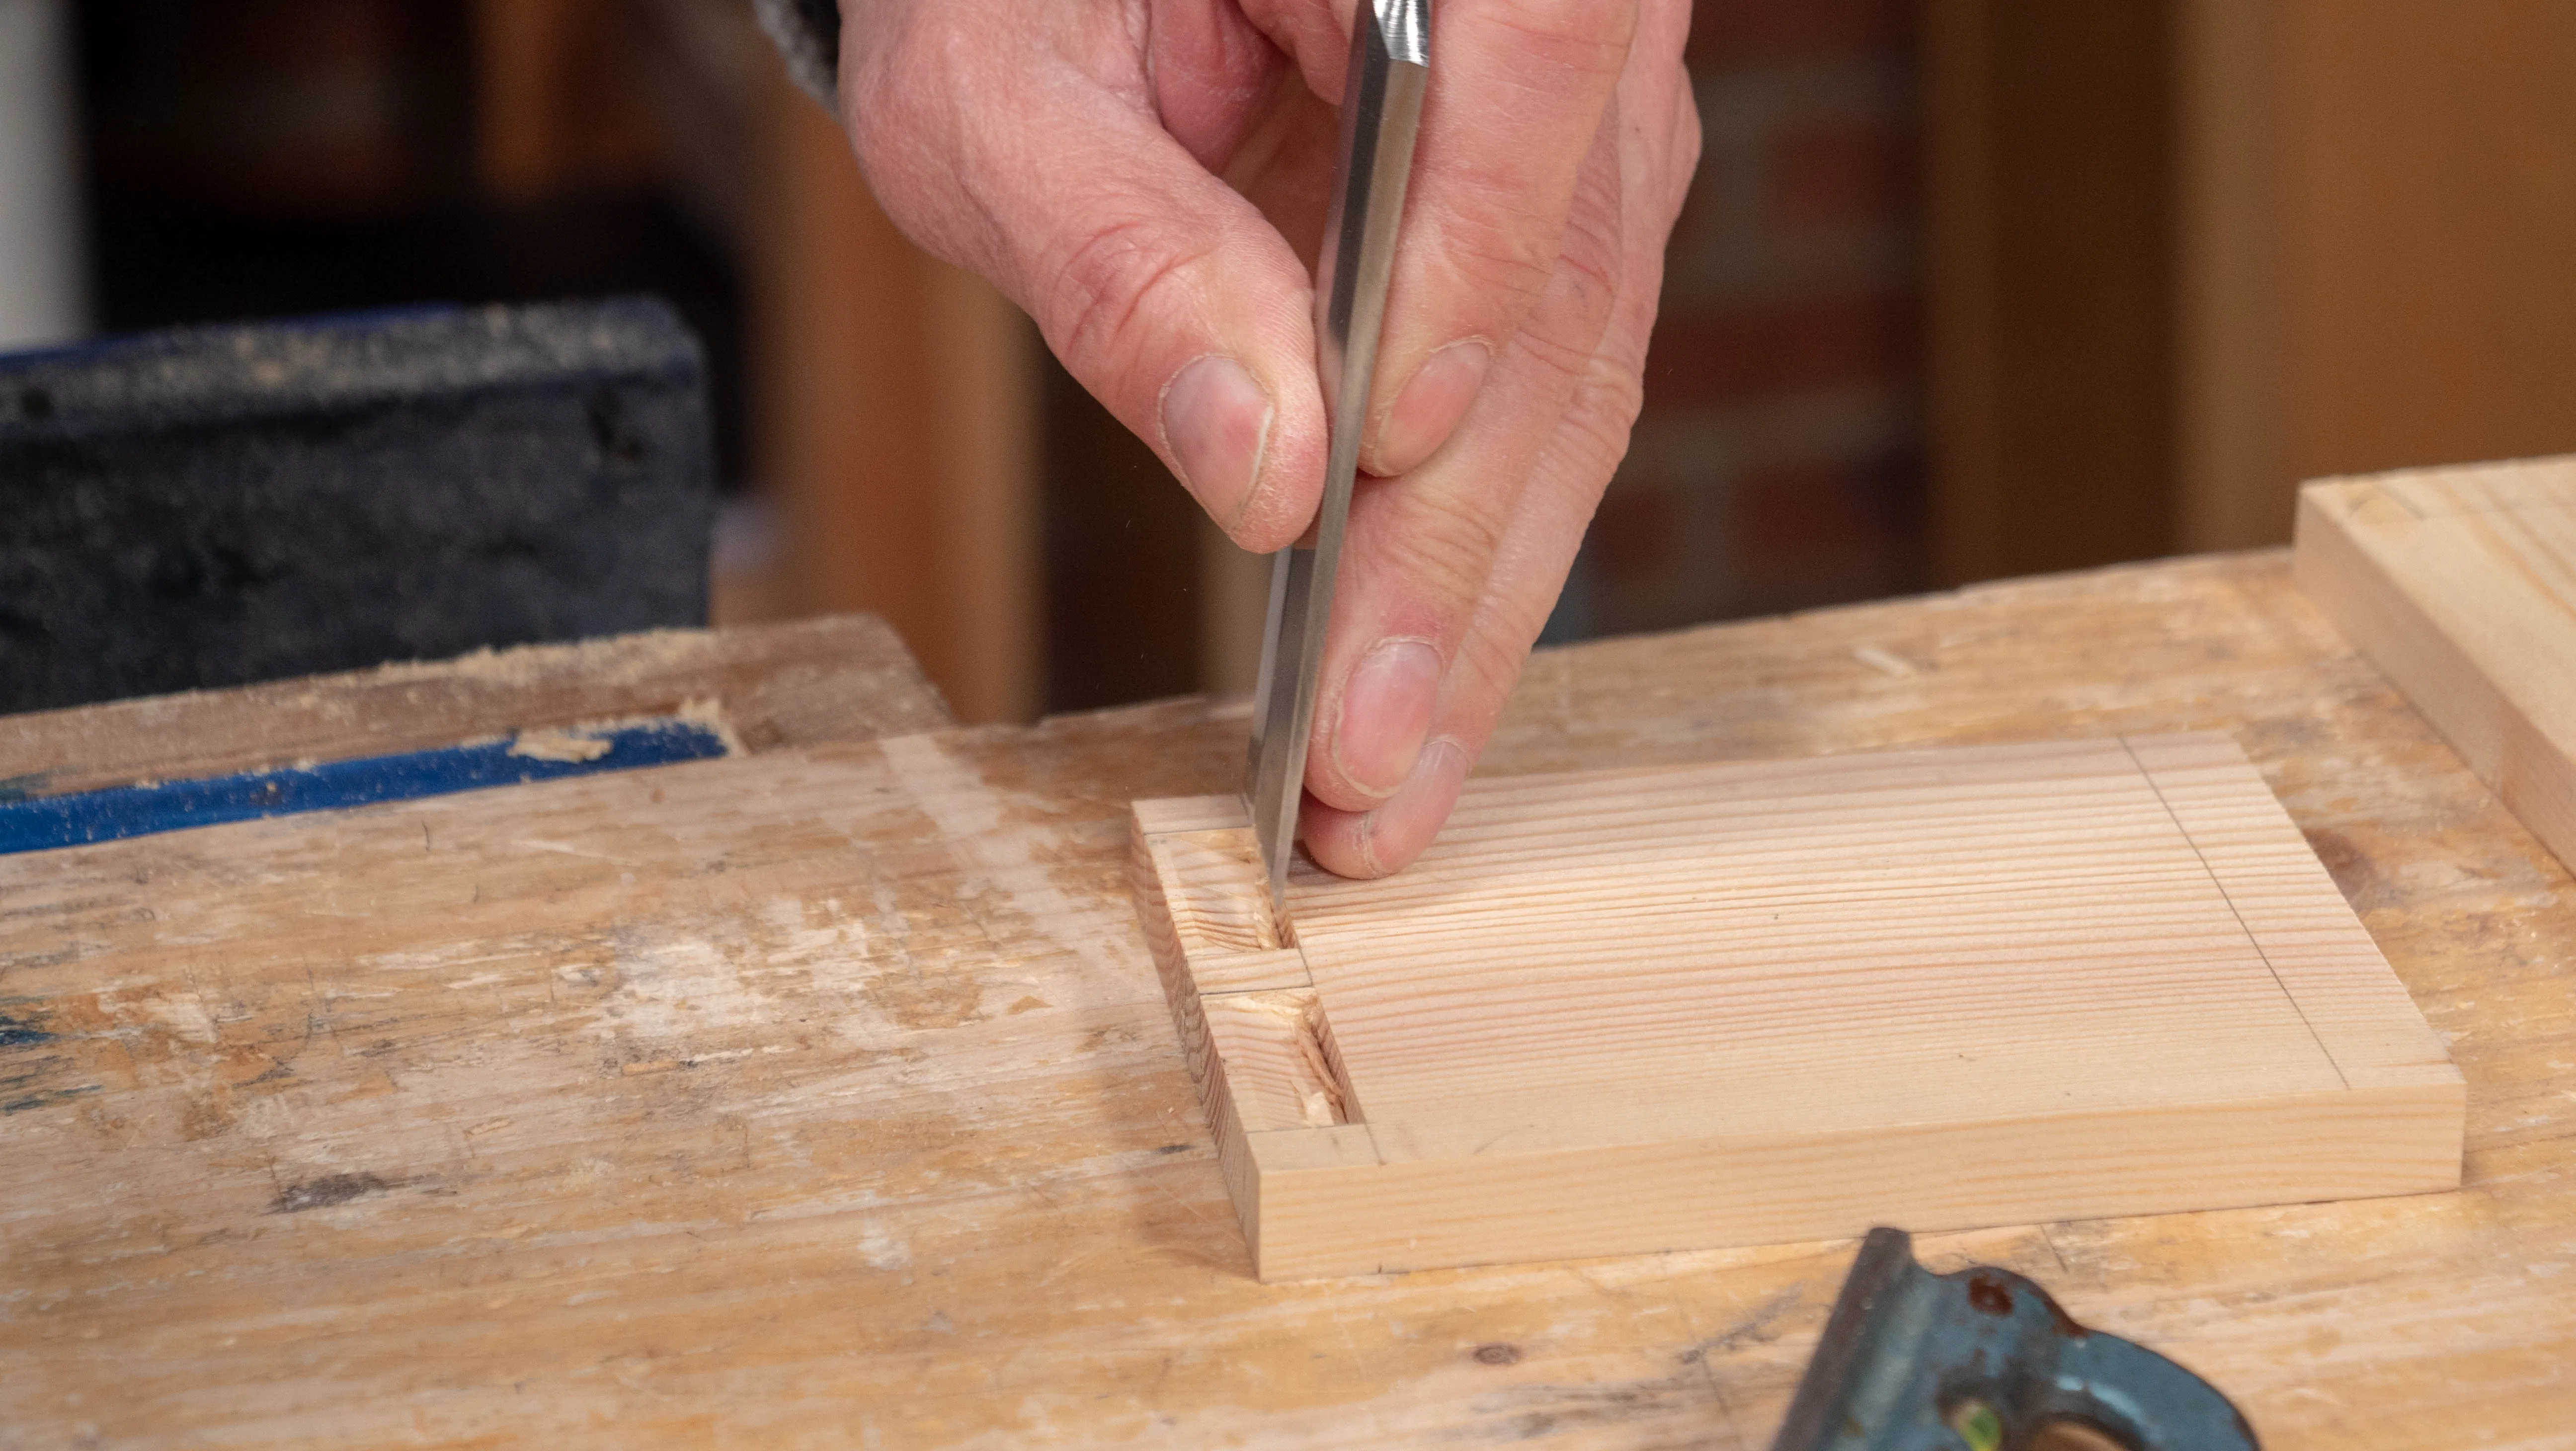
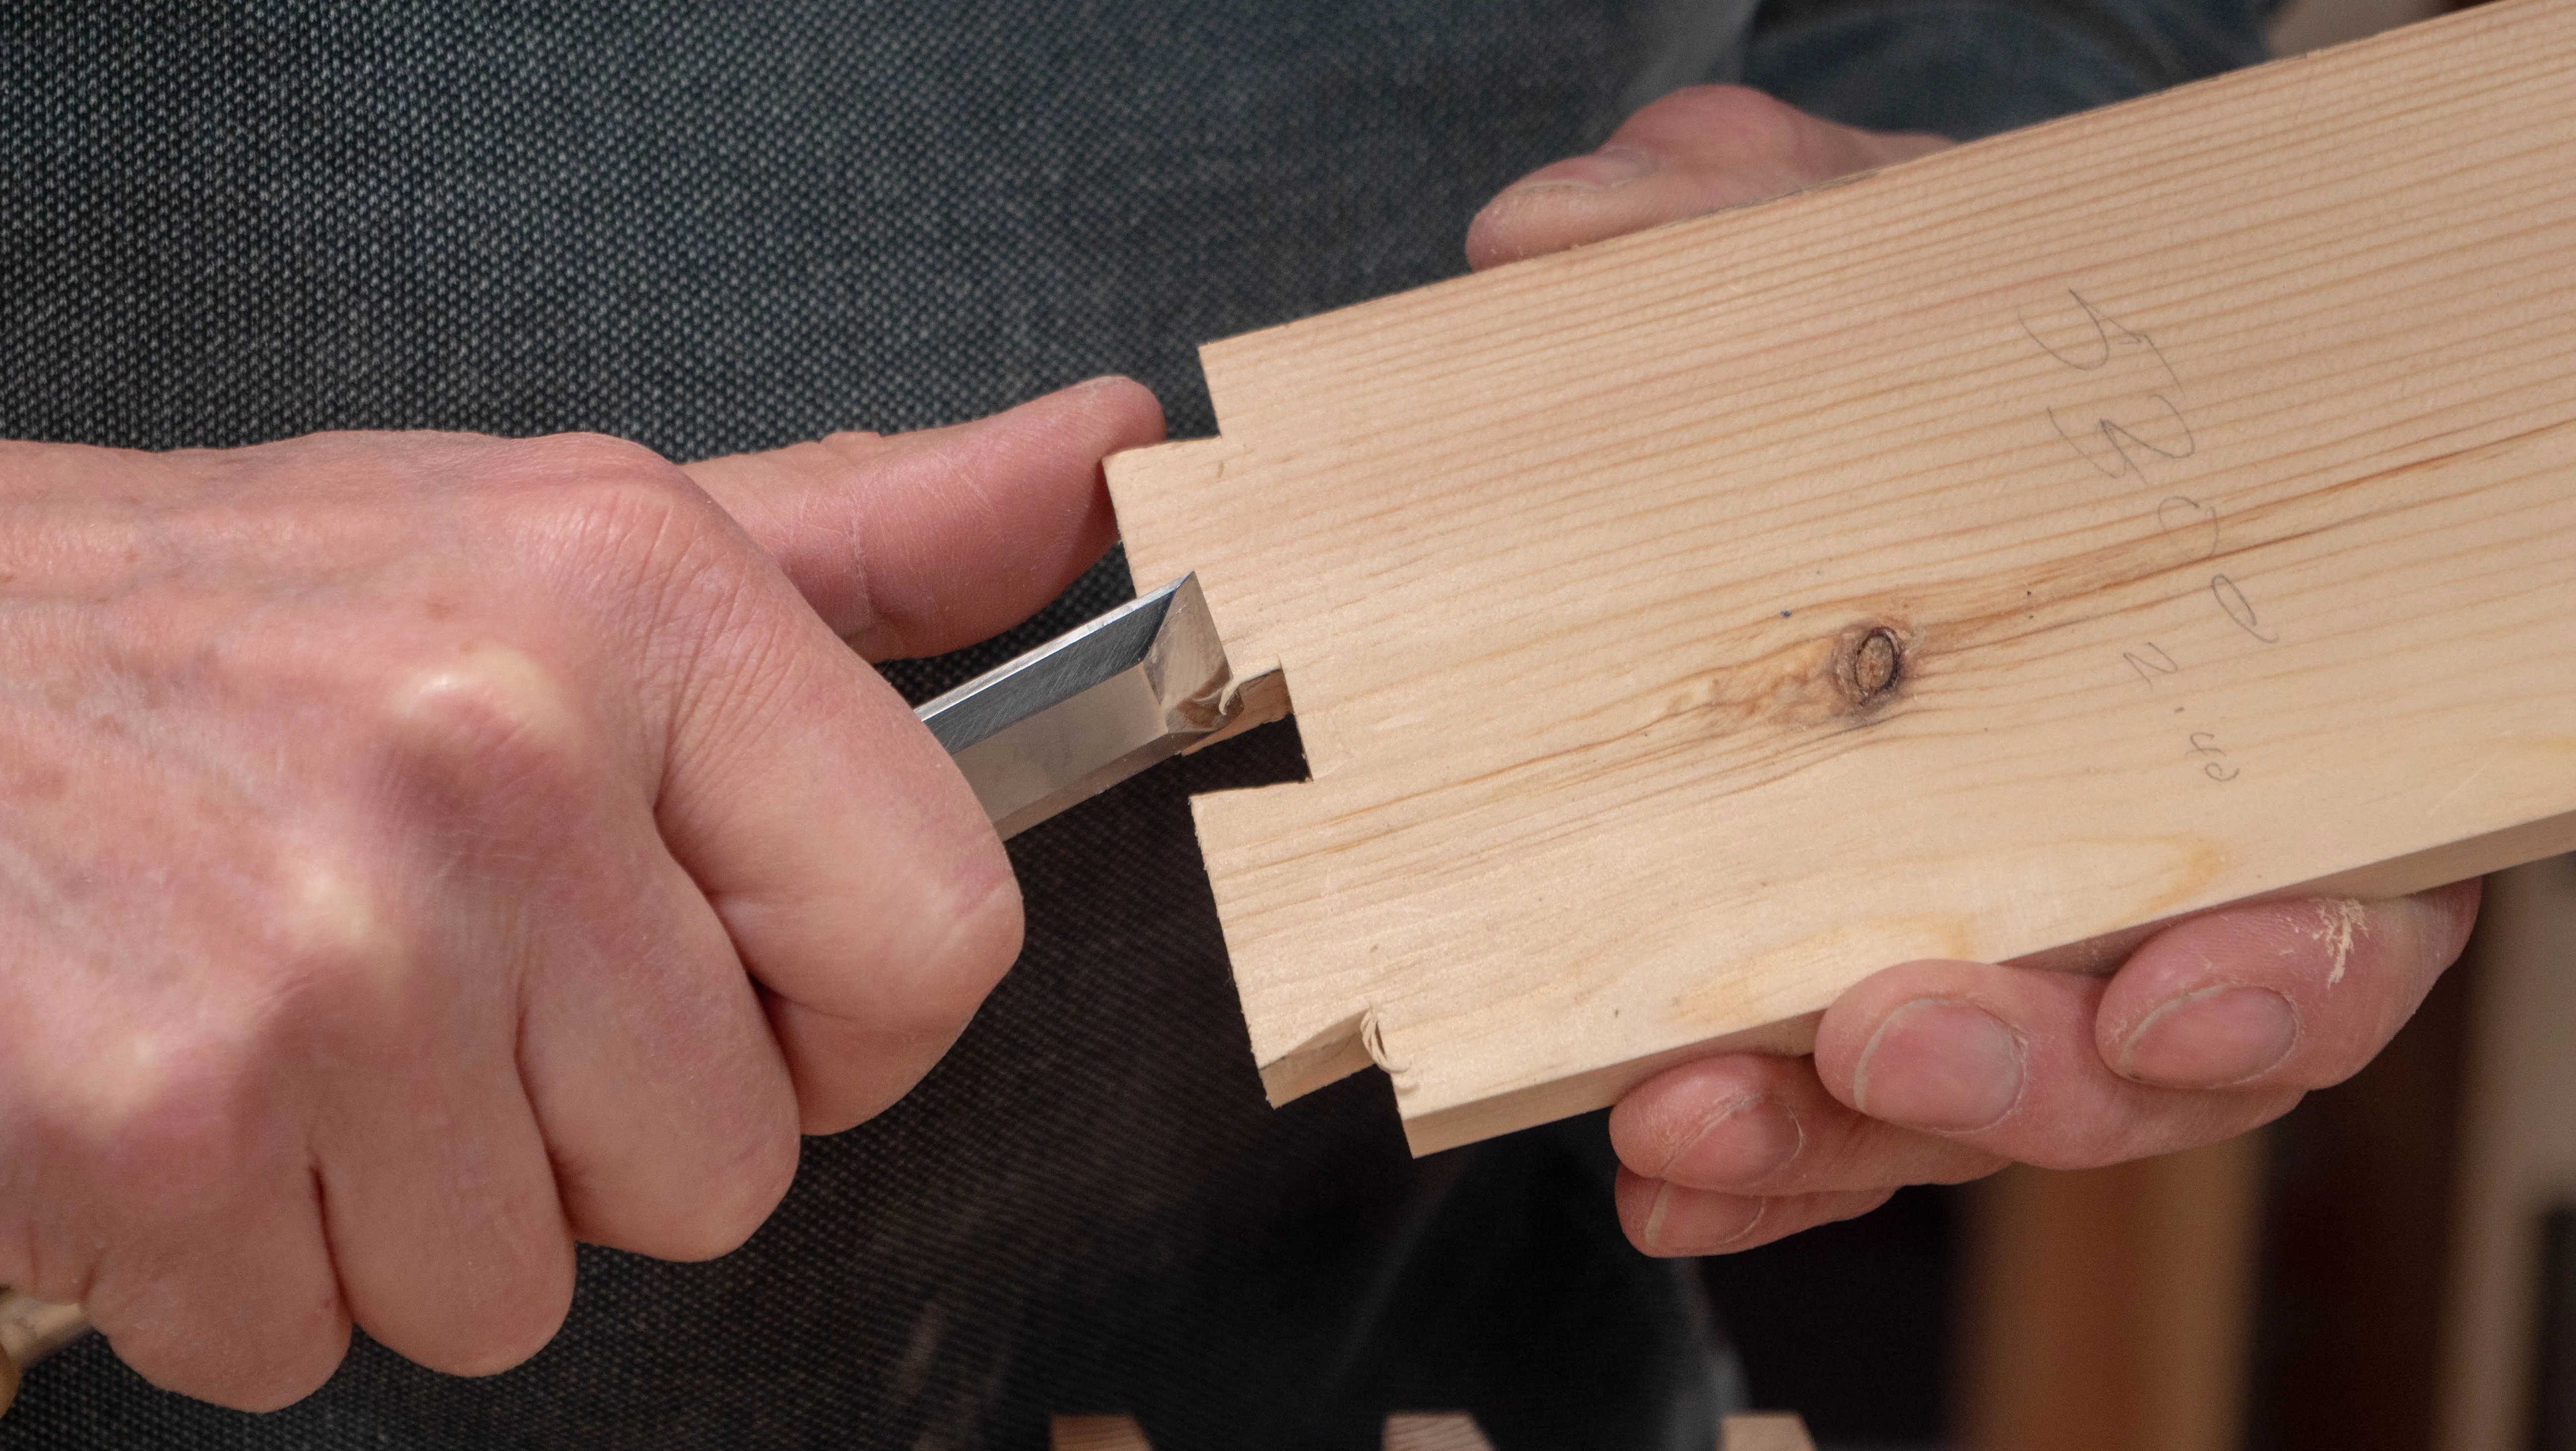
You can now cut your pin recesses by first sawing down the sides and then squaring a knifewall all around, using your corresponding pin piece to position your square so that the outsides of both parts will be perfectly flush when the joint is assembled. Then follow the standard procedure for removing the waste by switching between the pare cuts in the vise and the chop cuts on the bench top.
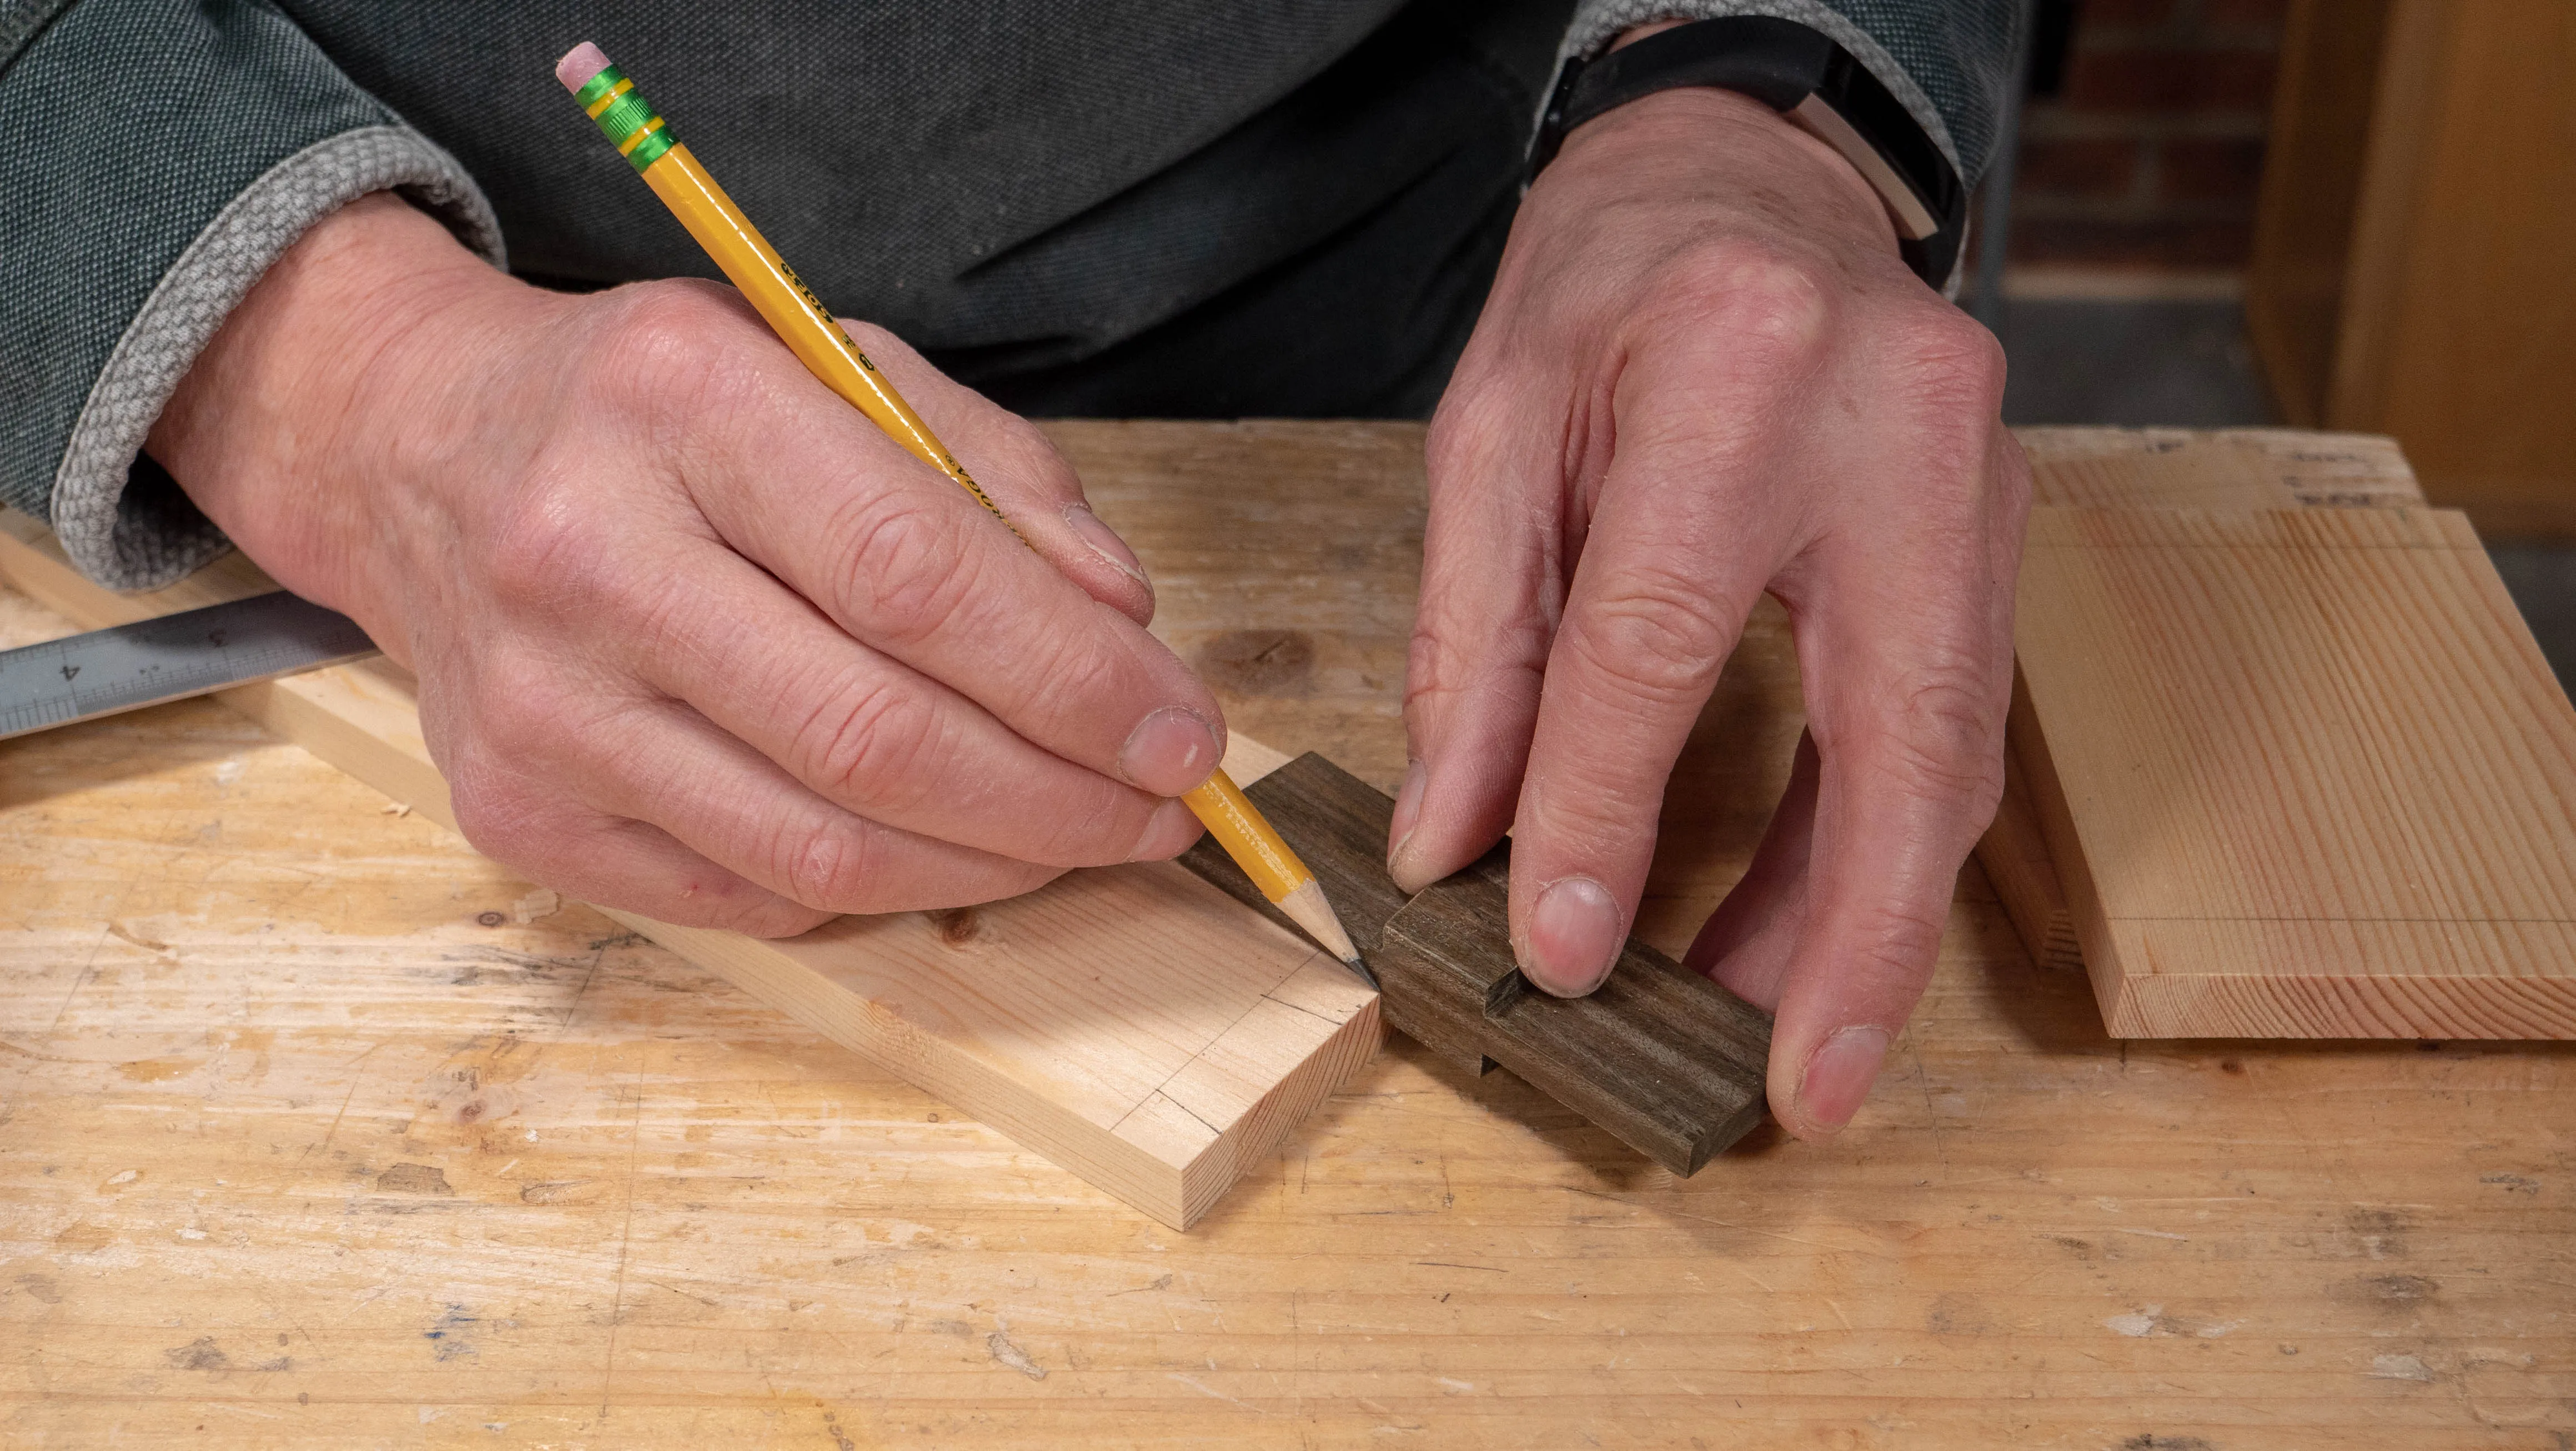
The ‘Pins’
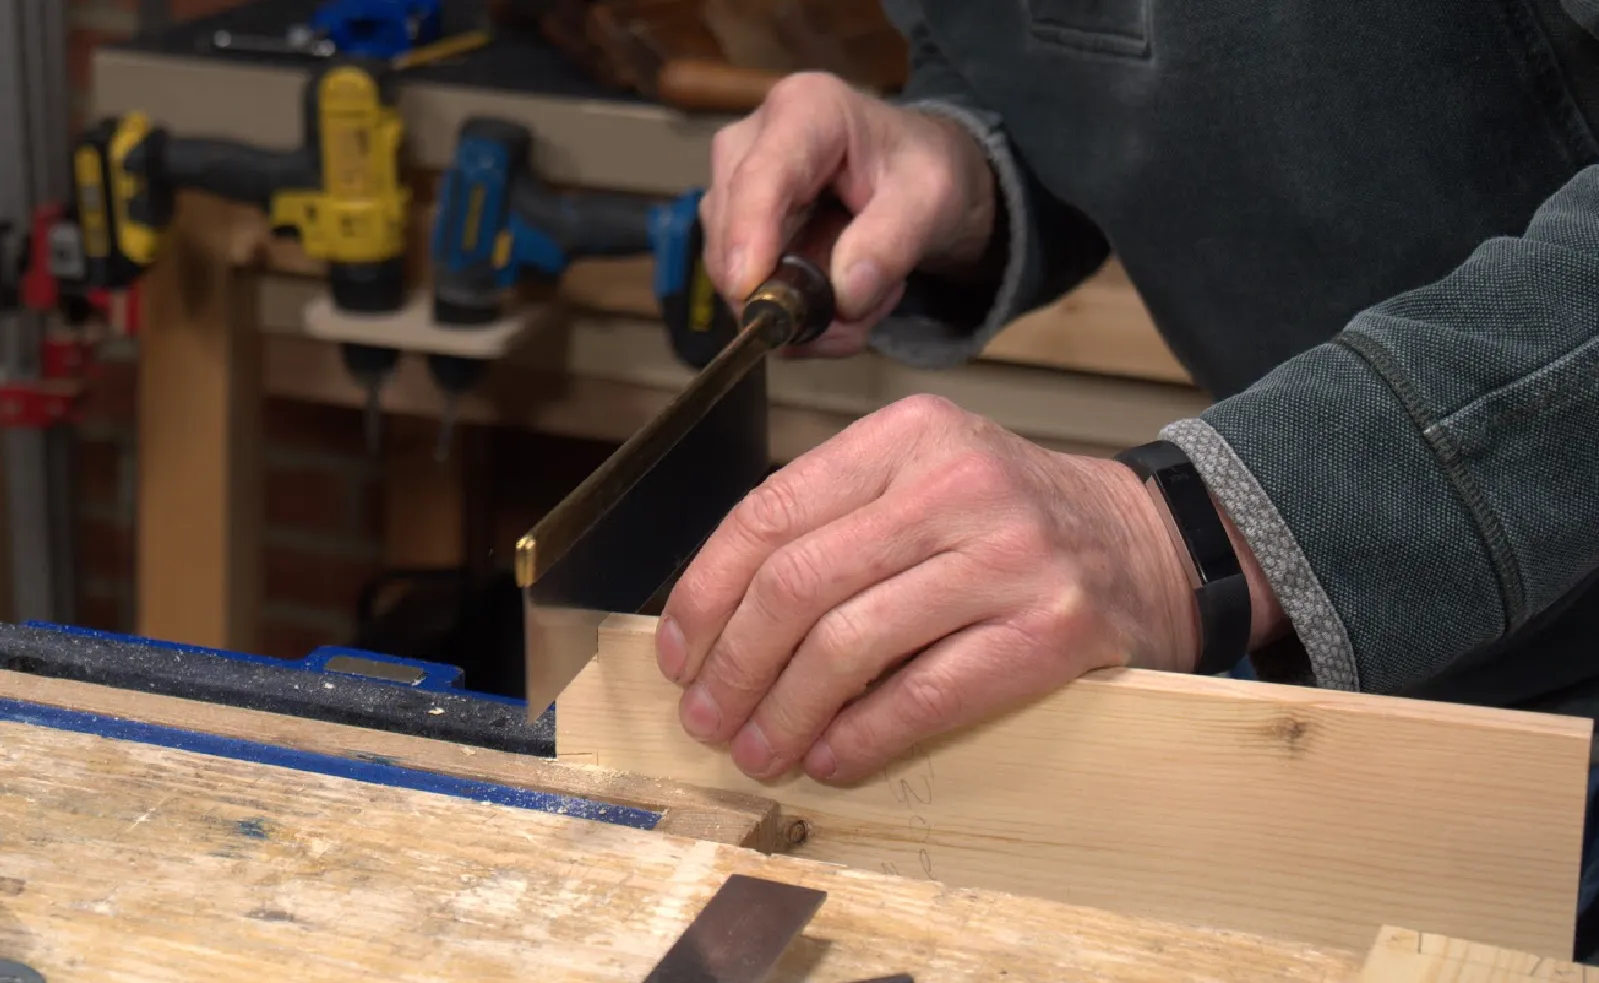
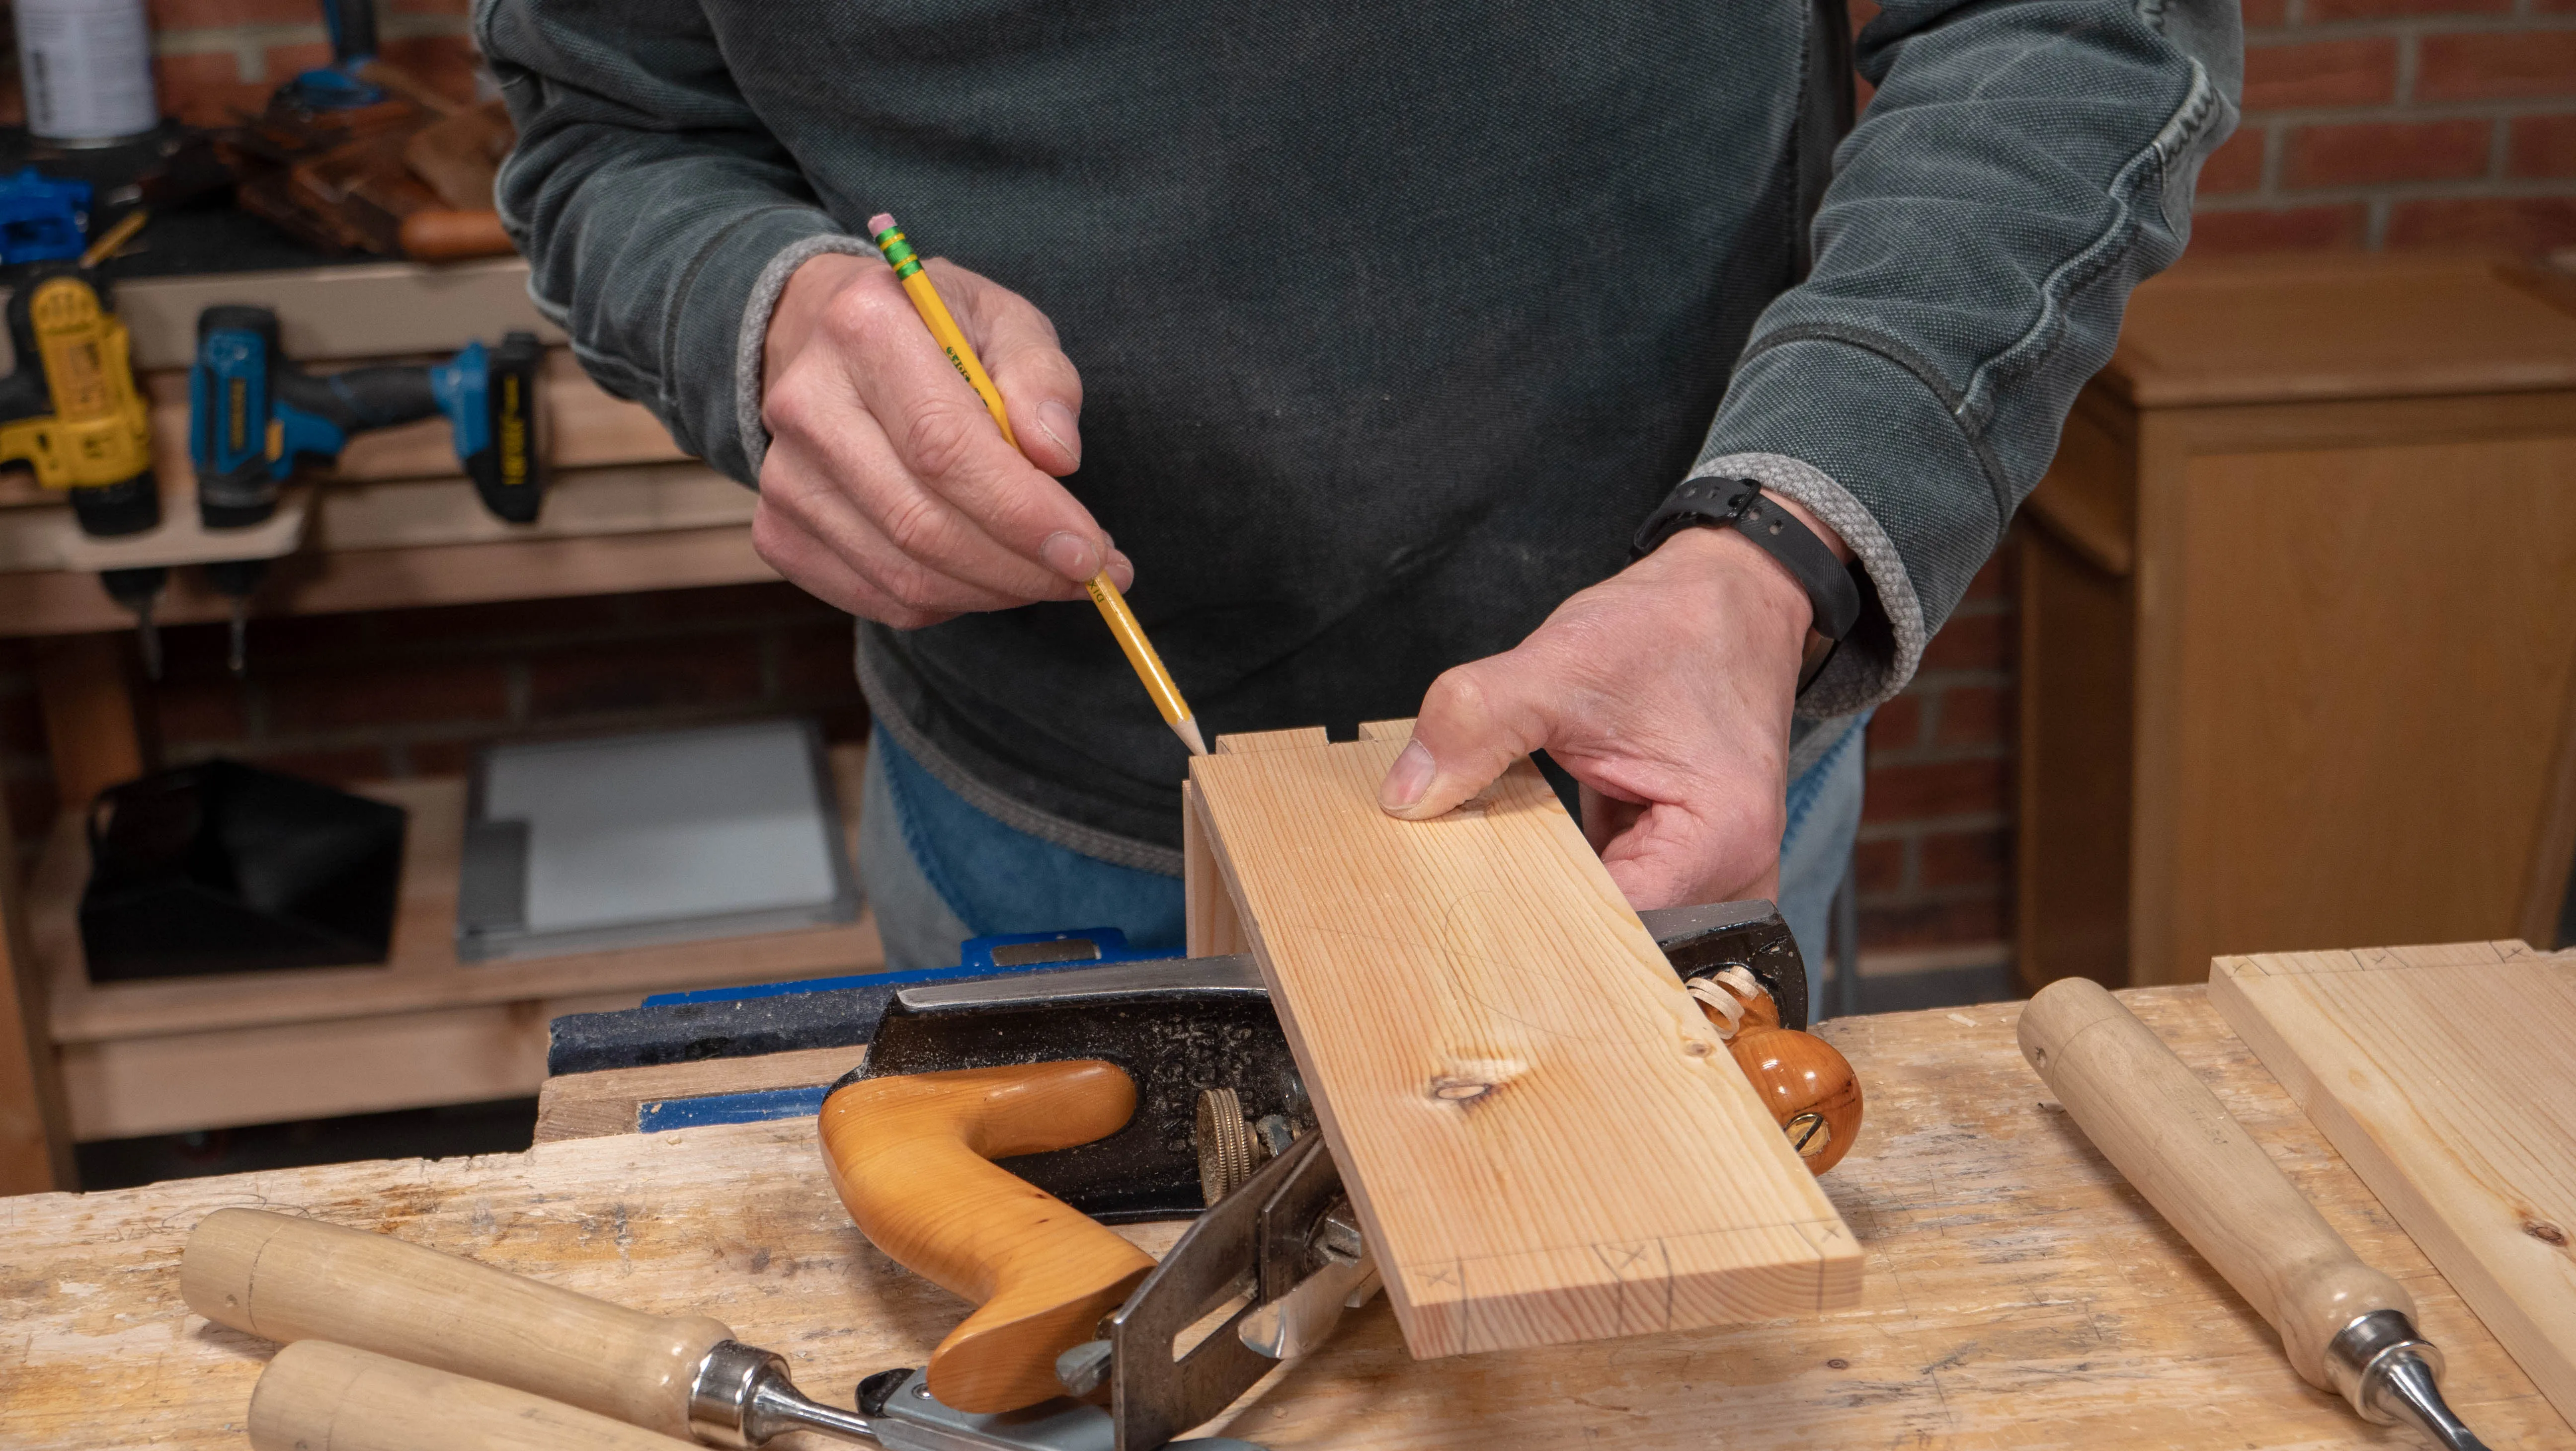
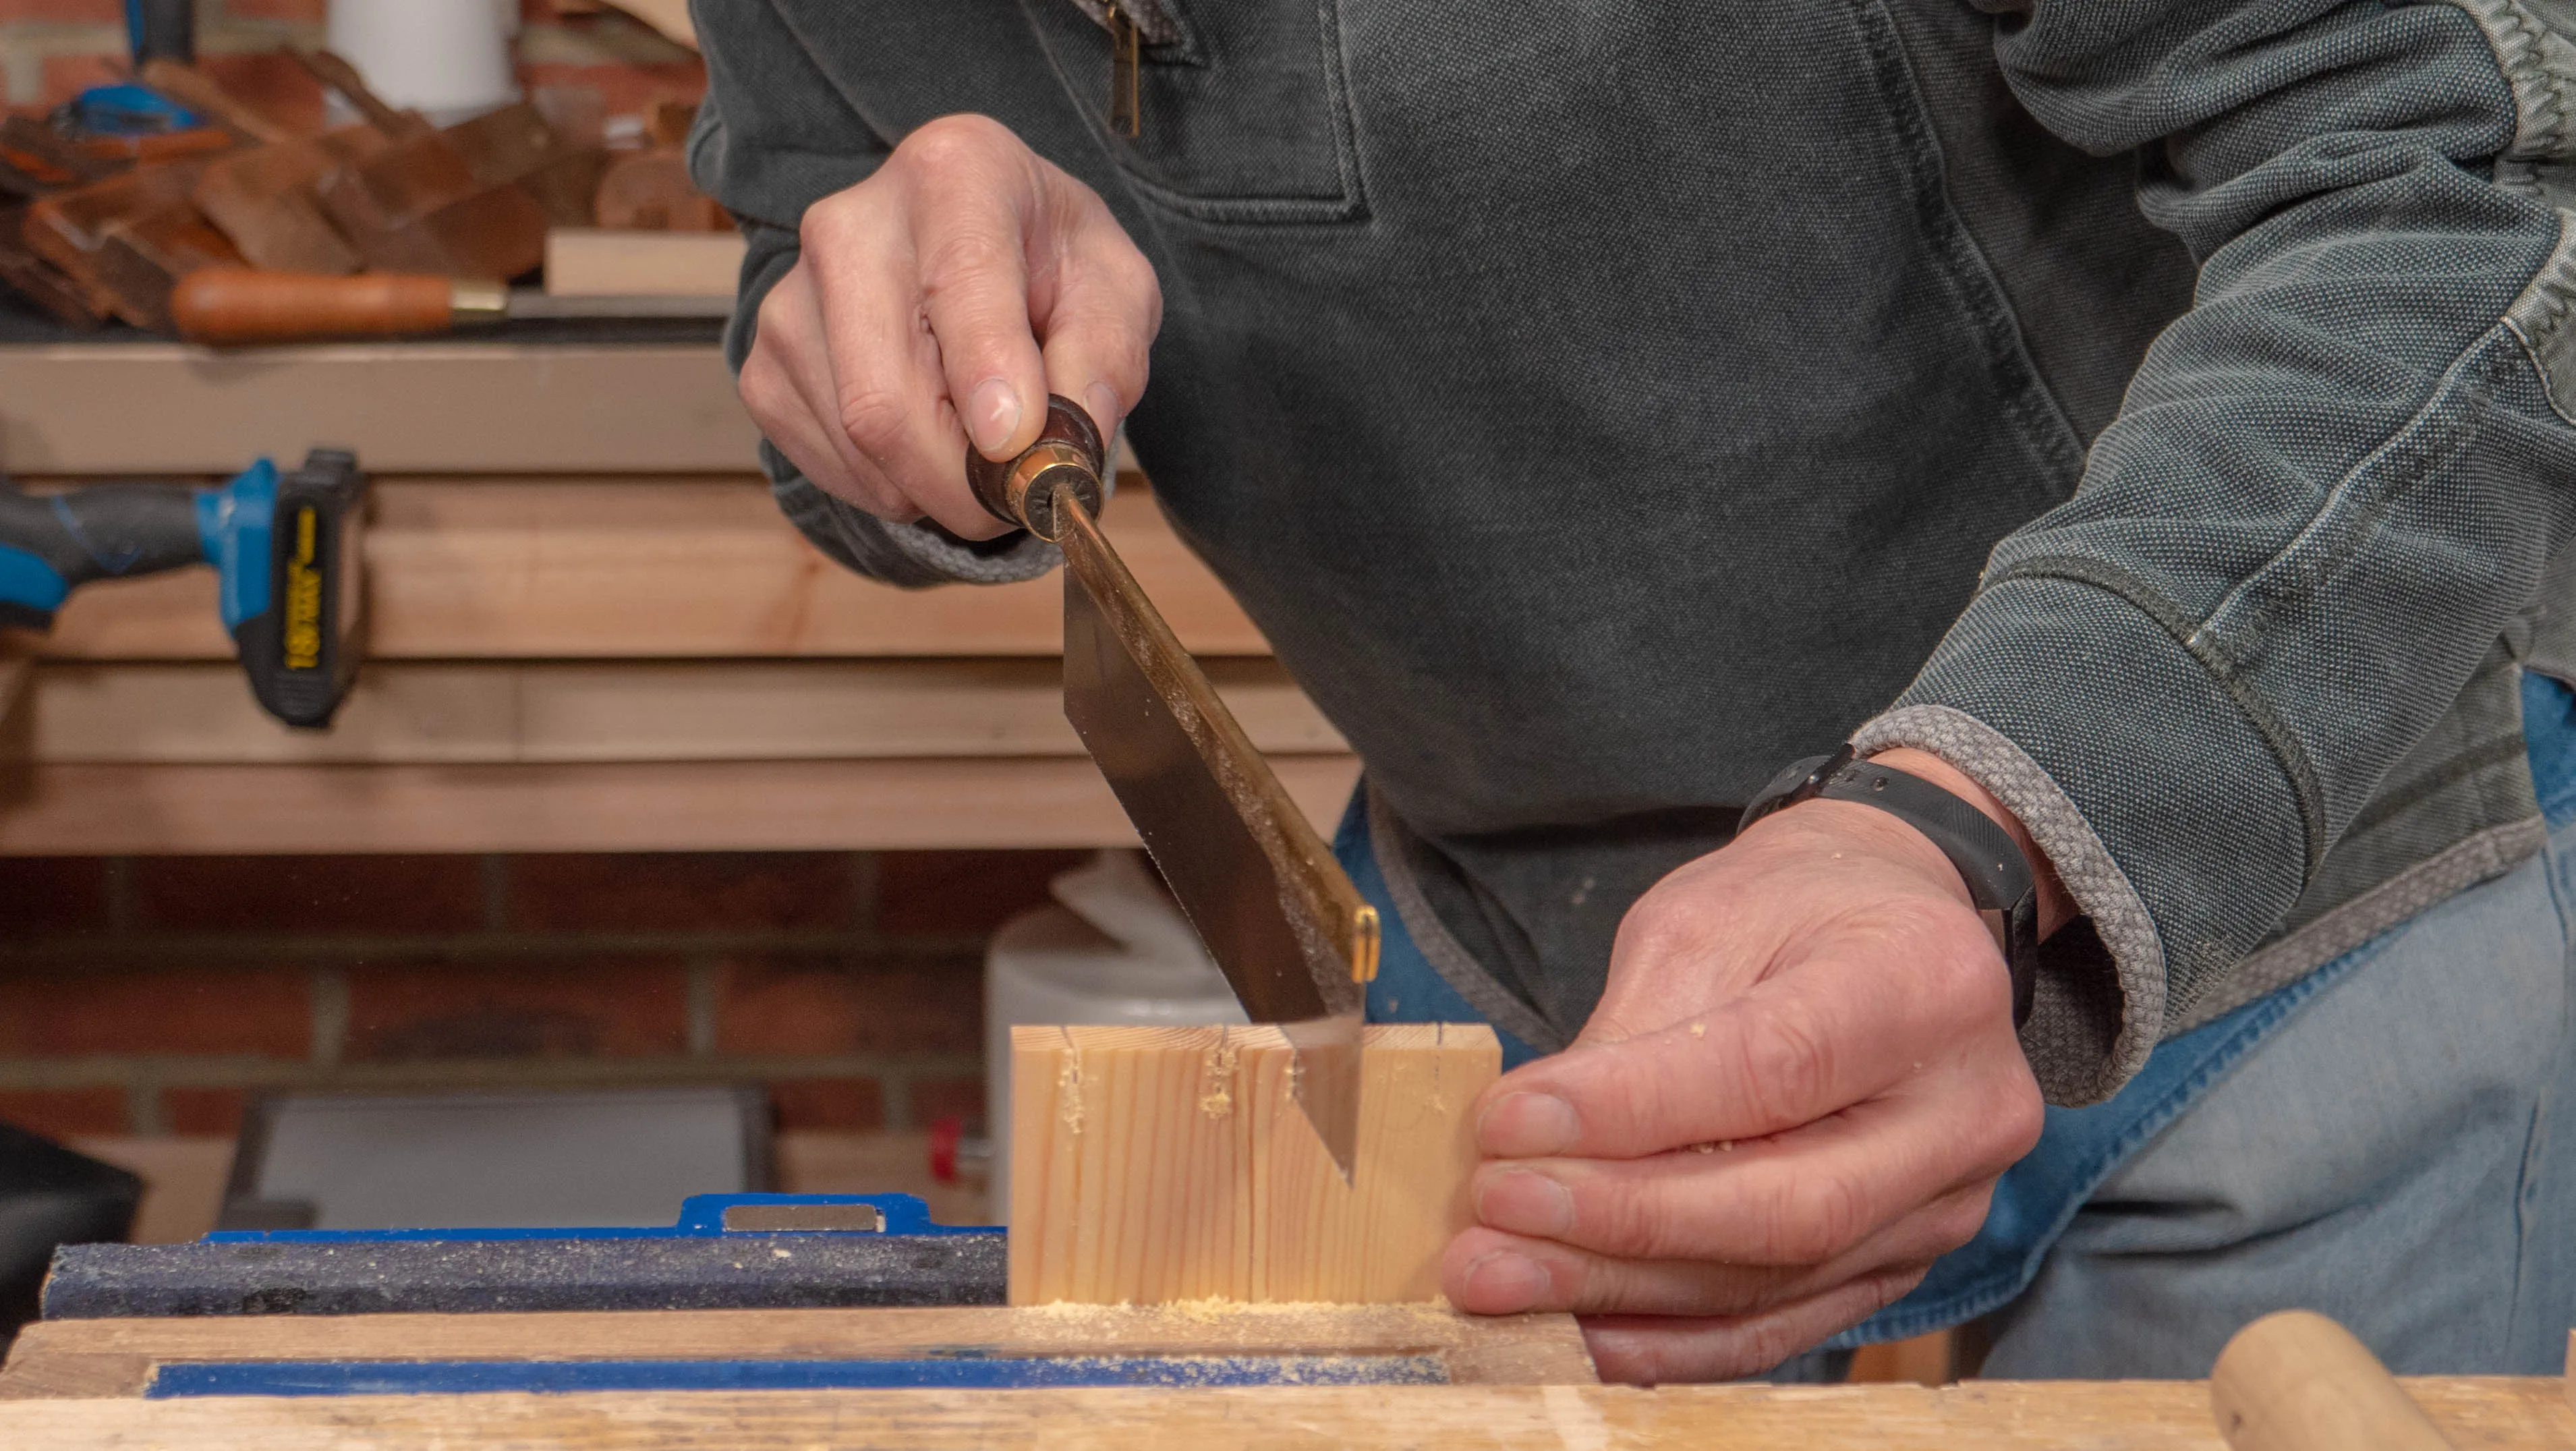
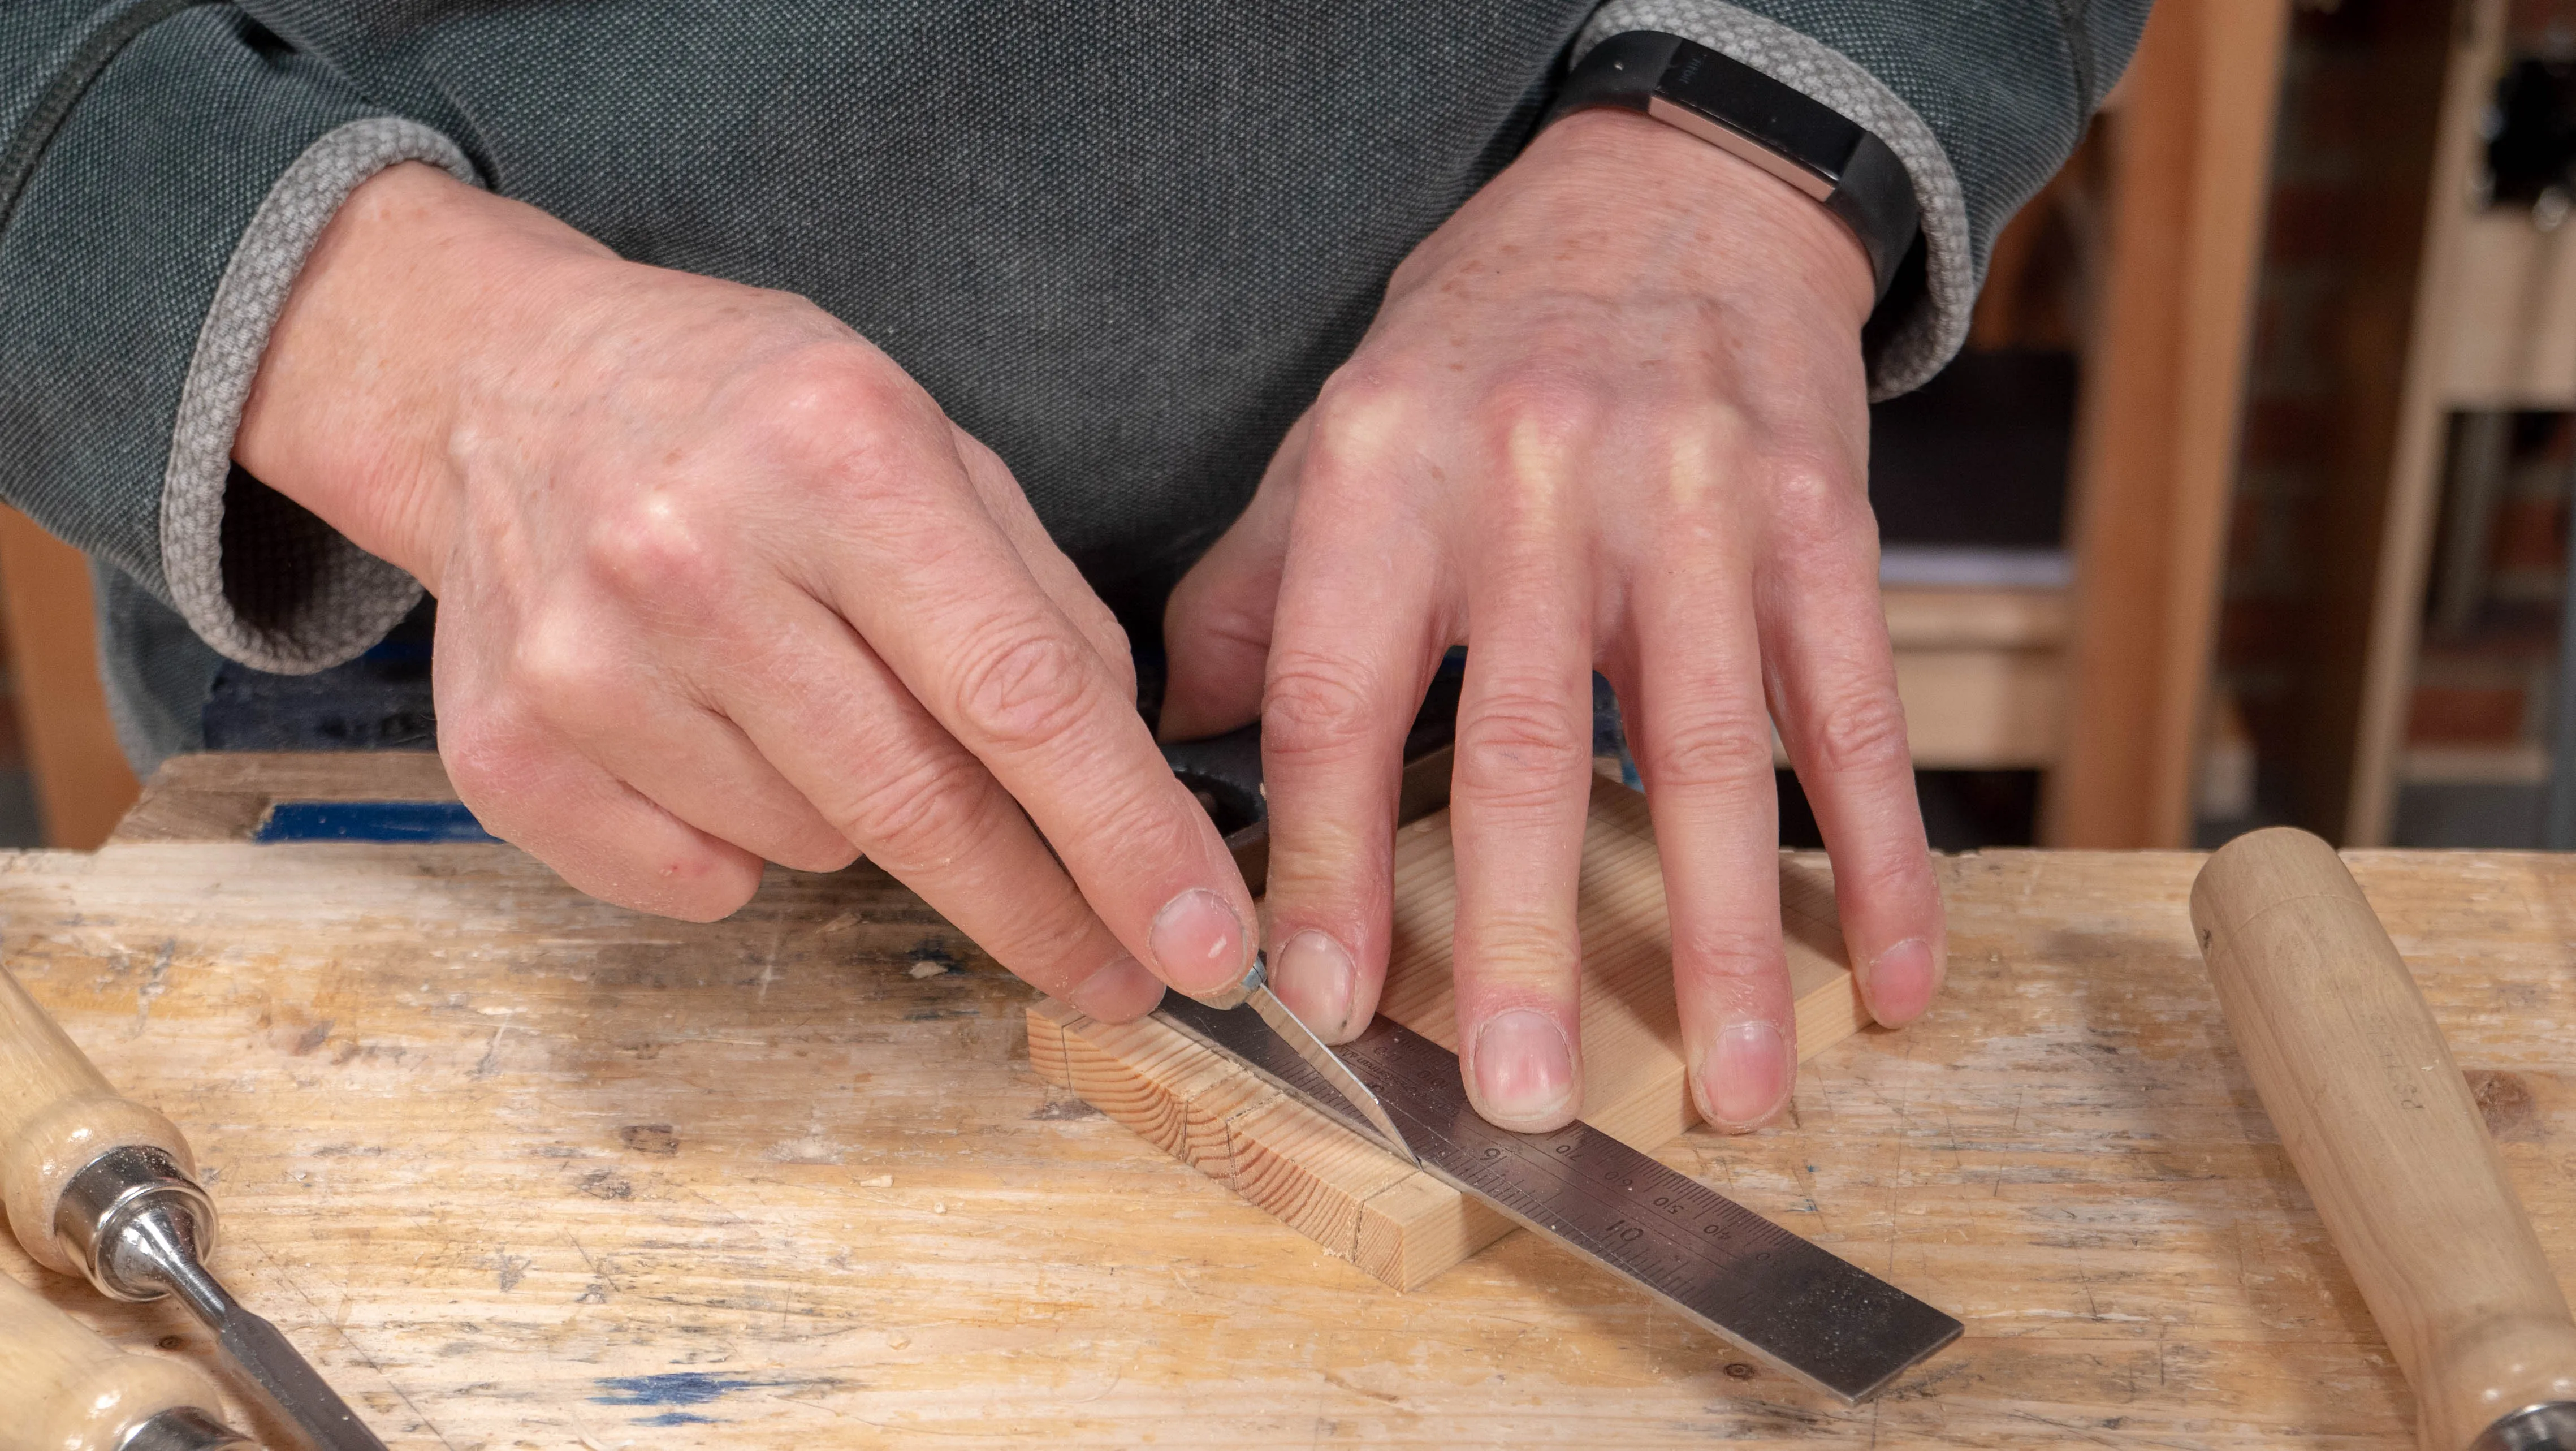
Next, use each dovetail end to trace around the corresponding pin piece, since they will all likely differ a little. Remember to make a rigid platform to avoid juggling the two parts, since the pencil lines must be very accurate. Square those lines down to the depth line, saw the sides of the pins and define the exact shoulder line with a knifewall, not forgetting to transfer to the inside face with a small knife nick technique. Then proceed to remove the waste pieces as normal.
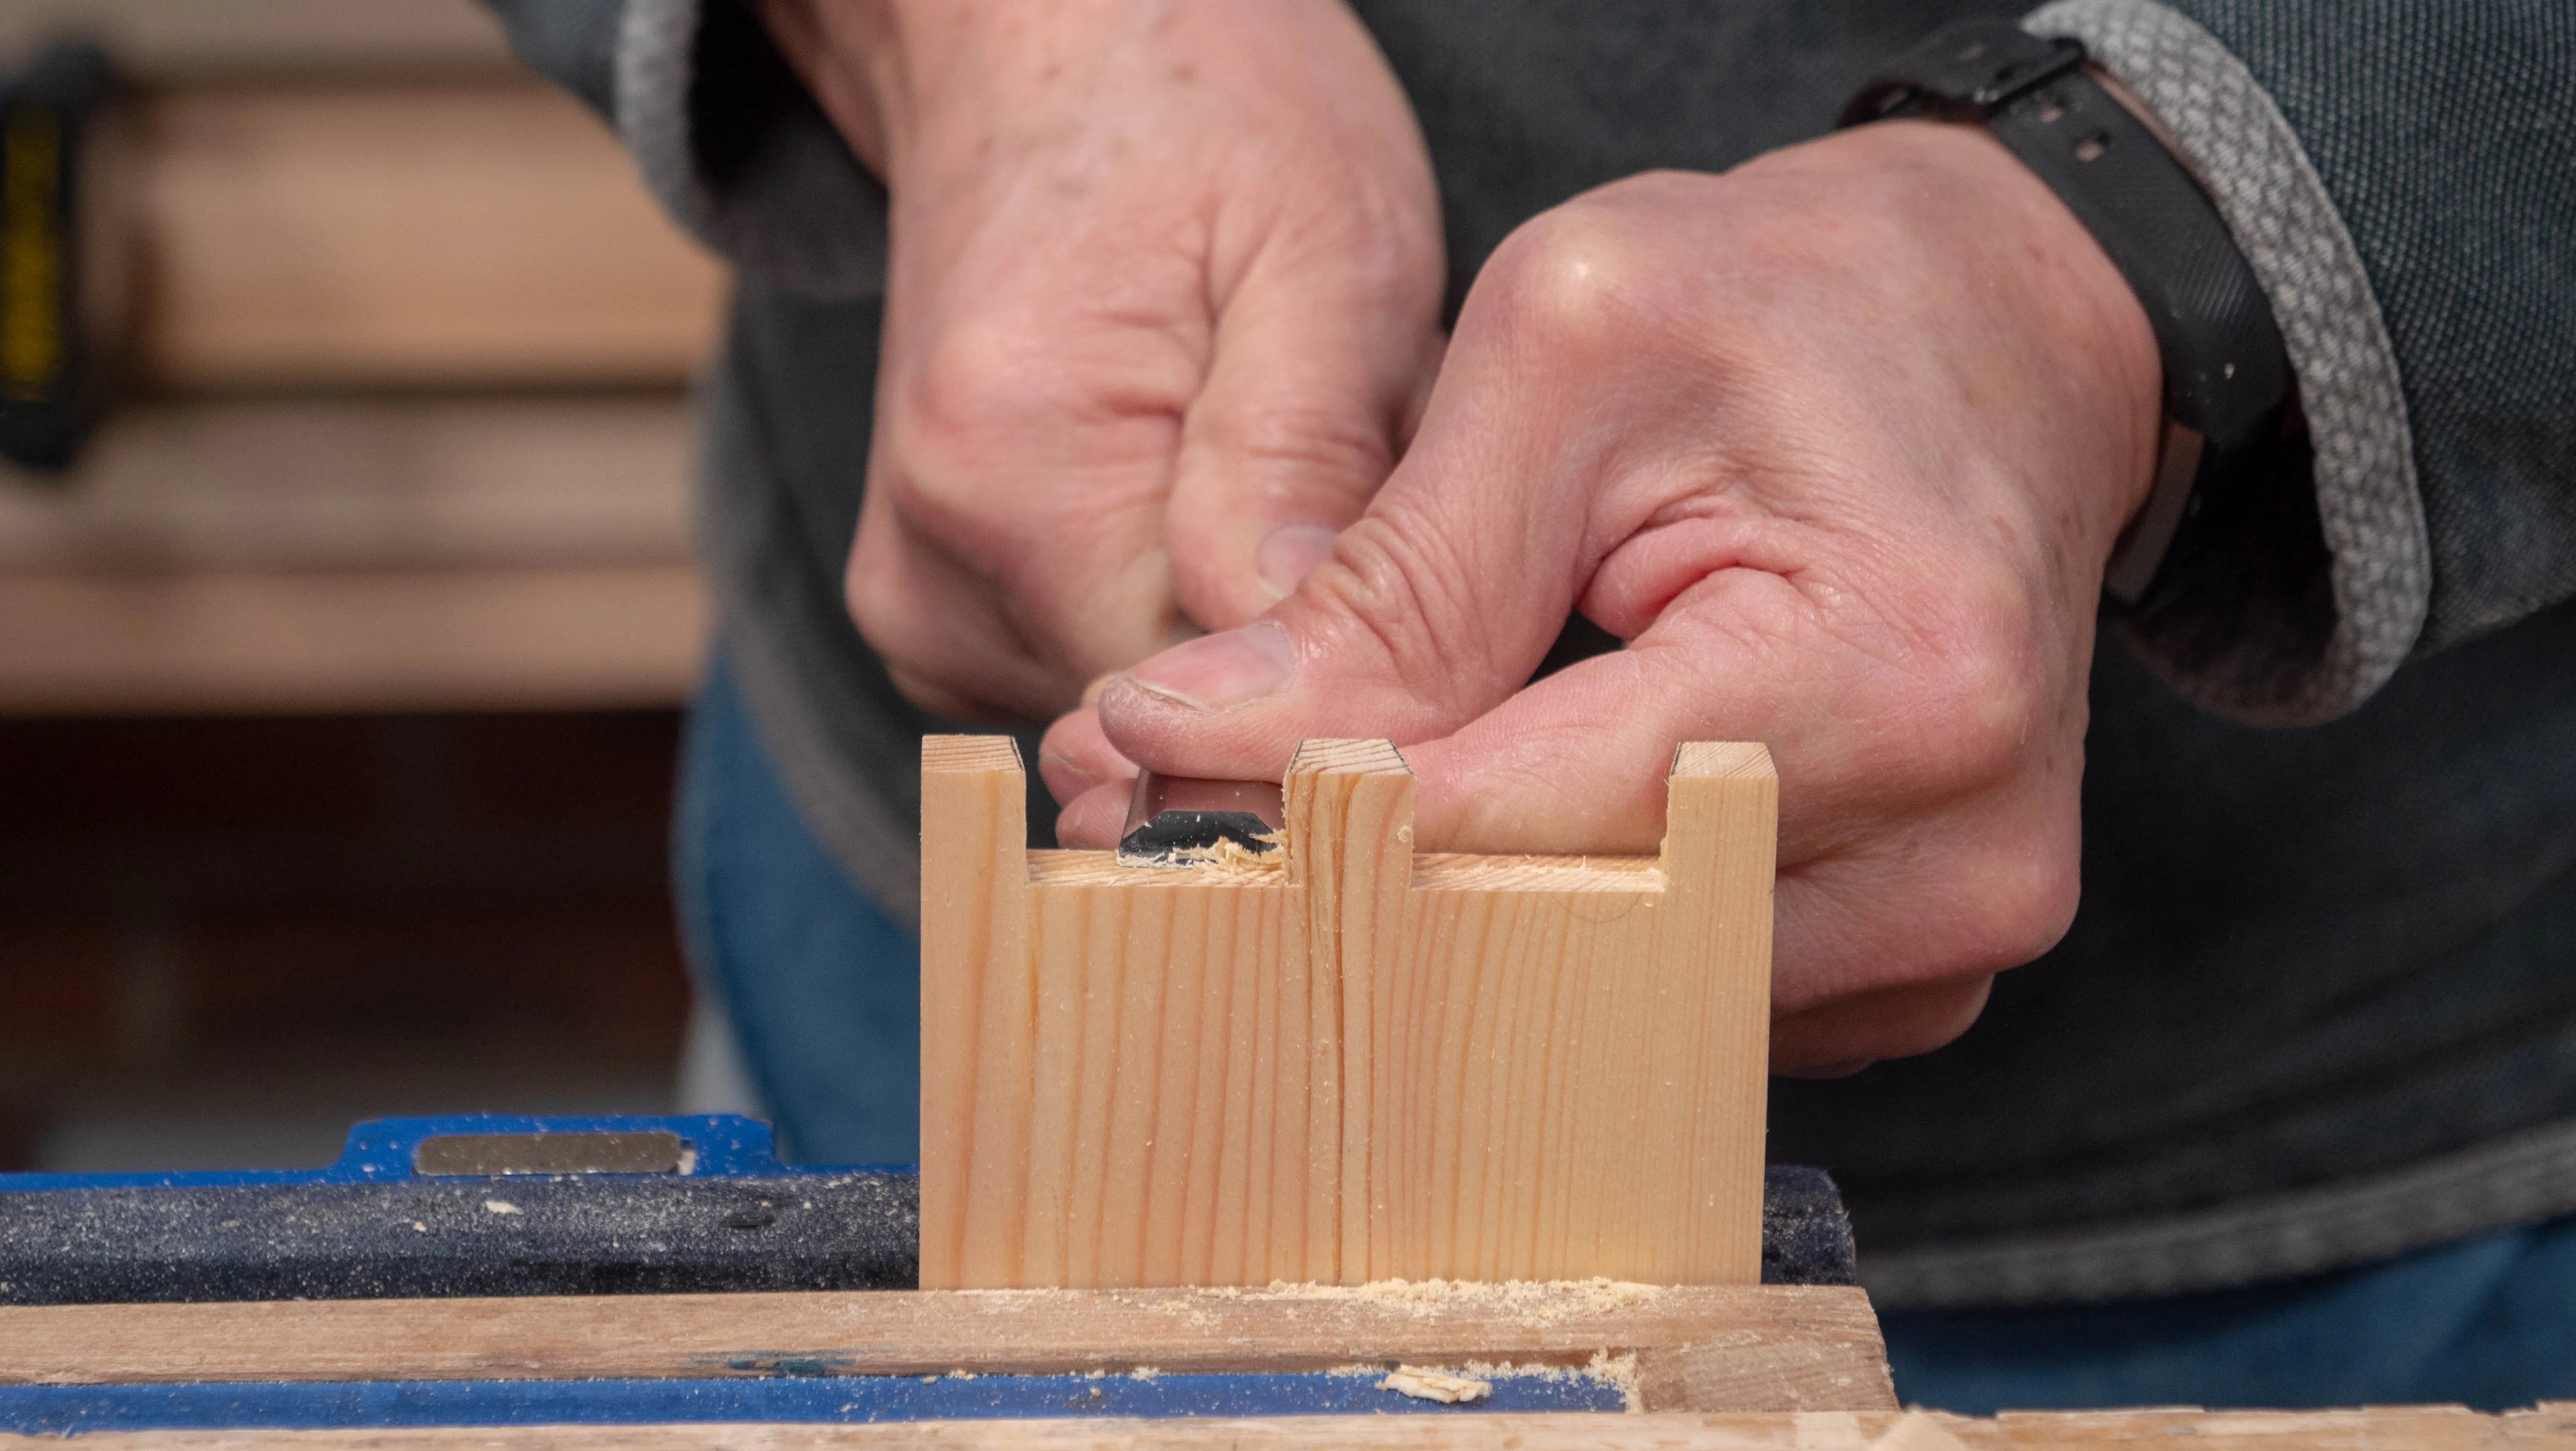
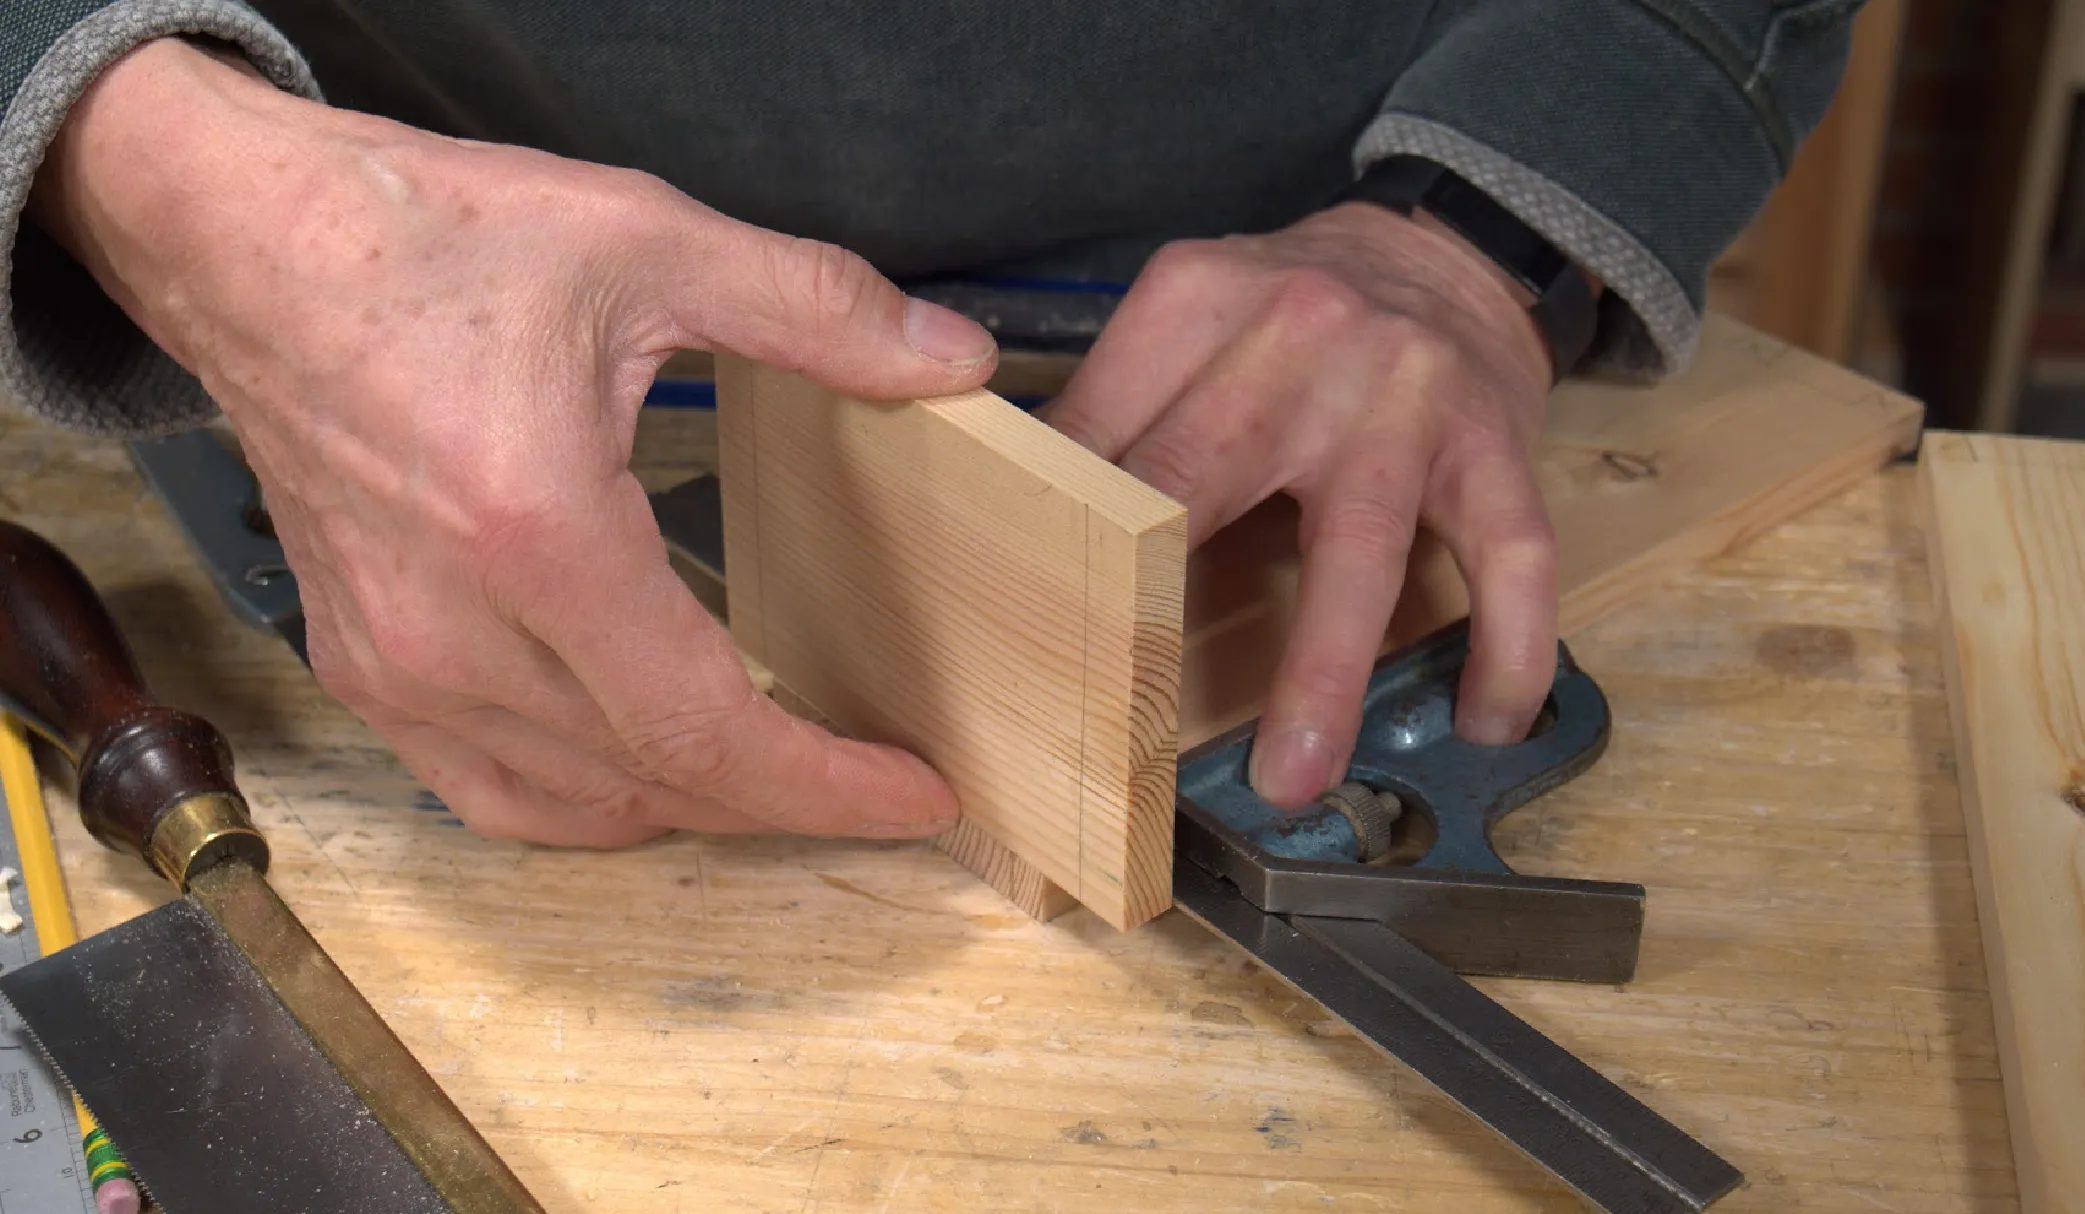
After cleaning up the shoulders (on the tail recesses), test the joint by clamping the pin piece in the vise and presenting the tail piece from the top. If it’s too tight, create a very slight leading edge along the internal sides of the tails to ease the entry in between the pins.
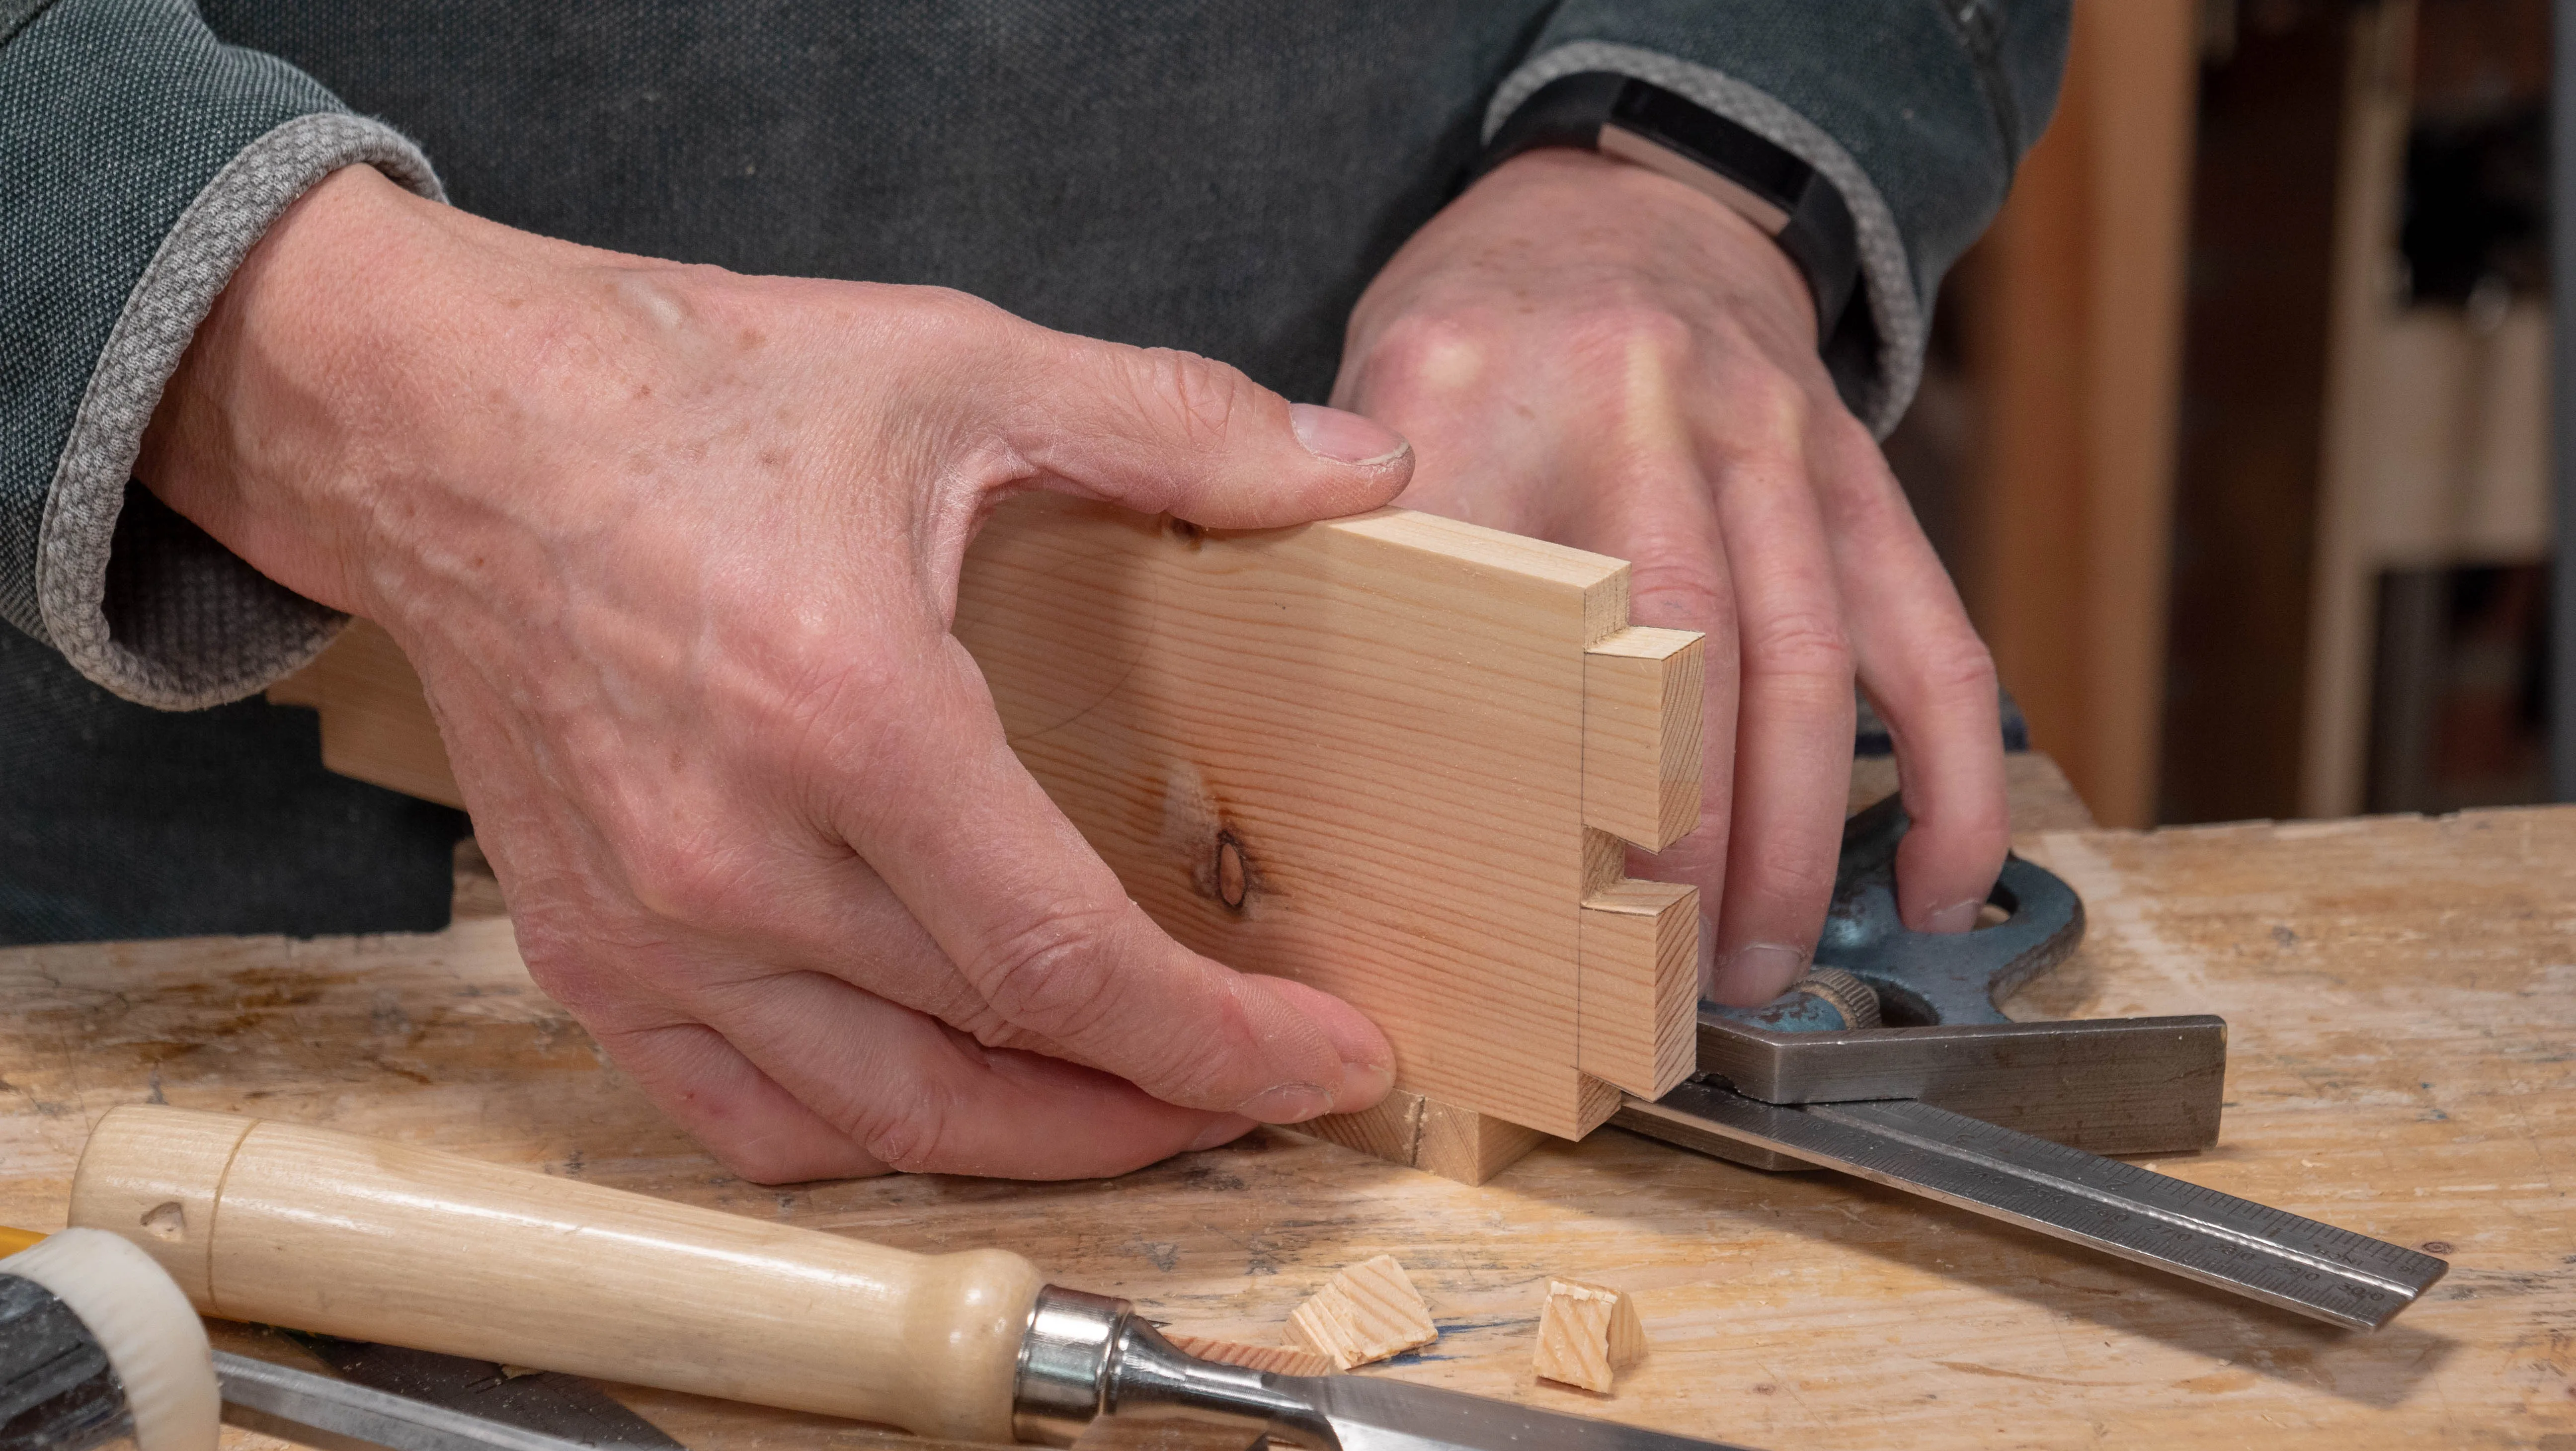
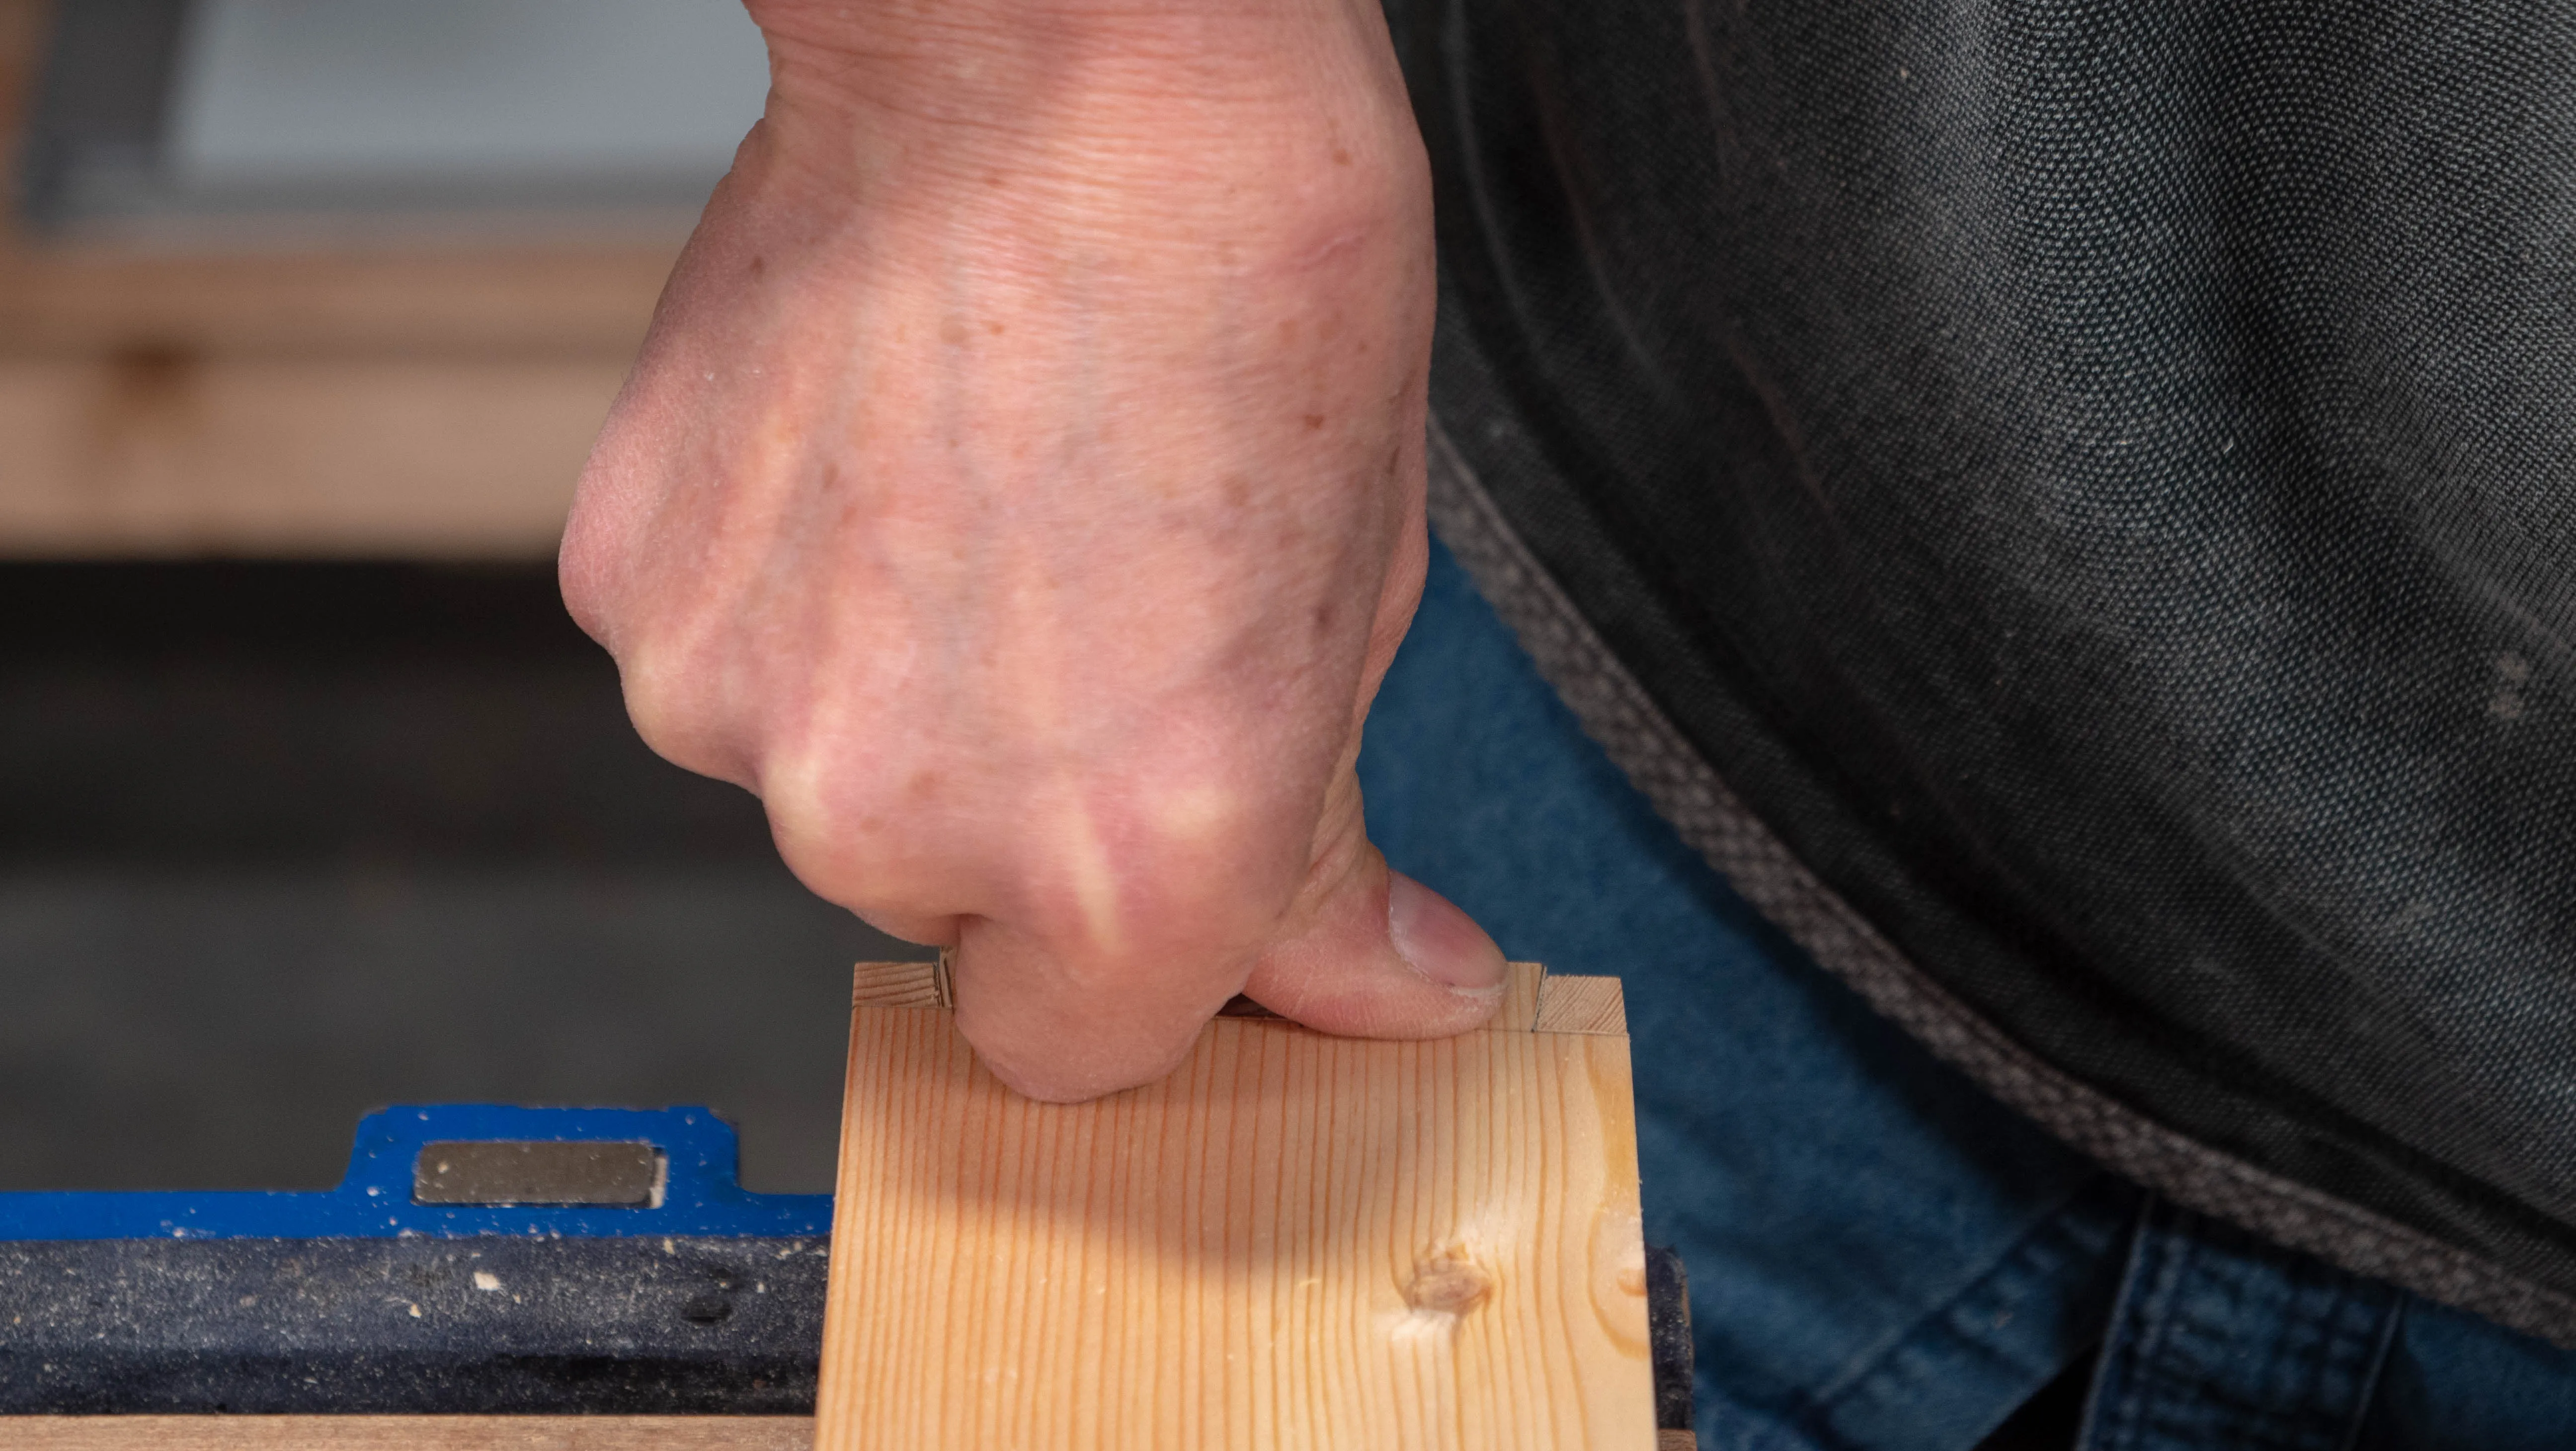
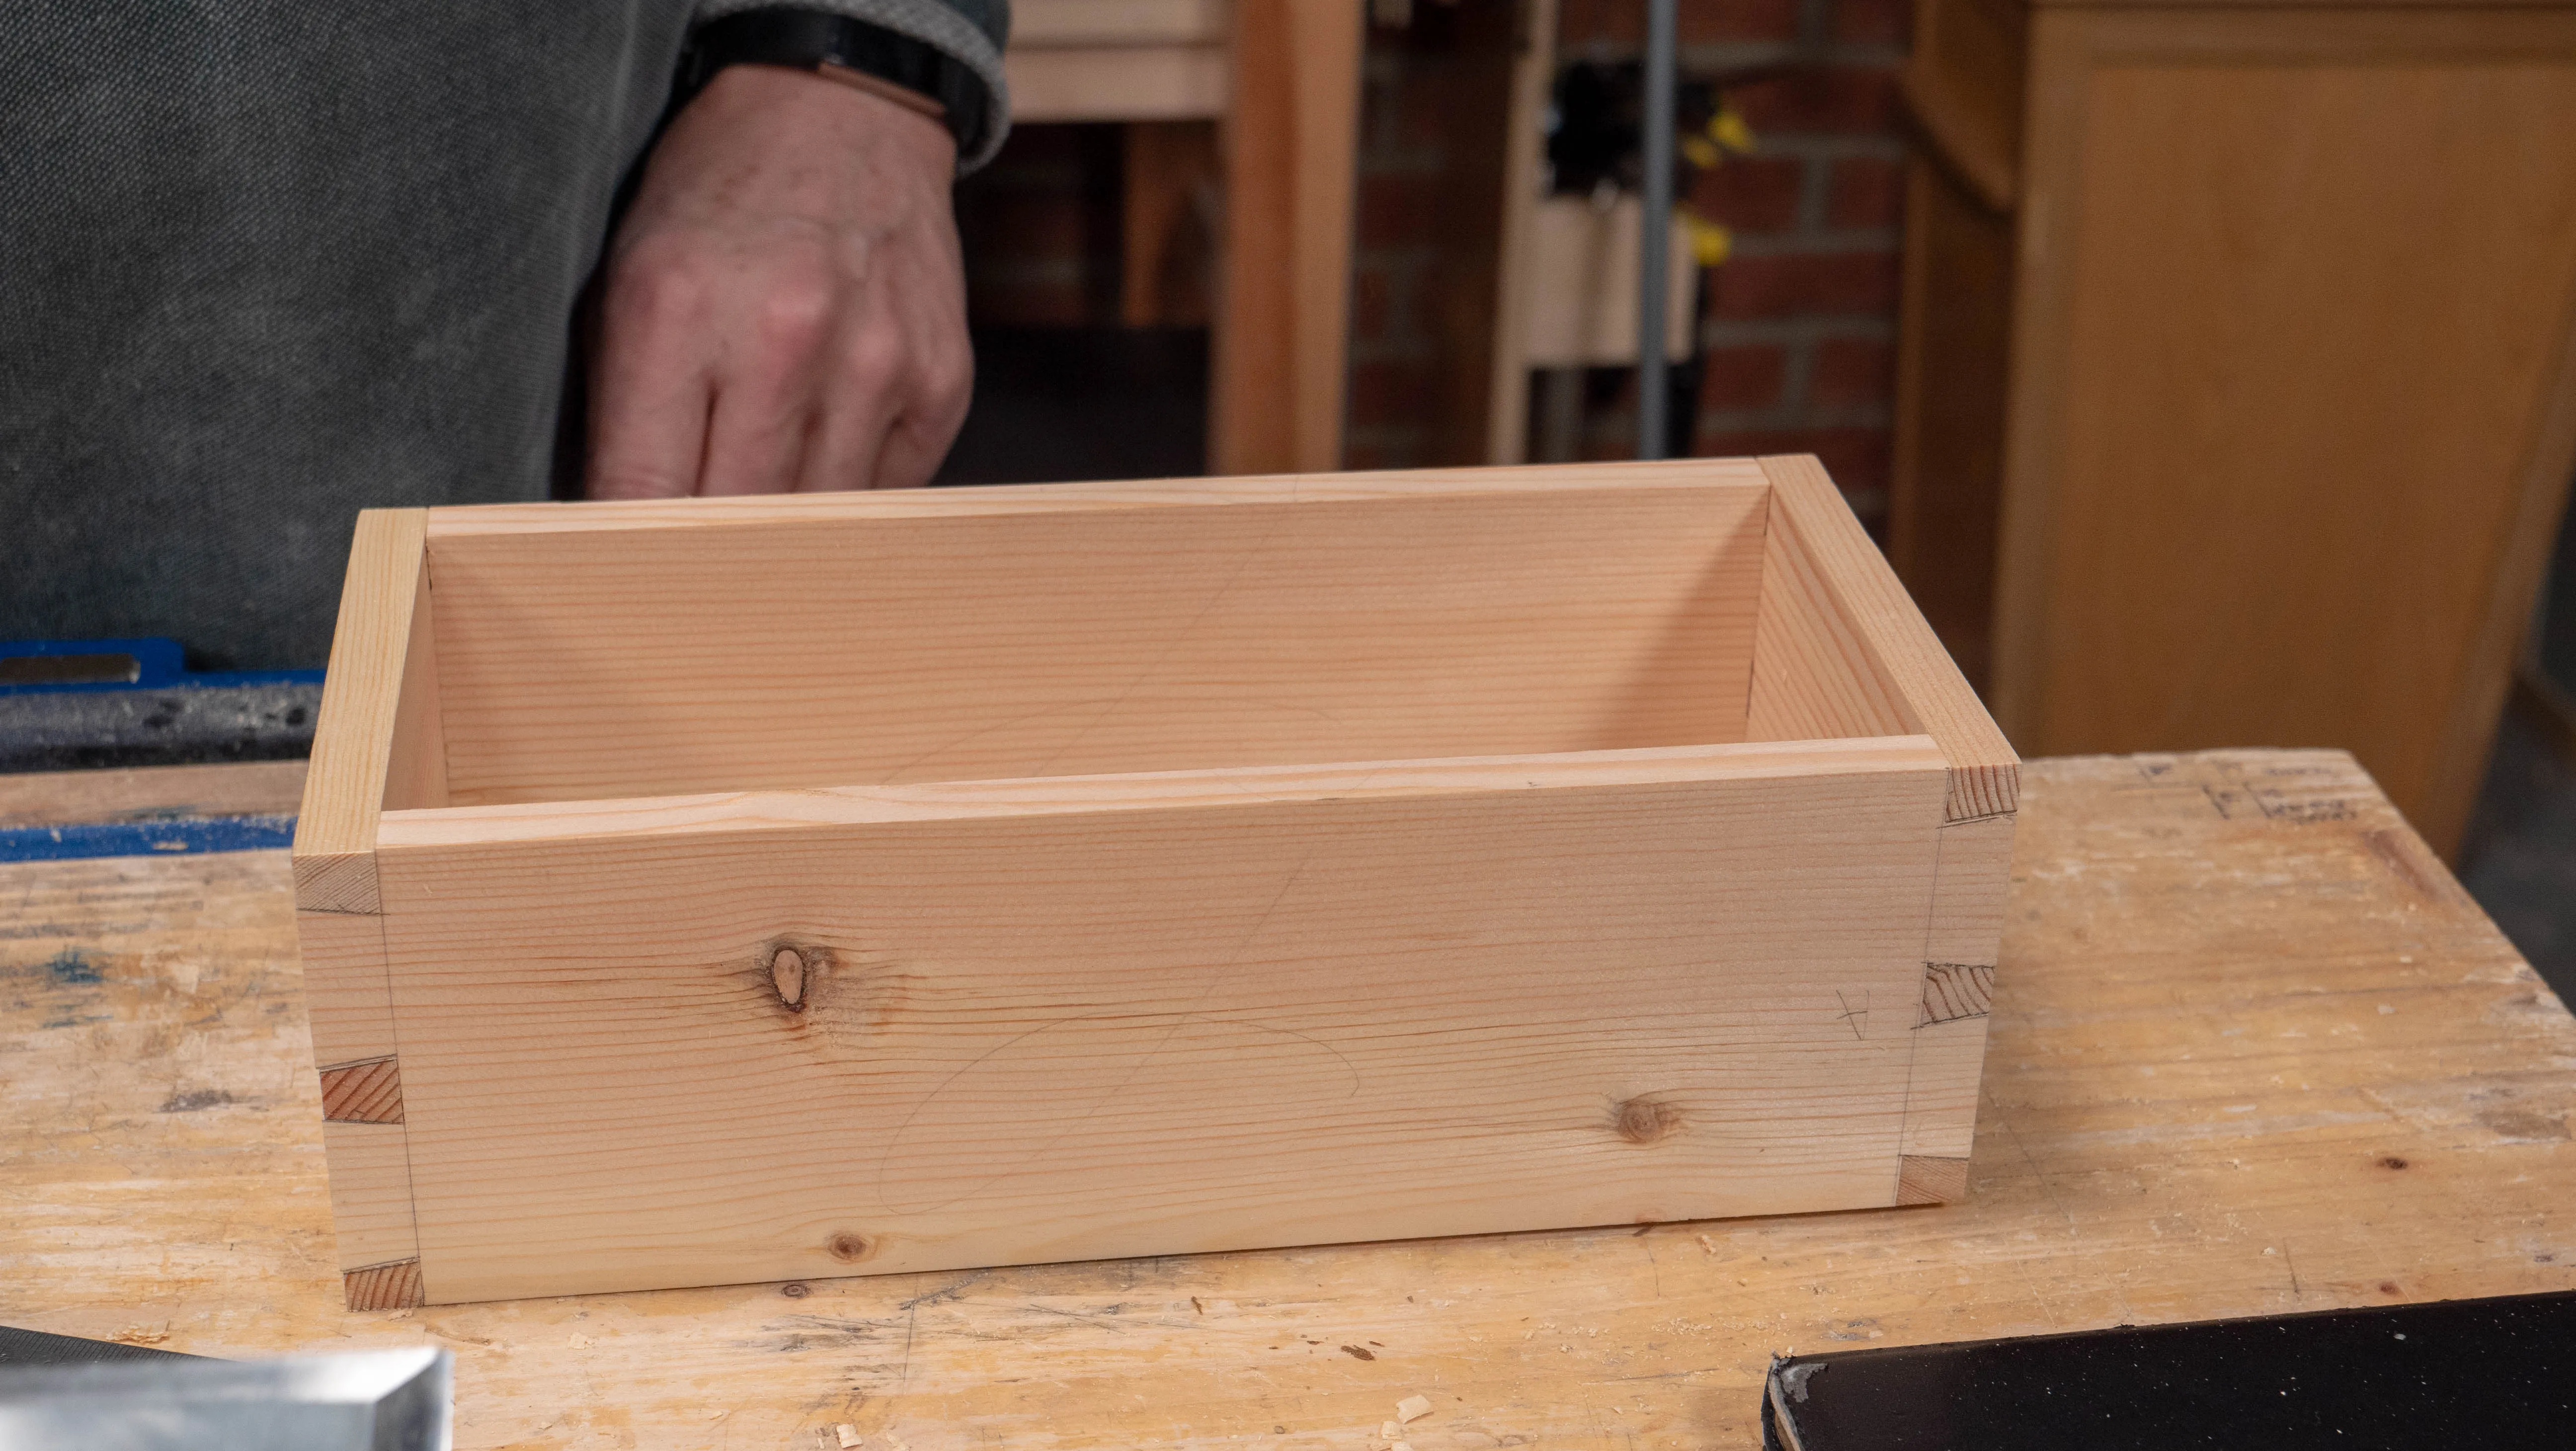
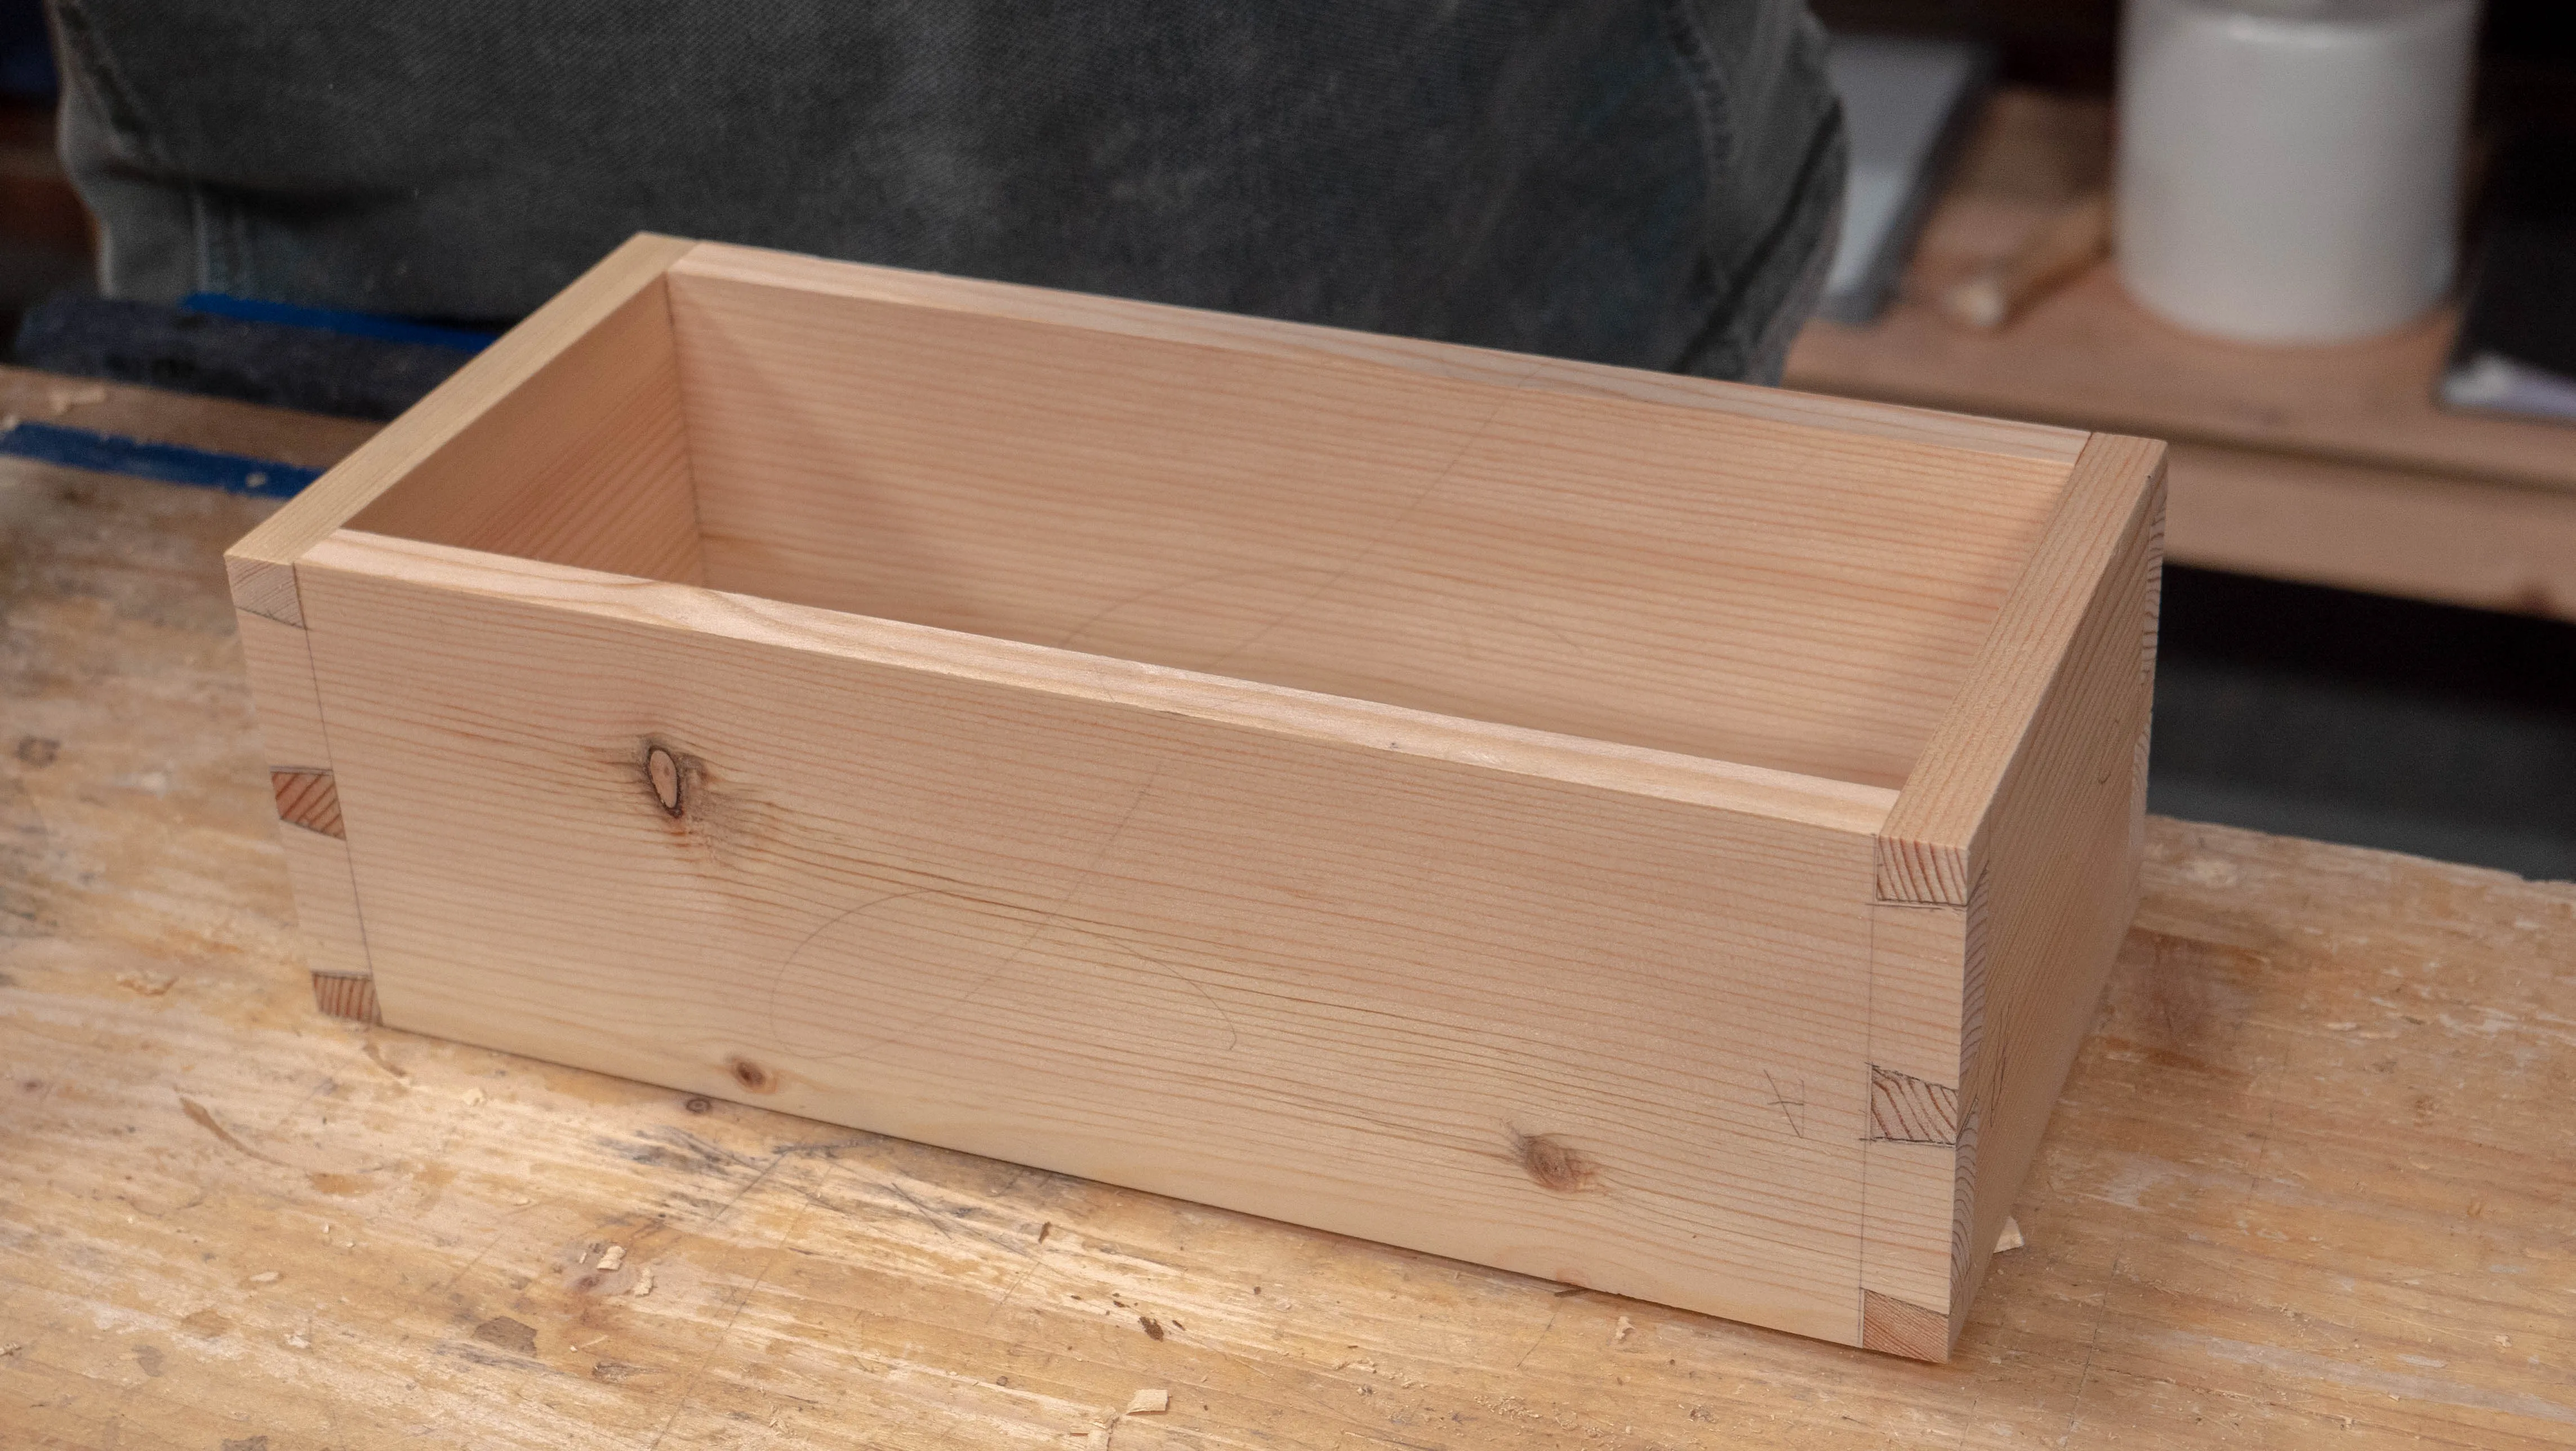
Dry Assembly
Finally, with all joints cut and individually fitted, dry assemble the whole box using the rubber face of a chisel hammer if needed. Check if all joints seat well and trim any that might have something holding it up.
Sign in to track your progress