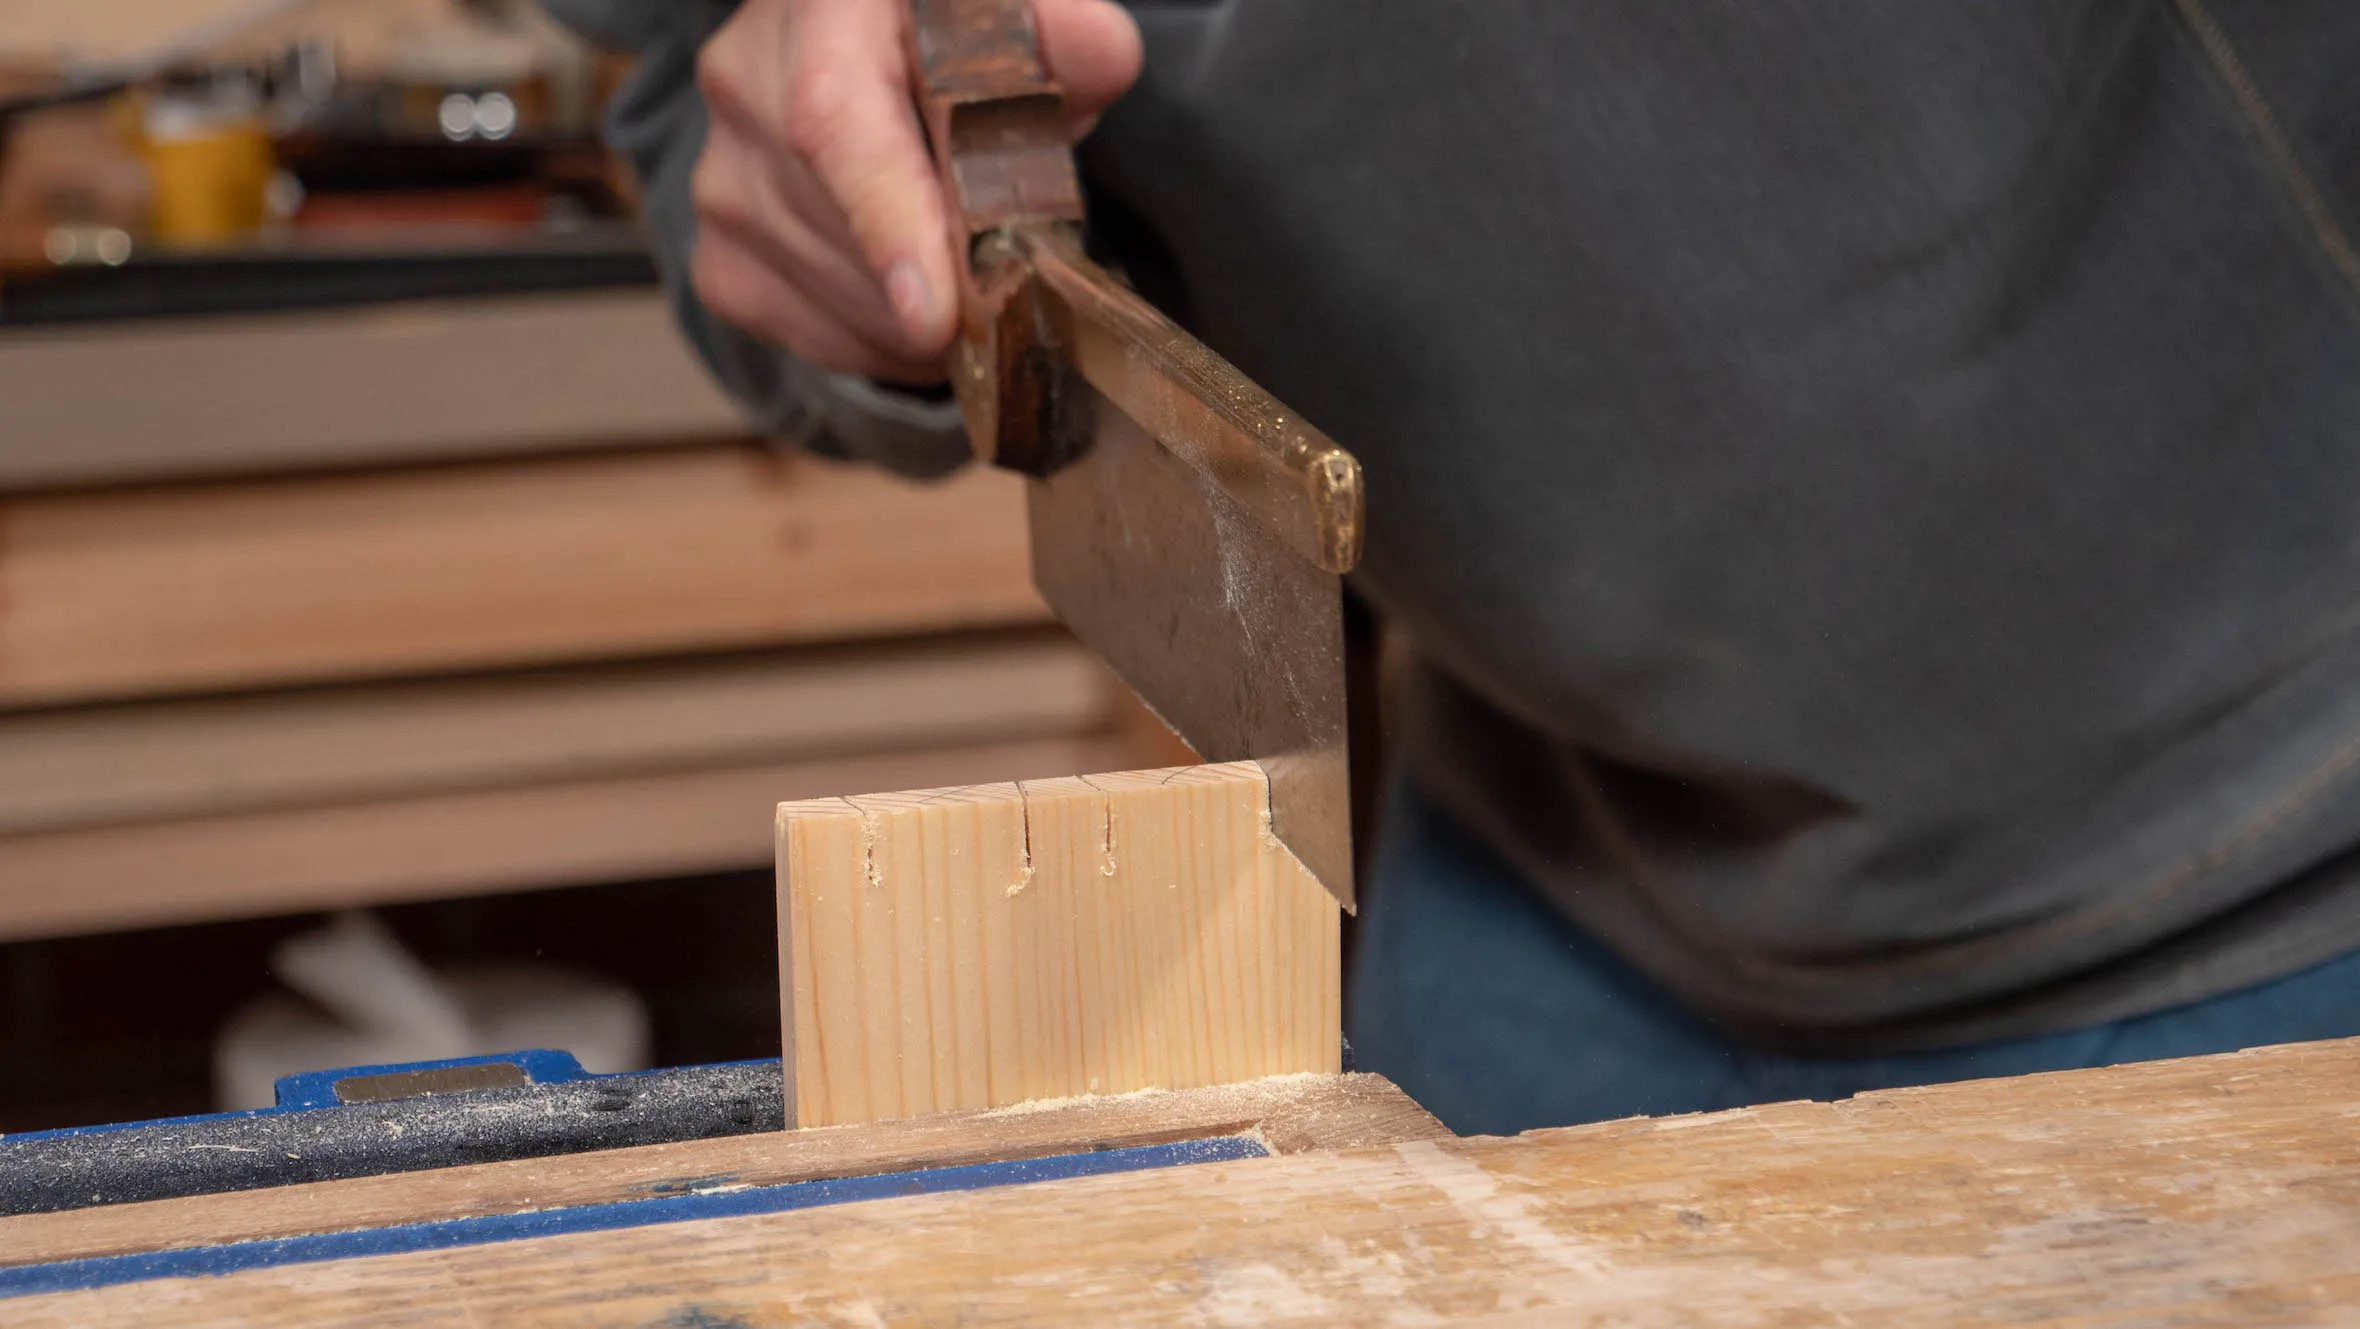
Cutting Out The Pins
As with the tails, start by sawing down the pencil lines with a fine tenon saw. Make sure to cut on the waste side of the line, and keeping parallel to it.
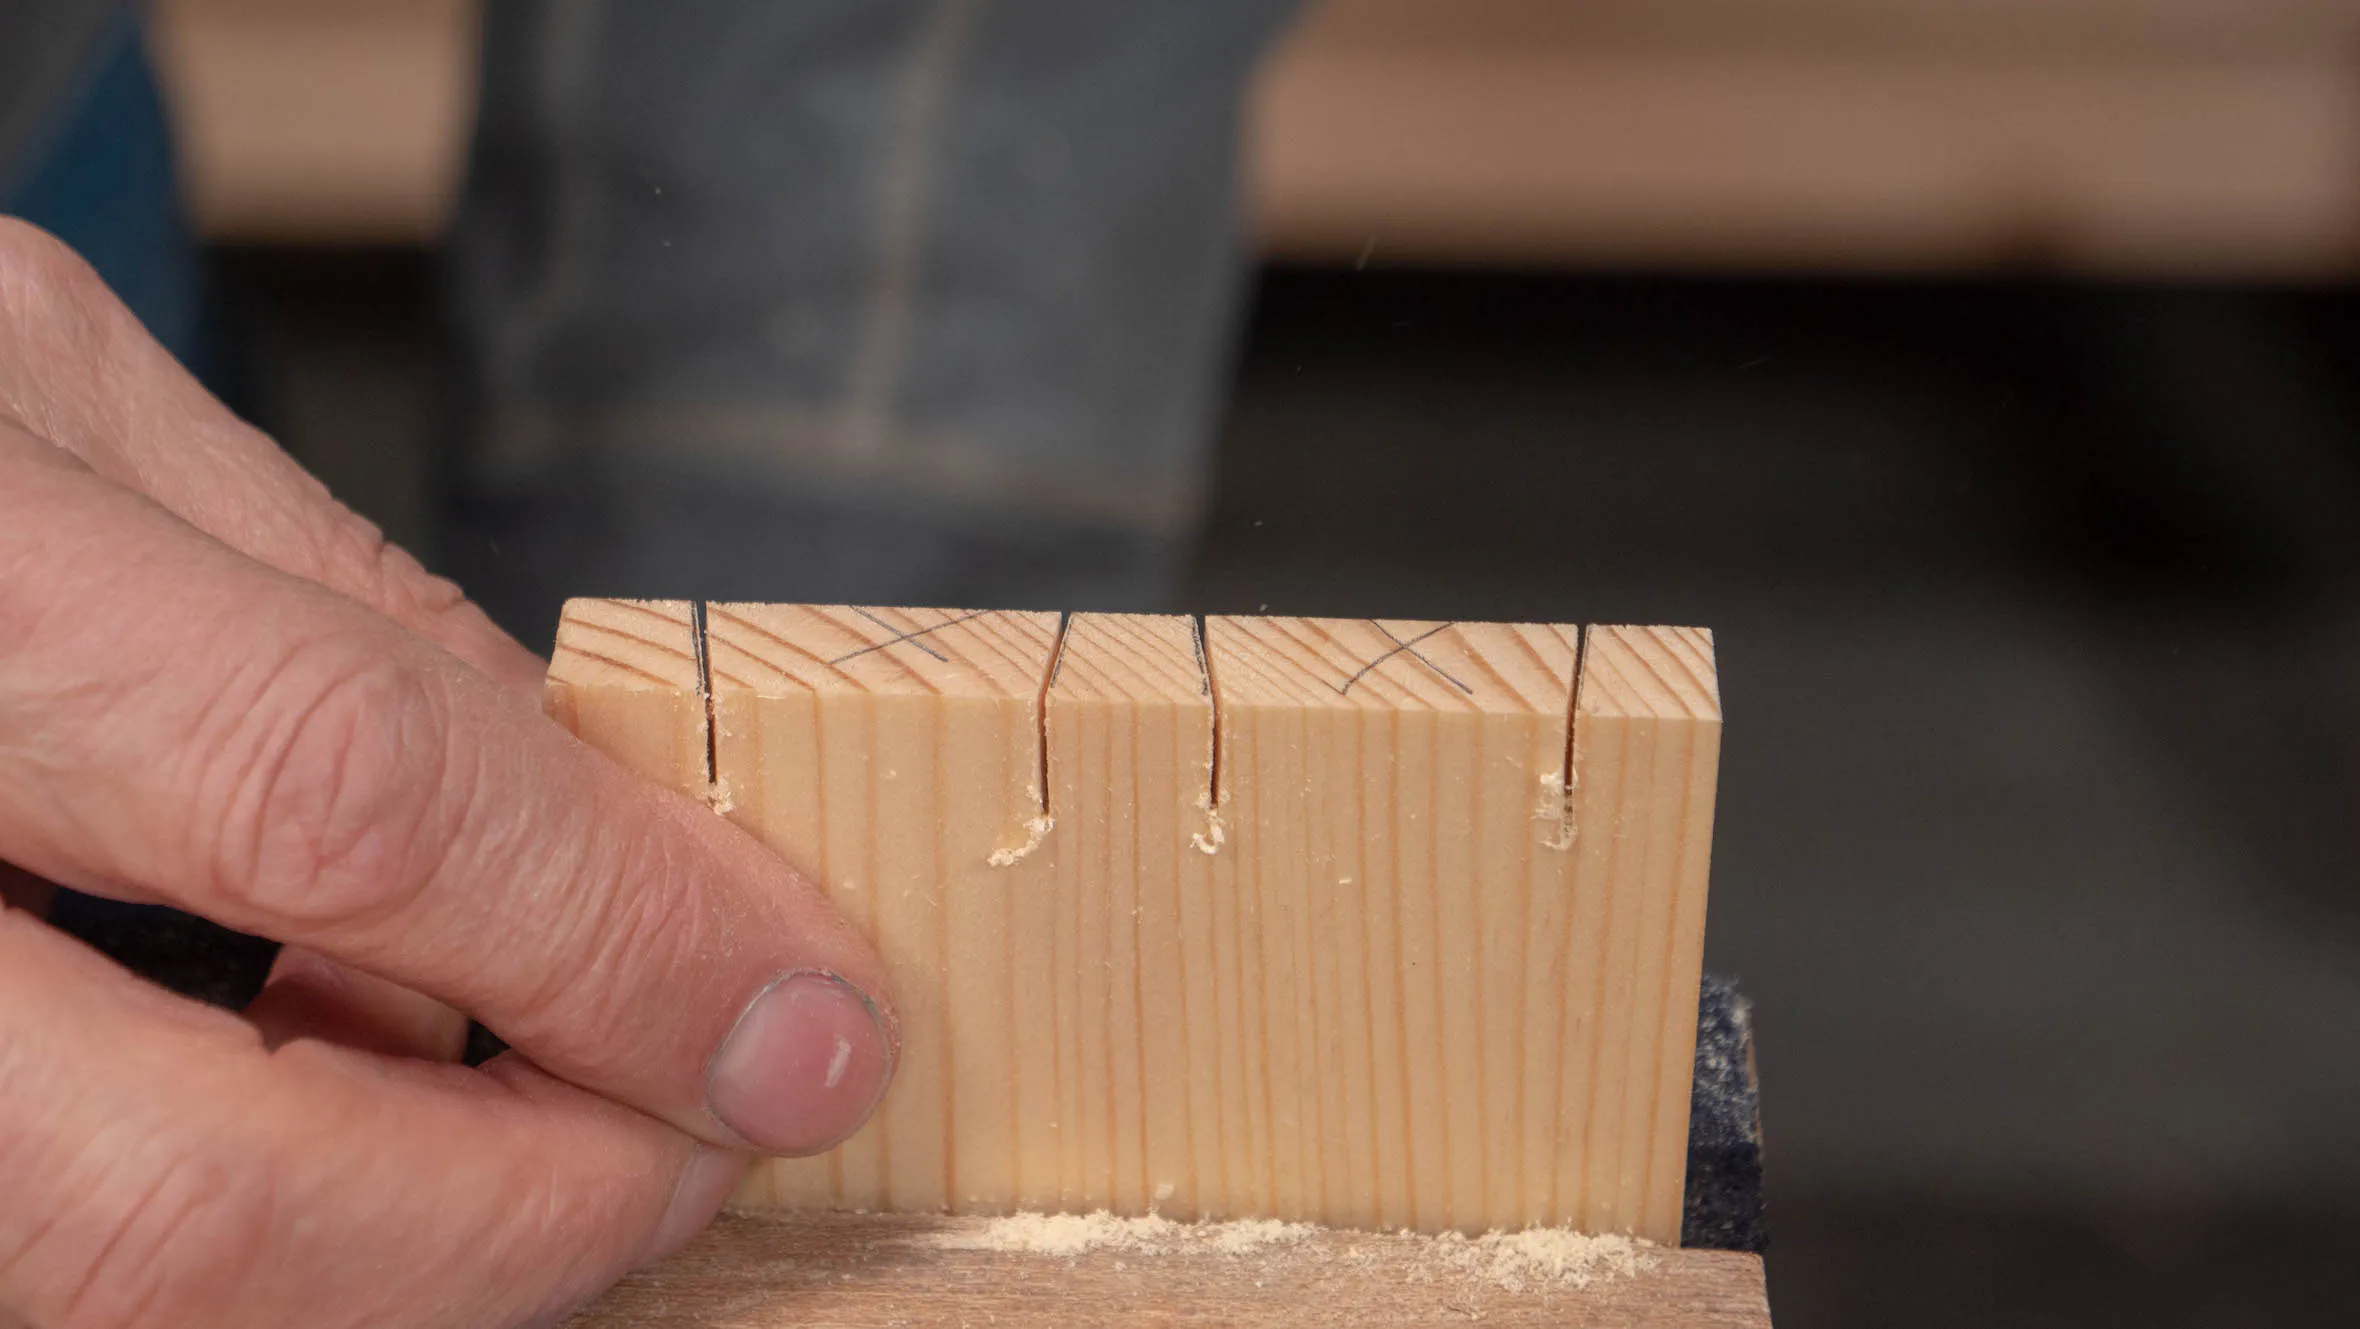
Note: Accuracy here is more critical than on the tails, since the pins must correspond perfectly to the tails; whereas the layout markings for the tails were only to help you cut symmetrically, but weren’t crucial.
To cut out the waste from between the pins (the tail recesses), repeat the same steps as before when cutting out the pin recesses. The main difference now is that the sections to remove are larger and the shoulders taper, and get narrower as you get closer to the inside face.
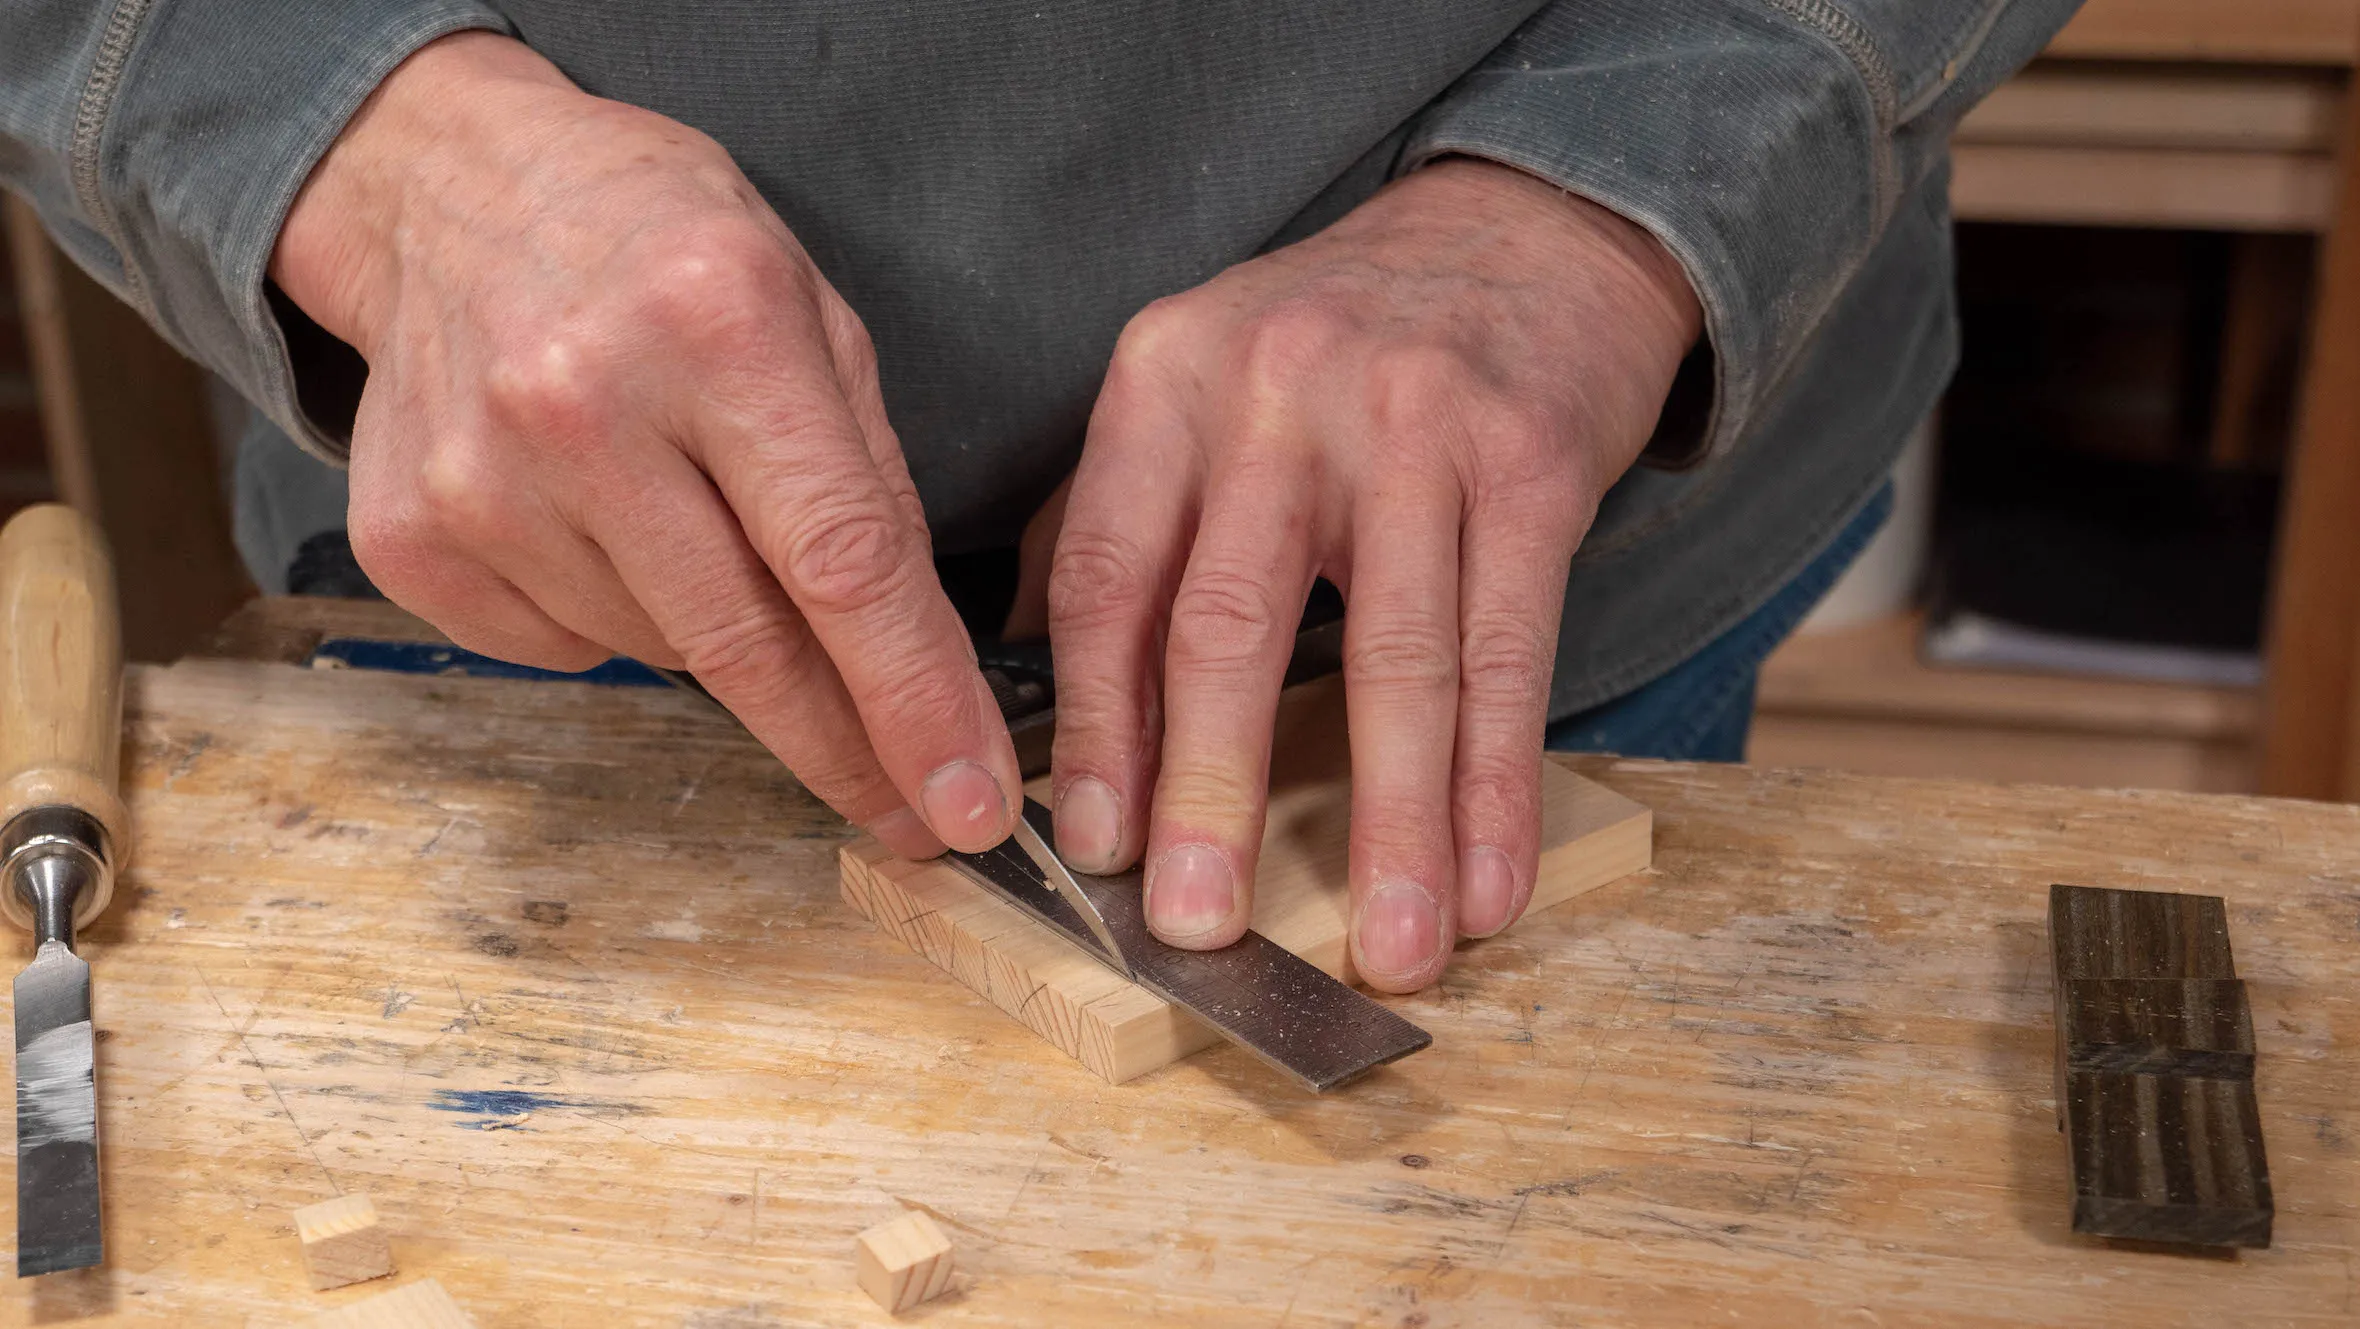
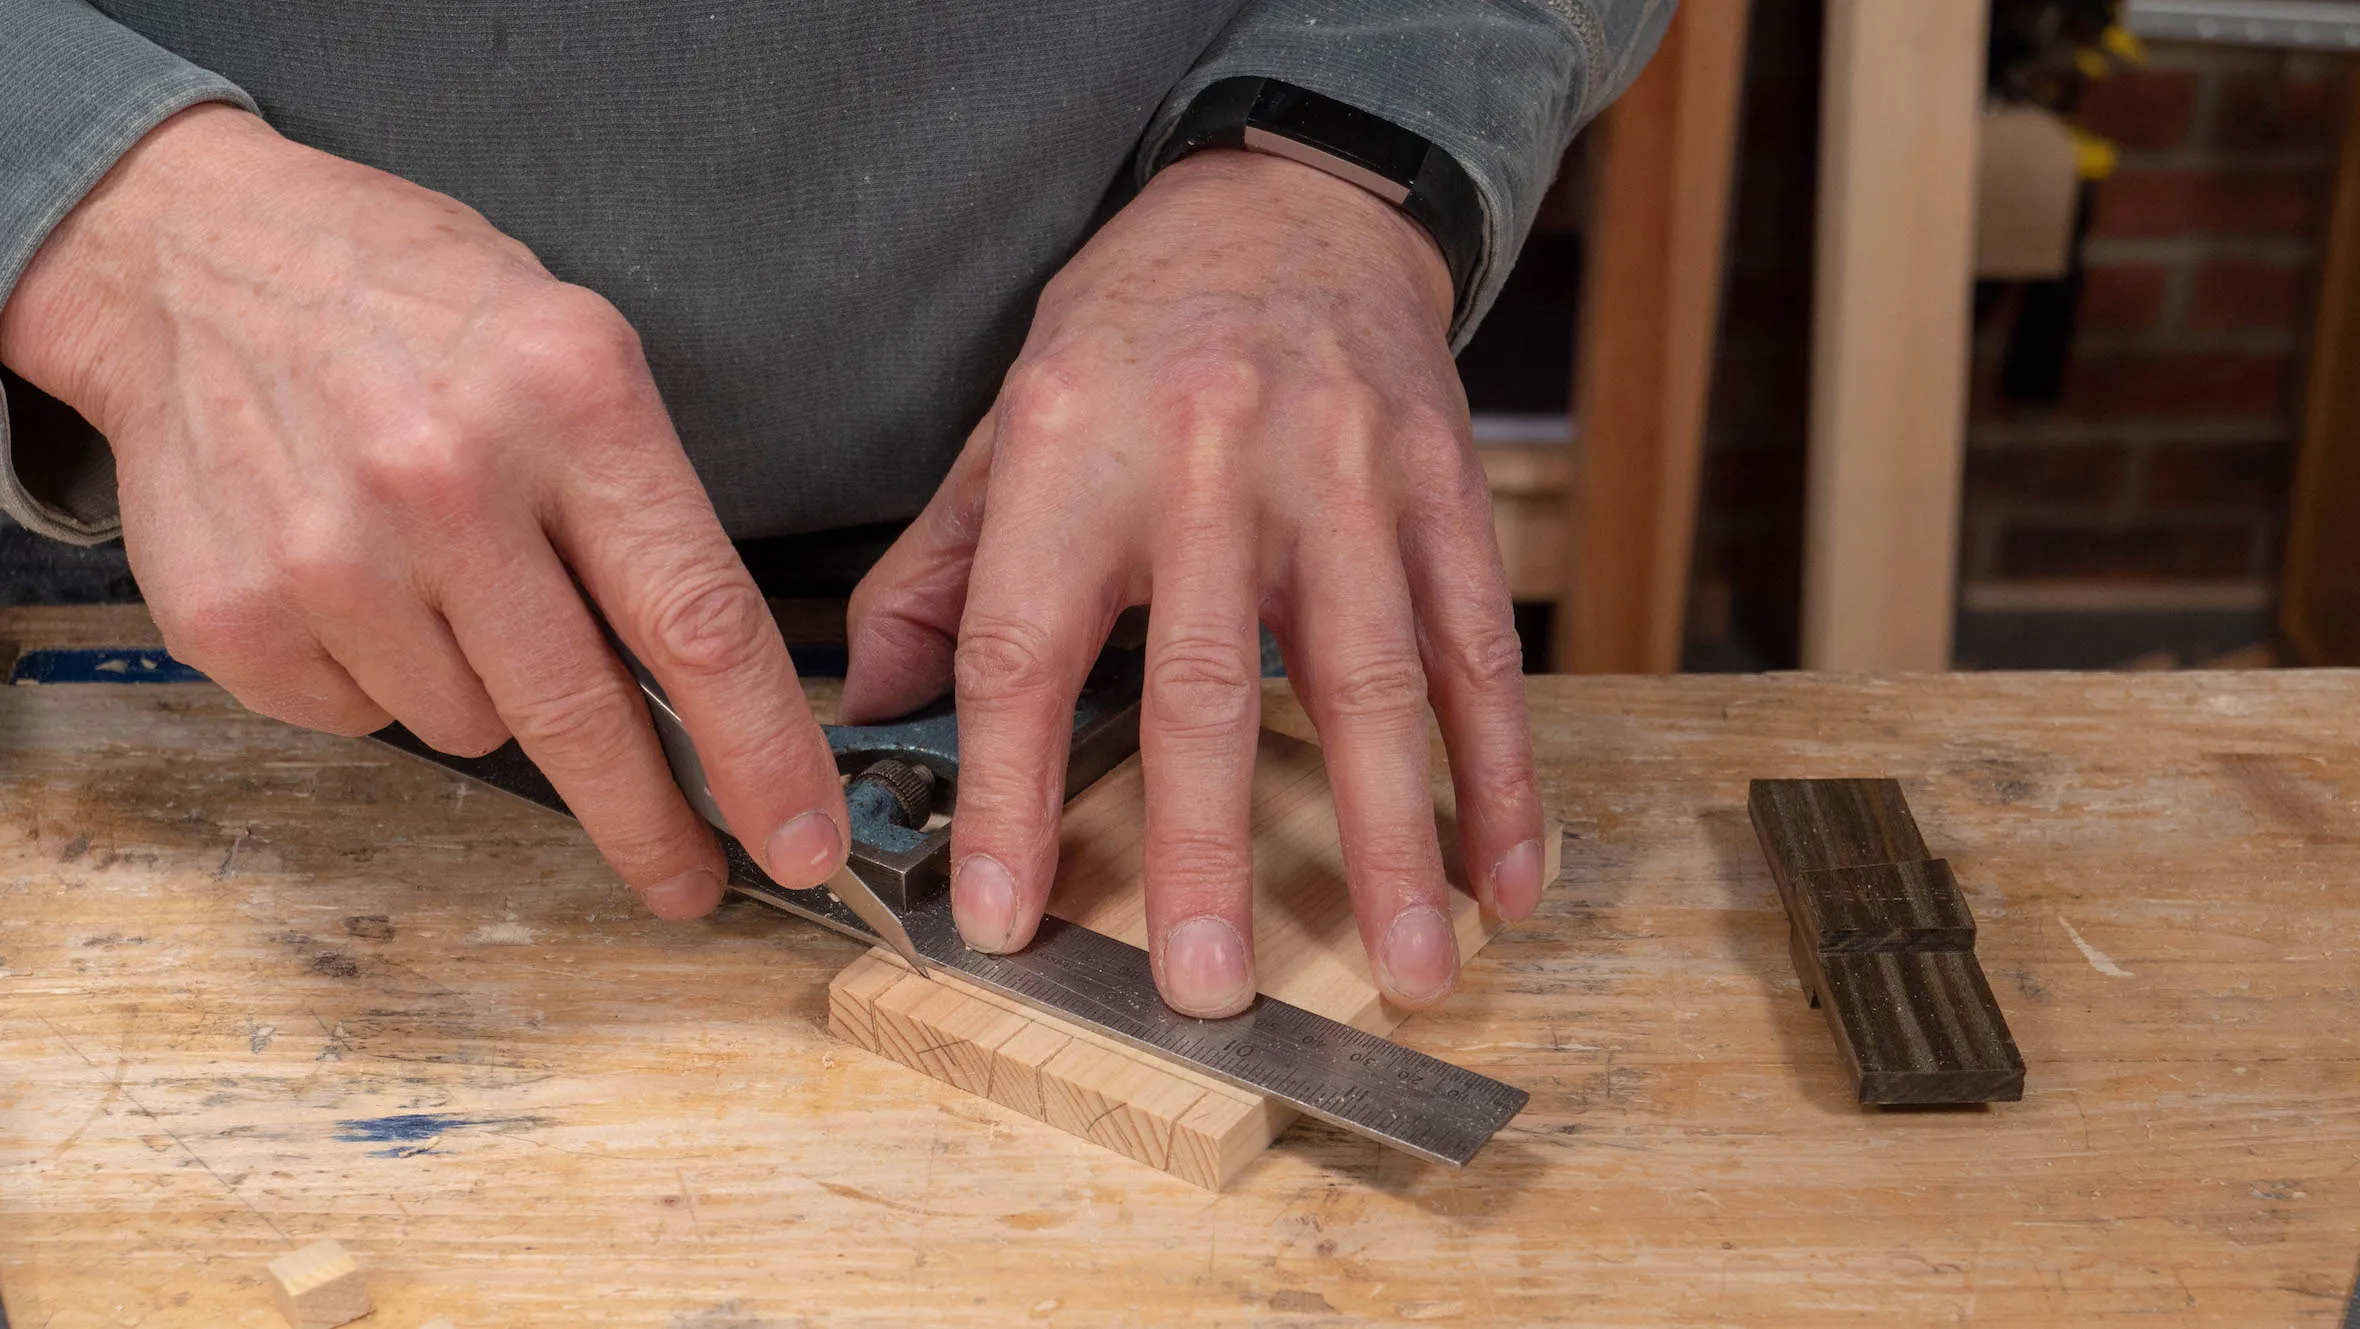
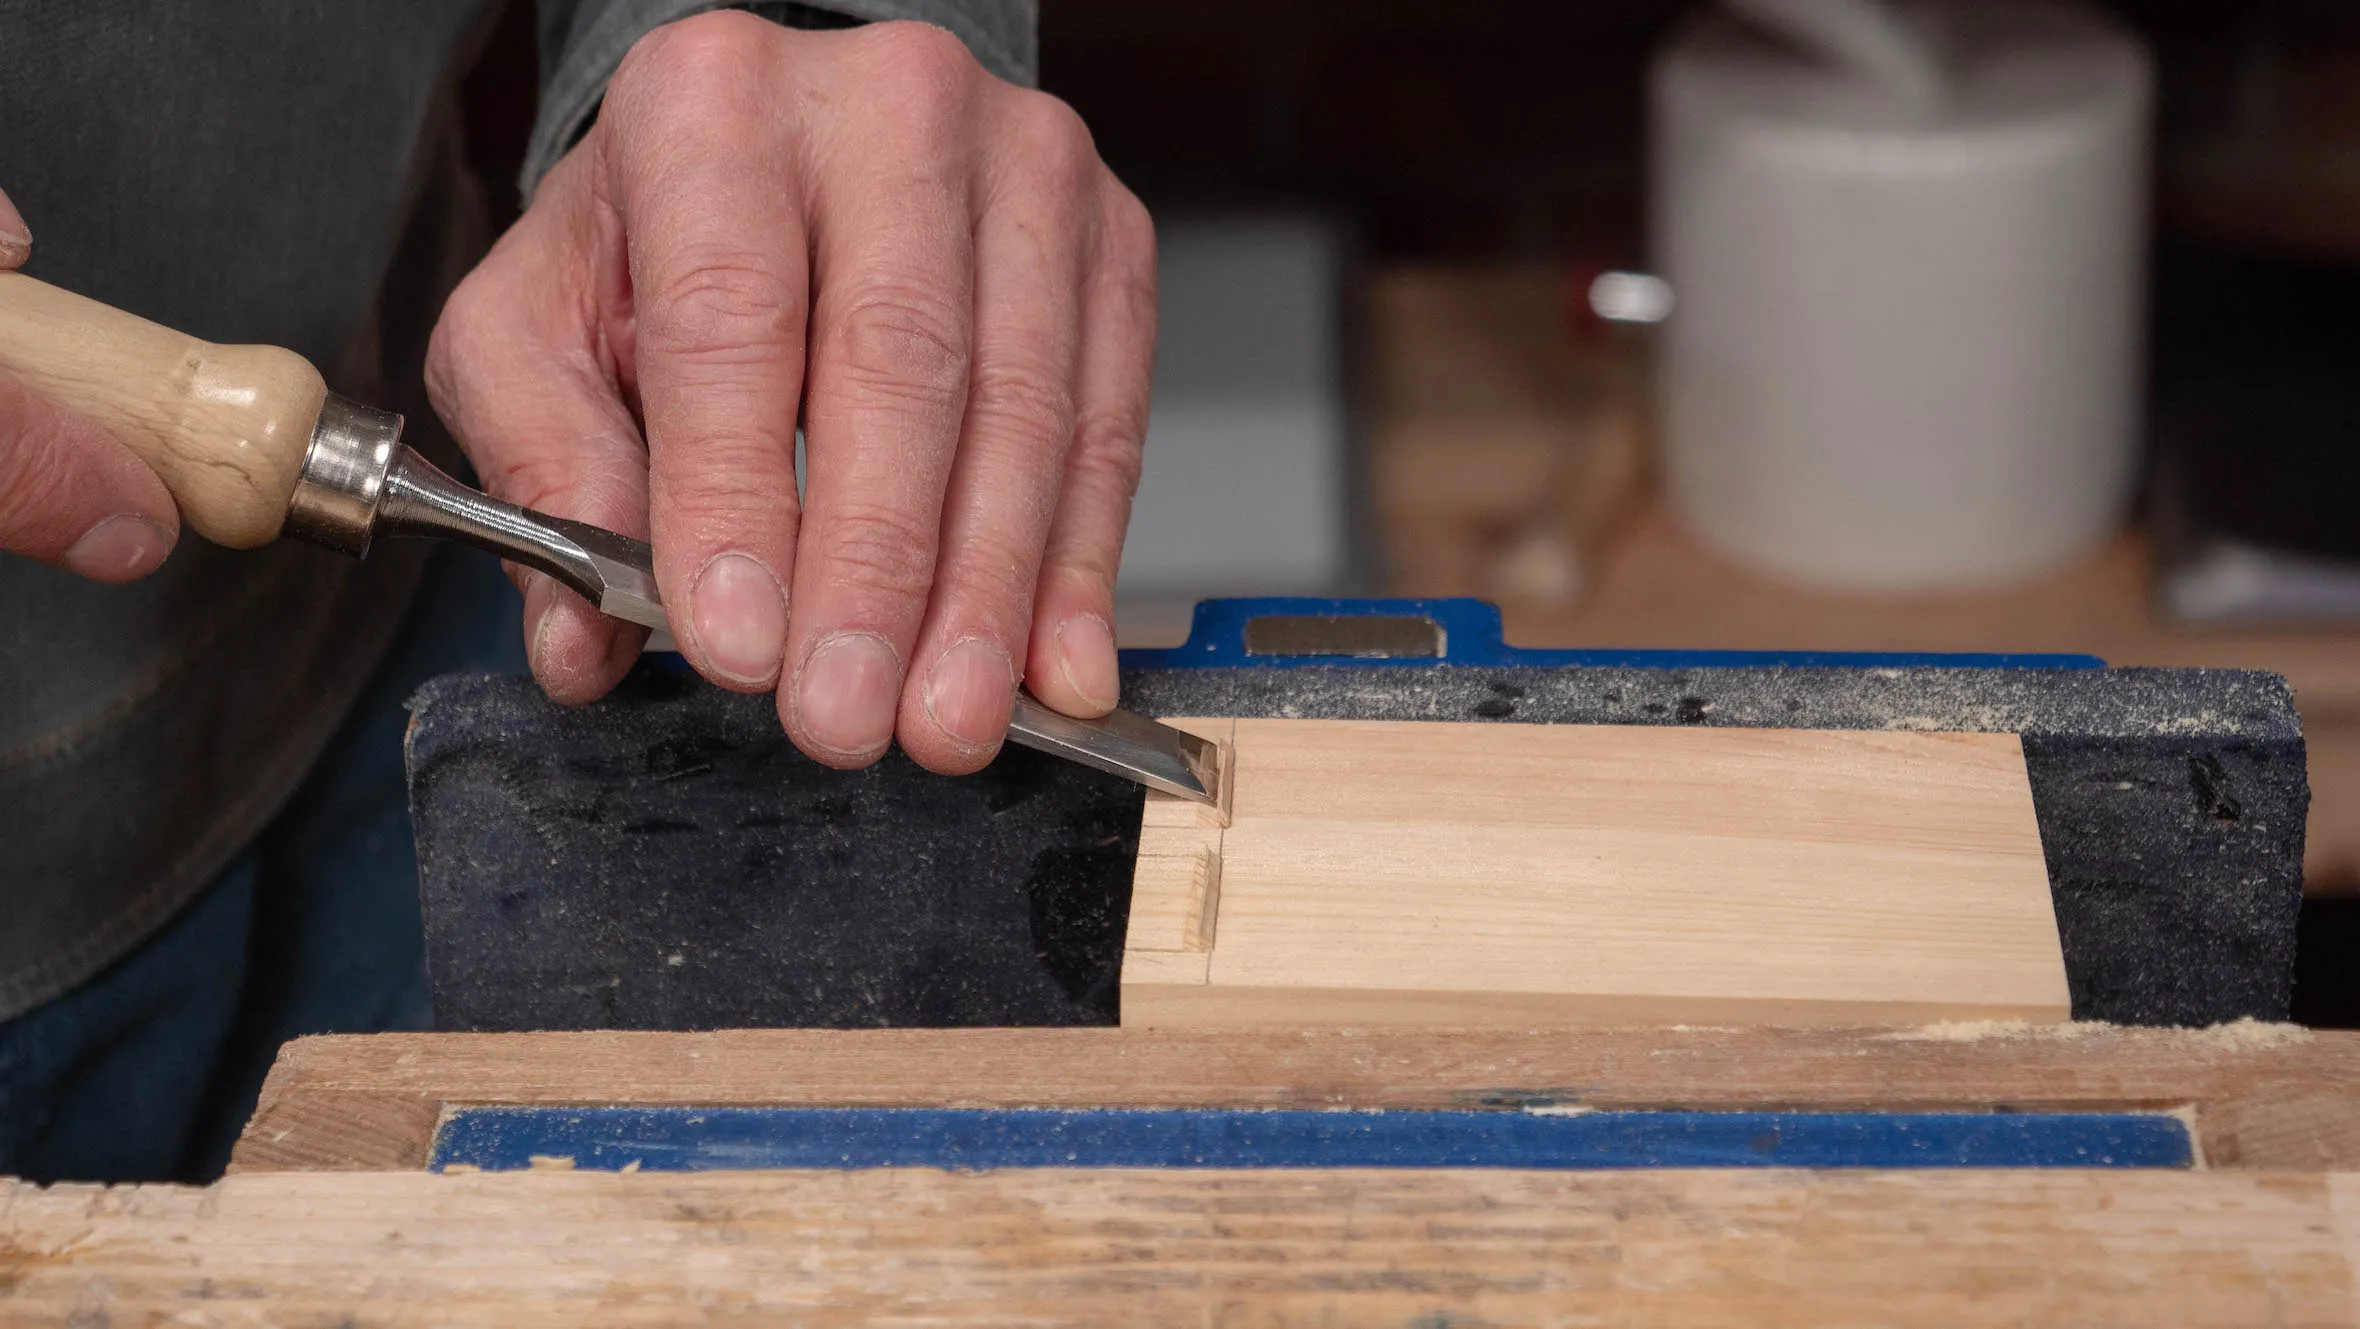
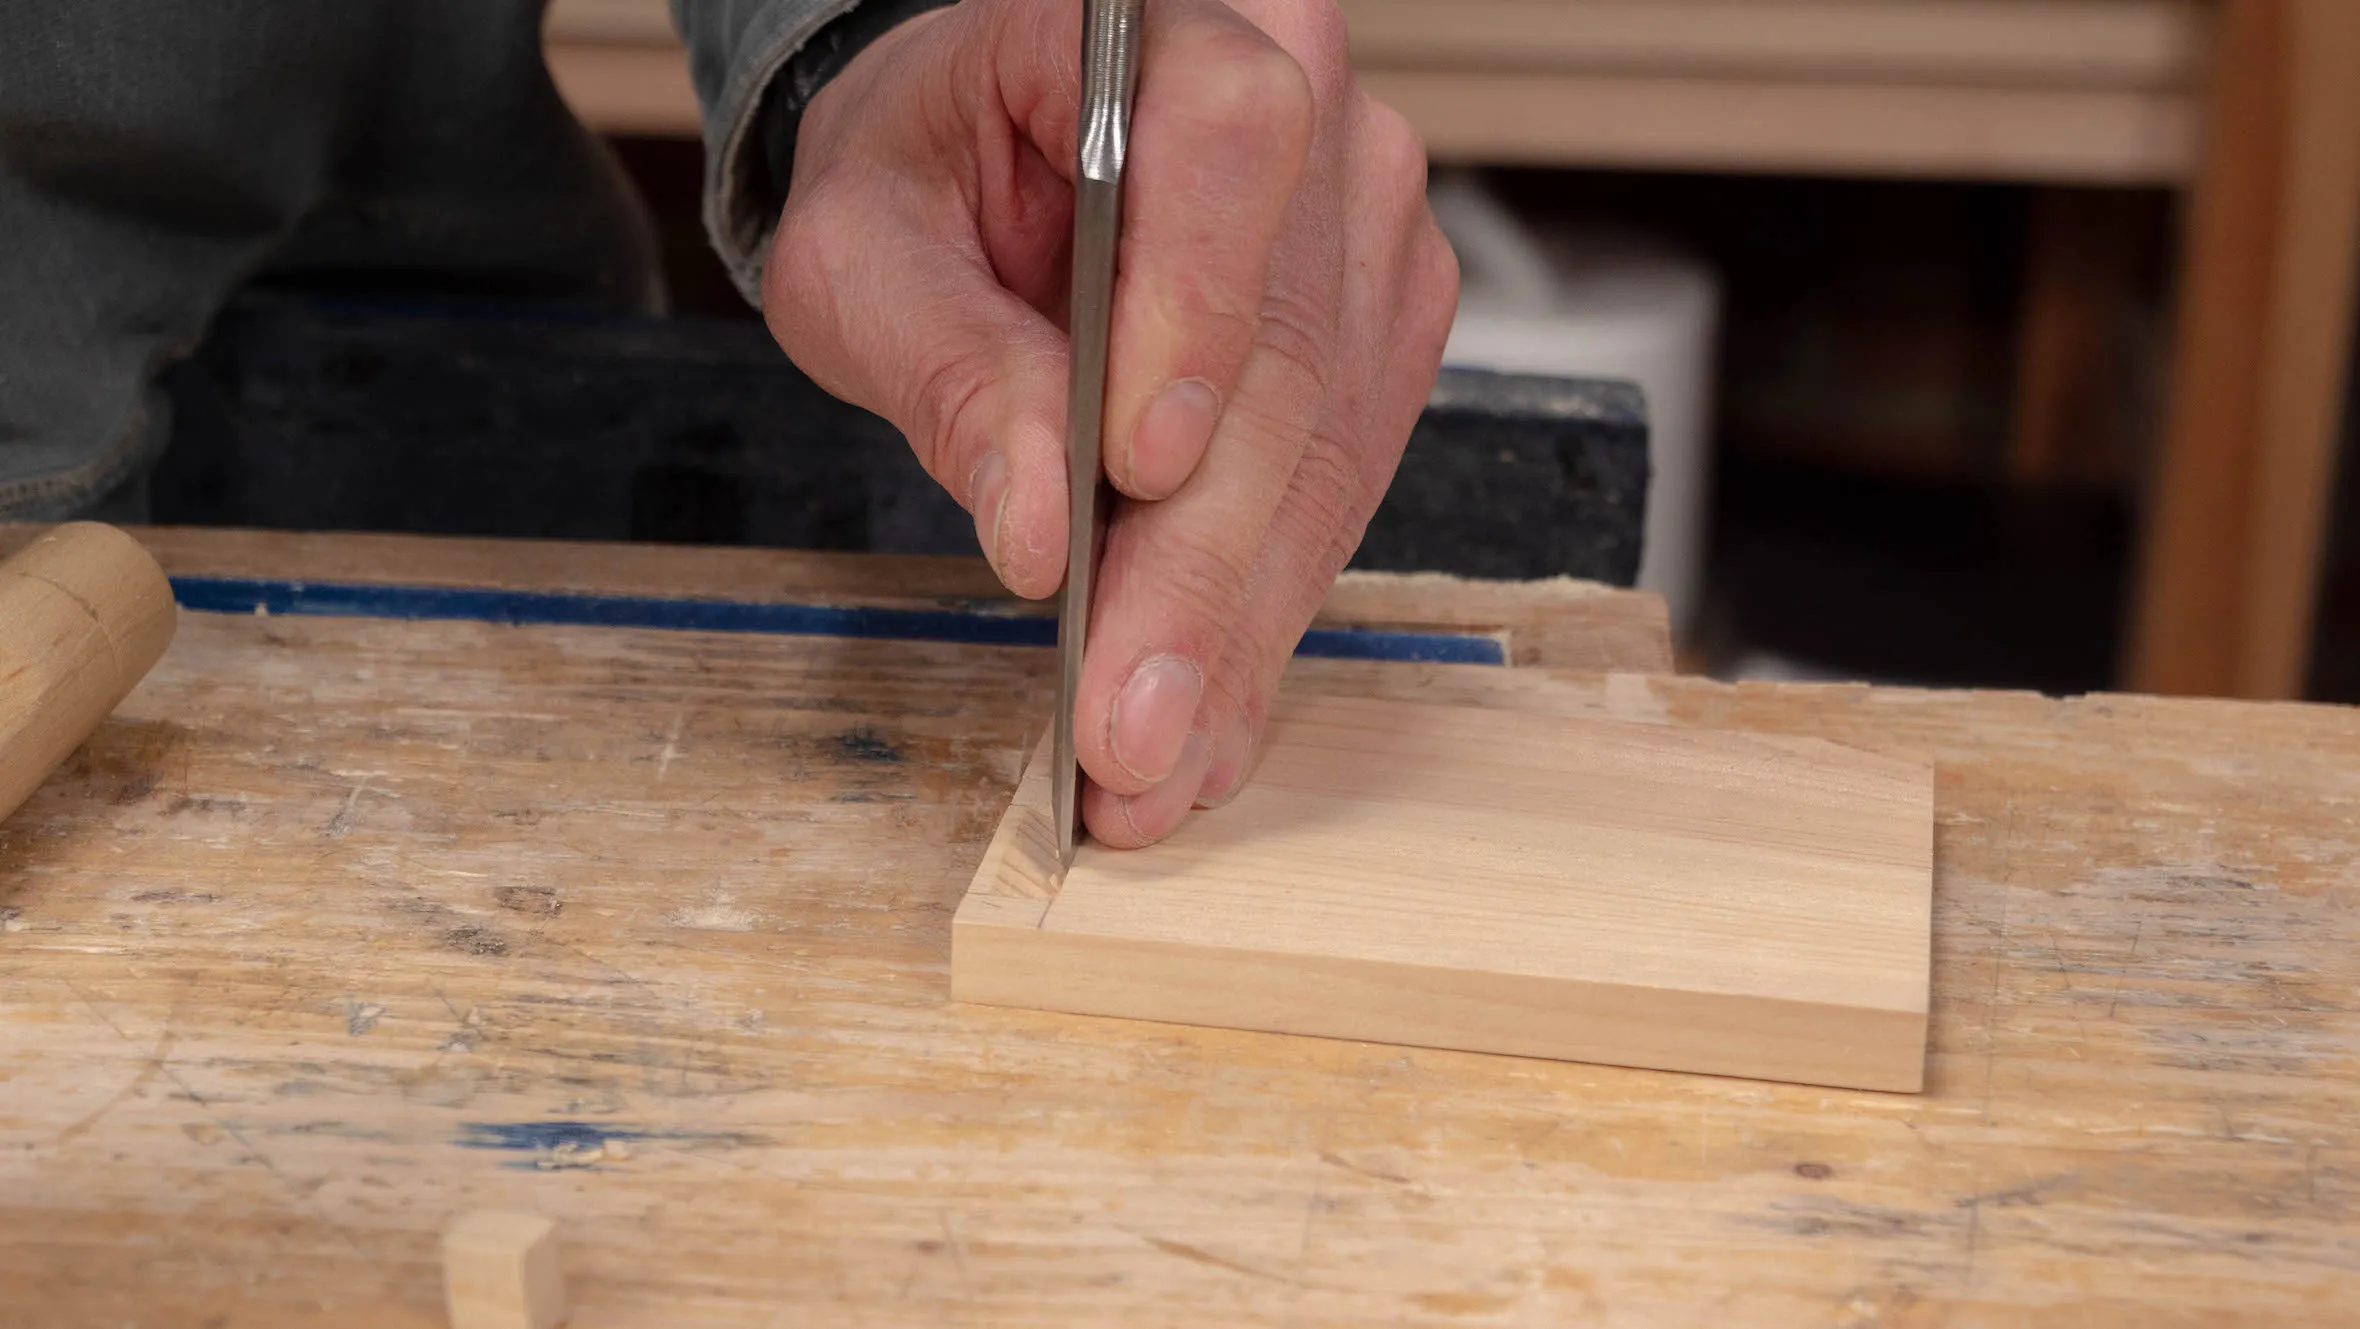
To create the shoulder lines, bring the tail piece as before and butt the square up against it from the other side. Remove the piece of wood and use a knife to create a knifewall on the waste sections of the line (first with a light pass, then a heavier one, but not too deep). Before moving the square away, make a knife nick right on the corner, so you can find it from the opposite face without scoring a line across the end.
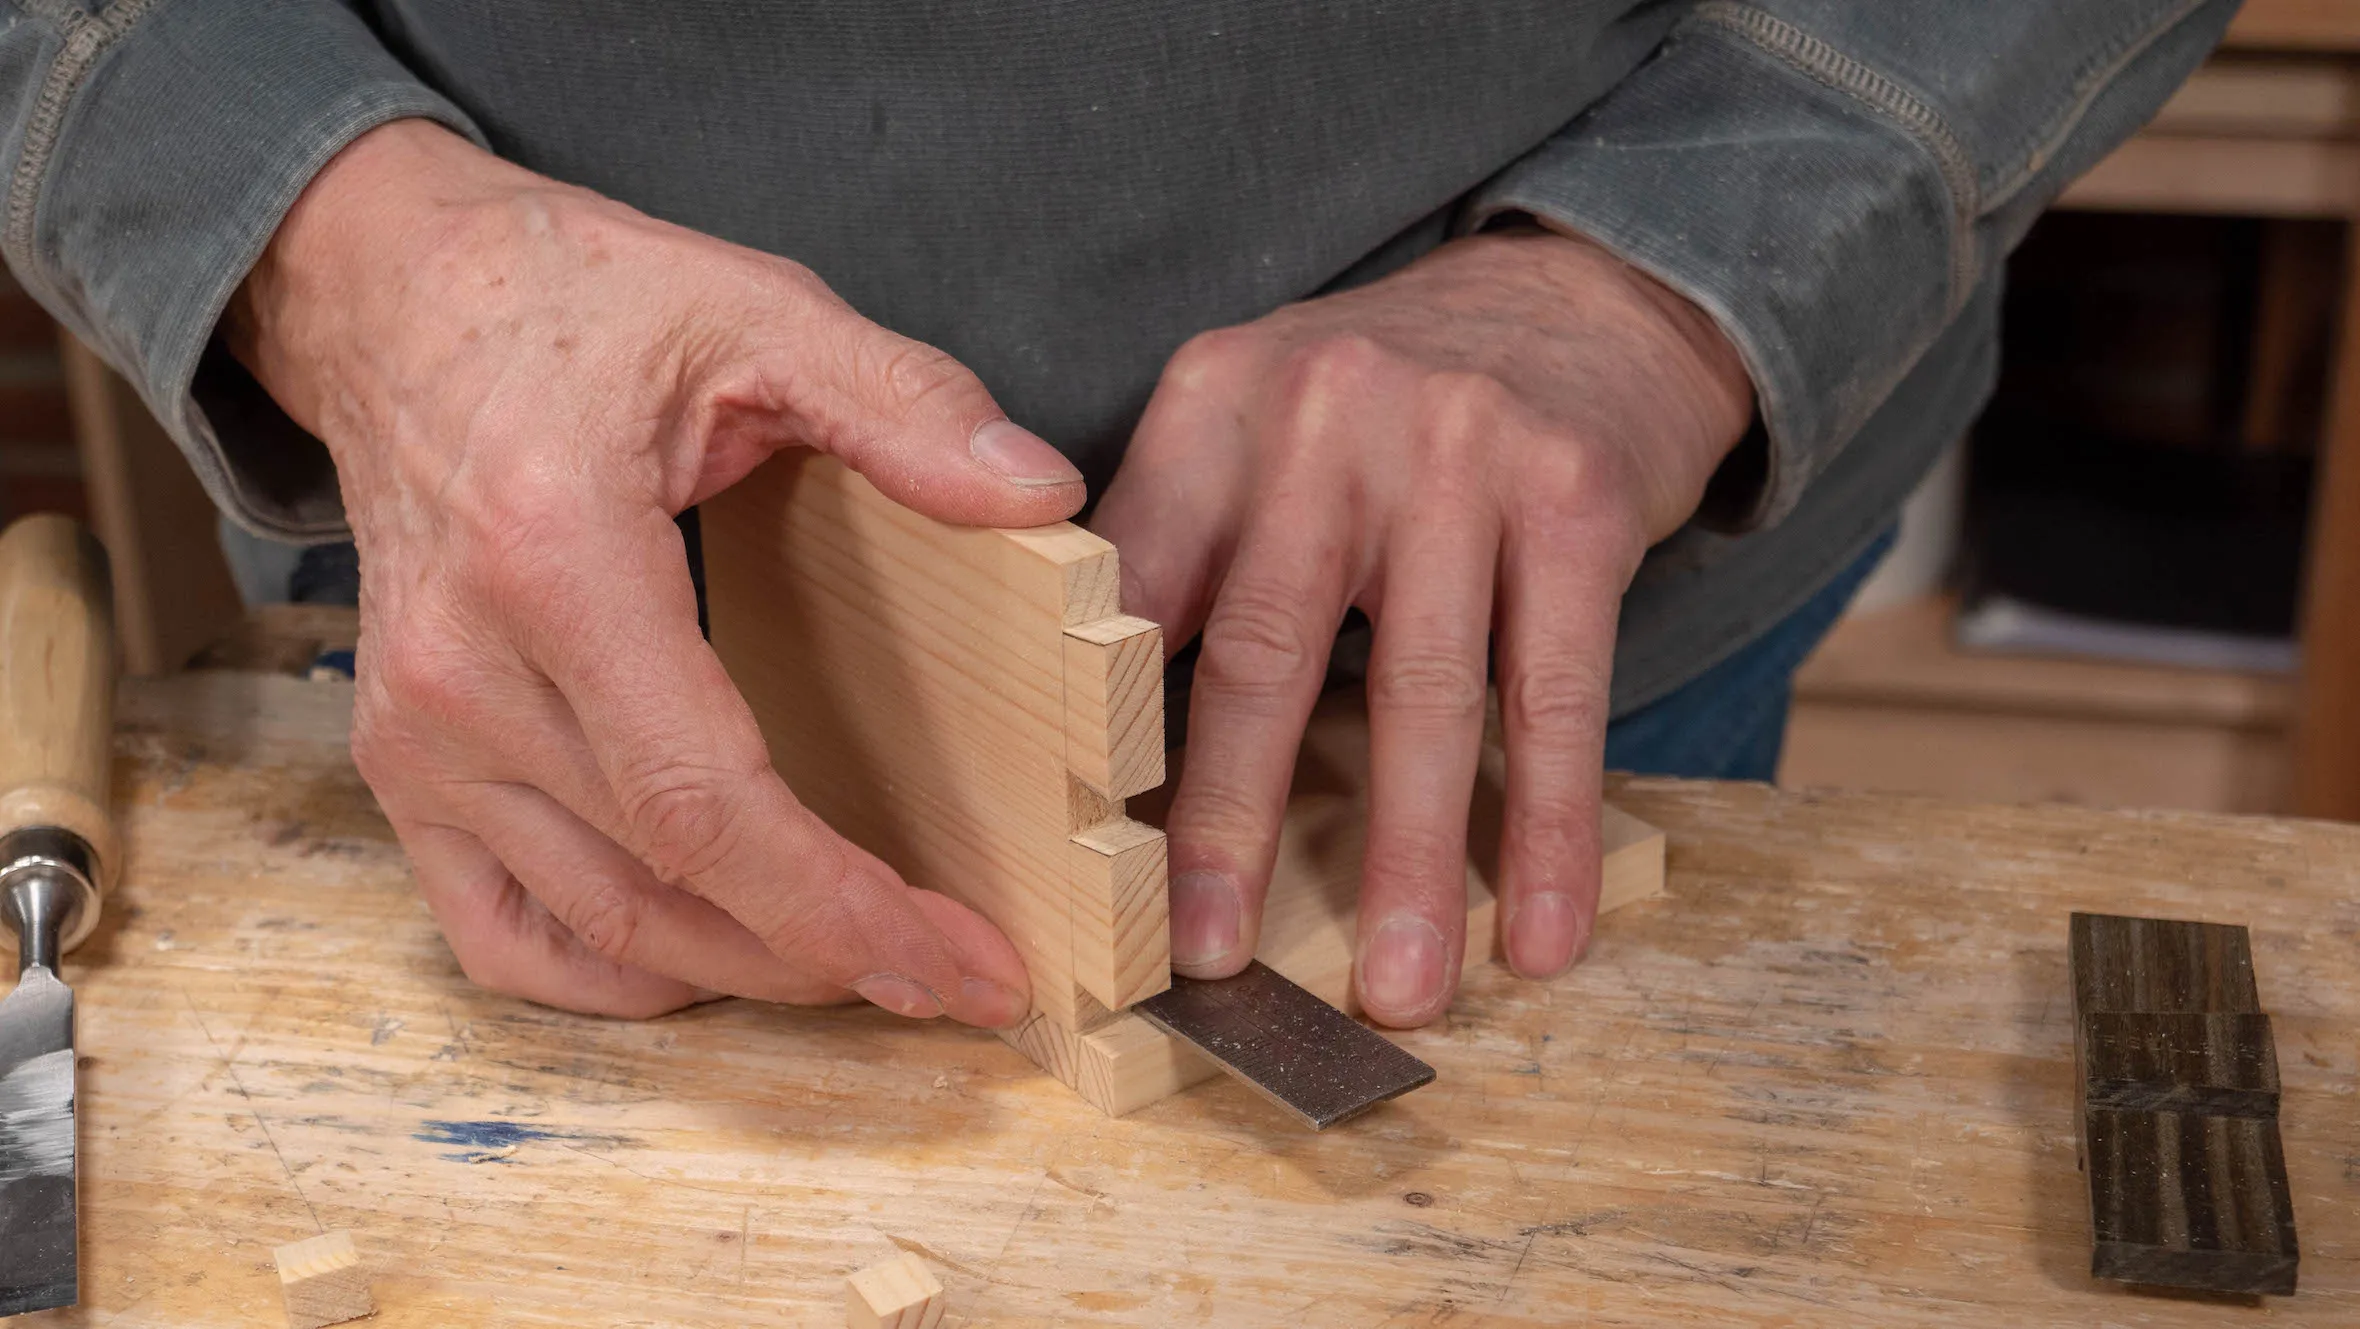
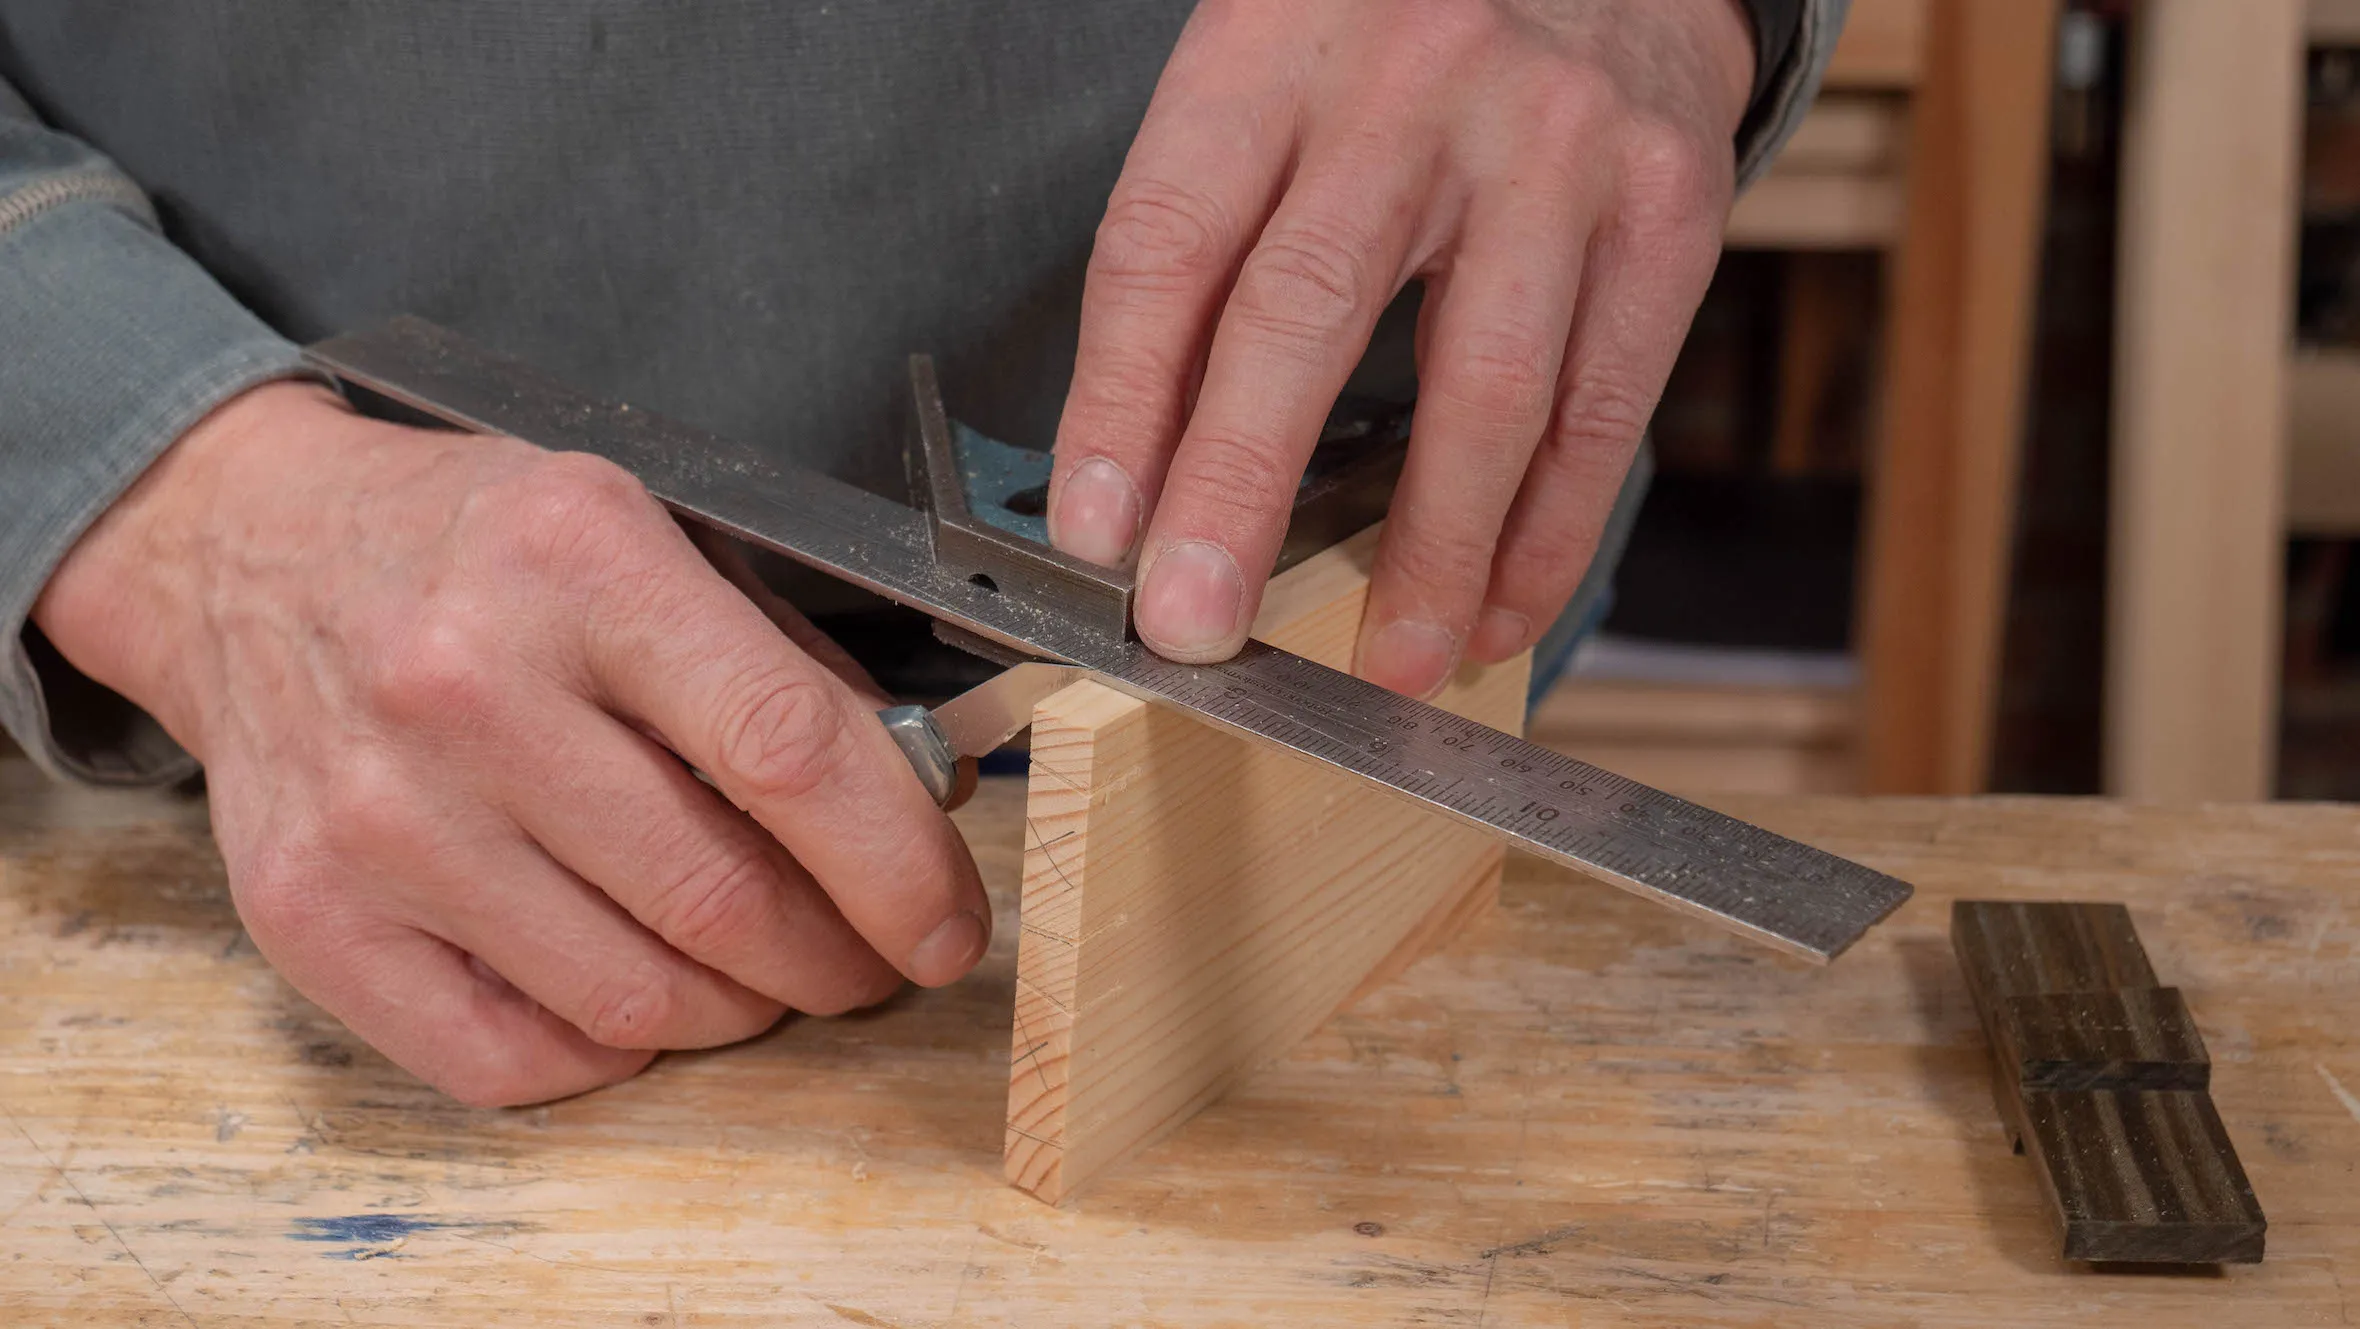
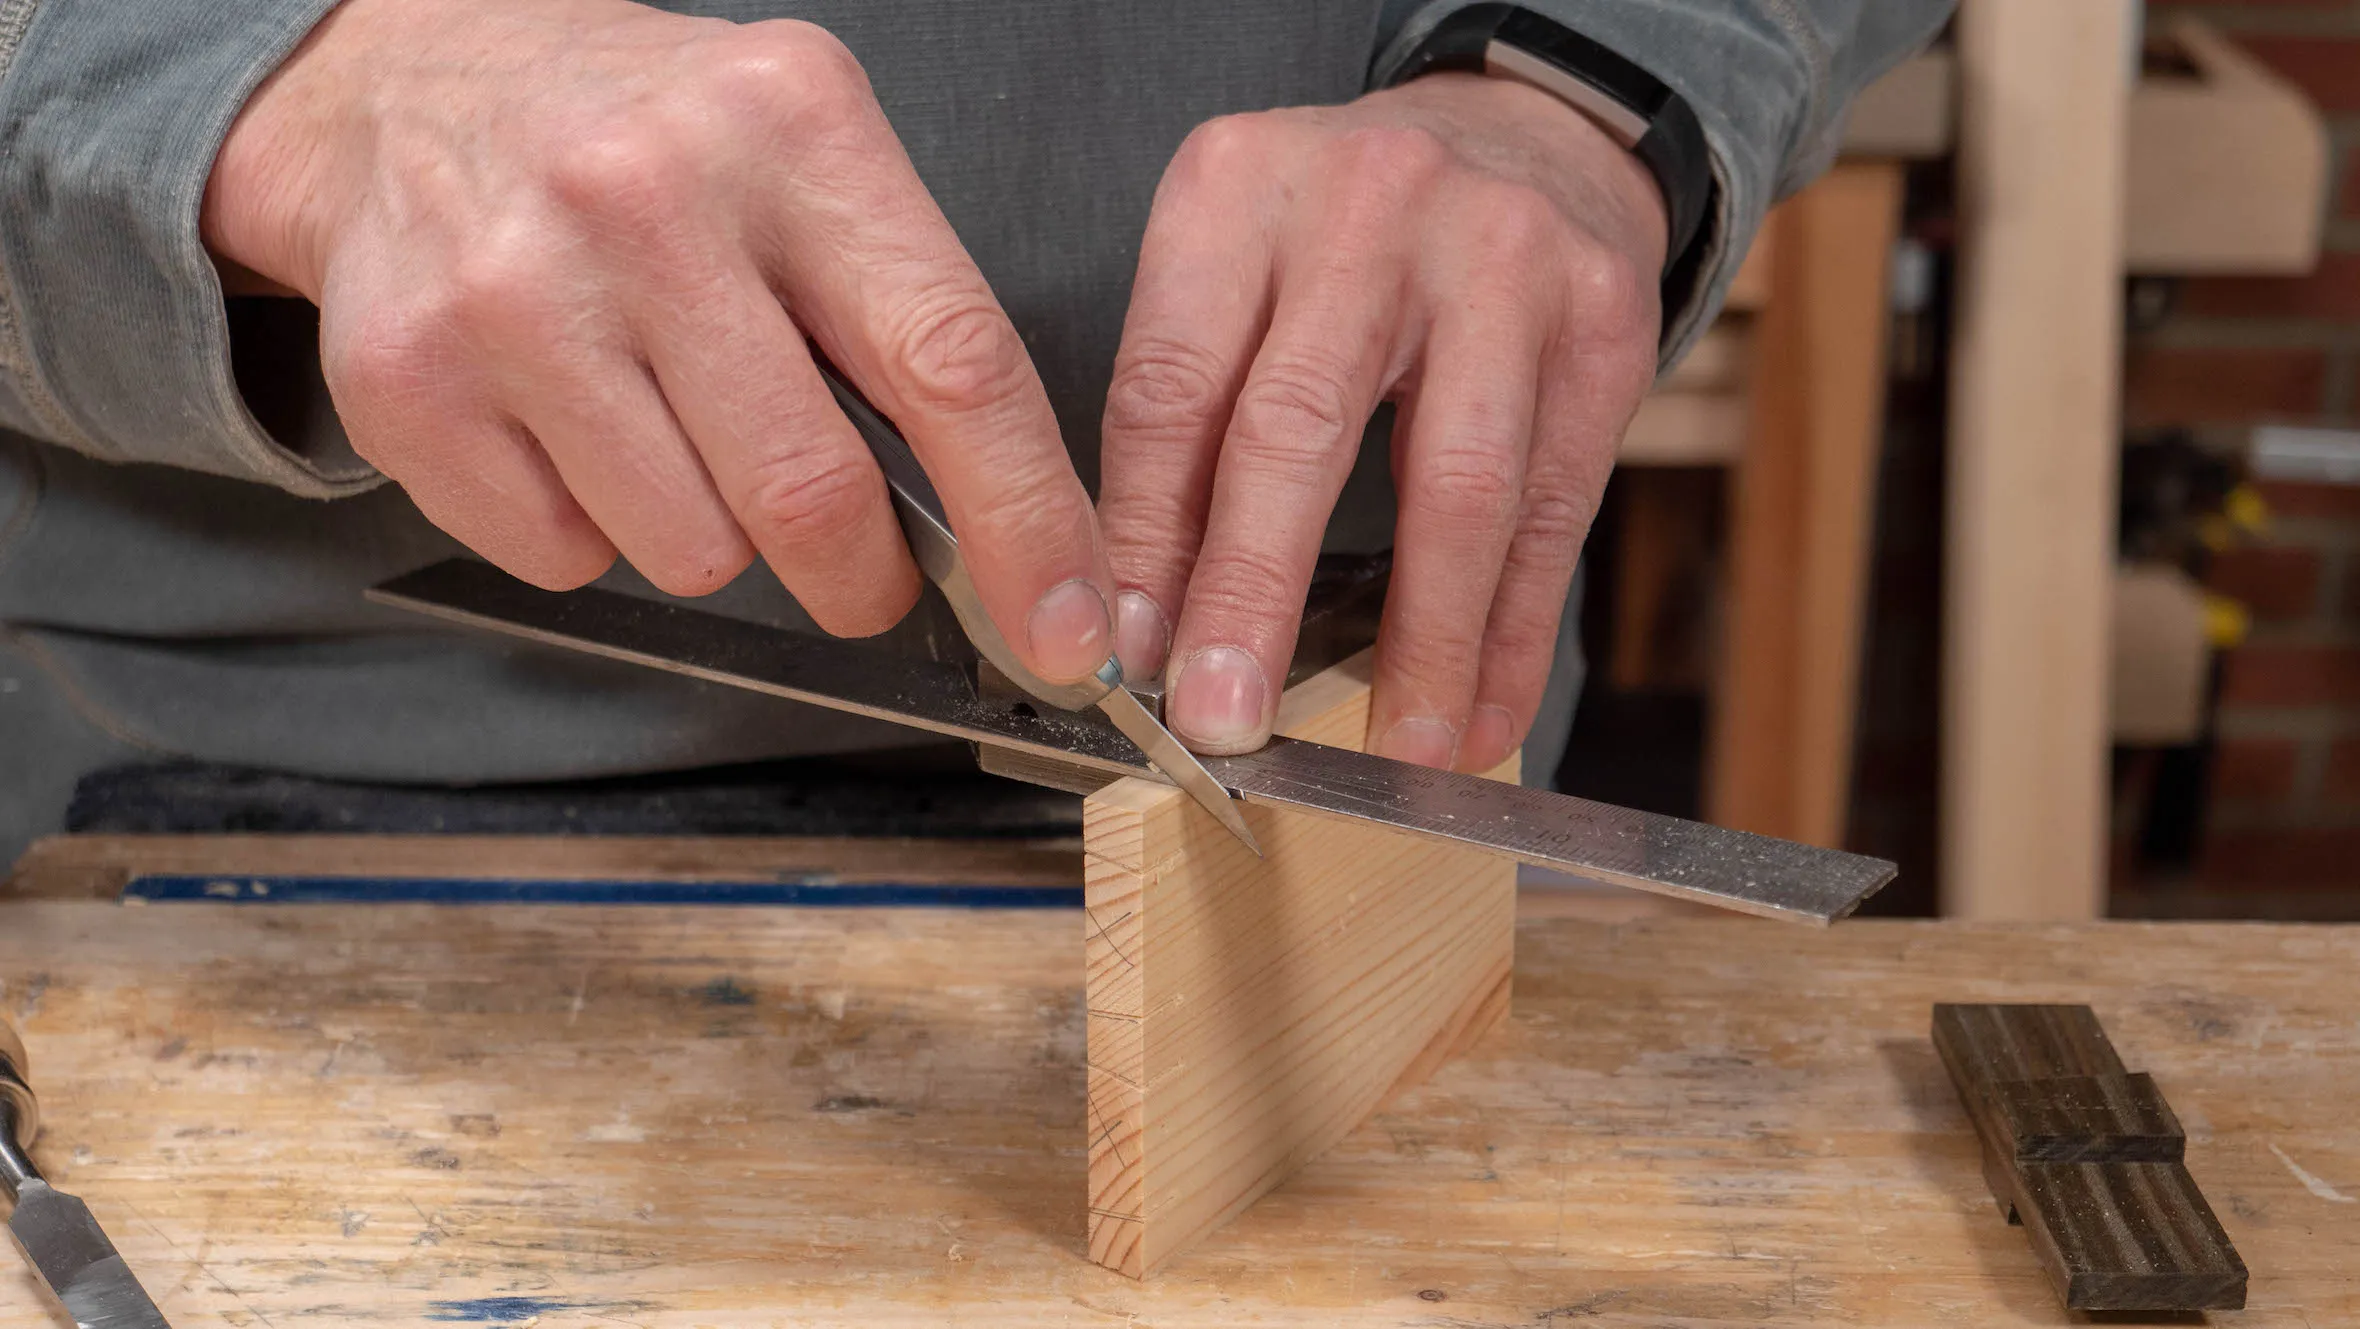
Find the knife nick with your knife and make another on the opposite corner. You can now use this knife nick to make your knifewalls on the inside face.
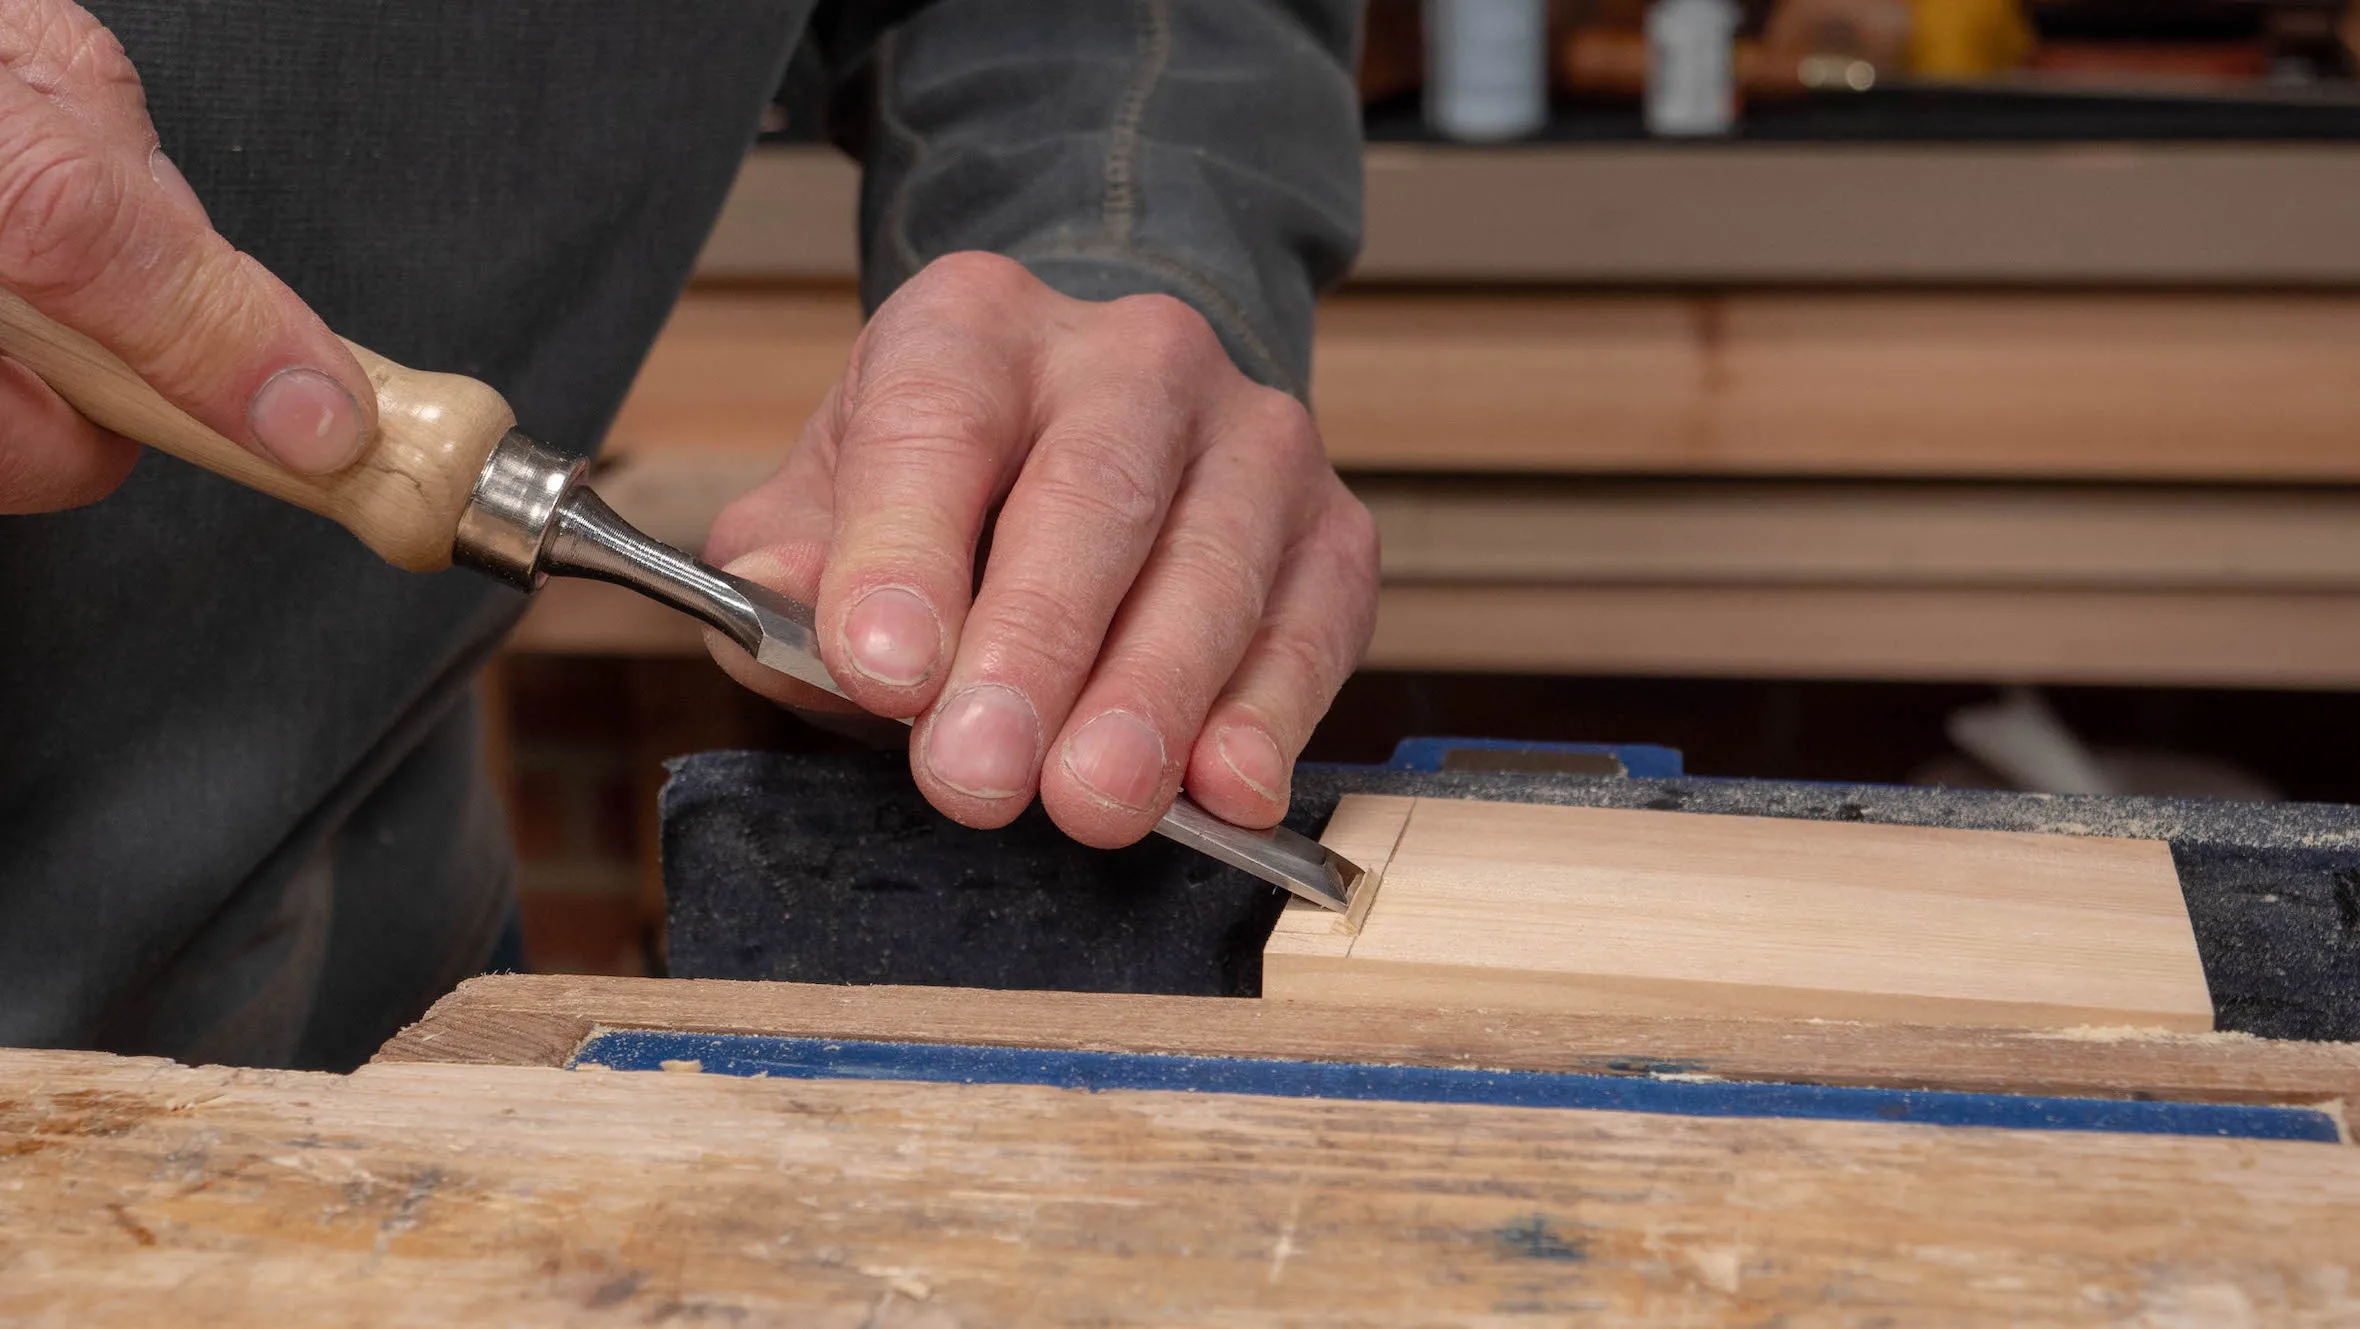
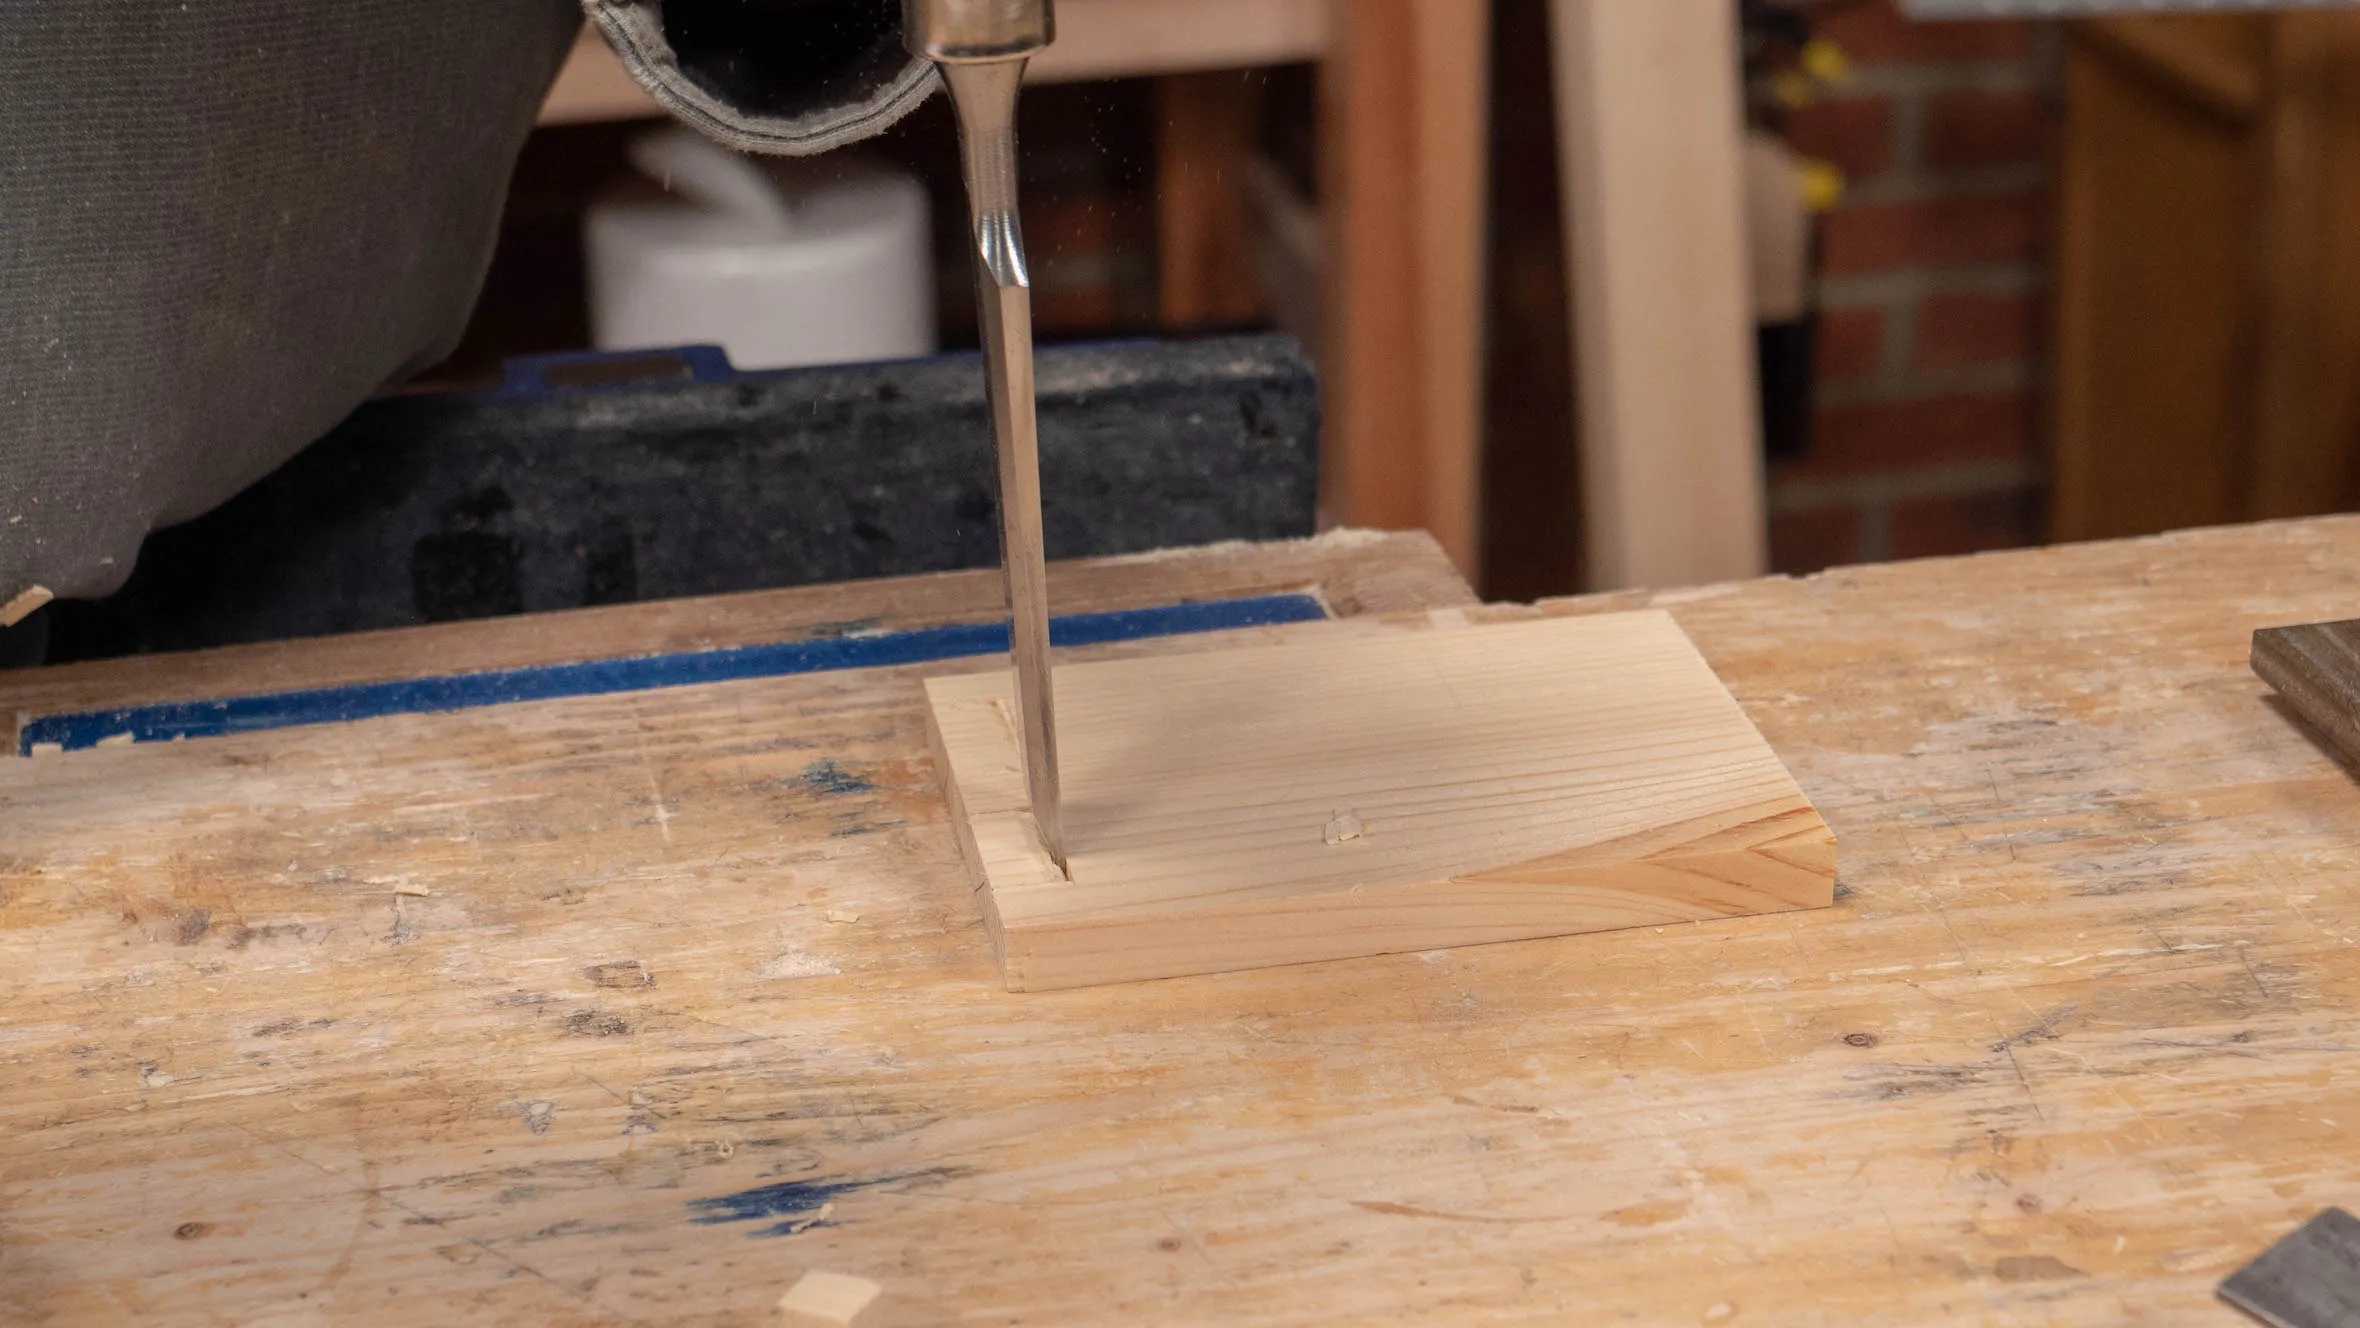
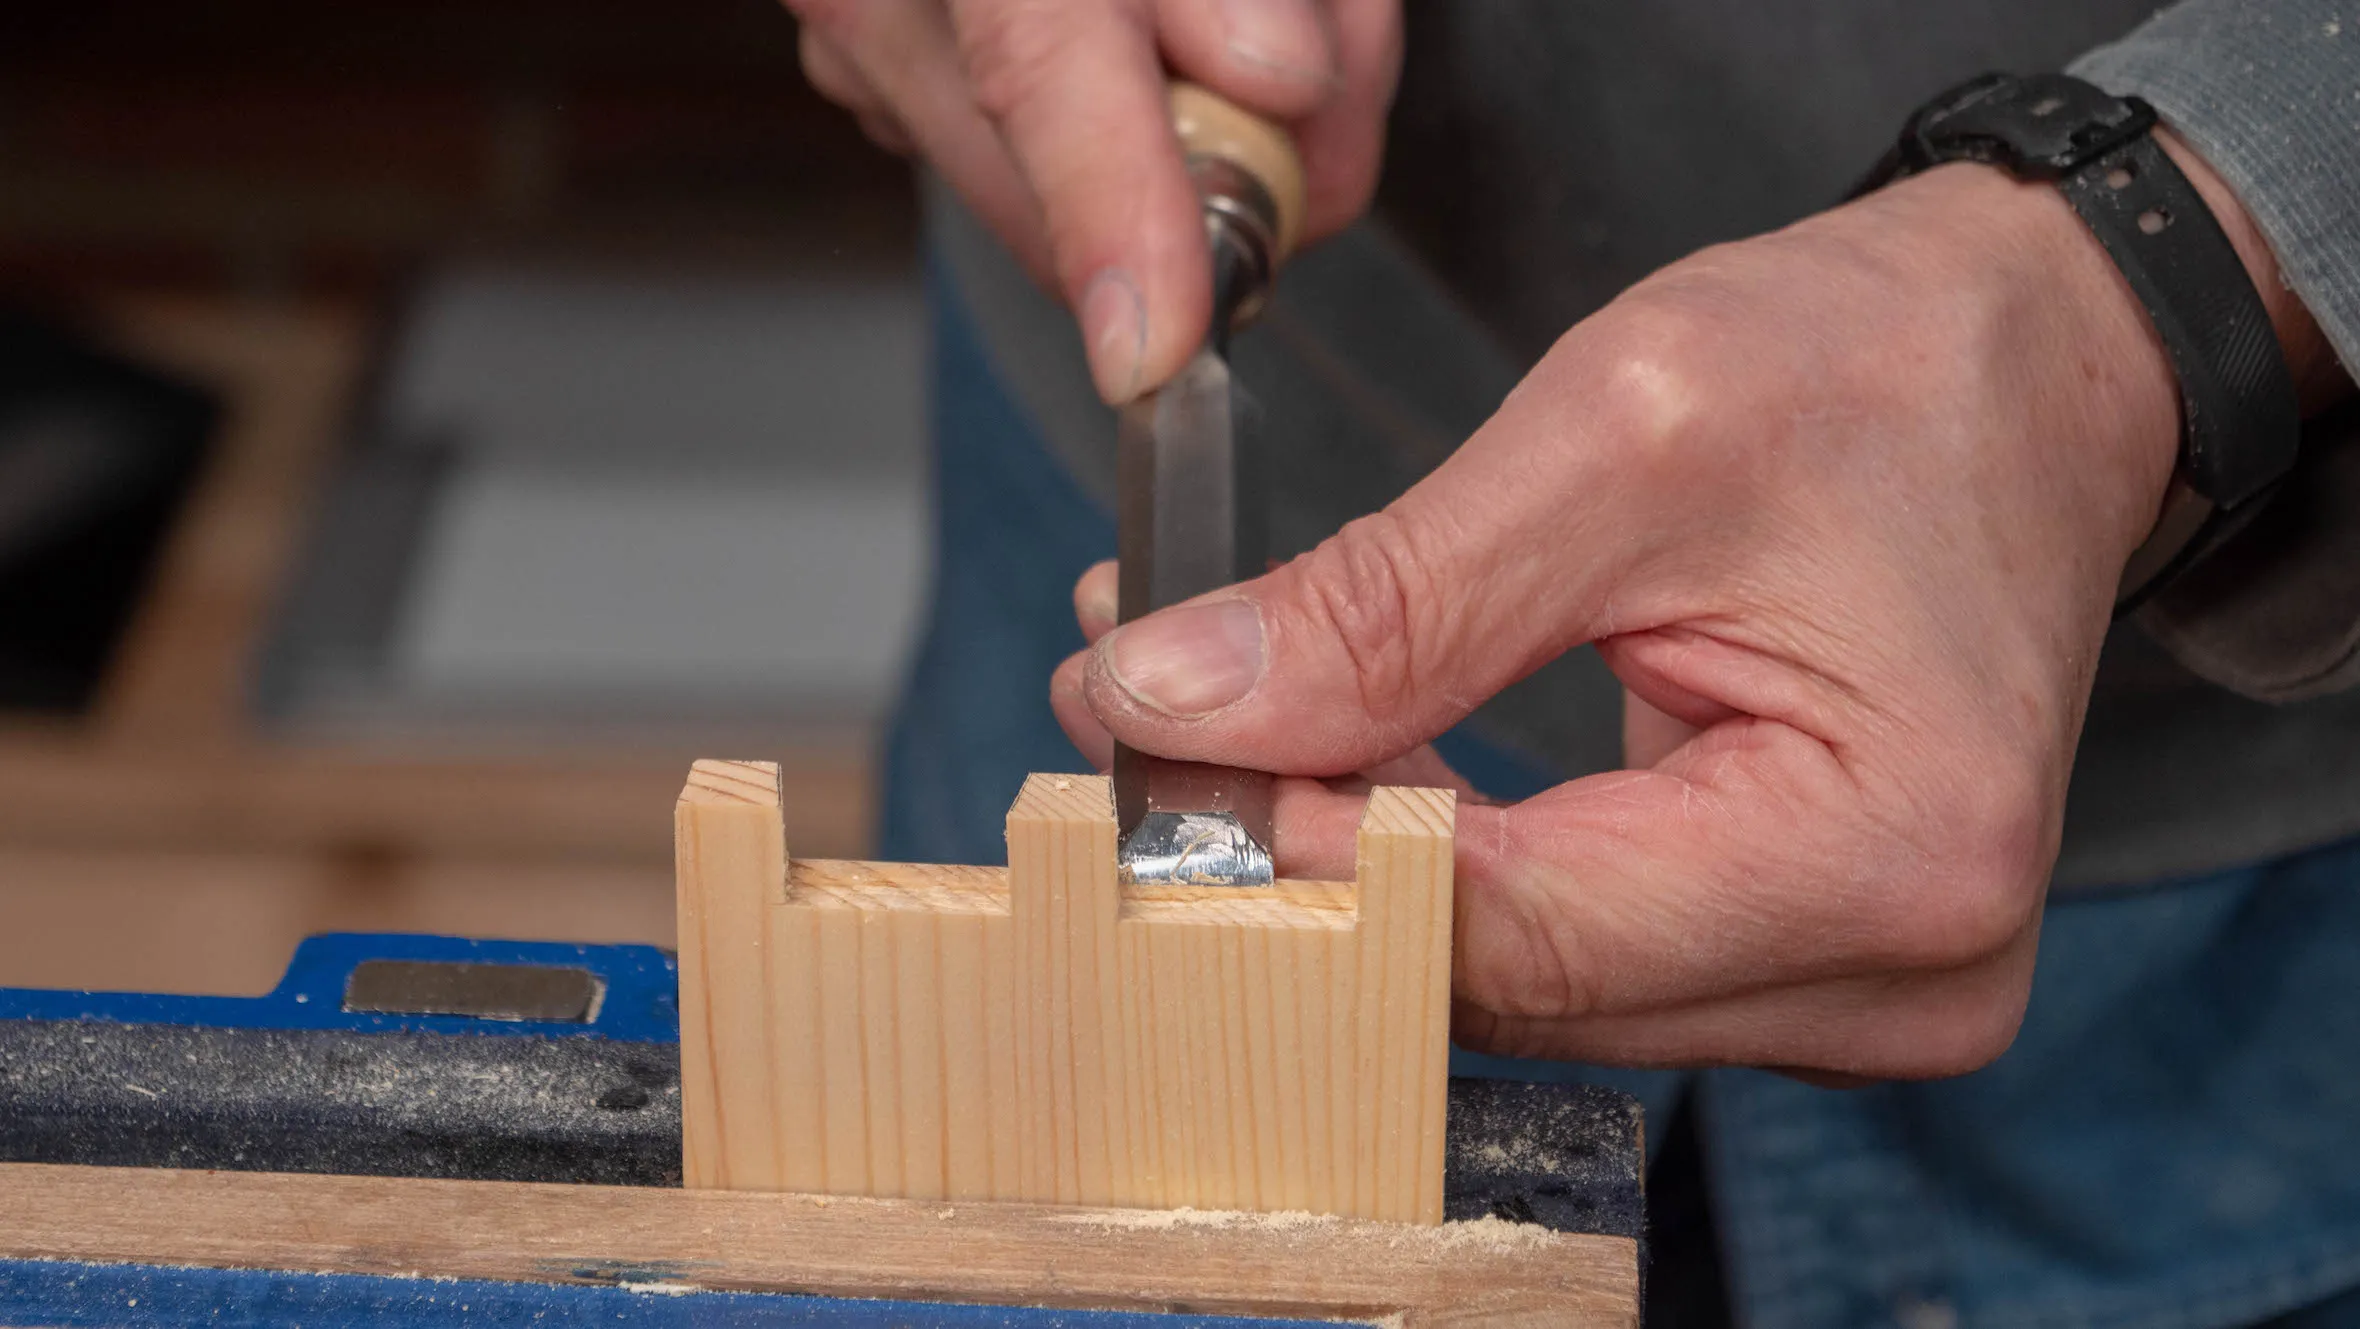
Just like with the pin recesses, switch between chopping vertically (on the bench top) and paring diagonally (in the vise), until you reach roughly halfway. Then flip over and repeat from the other side until you break through.
Note: When chopping from the outside (where the recesses are wider), remember to start tilting your chisel sideways as you chop deeper to avoid cutting into the actual pins.
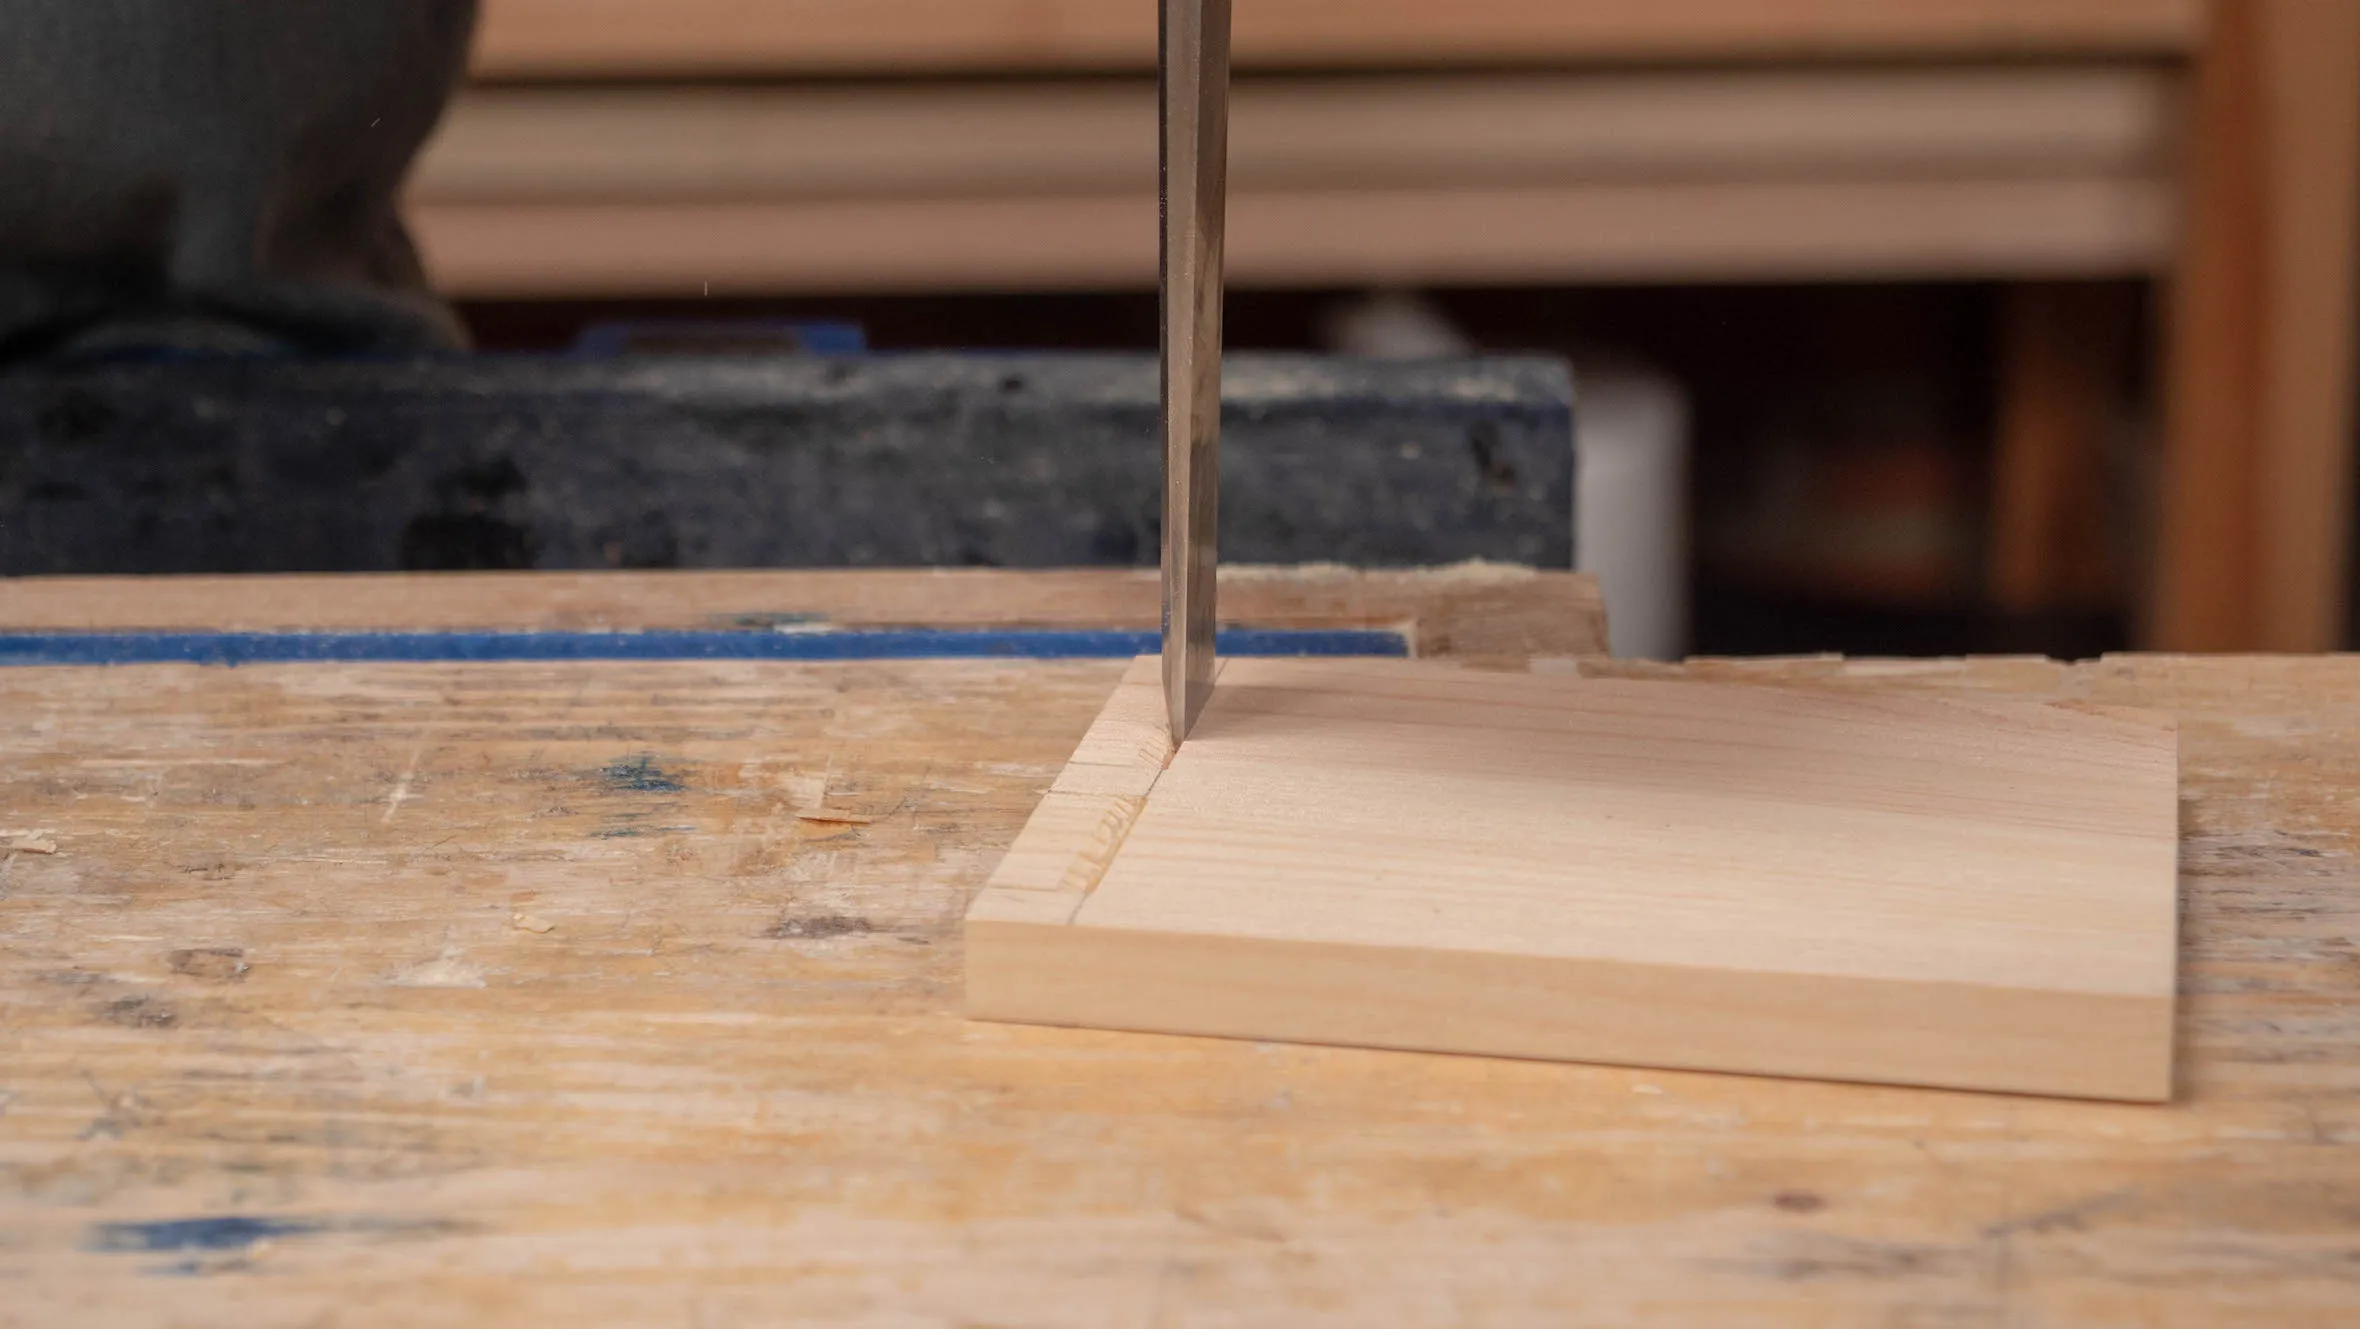
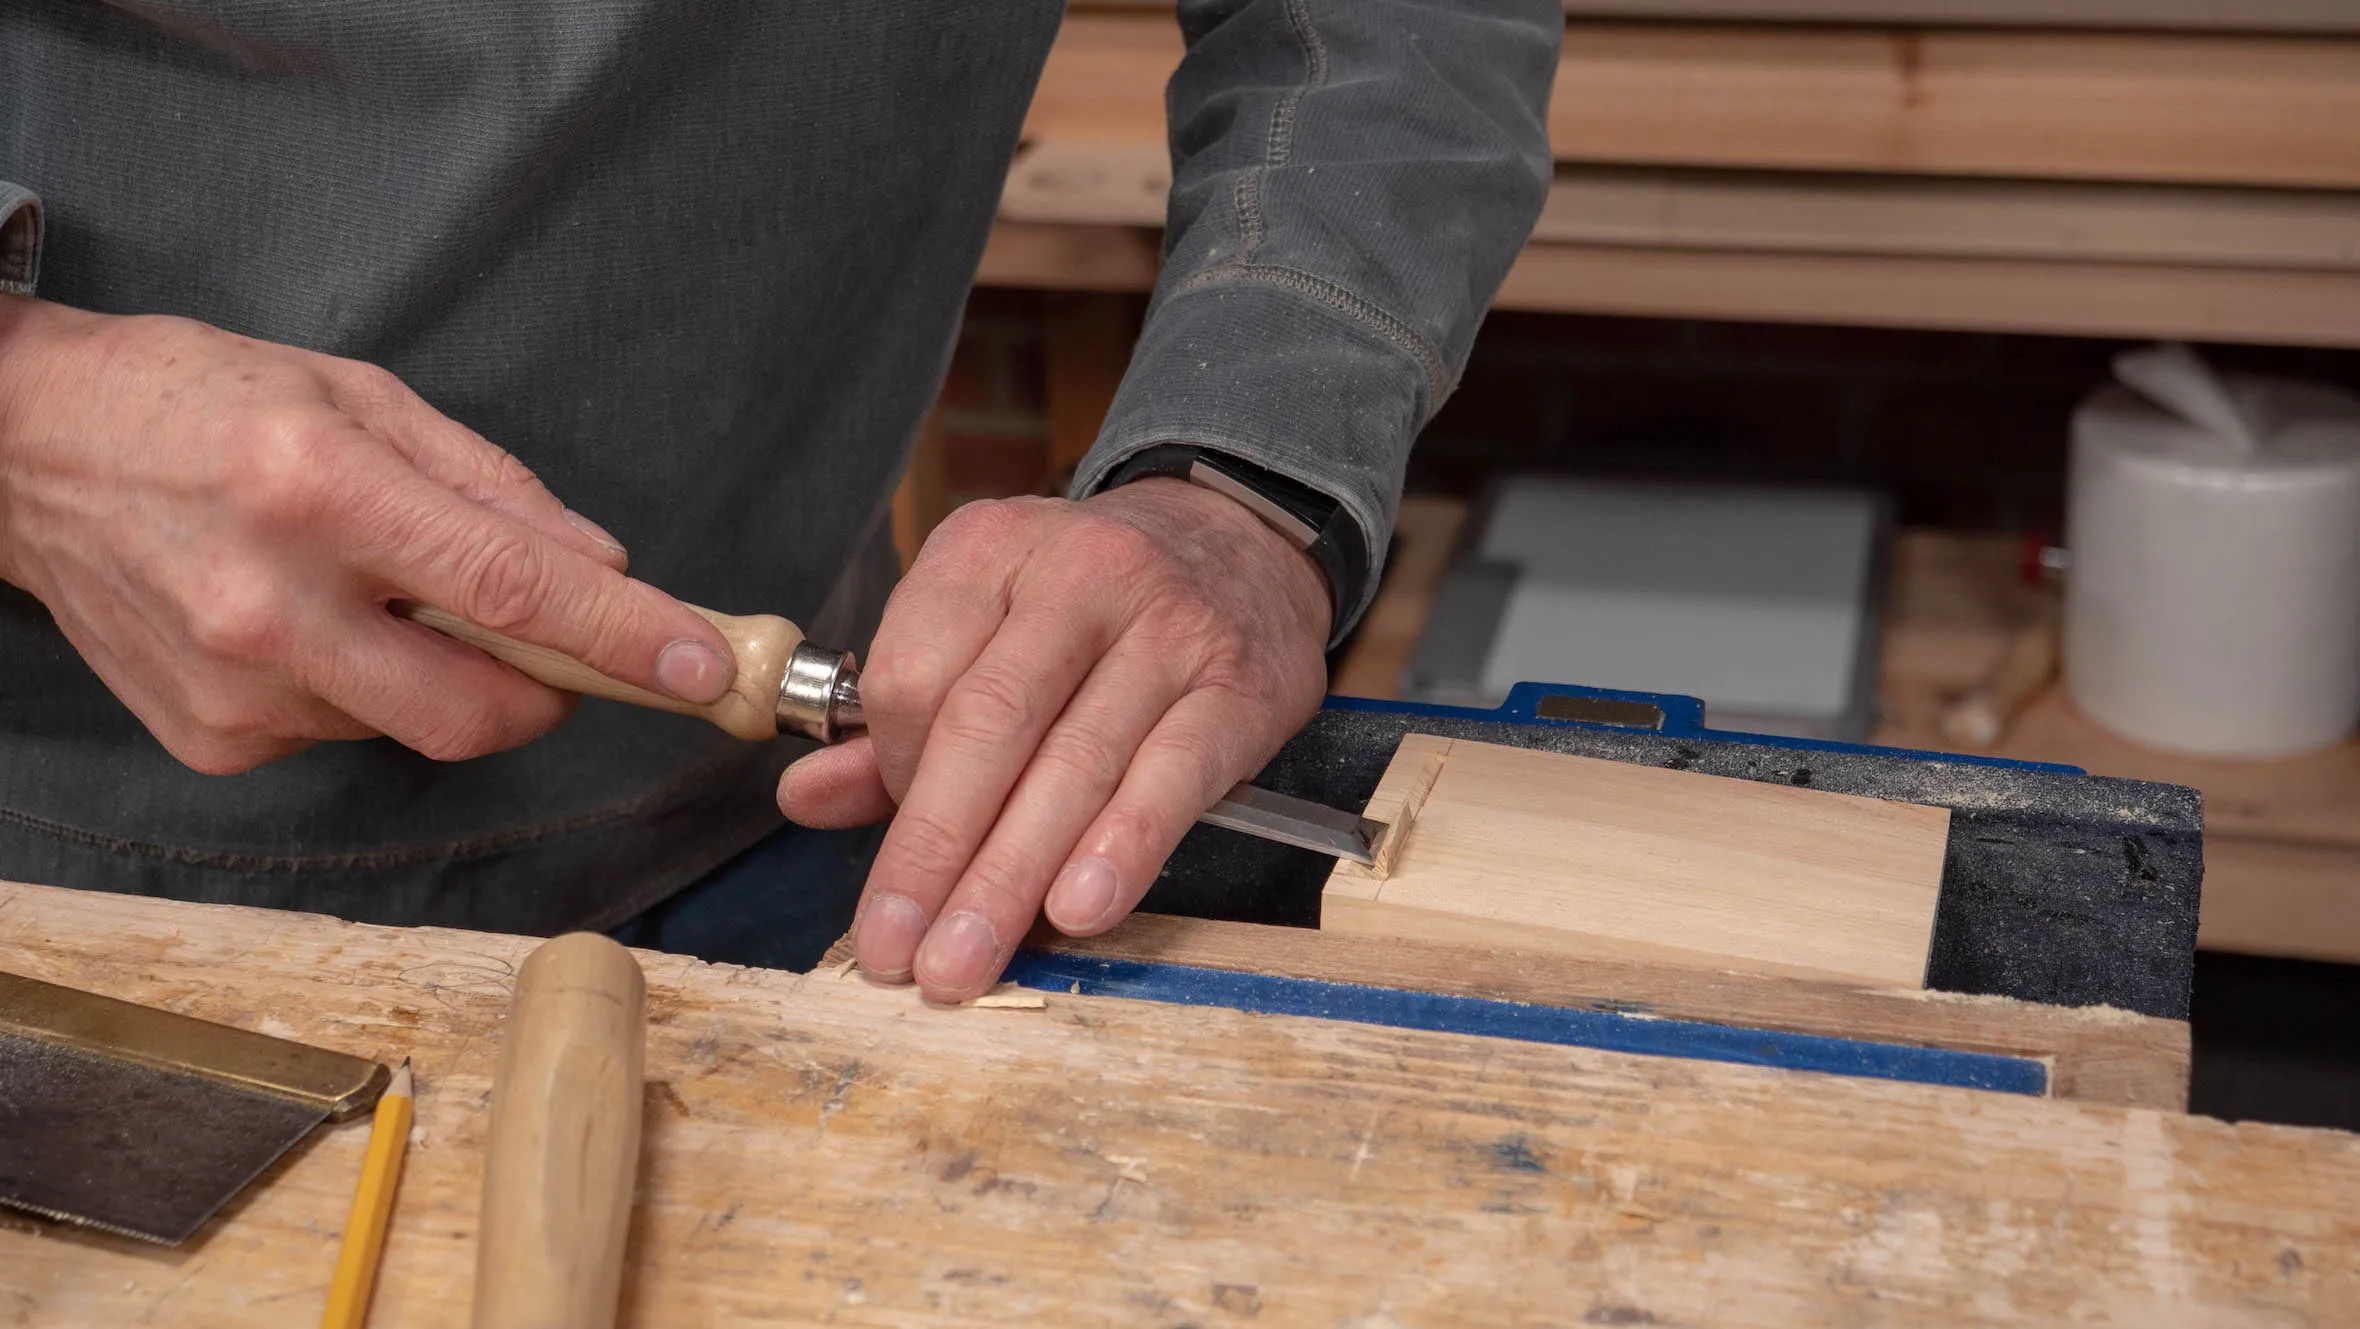
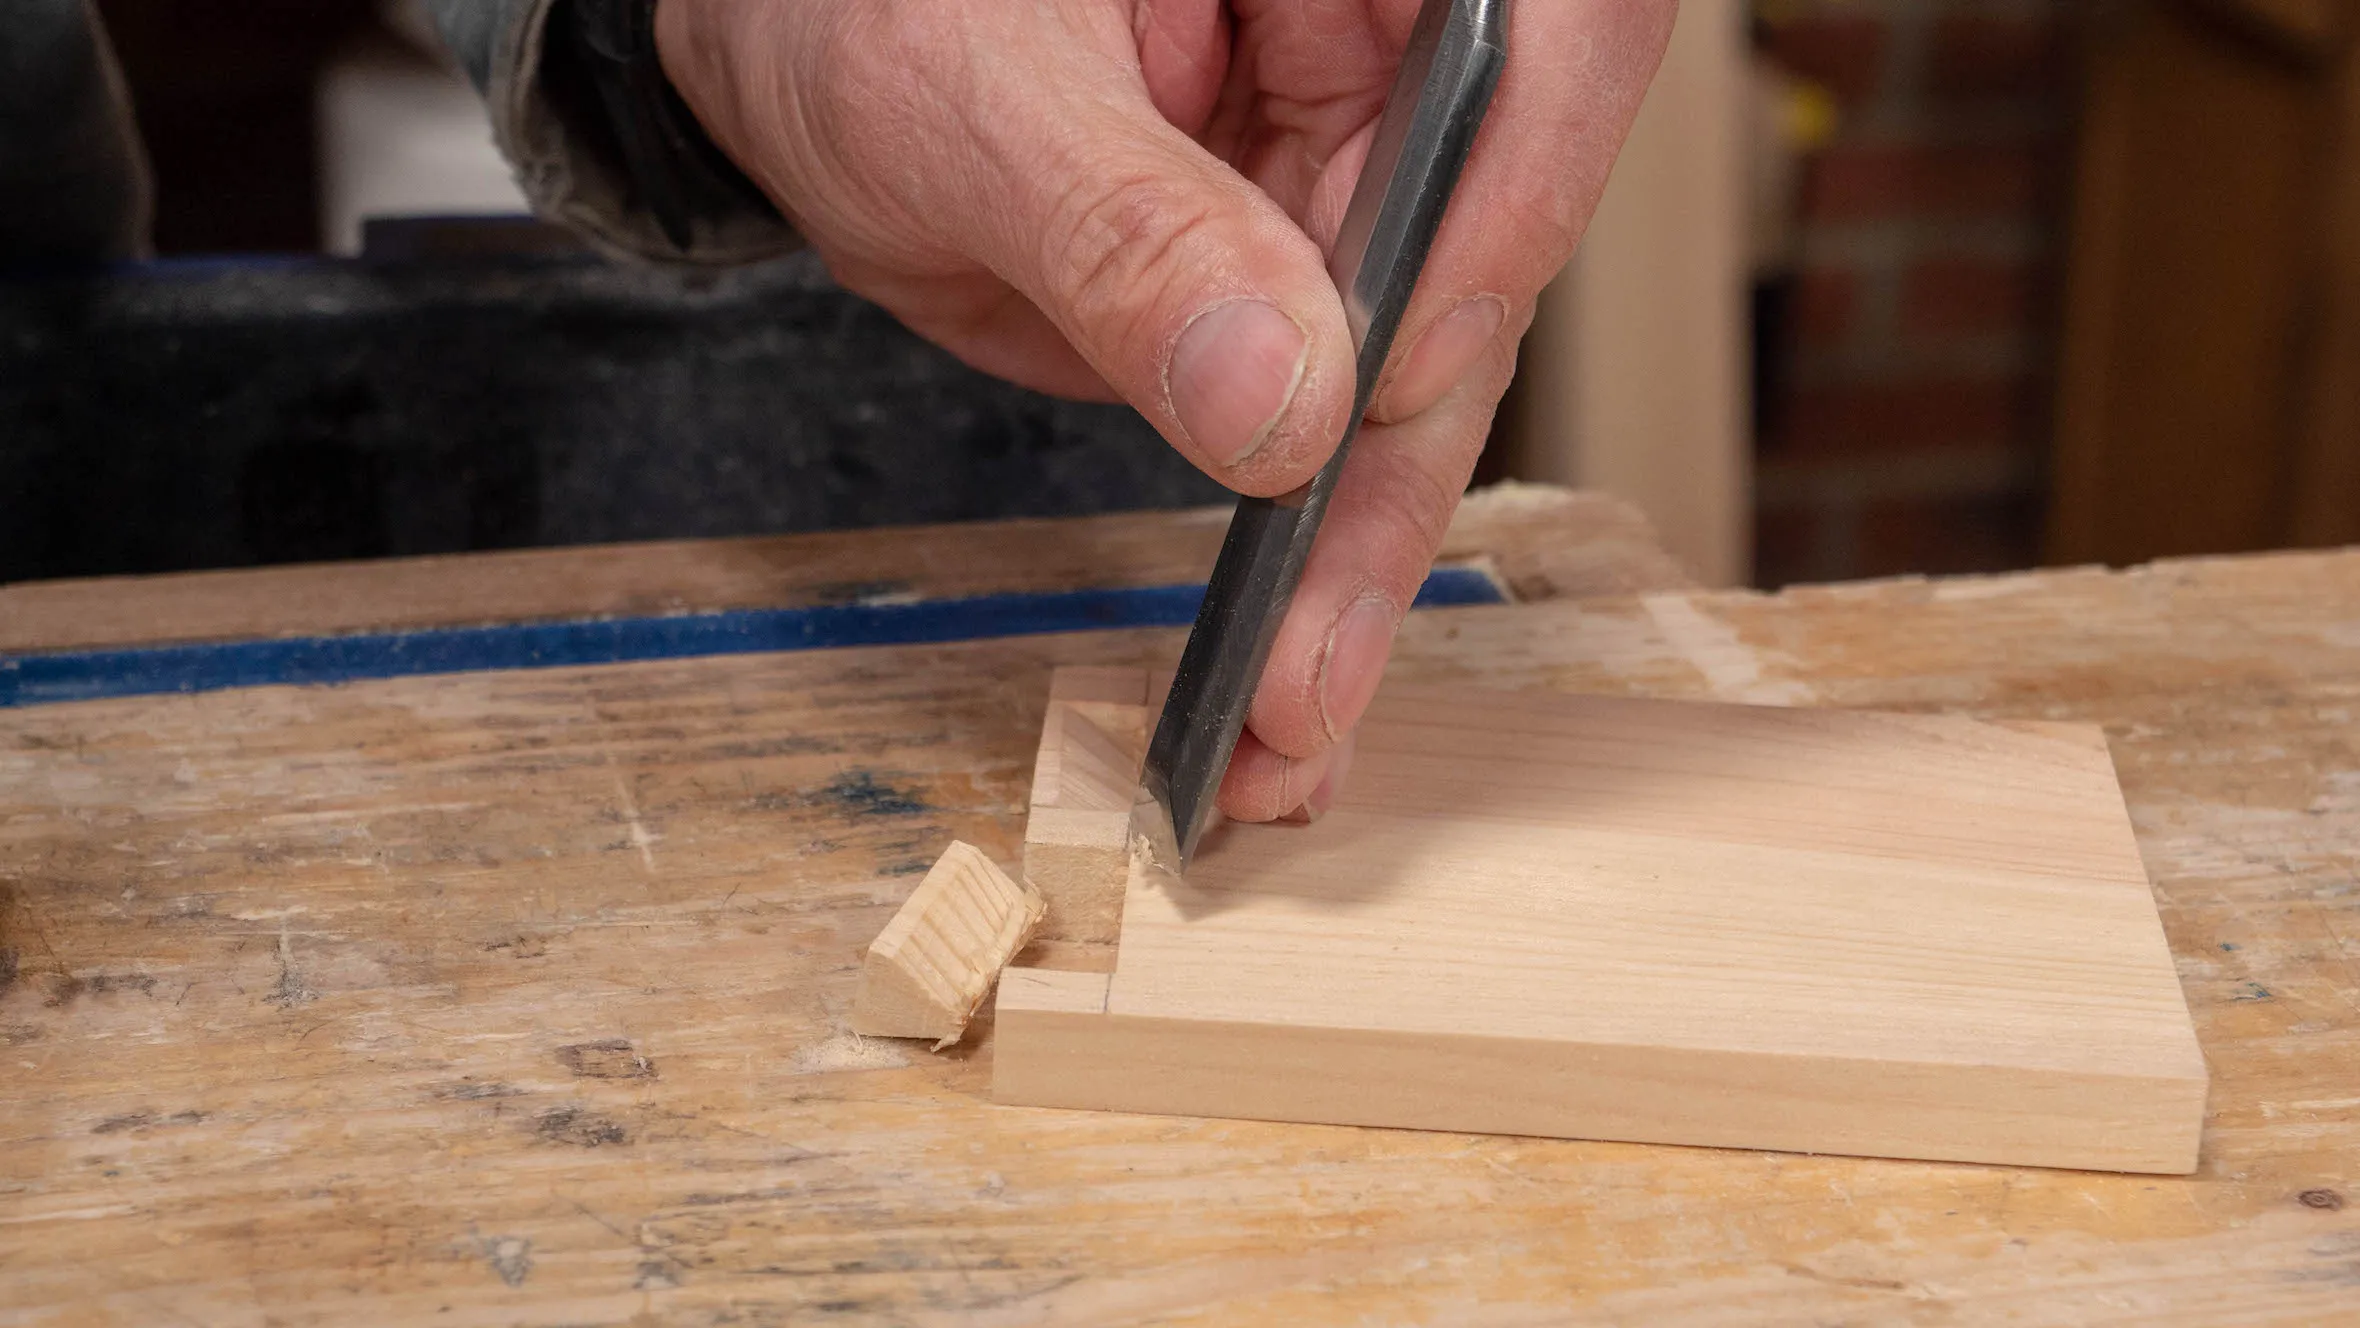
When the tail recesses part off, clean up the shoulders by clamping securely in the vise and paring the surface level using a sharp chisel.
Sign in to track your progress