Shaping The Handle
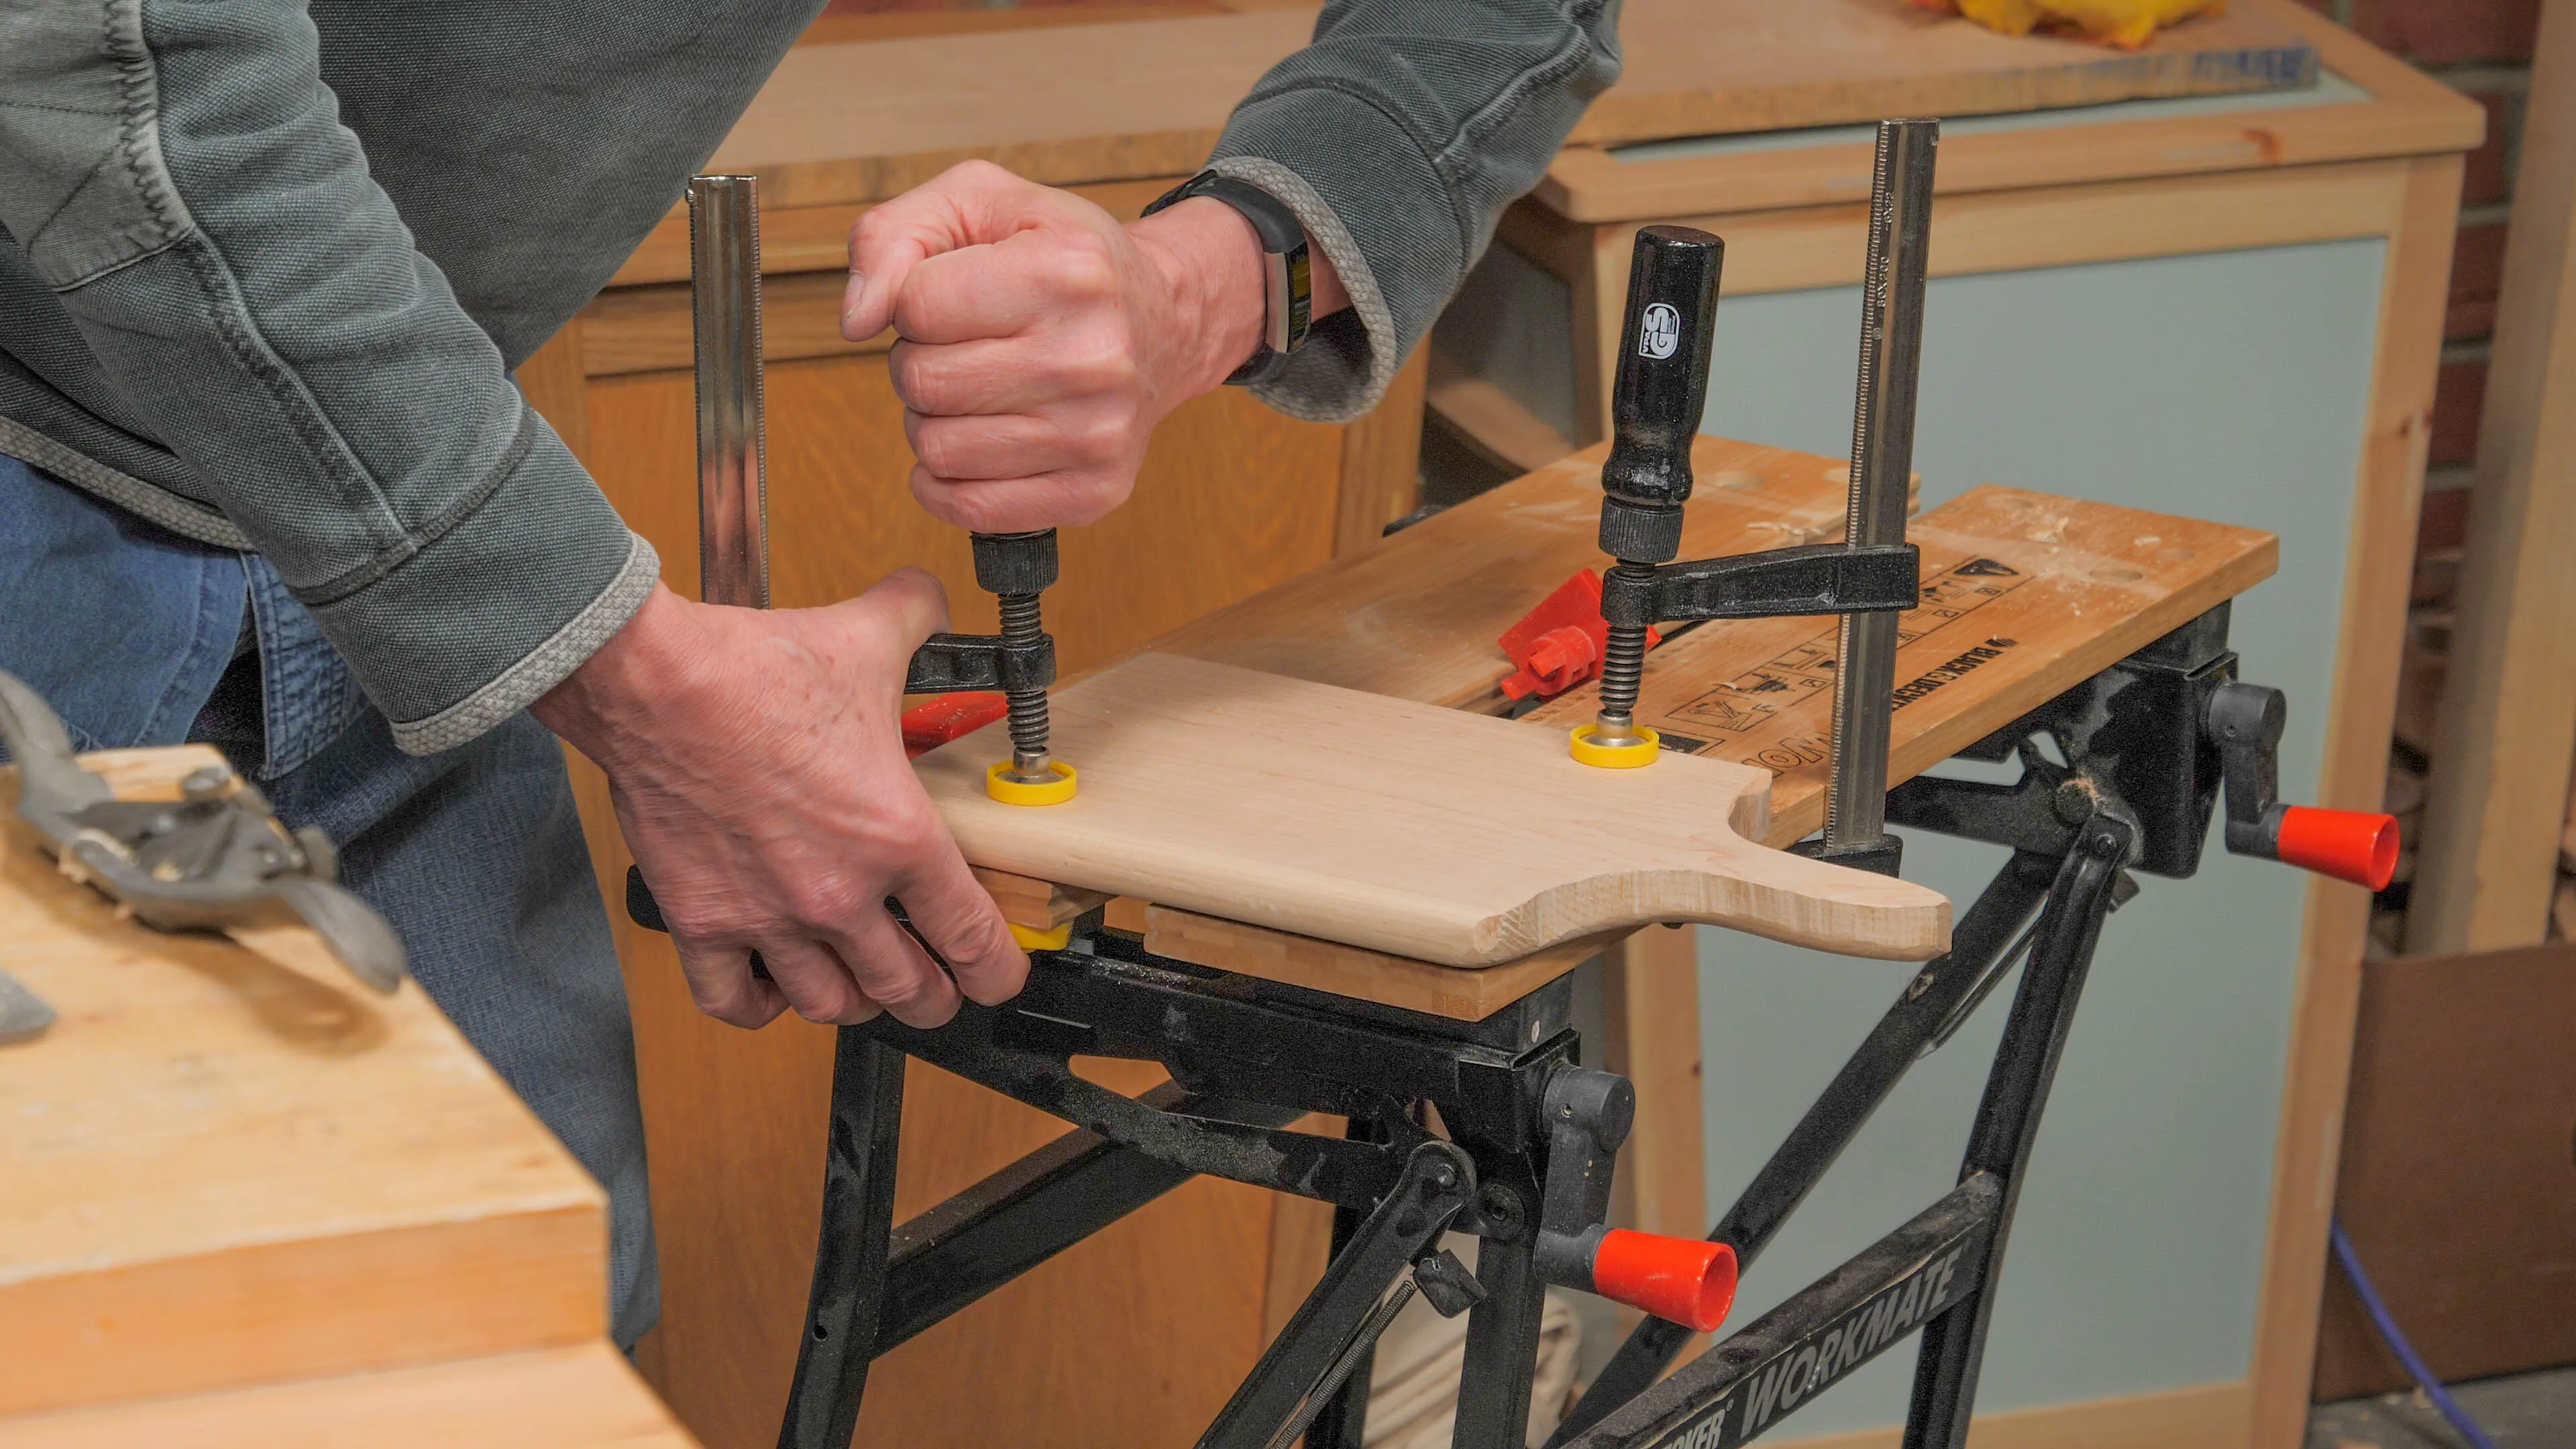
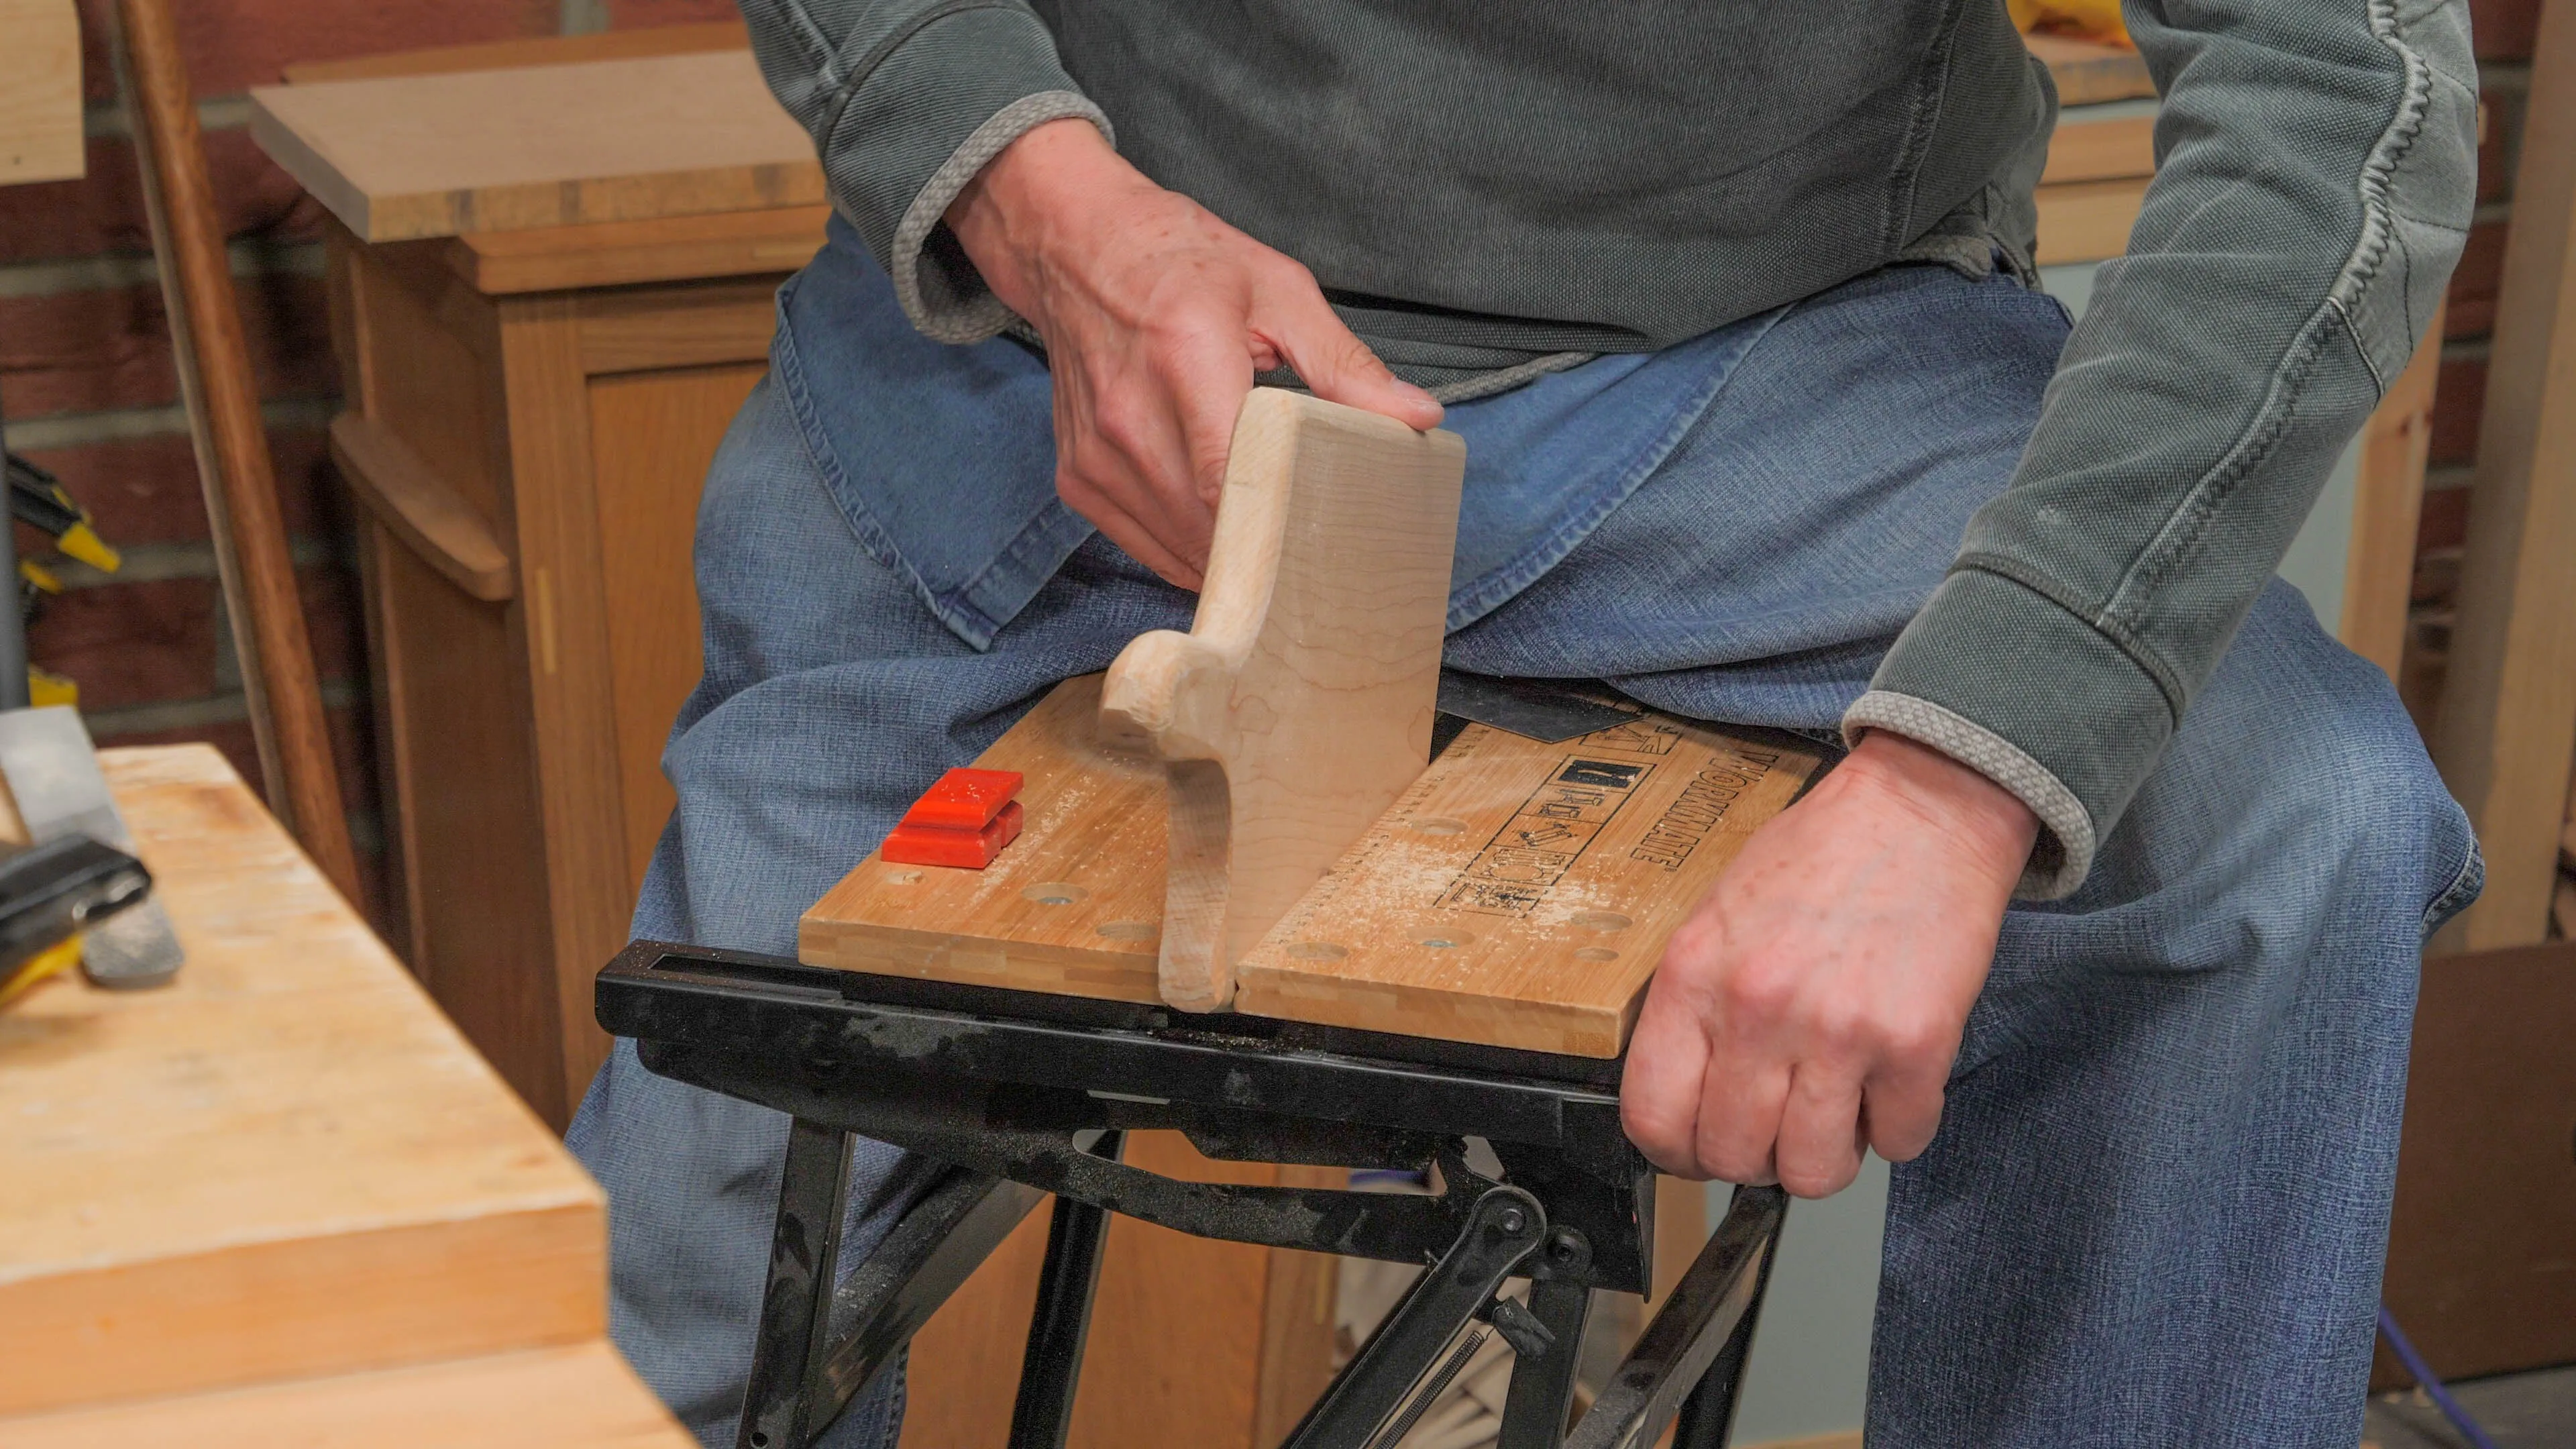
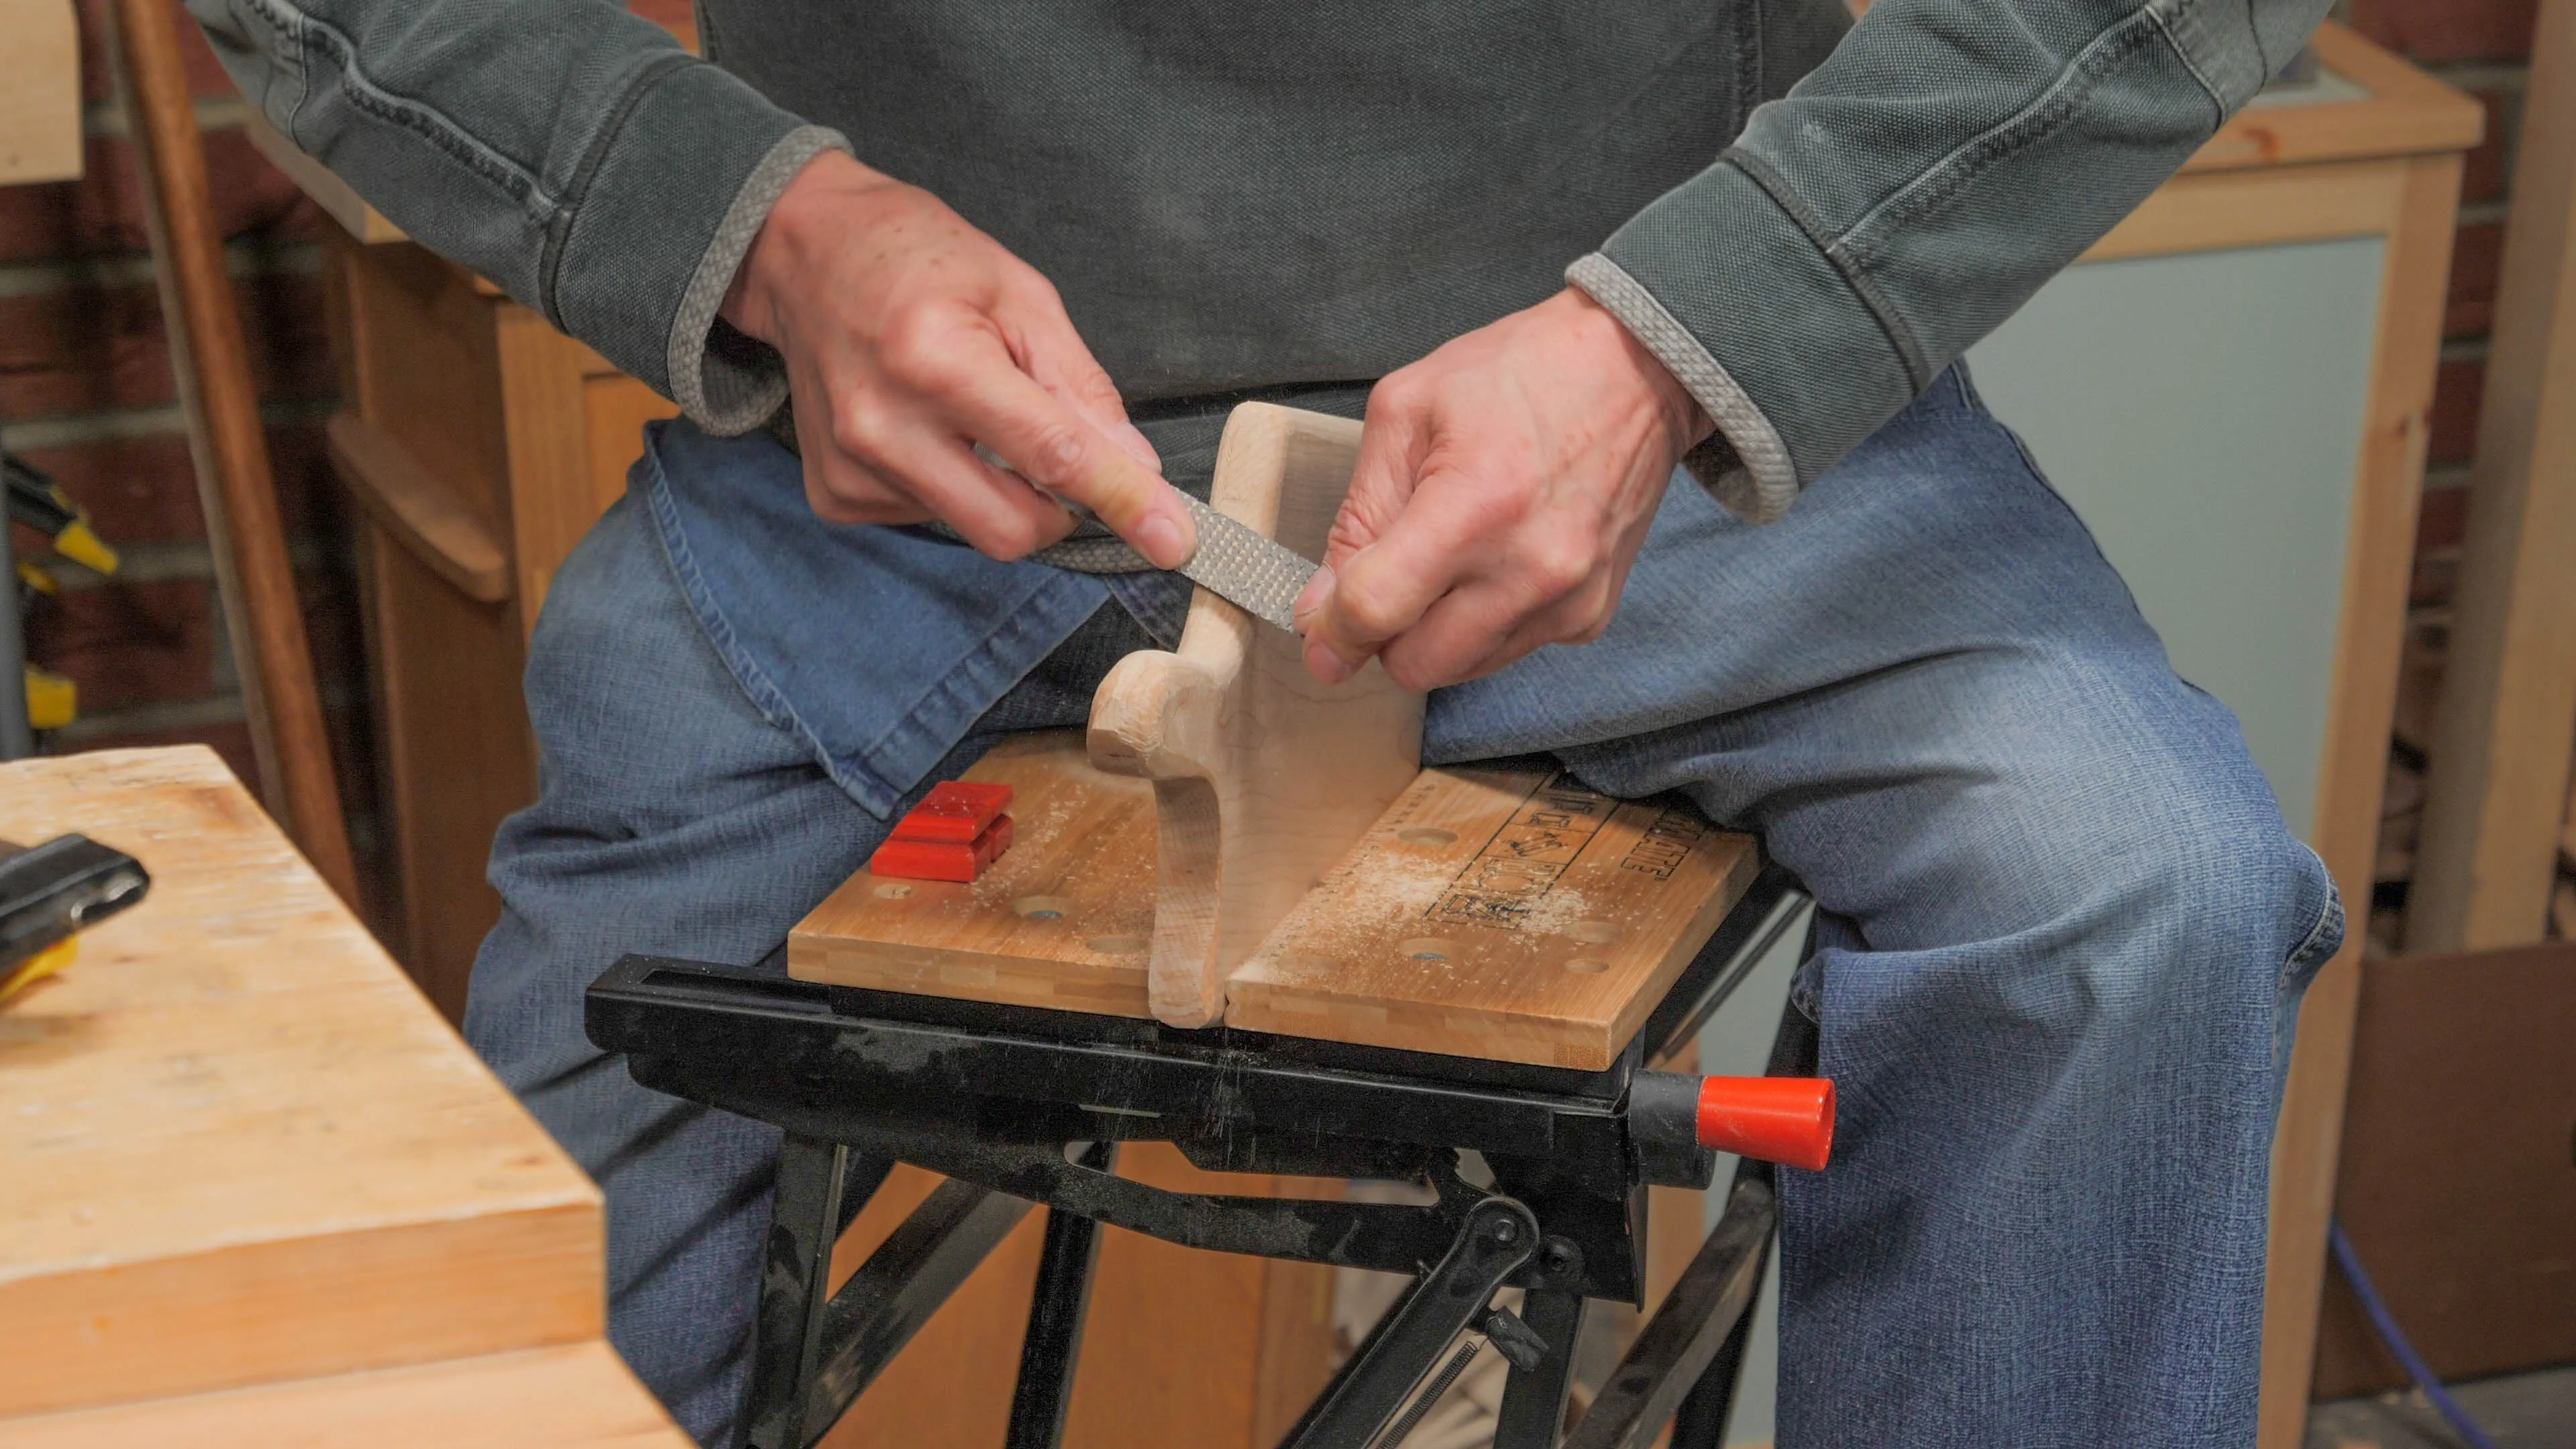
Shaping the handle can take a fair bit of time as it’s an irregular shape, so you will be using a rasp for most of it. Having a bench and vice is a great advantage since you’ll need to keep changing the orientation of the chopping board.
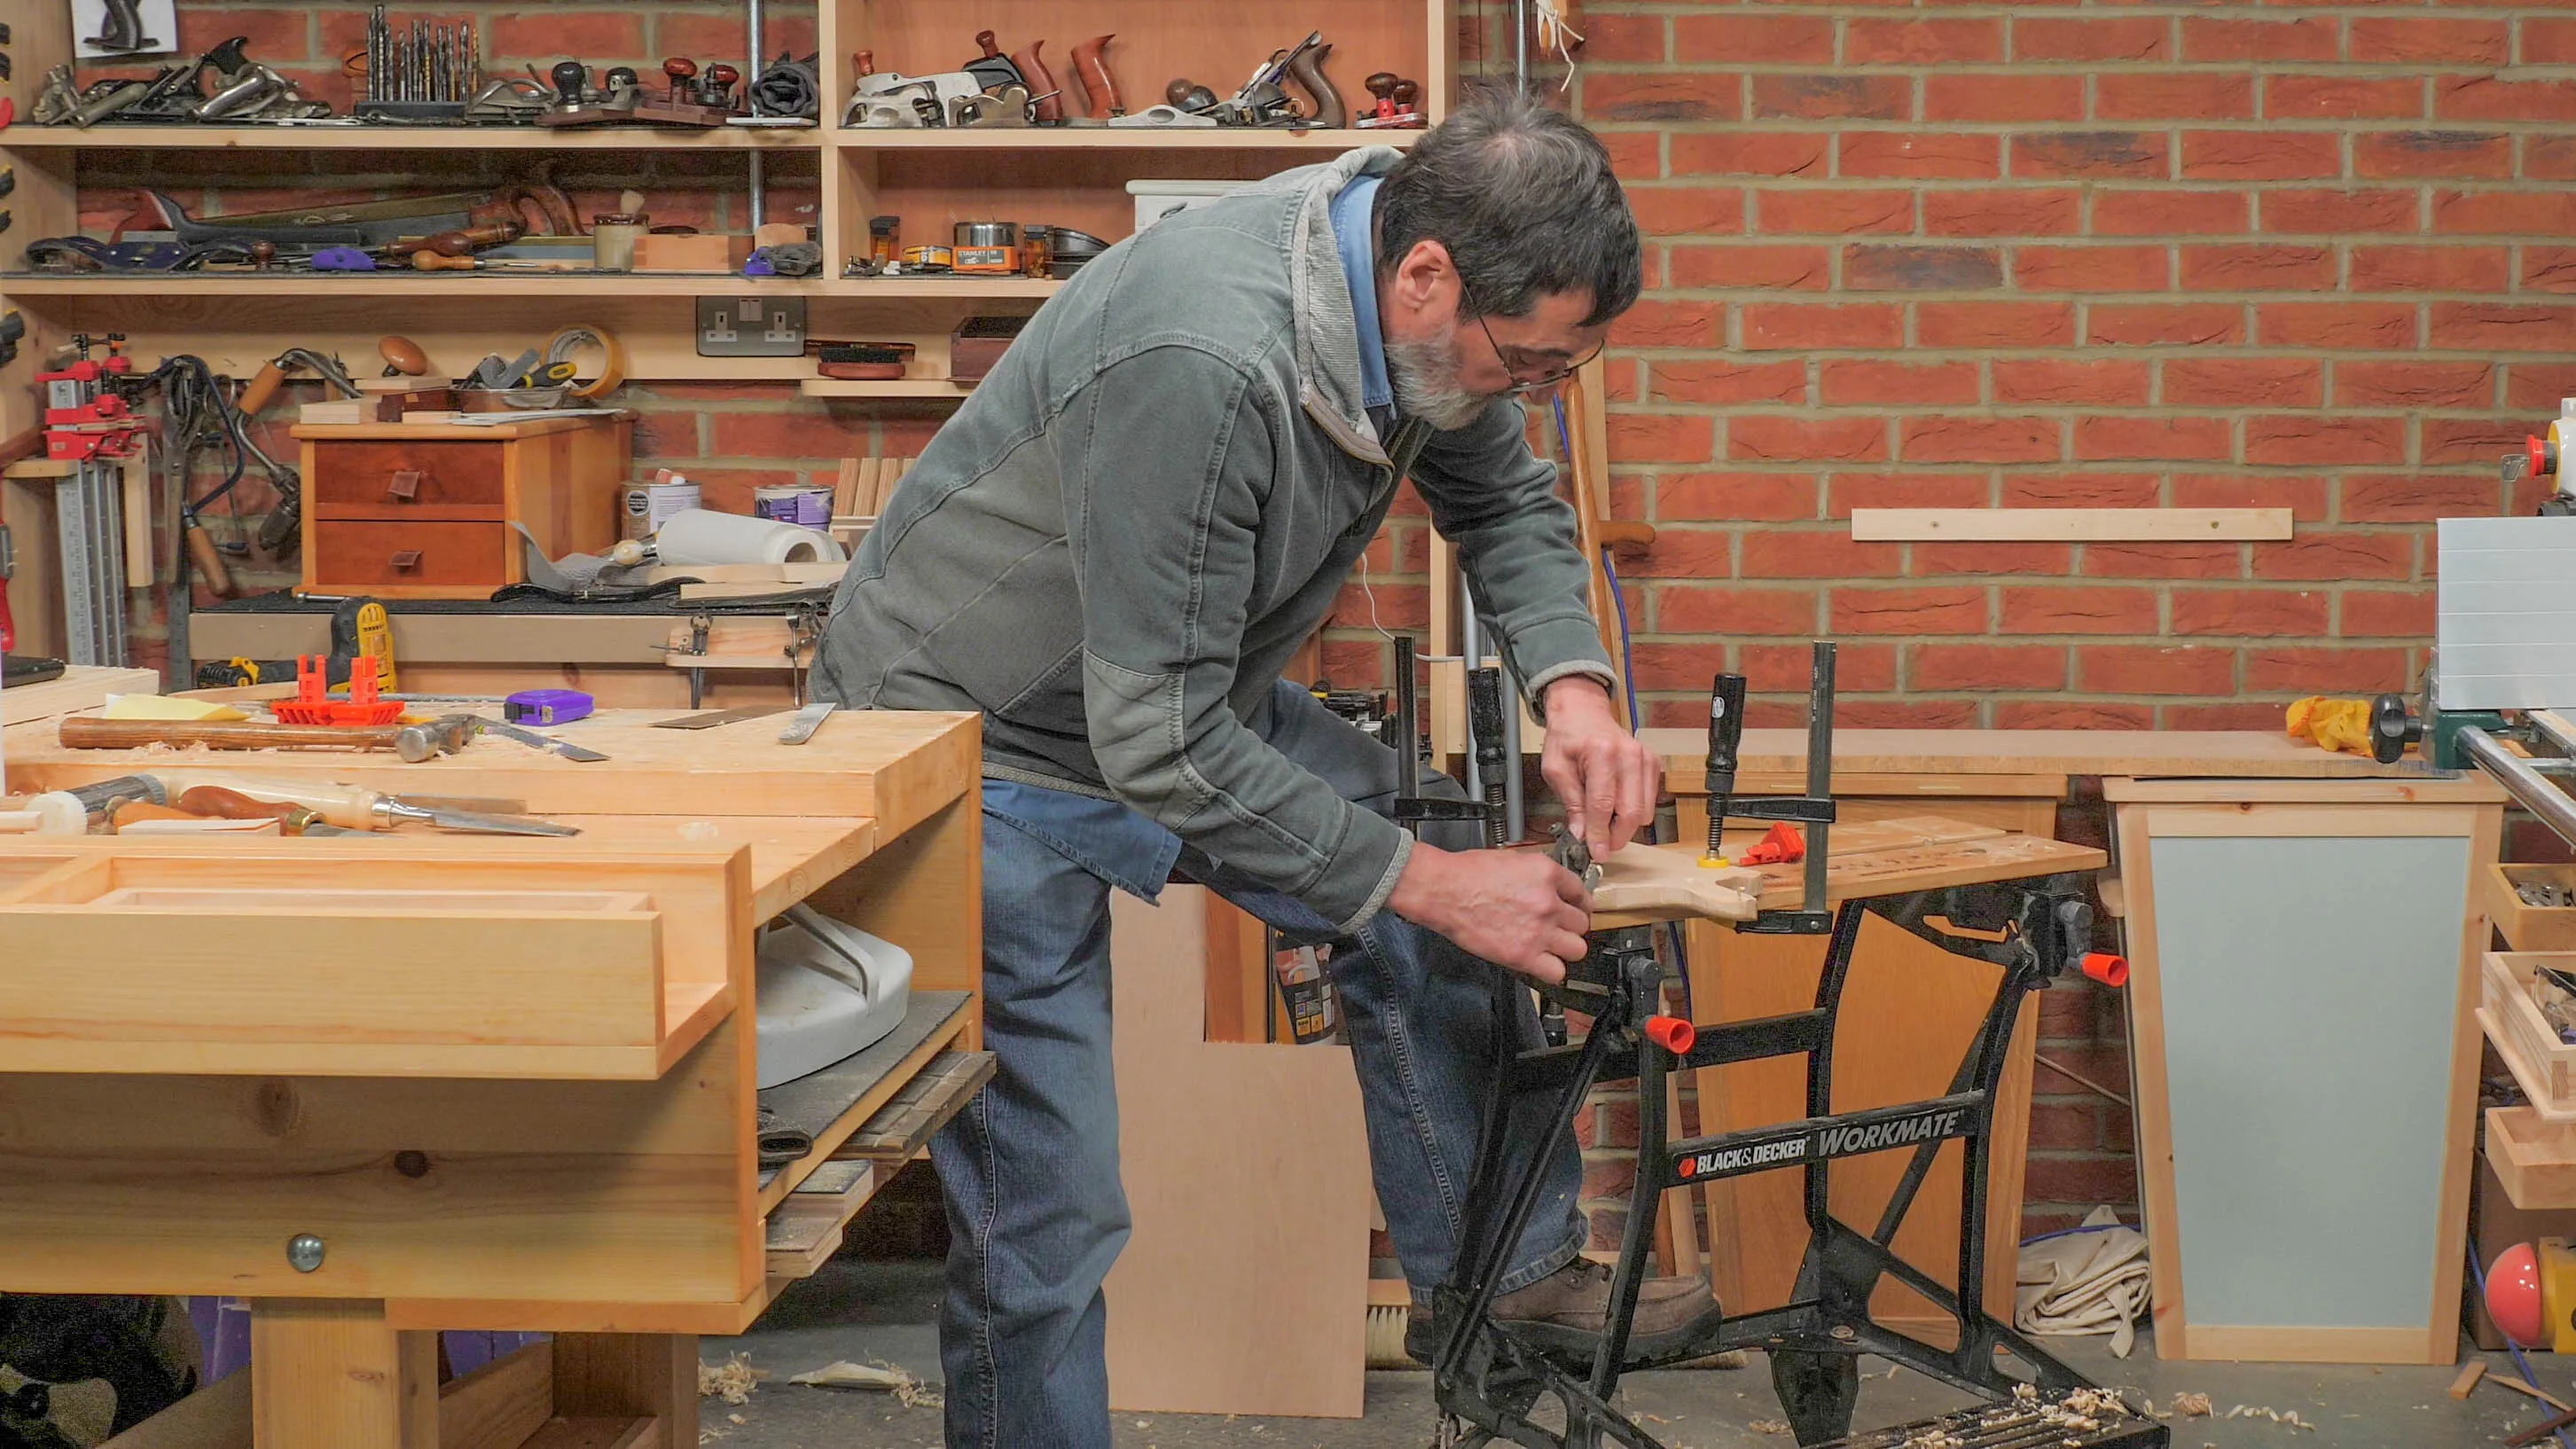
Begin with the sides of the handle. This may be the only part where you’ll be able to use the spokeshave. Paul starts by sitting on the board, but you can clamp it to your worktop. As with the straight roundovers before, first take off the hard corners using your spokeshave set to a heavy cut. For efficiency and consistent results, always do this first when rounding over an edge. That way you can check if you’re on track by comparing the width of the initial bevel. Then you can work either side to create the round, knowing you’re approximately even all around.
For the ‘shoulder’ (the edges adjacent to the handle), clamp your board tight, making sure the clamps aren’t in the way, and use a rasp to take out the initial bevel at approximately 45°. The end grain will always offer the most resistance, so work at an angle from side to side, like when rounding over the other end of the cutting board by skewing the plane. Go with the flat side on the extremes and switch to the round closer to the middle. You can try to use the spokeshave on the corner, but there will only be so much you can take off with it.
The rasp may take a bit of time getting used to, as it requires applying substantial force and very controlled strokes to stop it from drifting. It will always choose the path of least resistance when not enough force is applied.
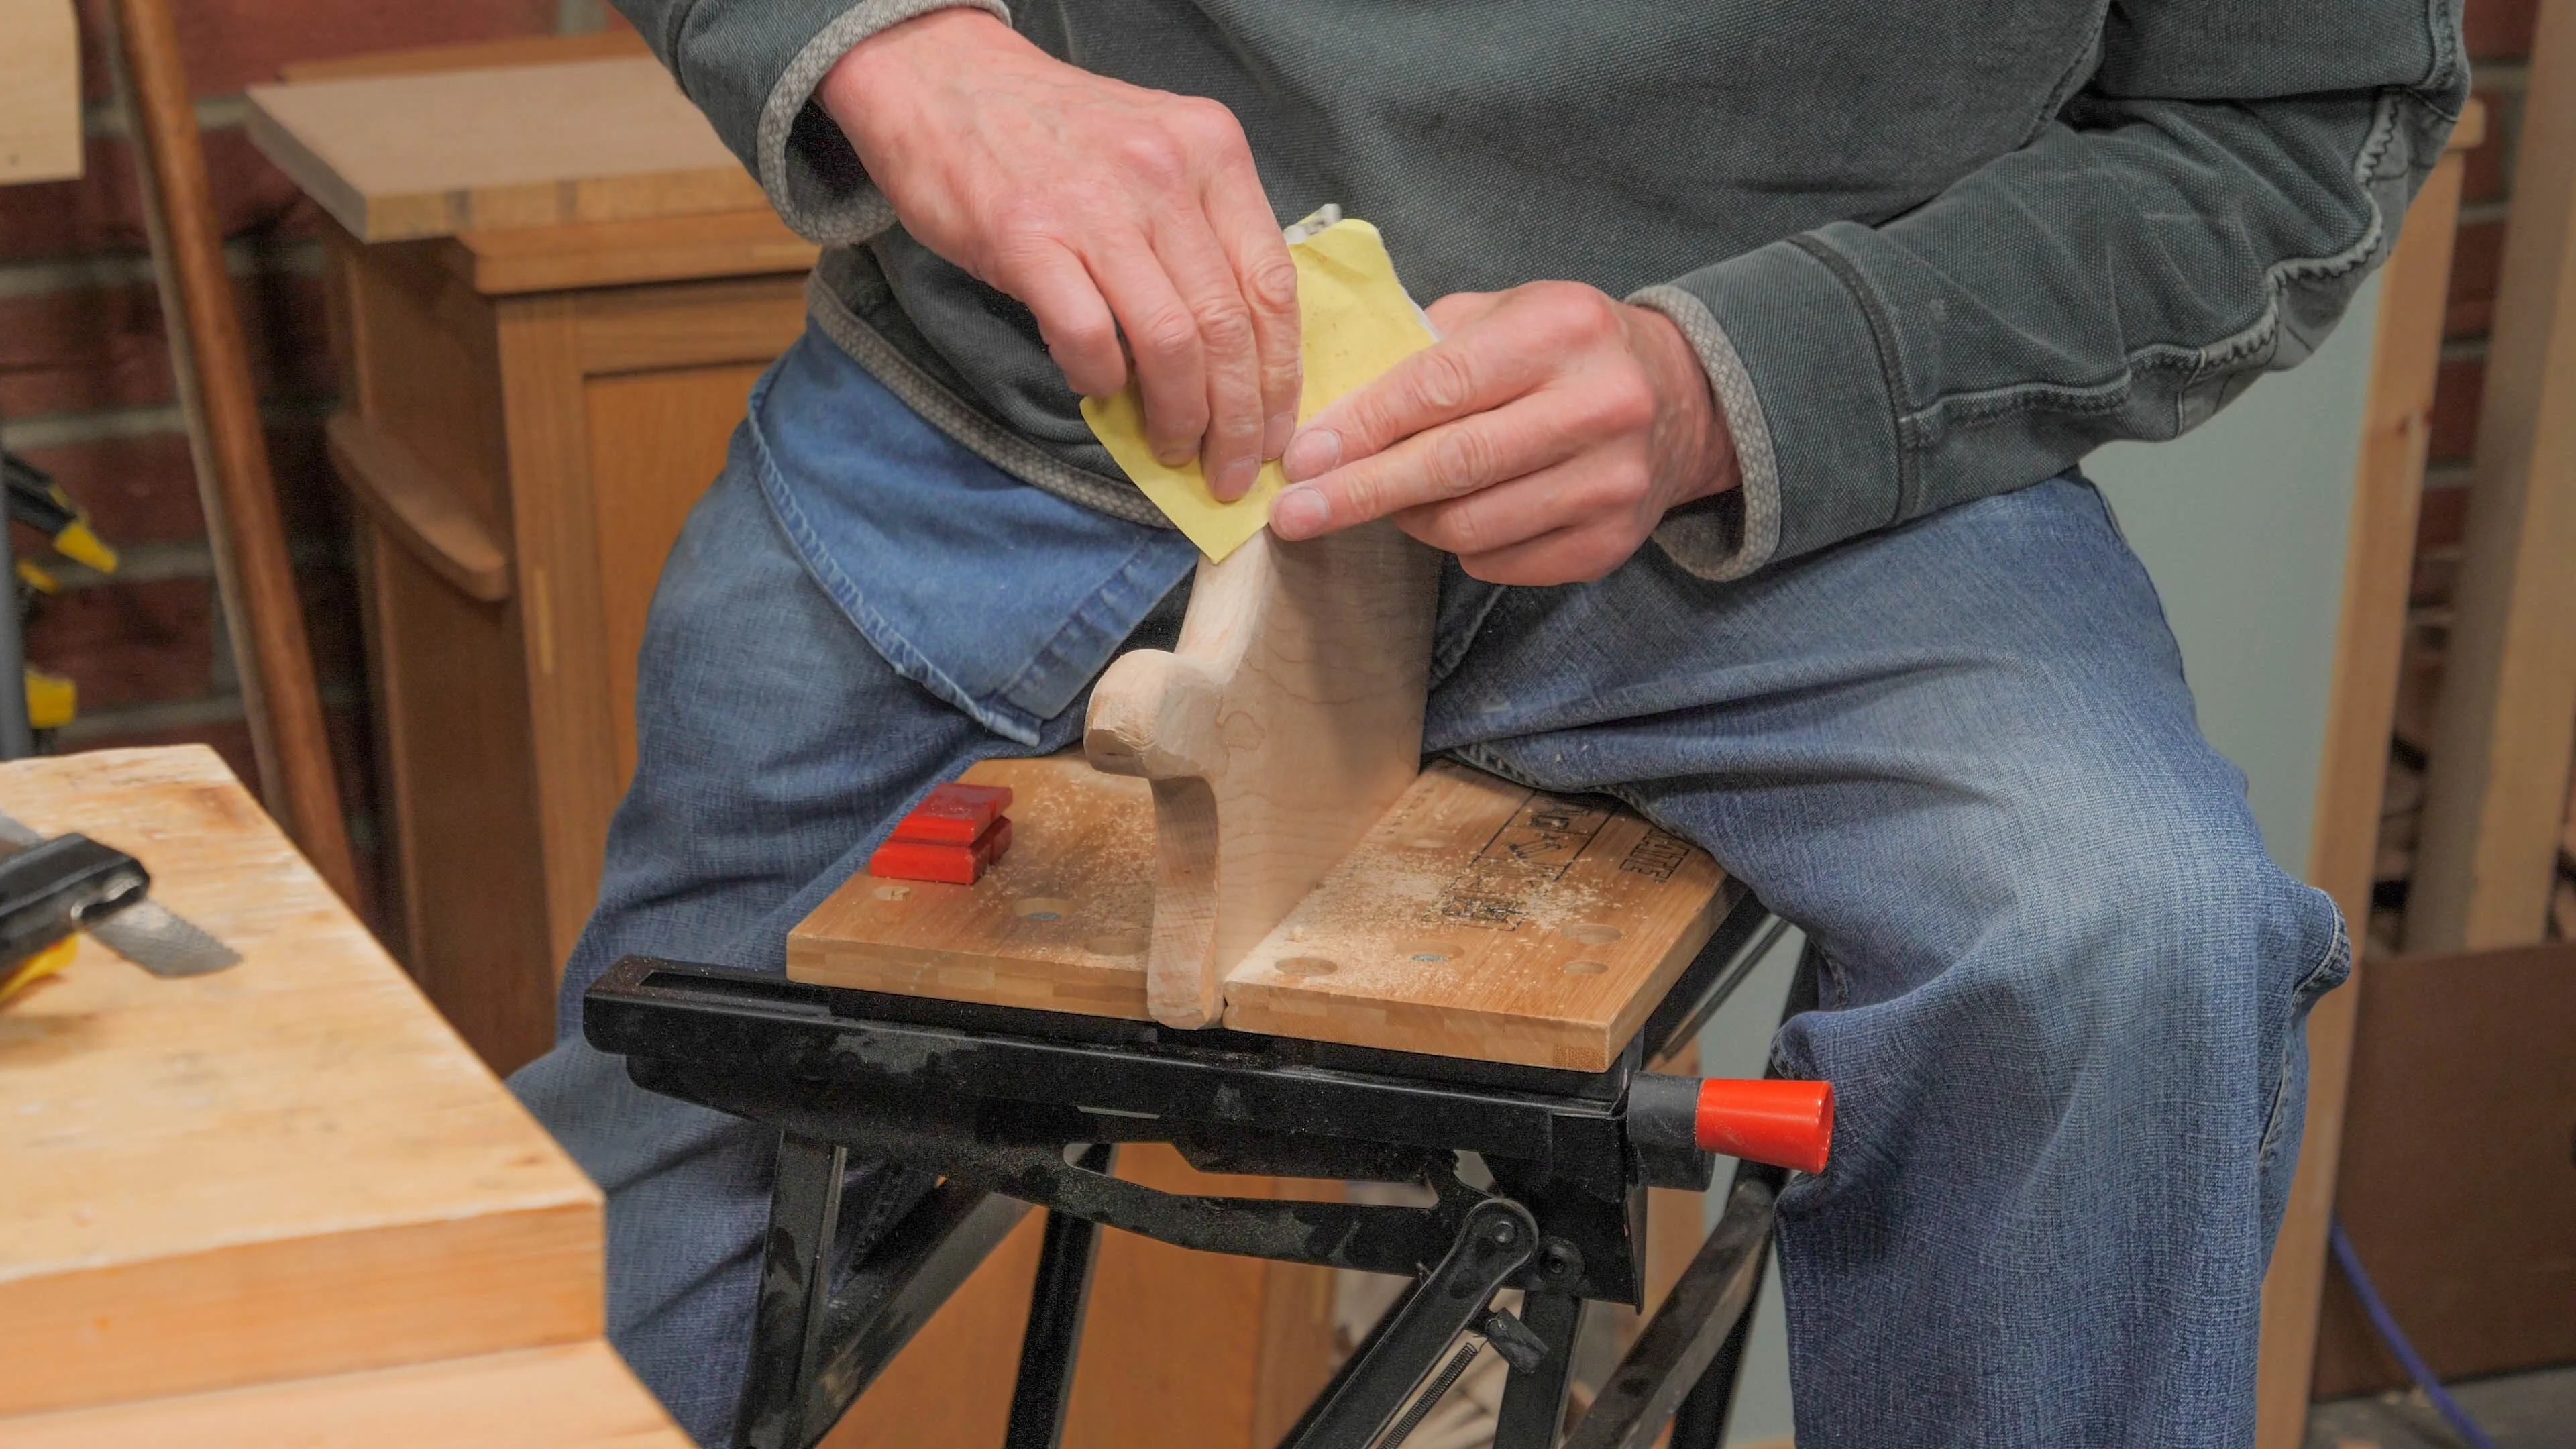
Final Refining
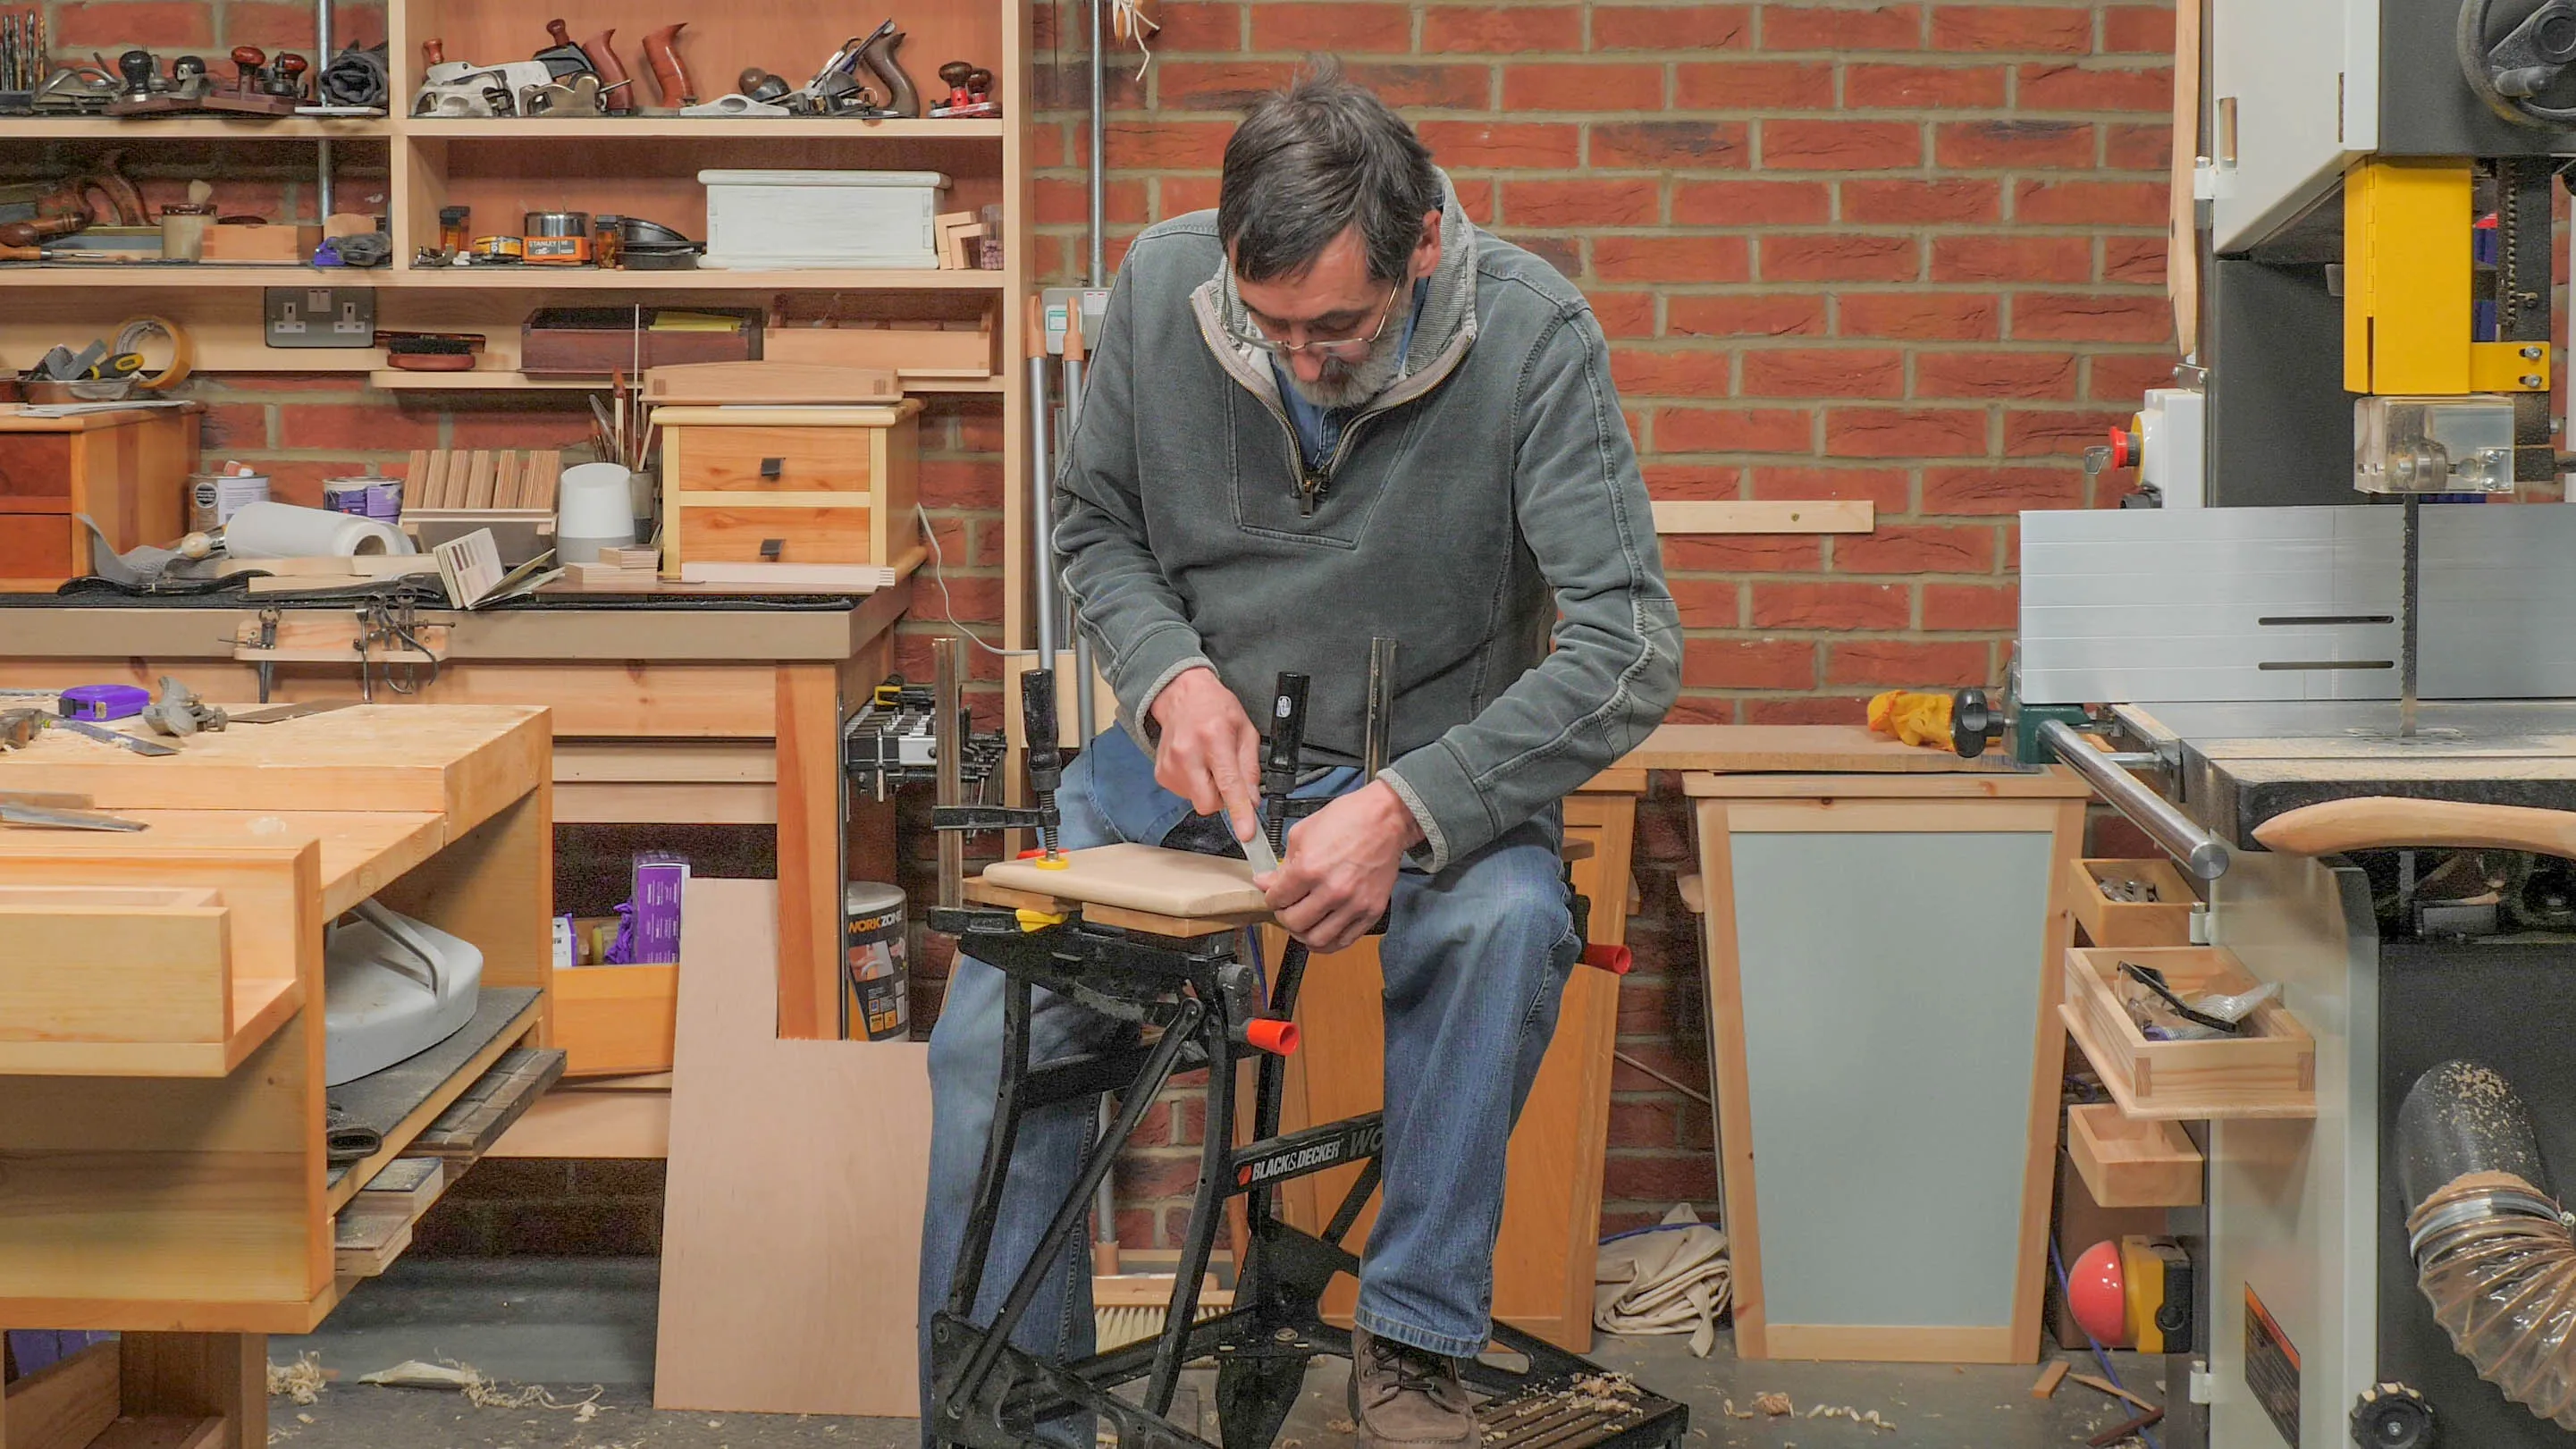
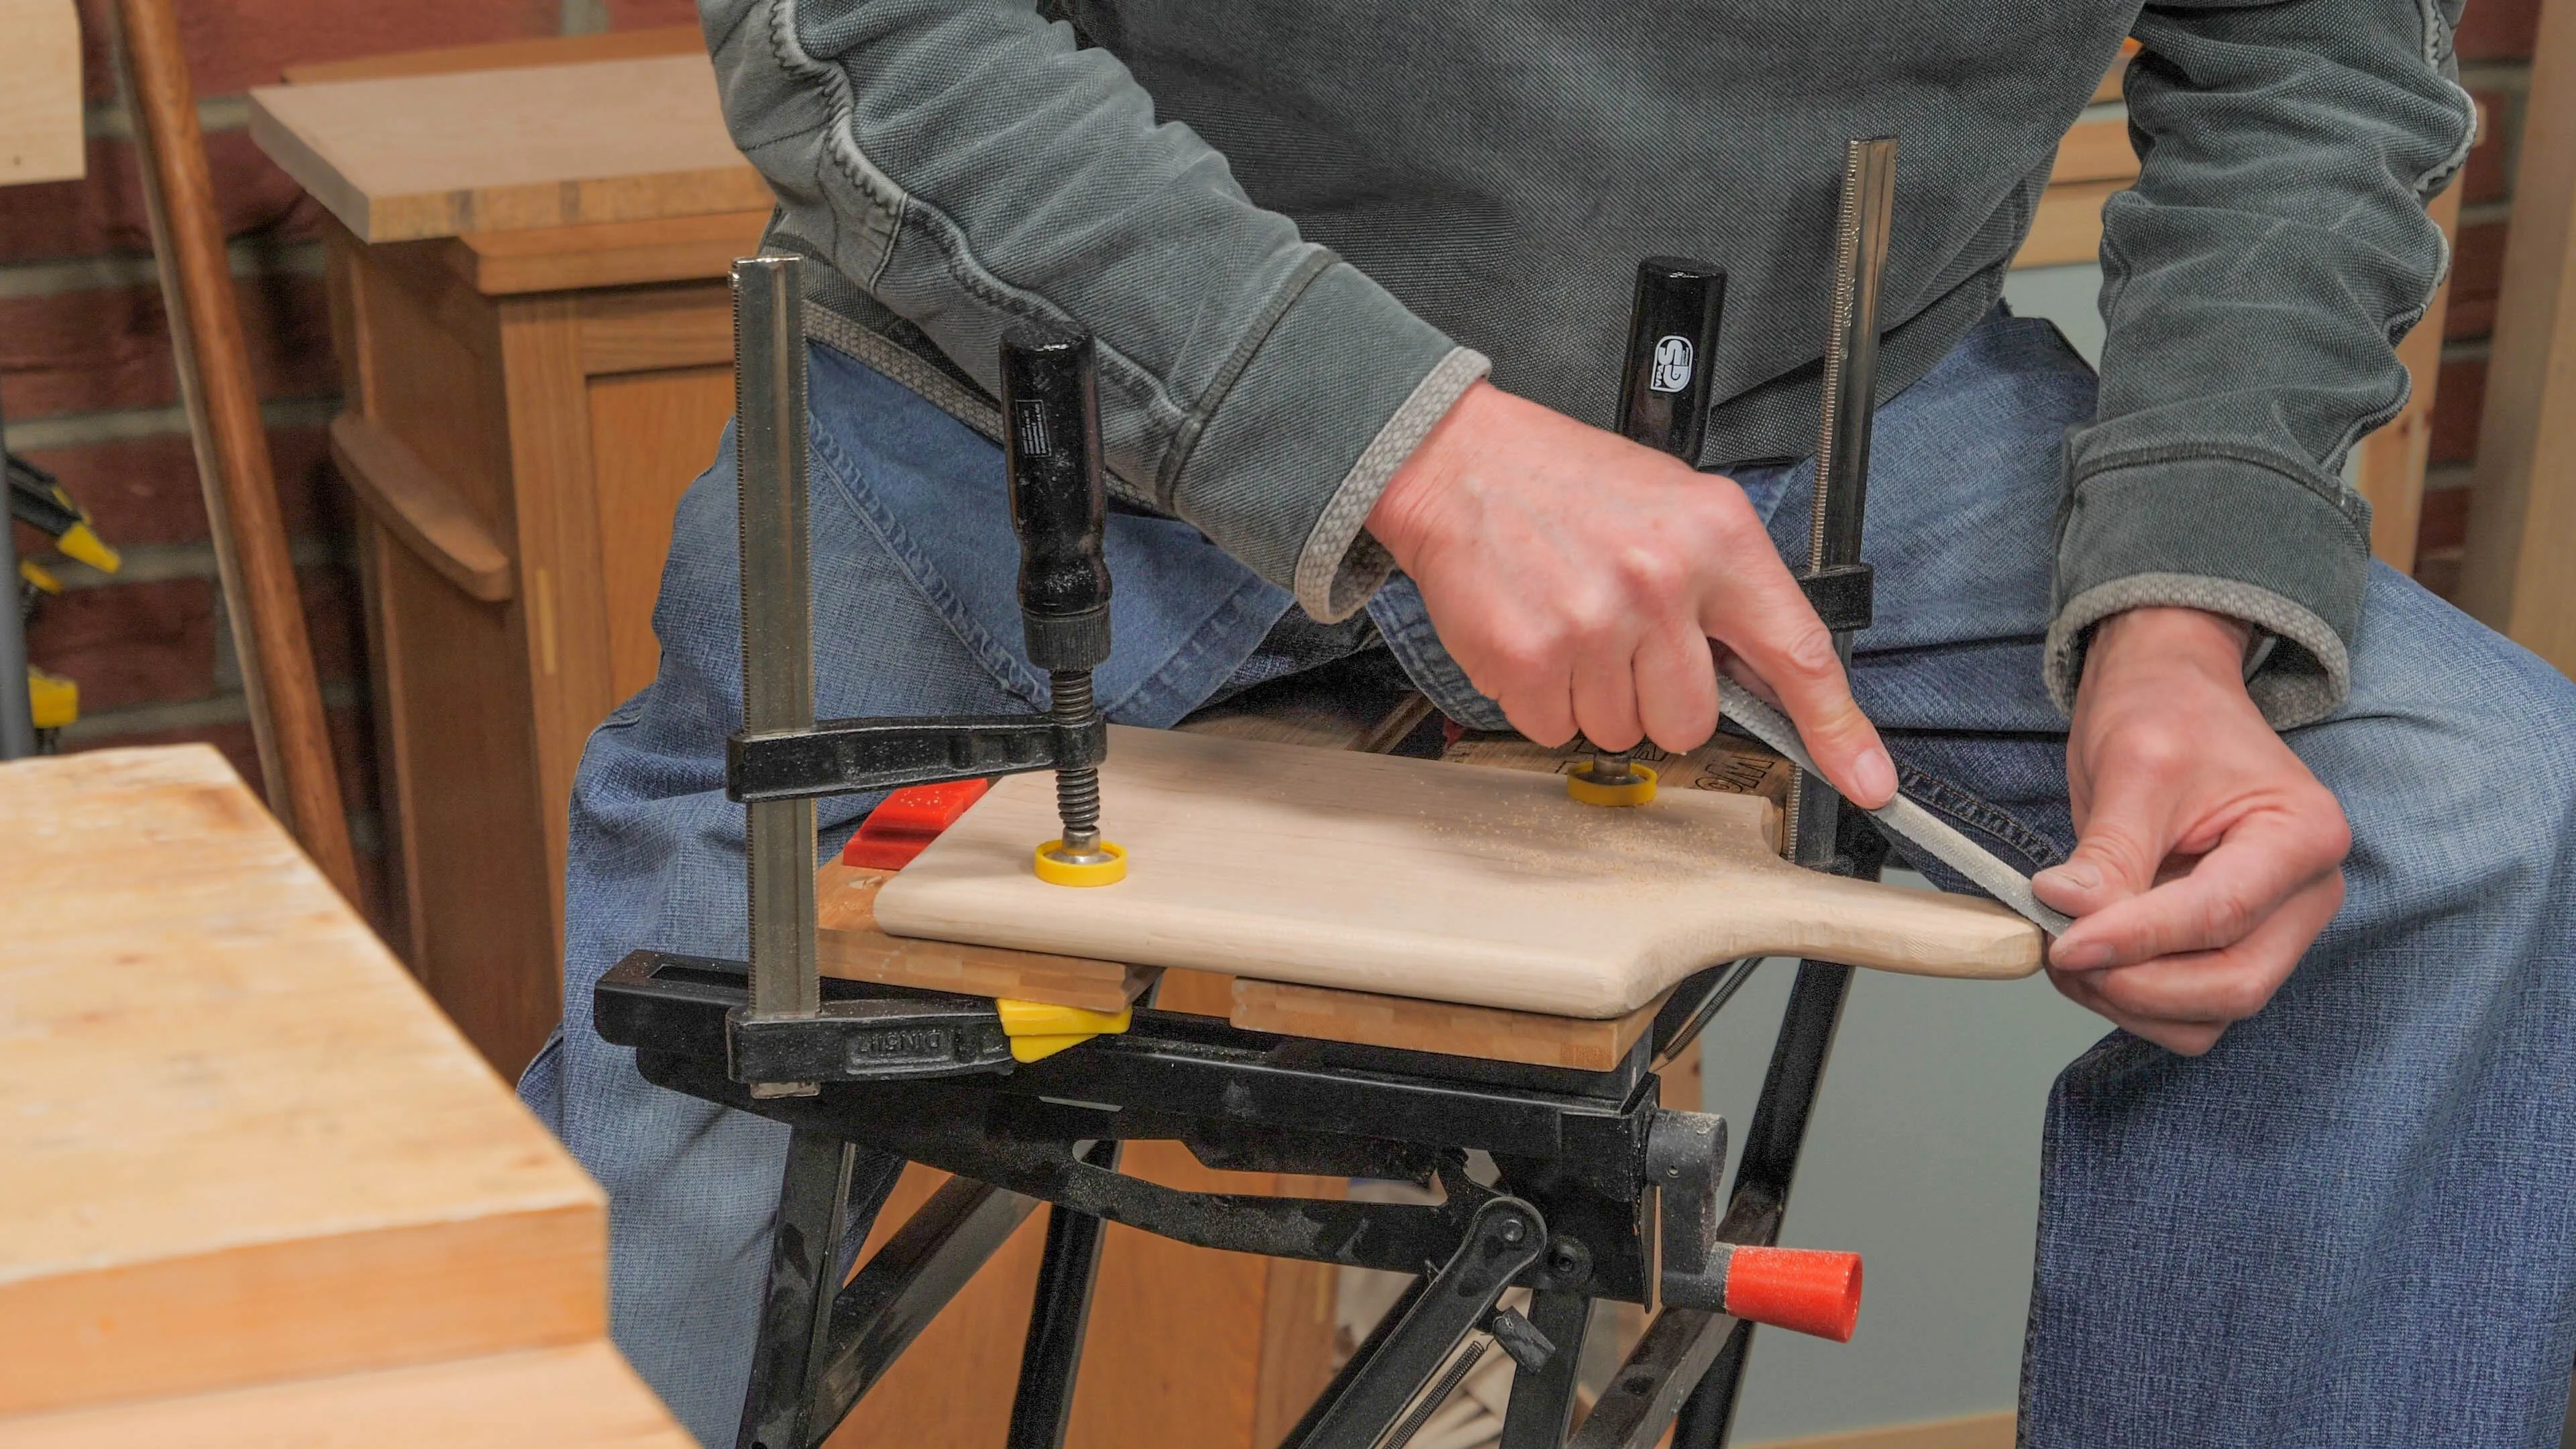
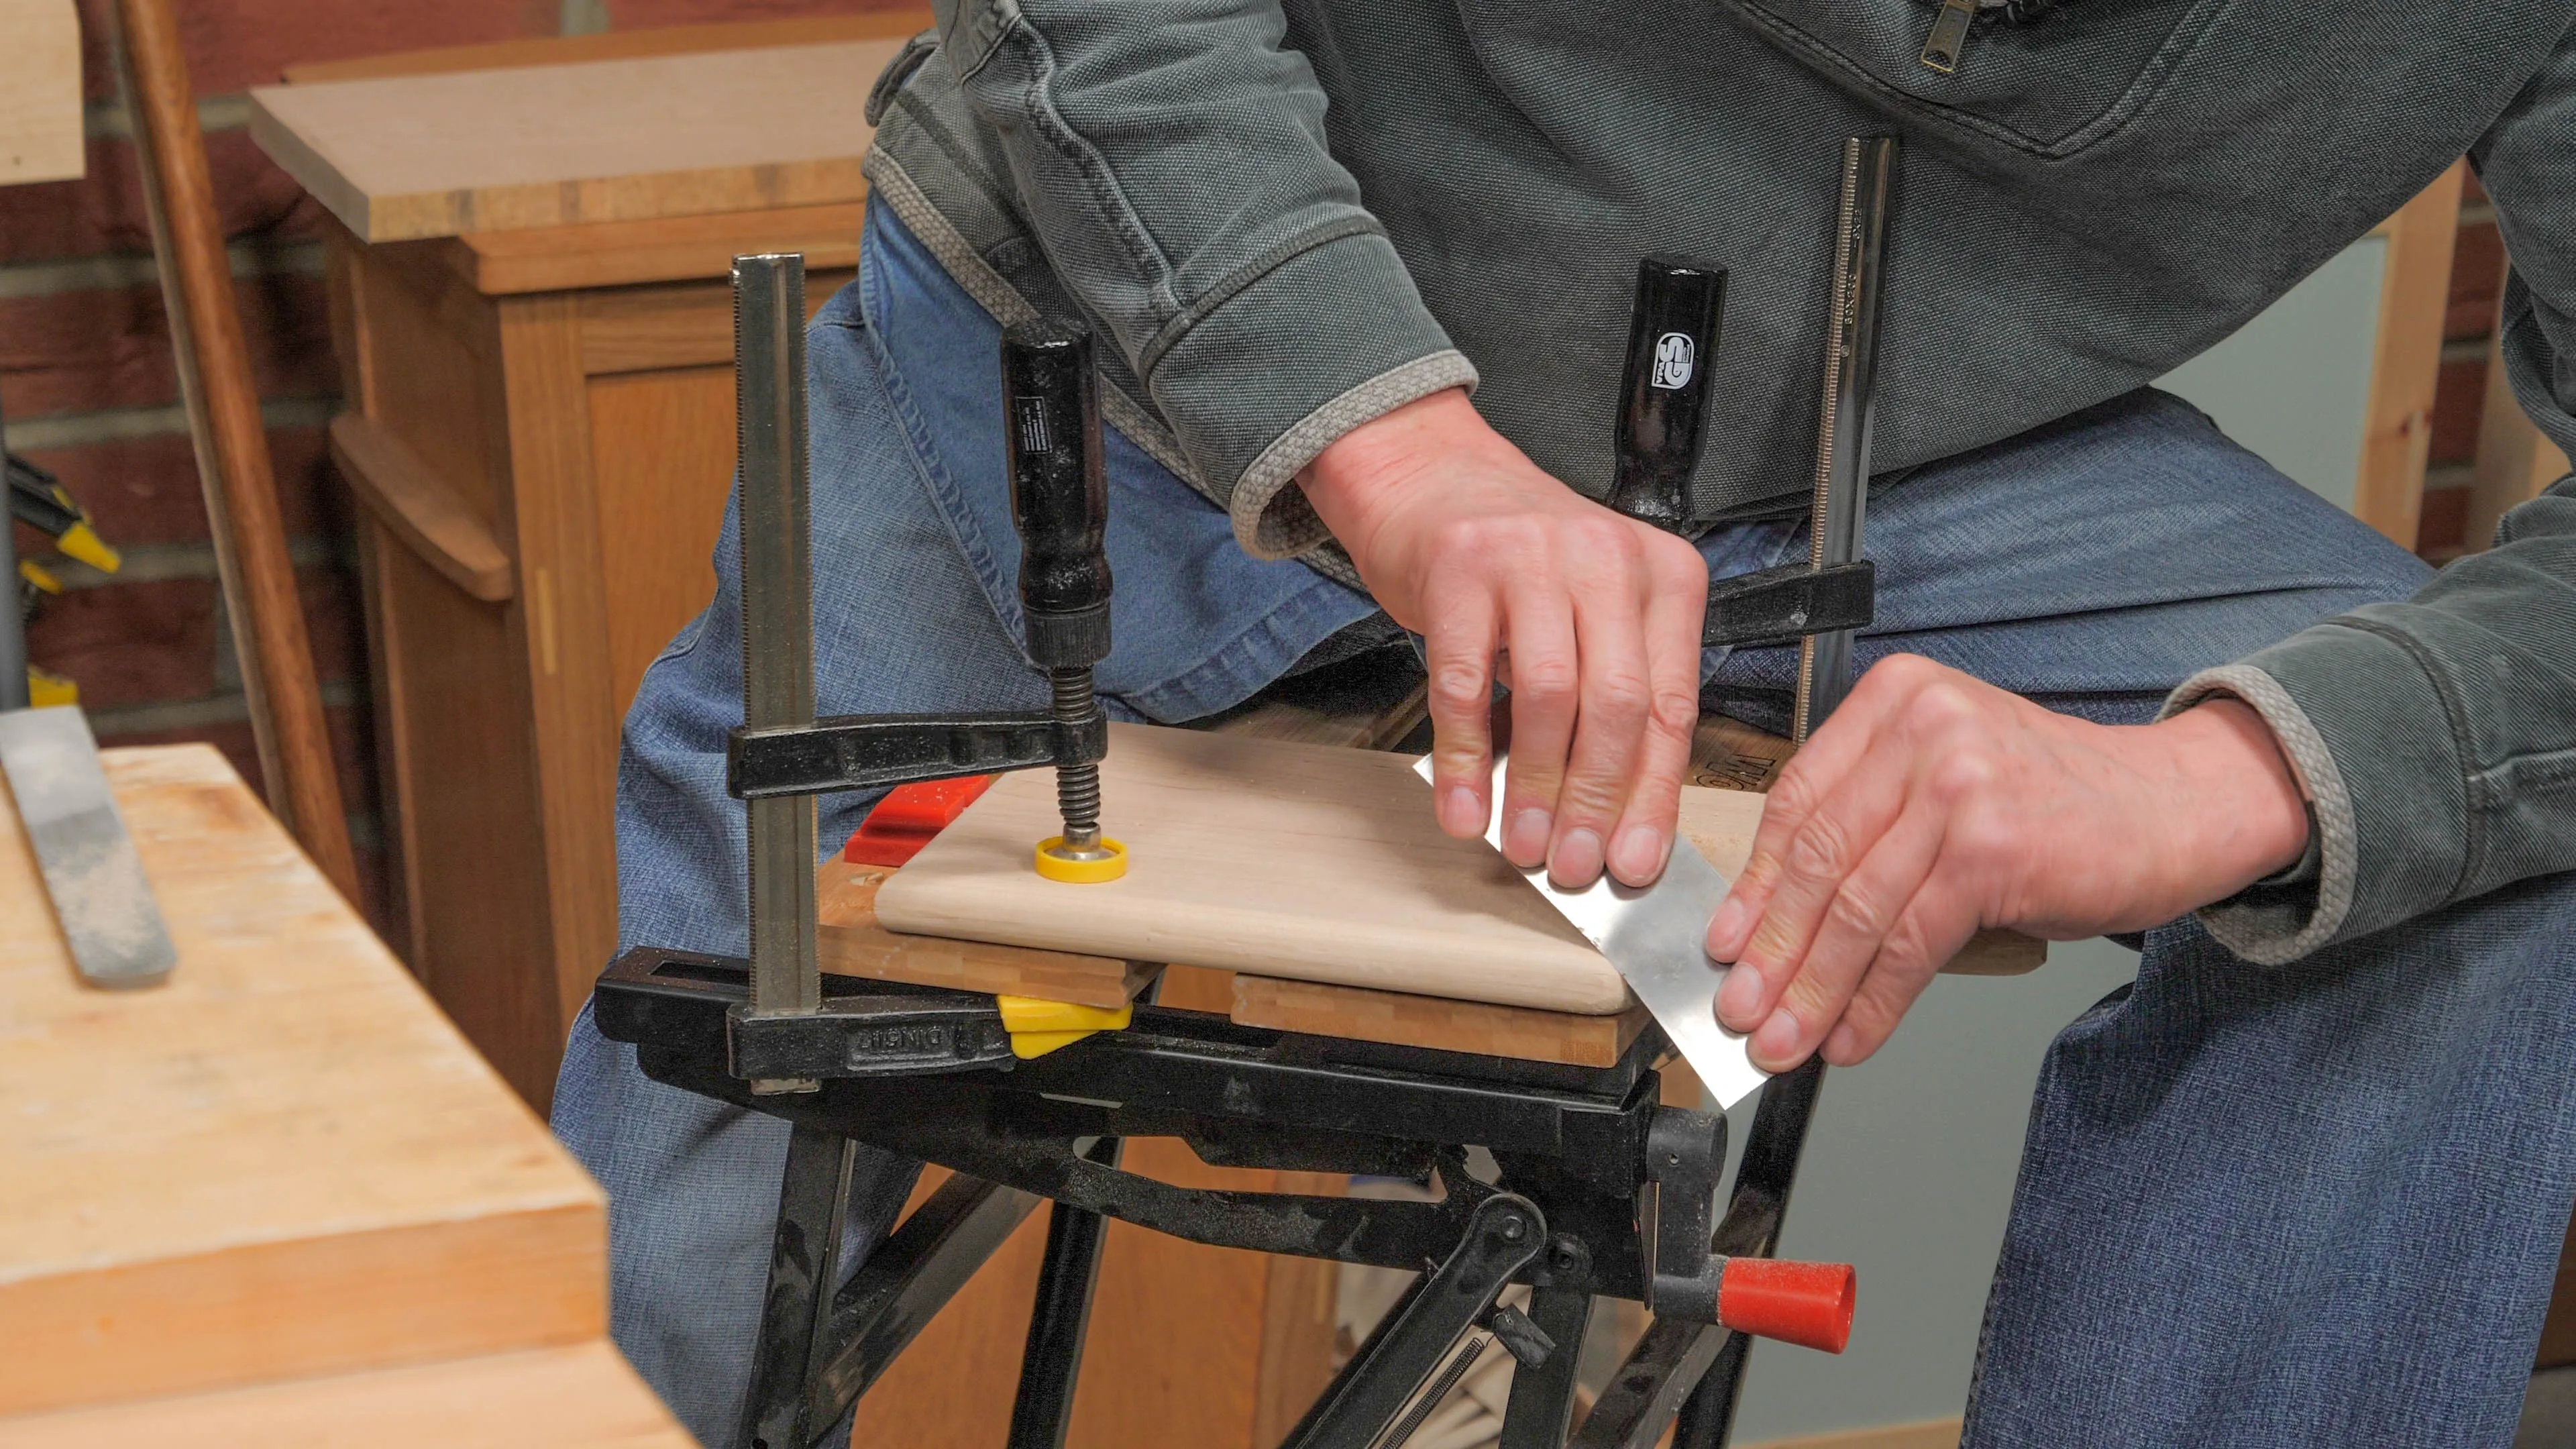
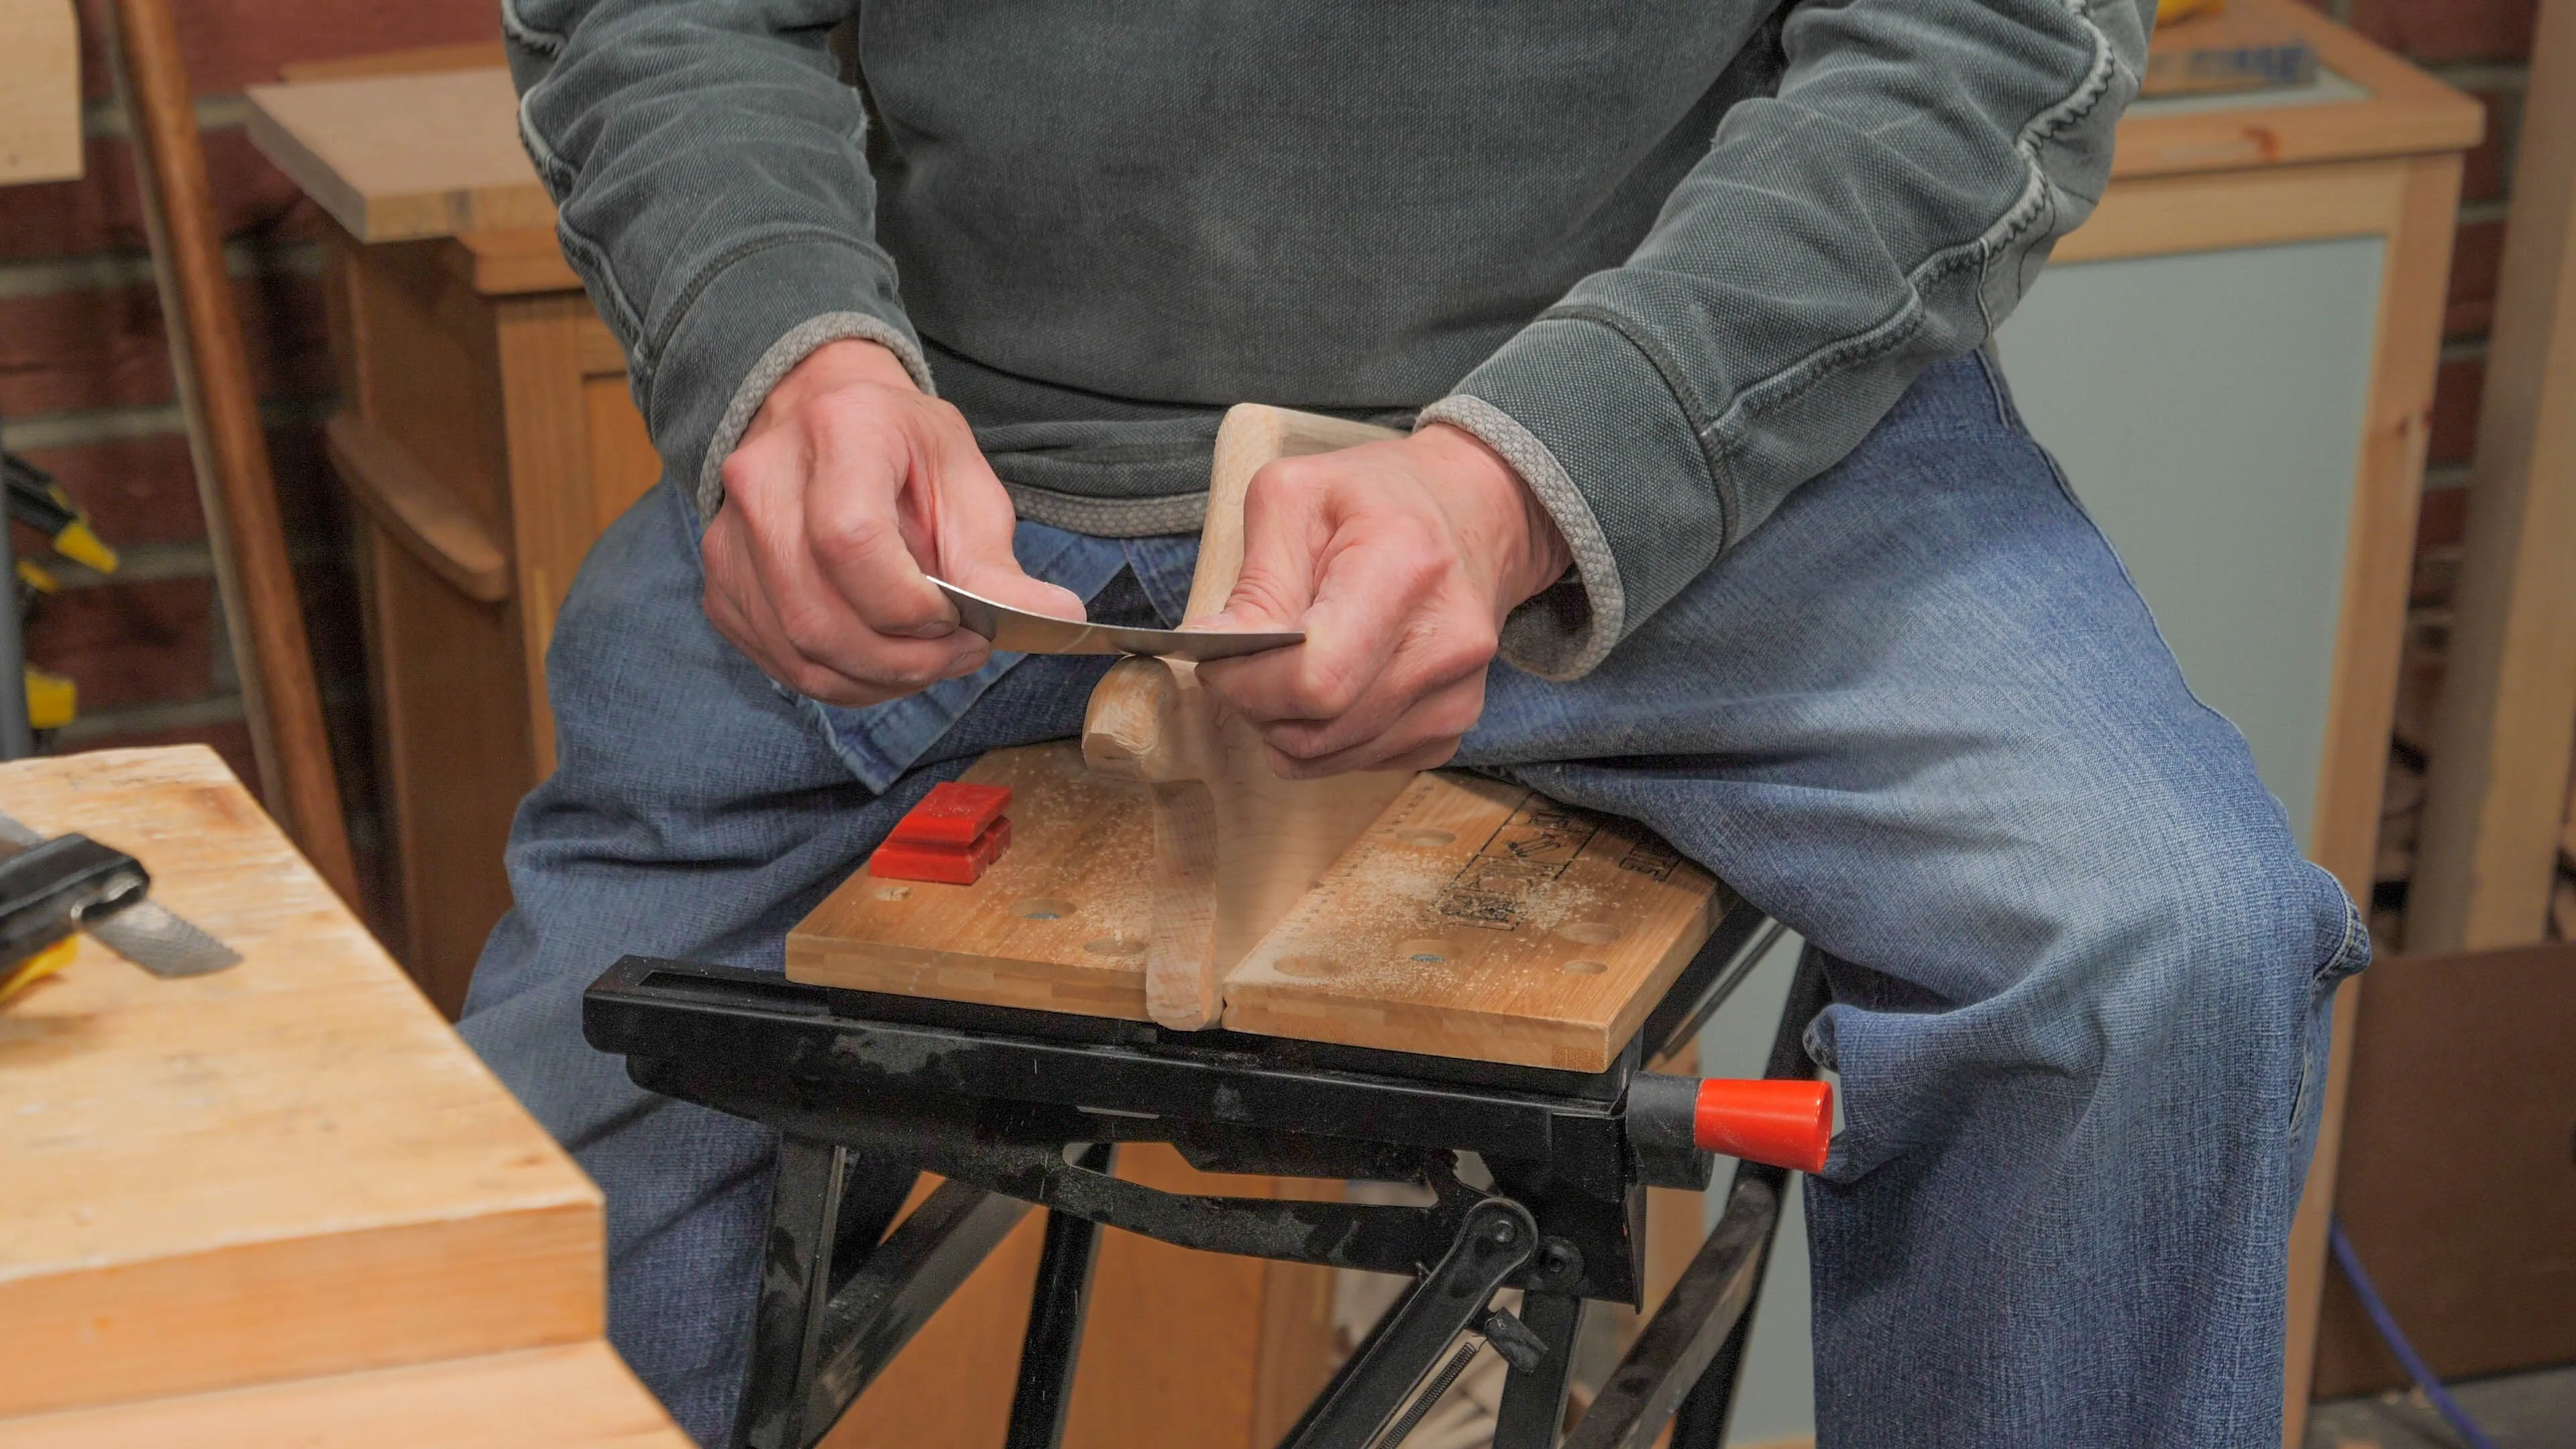
When you’re happy with the overall shape, use a card scraper to refine further. You may need to go over certain areas with the rasp again, but always go back after with the scraper. With all visible flats removed, sand using a sheet of 240 grit sandpaper.
Sign in to track your progress