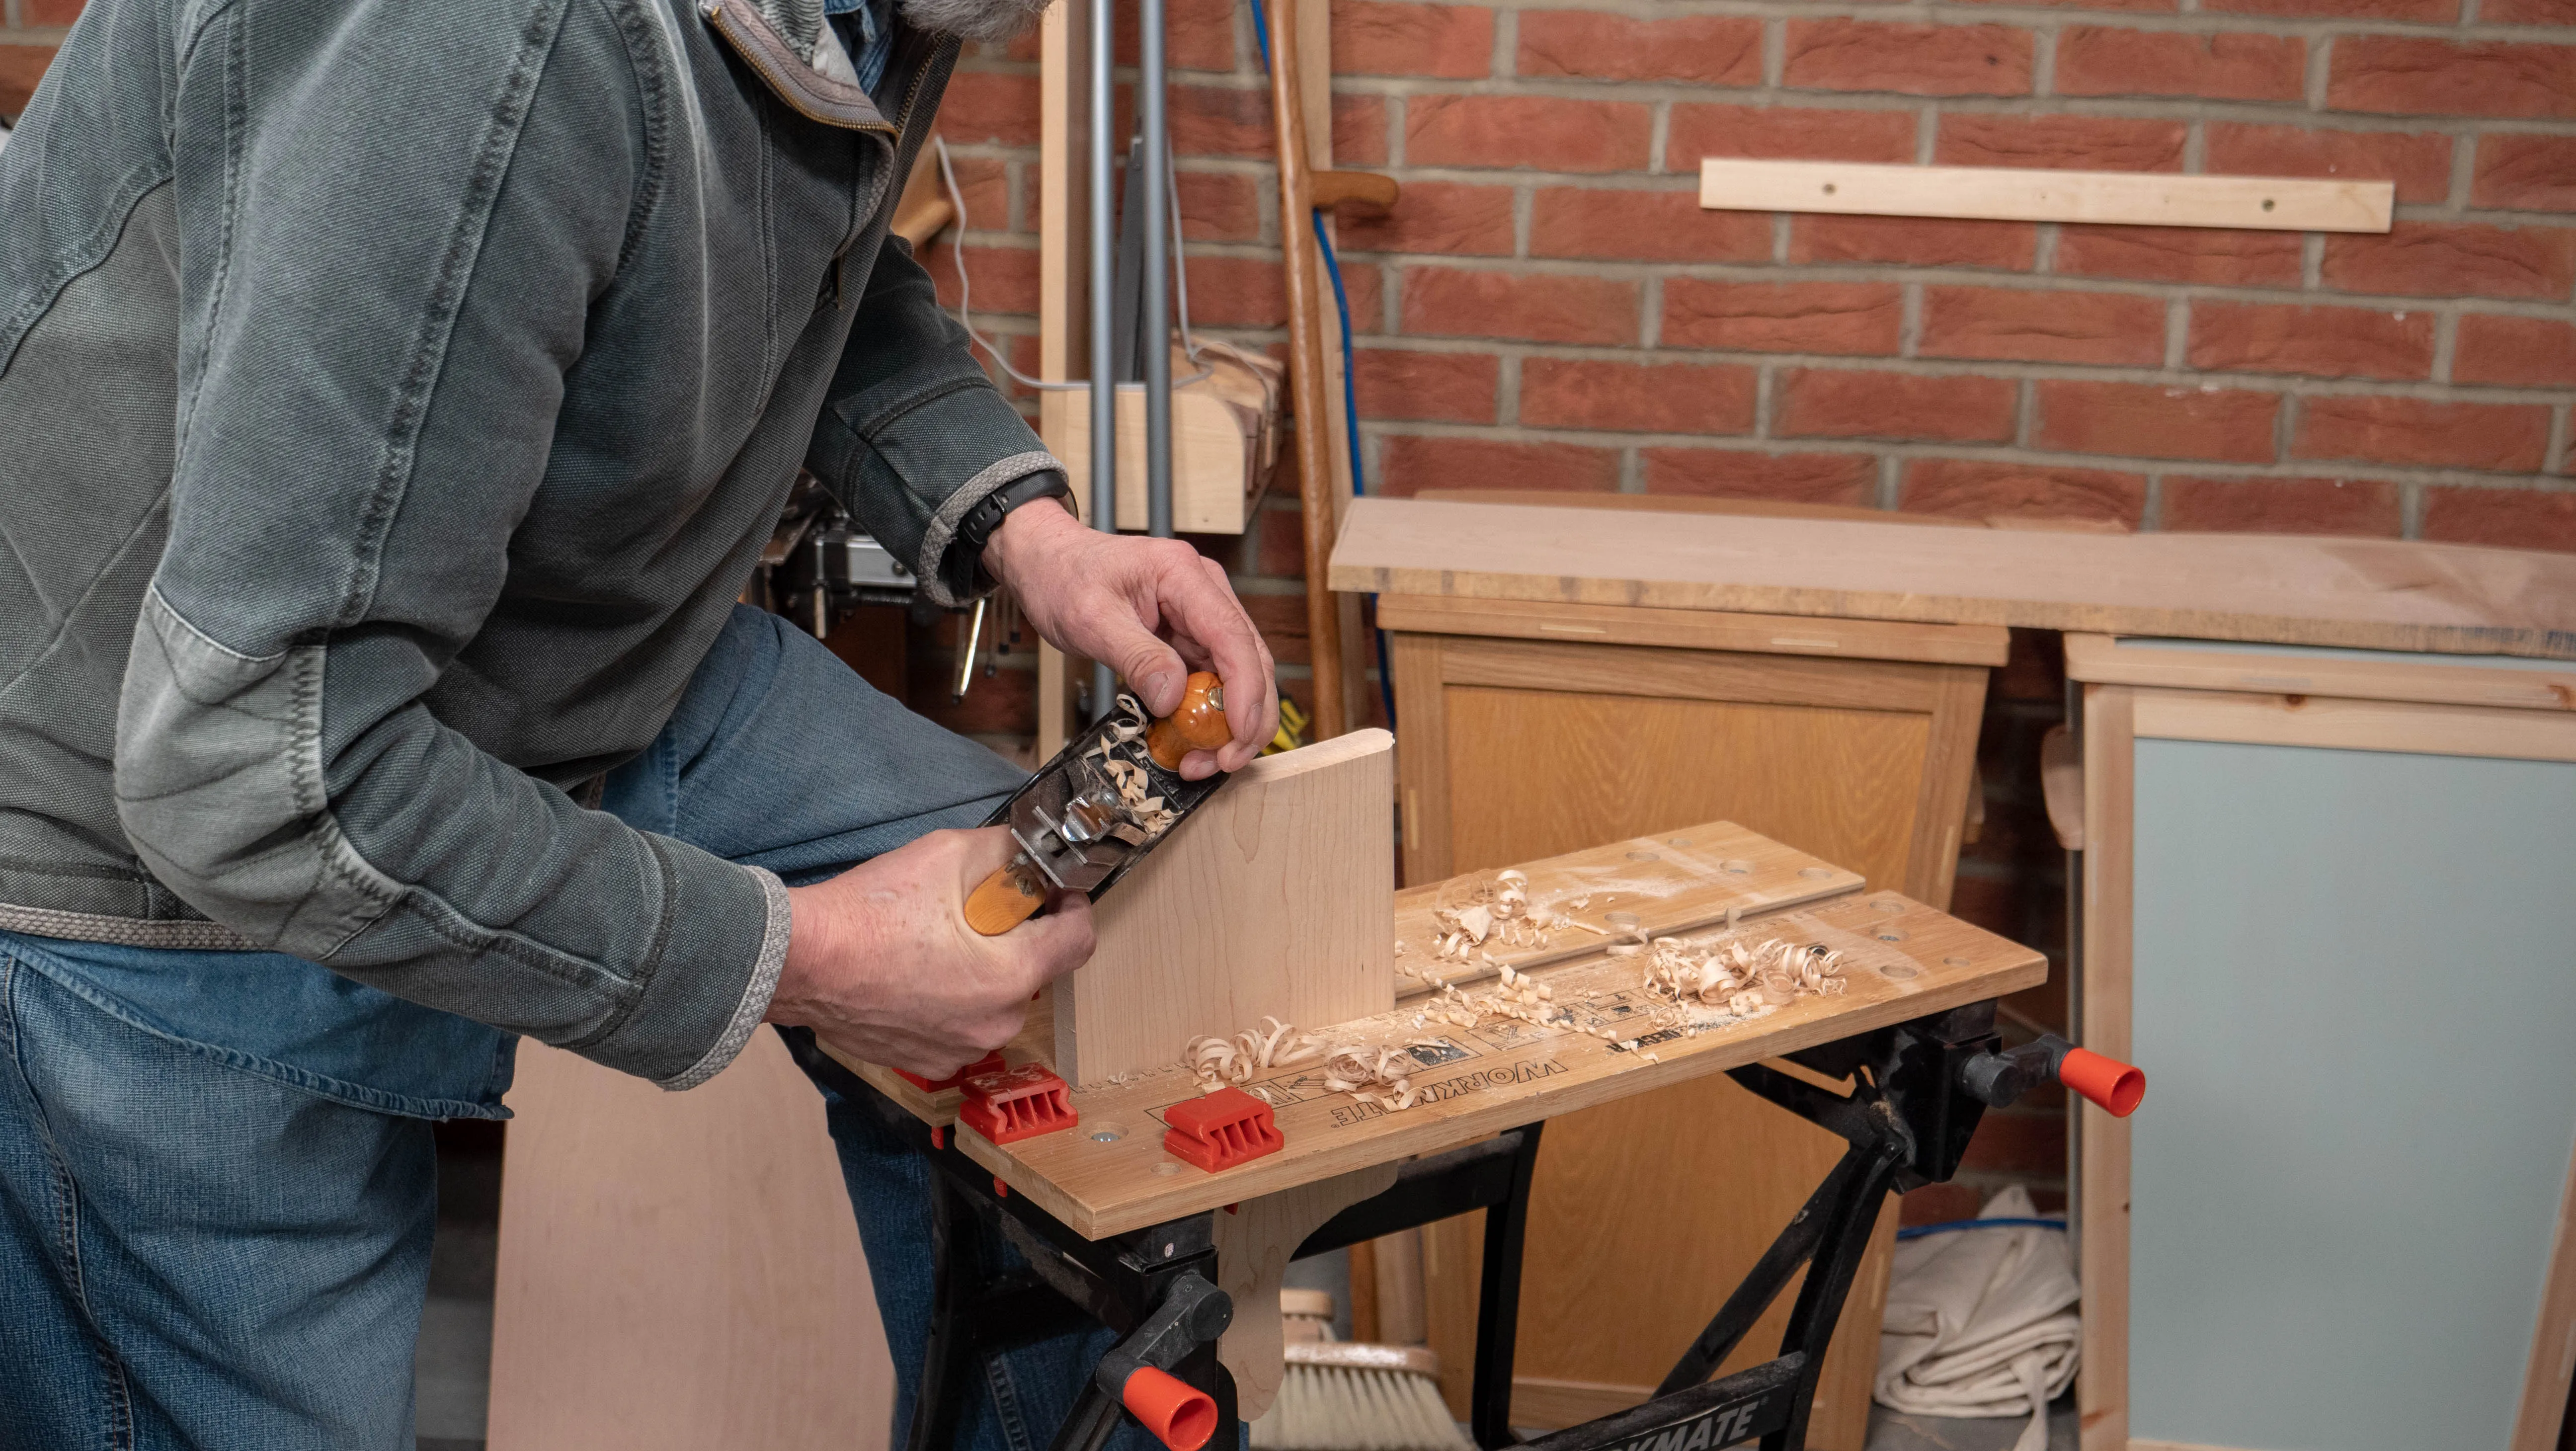
Rounding The Edges
The next step is to round over the three straight edges of the chopping board – along the sides and end. If you prefer to practice first on a scrap piece of wood, see our roundover exercise.
We always make the roundovers on end grain first as only here is there a risk of breaking out a little and splitting off a few unsupported fibres. This way, such flaws can be planed down easily when rounding over the sides (long grain).
As with all roundovers, start by creating a 45° bevel along the whole edge. However, when working on end grain, also skew the plane sideways by dropping the back of your plane so that the cutting iron is at an angle in relation to the direction of travel. This way, you’ll create more of a slicing action which will result in a cleaner cut on the unsupported wood fibres than if pushing towards them directly from the side.
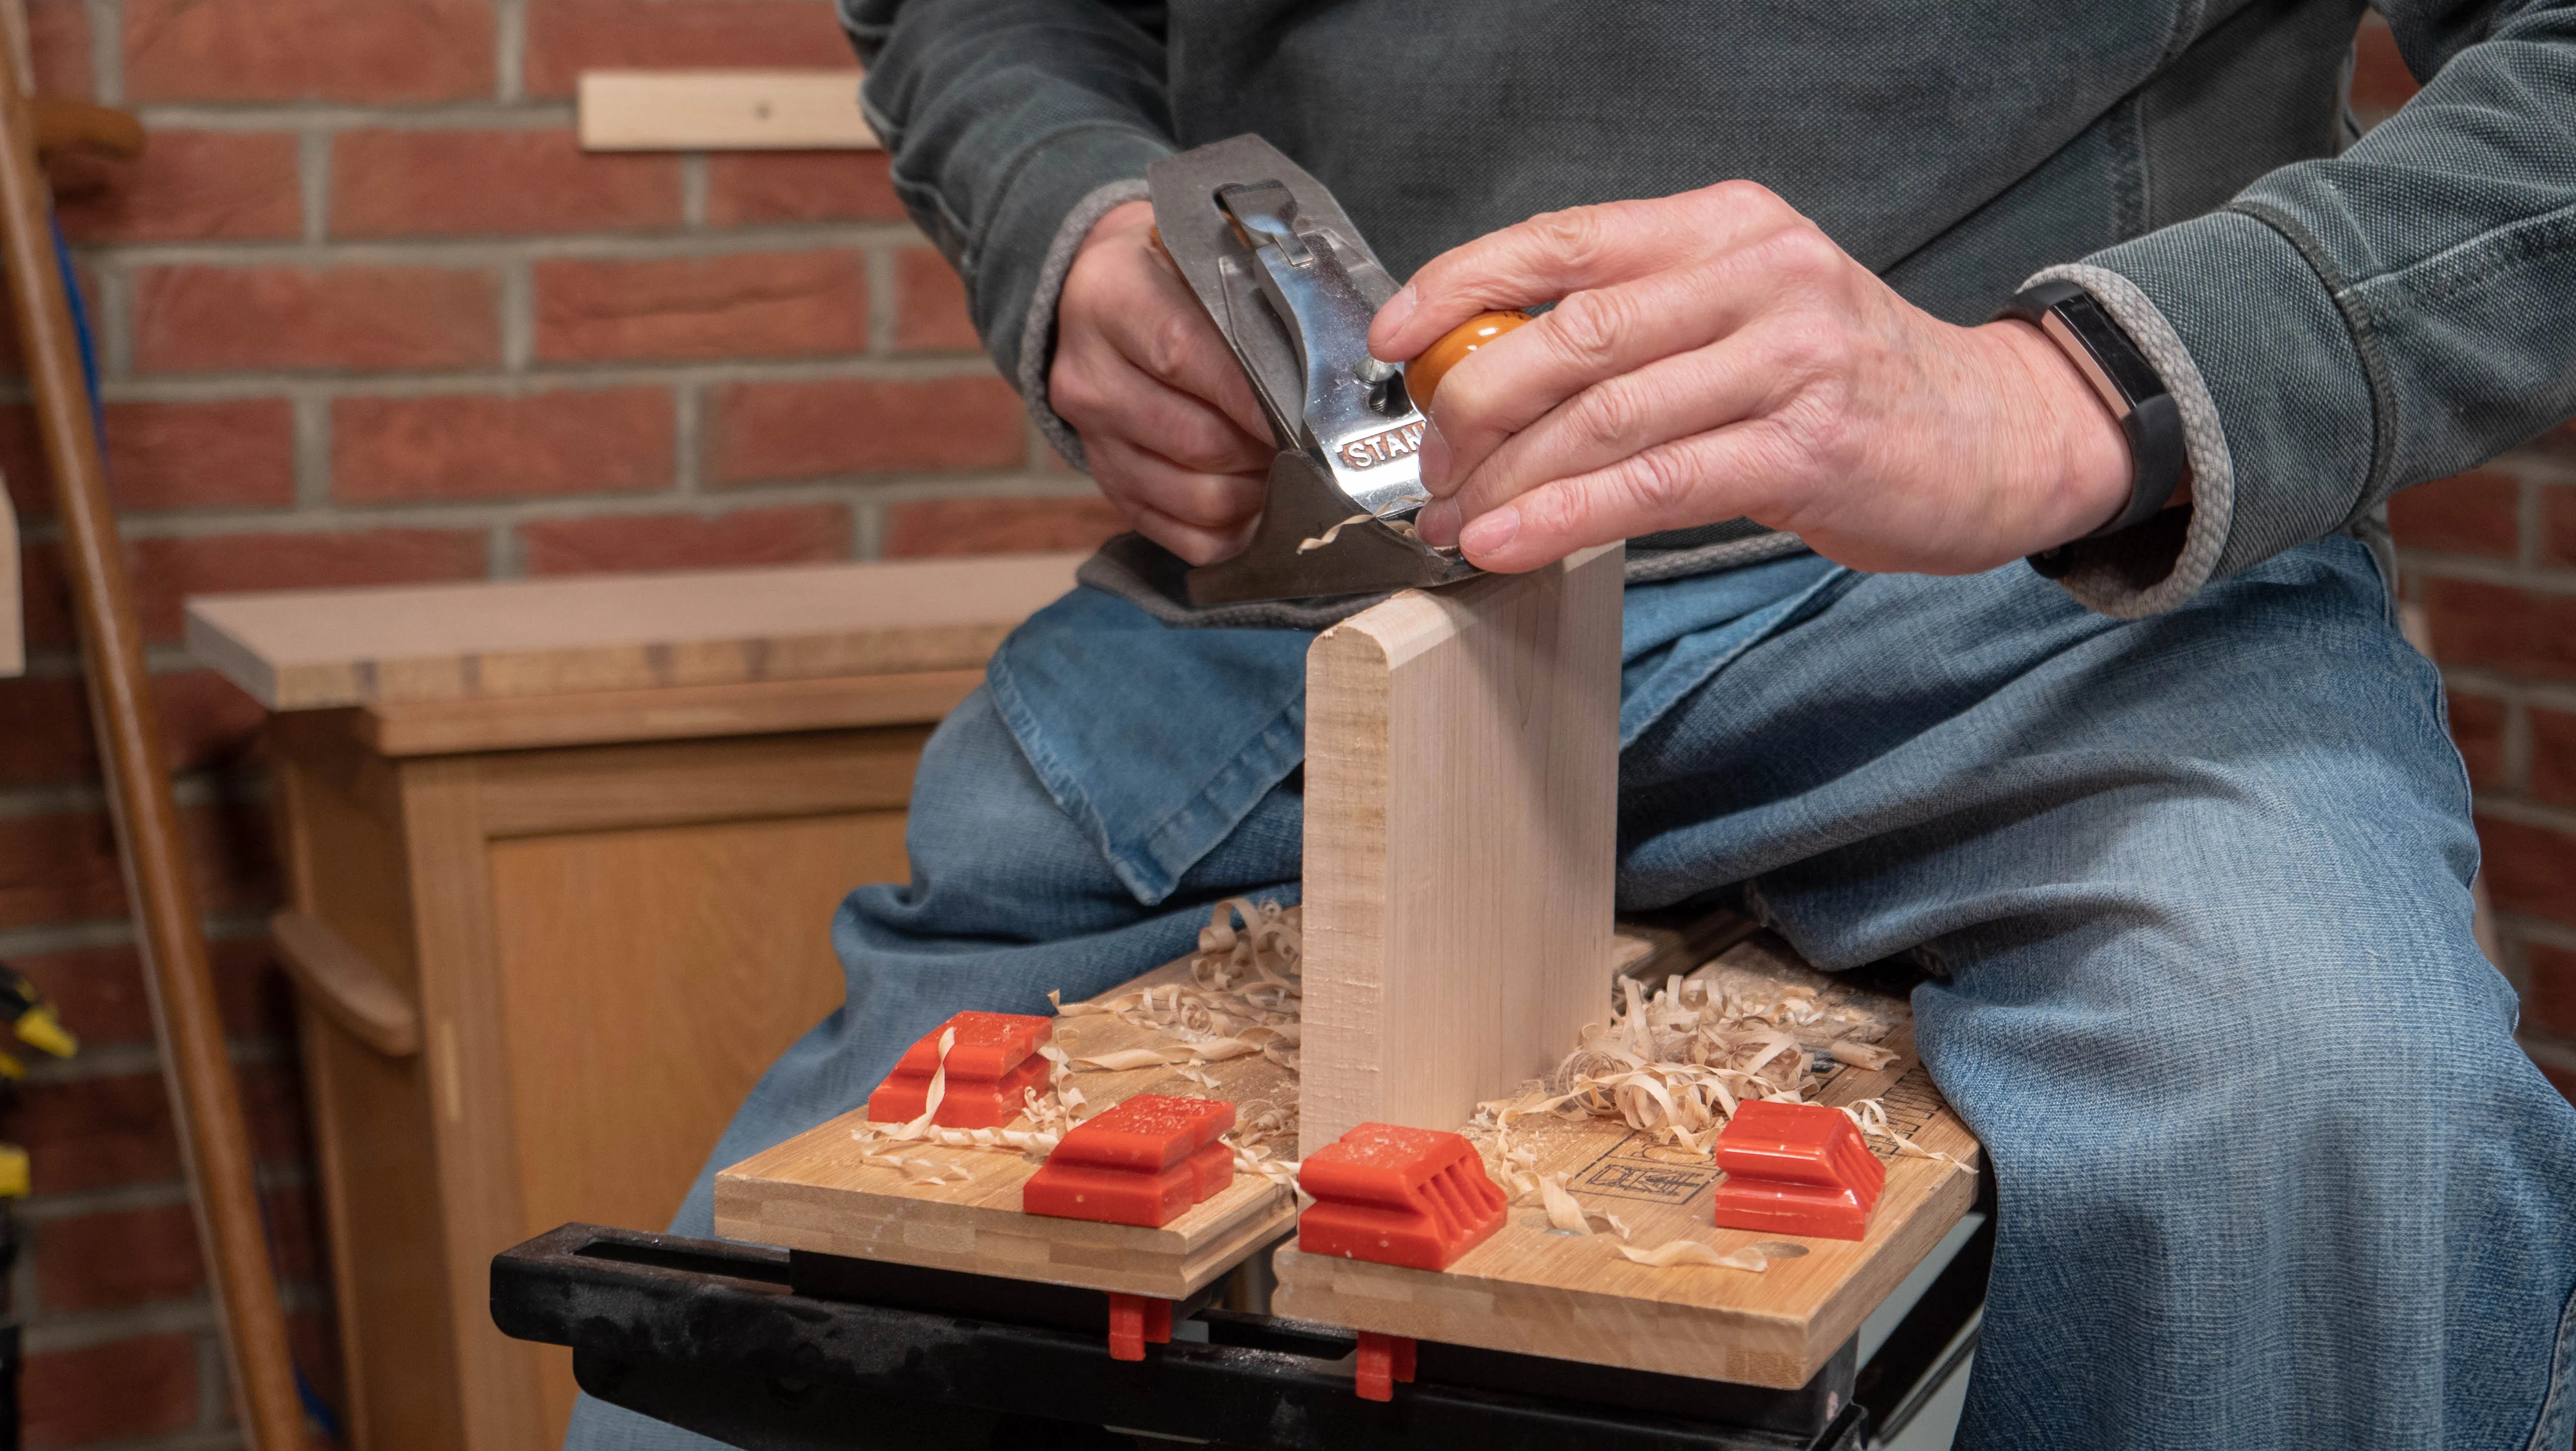
Check to see if you’re creating an even bevel. When starting out, it can be tricky to ‘land the plane’ smoothly, which means you can end up taking less material at the start of the cut and a lot at the end. Keep the sole of the plane registered and correct yourself as necessary, but avoid taking too much off for now. The goal is not to remove a lot of wood, but to remove it in an even, controlled way so as to leave a well defined round shape along the whole edge.
Once the 45° bevel is established, lower the plane and take off the sharp corner below. Do the same above and then work the round shape with the plane set to a lighter cut. Repeat on the other side until you have a continuous round all along the edge.
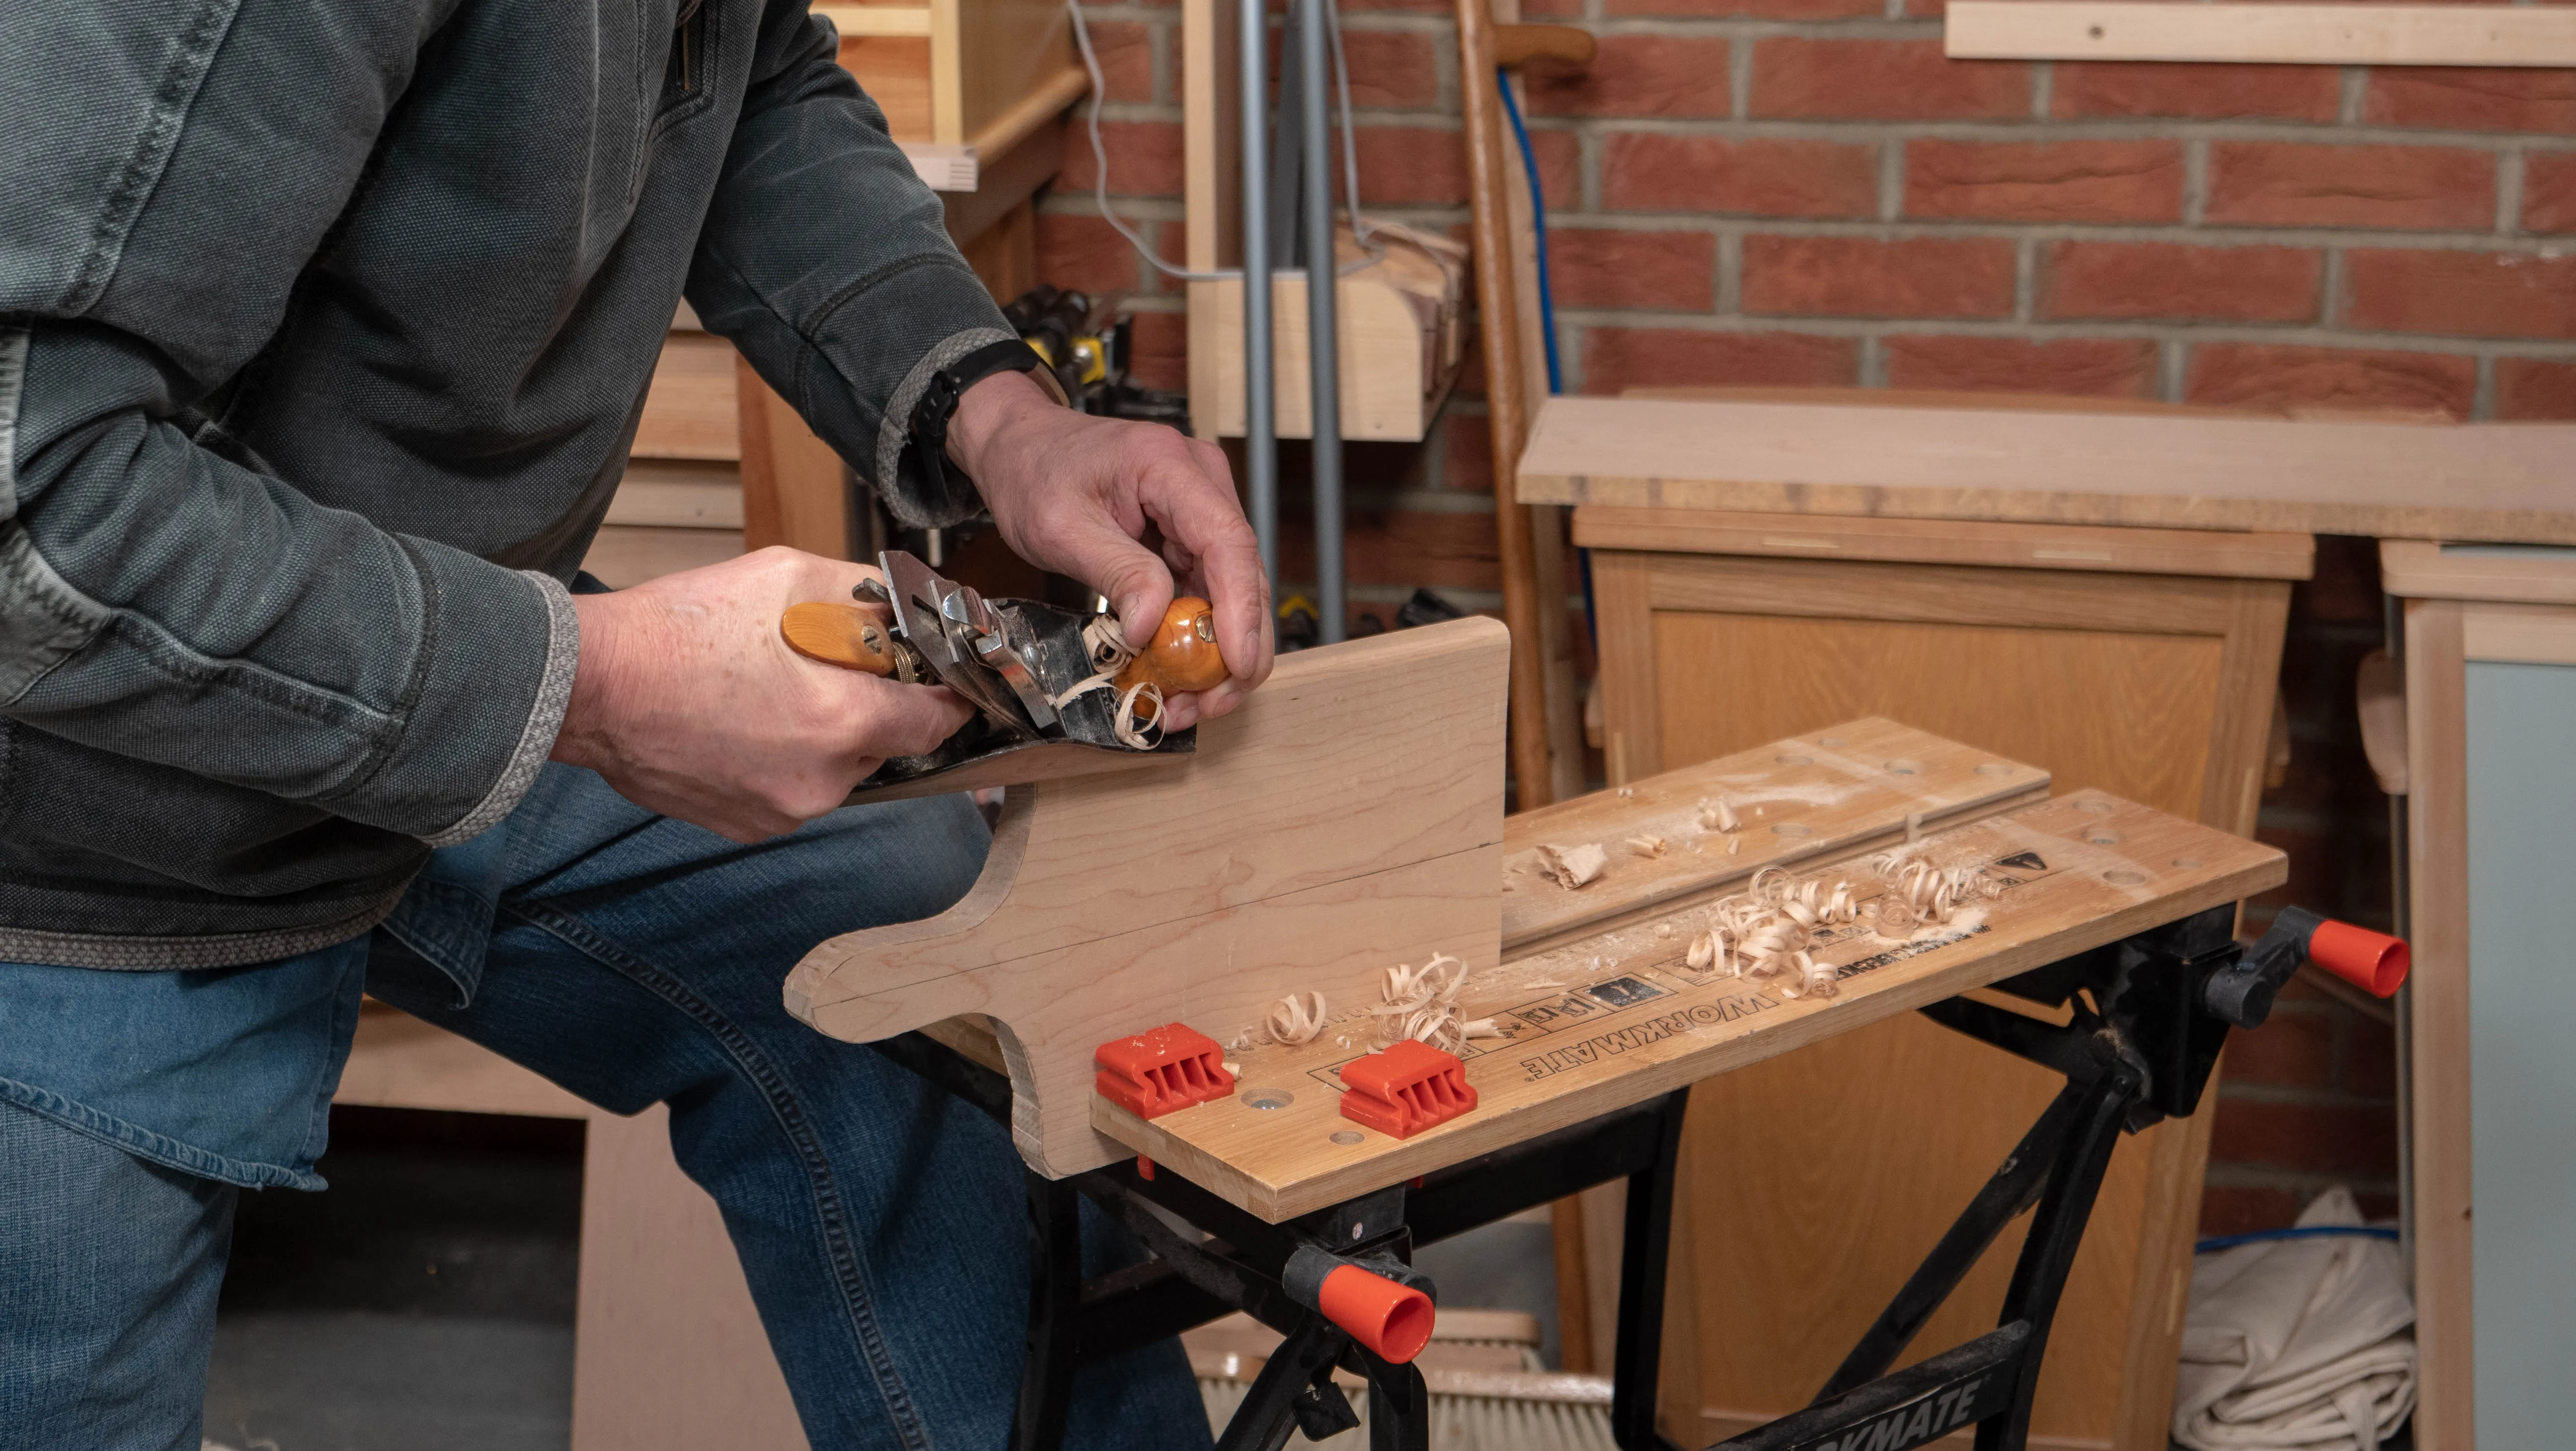
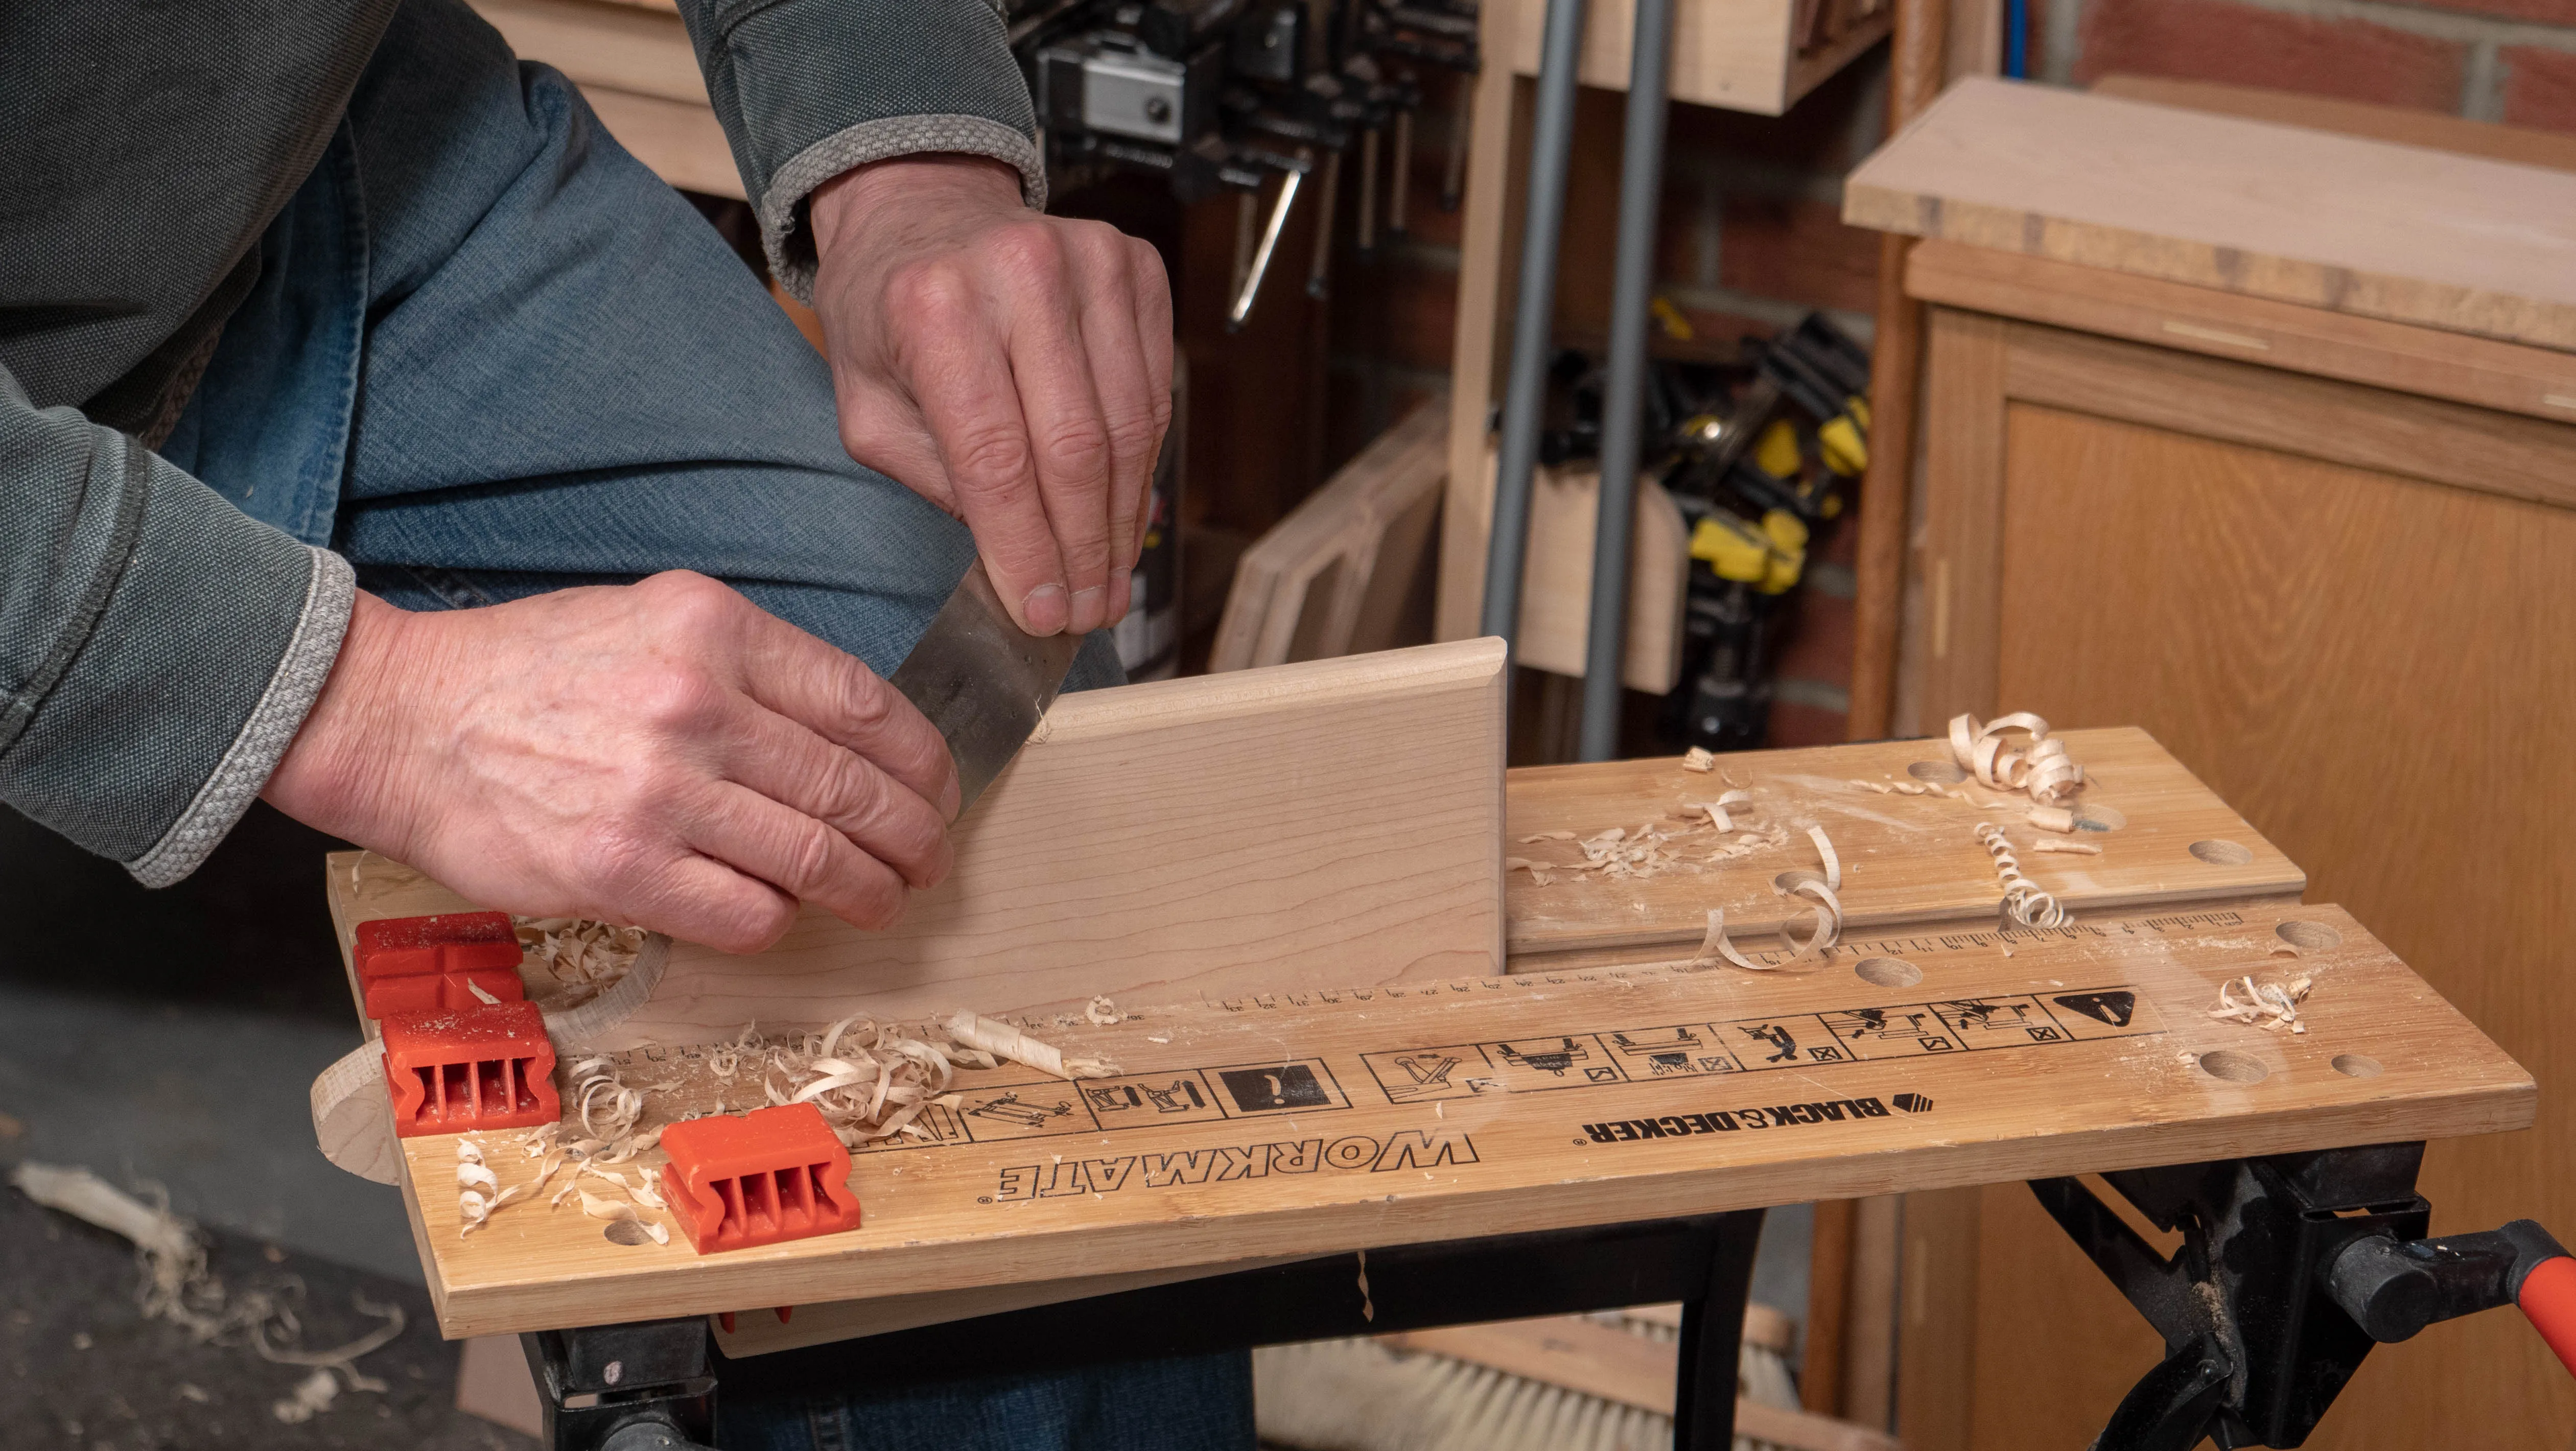
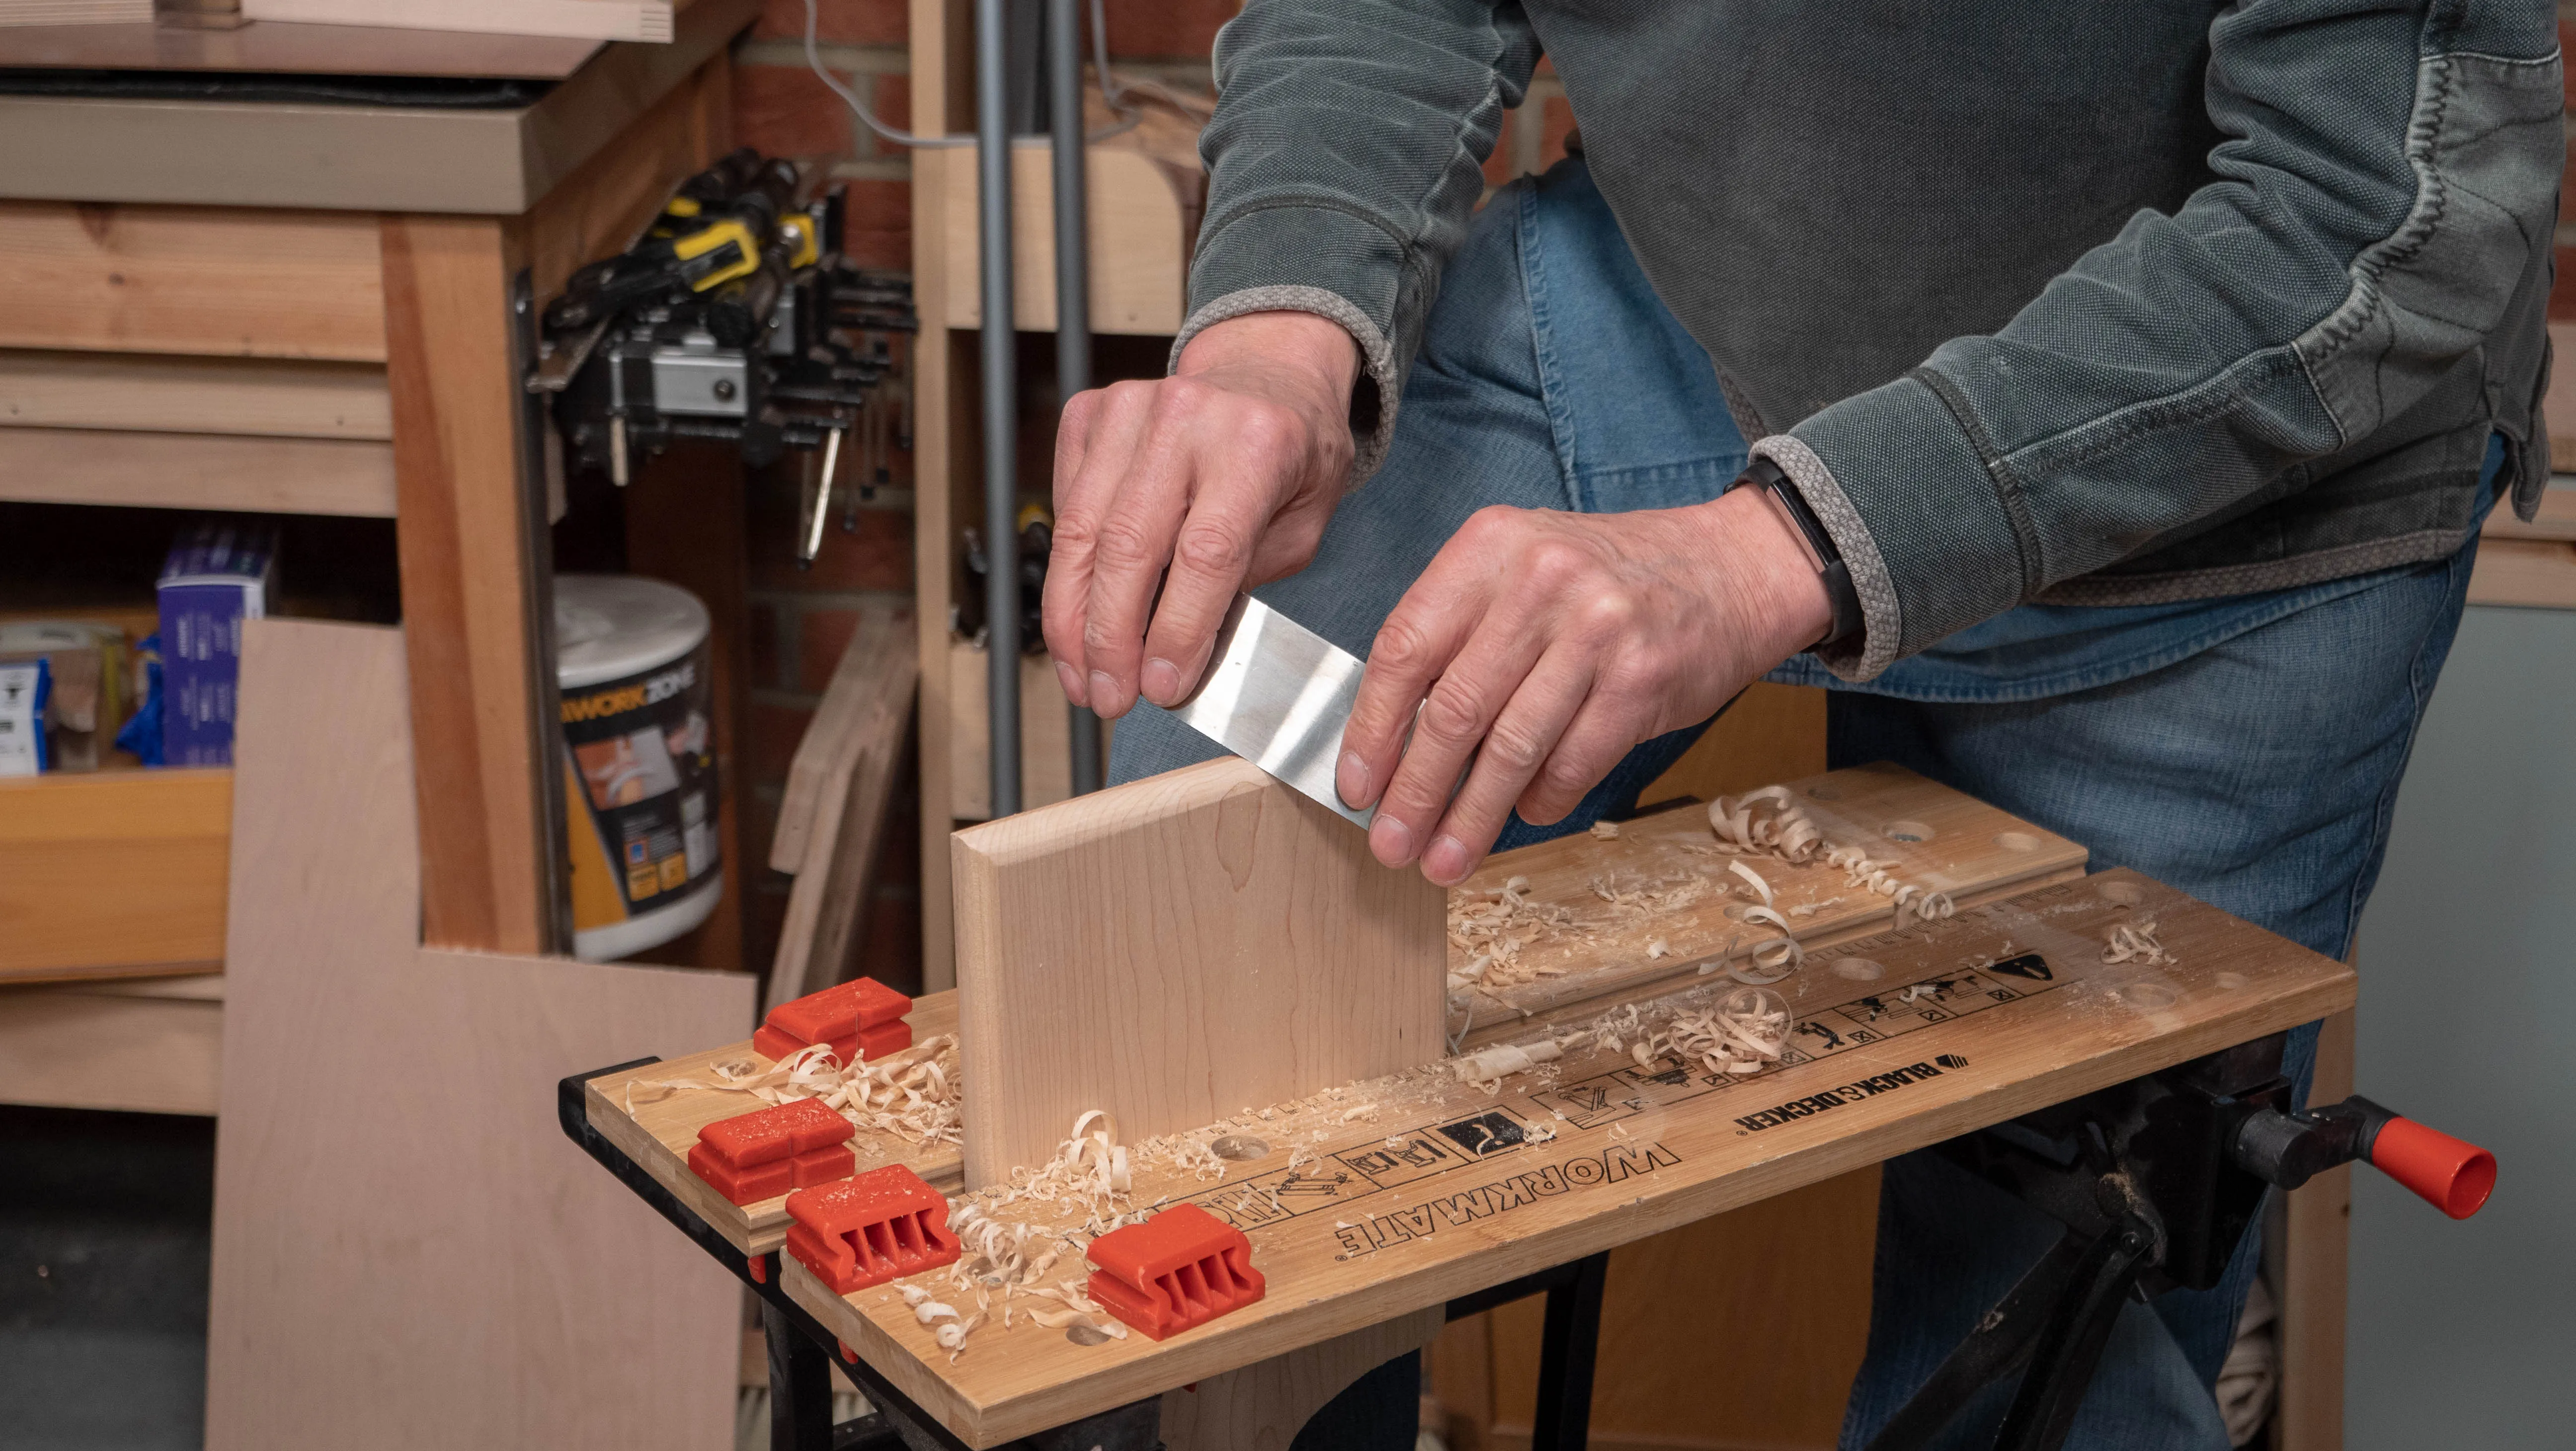
Next, create the roundovers along the two sides in the same way, only now there is no need to skew the plane as you’re working on long grain, i.e. along the grain. You can then use a sharp card scraper to refine the roundovers. Try to bend the scraper slightly as this will follow the shape better.

Sign in to track your progress